|
|
Post by winterwood on Oct 7, 2009 16:14:27 GMT 10
|
|
|
|
Post by winterwood on Oct 6, 2009 12:57:59 GMT 10
|
|
|
|
Post by winterwood on Oct 6, 2009 9:43:45 GMT 10
|
|
|
|
Post by winterwood on Sept 28, 2009 9:15:43 GMT 10
Hi all,
I came across the following on a UK Vintage Caravan site, that might be of interest/help to other forum members.
Max
"As promised for James and anyone else who may be thinking of restoring an old caravan, I have put together a schedule of how I did the work on the front of my 1978 Safari, and tried to add general comments that will help anyone else.
I am a keen amateur car restorer with a good set of tools and equipment, and enjoy DIY so have reasonable woodworking skills, but by no means up to professional standards. I have a large garage, but the doors are not high enough to let me keep my caravan under cover. So I had to do my restoration outside, but by covering the front half of the caravan every night with polythene sheets and a tarpaulin, I managed to stop any water getting in while the panels were off.
This was the first time I have ever worked on a Caravan, but found that a lot of the techniques used are similar to those used in classic car restoration. Plan the work carefully, take lots of pictures before you start, label bits that you take off, identify all wiring, trial fit all woodwork and panels before cutting or drilling (remember the old rule - measure three times, trial fit twice and cut or drill once).
Almost all caravans have the same basic construction. On top of a metal chassis, there is a flat floor, on this is built a wooden framework that includes all the interior cupboards and walls with the outer framework added last of all before it is covered with plywood (prior to the 1950’s) or aluminium panels after that date. On some there are one or more fibreglass panels, to the front or rear or even the roof. The outer frame includes all the openings for doors and windows.
Caravan manufacturers go to great lengths to cover any joins in the paneling with, in the early days, wooden and later metal trim strips. All such joins are sealed with a mastic sealant that dries out over the years and needs replacing to prevent water getting in.
Most restoration is required due to the ingress of water owing to the failure of the mastic, the first sign of which is wall paper lifting or dis-colouration of internal woodwork. It is likely that the damp will have spread far beyond the area that is visible, so be prepared for surprises. If the water is getting in above the area you are replacing it is essential to re-seal the offending joins before you start.
Start by clearing the interior, remove mattresses, curtains, curtain rails, if working behind cupboards and units, remove the contents, doors and drawers, but do not take out any framework even if it might need replacing later.
On the outside take off the gas locker, grab handles, any lights, number plates etc.
Next remove the screws in the joint cappings, awning rail, gutters and, those under the trim on the window frames, and the trim between any panels. It is a lot of screws! Some come out ok but others have to be forced a bit. I found I couldn't drill the heads off, no matter what size of drill I used. A tip here is to try to screw the stubborn ones in half a turn first, this breaks any hold between the screws and panels or trim and makes them much easier to screw out.
Put all the trim bits and awning rails carefully to one side for cleaning or wire brushing and painting later. Now you can take off the outer panels, get the windows out and reveal the full horrors!
From previous prodding and poking I knew I had to replace the timbers all around the front window, the panels to either side, and wanted to replace the big ally panel under the window as mine was in a bit of a mess. But I could not see any damp below the window line from the inside.
Unfortunately I was wrong on this last point and when the big panel came off, the cross members and the curved supports for it were sodden, as was a bit of the inner wall behind it. Also the curved bits either side of the ally splash panel were also wet through. So I need a few more bits of hardwood framing, an extra sheet of hardboard, and some new polystyrene insulation sheets. Not too much cash, but a bit more work.
Having got all the panels off and the window out, you need to carefully measure the timbers and visit a timber merchant for lengths of mahogany, but any similar hard wood would do the job. At this point you can take out existing bits of the frame to cut and make mortice joints to match exactly.
The drop to the front side windows may make Safaris more stylish but it means there is a horrible jigsaw of little bits of shaped wood to the front corner sides. I managed to replicate all of them, but it took longer then expected.
I ran into a snag with the wall board at the foot of the beds. The offcut I got was too short to reach from one side to the other, so I had to cut along the line of the chest of drawers and replace each side making a three piece section.
I had previously made contact with a one-man-band caravan repairer, who offered to provide the panels. It seems that such repairers have to buy ally sheets in very large sizes and even when replacing a whole roof have very big offcuts up to 20ft by 3-4ft. Take any panels you need to them and see what they can do. Also ask them if they have any wallboard offcuts for any interior panels you need to replace.
On the Safari, the front panel is “S” shaped and the repairer even offered to roll the sheet to shape. So I went to the Caravan Repairer with the original curved front panel, expecting to have to wait a week or so, he pulled out a large offcut and started to roll the panel there and then! I told him it wasn't that urgent as I also wanted some offcuts made, for the top side panels and the thin horizontal strip along the top above the window.
On their advice I went for IFA sealant rather than Sikaflex. Sikaflex is an adhesive that goes hard and is a b***** to remove later. IFA remains tacky and is messy to remove but will enable cappings to be removed every 2-3 years without damage.
Another was tenner spent on 1200 stainless screws in various sizes, and a good selection of brass screws, so I will have plenty of spares. From a wholesaler rather than the hardware shop!
Having cut all the wood, got the aluminium shaped and cut to approximate sizes, the cappings and gutters had been painted, and my workshop was full of timber bits, ally sheets, hardboard, polystyrene sheets, bits of the Safari, all waiting for a sunny day for it all to go back on.
In one day, I made good progress, getting the top wood work installed, glued and screwed. I trial fitted all the panels but delayed fixing them as I wanted to do all the sealant in one go. The big curved panel was not going to be easy to fix. The roll section was not quite right but when fixed at the bottom I was able to force it to the correct shape.
The next day I started with the sealant. If I never see any more non setting sealant I will be a happy bunny - the damn stuff got everywhere. Every tool in my garage was covered in it, and I washed in white spirit every time I went near the Safari.
The large curved front panel is a real b****** to work with if you are doing the job single handed. You need a helper to watch one end while you fix the other. Anyway I got it looking about right and fixed at the bottom and sides. I cut out the hole for the window, fitted the two side panels and dry fitted the window - perfect. I decided I needed a lot of sealant and applied it liberally all round the window, and guess what - it wouldn't go in the hole. Another job for which you need a helper or eight foot long arms.
The joint cappings are easy to fix and screw but yet more sealant to clear up afterwards.
Then it is simply a matter of replacing the lights, gas locker, internal bits and so on.
I had predicted 4 or 5 days to complete the job but in the end it took 6 full days. Total cost was just over £170.00.
I hope some of this helps anyone thinking of restoring a caravan, and if you have any other hints and tips please add them to this message".
|
|
|
|
Post by winterwood on Sept 17, 2009 17:05:28 GMT 10
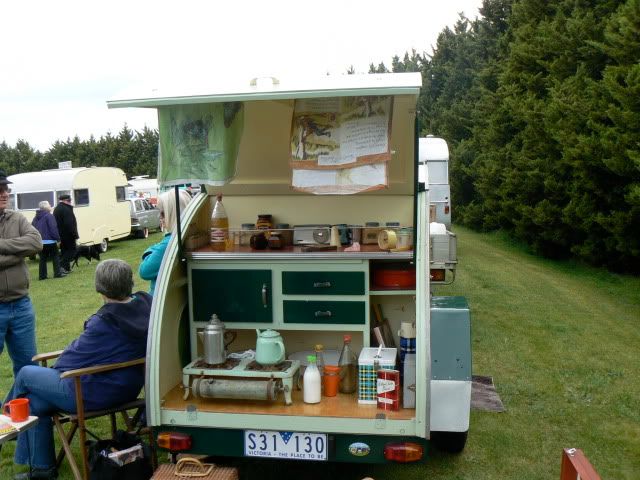
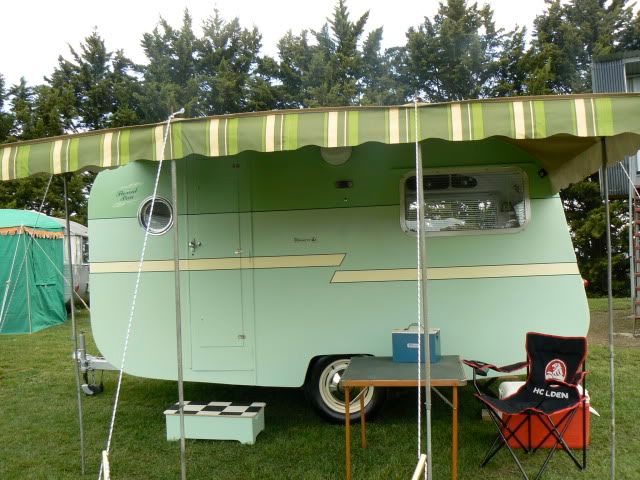
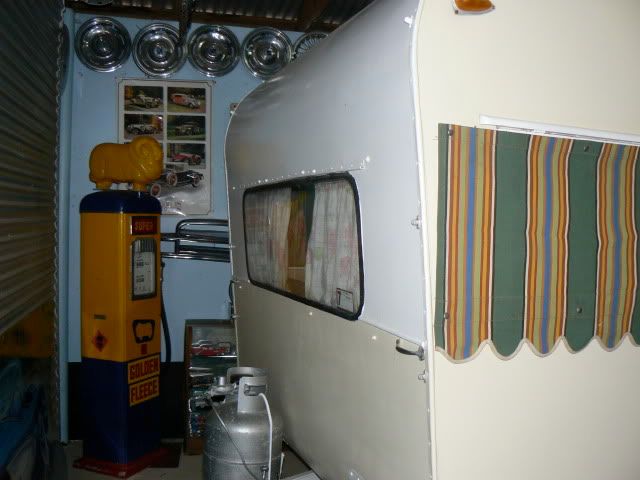
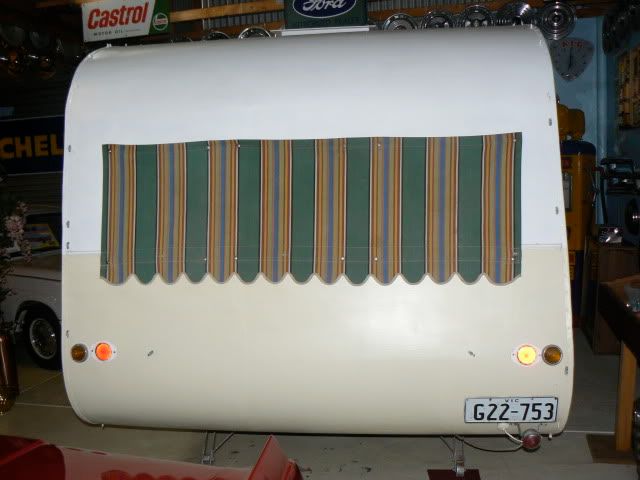
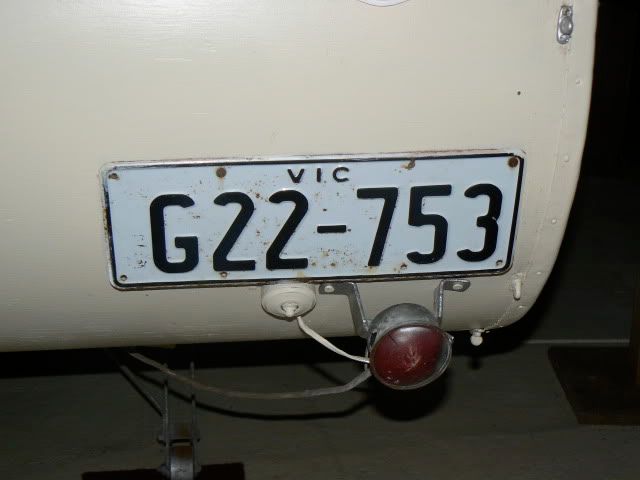
Hi Don, The following photos are of the front, rear and roof of my 1964 Globe Trotter. Hope this is of help in building your "library'' Max 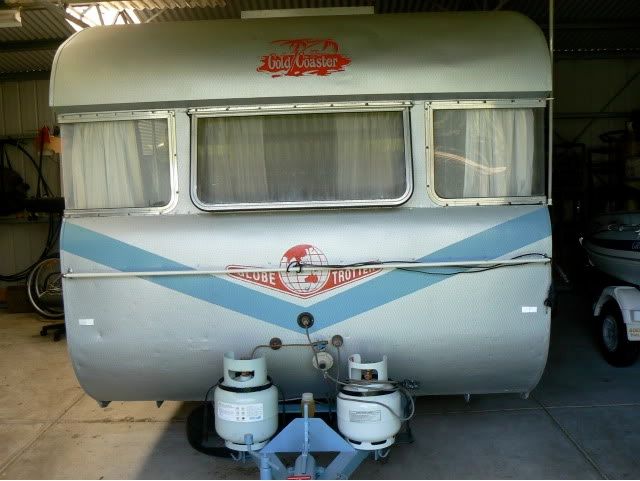  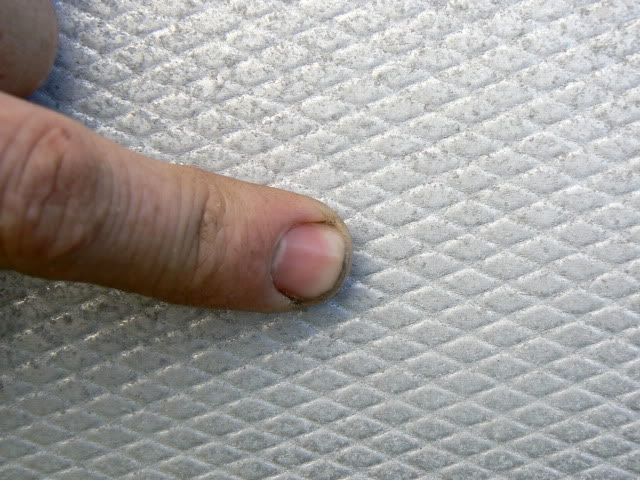 |
|
|
|
Post by winterwood on Sept 16, 2009 17:00:18 GMT 10
Thanks Cobber & Ron for your helpful input.
After phoning Vic Roads and after being transferred back and forth, I ended up in the Vic Roads, Vehicle Safety Branch.
A very helpful "Angela" said she would get back to me after doing some research, and after a little while she quoted from "Vehicle Standards Information No 9".
The bottom line here in Vic, is that regardless of build date, originality, etc etc, if is over 750 kg, then it needs brakes ... either over ride or electric.
I asked her about NSW and her answer was ... "we operate independently in Vic".
I didn't ask her what the situation would be if it had been continuously registered, but I think the answer in that case is that it would ok without brakes .... but that's another question for another day!!
Max
|
|
|
|
Post by winterwood on Sept 15, 2009 22:31:53 GMT 10
Thanks "Don",
I thought t might have been for a table as well.
Max
|
|
|
|
Post by winterwood on Sept 15, 2009 22:26:36 GMT 10
Hi all,
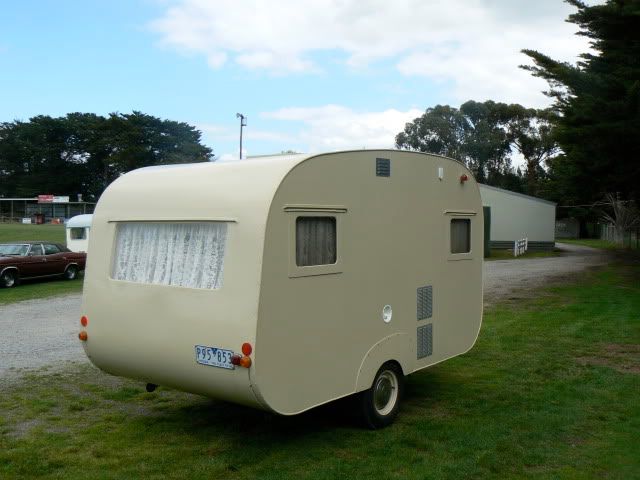
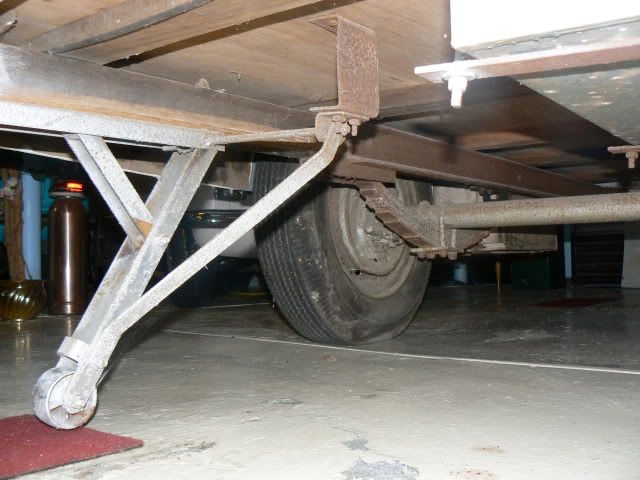
My recently acquired 1950 Bondwood, weighs in at 880 kilos, but does not have brakes.
My understanding in Vic that if a van weighs over 750 kilo, then it must have brakes. However I think I have read somewhere on this forum, that if they were not originally fitted when it was built, then they don't have to be added.
It hasn't been continuously registered, if that makes a difference.
Forgetting the safety aspect for a moment, could someone please clarify the situation for me.
With thanks
Max
|
|
|
|
Post by winterwood on Sept 15, 2009 21:56:51 GMT 10
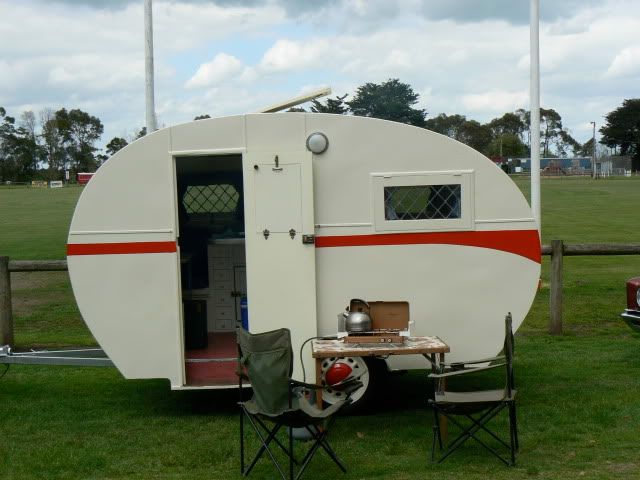
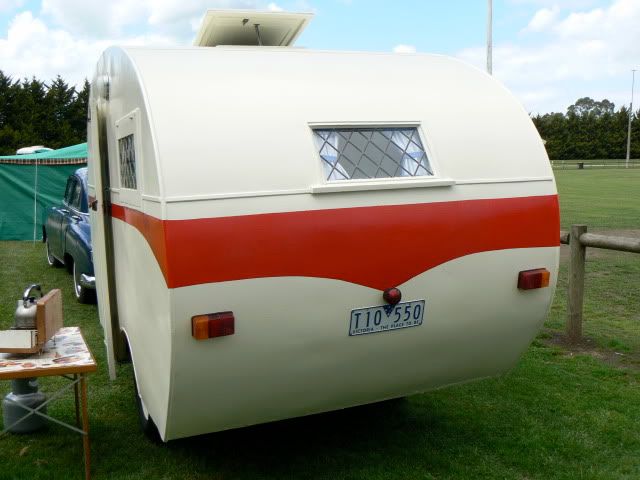
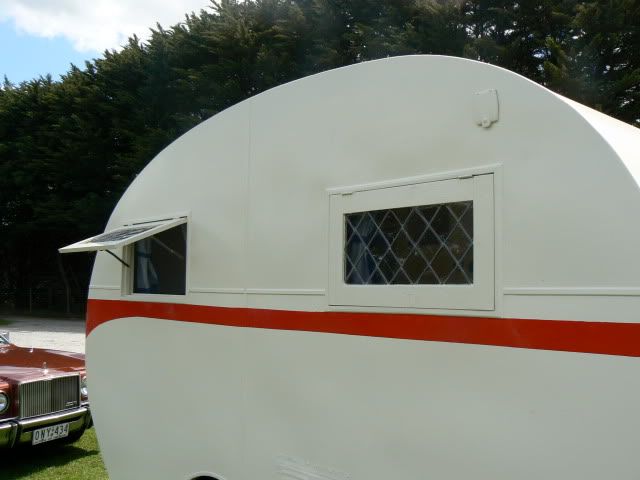
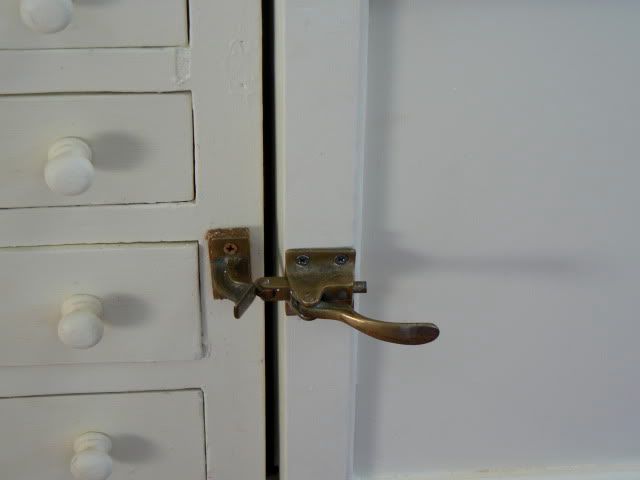
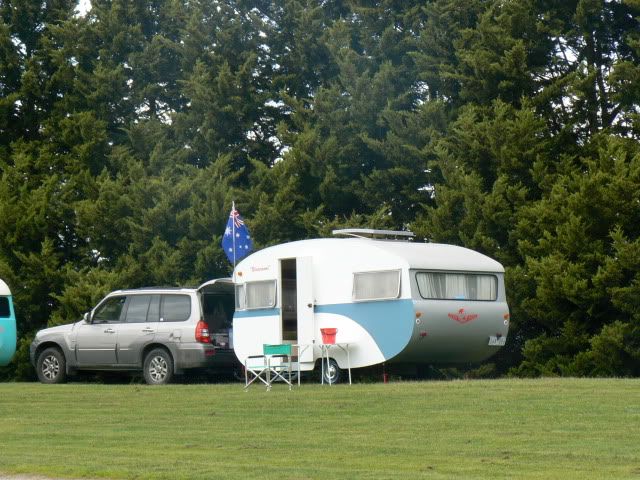
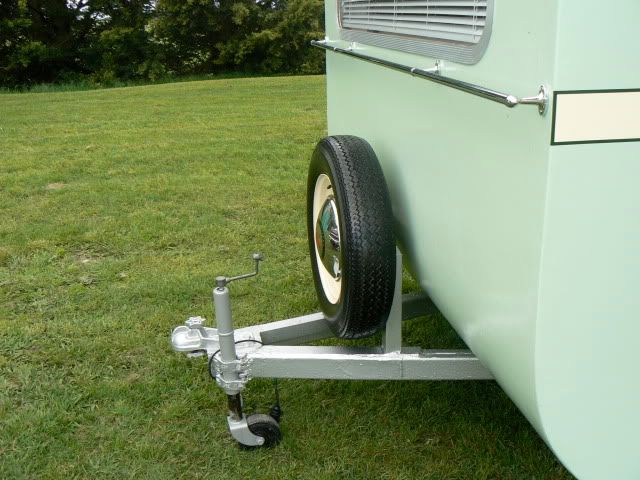
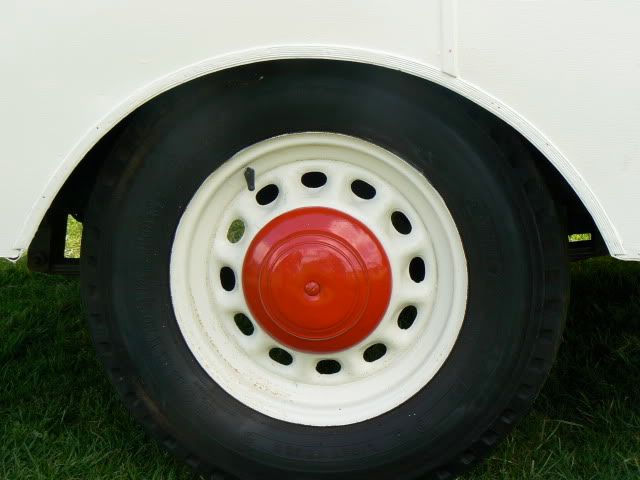
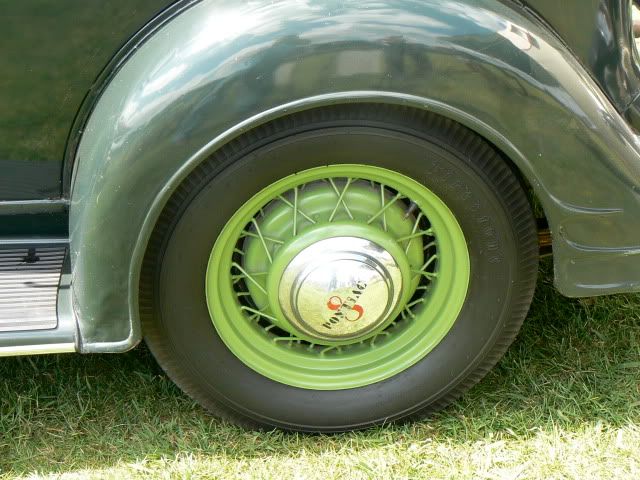
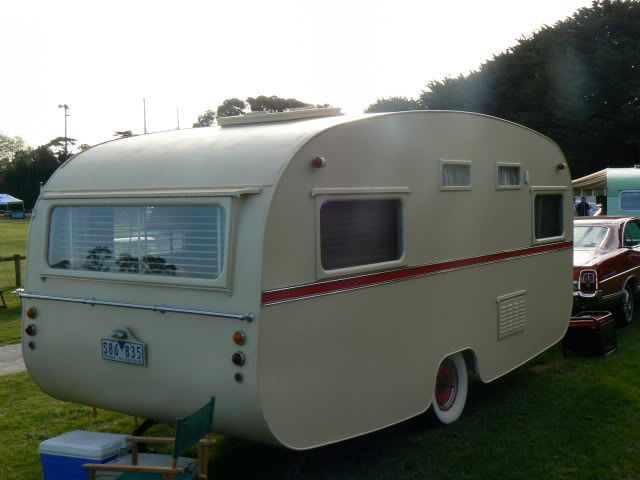
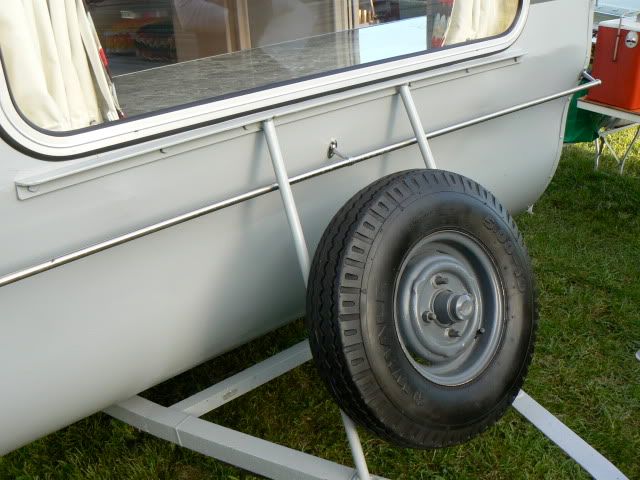
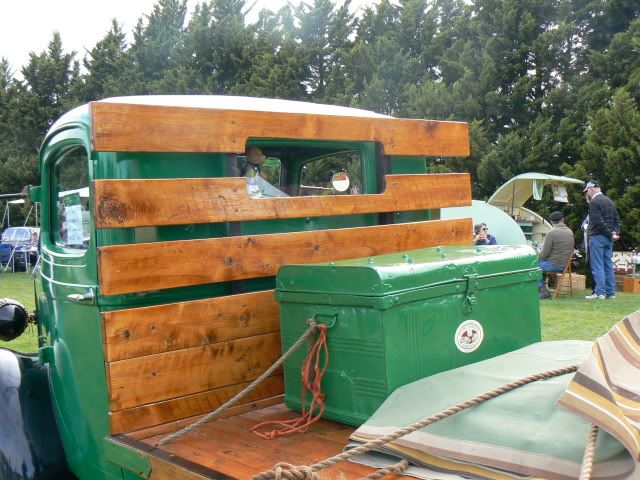
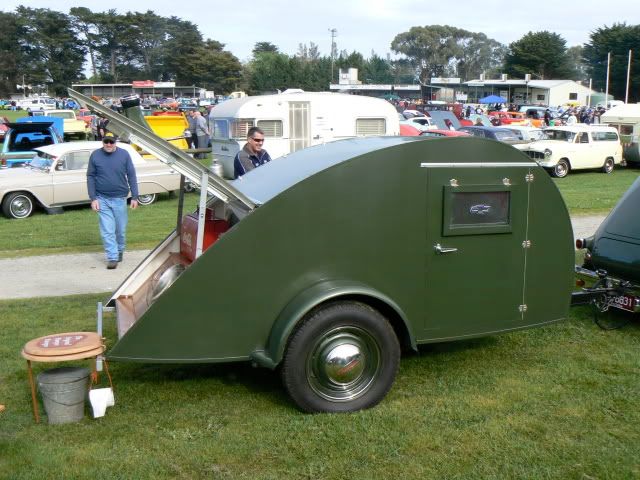
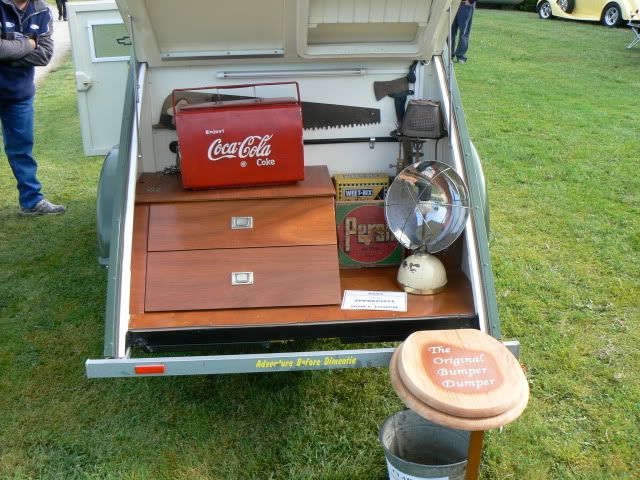
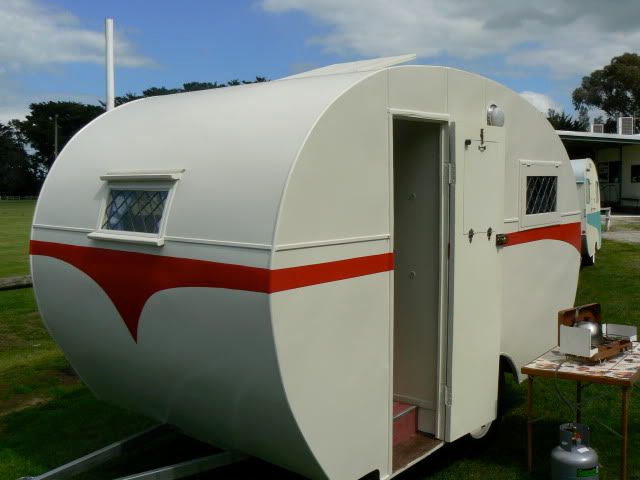
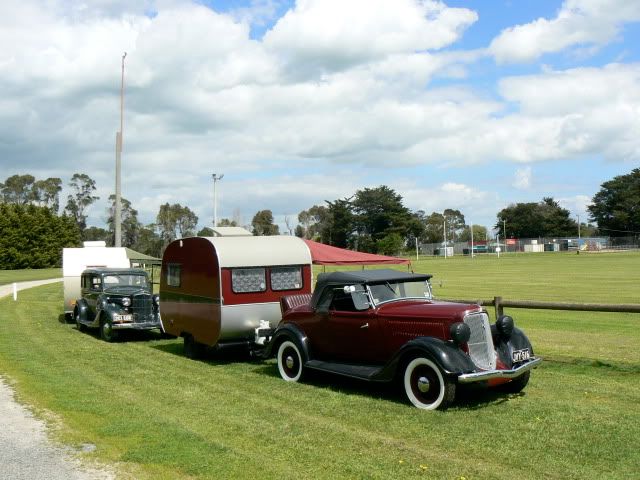
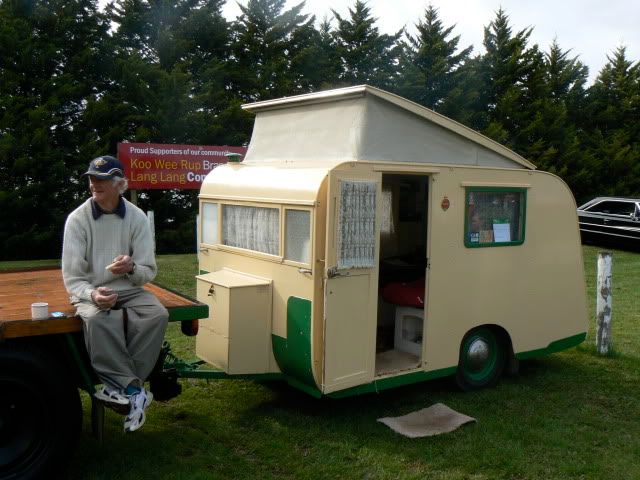
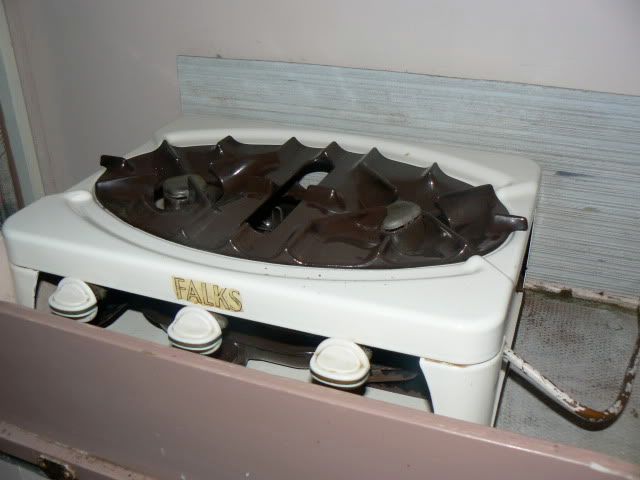
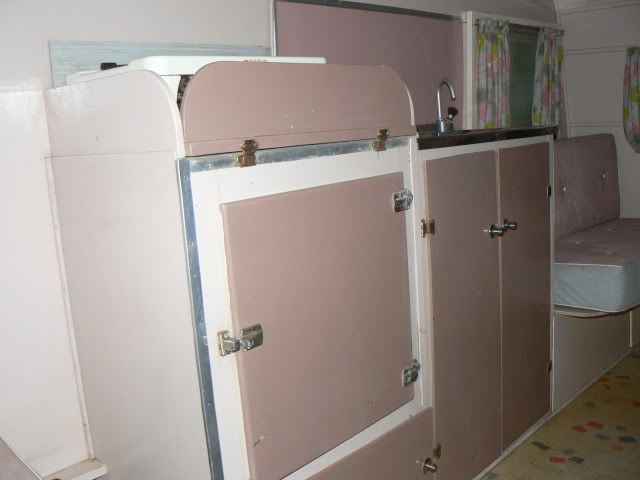
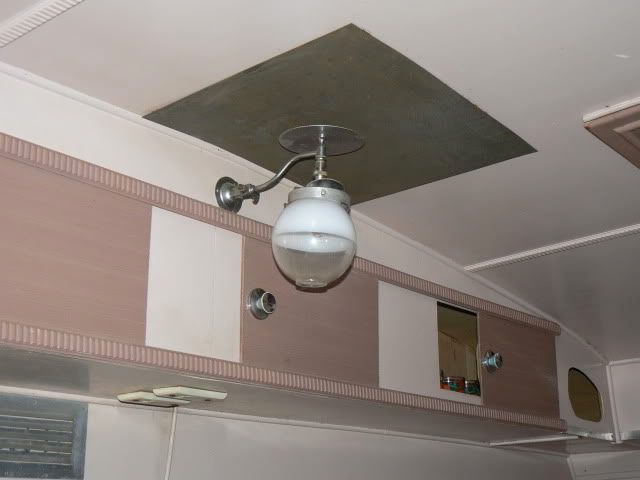
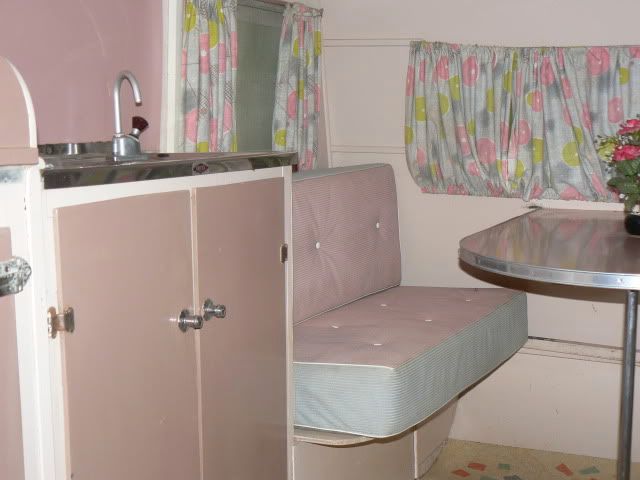
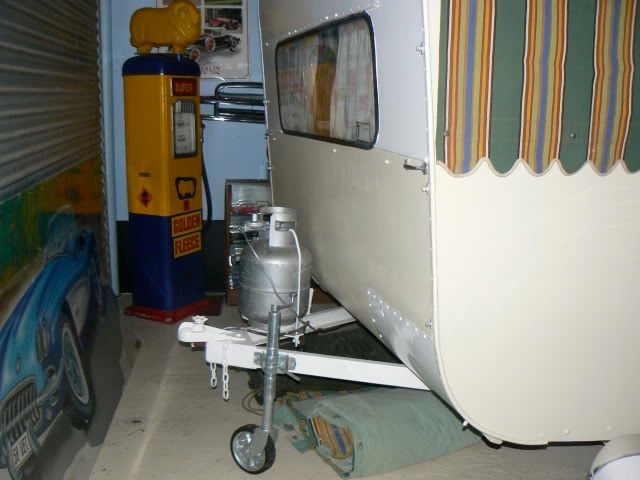
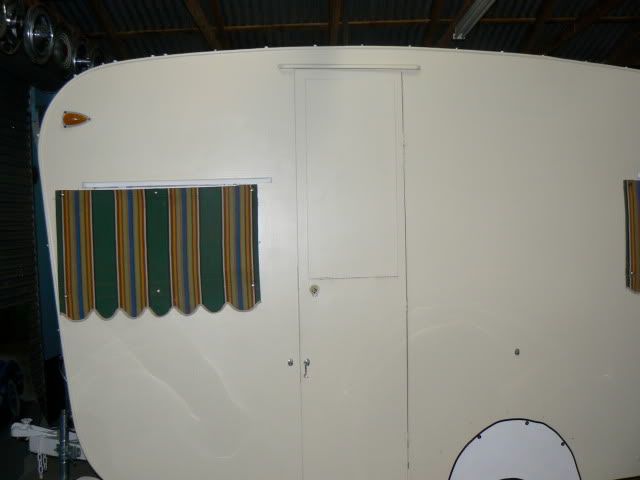
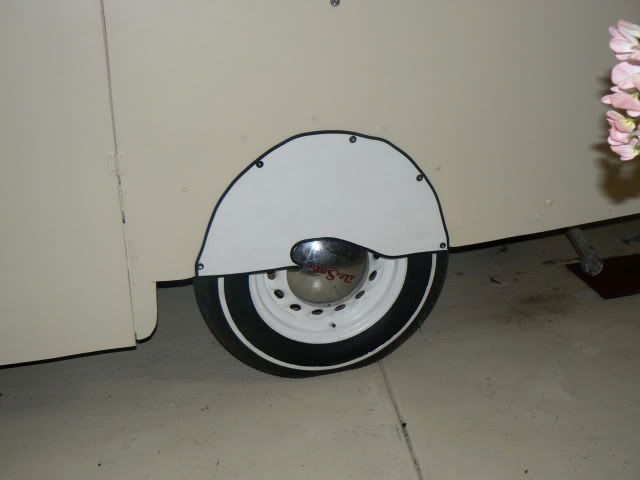
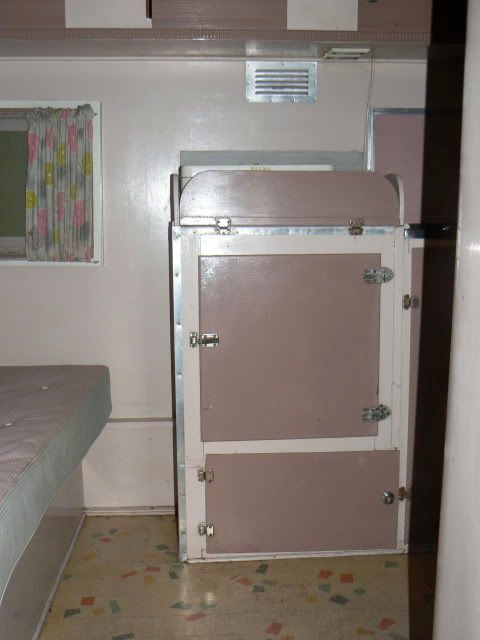
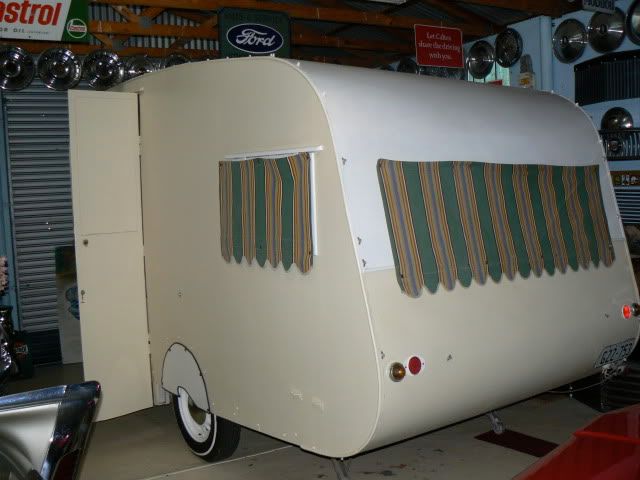
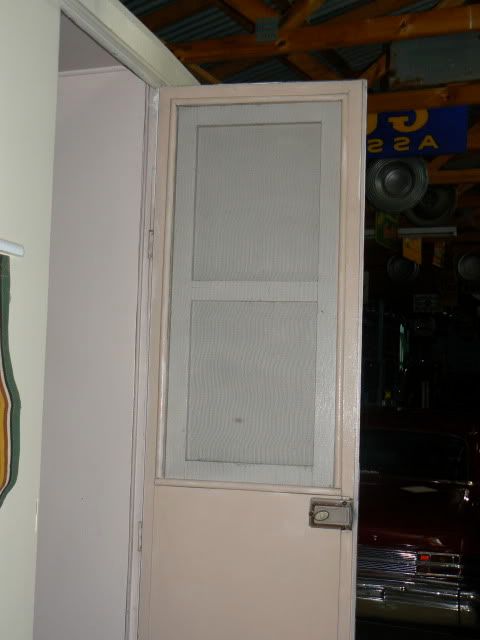
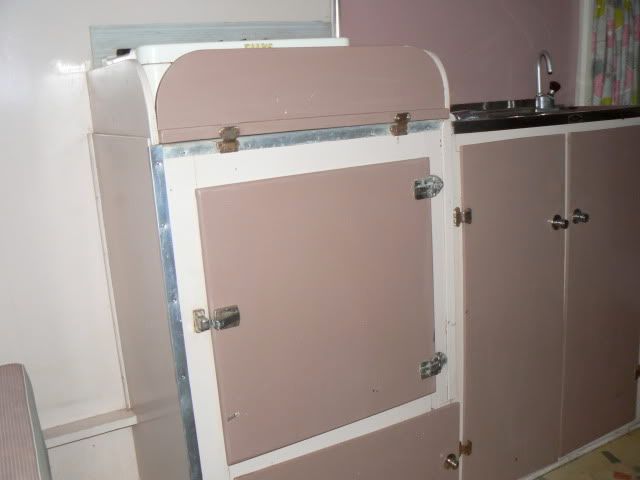
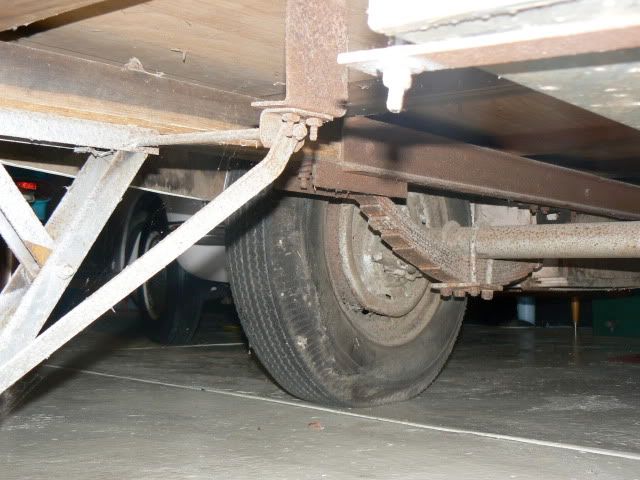
I bought "Rowan" home yesterday from Ballarat, quite an uneventful trip apart from both the De Soto hubcaps flying off in all directions within 1 klm after leaving. After a long search both sides of the highway, they were both found and placed in the boot for safe-keeping. Another small thing, if anyone is travelling between Ballarat and Queenscliff, could you please keep you eyes open for the hatch that blew off somewhere in the 120 klms! 12'6" long in the body, 7' wide. On 1 side (kerb) of the van, towards the rear, there are 2 "things" ... does anyone have any idea what they might be? Max 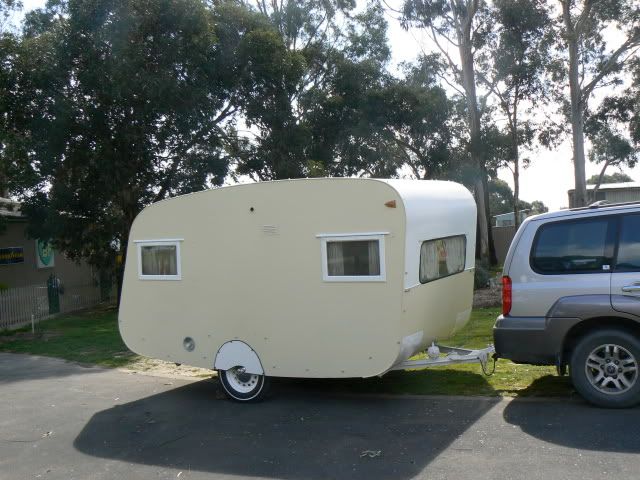 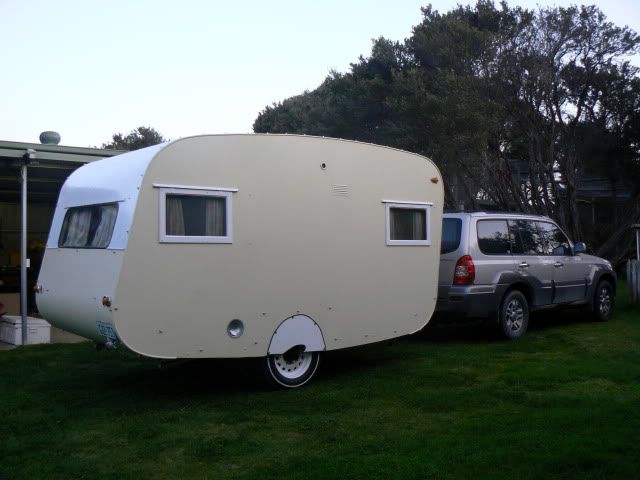 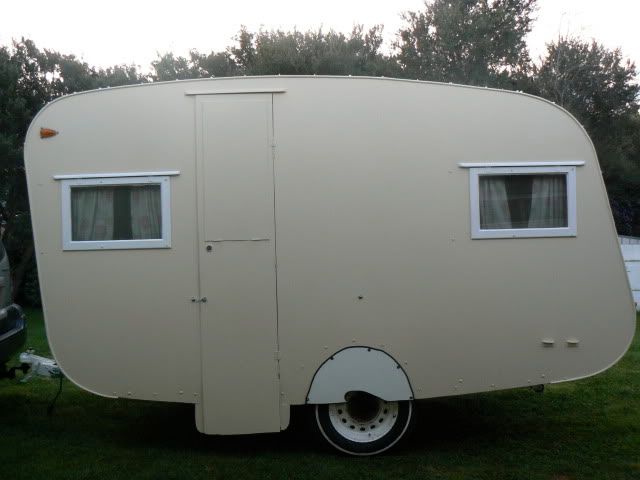 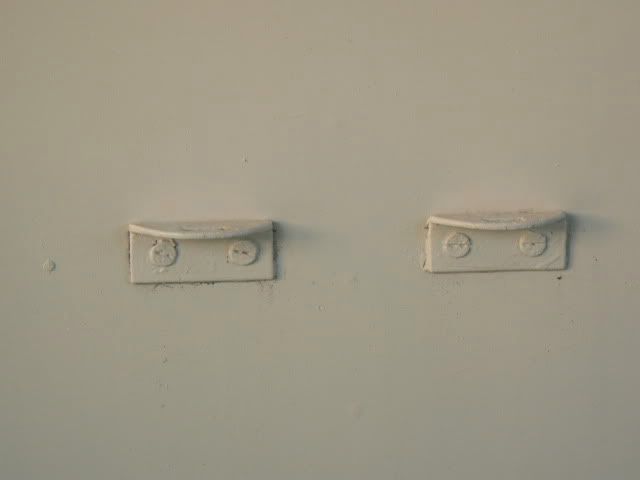 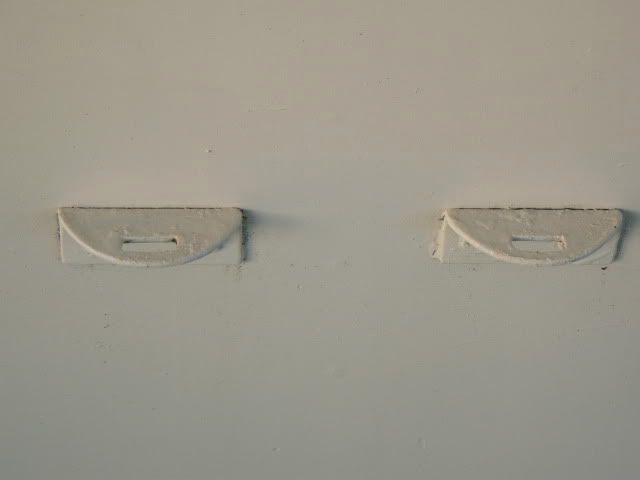 |
|
|
|
Post by winterwood on Sept 8, 2009 22:50:39 GMT 10
|
|
|
|
Post by winterwood on Sept 8, 2009 16:32:33 GMT 10
Hi Mark,
Just wanted to say, a personal "congratulations and well done", on having the initiative to develop, nurture, and administer this wonderful site since its inception, all those years ago.
This site is a great source of ideas, inspiration, assistance and humour to many, many V V enthusiasts and you should be justifiably proud of what you have achieved. We all owe you a sincere debt of gratitude!
Congratulations also to Geoff (Fire fighter) for taking over the reins.
Max
|
|
|
|
Post by winterwood on Sept 8, 2009 15:32:31 GMT 10
Hi all,
Just wanted to say thanks to everyone who responded so positively on this web site and/or via a PM.
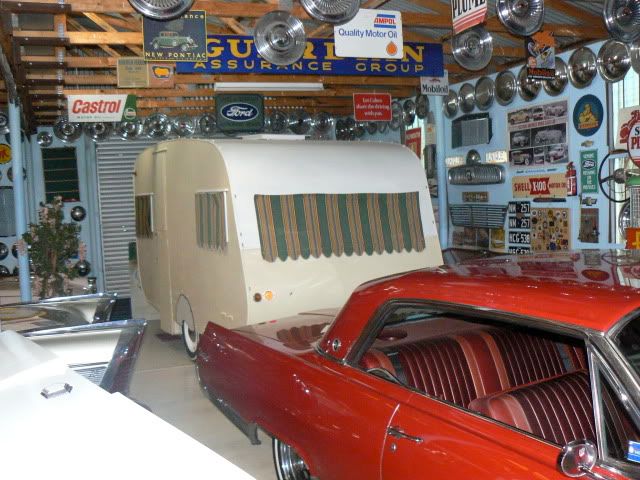
I may end up calling it Rowan, because I obtained it from Mount Rowan (approx 10 klms North of Ballarat).
F/F, the 1st time I saw this van was last week when I purchased it on the spot ... so I haven't put any photos of the previous owners shed on this web site. The previous owner has a wonderful collection of fully restored old cars and when I pick the van up (hopefully this weekend) I'll ask if I can take some photos and will post them accordingly.
Max
|
|
|
|
Post by winterwood on Sept 2, 2009 16:58:03 GMT 10
|
|
|
|
Post by winterwood on Aug 27, 2009 9:49:15 GMT 10
Great idea Leigh ... it could be good for people to have a "before/after" viewing. Unfortunately I couldn't do the "after" part of the equation.
Max .... (Anon former owner).
|
|
|
|
Post by winterwood on Aug 27, 2009 9:42:23 GMT 10
Also spoke to Dennis today and booked in the Globe Trotter for Sat/Sunday.
Max
|
|
|
|
Post by winterwood on Aug 21, 2009 22:22:50 GMT 10
2 for me please Mark
Max
|
|
|
|
Post by winterwood on Aug 19, 2009 16:42:17 GMT 10
|
|
|
|
Post by winterwood on Aug 19, 2009 14:39:03 GMT 10
|
|
|
|
Post by winterwood on Aug 19, 2009 13:22:15 GMT 10
Ooops, forgot to mention the caravan was a 1954 Carapark. I have more photos of other cars if anyone is interested.
Max
|
|
|
|
Post by winterwood on Aug 19, 2009 13:15:33 GMT 10
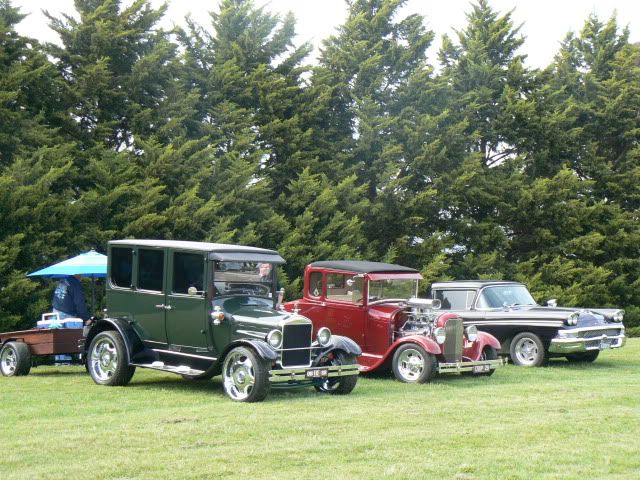
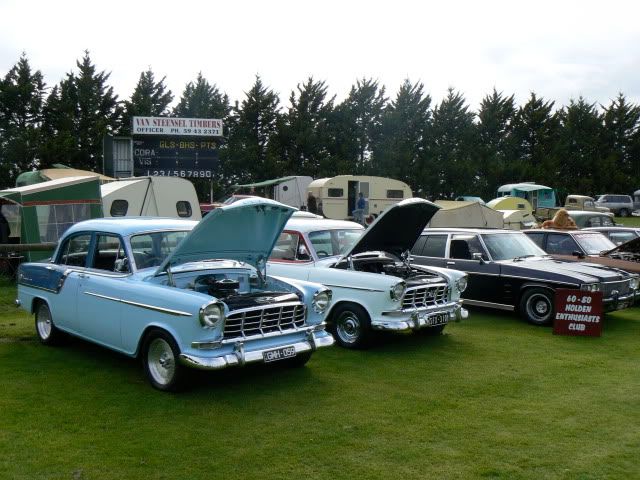
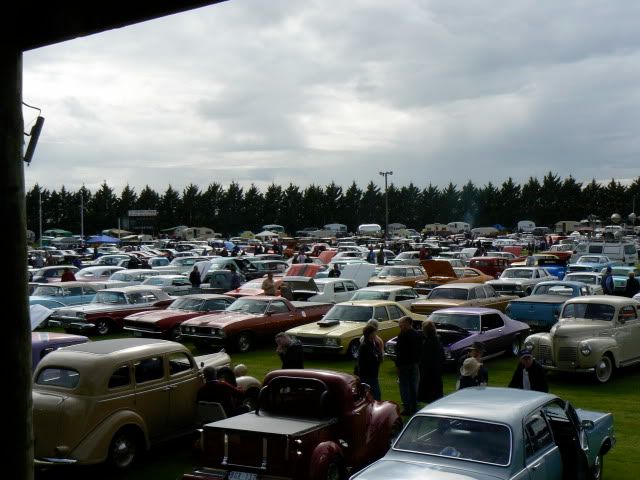
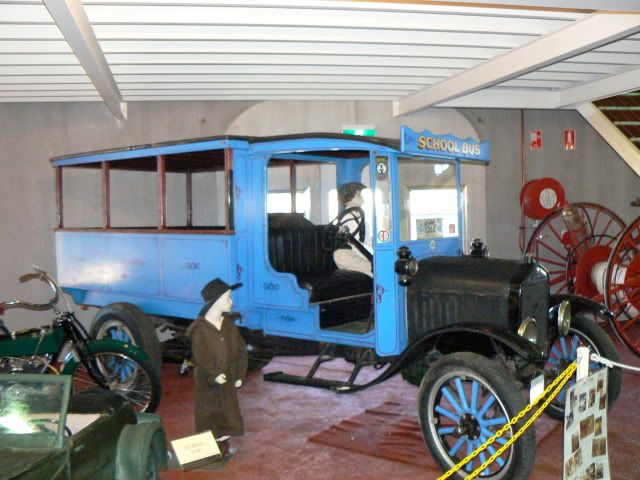
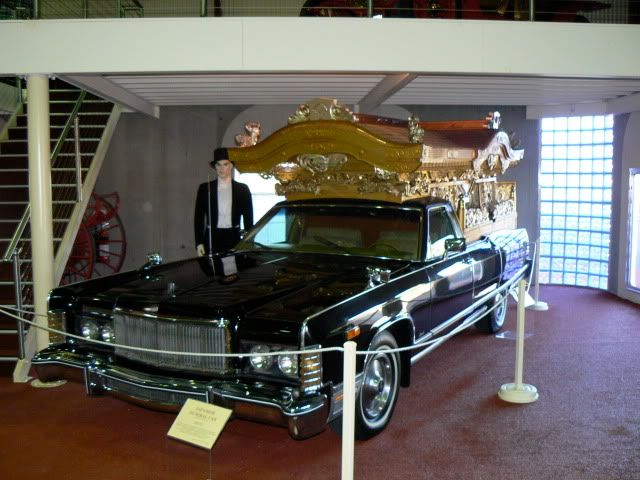
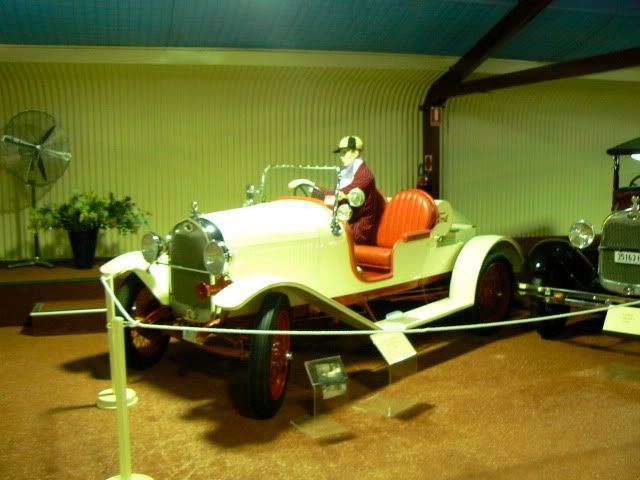
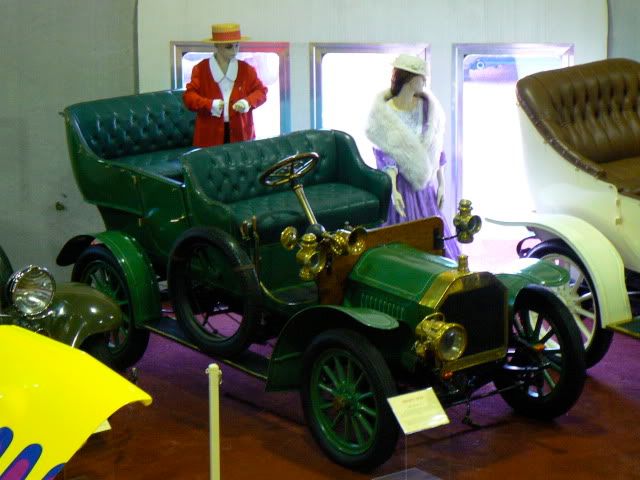
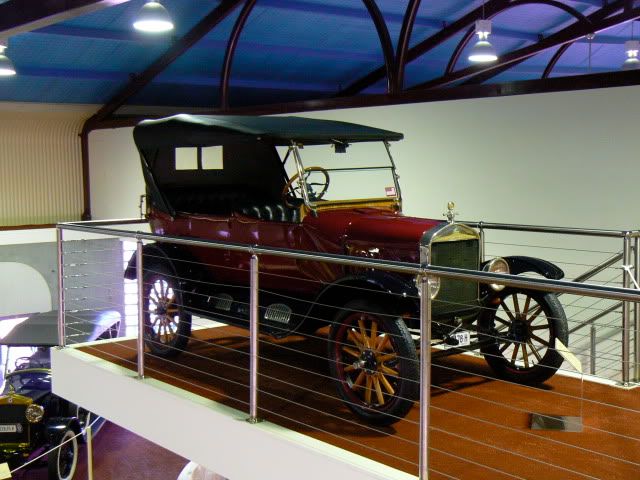
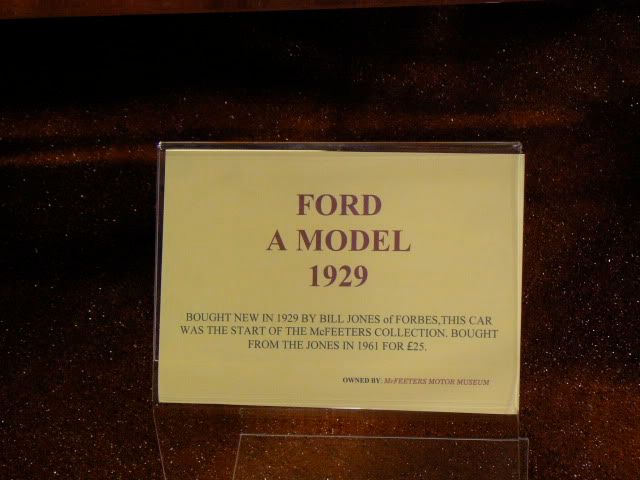
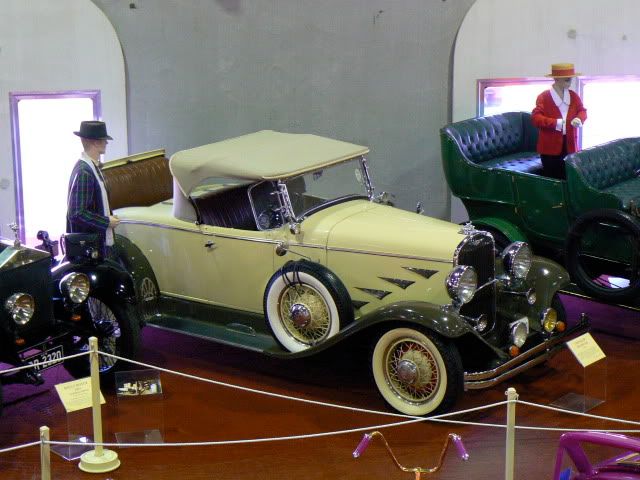
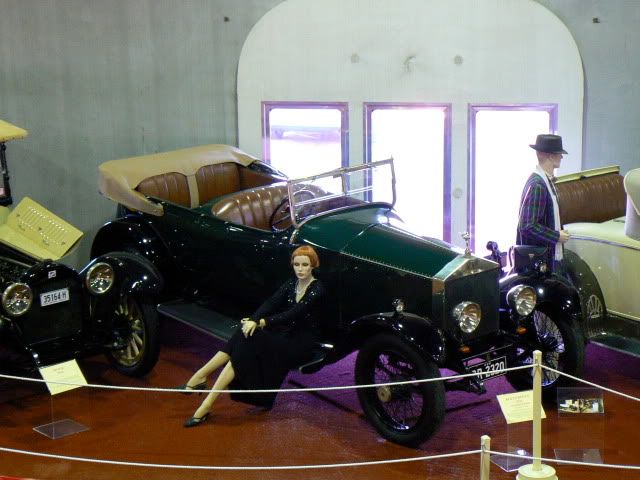
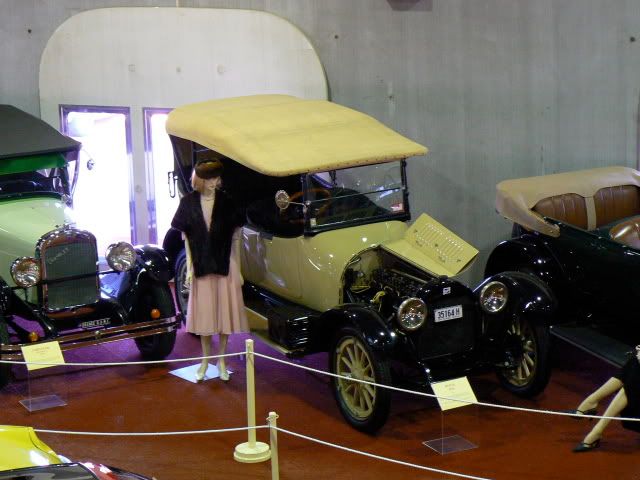
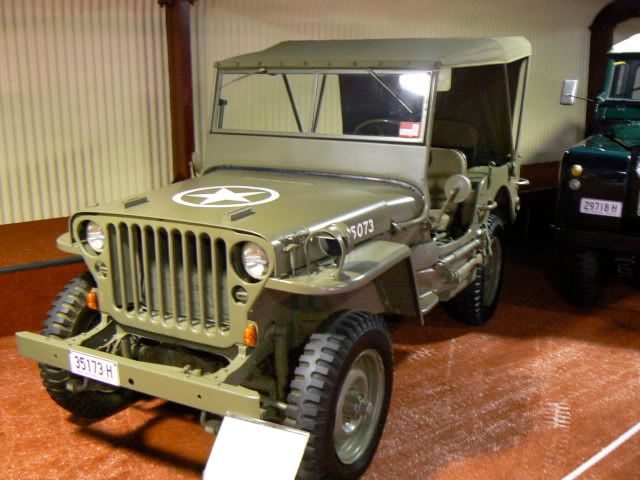
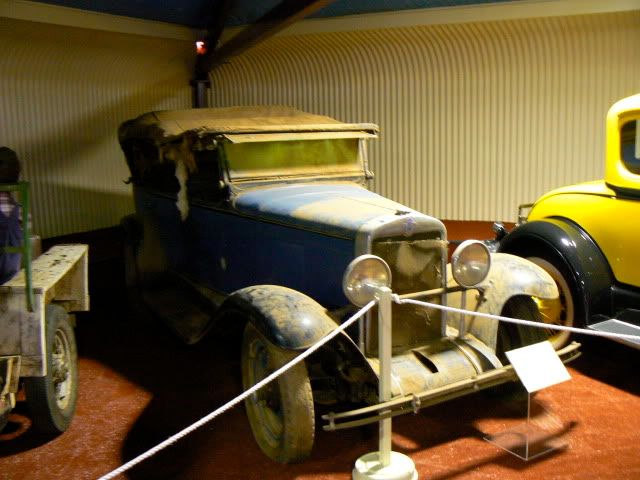
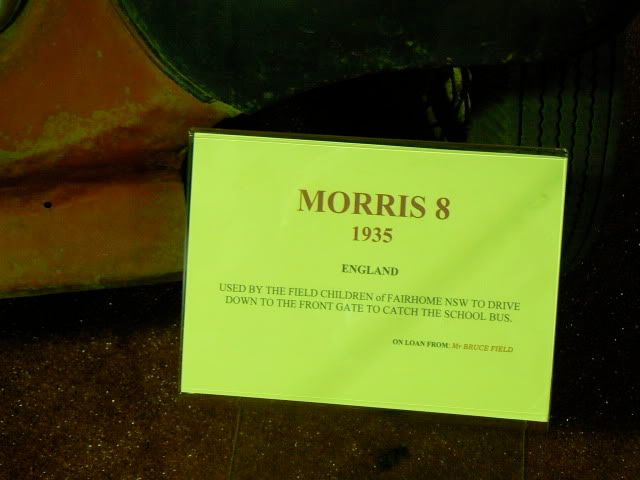
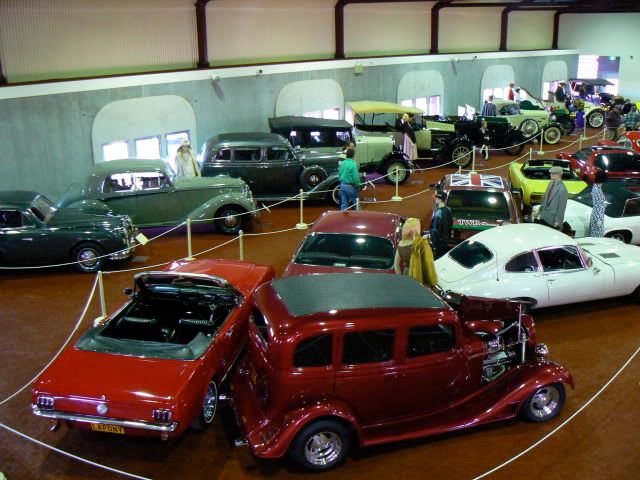
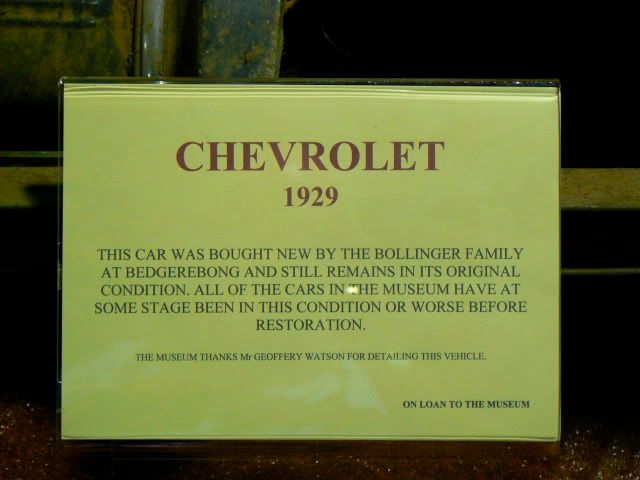
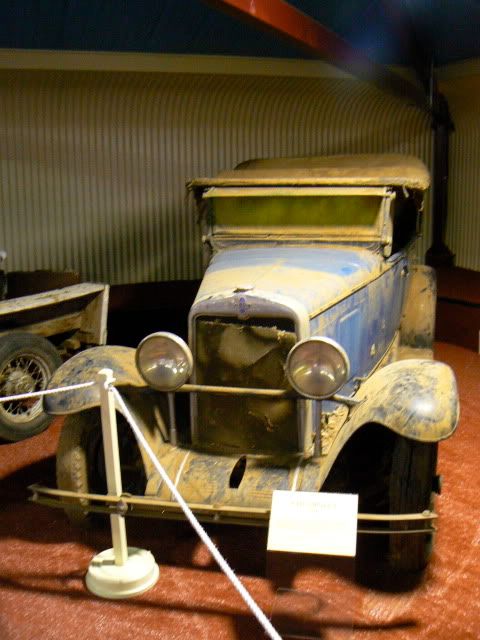
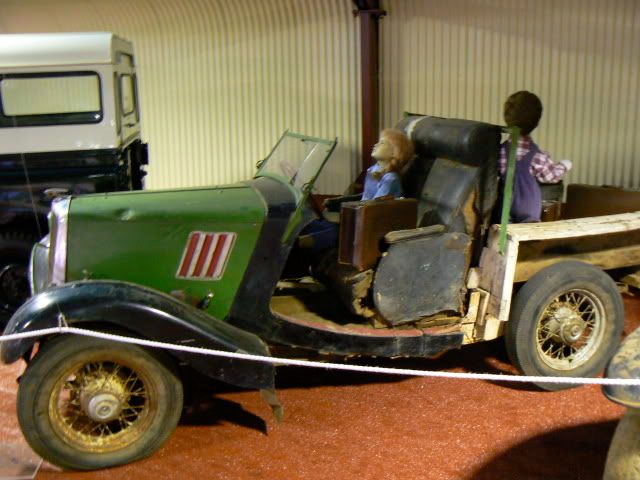
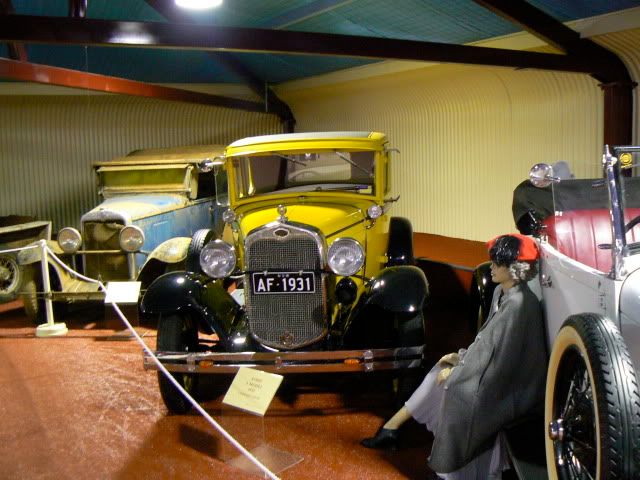
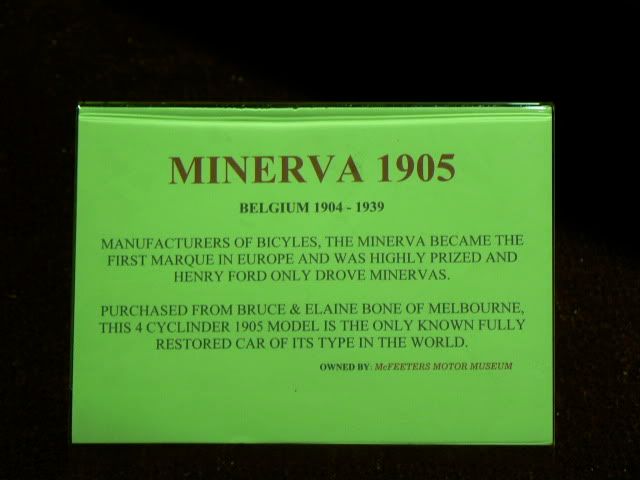
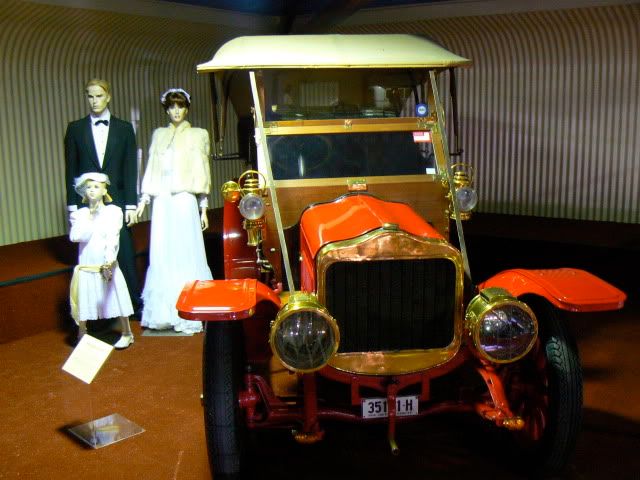
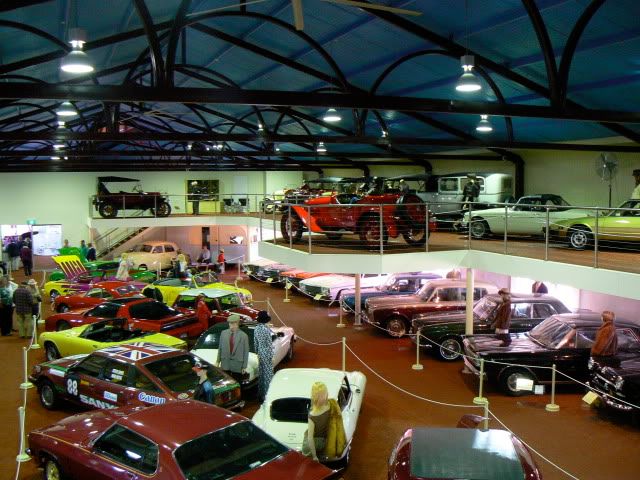
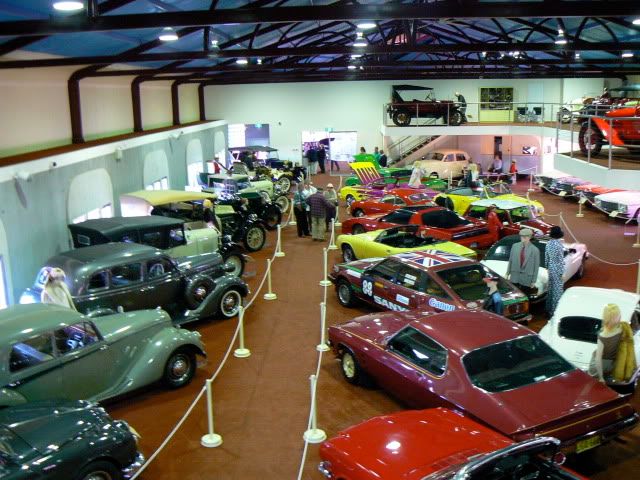
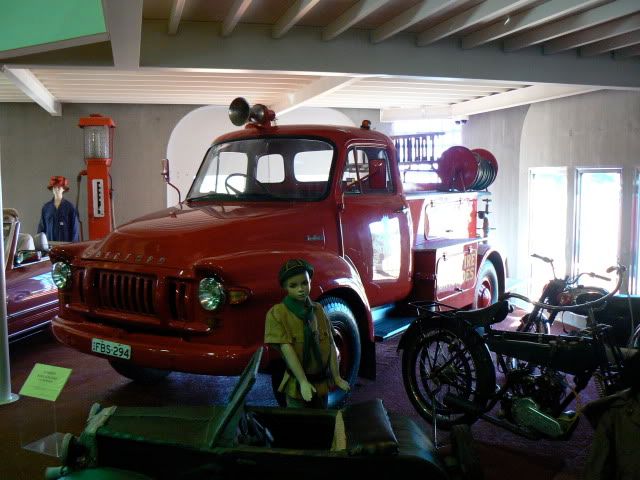
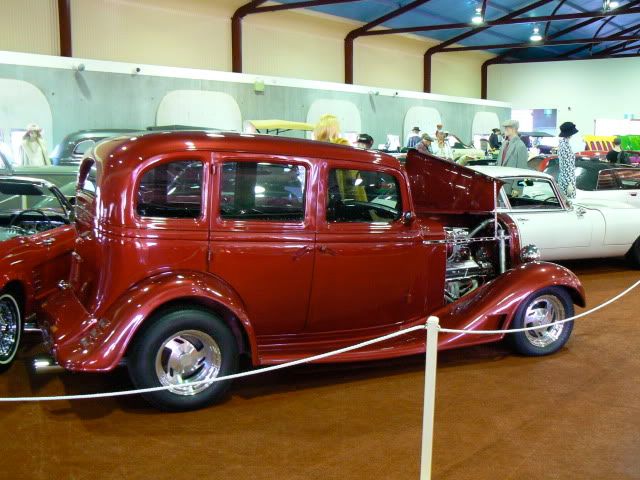
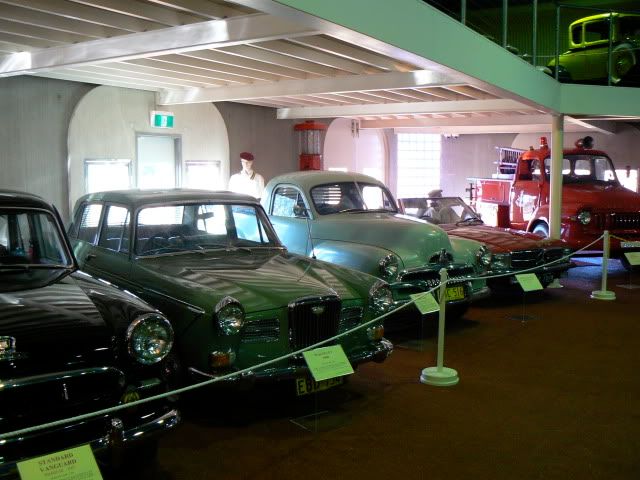
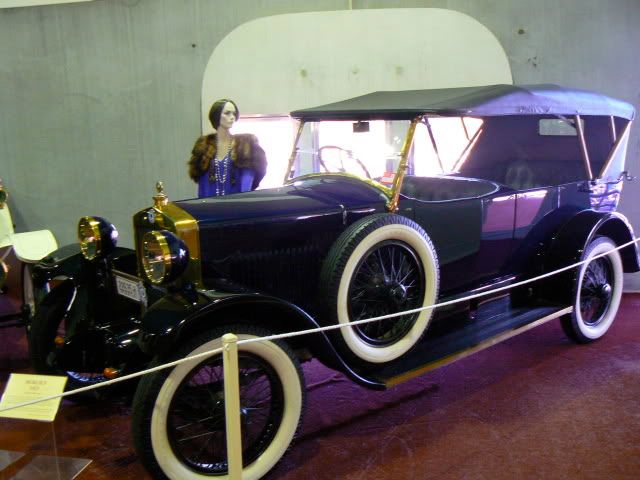
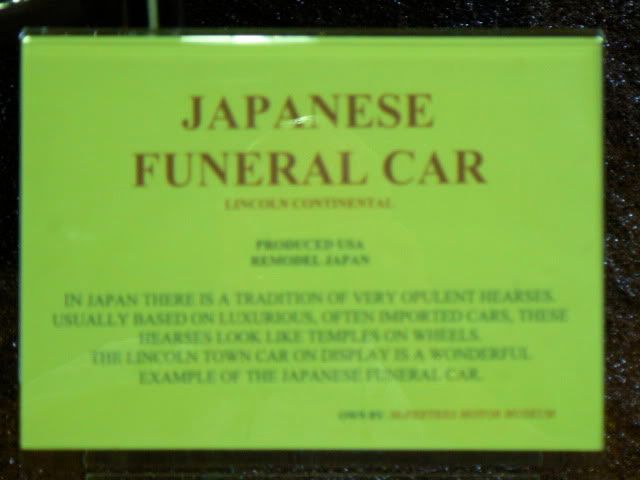
Jan & I have just returned from a 6200 klm trip from Melbourne inland to Prosperine ... no, not in the Globe Trotter, but in the Jayco. Yes I know what you are thinking, but it had a fair bit to do with the "comforts of life", said Jan! On the way back, we stayed at Forbes and spent a number of hours at the Museum which only opened in January this year. A wonderful collection of old cars and 1 vintage van. Max 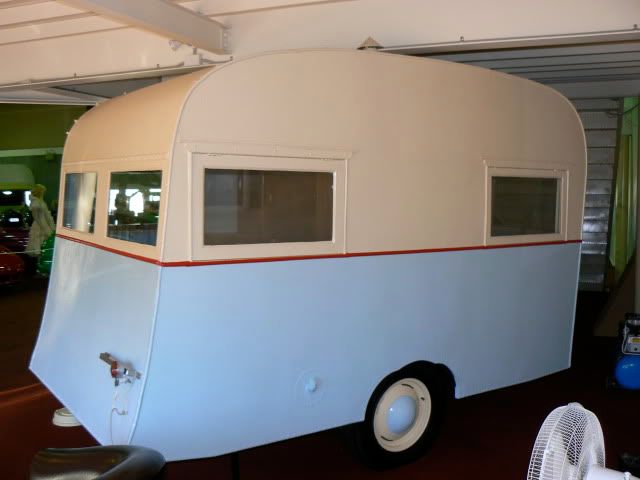 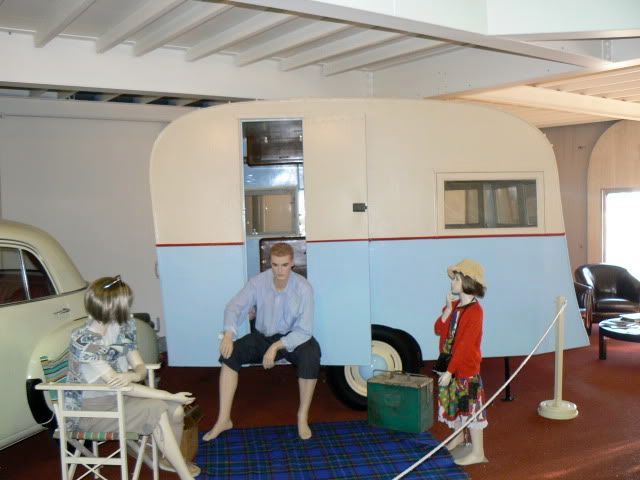    |
|
|
|
Post by winterwood on Jun 16, 2009 9:32:53 GMT 10
|
|
|
|
Post by winterwood on May 27, 2009 17:25:50 GMT 10
Hi Kaz & Adam,
What a fabulous renovation job, you should feel very proud of your workmanship!
Max
|
|
|
|
Post by winterwood on May 26, 2009 8:43:25 GMT 10
Hi Geoff & Jude,
Unfortunately due to prior family commitments, Jan & I will be unable to attend Coledale this year.
Have lots of fun and take plenty of photos.
Max
|
|
|
|
Post by winterwood on May 20, 2009 19:09:42 GMT 10
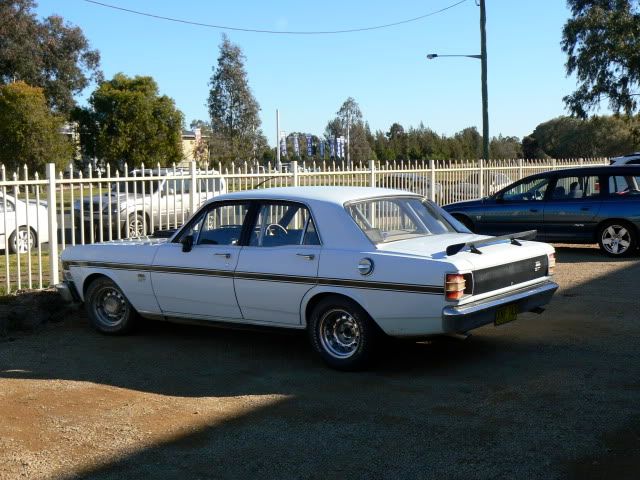
Saw this beautifully presented Holden a few weeks back at Sorrento on the Mornington Peninsula. I don't know my Holdens, however I think it might be an FB or EK? Also not sure of the year, but it did look 100% Max     |
|
|
|
Post by winterwood on May 14, 2009 8:15:52 GMT 10
Hi all,
JBJ, thanks for your prompt advice that it's a 1934 Tourer.
Reddo, I loved your story, of just what a small world it is! Thank you also for the great tip in using Pajero wheelcovers for my TD Mudguards.
I never cease to be amazed of all the help that is so freely given by all, to all, on this forum.
Max
|
|