|
|
Post by DC3Td on Apr 16, 2015 21:05:41 GMT 10
Interesting point you brought up Pete re the escutcheon pin - was this method used by other brand makers? Can`t recall any one mentioning this either. gordon
|
|
|
|
Post by Observatory on Apr 17, 2015 9:49:57 GMT 10
Hi Gordon, sorry no knowledge of other branded vans. But because my rear window had already dry rotted, with no signs of escutcheon pins attaching the cladding to it; I only just became aware of the way the front lower cladding is pinned into the window frame. Anyways, back to deciphering this puzzle. Pete P.S. On another subject.. Written in red texta located under the alum. flashing, on the front vertical support of the wrap around window frame is the model number D 919 UPDATE: and D 919 on the opposite wrap frame as well. (no date  ...yet) 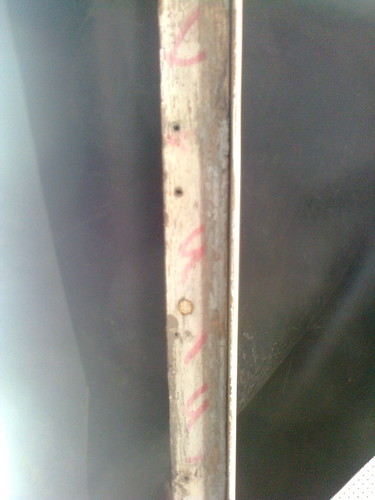 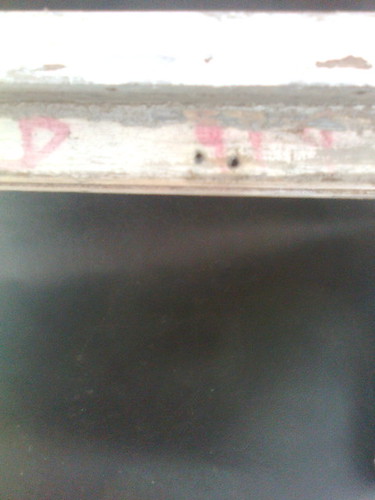 |
|
|
|
Post by Observatory on Apr 17, 2015 12:42:28 GMT 10
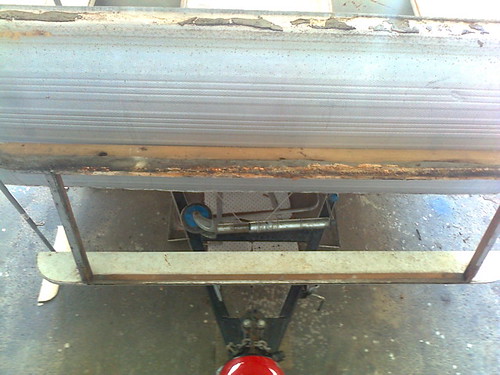
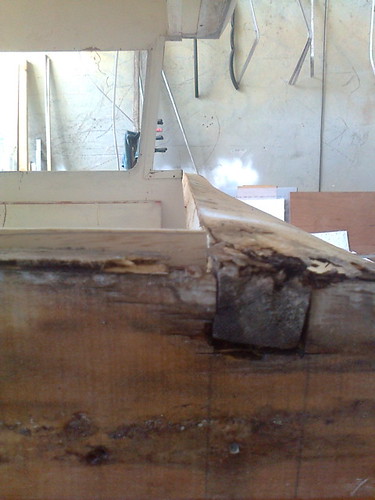
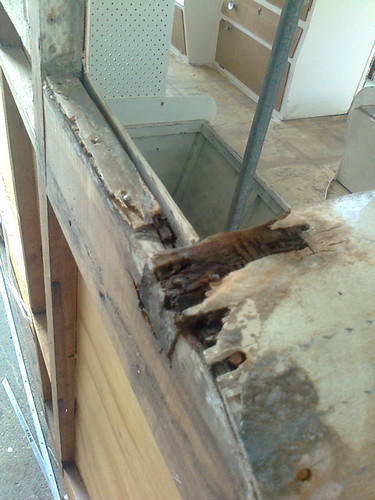
Front window frame is out: - virtually fell out once the screws were removed due to old dry sealant... also clear to see the dried up grey d-mastic sealant still on the lower cladding (looks like it was put on with a caulk gun)
- Can see how the 3ply sheet has pulled the wooden shelf beam up and out. i.e. it's bent!
  |
|
|
|
Post by Observatory on Apr 20, 2015 10:28:54 GMT 10
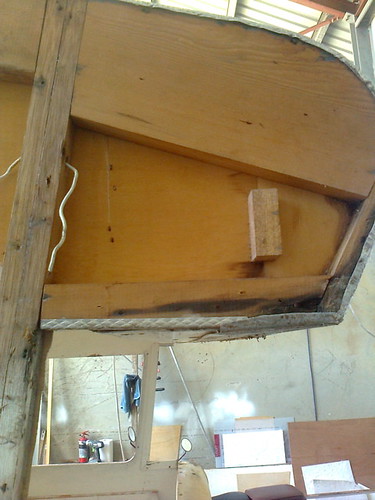
Some design notes: - Notice the 3ply shim (with 3 pins) that sits under the wrap around window; to make it level with the 3ply bendy front panel.
- Some frame work to be replaced.
  |
|
|
|
Post by Observatory on Apr 21, 2015 12:14:54 GMT 10
|
|
|
|
Post by DC3Td on May 4, 2015 20:42:51 GMT 10
Gday Pete.You do realise by showing your expertise on polishing ali (amongst other attributes) that you could be called upon now to put your magic touch to work on other vin vanners vans.
|
|
|
|
Post by Observatory on May 5, 2015 10:43:44 GMT 10
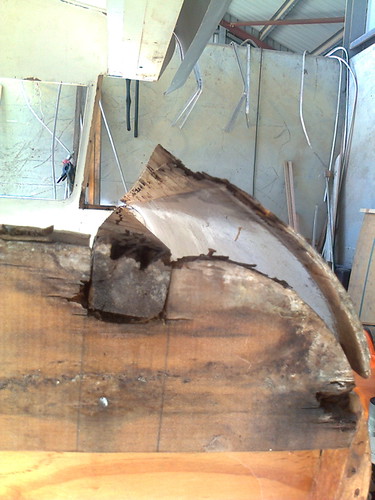
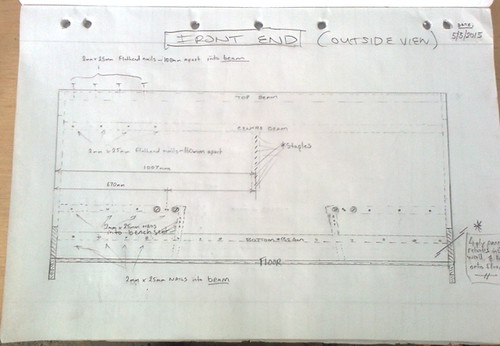
Hi Gordon, since this is a monogamous affair with the Observatory; other VV's may be sadly disappointed.  .... I only shine for my love.  Pete PS. If I'm anything close to an expert, (not yet) then I learnt it all from you and this forum  ...more deconstructing & diagramming the front: - showing how the 4mm structural ply wants to spring up; which put the shelf out of whack (bendy ply has arrived to replace it).
- old shelf beam becomes the studs for the new front window frame.
- more diagramming (front end - outside view)
   |
|
|
|
Post by Observatory on May 6, 2015 14:33:58 GMT 10
|
|
|
|
Post by DC3Td on May 6, 2015 17:48:47 GMT 10
Given the incentive i would have thought he`d do it quicker!
|
|
|
|
Post by Observatory on May 8, 2015 15:11:25 GMT 10
|
|
Deleted
Deleted Member
Posts: 0
|
Post by Deleted on May 8, 2015 17:25:39 GMT 10
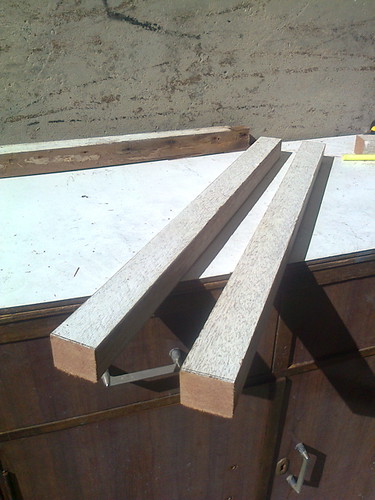
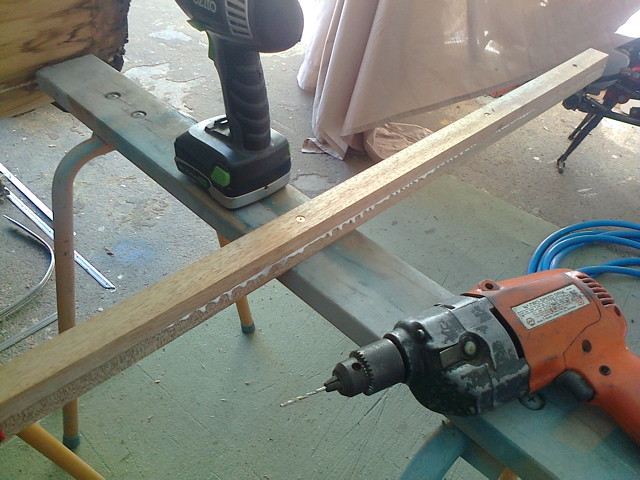
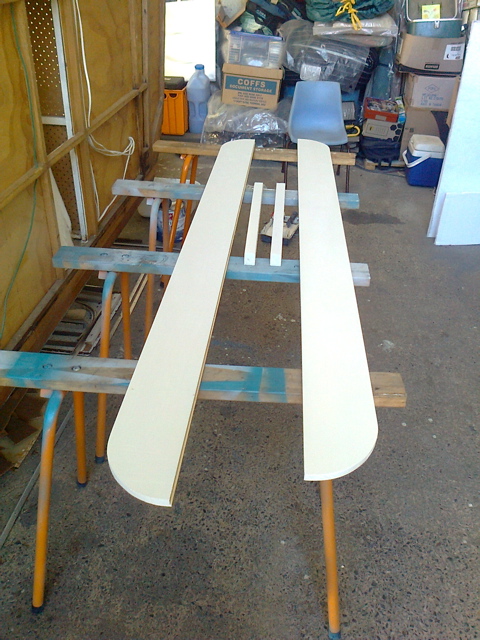
![]() Making window shelf support beam and painting: - Two 18mmX30mm meranti beams glued and screwed to make new shelf support
- Some exterior paint to seal the grain, on the window frame bits
  |
|
|
|
Post by Observatory on May 11, 2015 14:50:57 GMT 10
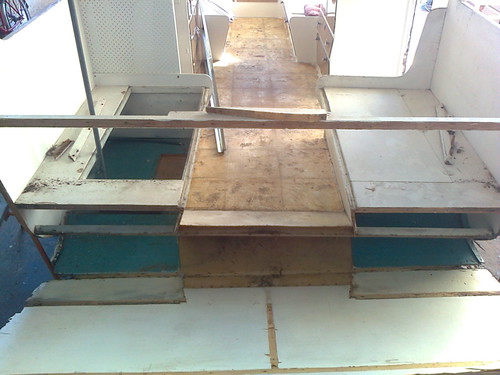
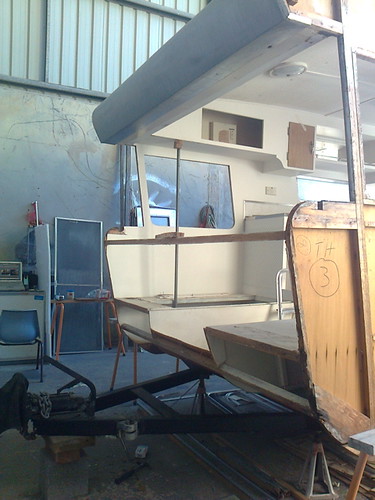
Front panel is off: - pulling out lots of nails and staples to release the panel
- she's off!
  |
|
|
|
Post by DC3Td on May 11, 2015 17:14:34 GMT 10
What every caravan should have - flow through ventilation! Looks like an easier plan of refurb to work with Pete.
|
|
|
|
Post by Observatory on May 12, 2015 11:30:32 GMT 10
|
|
|
|
Post by DC3Td on May 12, 2015 16:06:57 GMT 10
Diggin` for gold & all you found was wood rot.Bugger.See you got ventilated shoes too Pete!
|
|
|
|
Post by Observatory on May 15, 2015 14:45:26 GMT 10
|
|
|
|
Post by Observatory on May 18, 2015 14:00:33 GMT 10
|
|
|
|
Post by Observatory on May 20, 2015 16:04:25 GMT 10
|
|
|
|
Post by Observatory on May 22, 2015 15:45:00 GMT 10
|
|
|
|
Post by Observatory on May 28, 2015 15:25:23 GMT 10
|
|
|
|
Post by Observatory on Jun 1, 2015 16:26:04 GMT 10
|
|
|
|
Post by Observatory on Jun 4, 2015 15:49:52 GMT 10
|
|
|
|
Post by DC3Td on Jun 4, 2015 21:25:51 GMT 10
Really great progress & attention Pete.As a matter of interest,how far out was the door fitment? gordon
|
|
|
|
Post by Observatory on Jun 5, 2015 15:12:12 GMT 10
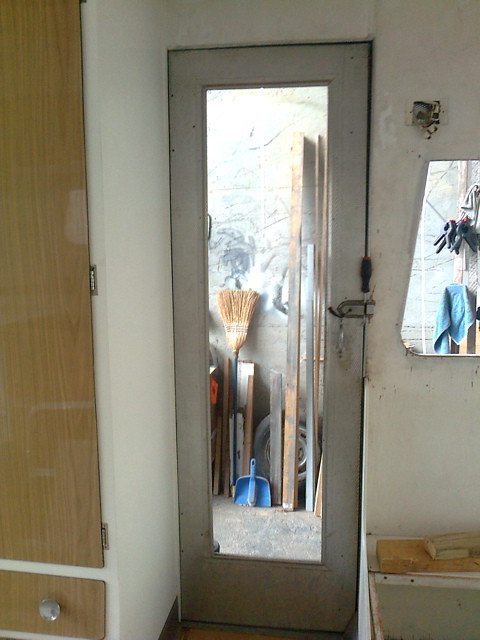
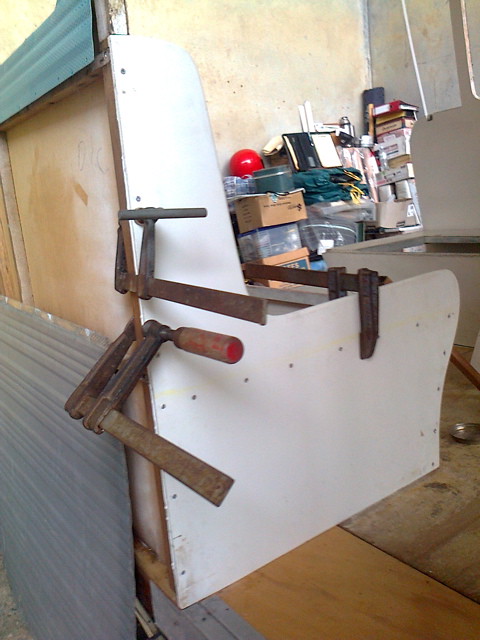
Hi Gordon, the door jam at the bottom was about 3mm - 4mm too skinny (see the 3rd photo above - there's a faint pencil line on the bench seat panel; marking the amount to remove off the stud). Had to move the position of the stud/bench seat back a little - the single anchoring screw being a good foresight. Pete Doors are tricky! - starting to get a nice fit around the door jam - (one trick was to use the door jam - ali trim, to get all the original dimensions... a bit like a picture frame where the door is the picture)
EDIT: 11/6/15 Bench seat panel in: - glued/screwed/clamped (originally stapled with 3/4 inch staples but opted for screws because that's what I had).
  |
|
|
|
Post by Observatory on Jun 12, 2015 14:50:05 GMT 10
|
|