|
|
Post by DC3Td on Jun 12, 2015 18:10:07 GMT 10
Bet you`re going to put some support structure in place for the cabinets now eh.
|
|
|
|
Post by Observatory on Jun 15, 2015 16:18:10 GMT 10
|
|
|
|
Post by DC3Td on Jun 15, 2015 17:21:28 GMT 10
Yep. That ain`t going nowhere for sure.
|
|
|
|
Post by Observatory on Jun 16, 2015 13:40:21 GMT 10
|
|
|
|
Post by Observatory on Jun 19, 2015 16:21:49 GMT 10
|
|
|
|
Post by Observatory on Jun 25, 2015 14:56:15 GMT 10
|
|
|
|
Post by Observatory on Jun 26, 2015 14:53:37 GMT 10
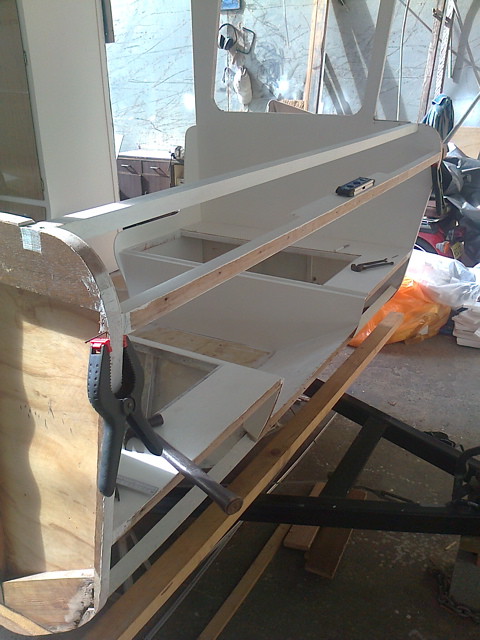
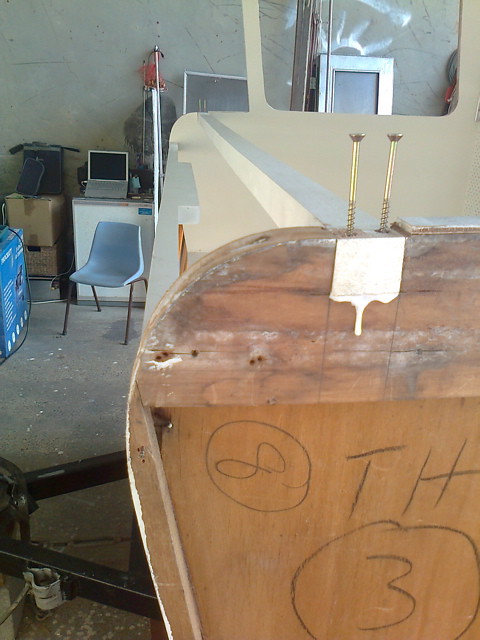
Front beams in: - Middle beam nailed back in. (To find position - spotted the old nail holes on side wall + spirit level and matched the distance from top beam to middle beam at both ends i.e. 150mm).
- Top beam glued/screwed. (Beam joints chiseled out; top curved edges of frame filed down 1-2mm beforehand; to allow for thicker new front ply panel to sit flush i.e. level to the corner window sills).
  |
|
|
|
Post by Observatory on Jun 29, 2015 20:49:17 GMT 10
|
|
|
|
Post by DC3Td on Jun 29, 2015 21:23:59 GMT 10
Gday Pete. You remember all these tips might be called in one day.....just tallying up the beer count thus far...hmm,looking good.As usual,great work & attention to detail.cheers gordo
|
|
|
|
Post by Observatory on Jun 30, 2015 16:18:45 GMT 10
|
|
|
|
Post by Observatory on Jul 2, 2015 20:52:07 GMT 10
|
|
|
|
Post by Observatory on Jul 9, 2015 13:19:15 GMT 10
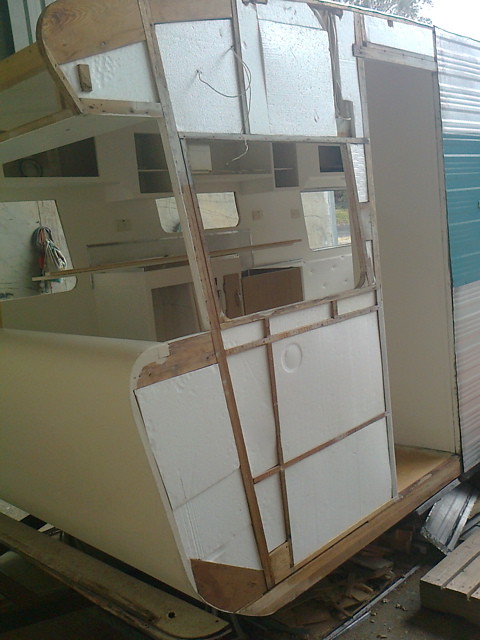
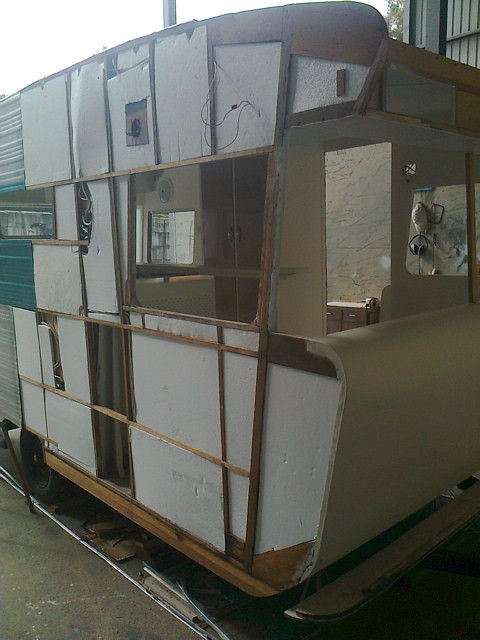
Polystyrene insulation: - found a neat technique to get foam size: press it against the frame to take an impression; then cut with a hot knife.
  |
|
|
|
Post by mibosa on Jul 9, 2015 16:33:41 GMT 10
Thanks Pete for that helpful hint. I have almost removed all my aluminium skin and going through the process of polishing each sheet and was pondering the other day how I would go about cutting my foams for the insulation. Have you decided what product you are going to use when putting your outer shell back on and the j mouldings?
Regards,
Bob.
|
|
|
|
Post by Observatory on Jul 10, 2015 10:23:23 GMT 10
Glad to be helpful Bob. Still leaning toward non-acidic clear silicone for the waterproofing seal of the van. Have considered other products i.e. polyurethane; butyl mastic tape and caulking; but for me it comes down to the adhesion strength; ease to remove later on; and pliability to weather conditions. Silicone seems to be midway on each of these points; compared to mastic and polyurethane sealants.
Cheers,
Pete
|
|
|
|
Post by mibosa on Jul 10, 2015 19:07:11 GMT 10
Thanks Pete. How come everything else in my life is all about risk management and being able to make ultra quick decisions, but that this topic is really getting the better of me? I am doing so much work and my ultimate priority is the waterproofing process. I have heard so many others doing so much work and then end up having that pinpoint leak.
Probably just as well that we aren't like the USA with the possession of guns in the manner they do, otherwise if I woke up in the middle of the night hearing a dripping, I would go outside and empty so many rounds into the van in frustration. And then wonder if the other half managed to wake up and sense my frustration and get out!
Thanks Pete, great work!
Regards,
Bob.
|
|
|
|
Post by Observatory on Jul 15, 2015 11:30:50 GMT 10
|
|
|
|
Post by Observatory on Jul 20, 2015 14:49:15 GMT 10
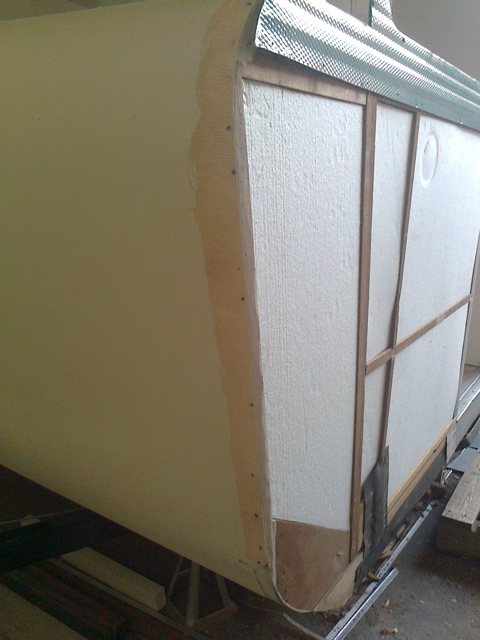
Fitting front-end cladding: - I told you I could fit into this old cladding! (just had to breath out - hold it there) -
- Had to sand a couple of mill off the corner of the new ply panel; to get the front cladding to fit snug. (i.e. the ply panel was sitting past the side cladding by about 2mm)
  |
|
|
|
Post by Mustang on Jul 23, 2015 18:56:33 GMT 10
Fitting front-end cladding: - I told you I could fit into this old cladding! (just had to breath out - hold it there) -
- Had to sand a couple of mill off the corner of the new ply panel; to get the front cladding to fit snug. (i.e. the ply panel was sitting past the side cladding by about 2mm)
  Been there, where you are:  Works out in the end.  |
|
|
|
Post by Observatory on Jul 28, 2015 16:10:23 GMT 10
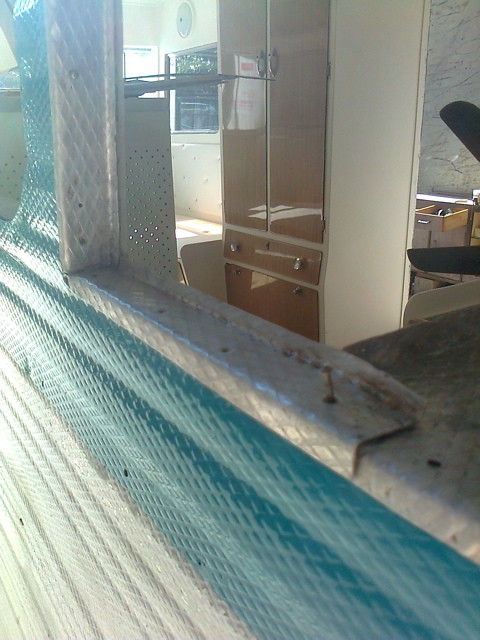
More cladding alignment: - Used the ali flashing of the corner window to match the original hole in the front end cladding for alignment then pinned it to the frame.
- more cleaning and prepping
  |
|
|
|
Post by DC3Td on Jul 28, 2015 16:26:04 GMT 10
Gday Pete.You must be doing something right - over 9000 views.You should have thought about pay per view! gordon
|
|
|
|
Post by Observatory on Jul 29, 2015 15:31:51 GMT 10
Test fitting front window before screwing window frame together. Hey Gordon, I reckon this front shelf is almost ready for the spirit level.  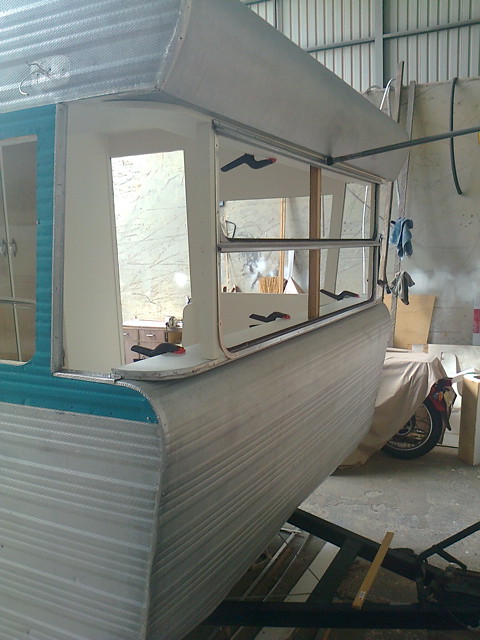 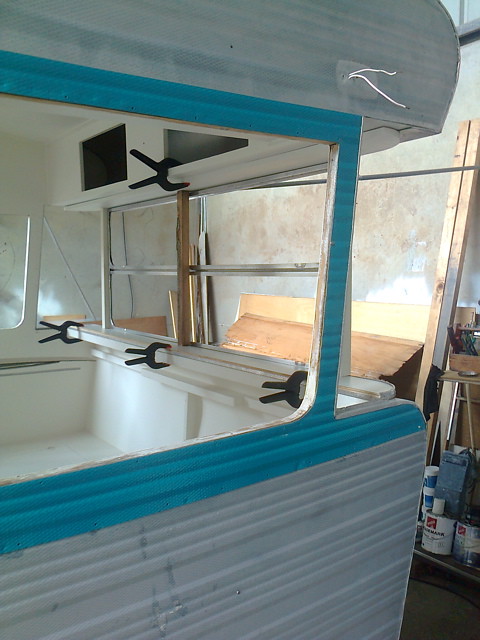 |
|
|
|
Post by DC3Td on Jul 29, 2015 19:26:29 GMT 10
Gday Pete. You`ve certainly deserved it!. Cheers
|
|
|
|
Post by Observatory on Aug 3, 2015 13:37:33 GMT 10
|
|
|
|
Post by Observatory on Aug 7, 2015 14:45:25 GMT 10
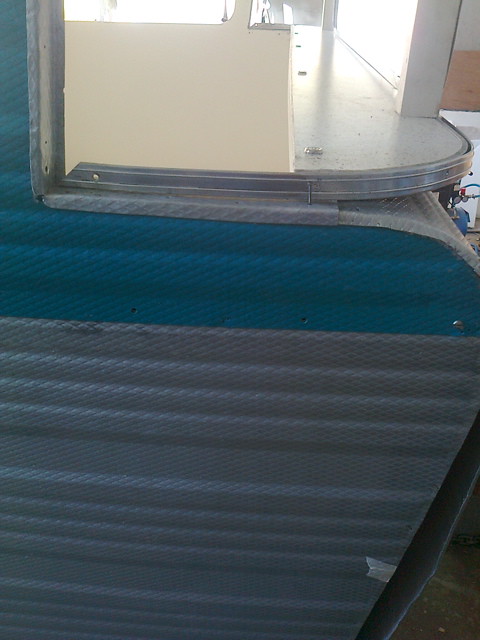
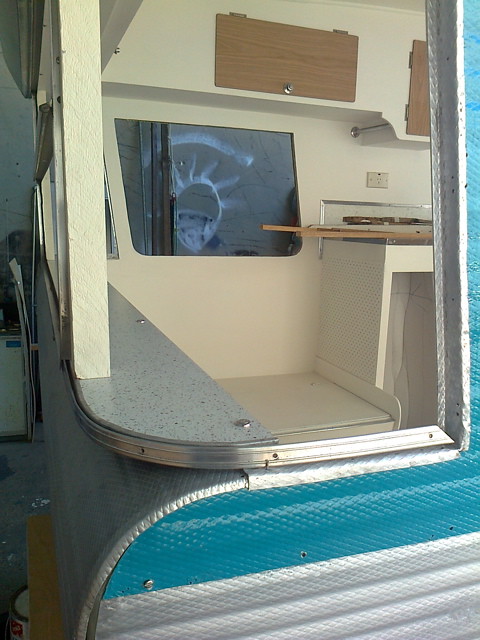
Alignment/securing front window/bottom to beam: - alignment obtained by attaching old j-mould i.e. j-mould determines the distance from "wrap window stud" to edge of bottom shelf. THEN: drilled the 5 holes into the beam (i.e. through the pre-drilled shelf holes).
NOTE: With front window securely in place - it's time now to make new wooden "wrap window" frames. 
  |
|
|
|
Post by Mustang on Aug 8, 2015 9:01:24 GMT 10
I have recently renovated a later model, the curved frames were made of multiple layers of ply,totally rotted. The aluminium shoe was also buggered. I eventually got the curve right using Tasmanian hardwood, (not a matter of tracing a pattern around the original bay) cant believe why Viscount would not have used solid timber in such an important area. Now happy with the job as its better (I believe) than the original. Rear window frame (Scroll to bottom of page) You are doing a magnificent job. |
|