|
|
Post by Observatory on Oct 12, 2015 14:32:47 GMT 10
|
|
|
|
Post by Observatory on Oct 13, 2015 14:36:05 GMT 10
|
|
|
|
Post by Observatory on Oct 16, 2015 14:32:19 GMT 10
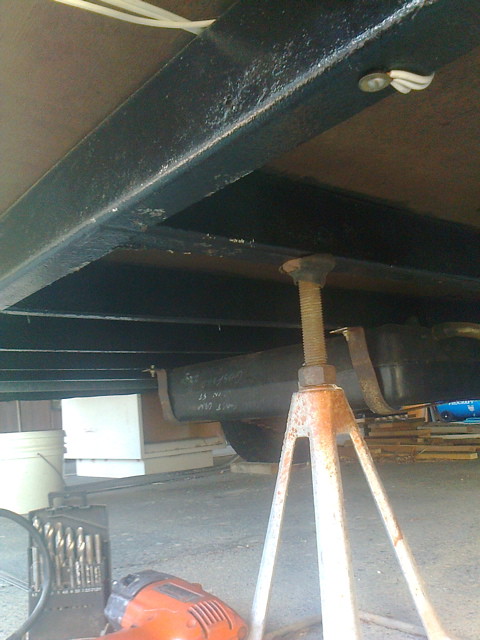
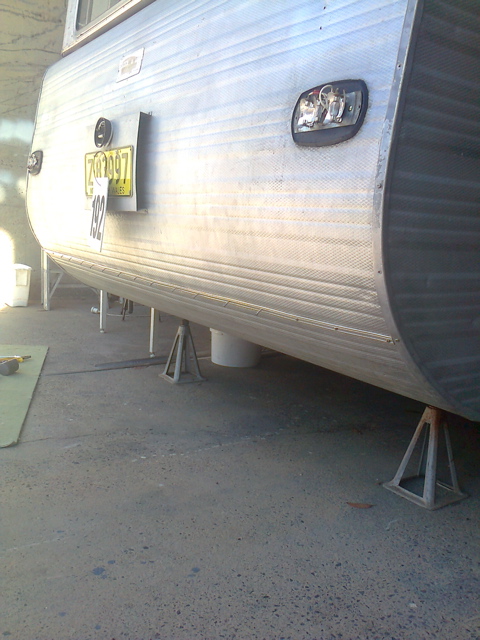
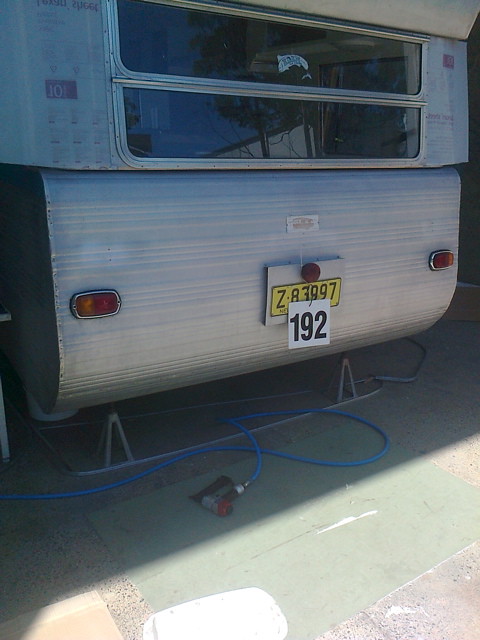
Rear clearance lights and cladding: - Direct earths to each of the three rear clearance lights from the chassis. Made each earth wire equal length - for even resistance. NOTE: 240v re-checked with cladding on by German Chris once again. GPOs/lights power is clean.

- Pre-fitted rear lowest cladding panel/corner moulds/j-mould; to get proper alignment before sealing ( + new gal. cuphead bolts for attaching cladding to steel chassis). Jeans still fit!

EDIT 20/10/15: FORGOT  to seal between rear wood frame and cladding (the bend below the window sill). to seal between rear wood frame and cladding (the bend below the window sill).
HERE'S HOW I FIXED IT:
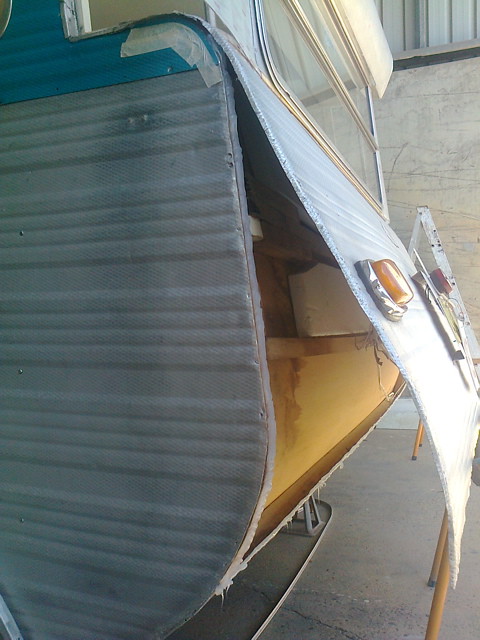
- Fixing an oversight when installing the rear window frame - no sealant between wood frame and rear cladding (the bend under the window sill) So, made a gap for sealant by re-straightening the curved lap edge of the cladding; to compress enough silicone to fill and seal the joint. Panel beat the curve back over after.
- Rear cladding sealed.

    |
|
|
|
Post by Observatory on Oct 23, 2015 11:40:39 GMT 10
|
|
|
|
Post by Observatory on Oct 29, 2015 14:56:36 GMT 10
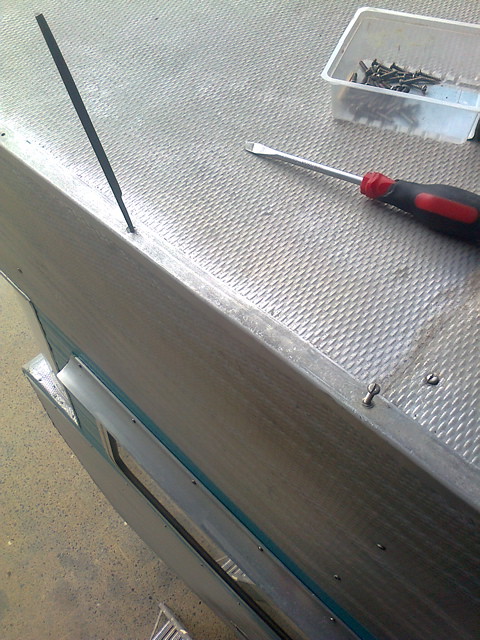
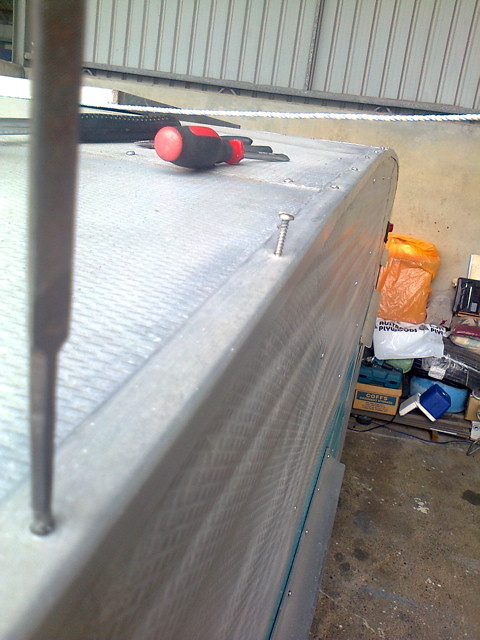
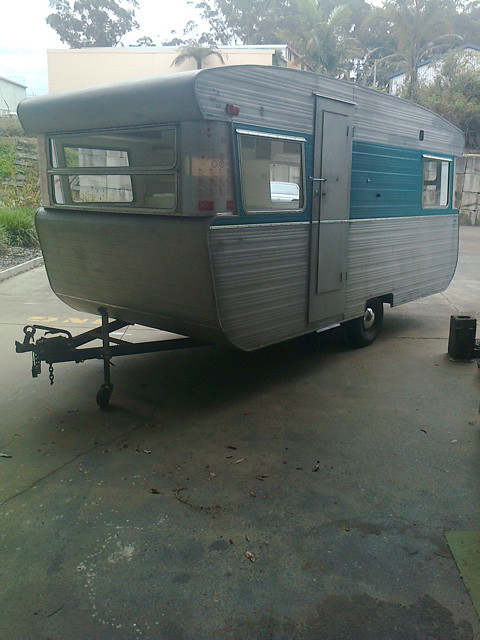
Hi everyone, The current workshop is being re-developed for a new purpose; thus time has come to move on (all good things come to an end and all that). Have moved into a new workshop as of today, which will allow work to go slowly for the last few details (was trying to finish the van quickly; due to end of workspace). Things will progress slow and steady from now on, allowing time for the finer details. So.. thankyou  to all the people who have contributed to this thread; given helpful tips and tricks along the way; kept my sense of humour light hearted while negotiating the dark tunnels of resto chaos  No individual shout-outs needed as this thread is a document to your contribution. There is no way I could have done this without you. Thankyou!  P.S. I hope I've been able to share some useful ideas that may benefit someone elses van project. Cheers Corner moulds screwed on: - Corner moulds going on. (trusty triangle file - very handy for finding original screw holes)
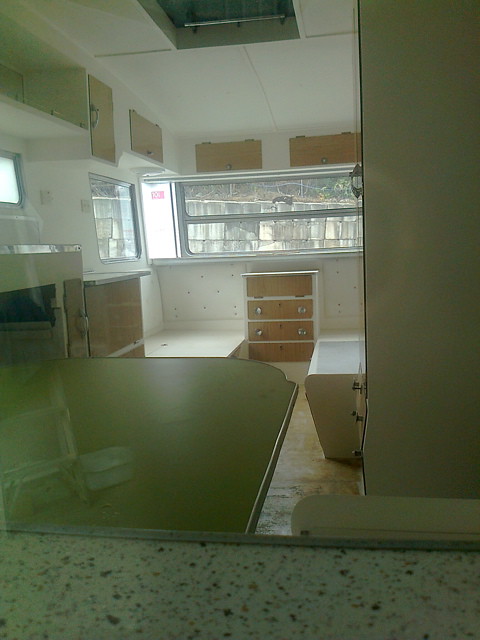
- Maiden voyage to new workshop + interior.
    |
|
|
|
Post by mibosa on Oct 29, 2015 16:26:33 GMT 10
Congratulations Peter, on such a wonderful contribution. I have followed your story with great enthusiasm as my project van is quite similar to yours and I have learnt much along the way. I too would like to do a diary of my work, of which there are numerous photographs, but time does not permit me to do so. I wish you well with your future.
Regards,
Bob.
|
|
|
|
Post by Mustang on Oct 29, 2015 17:41:00 GMT 10
Excellent job on a great piece of Australian History.
|
|
|
|
Post by DC3Td on Oct 29, 2015 20:36:39 GMT 10
Well its certainly been a thoroughly enjoyable journey you`ve taken us on Pete.With your diligence & patience you`ve shown what can & how it can be done.A learning curve for all who`ve followed this extraordinary build.Be very proud of what you`ve achieved.Hope you`ll still keep us in the loop. gordo
|
|
|
|
Post by Observatory on Apr 15, 2017 15:13:19 GMT 10
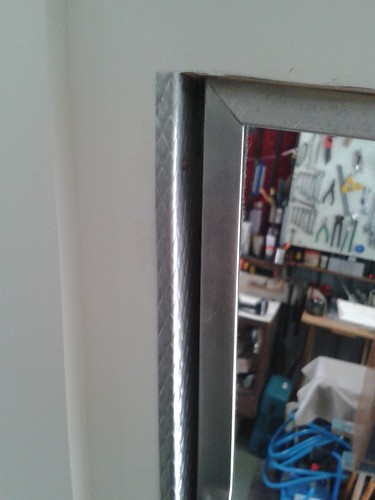
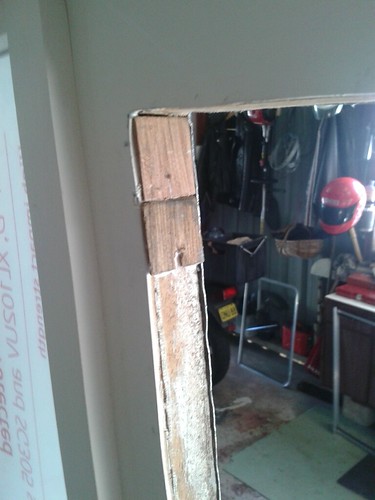
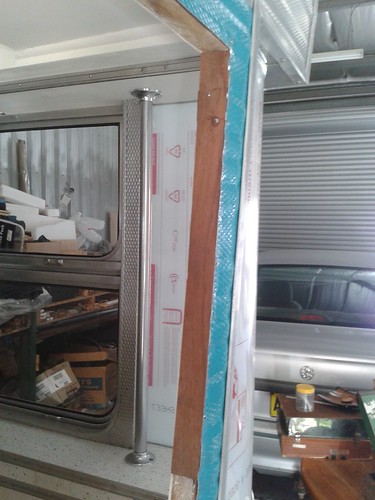
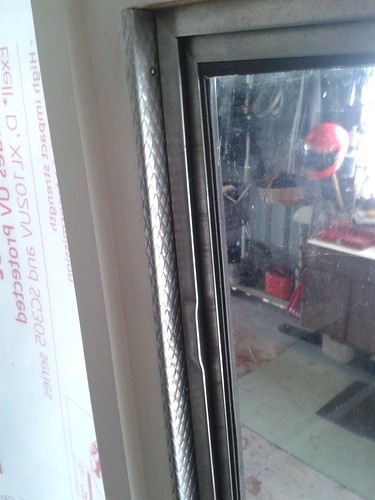
Side Windows - fixing some gaps: (the rear/right/side window had a similar gap)
So, had a little rest.. ah... which became a hiatus. (1 & 1/2 years?!)  Oh well.. now to get to those finishing details that still need doing.... Happy Easter everyone!  - The offending gap
- some fill - (glued)
- little more fill - (from my road side "stuff" collection)
- Gap no more
    |
|
|
|
Post by Observatory on May 21, 2017 13:23:40 GMT 10
Hatch - seal and attach: - Used 10mm2 EPDM rubber and contact adhesive for the hatch seal.
(roughed up the rubber like you would do for a bicycle tube repair; for the glue to stick)
- Attached the hatch lid and latch.
|
|
alia
New Member

Posts: 1
|
Post by alia on Jul 29, 2021 9:20:43 GMT 10
Hey
I'm in the planning phase of restoring an ambassador. Have the same issue as you in that the z rails are gone.
When you lifted the chassis, was it possible to lift it from the floorboards, and not from the main timber support that's sits in the z-rail?
The timber support on my van looks very brittle, and I have concerns lifting my entire van on those timbers, would rather remove them then lift
Ali
|
|