|
|
Post by Observatory on Aug 12, 2015 12:08:48 GMT 10
|
|
|
|
Post by Observatory on Aug 18, 2015 14:56:59 GMT 10
|
|
|
|
Post by DC3Td on Aug 18, 2015 17:04:14 GMT 10
Paint looks good dunno about the bling Pete.Just kidding.Anything you do seems to have bling anyways. cheers gordon
|
|
|
|
Post by Observatory on Aug 20, 2015 12:23:34 GMT 10
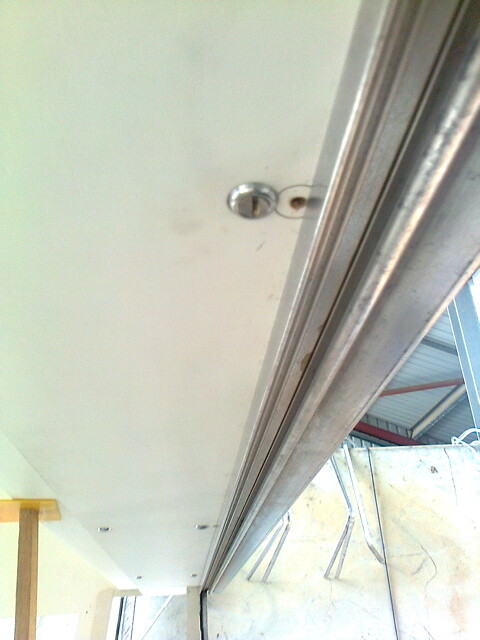
An extra beer in the beer bank for you Gordon (I'll have to get a bigger esky  ) - cheers Fixing a 50 odd year old - front window - fitting mistake: - The two repositioned wood frame screws (i.e. mistake was that the ali window frame was sitting over the screws)
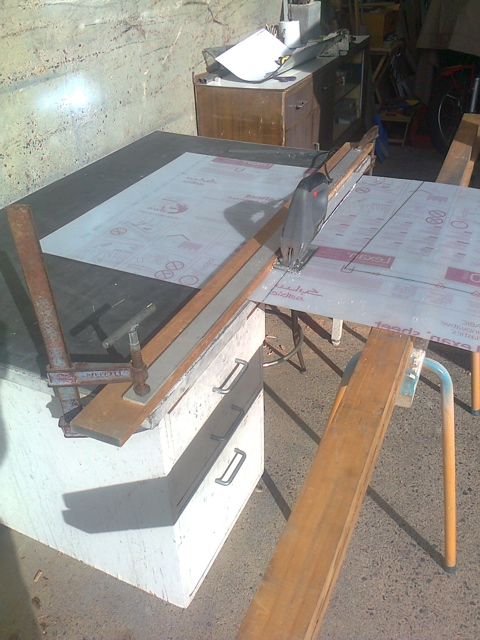
EDIT: FR 21/8/15 Cutting out new front wrap around windows: - Cardboard template for size then cut with jigsaw - metal blade on slow.. (trying not to heat the polycarbonate and make it brittle)..
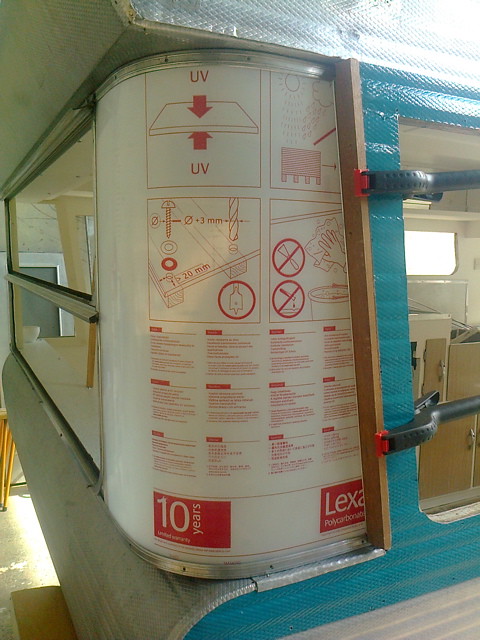
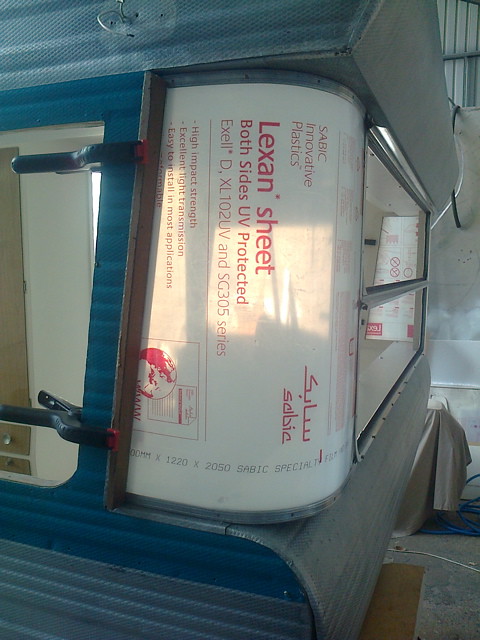
- Checking fit - using j-moulds and clamps.. (trimmed down poly.. to fit - using flap disc - bit by bit)..
- ...and the other side..
|
|
|
|
Post by Observatory on Aug 25, 2015 15:33:15 GMT 10
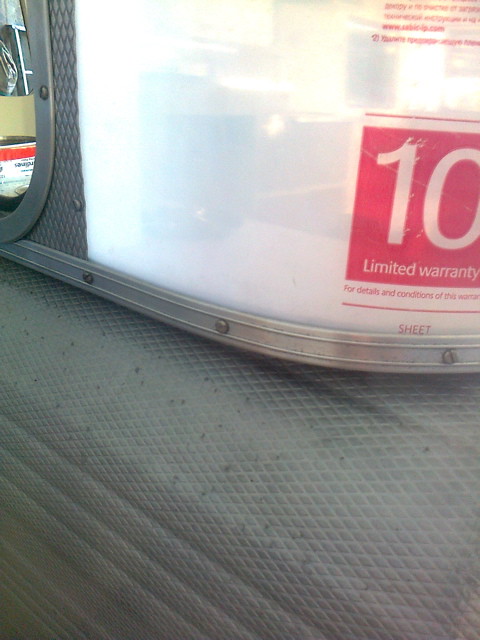
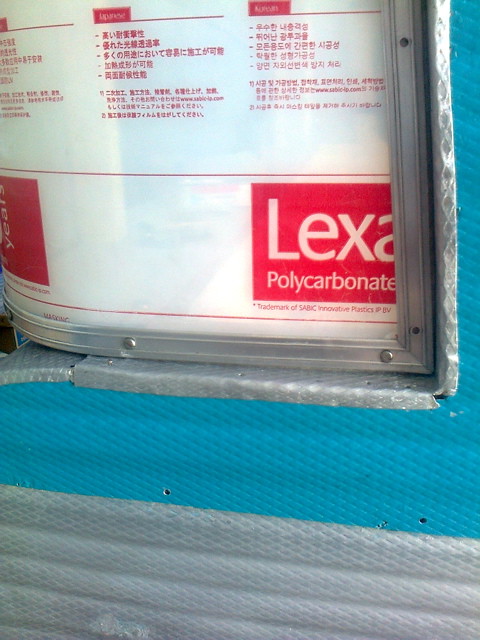
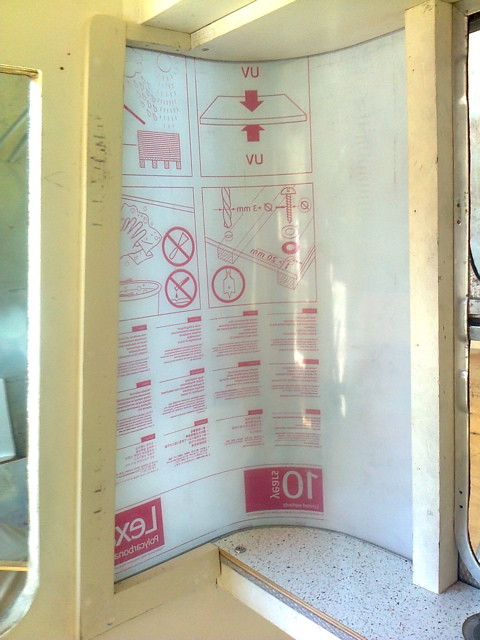
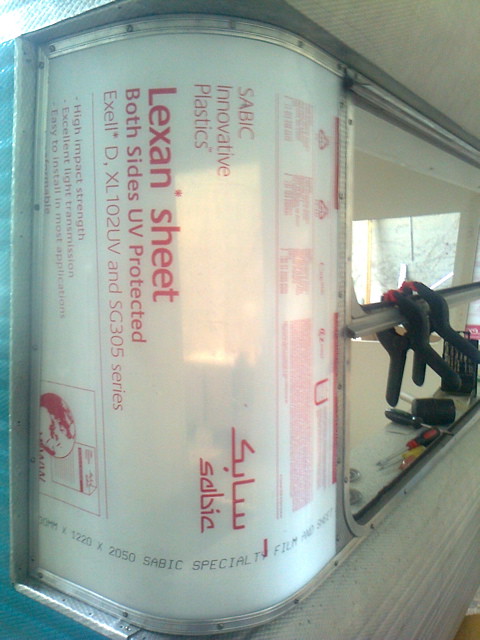
Drilling holes to fit/attach front wrap around windows (the trick is to get the j-mould to fit snug): - Started drilling pilot holes at the edge of the front window; removed the lexen - drilled over-sized holes and de-burred each hole to prevent "screw grab"; then re-installed the lexen to mark more screw holes.
- The bottom side method: marked two pilot holes at a time - removed/drilled over-sized
holes and de-burred; removing and reinstalling the lexen each time - until reaching the "j-mould corner".
EDIT: 27/8/15.. All j-mould/wraps fitted. 
|
|
|
|
Post by starburst on Aug 30, 2015 18:12:49 GMT 10
Hi all, I'm new here. What an incredible resto this is! My wife bought one of these 60's Ambassadors. She even talked the seller into delivering it for a few extra $. She told me it just needs a clean up and a few nails and some paint. After reading this thread I'm thinking there might be a little but more to it...
Great job and an excellent reference thread!
Sam
|
|
|
|
Post by Observatory on Aug 31, 2015 15:44:26 GMT 10
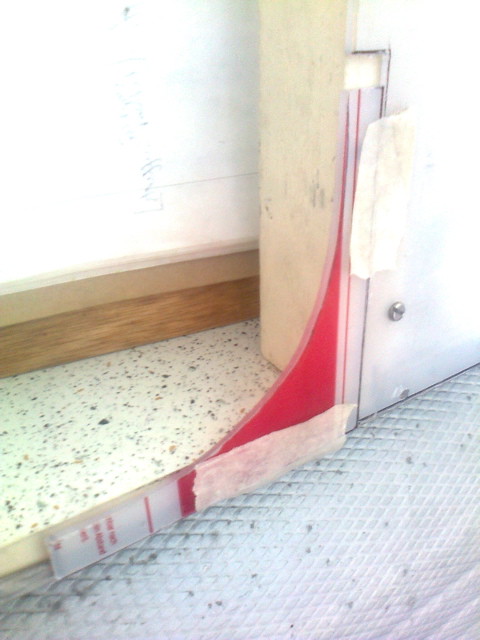
That was pretty much the job I anticipated doing on the "Observatory" - has taken a little longer than expectations.  Cheers Sam.  Shims and bling: - Made the front window corner "shims" out of scrap lexen (a bit more weather proof than the original 3ply)...
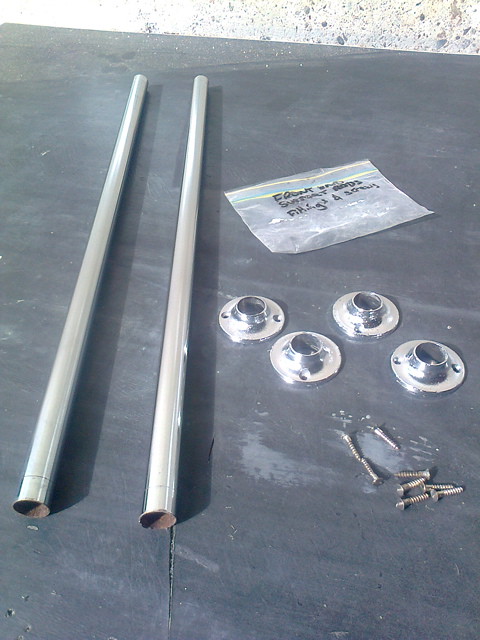
- Some more elbow grease - bling (these are the front window support poles)...
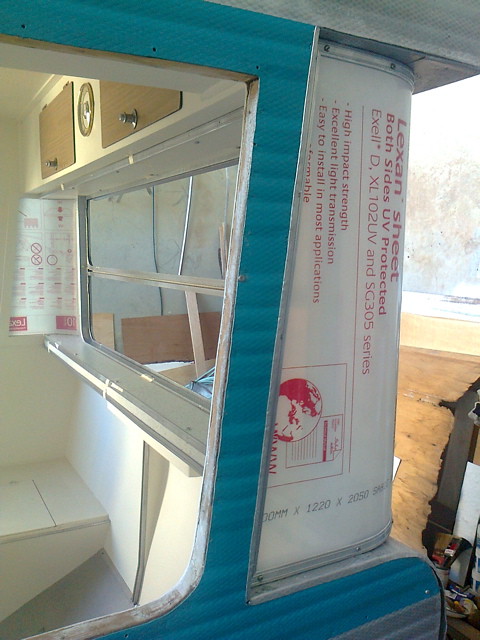
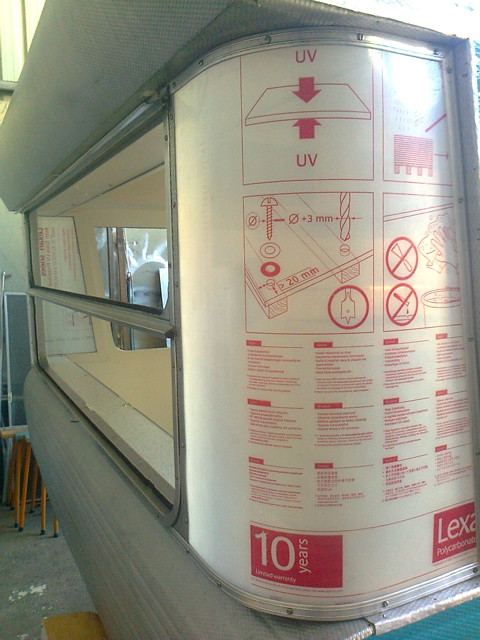
EDIT: 1/9/15 - Final test fit - front window/wraps/cladding...
    |
|
|
|
Post by Observatory on Sept 4, 2015 11:28:05 GMT 10
|
|
|
|
Post by DC3Td on Sept 4, 2015 17:36:05 GMT 10
Certainly starting to pick up some pace now Pete. Wheels look great too.Now i`ve had nothing to do with plastic water tanks but just looking at your undercarriage pic - does the lowness to ground warrant a stone guard or is the tank sufficiently thick enough to withstand any object being thrust at it? cheers gordo
|
|
|
|
Post by Mustang on Sept 4, 2015 19:53:58 GMT 10
I,m about to install the same as you.
I will sleeve the front with some left over roofing cladding, (only becuse I have it) but seriously on the bitumen one would think its not needed.
|
|
|
|
Post by Observatory on Sept 11, 2015 12:14:23 GMT 10
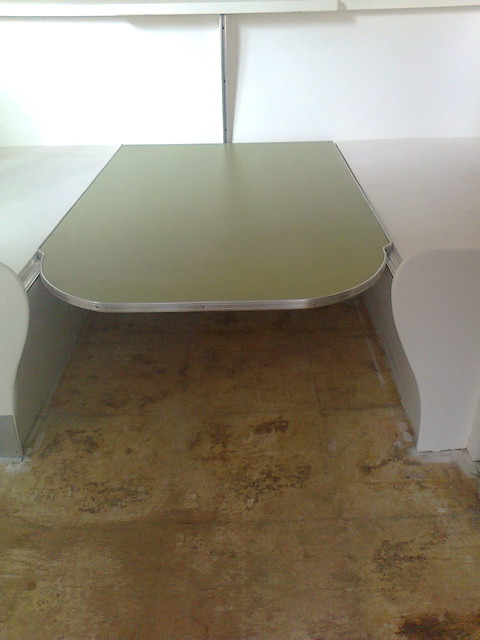
Stone guard - good idea Gordon. I've had a tree branch go through my cars rear plastic bumper before; from heading down a forest track once. On the "to do later" list for now.  New table laminated and fitted.. Some little tricks I worked out when attaching the ali edge trim: - Smeared a thin bead of silicone around the edge of the table, before putting the edge trim on; to prevent water damage from spills.
- When putting the pins in to hold the ali edge trim on. Angled the pins slightly up and tapped them in a couple of mill. Then pulled down on the pins to lever the trim down snug onto the laminate top; then nailed them in tight. Worked a treat.

  |
|
|
|
Post by DC3Td on Sept 11, 2015 16:42:46 GMT 10
Damn.Too good looking a table to have to sleep on! Smart idea about wiping a smear of silicone around the trim edge.Makes a lot of sense.
|
|
|
|
Post by mibosa on Sept 13, 2015 23:56:10 GMT 10
Good work Pete with the table. Where did you source the laminate? Is there a general company in each state which is worth looking at?
Regards,
Bob
|
|
|
|
Post by Observatory on Sept 18, 2015 15:50:36 GMT 10
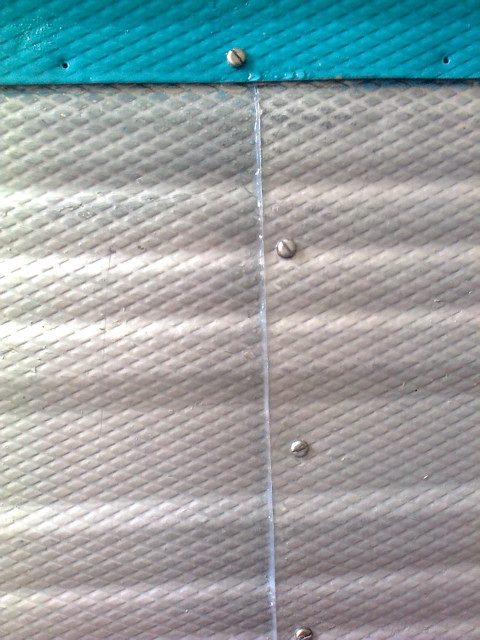
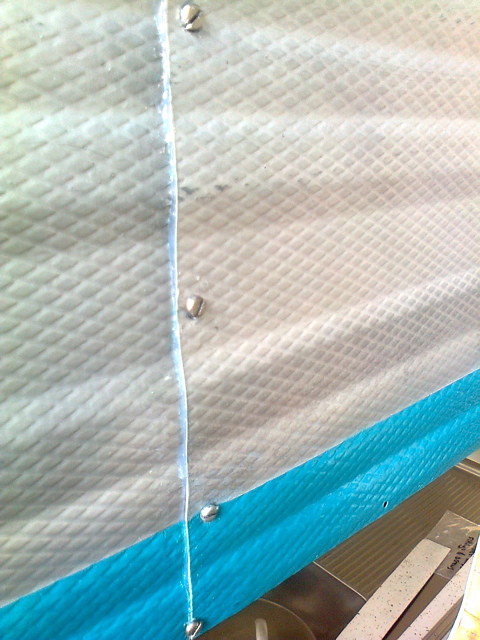
Hey Bob, shouldn't have any trouble finding it... You could try an online search i.e. "laminate", or head down to your favourite friendly kitchen manufacturer  Silicone sealing: - Here's my first attempts... (Spraying metho over the joint stops silicone sticking to the cladding - Method: apply the silicone and screw joint together just until it starts to squeeze out creating a neat line; spray metho over the joint then tighten screws to push out excess silicone (that won't stick to the metho covered surfaces); wipe excess silicone off with finger onto some paper towels; finally - tighten screws (but still a turn left for when dry) until you have a nice neat bead).
EDIT 2/10/15: Big Plan:
- Seal side(s) cladding and door jam
- Roof-rear cladding panel (to the first lap joint ONLY)
- Front-end window frame (wood) - sealed into cladding
- Roof-front cladding panel (to the first lap joint ONLY)
- Join rest of roof cladding (working from ends to hatch)
- Front/rear-end bottom cladding
- Corner and side strip moulds
- Wrap around windows
- And finally.. 4 side windows and front/rear-end windows
|
|
|
|
Post by Observatory on Sept 24, 2015 14:07:27 GMT 10
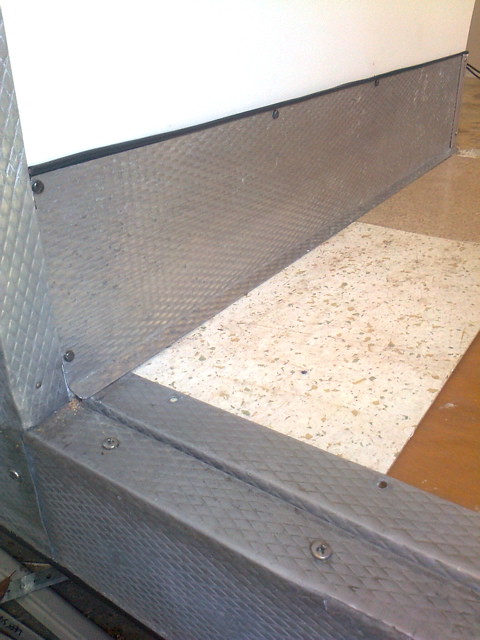
Homemade vinyl piping: - A certain rubber supplies shop didn't have it in a small enough size - so made my own; wrapped some lecky tape around some electrical wire - appropriately sized. Attached one end then stretched it out to pull it in snug.
- EDIT 30/9/15: other side...
  |
|
|
|
Post by DC3Td on Sept 24, 2015 21:47:13 GMT 10
Gday Pete. For what its worth - early vee dub guard piping is available from vintage vw outlets. cheers
|
|
|
|
Post by Observatory on Sept 28, 2015 14:54:43 GMT 10
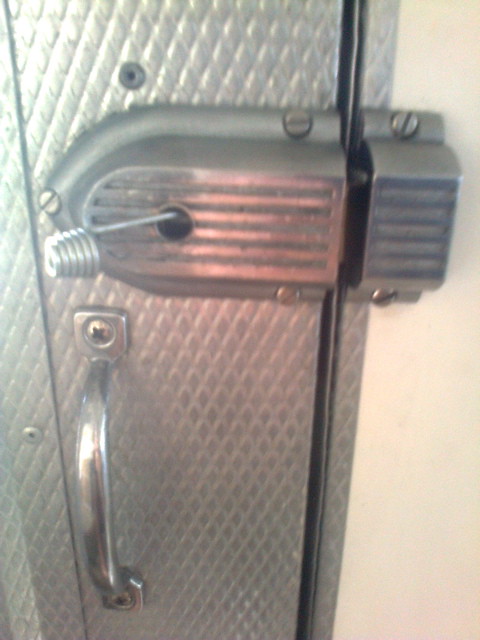
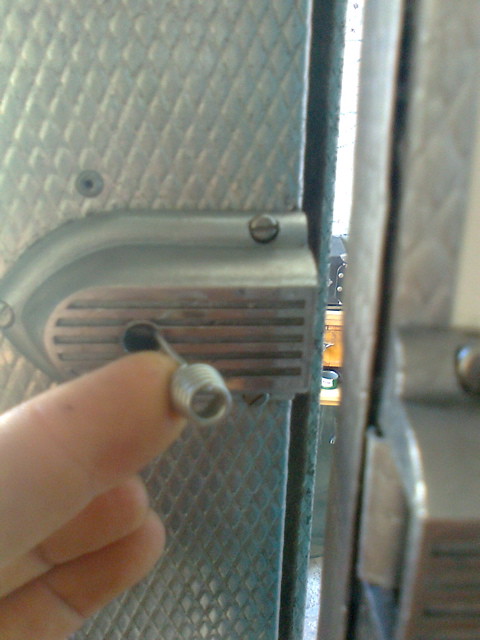
Thanks Gordon, great tip on the VW piping. See how the homemade stuff goes 1st. Good to know it's still made. Here's how I "MacGyver fixed" the broken door latch: - Drilled a hole through the spring loaded shaft that pushes the latch into the catch; the hole being for attaching the wire lever (the wire is a mini-occy strap end - rebent).

  |
|
|
|
Post by DC3Td on Sept 28, 2015 17:16:20 GMT 10
Could you please align the slot head screws before Cobber sees them.Ha. Interesting MacGyver fix.Can`t say i`ve seen that done before but then we are talking Mac.
|
|
|
|
Post by Observatory on Sept 30, 2015 15:47:49 GMT 10
|
|
|
|
Post by mibosa on Oct 1, 2015 4:36:32 GMT 10
Hi Pete and thank you again for the photos and explanations you provide. I am certainly interested in your use of silicone instead of the other products discussed in this forum and would be interested to know its suitability. Would I be right in suggesting the real test is not until the van has traveled behind a tow vehicle for a while, endured hot and cold climates etc??? How long until you envisage your van will be on the road and to provide the readers an update of its ability to do the task the same, if not better than more expensive products?
Regards, Bob
|
|
|
|
Post by Observatory on Oct 7, 2015 13:53:35 GMT 10
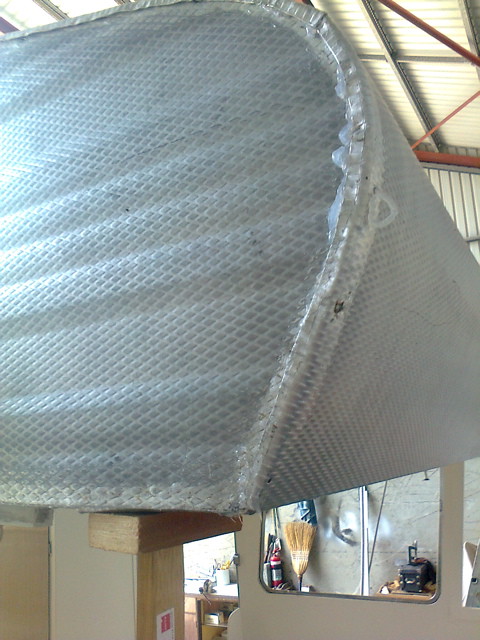
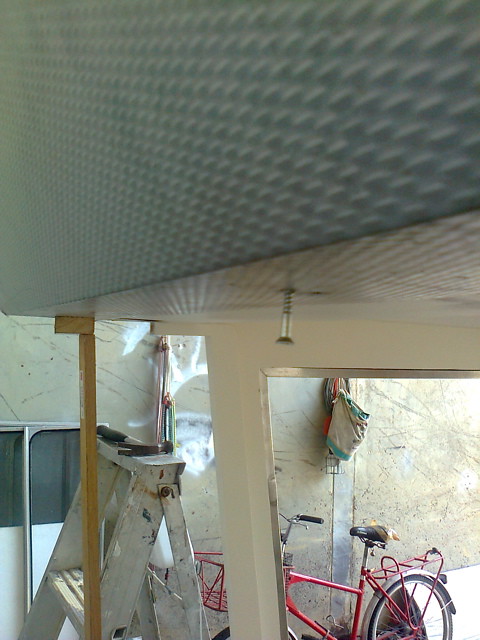
Hey Bob, thanks for your positive feedback - be assured I will document outcomes in this thread. However, when??? that is the golden question.  Currently researching different sealing product/technique for the wrap around windows - so watch this space.  Front roof cladding sealing: - Front roof cladding panel sealed at bulk-head ONLY ... Cleaned up the excess silicone after (with metho technique).
- For cladding alignment: used the window frame screws under the front... On the corner overlap - used original escutcheon pin/screw holes to pull the panel on snug. (still able to unscrew to continue sealing toward hatch)
|
|
|
|
Post by DC3Td on Oct 7, 2015 16:58:33 GMT 10
Looking good Pete. As an aside,i thought i was the only one with one of those old pmg bike racks.(See Whatever section).
|
|
|
|
Post by Observatory on Oct 8, 2015 14:00:17 GMT 10
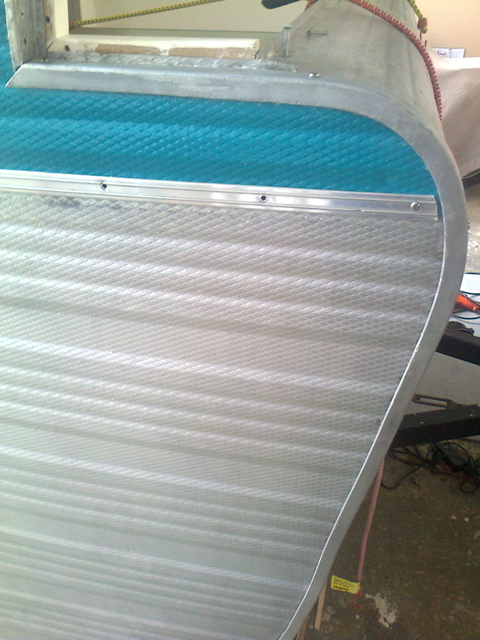
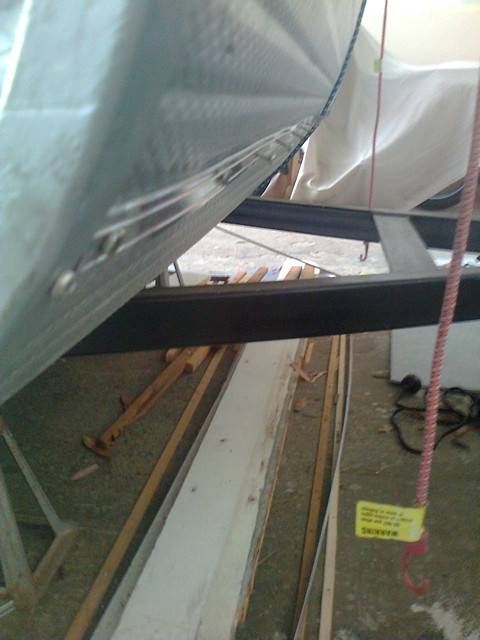
Hey Gordon, you spotted my old postie bike  PMG = Post Master General. My gift to myself when they closed the Melbourne/Fitzroy mail sorting depot back in 2007. Posties' got the first option to buy them and $35 was a fair deal  Pre-fitting front cladding for alignment (before sealing): - Screwing on the corner mould from the wrap windows down to the bottom lap joint; working both sides at a time; to pull the cladding down snug and even. (Used original lapped holes in cladding/corner-mould/strip mould to attach to wood frame; thus finding correct alignment).
- Regarding the lower cladding strip mould; pinned both ends then screwed from one side to the other (matching lapped holes - again for alignment). (this pulled up an existing gap between the cnr mould and end of strip mould and kept the strip mould snug)
  |
|
|
|
Post by Observatory on Oct 9, 2015 13:31:19 GMT 10
|
|
|
|
Post by Observatory on Oct 12, 2015 14:18:47 GMT 10
|
|