|
|
Post by DC3Td on Jan 17, 2015 16:37:40 GMT 10
No such thing as boring when it comes to restoring caravans particulary the like of yours.Wouldn`t worry about things slowing down a bit - you obviously need a break.If going back to work does that,well & good. gordon
|
|
|
|
Post by cobber on Jan 17, 2015 18:15:41 GMT 10
G'day Andrew, You, and anybody else who are doing great restoration jobs must not think your photos and the story of your restoration are 'boring'. These threads are often referred to by people doing restorations and looking for clues long after your restoration is completed. Speaking only for myself.... I often don't post a comment each time a restorer posts photos of their restoration because I'm only one of the 3427 members on this forum, and if all of us voiced our admiration of the work being done THAT would be boring, that's why I like the 'like' button  And I am not casting aspersions against anybody who does go to the trouble of making comment, and sometimes offering useful suggestions.... good on them I say, there should be more of them ( but not 3427  ) Keep at it mate and keep posting photos, we love 'em   Cobber. |
|
|
|
Post by akeepsake on Jan 17, 2015 22:10:00 GMT 10
Guys I agree with " no such thing as boring when it comes to restoring Caravans" I'm having a blast and happy that others are enjoying it!
I'll keep the pics coming ....try to stop me!
|
|
|
|
Post by akeepsake on Jan 20, 2015 20:14:53 GMT 10
Got some shiny bits back from the platers today ! 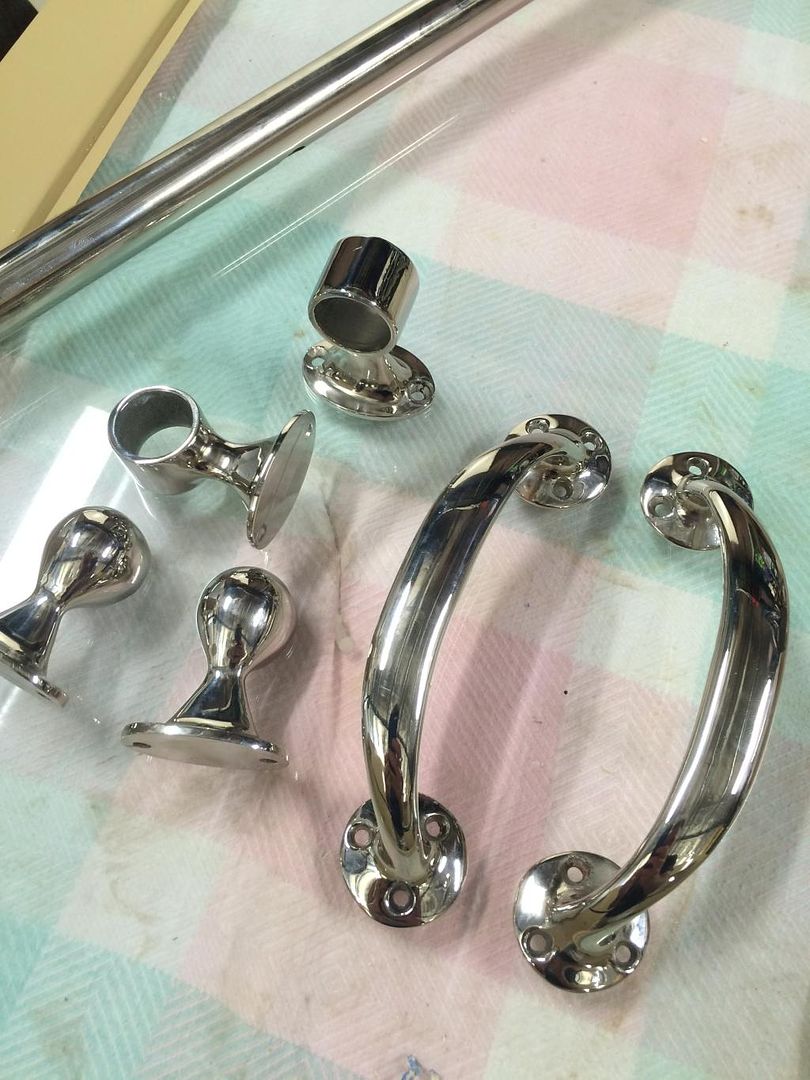 Grab handles fitted back in the right spot. They were moved in from original mounting due to non original corner moldings that I removed earlier. 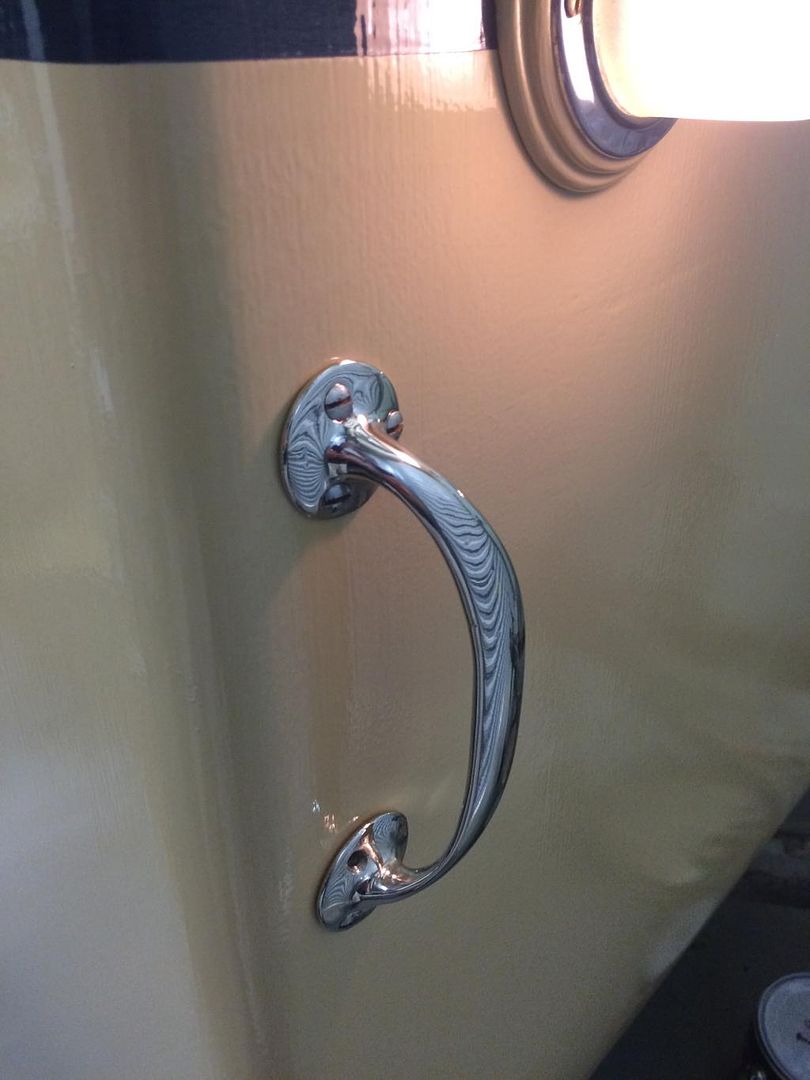 Bumper bar/ towel rail had been bent when I got the van but being brass I didn't want to replace it so with some heat and some gentle persuasion I managed to get it straightened bar a couple of small dents. The rail is an inch in diameter so larger than usual. Really happy how it turned out ! Indicators to come next!! 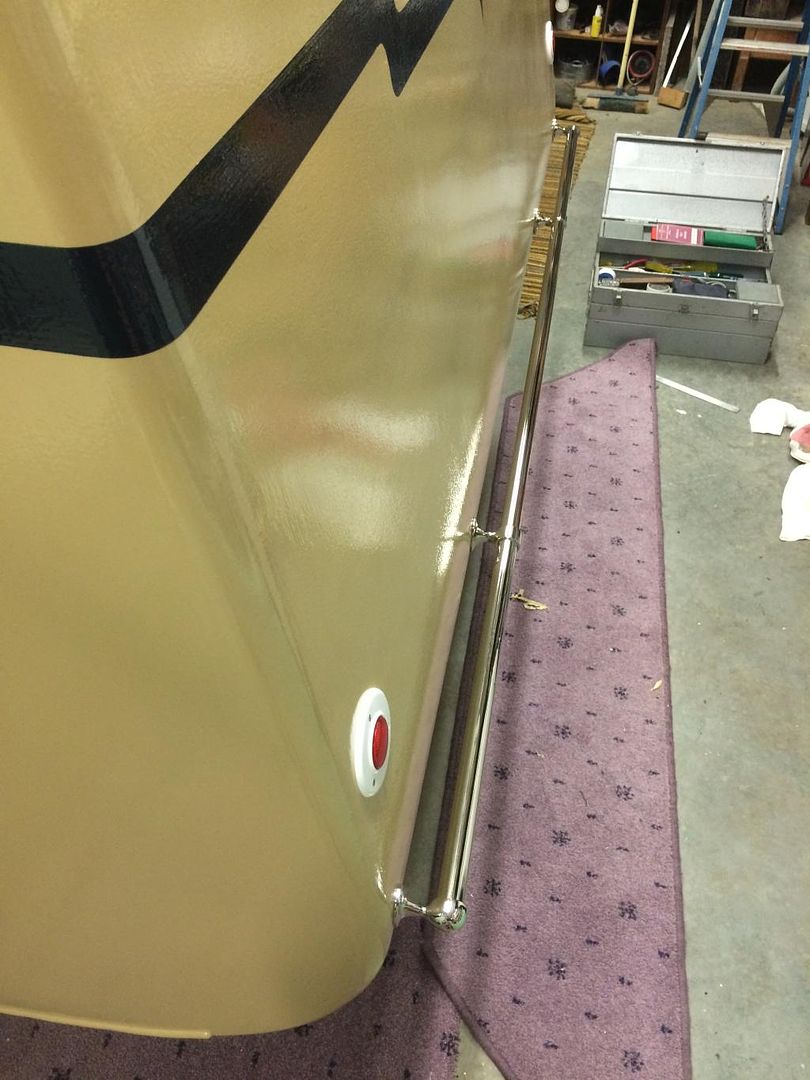 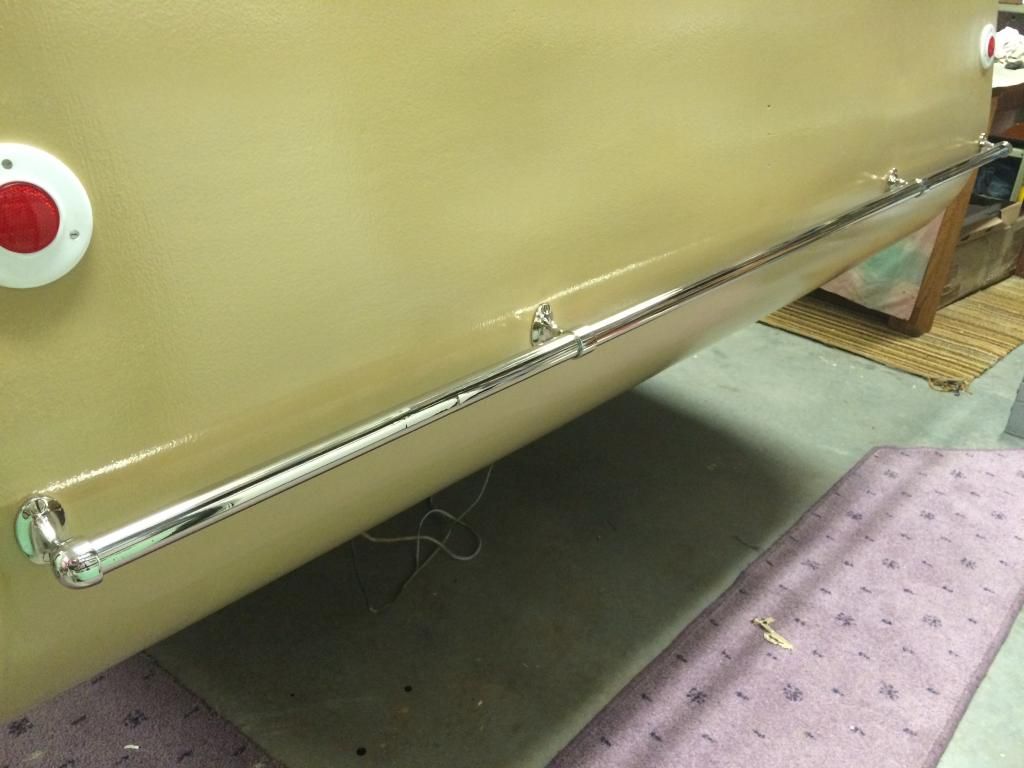 |
|
|
|
Post by akeepsake on Jan 21, 2015 10:15:42 GMT 10
To all those taillight savvy vintage vanners....help! Not sure how is the best configuration to mount my campbell lamps (one is stop tail, the other is indicator..yellow lens being made as we speak) Open to suggestions Here are options! Btw the reflector is in original position Option 1: Brake/tail top Ind below 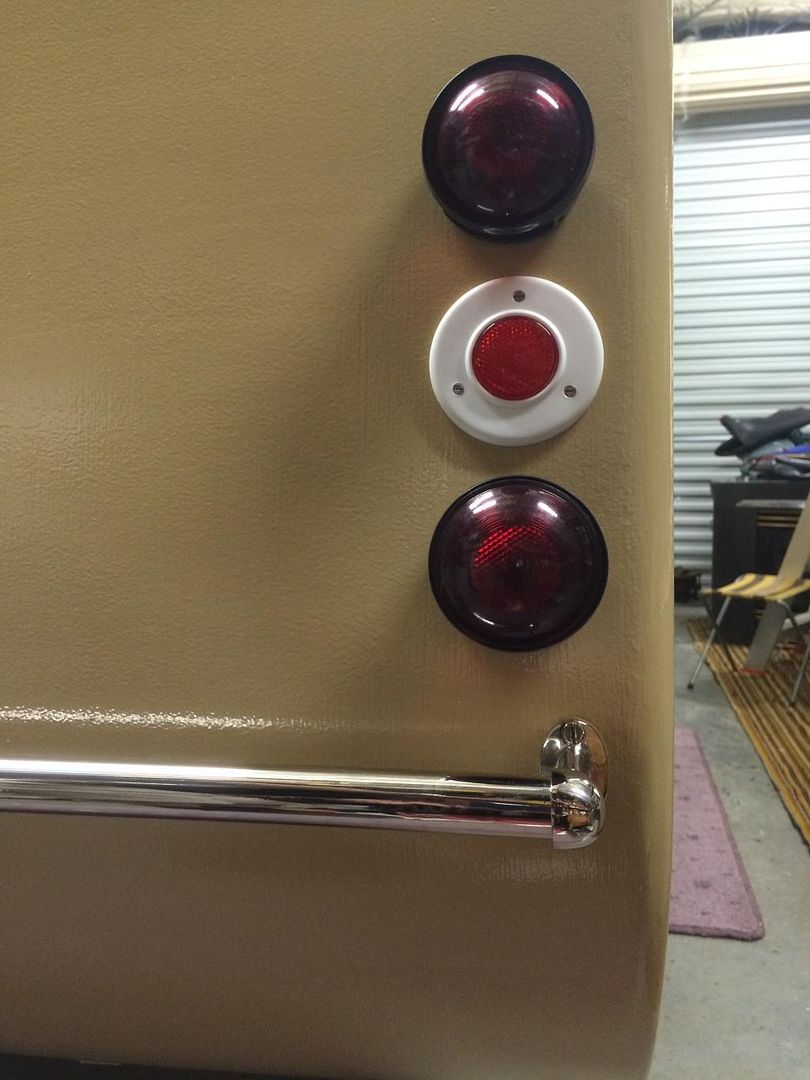 Option2: Both above reflector 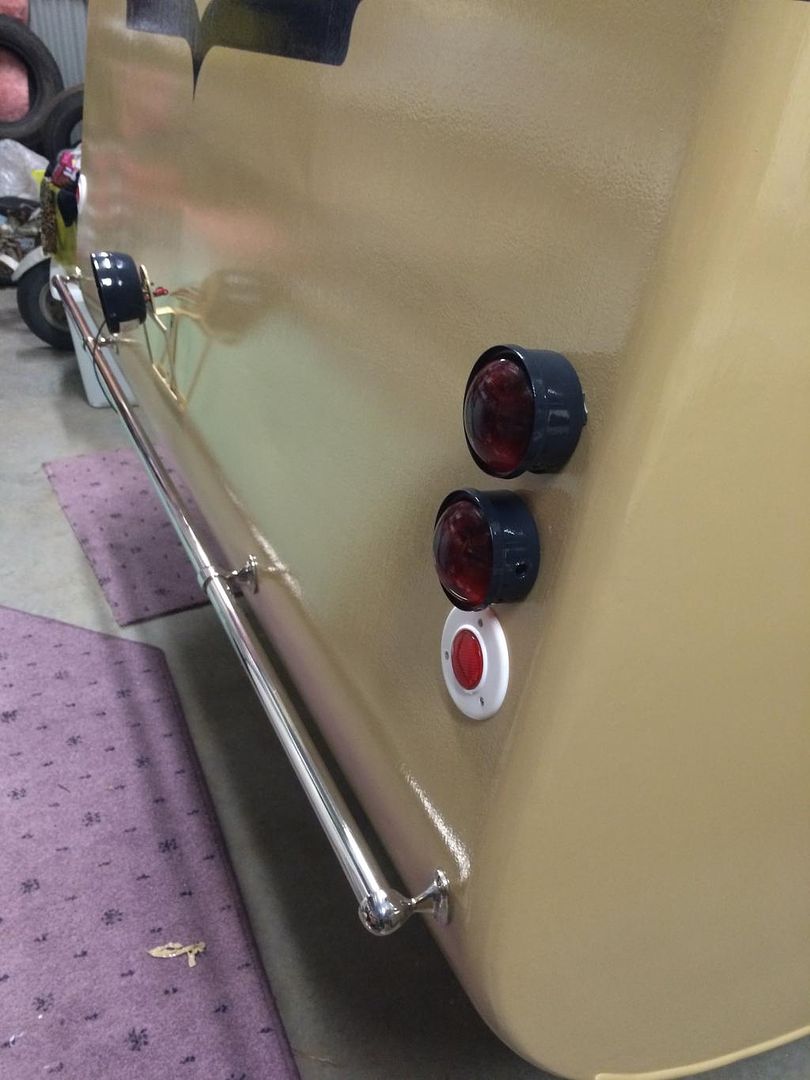 Option3: Beside each other below reflector 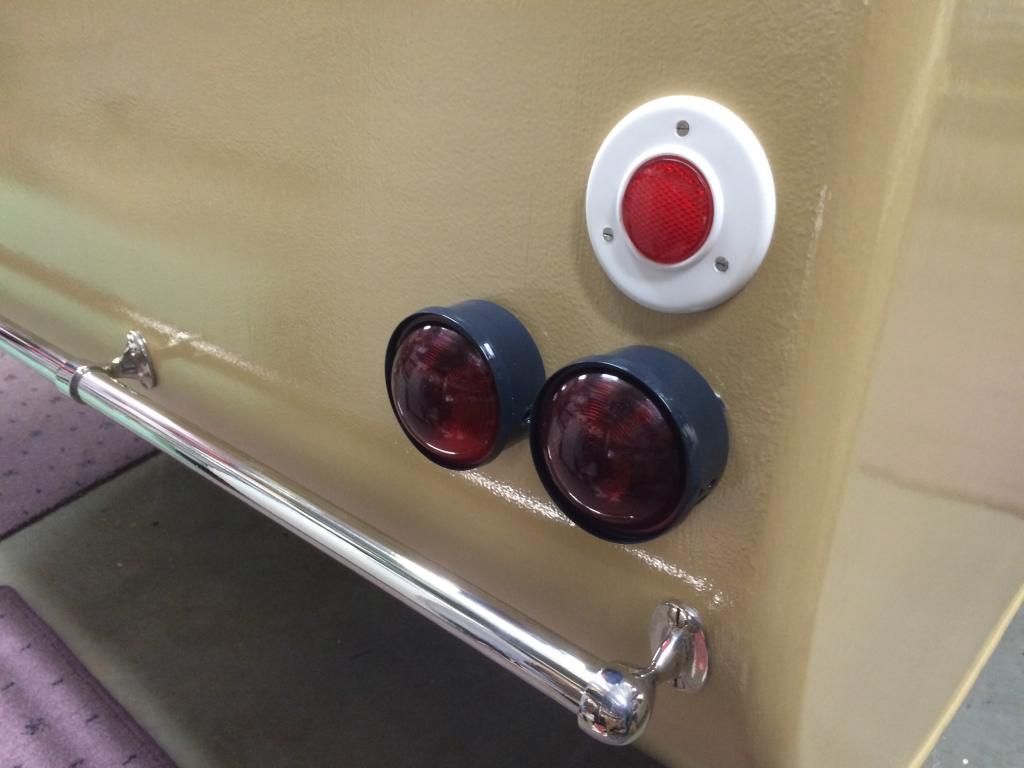 Open to suggestions ?? I have a favourite but the jury's still out! |
|
|
|
Post by King Fisher on Jan 21, 2015 12:18:26 GMT 10
Personally I like the option 2 with both above the reflector. looks more vintage I think.
|
|
|
|
Post by cobber on Jan 21, 2015 13:33:32 GMT 10
G'day Andrew, It's not easy is it  big decisions to be made when you have a choice..... how were they fitted originally ? On my Newcastle van they were/are reflector on top then blinker under it then stop/tail light under it, see a photo HERE[/url] personally ....... I think they look loverly  Cobber. [/a] |
|
|
|
Post by Don Ricardo on Jan 21, 2015 14:34:15 GMT 10
Hi Akeepsake,
You're making great progress there, and the van is looking just wonderful. Congratulations on the job you are doing with it.
I vote for Option 4...that's like Cobber's Newcastle with the lights in a vertical line and the reflector on top, because I think that's normally where the reflector was placed. However, that option may not work in this case because of the distance between the reflector and the towel rail, so in that case I go for Option 2.
Don Ricardo
|
|
|
|
Post by akeepsake on Jan 21, 2015 18:33:20 GMT 10
Mmmm ok I get it guys always knew there would be an option 4 Like this ...... 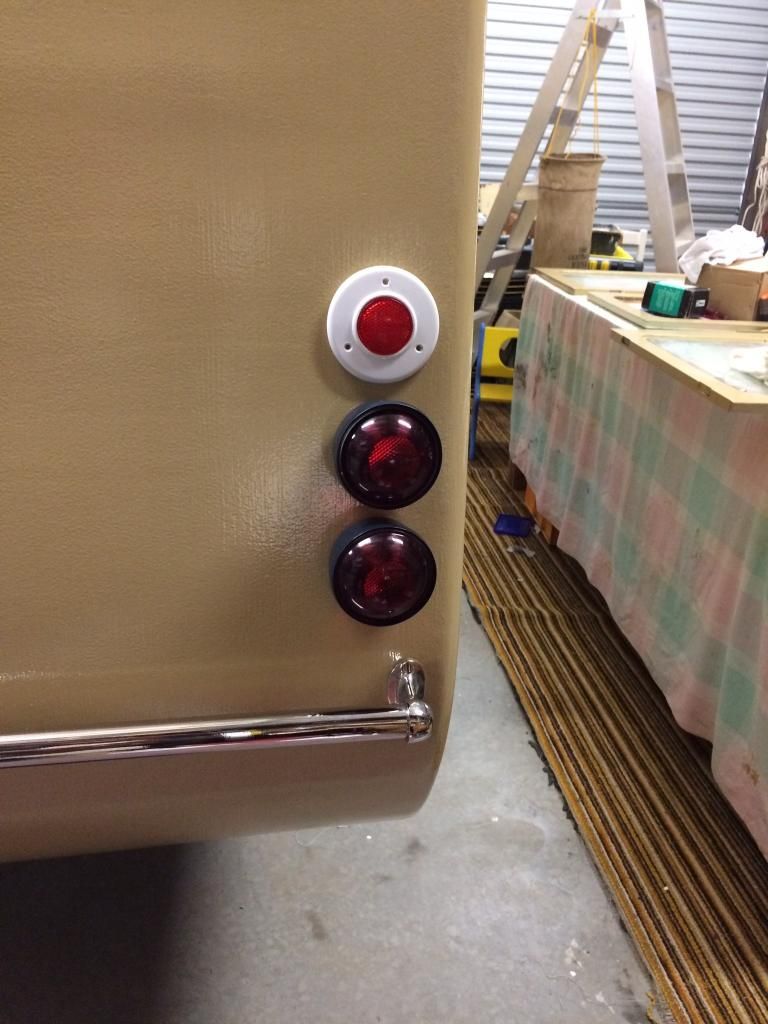 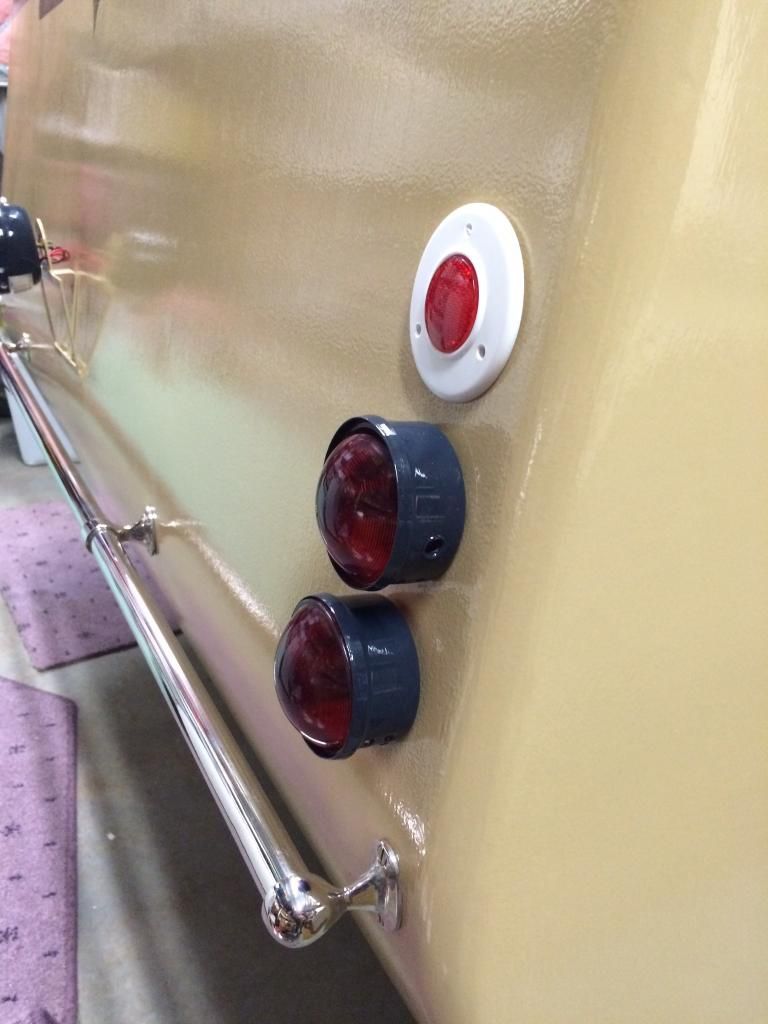 Thanks for your input King Fisher, Cobber and Don R! Looks like your all singing from the same song sheet! So I took off the reflector, moved it up and I think I like it ! The brake lens has a built in reflector so maybe that would pass without it ? To be honest the white is a bit ugly so if it goes back on it'll get the surround painted the same as the van maybe. Oh and yes thanks Don for your kind words Jennison really has the pressure on him to bring the 53 pathfinder up to original specs! More soon! |
|
|
|
Post by moparman on Jan 21, 2015 19:29:09 GMT 10
Option 2 but with the reflecter underneath. I think the lights look better side by side horizontally!
|
|
|
|
Post by penguin on Jan 21, 2015 19:41:30 GMT 10
What about option 5? I'm thinking some new Jayco tail lights and a strip of LED's along the towel rail. Not really. The muffin tail lights look good. Option 4 for me.
|
|
|
|
Post by King Fisher on Jan 22, 2015 9:21:29 GMT 10
I know here in vic you need a reflector according to vic-roads, but if it's built in to the tail-light or cluster then that is usually considered as OK. I think you are right and leave it off would look better. You could always throw them into the glove box with some double sided tape when you goto rego the van, just in case...  |
|
|
|
Post by akeepsake on Jan 22, 2015 13:41:56 GMT 10
Thanks King Fisher. They want reflectors on the side for Rego so the double sided tape will get a workout!!
|
|
|
|
Post by akeepsake on Jan 24, 2015 21:02:30 GMT 10
Well the signwriting brother in law ambled in today armed with a stick and some paintbrushes I copied the clear template to a4 and positioned in place after tracing around the underside edge in pencil and transferring lettering it van surface 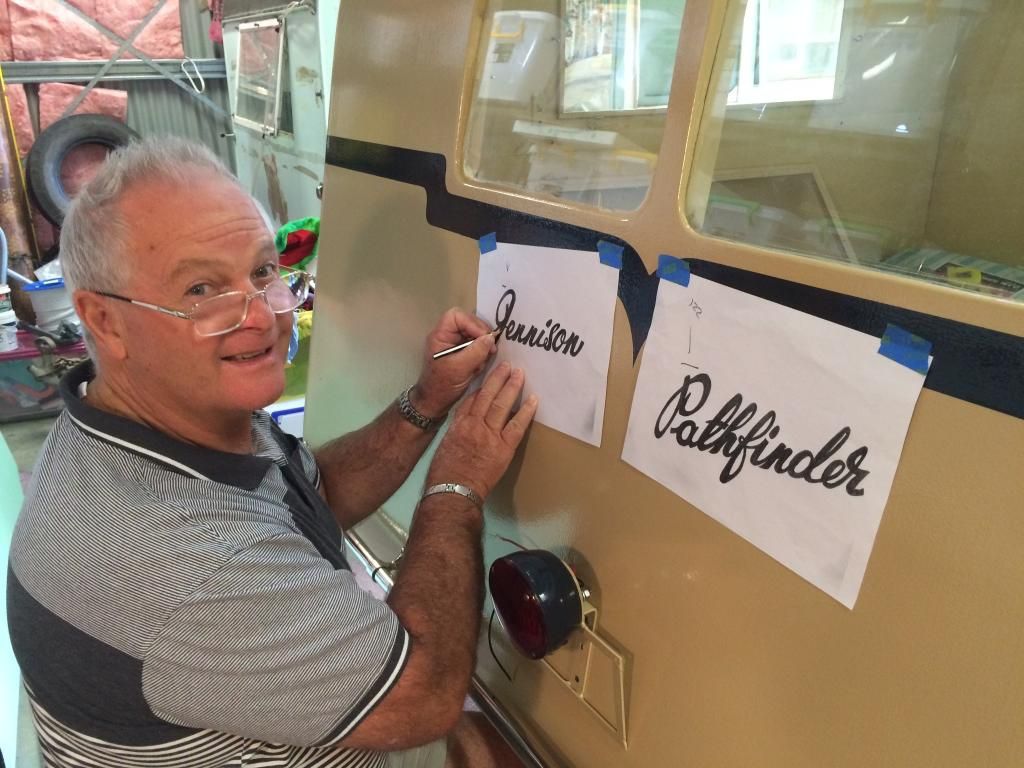 Then Steve filled in the letters with a steady hand , a coffee and two pieces of fruitcake! 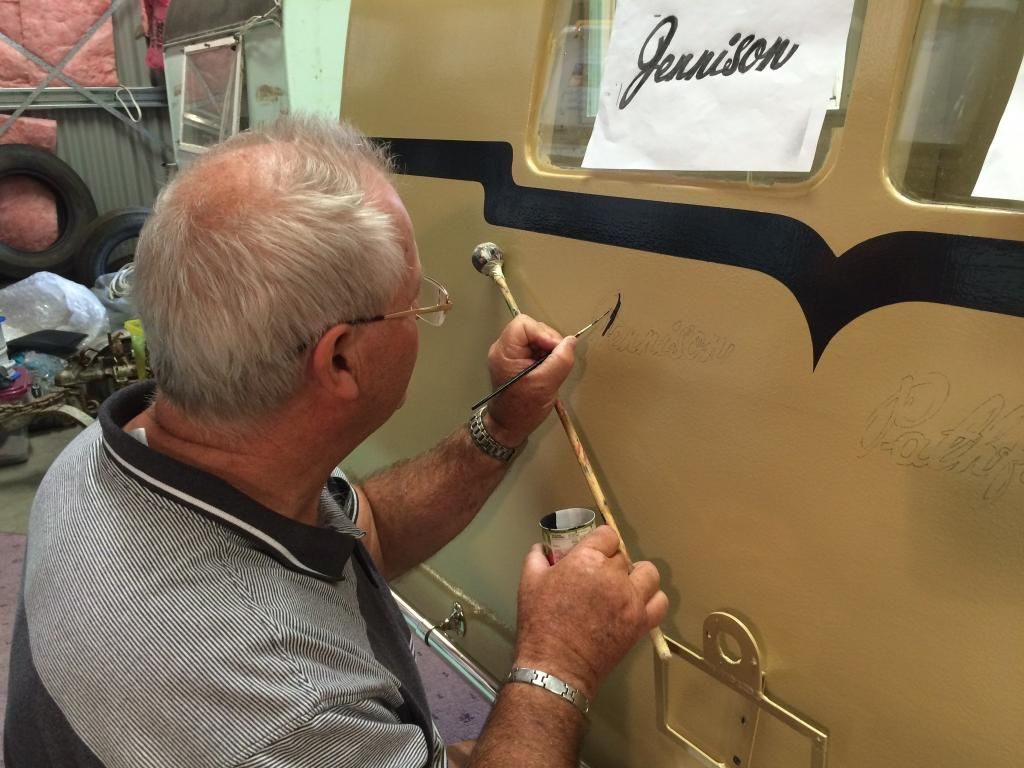 Too easy really ! ( not ) 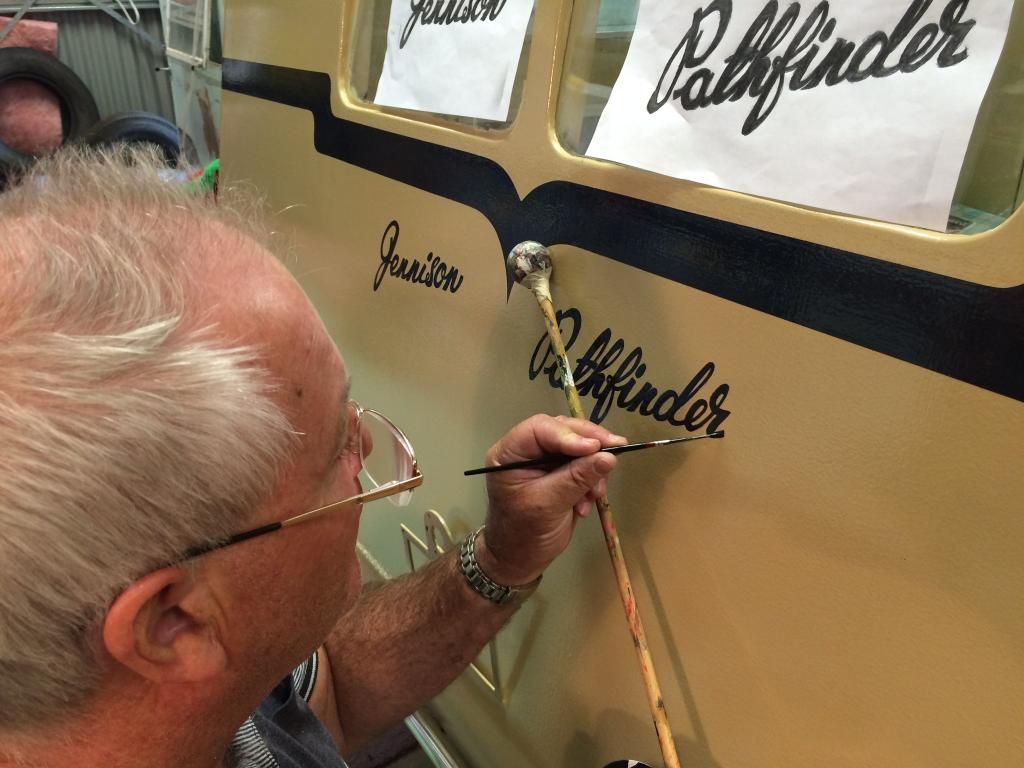 Done! 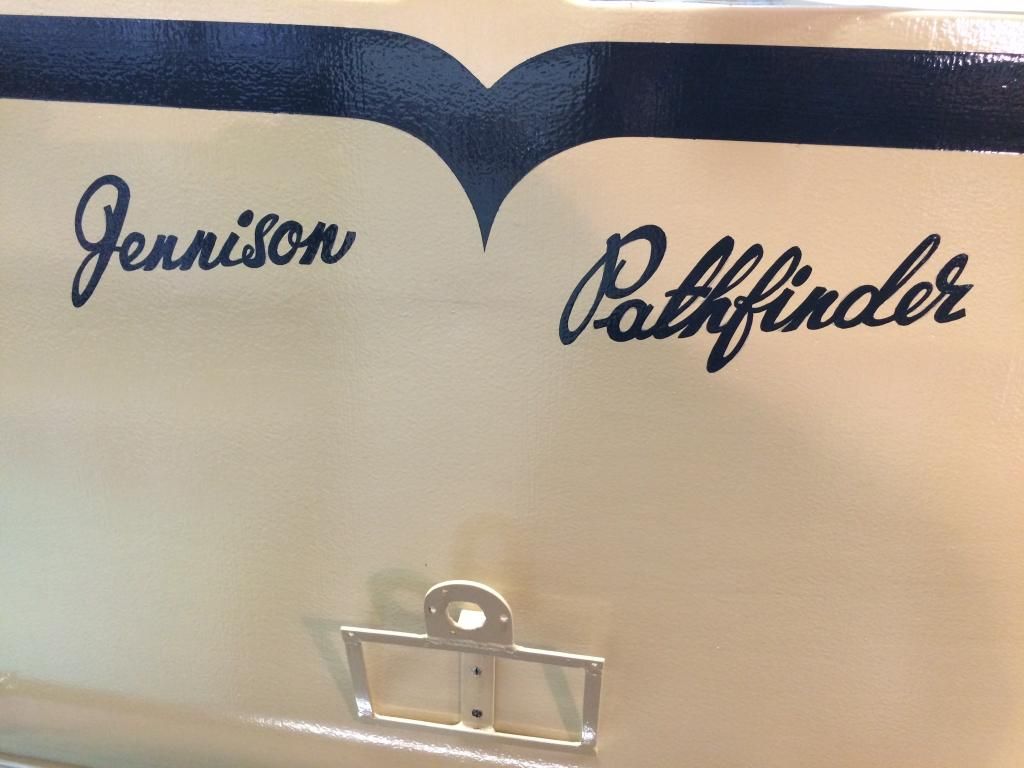 The front ! What you want that done as well he mutters! 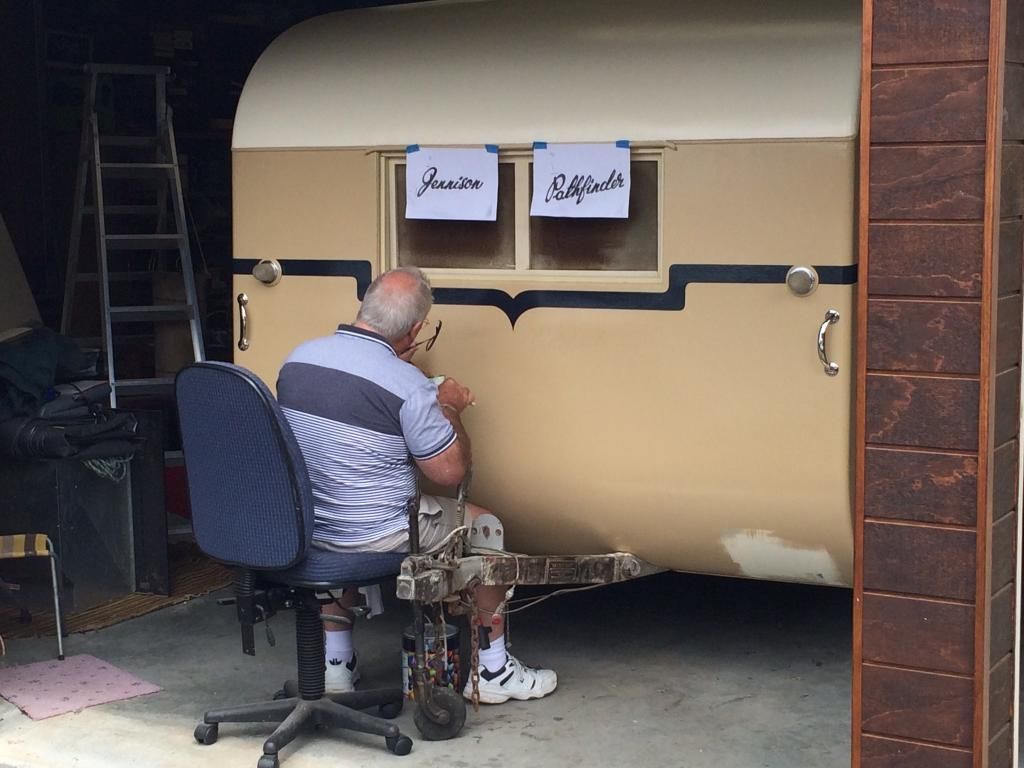 All done! Thanks Steve! 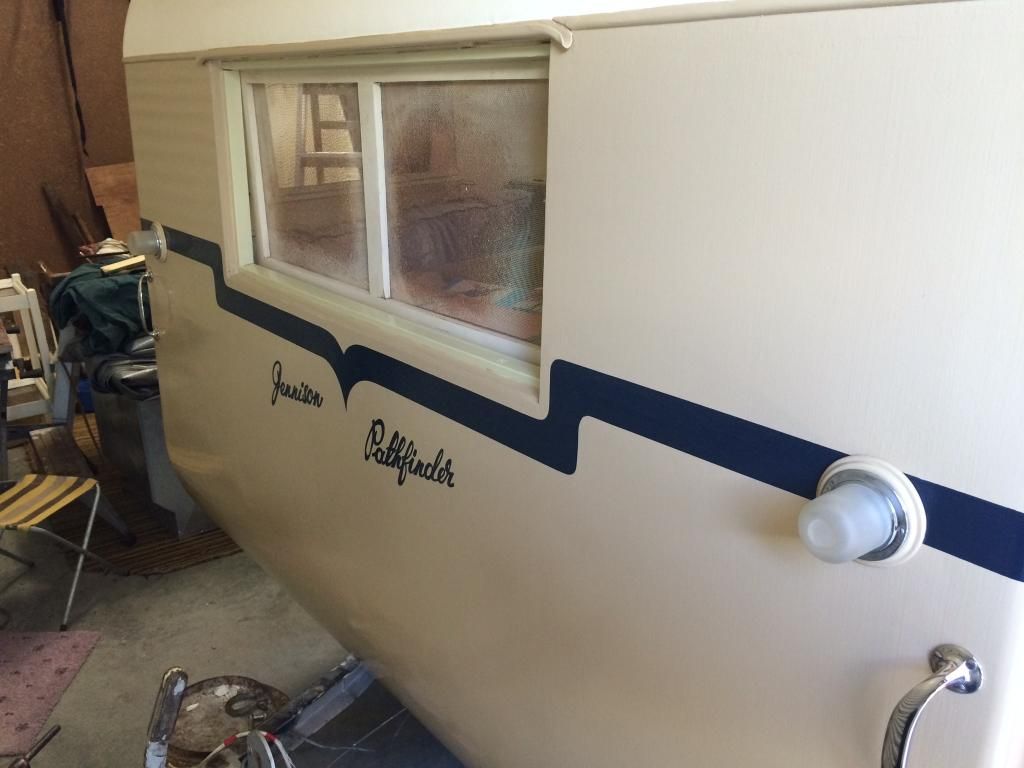 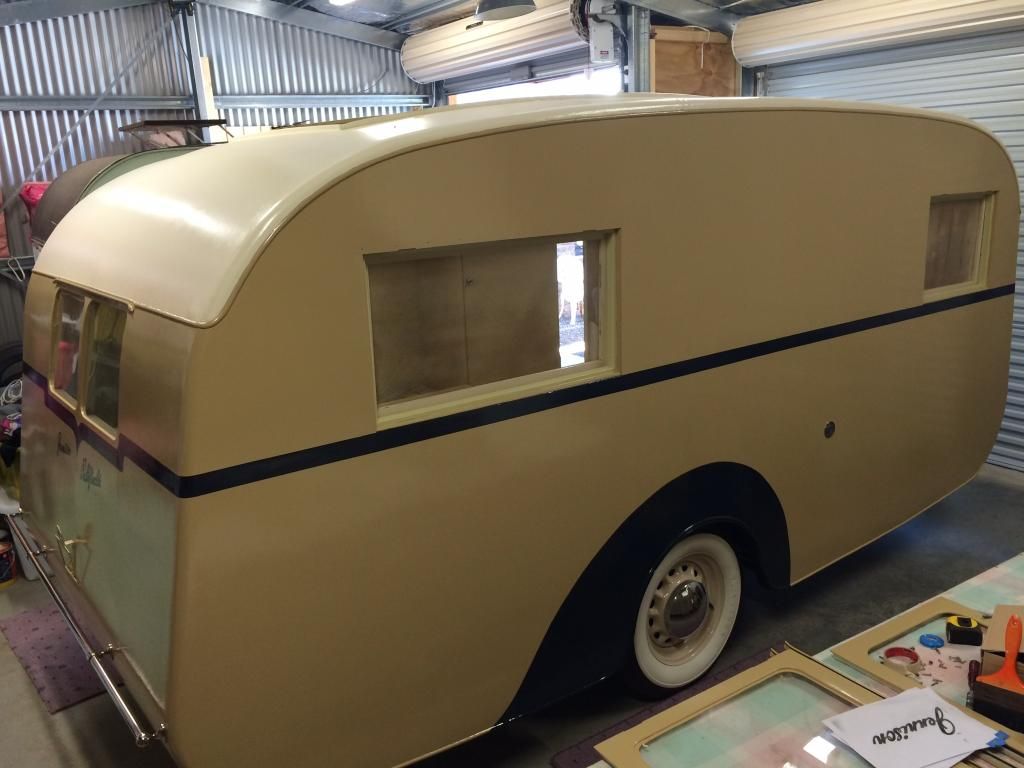 |
|
|
|
Post by akeepsake on Jan 26, 2015 7:23:02 GMT 10
Cobber this ones for you ! A towel rail shot you may want to also start a paper towel roll dispenser thread or even a vintage fire extinguisher thread?... 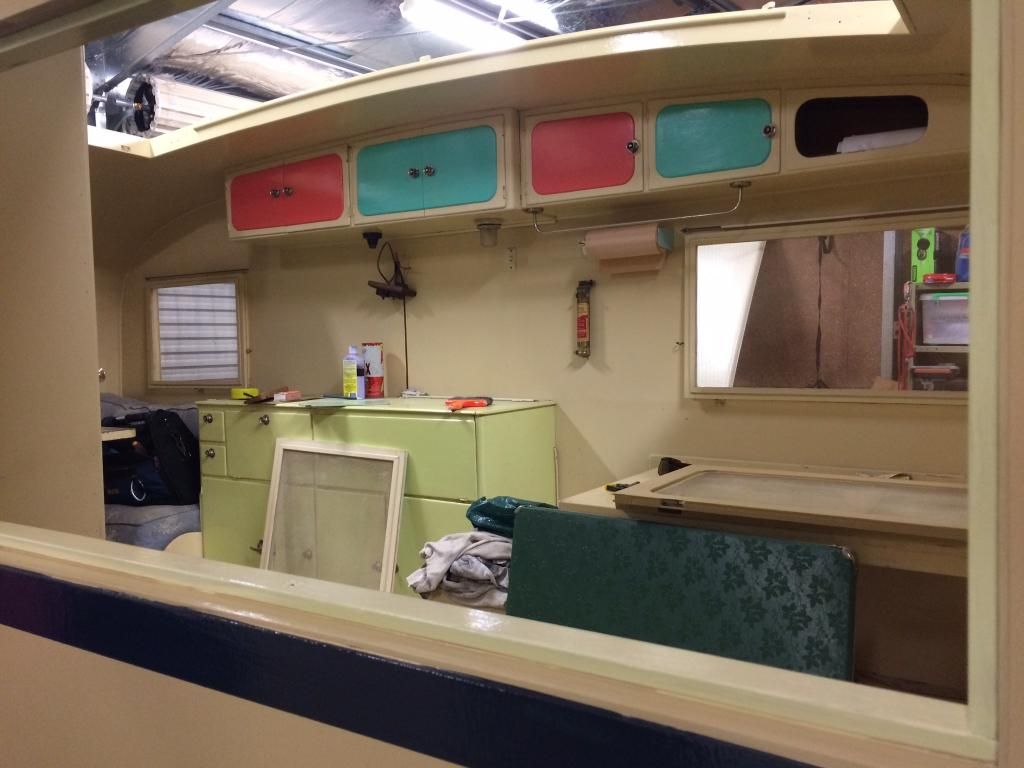 |
|
|
|
Post by shesgotthelook on Jan 26, 2015 12:11:41 GMT 10
While you're at it, how about a picnic set thread? I have more of those than I have caravans  |
|
|
|
Post by cobber on Jan 26, 2015 17:50:25 GMT 10
Andrew...do it do it do it.... start threads on vintage fire extinguishers and paper towel roll dispensers and I'll contribute to them  And SGTL..... do it do it do it.... start a thread on vintage/retro picnic sets and I'll contribute to it  And stop blaming me for starting all those other silly threads, I just contribute to them  Cobber. |
|
|
|
Post by akeepsake on Jan 28, 2015 11:57:16 GMT 10
Cobber don't know if there is enough traffic on the forum these days to populate a "paper towel dispenser " thread??? Anyway here's a shot of my fireputteroutter if anyone's intrested! 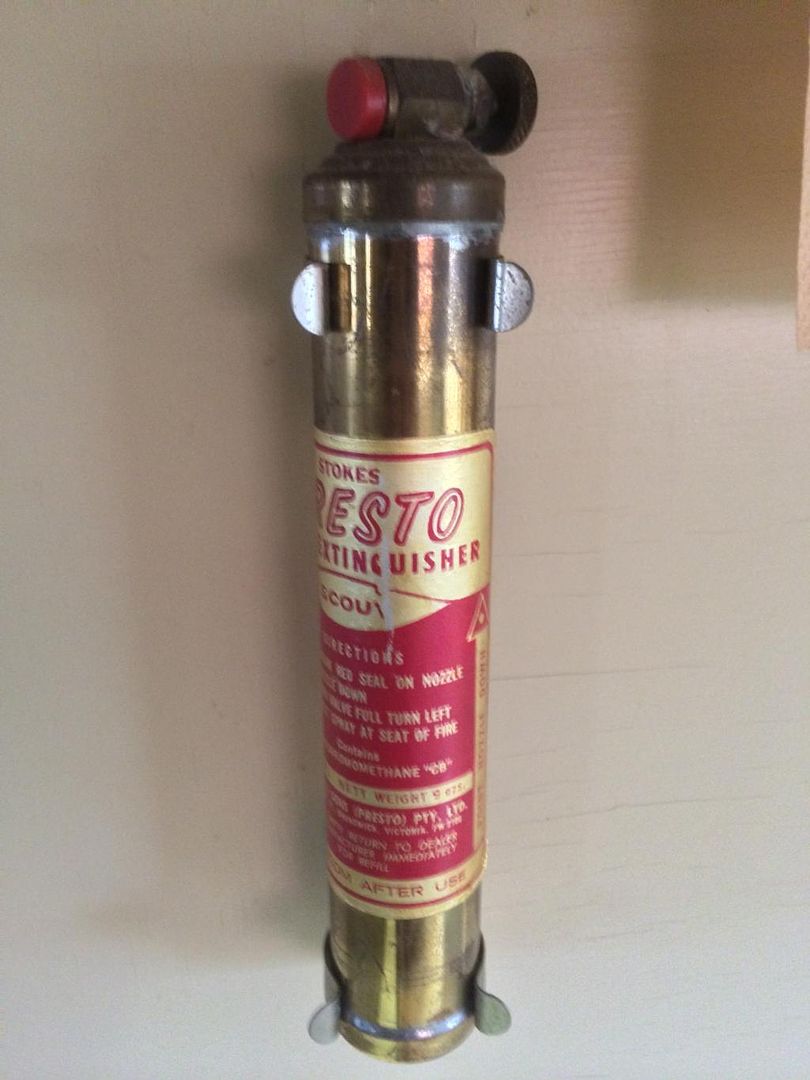 |
|
|
|
Post by akeepsake on Jan 31, 2015 22:35:11 GMT 10
Well after taking all opinions under consideration ( thanks to those who helped) I mounted my Campbell tail lights today Very happy with how they turned out as I painted them the same dark blue as the trim. I am getting some amber lenses made for the indicators but the pics show all red for now. All wiring will be done in the storage cavity below the beds and behind the drawers 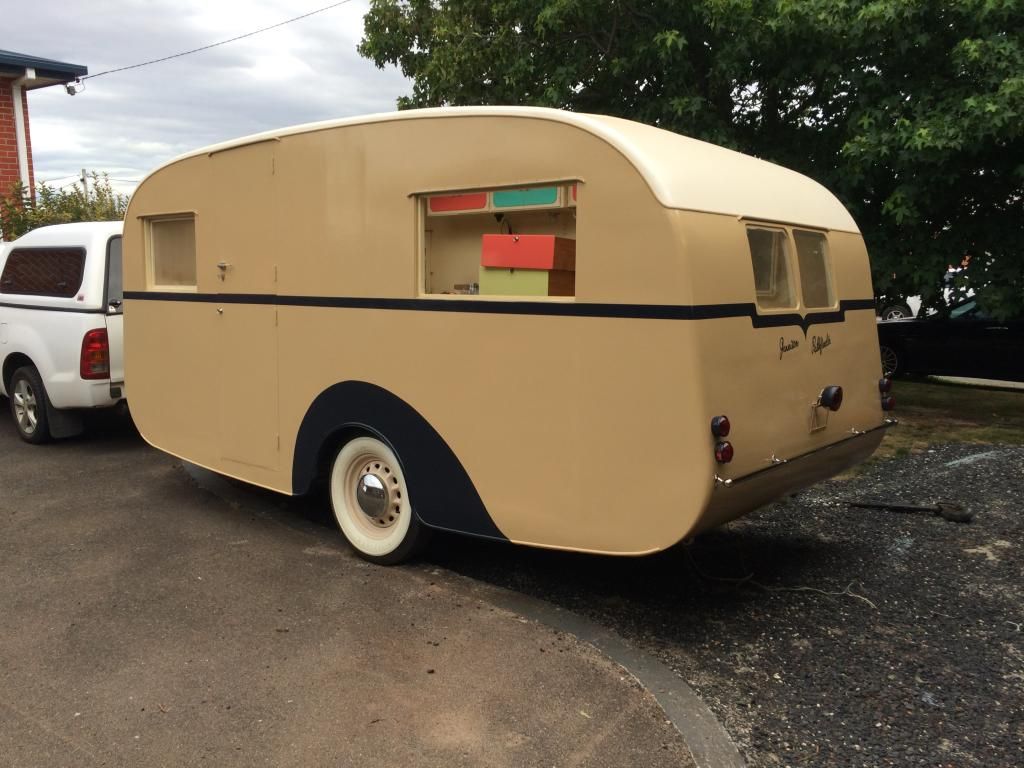 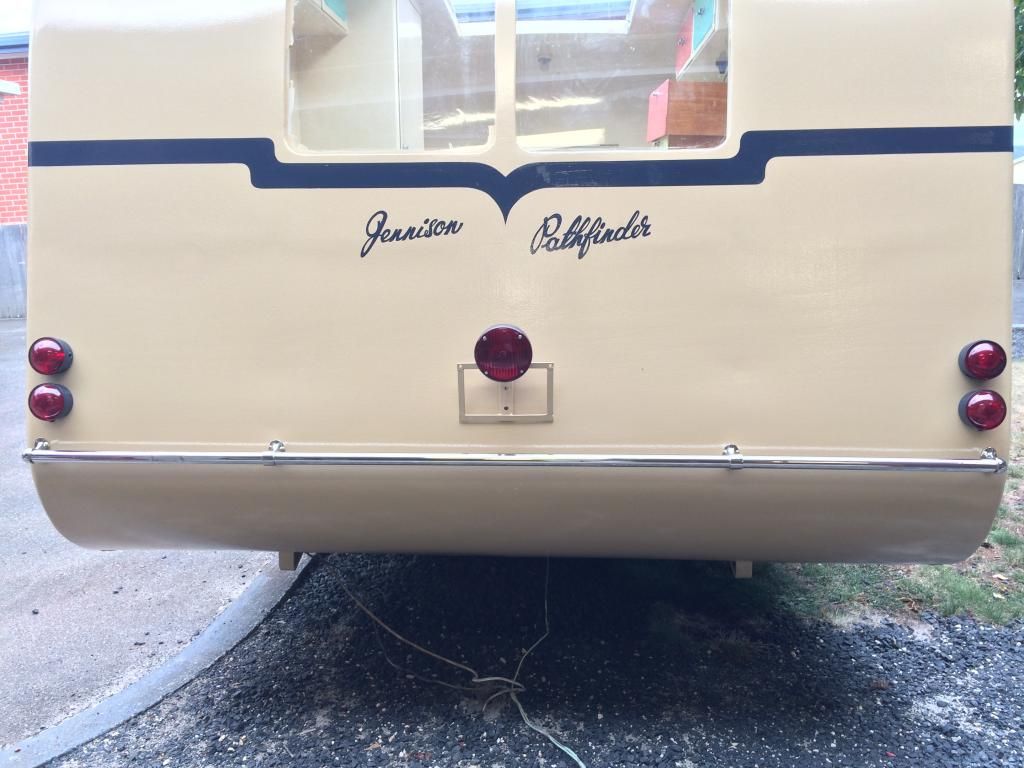 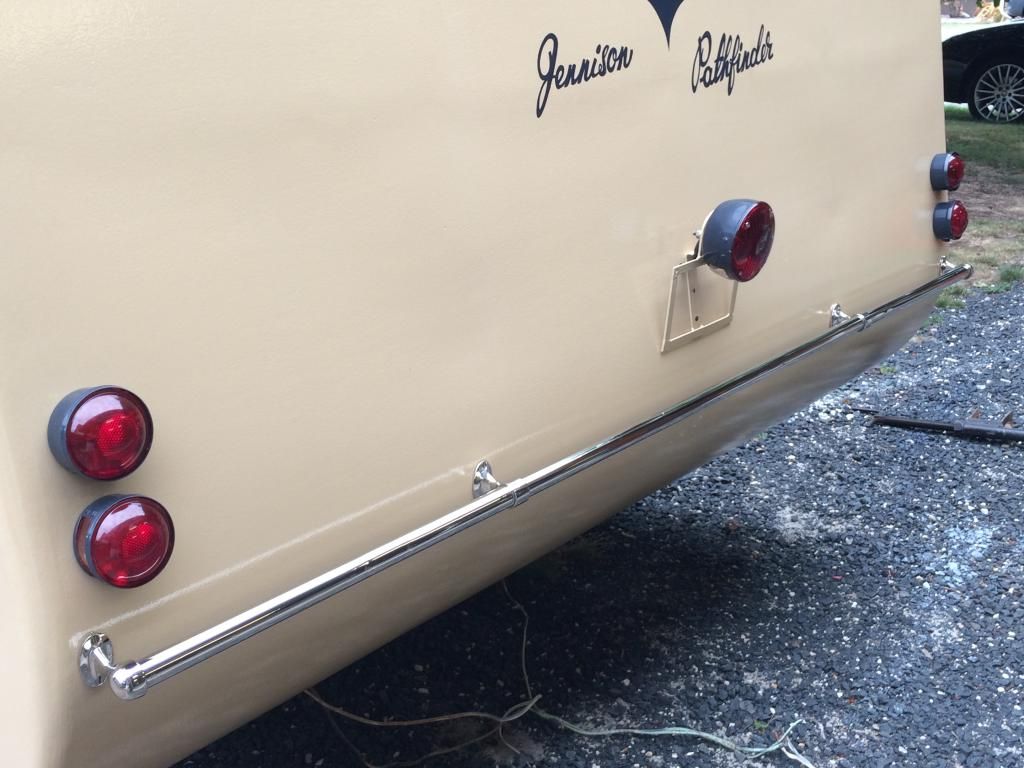 Just need to get the windows in now !!! Oh and the hatch latches and hatch on and then I should be able to get it registered ! |
|
|
|
Post by akeepsake on Feb 1, 2015 19:45:07 GMT 10
Couple of small jobs done today Replaced the door stricker as the original one was worn from 66 years of wear. Got a old unworn stricker from the local locksmith which fitted in with a bit of small adjustment. 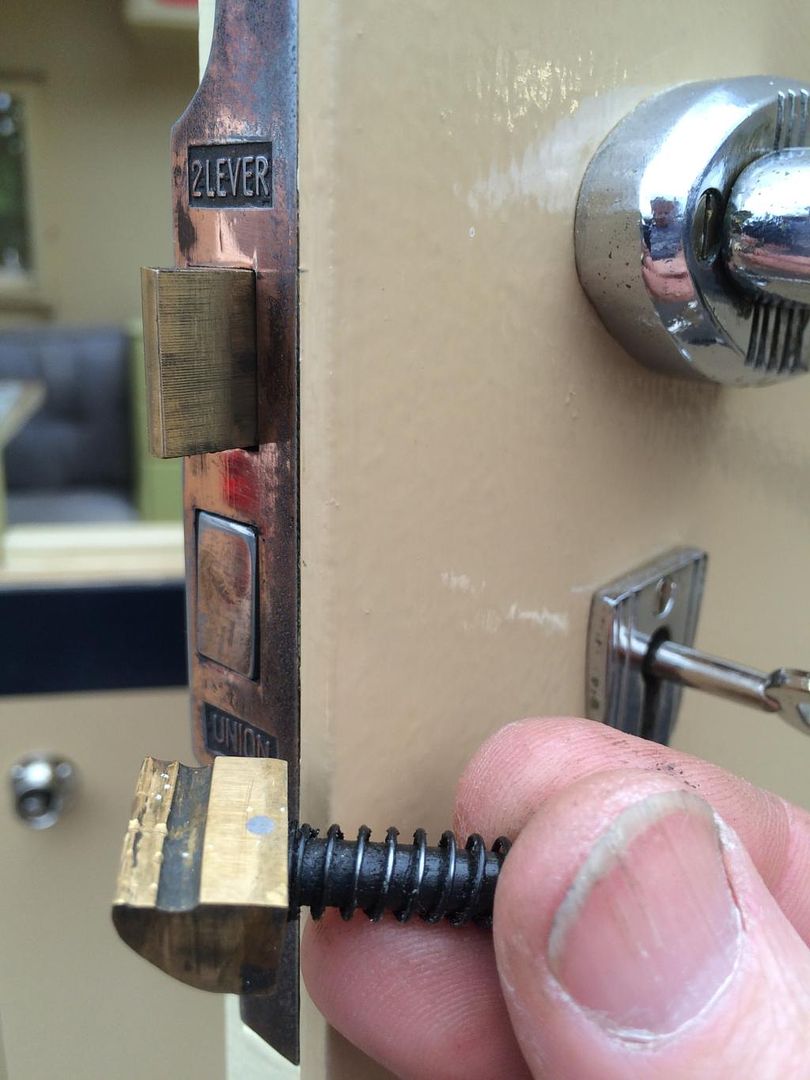 Also fitted a period outdoor light near the door . A pain to wire without drilling holes into the interior ply lining ! I know , I know it's not original I hear you say , bu I did use slot headed screws to attach it! 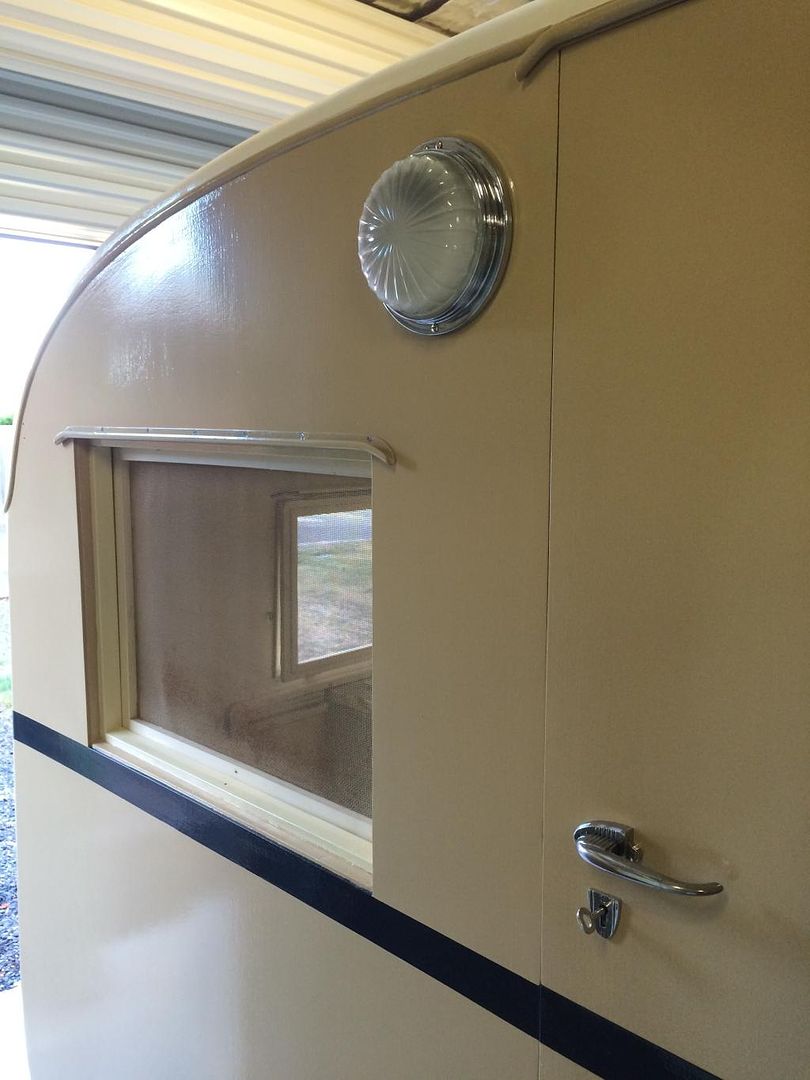 |
|
|
|
Post by King Fisher on Feb 3, 2015 14:17:52 GMT 10
... I am getting some amber lenses made for the indicators but the pics show all red for now. ... I'm asking for a friend here, and for interest sake too, but where are you getting you lenses made? |
|
|
|
Post by akeepsake on Feb 3, 2015 22:27:02 GMT 10
... I am getting some amber lenses made for the indicators but the pics show all red for now. ... I'm asking for a friend here, and for interest sake too, but where are you getting you lenses made? No worries King Fisher. Here's the link He can make up lenses from a mould made from an existing lens and has some common lenses in stock Hope it helps Cheers Andrew www.tailights.com |
|
|
|
Post by akeepsake on Feb 4, 2015 14:13:58 GMT 10
Here are just a couple of before and after shots . Tried out the new buffing wheel the other day ! Hope you can notice the difference Before: 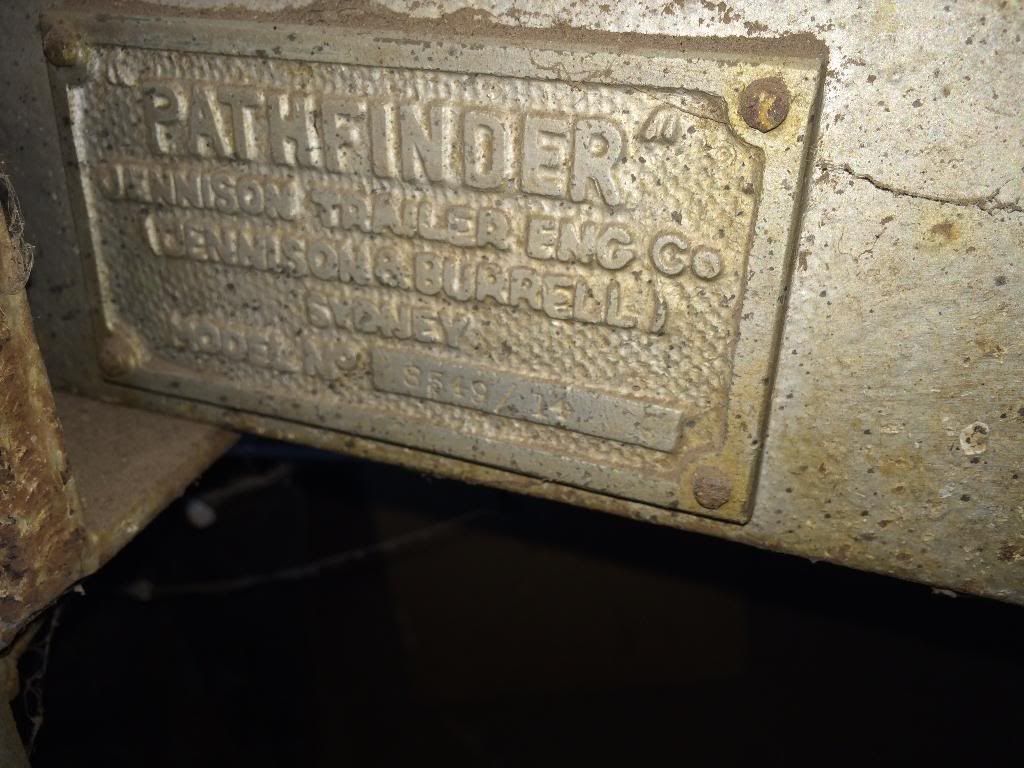 After: 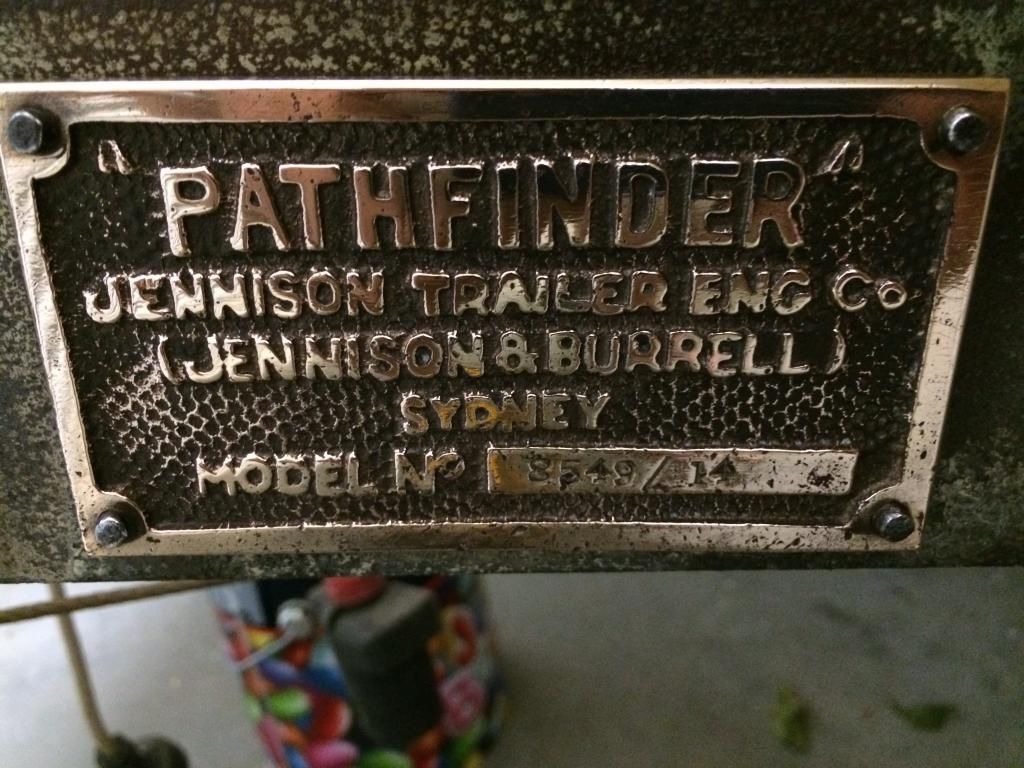 Talking to Jennison re the serial number we think it the first 2 digits (85) is the build number and the next 2 (49) the year and the (/14) is the length . Really not sure how many of these were built between production start in 1948 and the intro of the Aluminium Jennison in 1953 but I would suspect this was the 85th 14' one outright ?. At a guess between the 12, 14 and 16 foot models would it be possible to make more than one of each model a week ? Happy for your thoughts. |
|
|
|
Post by akeepsake on Feb 8, 2015 12:47:06 GMT 10
Well I'm having a crack at trying to get the Jenno on the road for the long weekend in March ! It's the little jobs that take the most time ah! The hatch which is 8 feet long has been disconnected from its moorings for quite a while now so I thought it was time to reunite it with the roof! The brackets that hold it in place are all handmade and according to an article I read in the Jennison files had a handle/lever that attached to it to assist raising the hatch but I didn't find one in the van and how it could work has eluded even my imagination ! Here's a post shot in the closed possie 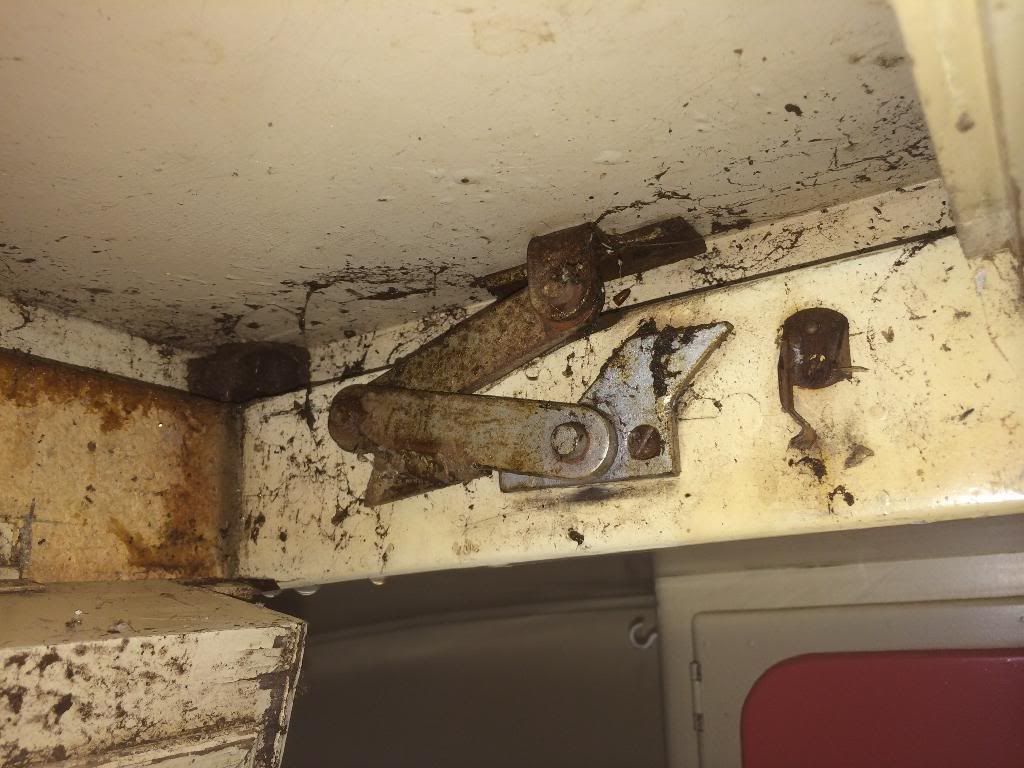 And here they are after a session with the wire brush and rust convertor and topcoat 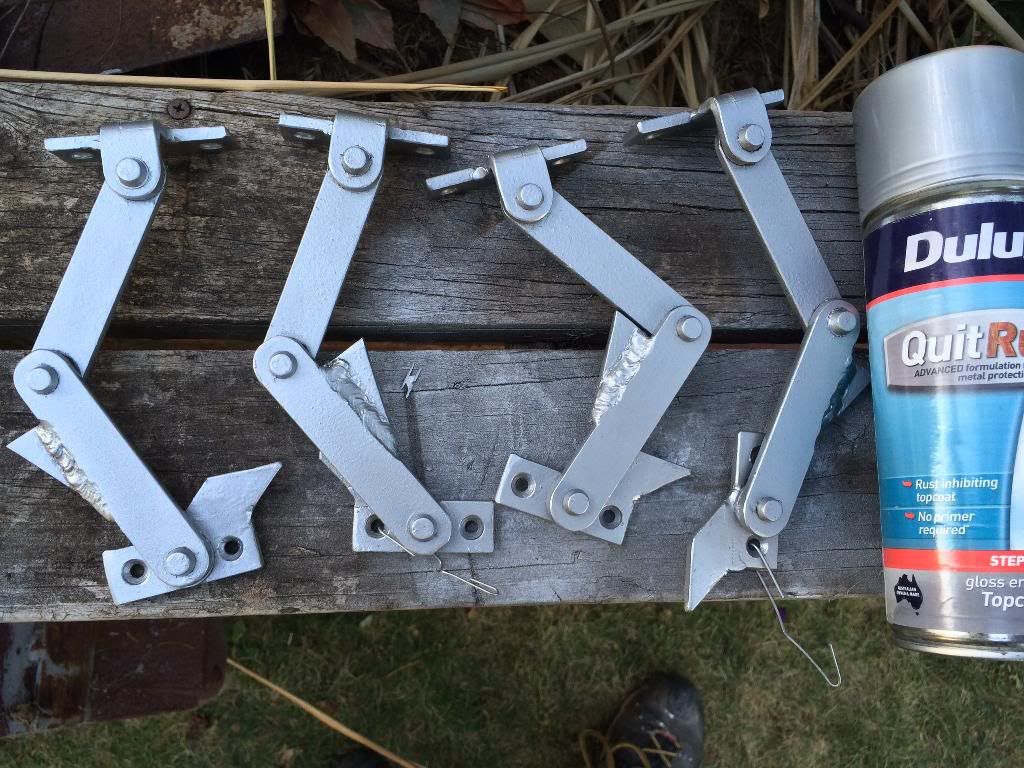 The underside of the hatch has a ply strip that holds the stretch canvas in place . Originally I thought I would need to replace this as being external it was subject to the elements however on further inspection it was still very sound and once the nails were punched and rust treated it came up a treat! 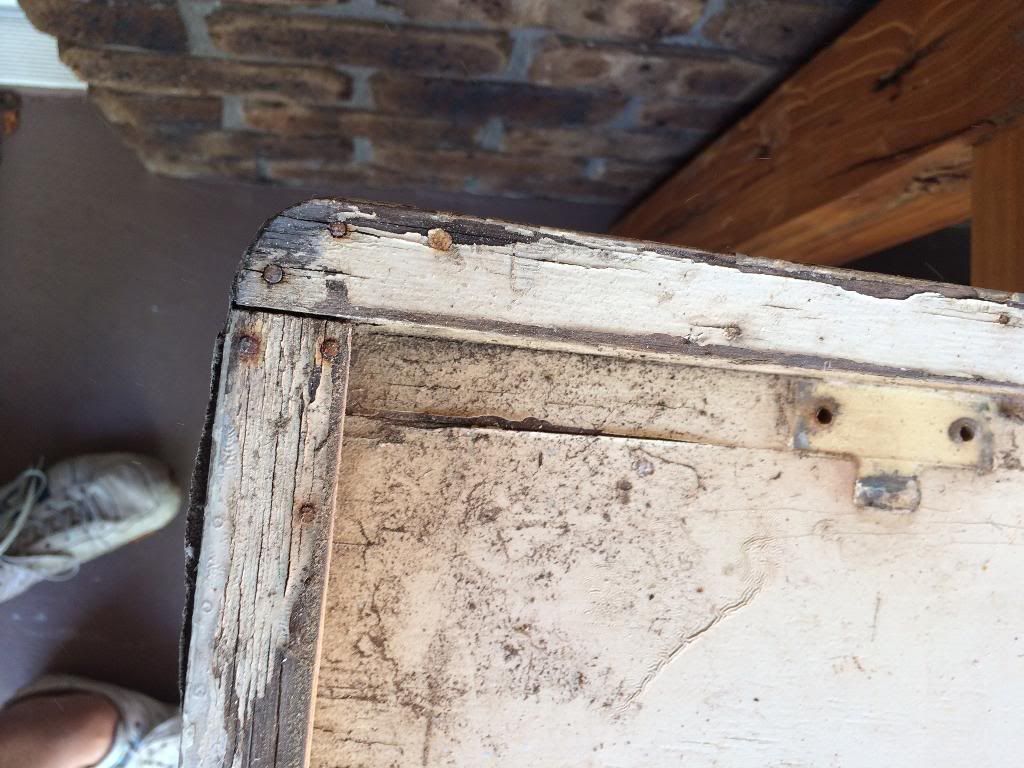 Hatch underside repaired and painted 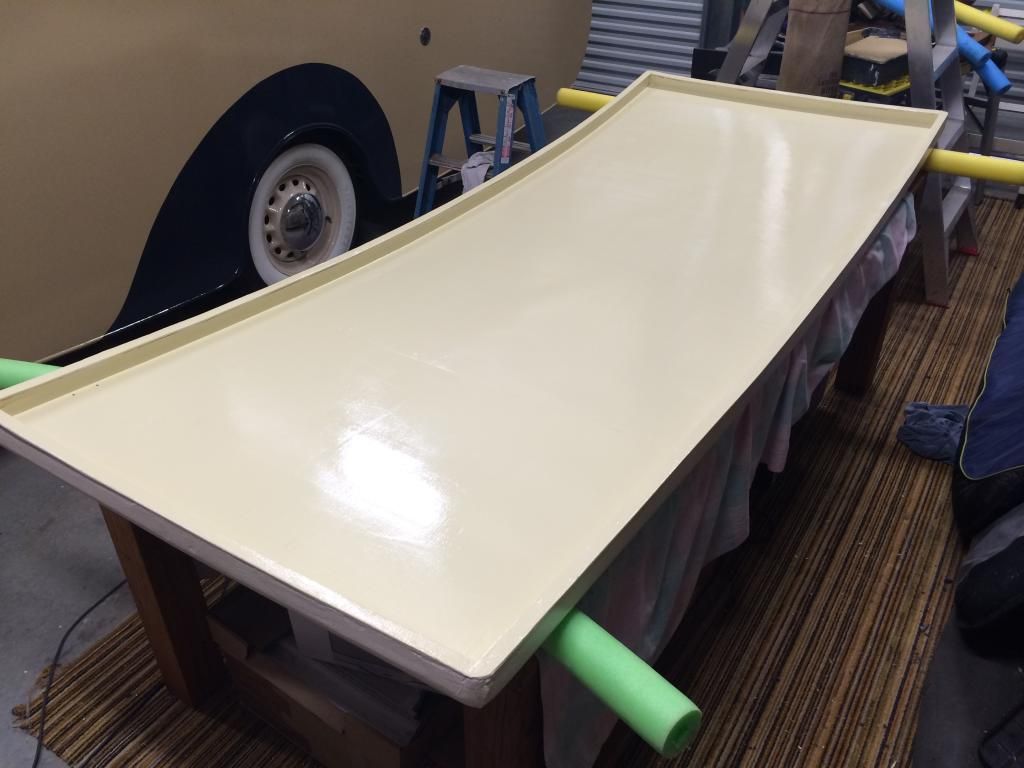 The next step once the hatch was reattached was to try and figure out a locking mechanism as the original ones were long gone and I was a bit stumped as how it was held down . Luckily Jeff's Jennison still retained its original barrel bolt locking mechanisms so a trip to bunnings and I was sorted! The box of vintage "rawlnuts" were picked up recently at a junk shop along with a stack of slot headed screws .They worked great in the thin bondwood hatch lining in holding the barrel bolt on very securely ( sort of like a rivit for timber) 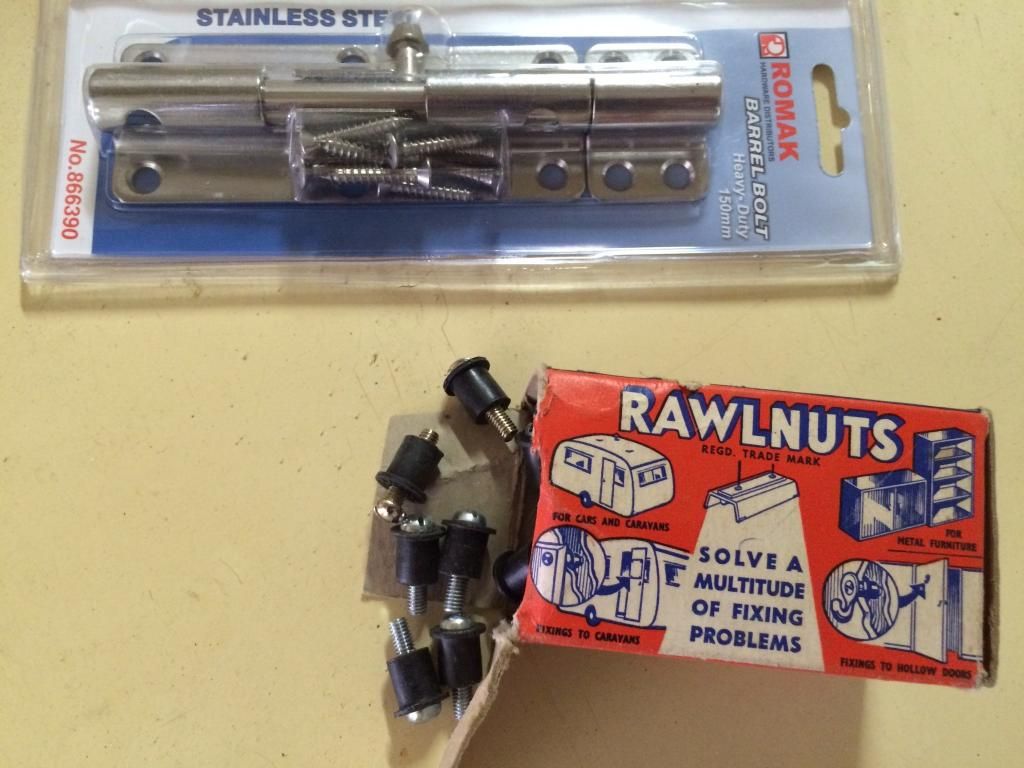 I cut the barrel latch in half and attached one half in line with the bolt to the hatch where there was solid timber and the barrel bolt with the rawlnuts to the bondwood lining 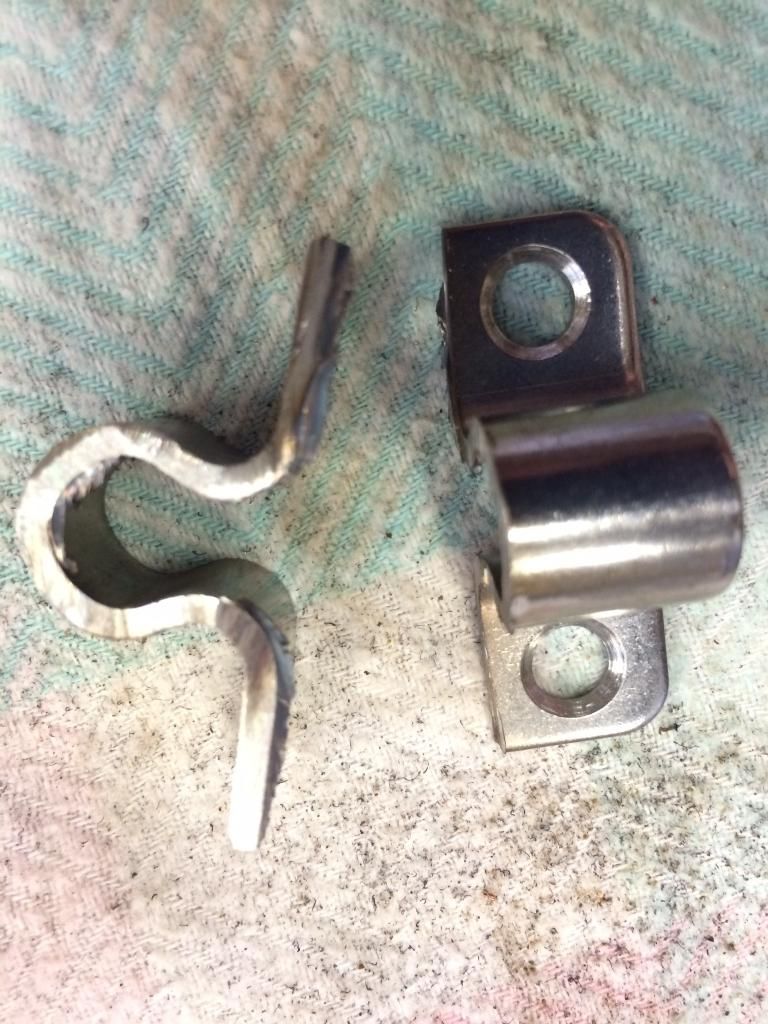
The other half was attached to the hatch surround with 50mm screws so not to pull out 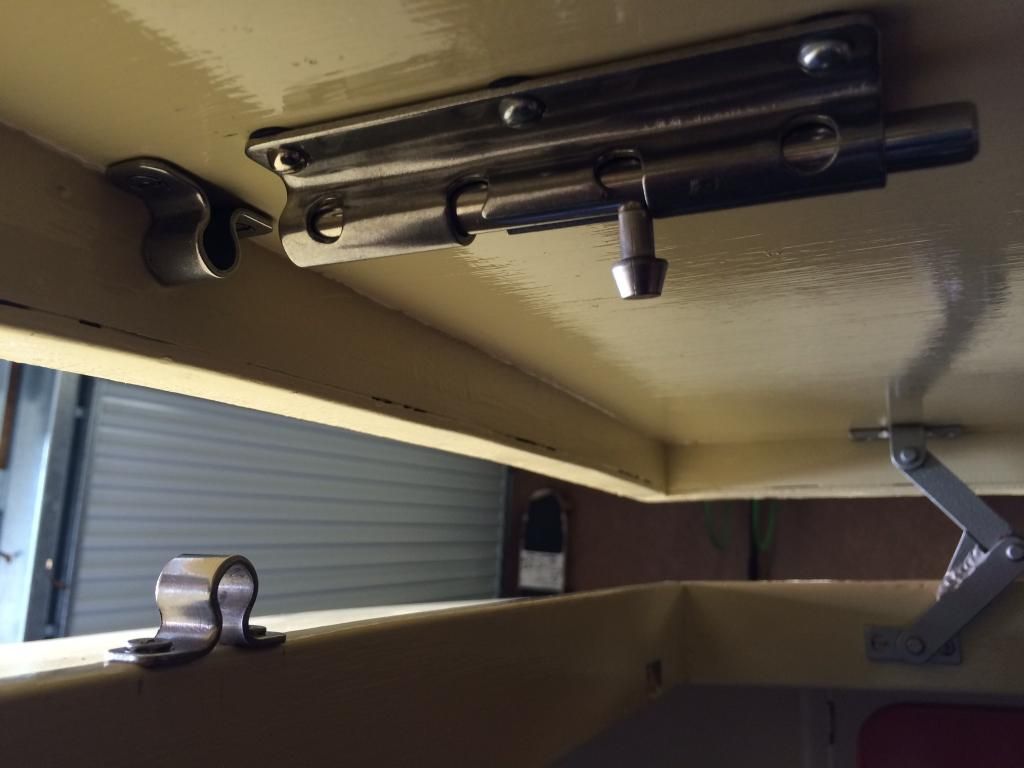 When the hatch is closed and the barrel bolt is latched it is very secure as it takes most of the weight on the other half of the cut latch which is secured into solid timber rather than just bondwood hatch lining. Very happy how it turned out ! Might help someone else who needs to secure their hatch!! 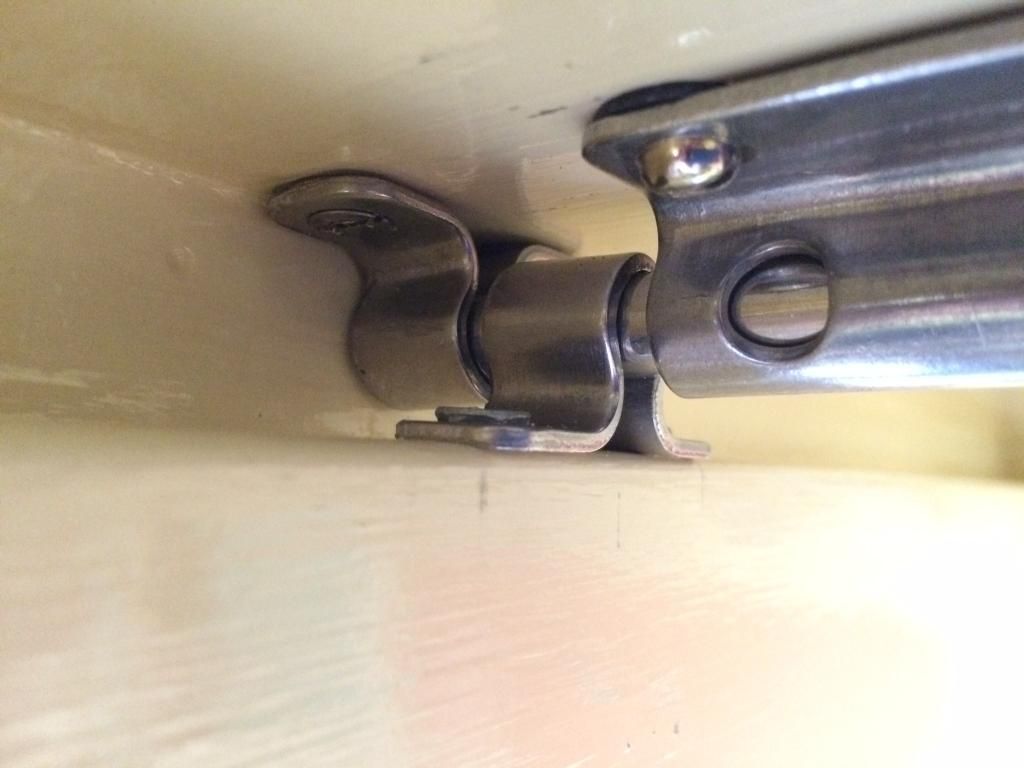 Here's the hatch in "air conditioning" mode ! 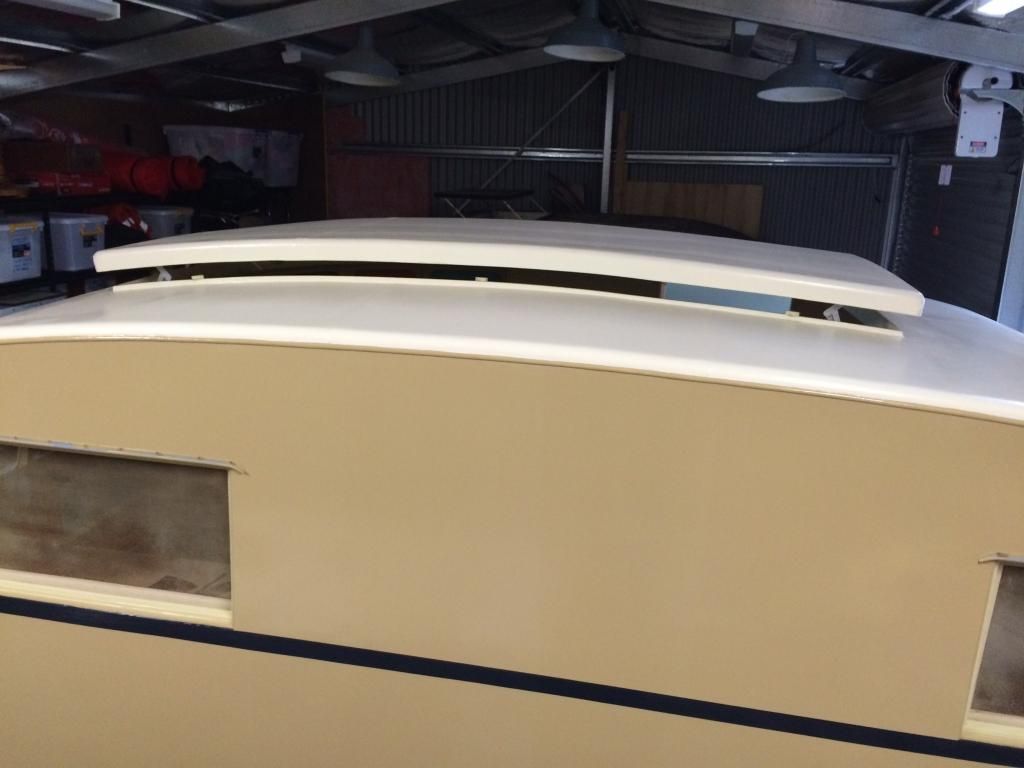 |
|
|
|
Post by cobber on Feb 8, 2015 14:01:57 GMT 10
G'day Andrew, You really are setting a high benchmark with this restoration, making me feel slack  My 1948 ? war surplus 'Alley van' has very similar stays on it's roof hatch, and no way of raising it or locking it down, it's only about 15'' square so no need for help to raise it and, it appears that the way the stays work they need a vertical force from underneath to raise it.... wind blowing from the front wouldn't lift it. Anyway.... I don't quite understand how you can hold down a job, do such a thorough job on this van AND post such a great photographic record of what you are doing.... well done   Cobber. |
|