|
|
Post by Franklin1 on Nov 18, 2014 9:16:31 GMT 10
G'day Andrew, great work you're doing! The van will be an absolute credit to your perseverance.
Can you tell me the estimated radius of the edge curve that you've wrapped the fibreglass tape over, please? (ie. from roof to side).
Also, did you fibreglass all the way around the edge of the van, including the curved side areas, or only on the straight sections? I would be interested in seeing a close-up photo of how the tape sat when it was run around the four curved corners of the side (ie. did you cut darts in the tape to get it to wrap around the side-wall curved shape?). I'm curious to see how more experienced fibreglassers than me go about doing the job properly.
cheers,
Al.
|
|
|
|
Post by akeepsake on Nov 18, 2014 10:38:14 GMT 10
Thanks Al for your encouragement and interest Its a labour of love but such a rare van needs to be done right without shortcuts The radius on the corners is approx 3 cm approx I fiberglasses around the complete ends too to bottom using a fiberglass strip about 3 1/2" wide giving me aprox 1" cover over each side where the bondwood butts to the frame originally there was a light cotton weave ( like plaster tape ) which was filled with some sort of white filler ( see earlier post re this) At the tight radius at the bottom I folded the tape at one side and will sand it off before applying another coat of resin See pic 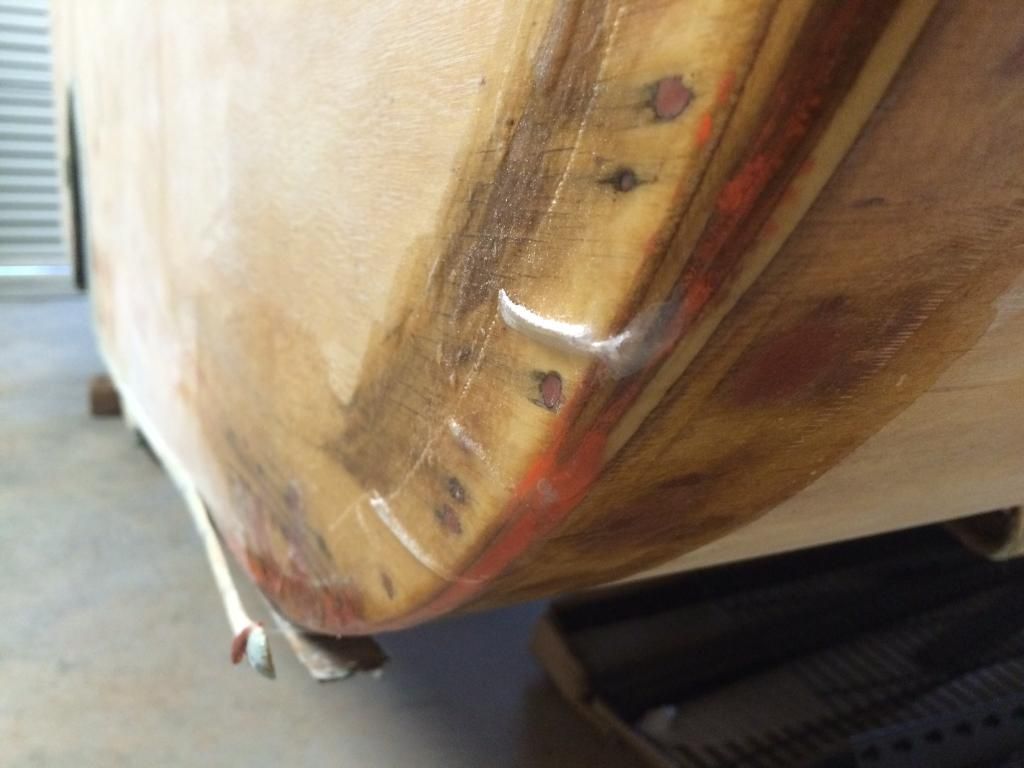 I want to stress to you that I am not in any way an expert in fiberglass ... Infact this is my first go at it!!!! Always enjoy your posts Al cheers ! |
|
|
|
Post by akeepsake on Nov 22, 2014 8:33:26 GMT 10
|
|
|
|
Post by cobber on Nov 22, 2014 9:30:51 GMT 10
G'day Andrew, NOS reflectors like that are a treasure aye? .... and made in Australia, I bet that made your day finding those  . The original originals most likely would have been made of metal, all rusty by now but those ones look pretty good to me. If you give us the supplier I'll add it to the Restoration Parts Suppliers List under the 'Lights internal and external' section. And then... there is the thread you know about and have already contributed to   ...about Stop-Turn_Tail _Lights (we might ask Seeshell to expand the heading there to include Reflectors...... ARE YOU THERE SUNSHINE ?  ) Both NARVA[/url] and HELLA have retro reflectors (but not the beauty you've found).... Hella ones are available through ozautoelectricsSo...... the thread needs updating  Cobber. |
|
|
|
Post by seeshell on Nov 22, 2014 15:16:46 GMT 10
And then... there is the thread you know about and have already contributed to   ...about Stop-Turn_Tail _Lights (we might ask Seeshell to expand the heading there to include Reflectors...... ARE YOU THERE SUNSHINE ?  ) So...... the thread needs updating  Cobber. Derk let me know you were looking for the update - done! A bit out of the loop at present doing my thesis.  Cheers Seeshell |
|
|
|
Post by akeepsake on Nov 22, 2014 16:57:15 GMT 10
|
|
|
|
Post by cobber on Nov 22, 2014 18:21:31 GMT 10
Thanks Andrew... they are already on the list, somebody else must have reckomended them previously  Cobber. |
|
|
|
Post by akeepsake on Nov 22, 2014 20:49:33 GMT 10
All good Cobber ... On the lens front I have contacted Dave from taillights.com and he is going to make me up some lenses If anyone wants any now's your chance. They are Campbell and 75mm dia Here's a pic 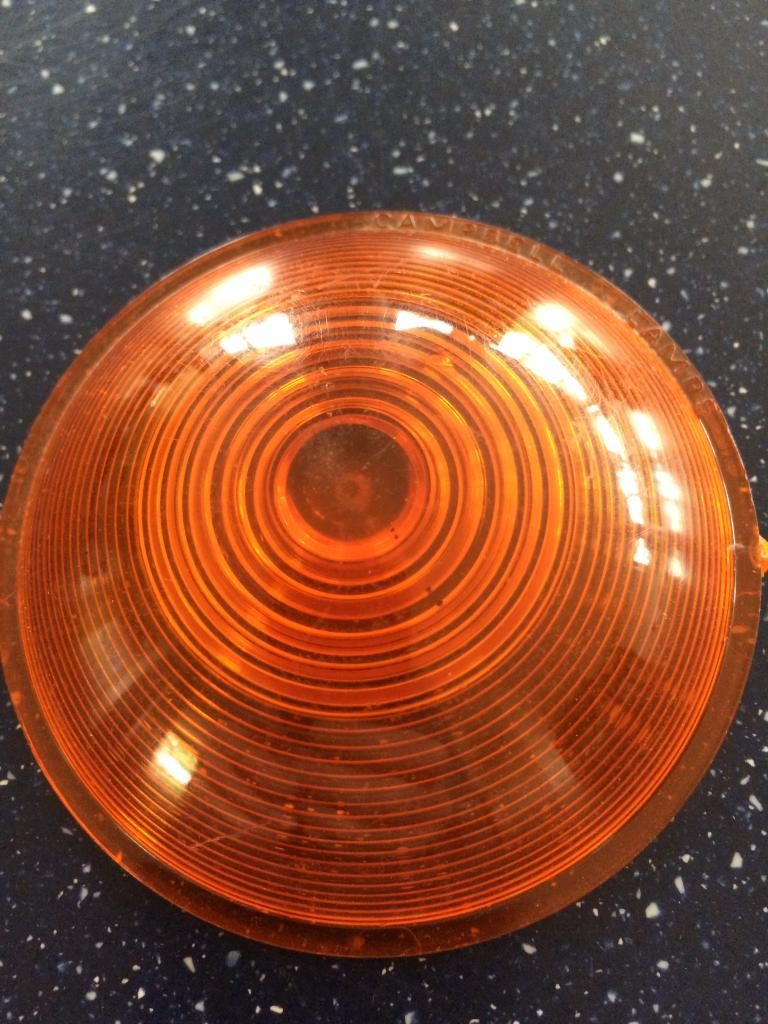 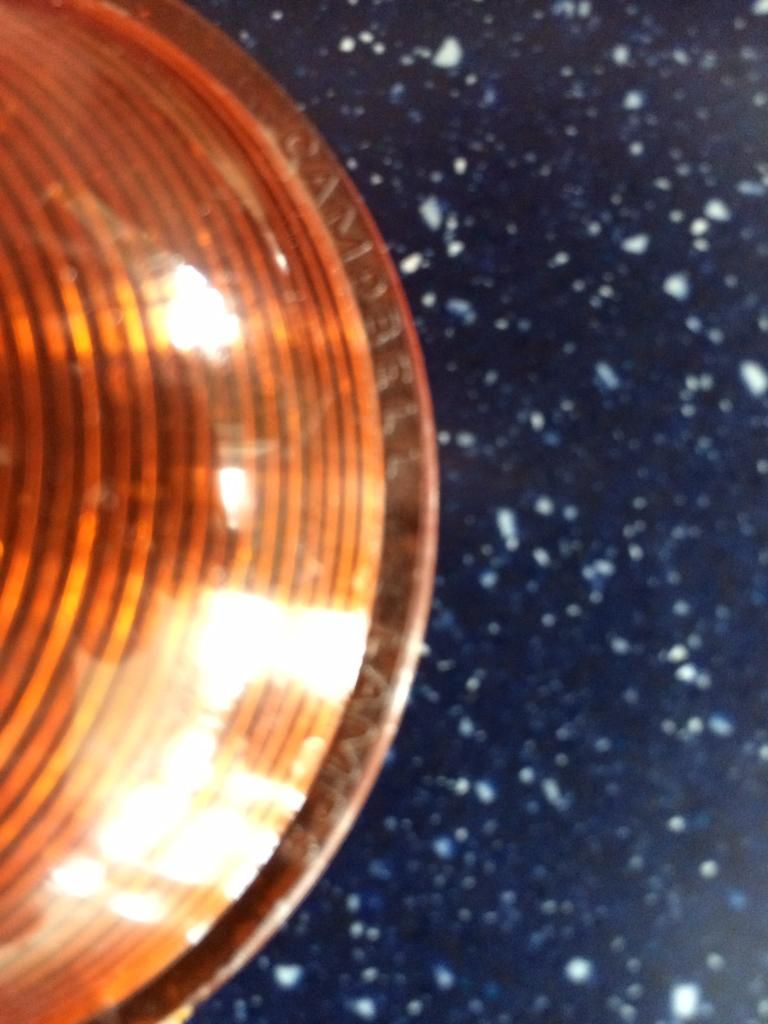 |
|
|
|
Post by Don Ricardo on Nov 23, 2014 16:04:57 GMT 10
The original originals most likely would have been made of metal, all rusty by now but those ones look pretty good to me. Hi Akeepsake, Given that the Jennison is a 1949 model, I think Cobber is very probably correct, and that the original reflectors would have looked like the ones on our Don: 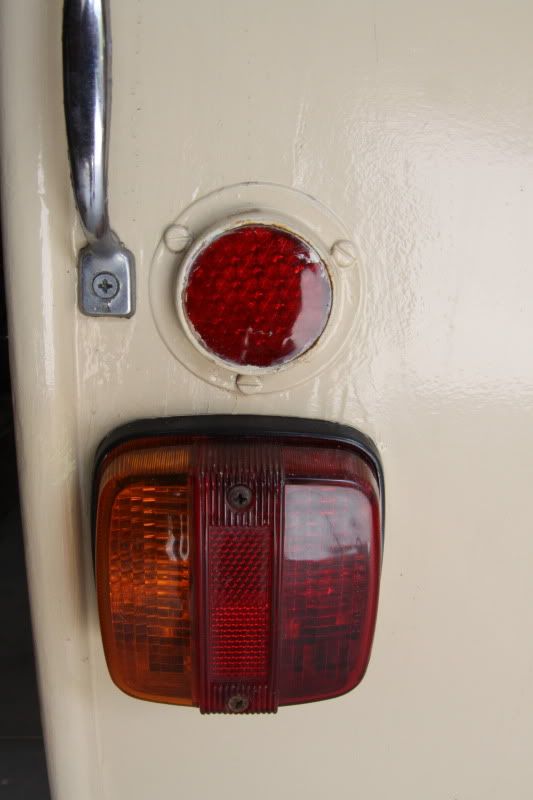 I just checked the measurements which are: - Diameter of reflector including metal bezel - 67 mm - Diameter of actual reflector glass inside bezel - 48 mm - Distance between screw holes - 54 mm (All of the measurements are a bit give or take a millimetre or two. I always find it a bit difficult to measure something with lumps and bumps in the way...) I would be interested to know how those measurements match up with (a) the screw holes on the Jennison, and (b) the measurements of the NOS reflectors you've found (which look like a pretty good find for the purpose, by the way). Don Ricardo |
|
|
|
Post by akeepsake on Nov 23, 2014 21:43:56 GMT 10
Richard just went out and measured . The dia of replacement reflector is 83 mm outside dia; the reflector is 44 mm dia and the holes are placed 52mm apart which is the same as the original Jennison holes As Cobber and yourself have stated I too presume that the original ones were the same as your Don shot here is a pic of a 14 foot pathfinders rear end ( a bit worse for wear ) showing a reflector that looks like what's on your Don 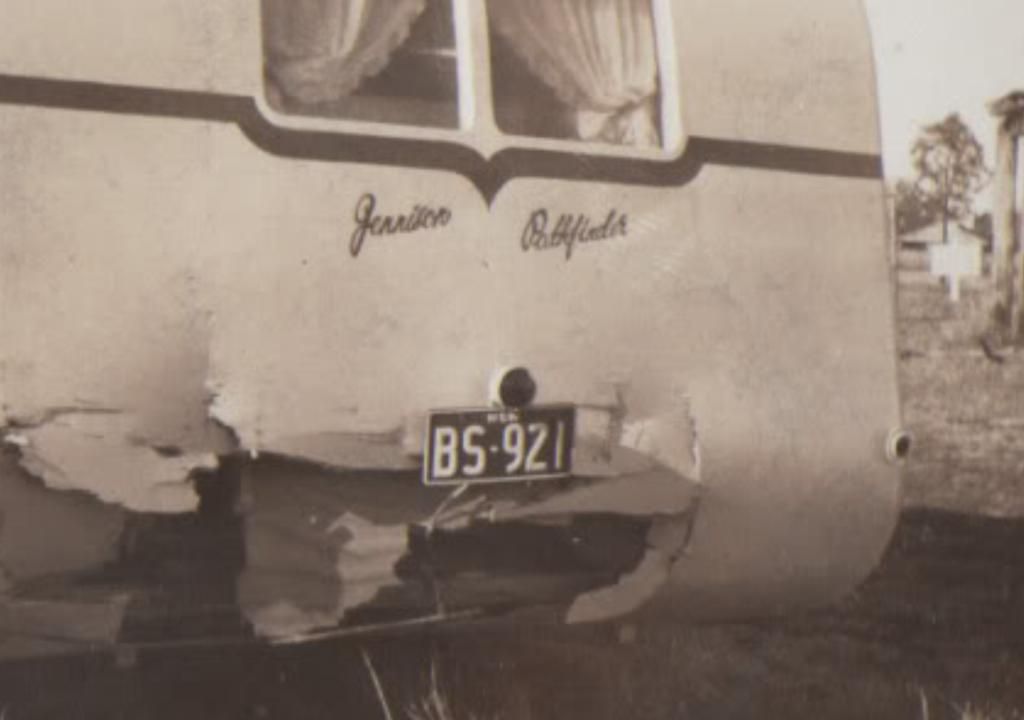 |
|
|
|
Post by akeepsake on Jan 8, 2015 10:14:17 GMT 10
Happy New Year to all! I'm on holidays so really trying to have a crack at getting the Jennison back on the road ! It's a slow process but highly rewarding ! This week have been concentrating on the little jobs which seem to take up more tomes than the bigger jobs! ... You figure it out! Mostly filling and sanding dents etc .Not really very exciting stuff but it's gotta be done ! The front window was missing its gutter and in its place was this ugly bit of Galvo! ( Functional yes ! But it had to go!) 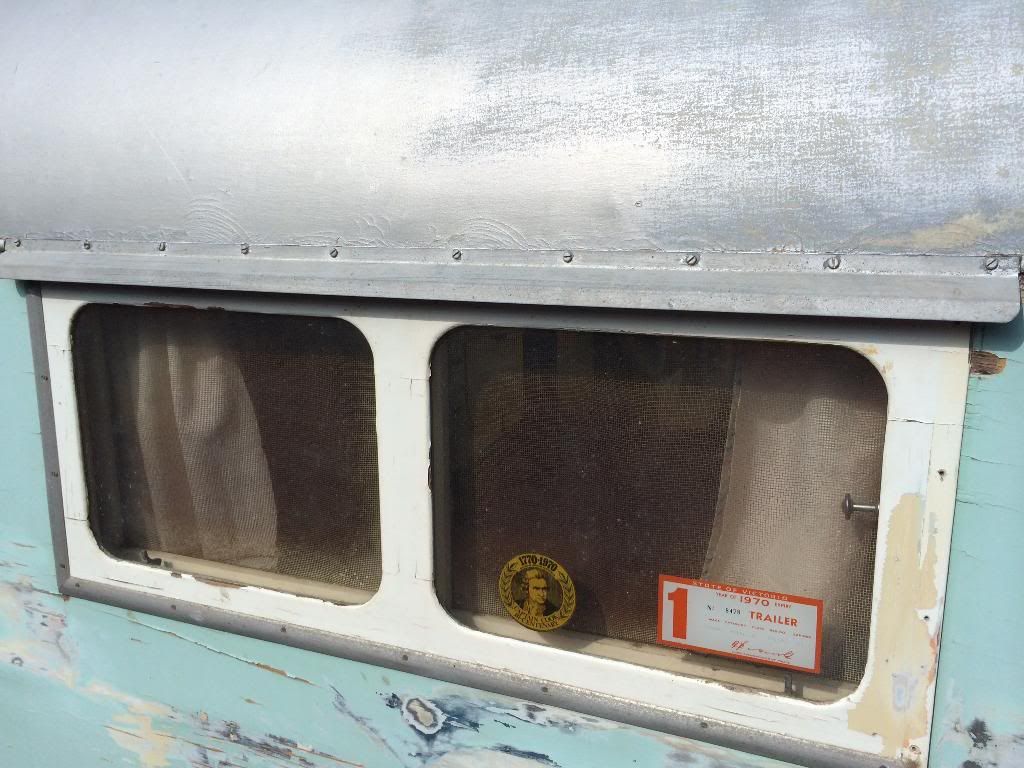 I made up a new one from some j mould etch primed it and screwed it into place ( with slotted screws Cobber) 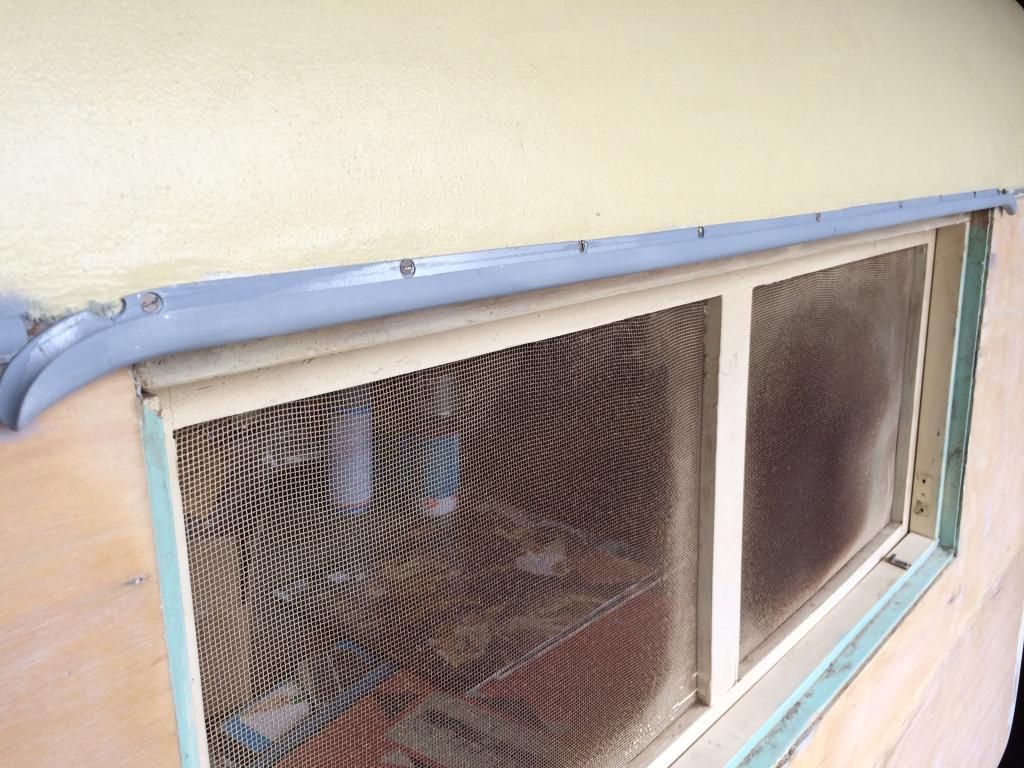 I then had to make up a couple of aluminium fillers to replace what was cut out of the moulding that holds the canvas on which I drilled and pinned in place ( exiting stuff ah!) 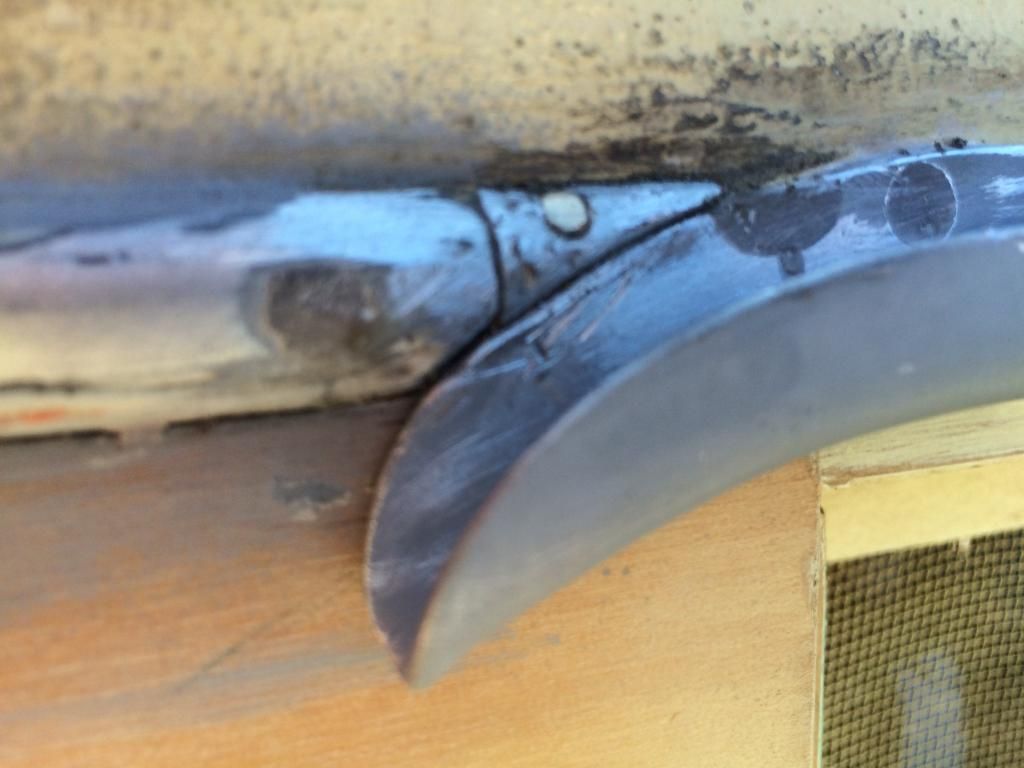 Anyway full undercoat to come today if all goes well! |
|
|
|
Post by akeepsake on Jan 9, 2015 21:43:27 GMT 10
Well finally put some underwear on my naked Jenno today ! It's been a long time coming and too many hours of prep but very happy with the results so far! I'm using Dulux Prepcoat x2 coats 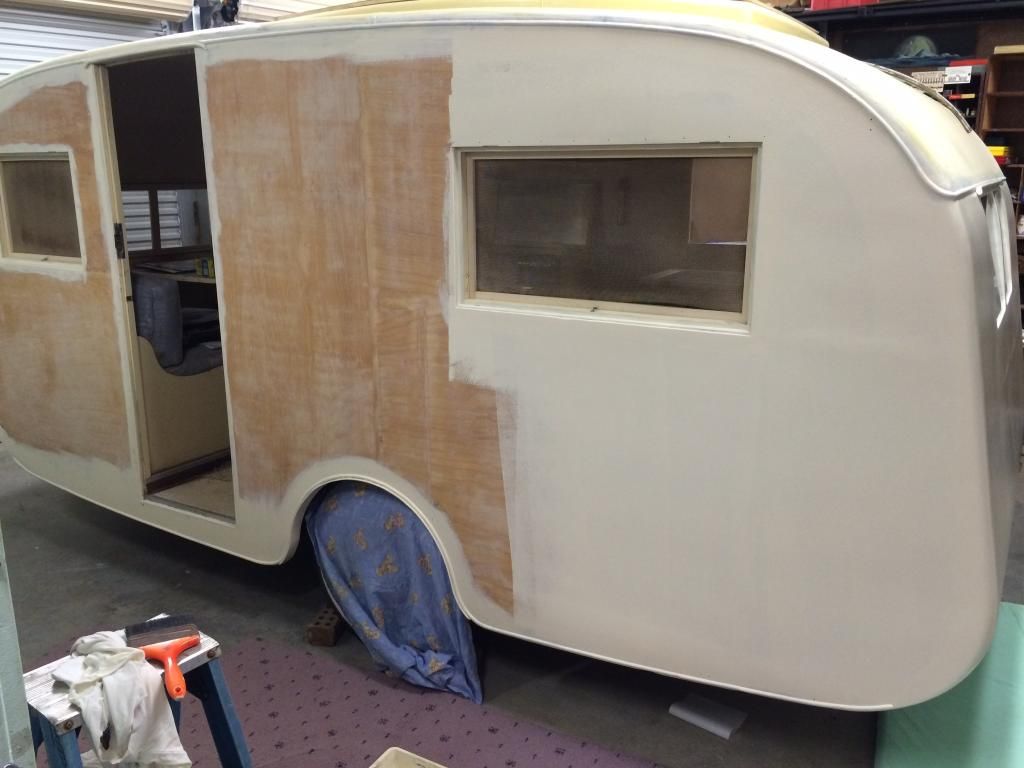 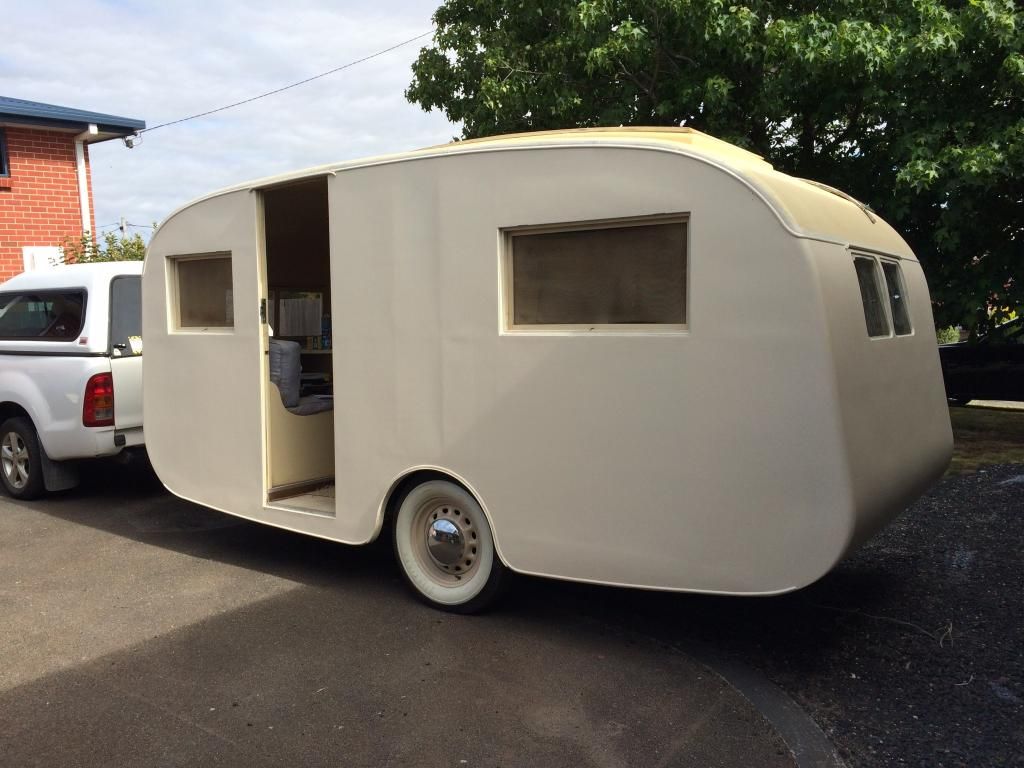 Does my bum look big in this colour? 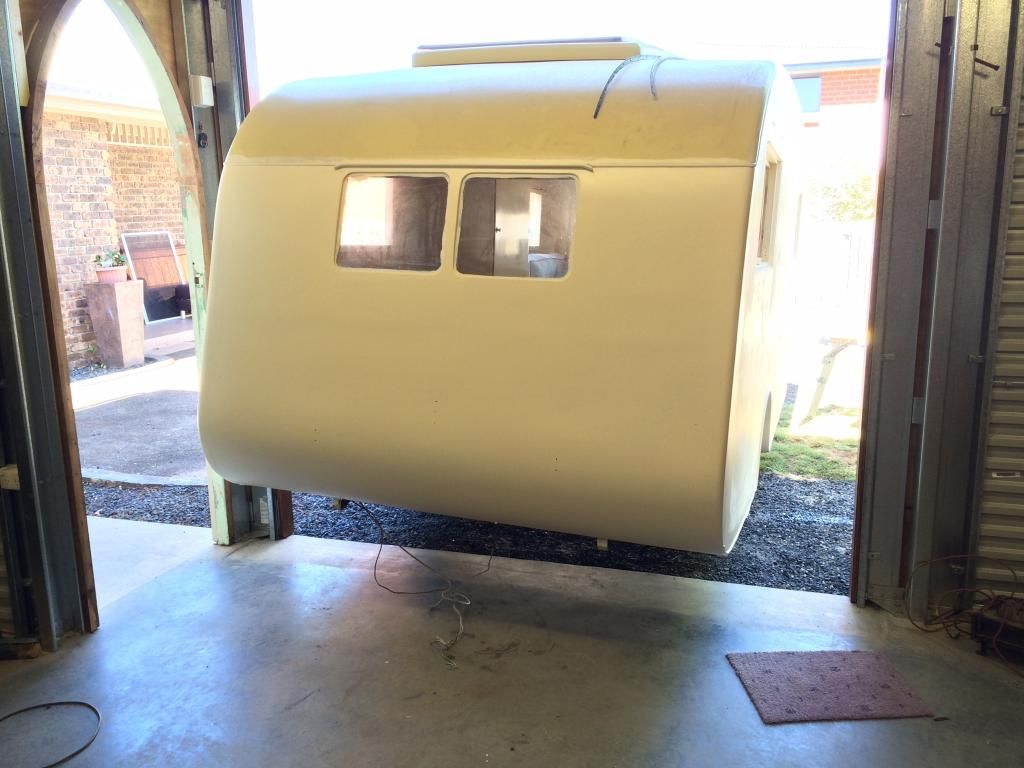 |
|
|
|
Post by akeepsake on Jan 11, 2015 18:17:56 GMT 10
Well it's interesting how things seem to work out ..... Originally I thought the Jennos original colour was a yellowish colour so as you have seen in my progress I prepped the roof and painted it to a match found on the van under the Blue.......then on further investigation under the yellow I found a beige colour which was the factory original colour and matched what was described in the 1948 sales brochure as "cream/beige" so I matched the body colour off the inside of the wheels under the hubcaps.......from this deduction and a study of existing layers around the roof canvas and looking at the original pic I have I discovered the roof was cream, NOT yellow which explains the "cream/ beige " brochure description so yesterday repainted the roof in a Clotted Cream dulux weathershield gloss acrylic x 3 coats . I used acrylic on the roof only as the canvas isn't glued down and has some movement so "flex" is required. All up now with the waterproof membrane , two undercoats , 3 coats of the wrong yellow colour and yesterday's 3x coats I doubt whether it will ever leak!!  Roof now 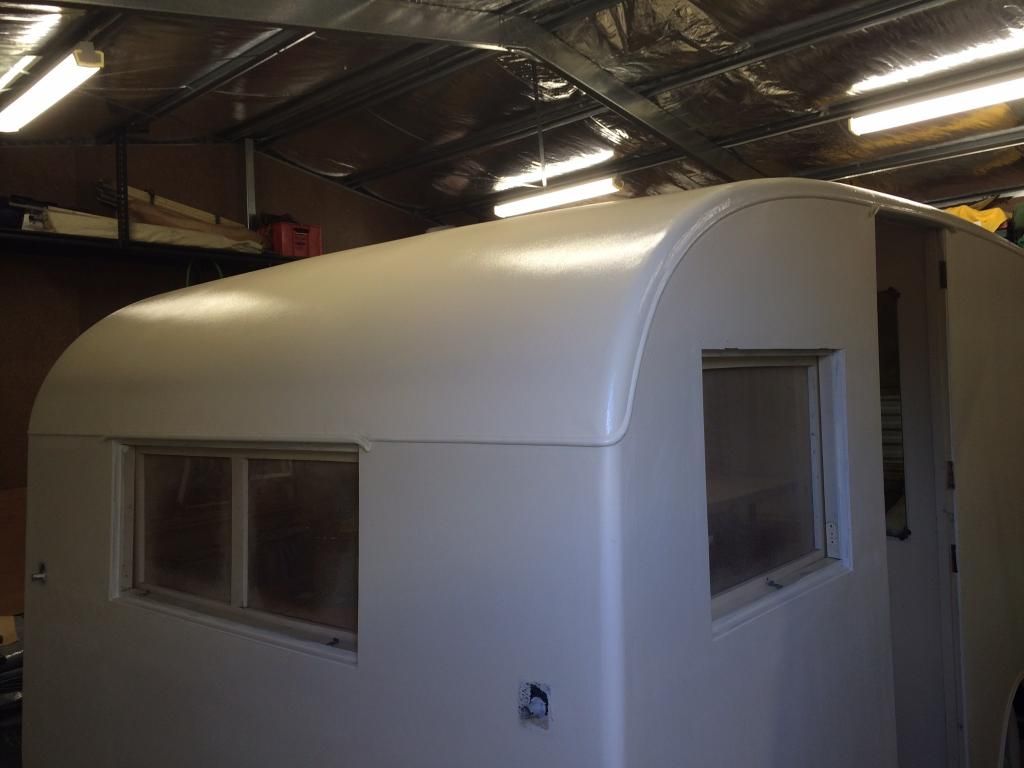 .....as I was saying ....something about how things work out . A while ago I pulled the brake booster off to make it easier to get to the front to sand etc........low and behold between the frame and the booster there was a perfect untouched by UV original sample of what I have dubbed as "Pathfinder Beige" ...originally the drawbar was all the same colour as the van so it was an unexpected find to get such an actuate colour sample! I decided to see how close I was with a colour match off the wheels as they had faded as the hubcaps were removed a fair few footy seasons ago . Here's what I discovered. 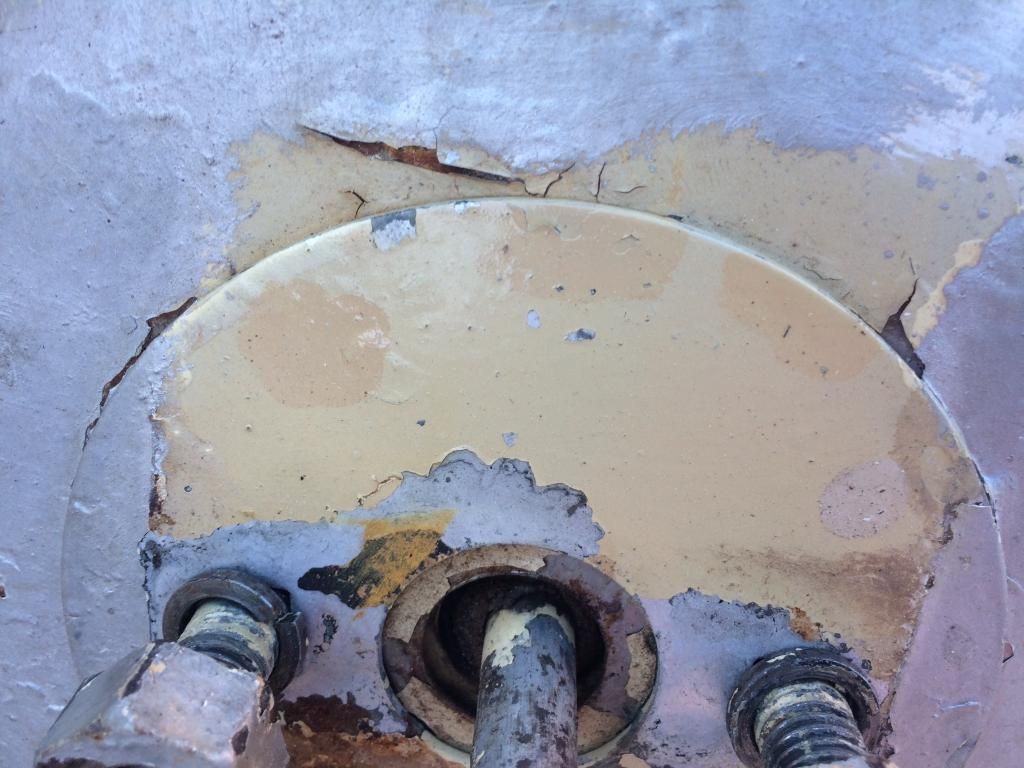 The paint I had originally mixed was way off ( it's the dot on the right) and was very " pink " compared to the original colour ( and you know how us vvanners despise pink !  ) So back to the dulux store I go and got the right colour ! .....and a 4 litre tin of jellybeans which made the kids eyes light up light up like two Buick hubcaps  So today has been full on but I managed to get the first coat on!!! Happy, happy happy! Funny how things work out!,, 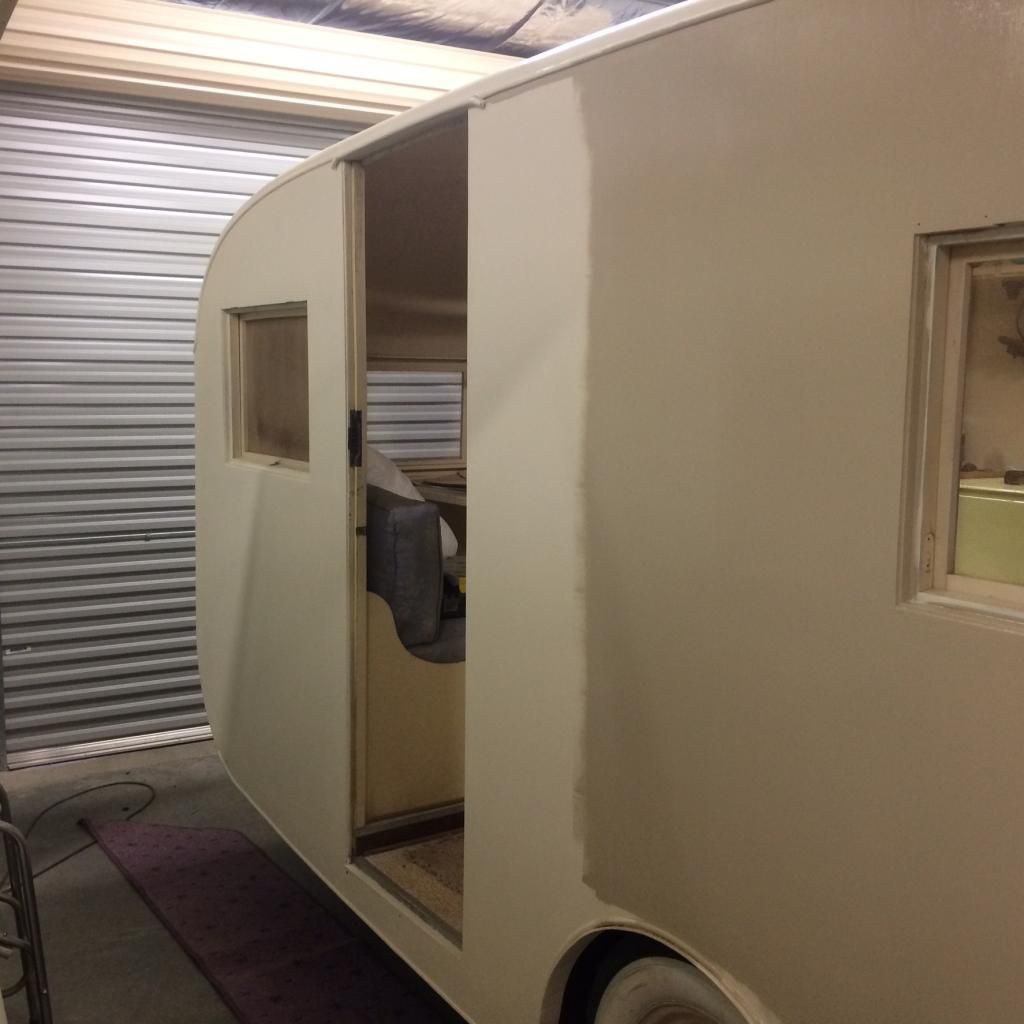 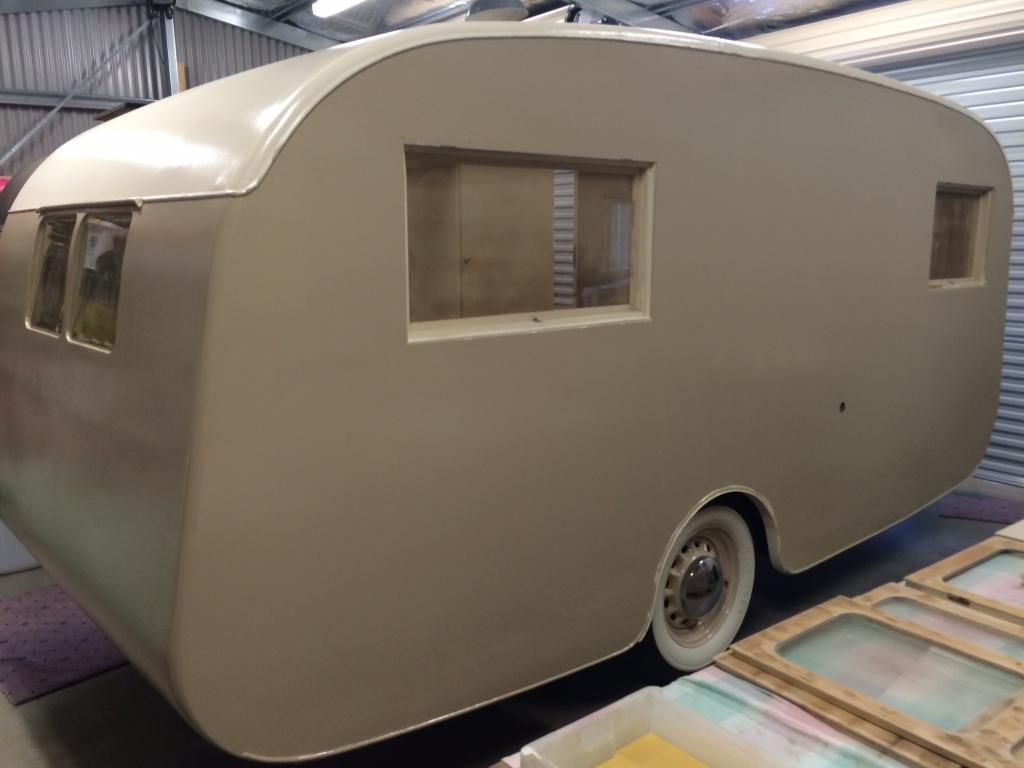 |
|
|
|
Post by akeepsake on Jan 13, 2015 23:38:10 GMT 10
Another pic showing the difference between wrong paint colour (left) and correct unfaded colour (right) . Night and day when you see them side by side! 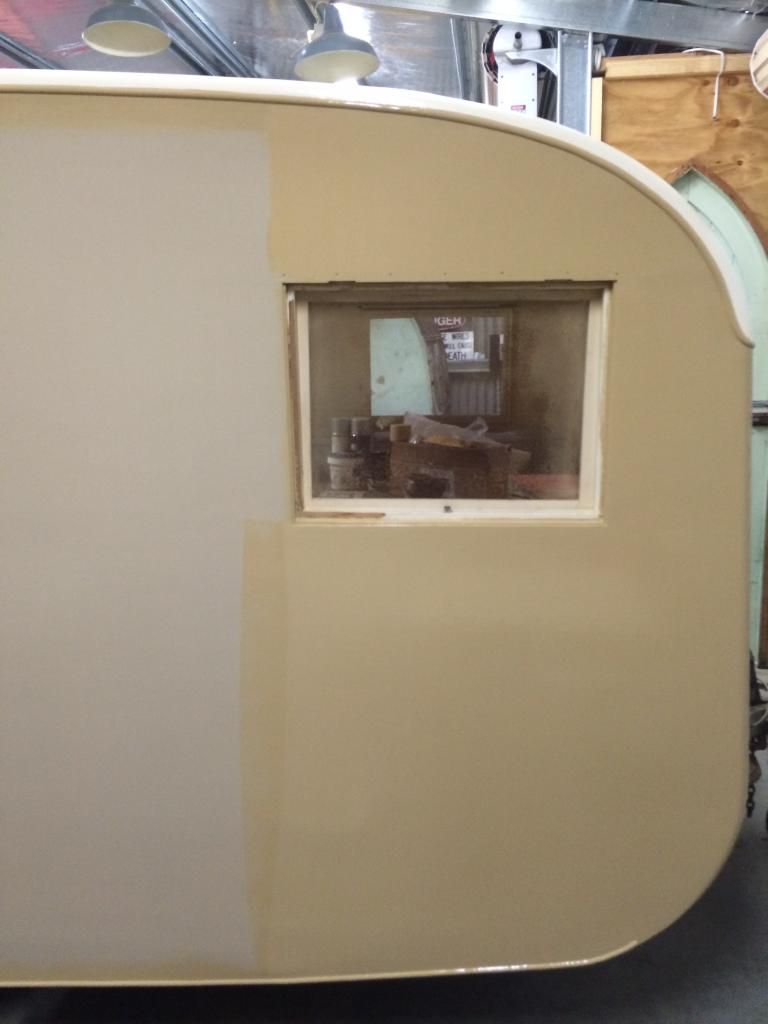 Also today I filled all the window frames ready to Prepcoat . The rusty nails holding the ply to the frame were treated with kill rust convertor before filling! The two small disks are the bases for the front clearence lights made from two different dia pieces of ply nailed together 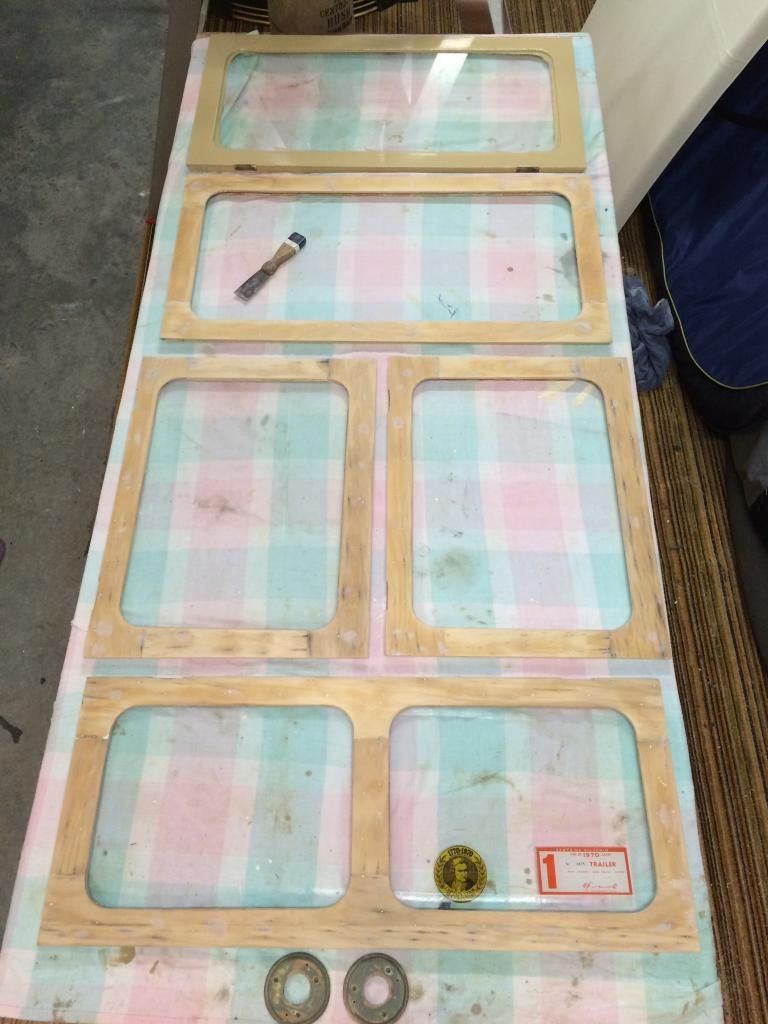 |
|
|
|
Post by griffin on Jan 14, 2015 16:42:19 GMT 10
Looking good akeepsake. Just noticed your nice matching rego sticker and Bicentennial sticker from 1970. I should have one of those somewhere, something else to put on the 'to look for' list.
"Colours good."
George
|
|
|
|
Post by akeepsake on Jan 15, 2015 7:17:18 GMT 10
Looking good akeepsake. Just noticed your nice matching rego sticker and Bicentennial sticker from 1970. I should have one of those somewhere, something else to put on the 'to look for' list. "Colours good." George Morning George . Funny you should mention the Bicentennial sticker as there was another similar one on the side window that was cracked by the back hoe when building the shed The glass and transfer are still intact I just need to figure how to get it off in one piece! Am happy with the colours ! Cheers Andrew Ps loved the old Jenno pictures you found as well! |
|
|
|
Post by akeepsake on Jan 15, 2015 7:57:39 GMT 10
Well yesterday was an exiting day  ( gotta love holidays!) With the waft of enamel paint still lingering in the shed, armed with my special pin striping tape I went berserk ! I had been very careful to trace out / reconstruct all the original livery from the old girl before stripping her down to bare bondwood so armed with templates I masked up the stripes and spats 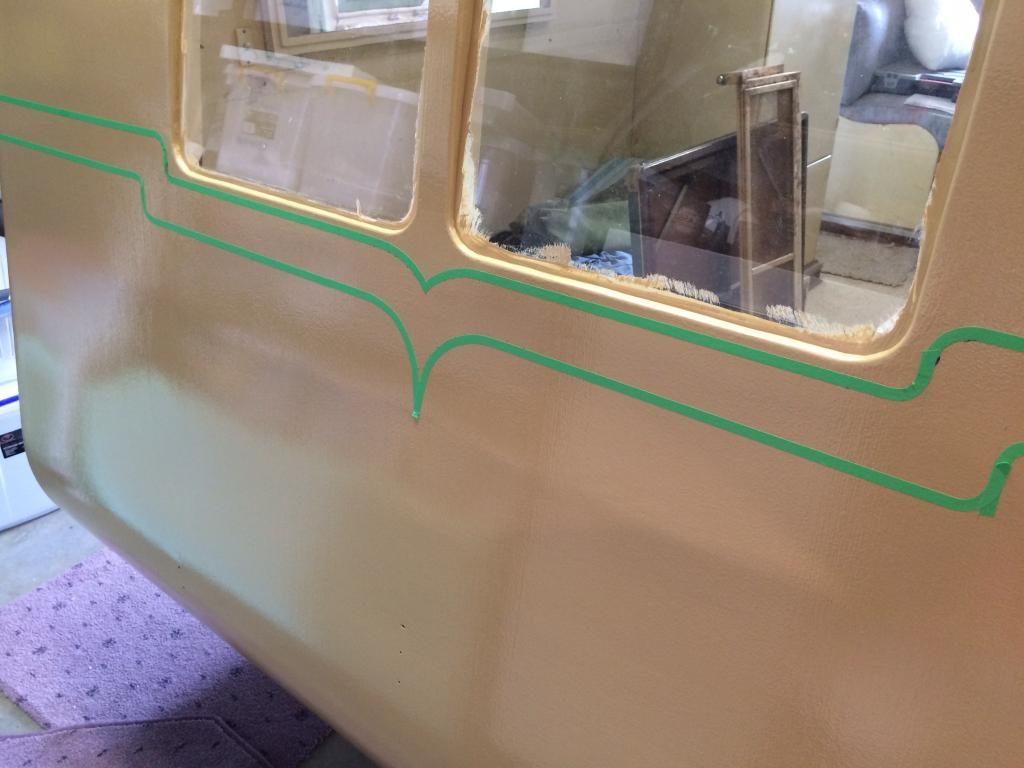 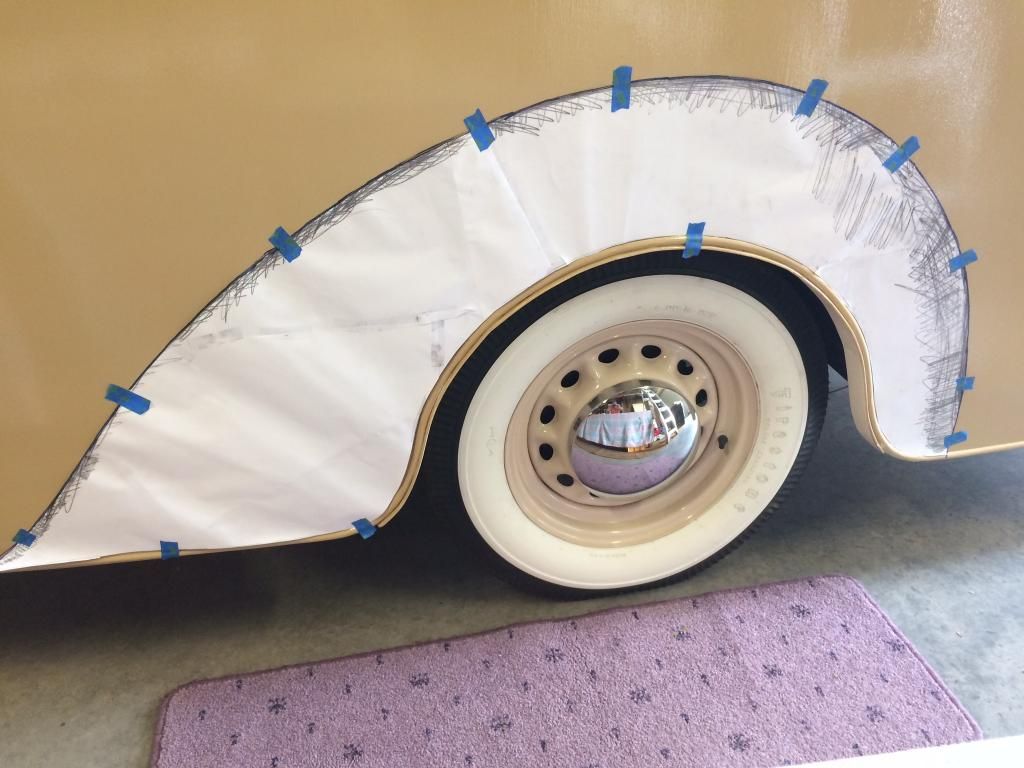 The original trim colour was a very deep blue almost black in some light and all I had too colour match was a flake of stripped paint but once again the guys at dulux came through and I'm chuffed with the colour especially against the " Pathfinder Beige" 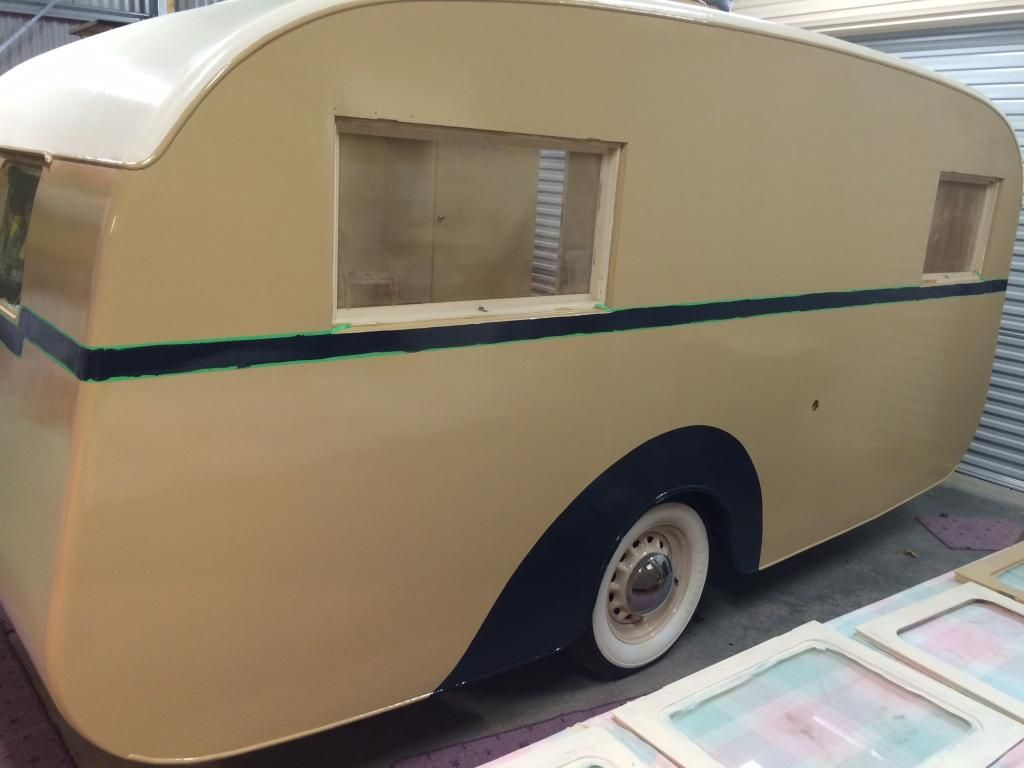 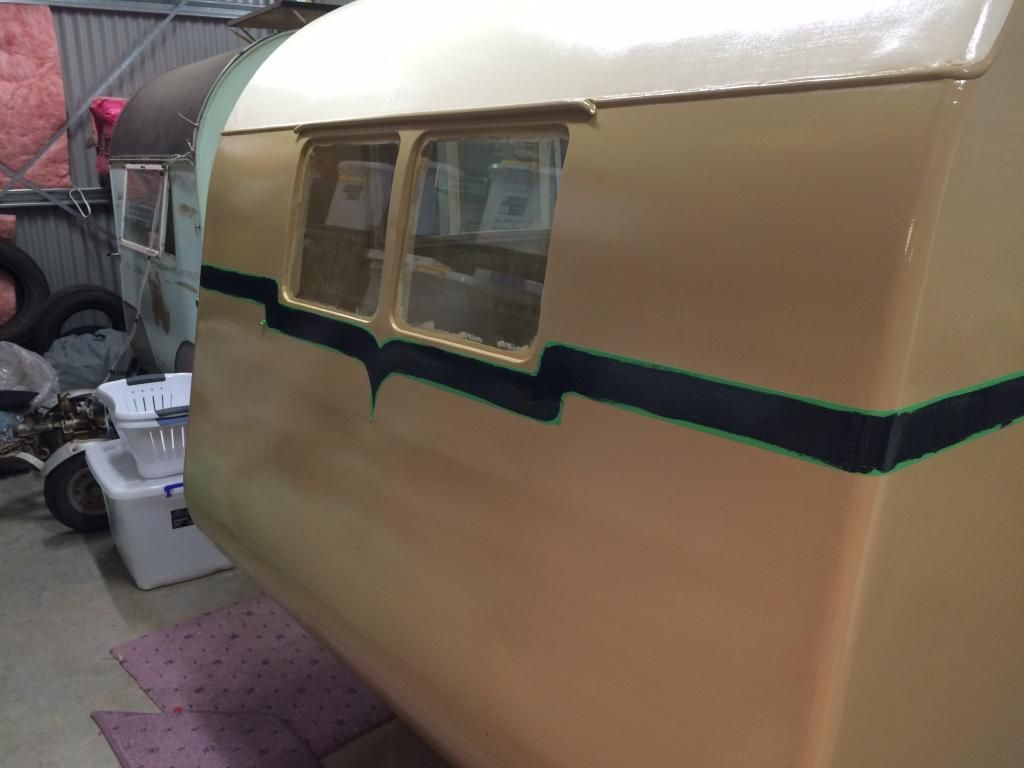 Just have the "Jennison Pathfinder " logos to do front and back to complete the trim but luckily my brother in law is a signwriter! More Soon  |
|
|
|
Post by murray on Jan 15, 2015 10:38:17 GMT 10
Akeepsake That repeat year at kinder certainly paid off  .....lovely line work Cheers murray |
|
|
|
Post by akeepsake on Jan 15, 2015 12:05:13 GMT 10
Akeepsake That repeat year at kinder certainly paid off  .....lovely line work Cheers murray  two years at kinder and a son of a signwriter also helps! |
|
|
|
Post by Jennison on Jan 15, 2015 20:58:46 GMT 10
Looking fantastic Andrew. Any chance of you ordering a couple of extra lenses Id love a set of those on mine
Jenno
|
|
|
|
Post by Franklin1 on Jan 15, 2015 21:18:43 GMT 10
You've certainly been doing some outstanding work on this van, Andrew! And so quick too!! It's only been 12 months since you started this thread, and you look like you're getting pretty close to the end. Puts my four year effort to shame.  Can I ask if you get any paint bleeding under that pinstriping tape? That seems to be pretty handy tape, in that you can bend it around fairly small radius curves. Much better than the standard masking tape, by the looks of it. You're going to have to start looking for an old Rolls Royce to tow this van with. Such a majestic result deserves it.   cheers, Al. |
|
|
|
Post by akeepsake on Jan 16, 2015 0:21:05 GMT 10
Hi Jeff and glad you approve ! I'll give you a call soon re lenses etc.
Al thanks for your encouragement yes it does seem to be moving along fast now only due to the fact that I have been on it full time for the past 10 days but back to work next week so trying to get as much done as possible!
The tape is really good stuff and is very stretchy so can be laid out the entire van length very straight by stretching . In the same way it stretches round corners well.
I did get some small bleeding but mostly due to the fact that because the paint was still very soft I didn't want to stick it down ecsessivly I case it pulled it off on removal and also due to the bondwood not being as smooth as a car body. Once dry I touched them up ok.
As far as a Rolls Royce for a tow car I'll be happy with a smick Eh Wagon but that'll come later.
Keep up the great work!
Cheers Andew
|
|
|
|
Post by akeepsake on Jan 17, 2015 7:15:09 GMT 10
Painted clearance light bases yesterday (final coat) then polished retaining rims and fitted them to van. From what I understand thes glass lenses (and the ones inside are made from fuel sight bowls and have been etched to give an opaque look 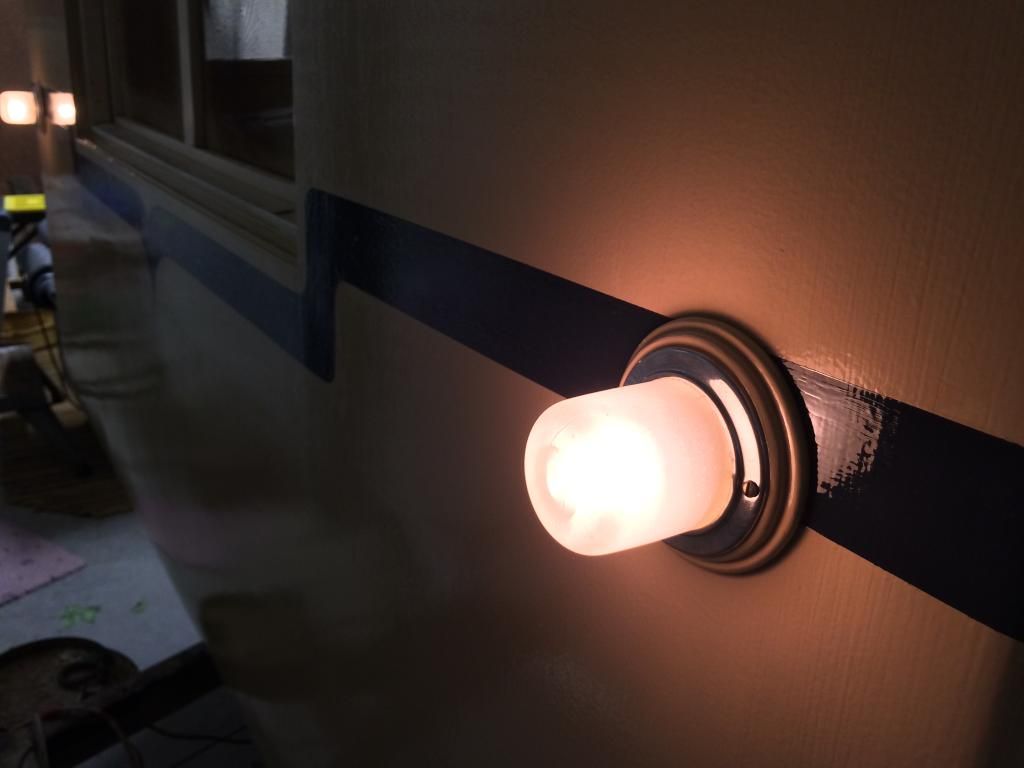 Also fitted original door hardware ( chrome plated brass) 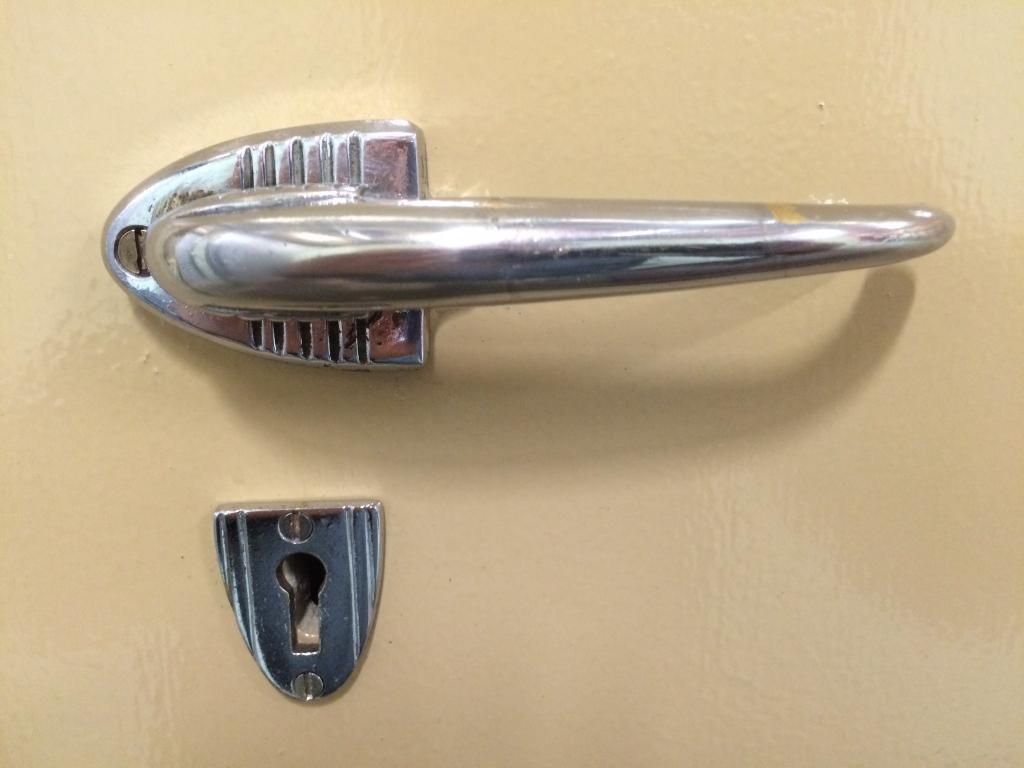 Fun stuff! |
|
|
|
Post by DC3Td on Jan 17, 2015 8:25:41 GMT 10
Brilliant restoration & story Andrew.
|
|
|
|
Post by akeepsake on Jan 17, 2015 16:24:59 GMT 10
Thanks DC3Td! I really wonder whether I'm just boring everyone but the plan is to have a record of the restoration and I'm loving it! Shame I have to go back to work Monday so things will slow down a bit!
Cheers
|
|