3dpan
New Member

Posts: 10
|
Post by 3dpan on Jun 17, 2012 21:50:40 GMT 10
I could lend you my chainsaw to "adjust" the seat bases ;D ;D
Cheers,
Alec
|
|
|
|
Post by hilldweller on Sept 27, 2012 18:09:06 GMT 10
Yay I’m back! Haven’t actually been anywhere, just busy with other things and motivation waned somewhat during winter. Back into it now though  . Been painting which seemed to take forever and then today attaching various things that were either never attached or had been removed for painting. So the electrical fittings are now in place with the correct screws  , the seat lids are finally hinged, the rail for the table’s back on, and front and back curtain tracks are also on. 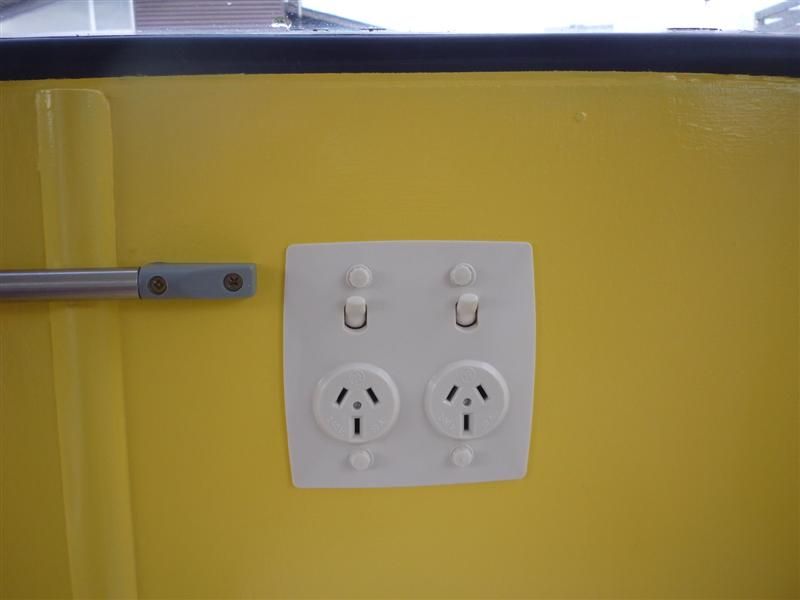 Also been experimenting with plastic L shaped stuff to hide a whole lot of ugliness where wall lining meets window. It’s a fiddly business involving masking tape, F2 glue and a small paint brush but it makes a huge difference ;D. The ugliness….  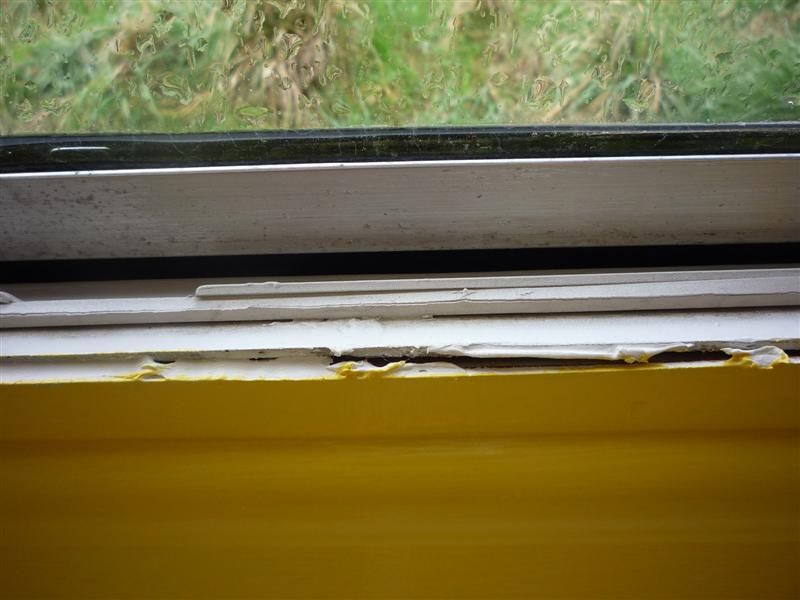 Plastic stuff nailed open so glue can be brushed on…. 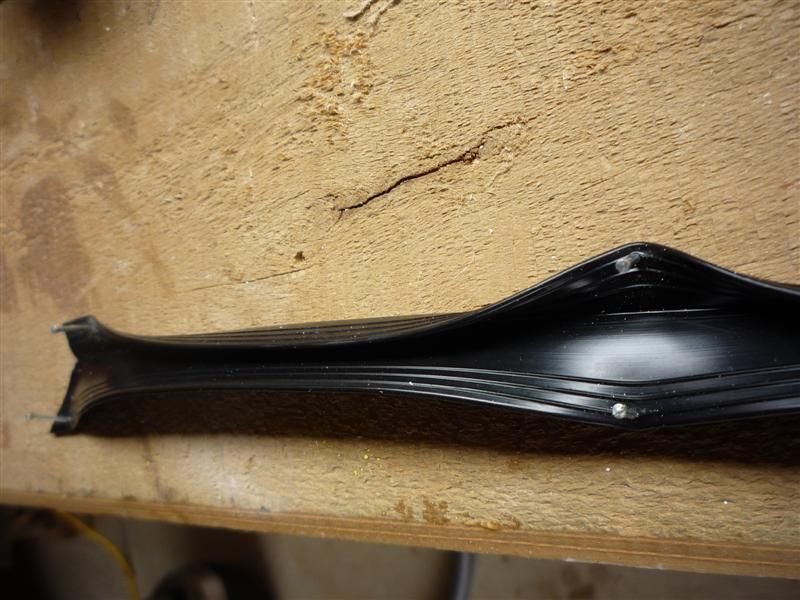 The end result (OK it’s a different window but you get the idea – wasn’t very systematic with my photos LOL). Kitchen area is still in undercoat and will remain that way for a while. Dunno why pic is sideways - it's up the right way in P'bucket  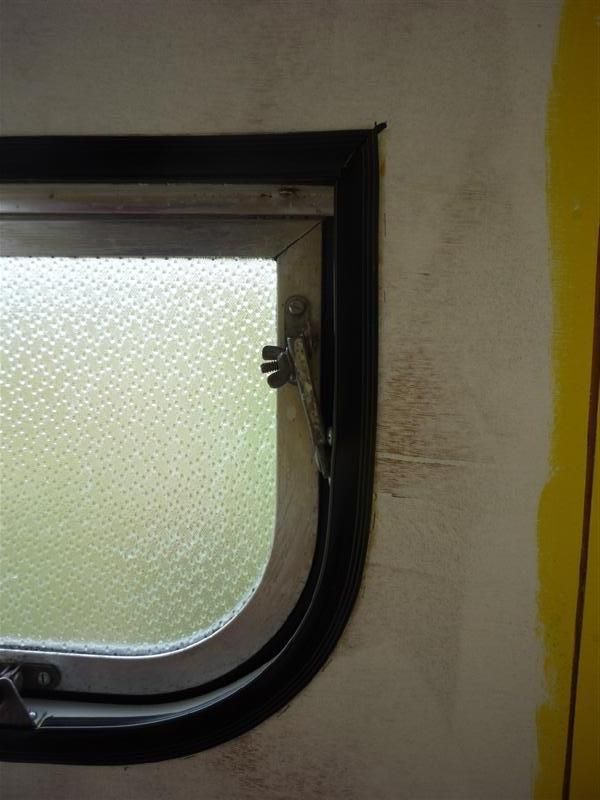 More tomorrow, all going well…. |
|
|
|
Post by Roehm3108 on Sept 27, 2012 19:06:27 GMT 10
Boy, they also do some good work across the ditch ;D ;D ;D Well done, looking good   |
|
|
|
Post by hilldweller on Sept 28, 2012 17:45:44 GMT 10
Thanks Ray  Finished the window trim today and hemmed and fitted the curtains on the side windows. Suddenly it’s looking a whole lot closer to finished, if you ignore the lack of cupboard doors. Oh, and a kitchen  . Last window masked ready for glue. 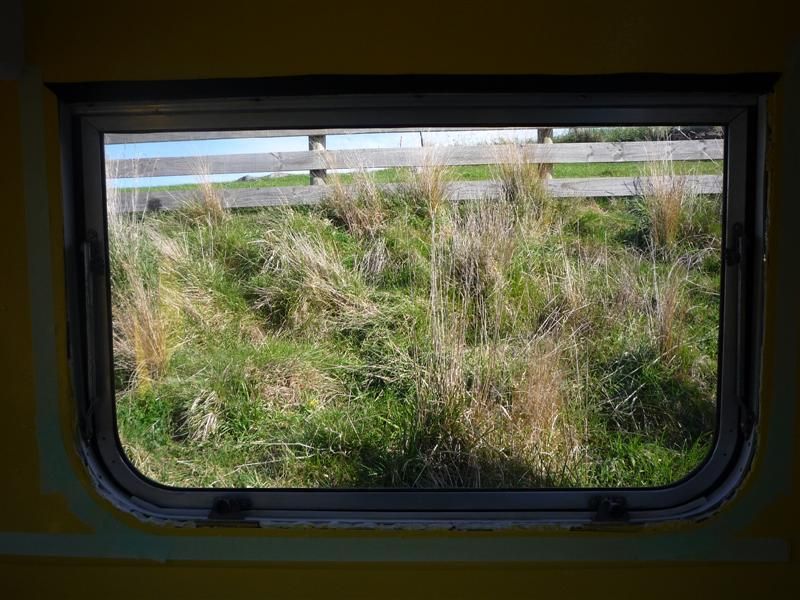 New trim in place. 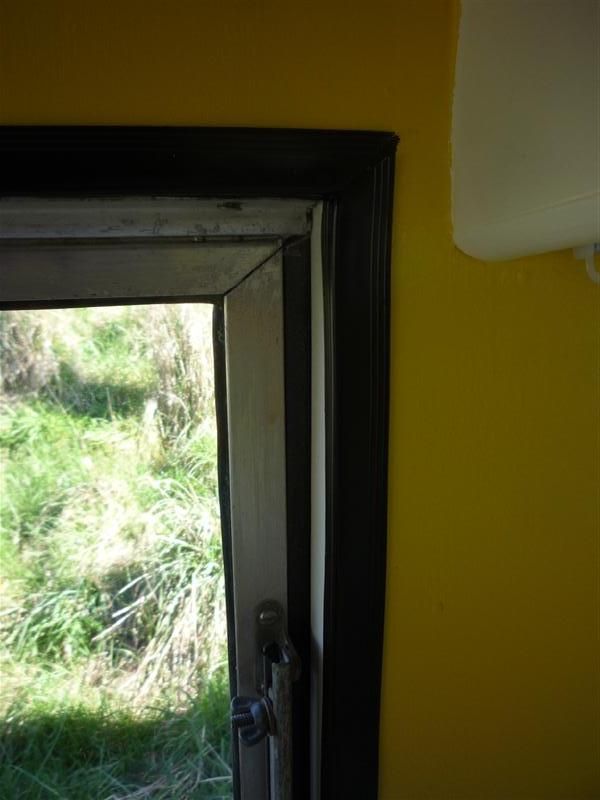 And now you can’t see it  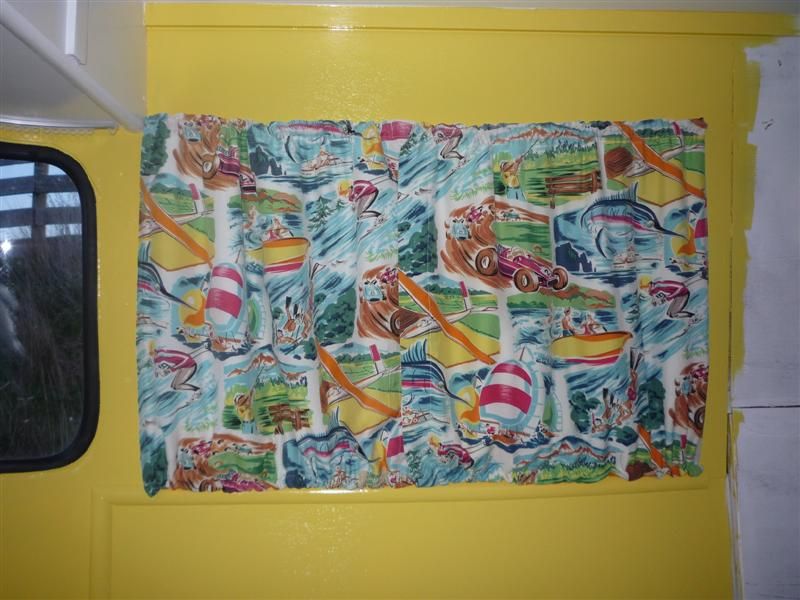 |
|
|
|
Post by hilldweller on Sept 30, 2012 17:19:56 GMT 10
|
|
|
|
Post by hilldweller on Oct 7, 2012 16:33:25 GMT 10
Slept in the van a few nights last week  Lovely with the rain on the roof  Today messed around with little things like hooks for curtain tiebacks and then got curious about the roll of vinyl gathering dust in the garage. Hauled it out and cut to approximate shape, and then cut the offcuts (badly!) to fit inside the wardrobe and under most of the seats. Currently pondering whether laying the floor is a job for me or the professionals. I'm inclined to give it a go.... |
|
|
|
Post by Roehm3108 on Oct 7, 2012 16:58:10 GMT 10
Hi HD
With that sized floor, I'd give it a go on your own. Why not create a template out of newspaper first, then cut the vinyl in the lounge room - that always goes down well ;D ;D ;D
|
|
|
|
Post by hilldweller on Oct 12, 2012 15:05:16 GMT 10
Cold and wet here which is holding things up. I do have a shed for the van but it's not handy to a power source or tools etc. Had been trying hard to convince myself the ceiling looked fine with two topcoats (plus undercoat of course) but it really didn't and the prospect of a clean vinyl floor kind of forced the issue. And I did have some leftover paint. So ceiling, cupboard fronts and outer faces of the wardrobe have had another coat of the white, and I've scraped globs of paint, glue, resin and the odd dead fly off the floor in preparation for the vinyl. If the weather ever improves  As an aside, either I've forgotten how to paint or ply is much more difficult than gib. The yellow on the van also needed three topcoats but with gibbed walls in various houses two has always been fine except when using a very strong/dark colour. The finish is better too. The timber (pine?) shelves inside the door seem OK with two, thank goodness. Horrible awkward little area to paint LOL. |
|
|
|
Post by Roehm3108 on Oct 12, 2012 20:05:14 GMT 10
Hi HD
If you ever have to paint raw ply again, you will find it finishes much better with two coats of primer/sealer/undercoat 3 in one, a very fine sand between coats to take the fur off, then two topcoats. The PSU acts as a better "filler" of the grain than the topcoat will. That's been my experience in the past and even now with what I am working on.
Ray
|
|
|
|
Post by hilldweller on Oct 13, 2012 7:22:19 GMT 10
Thanks Ray. That would be where I went wrong. Did one undercoat then sanded lightly then went straight to topcoat. We live and learn.... Seems to be just you and me on this thread at the moment LOL - it's very nice of you to take an interest in this van  (even if you do think I sound like a bloke   ) |
|
|
|
Post by hilldweller on Oct 18, 2012 16:12:10 GMT 10
Woohoo the vinyl’s down and I am very happy ;D. (Sorry having problems with pics turning sideways again, even though right way up in p'bucket. Dunno why it does this  ) 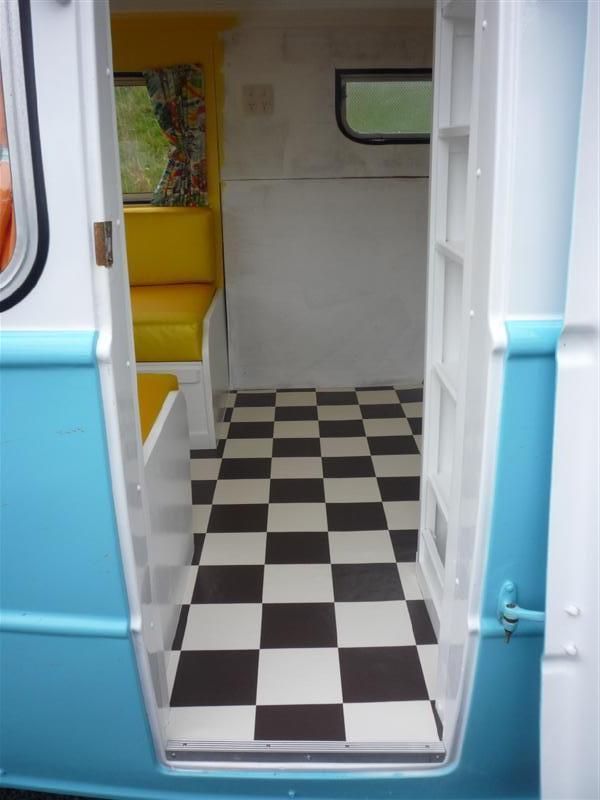 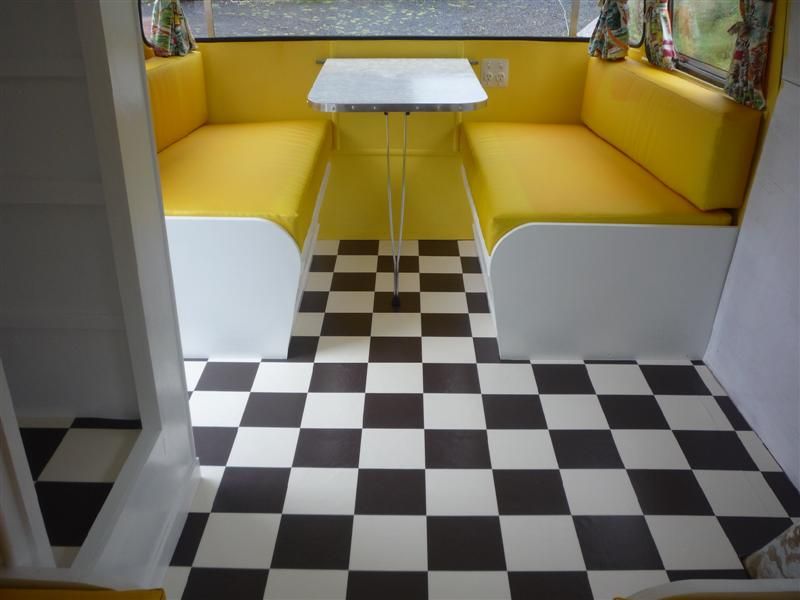 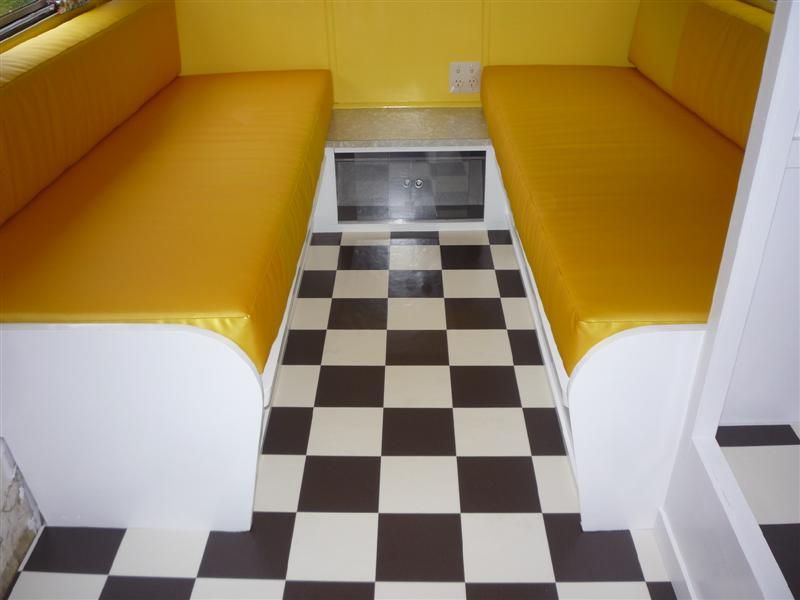 I found it difficult to cut and lay and was initially disappointed with the finish but a few 60x10 skirting boards have hidden the worst of the dodgy edges. 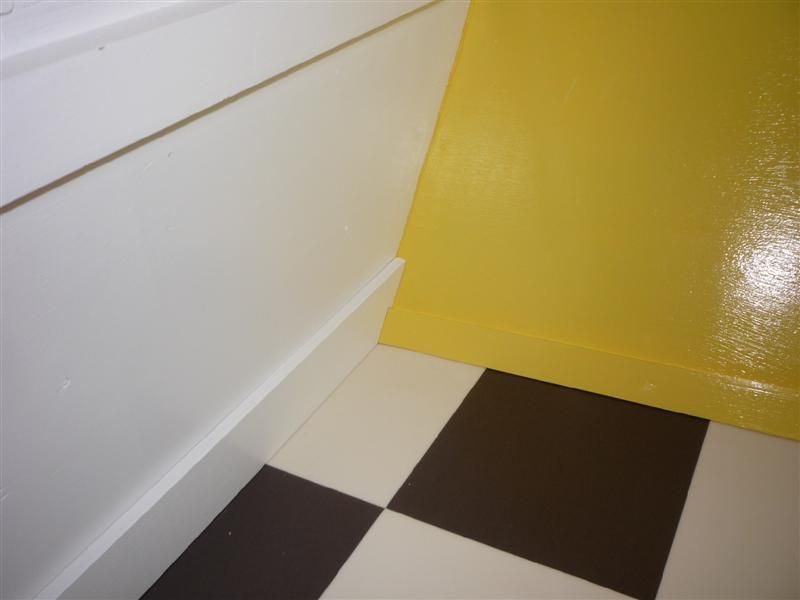 The door area needed some work as the new floor had raised the surface beyond the edge of the fibreglass. 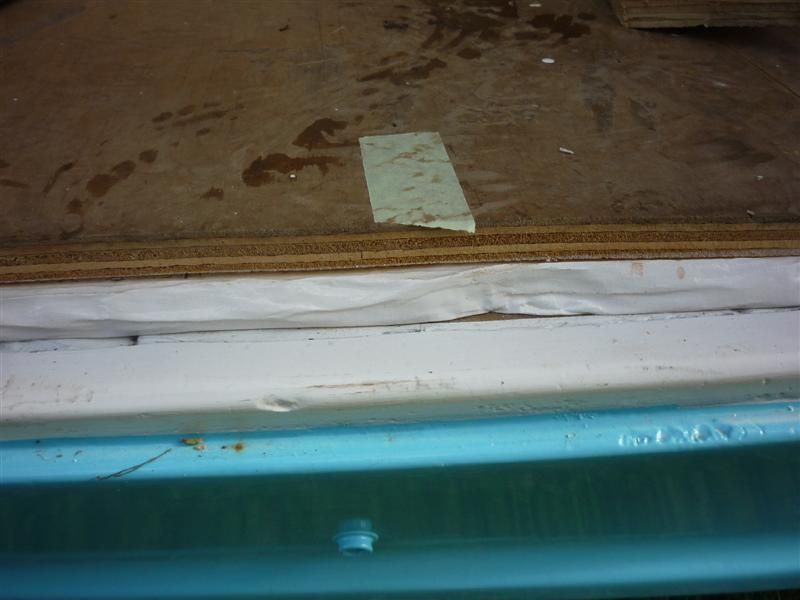 Tidied it up with a piece of timber, laid the vinyl to cover that, and then found some aluminium extrusion that was nice and easy to cut to size, and this is the result. 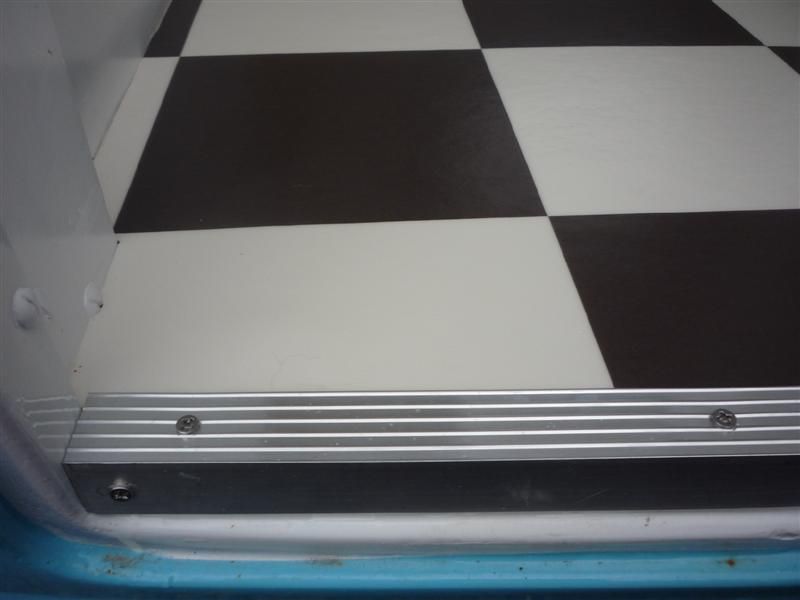 |
|
|
|
Post by Roehm3108 on Oct 18, 2012 20:05:13 GMT 10
|
|
|
|
Post by barkpaint on Oct 18, 2012 20:59:23 GMT 10
I can only watch and admire the superb job you are doing, especially putting the vinyl in the base of the wardrobe... inspirational in its logic... for cleaning up easily. cheers, Heather
|
|
|
|
Post by hilldweller on Oct 25, 2012 15:56:26 GMT 10
|
|
|
|
Post by atouchofglass on Oct 26, 2012 6:07:05 GMT 10
Hey Hilldweller Great to see the progress. When making your cupboard doors are you doing lap joints? They are stronger than relying on the facing to support the timber. When clamping timber it is always adviseable to put a sacrifical piece of timber between the piece you are clamping and the clamp. That way you don't damage your lovely new cupboard doors. You can see the lap joints on my cupboard doors and housings in reply 35 and 44 vintagecaravans.proboards.com/index.cgi?board=photo&action=display&thread=1473&page=2By clamping the frames in three directions you will also get really tight joints..... no gaps. Also clamping the whole thing to a heavy flat surface stops any warping and twisting. 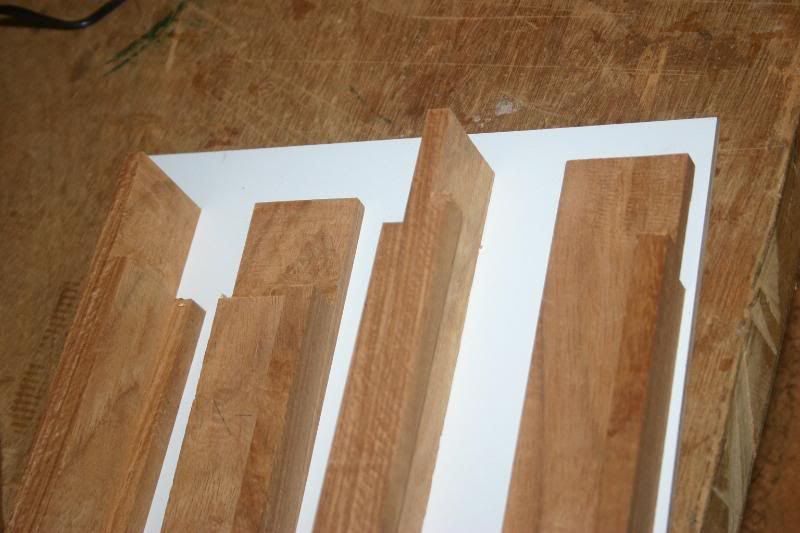 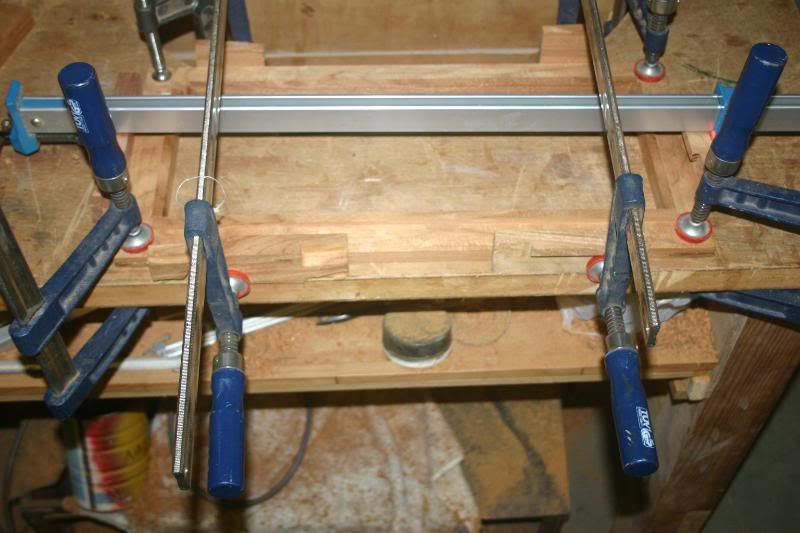 Hope this helps Cheers Atog |
|
|
|
Post by hilldweller on Oct 26, 2012 12:37:39 GMT 10
Thanks Atog. That's a great pic. Since I've already glued the framing down I will put 'better door framing' on the list of things for next time ... if there is a next time (or if the ones I've already done start to warp). And add some more clamps to the tool wish-list  Both lists are already quite long LOL |
|
2up
Full Member
   Feel free to visit us in Elmhurst , Victoria
Posts: 367
|
Post by 2up on Oct 26, 2012 12:58:48 GMT 10
Hi Hd , Have been watching your progress with great interest (Ithought the curves in the olympic were bad).Man you're doing a great job, a real credit.
Cupboard doors - did you consider using 3/8 marine ply, no frames and looks good. We used spring loaded hinges from that green shed place and put them on the bottom so the door folds down, you have both hands free, and they are strong enough to hold the door shut when stationery pics attached
|
|
|
|
Post by hilldweller on Oct 27, 2012 8:42:45 GMT 10
Thanks 2up - really appreciate the feedback. Yeah my next van might be a shipping container LOL - nice straight sides! Those doors look very cool. Are the stripey bits batons or just painted on the ply? Love the upholstery and pelmets  |
|
|
|
Post by hilldweller on Oct 27, 2012 8:46:13 GMT 10
I can only watch and admire the superb job you are doing, especially putting the vinyl in the base of the wardrobe... inspirational in its logic... for cleaning up easily. cheers, Heather Someone else's clever idea Heather, not mine, but think it will work well. I thought of you as I was hemming the curtains (with the machine, not the stapler LOL). |
|
2up
Full Member
   Feel free to visit us in Elmhurst , Victoria
Posts: 367
|
Post by 2up on Oct 27, 2012 12:01:33 GMT 10
Hi HD, the white bits are acrylic, I put sheets on the backs of the doors, with the idea of having LED's behind them so they glow at night!!!! just another mad moment.
|
|
2up
Full Member
   Feel free to visit us in Elmhurst , Victoria
Posts: 367
|
Post by 2up on Oct 27, 2012 12:09:57 GMT 10
Hi HD, I posted a youtube video of the reno In the General Section page 3 Olympic Stardust Reno
|
|
|
|
Post by barkpaint on Oct 27, 2012 19:55:44 GMT 10
You being a person who likes the authentic, would appreciate my joy at finding genuine curtain fabric from the seventies, unused, at least eight metres, with bold orange, purple etc colours. This was in a suit case in my mums garage, we have to clear out as have sold the house. Enough to do my 1978 Franklin Hunter? You betcha...ahahahaha
|
|
|
|
Post by hilldweller on Oct 30, 2012 17:37:12 GMT 10
Good find Heather  You and your mum must have similar taste. I just bought an old eiderdown with white, yellow and orange flowers on a brown background - a perfect size for the queen(ish) bed across the back. Love those old patterns and a bit of fading here and there only adds to the look  Busy waiting for oil-based paint to dry here (drums fingers on desk impatiently.....) and hoping the swallows who let me use their  garage during daylight don't leave any little messes while it's still sticky   Edit: Hey just noticed the sideways pic of the vinyl is right way up ;D Is that cyber-magic or did someone fix it (thanks!)? |
|
|
|
Post by Roehm3108 on Oct 30, 2012 20:56:31 GMT 10
Dontcha luv it when all the good ideas come forth AFTER you've started building those doors??    Is that masonite you're using as a facing side HD? Those butt joins could be strengthened if you were to pin screws into the shorter section, from the side of the longer section, just to give a bit more stability. I did that with the flyscreen framing on the Rowvan and it's amazing what a difference it makes. Ray |
|
|
|
Post by hilldweller on Nov 3, 2012 15:32:14 GMT 10
Paint finally dried and the fiddly business of installing the cupboard doors commenced. Hinges OK, nice and easy to fit  . Handles OK, came up well with some Silvo and new screws  . Catches a pain in the butt  and also required the purchase of a snakey thing for the power drill. If I had known such things existed I would have got one a while ago – would have come in handy on a few occasions. 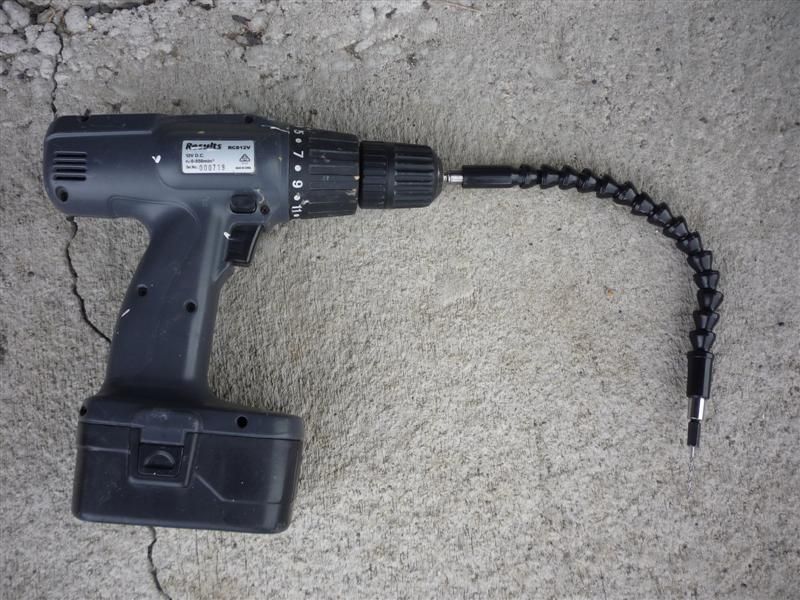 But finally all cupboard doors are in place and awaiting a road test to see if they stay shut when careering around corners. 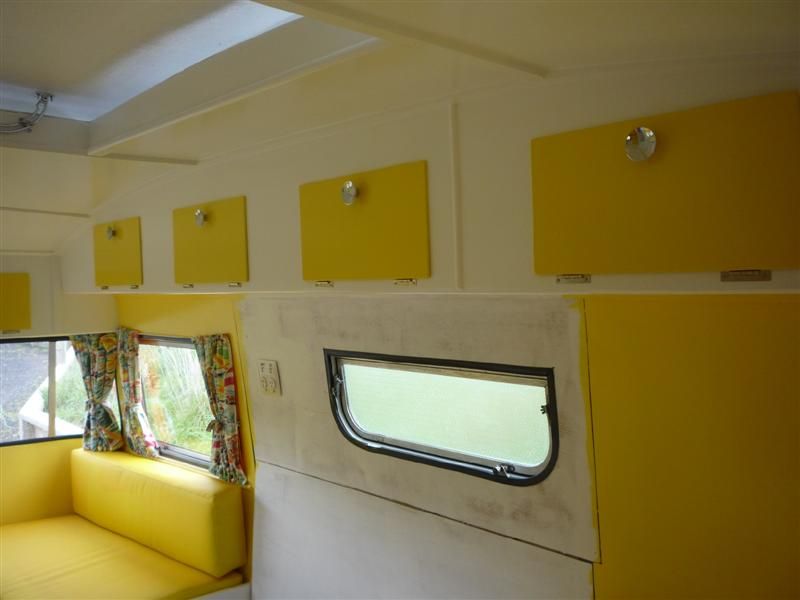 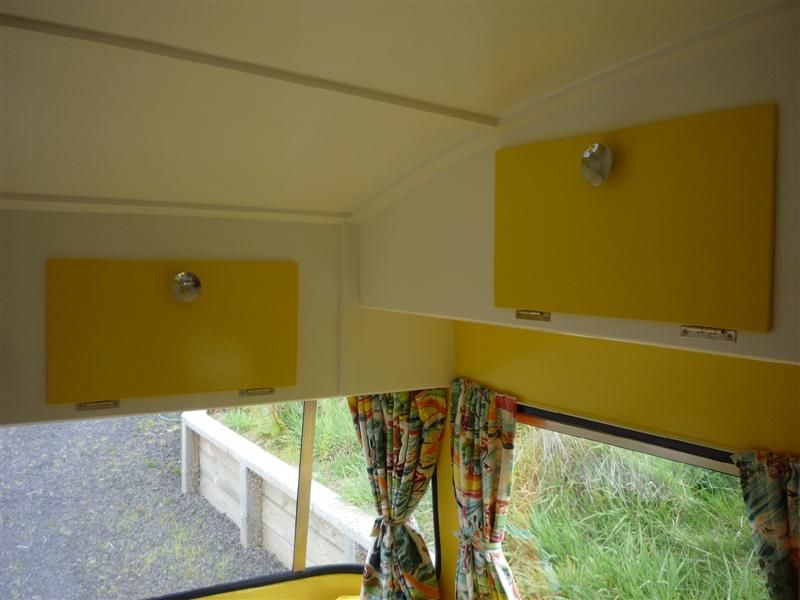 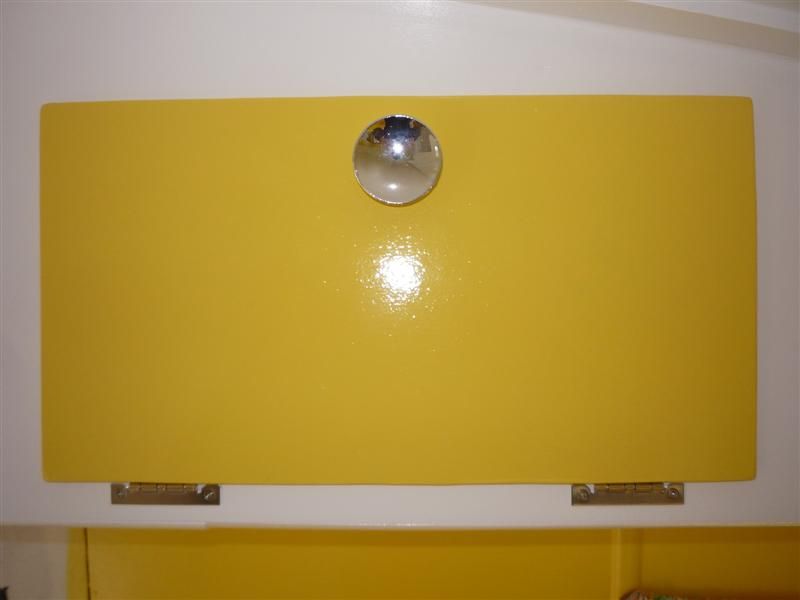 Still waiting for paint on wardrobe as I forgot about the mirror  and the mirror surround needs paint. Have added screws to the joins as per Ray’s instructions thanks. And yes it's hardboard, which I think is another name for masonite? |
|