|
|
Post by willies on May 31, 2019 18:19:26 GMT 10
More window rubber woes. The small galley window & 9mm marine ply. I grabbed a sample of the biggest piece they had at Clark rubber but it's still too narrow & there is no way it will turn around the corners either. My builder man Noel is thinking of making a frame to hold it on the inside but that still doesn't solve the outside. I have been to C Rubber, a windscreen shop & a glass suppliers, none have got a solution for me. On our Globe trotter the 9mm ply has been reduced to 3-4mm thickness from the inside around that window to allow the rubber to fit. The outside face is flat. I am yet to do this window replacement but the old rubber was the same as the rubber on the ally windows. |
|
|
|
Post by Franklin1 on May 31, 2019 21:04:46 GMT 10
G'day sgtl,
In my post diagram, the seal shown as part number PEXT1692 would most likely suit your panel/glass combination (10mm and 3mm), but the minimum bending radius of 126mm is not tight enough for your window. I'm inclined to think you would have to go the same way as 'willies' globetrotter, and router the thickness of the ply down to a thickness that would suit the bending radius of your window. For example, seal number PEXT1730 in my diagram would suit glass 3mm and panel 5mm, with a min bending radius of 76mm, so the ends of your window would have to be 2 x 76mm (or 152mm) height or greater.
Clear as mud??! 
ps. note that in the diagrams where it says "Clearance of Glass and Panel", this means the distance of solid rubber between the bottoms of the channels. This solid rubber section is known as the "web". So the opening in the ply for the window has to be: height of glass plus two times the web plus another 1mm to make it easier to fit it all in position.
cheers, Al.
|
|
|
|
Post by shesgotthelook on Jun 3, 2019 17:35:36 GMT 10
|
|
|
|
Post by Franklin1 on Jun 3, 2019 23:23:14 GMT 10
G'day sgtl,
When you've completed this job, you will be the forum expert on replacing the window rubber on Globetrotter kitchen windows! 
The crucial dimension for window rubbers is the radius you want the rubber to wrap around. What is the height of your glass?, because half that height will be the radius at the rounded ends. Window rubbers that have a 'web' of 4mm have a minimum bending radius of 30 to 35mm (see Column C in the table down the bottom of the page here: www.abcrubber.com/1/glazing_profile.html ).
Your first diagram above, RE904, has a web of 3mm, so it should wrap around a fairly tight radius. It doesn't have a filler strip, and would be rather fussy to fit the glass into the rubber channel. If you can manage to pull the rubber apart to get the glass in position, this rubber would probably do the job ok.
Your second diagram, RE684, seems to match what you've already got in appearance. How do the dimensions of old and new compare? If the 22mm base of this strip tends to wrinkle around the curved ends of the glass, you could perhaps carefully trim 2mm off each side to give a new base width of 18mm (to match the width of the curved topside). I'm guessing the web of this rubber is fairly thin by the looks of it in the picture. With this profile, you also have the fussiness of trying to prise the rubber apart to fit the glass (ie. no filler strip). The one query with the dimensions on the diagram is whether the 5mm height relates to the actual channel/slot height, or if that's the overall height of the rubber, and therefore the channels are narrower.
Your third diagram, RE1130, would be a no-go in my opinion, mainly because the channel/slot width of 6mm on both sides is too wide for your glass thickness (...I'm assuming your glass is 3mm thick). 6mm on one side would be great for your ply, but wouldn't seal the glass properly on the other side. The web size of 4mm should be ok for your bending radius though.
In summary, I'd be inclined to go for your first diagram, RE904, providing you can get the rubber channels apart to push the glass into position. My window rubbers are 30mm wide, and I've never thought they were "too bulky" when looking at them on the van, so a profile of only 21mm shouldn't look out of place on a smaller window.
Helpful hint: there's lots of info on Youtube about fitting window rubbers, including using the string method to pull the rubber out from behind the glass when fitting it into position. I tried that method but couldn't quite get it to work for me. I ended up painfully and laboriously using a pair of push-bike tyre levers to work my way around the rubber. These small tyre levers have a spoon-shaped end on them which helped to lever the rubber out of the way.
I'll be listening for some choice Chinese swear words coming from the Rochester area!  
cheers, Al.
|
|
|
|
Post by shesgotthelook on Jun 4, 2019 12:27:14 GMT 10
|
|
|
|
Post by Franklin1 on Jun 4, 2019 20:53:03 GMT 10
G'day sgtl,
I reckon you'd go pretty close to "perfect" with this rubber size. The 3/16" side gives you a little bit of width to play with, to get the glass to slide into the channel. I'd sit the glass down in the channel on the workbench and test it for "looseness", ie. check how well the sides of the channel are gripping the surface of the glass on both surfaces. If you feel it seems a little loose, you can always pump a small bead of butyl mastic along the bottom of the channel, before permanently fixing the glass, to ensure the best seal.
cheers,
Al.
|
|
|
|
Post by redmr2red on Jun 8, 2019 14:31:11 GMT 10
I had no end of bother trying to refit that rubber and gave up. My professional window man said he would never even try to fit it. What he supplied is the same shape rubber where one side opens flat to install the glass then he inserted a locking strip. So easy ...... if i'd know it was available I'd have done it myself. Normally on cars the locking strip (which also comes with a chrome finish if you was bling) goes to the outside, but I fitted it to the inside so the outside looks exactly the same as original and the inside you can hardly even notice it behind curtains.
|
|
|
|
Post by shesgotthelook on Jun 16, 2019 11:07:36 GMT 10
|
|
|
|
Post by shesgotthelook on Jun 29, 2019 13:03:55 GMT 10
|
|
|
|
Post by shesgotthelook on Jul 3, 2019 13:59:04 GMT 10
Window fun; 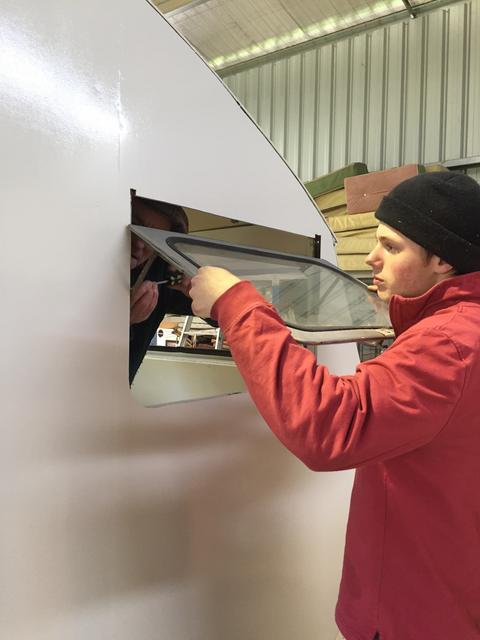 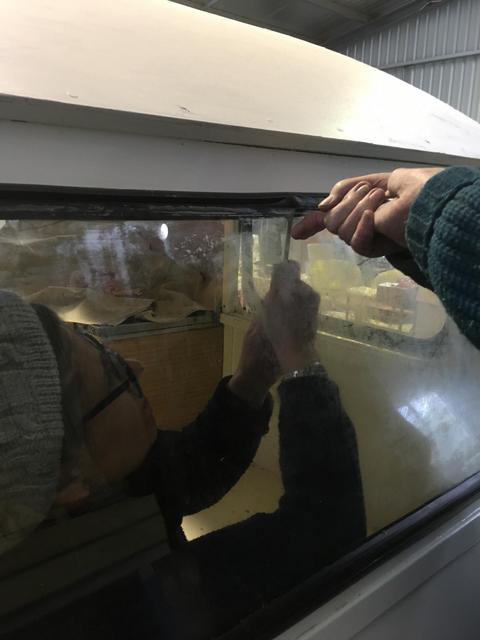 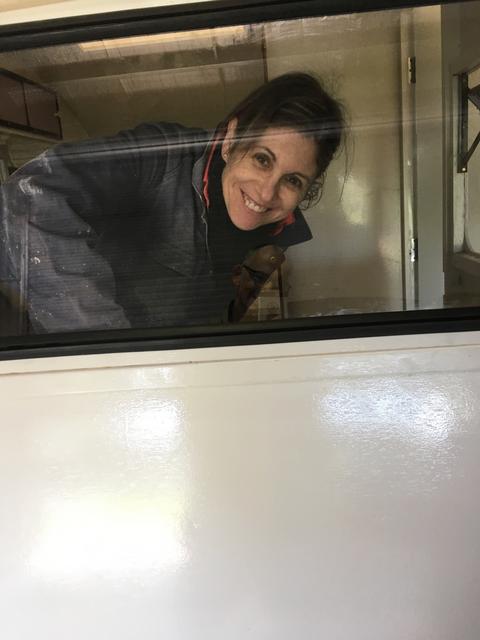 Managed to break the front window  Damnably hard to get the rubber to stay on in the corners. Got the new glass cut slightly shorter as the rubber profile is much thicker than the original. Took four of us but we won in the end! Haven't tackled the galley window yet. |
|
|
|
Post by shesgotthelook on Jul 3, 2019 14:21:08 GMT 10
Calico roof going on. In a past life, Noel had been involved with the canvas roofing of buses. No pre washing. put undercoat on roof, rolled calico on, stapled one corner & pulled across, stapled other corner & pulled tight, then stapled all edges. Liberally applied water with paint rollers. Will apply undercoat tomorrow. 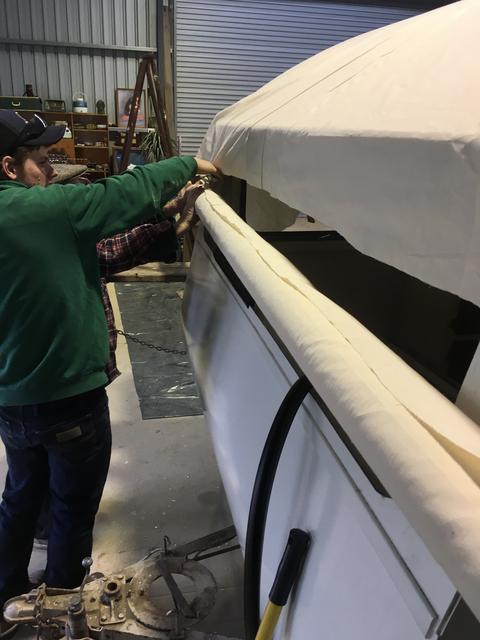  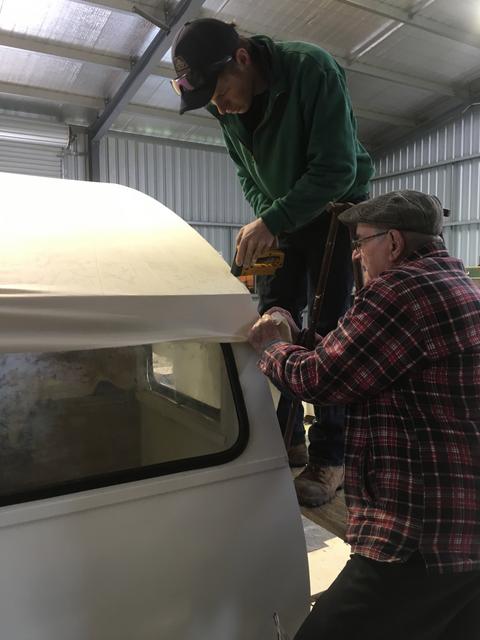 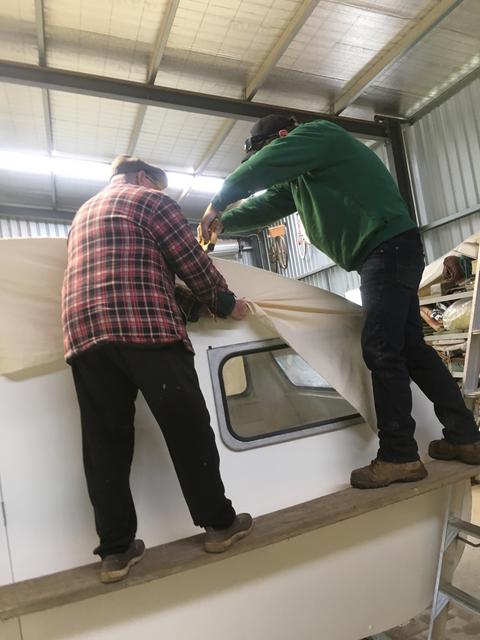   |
|
|
|
Post by Roehm3108 on Jul 3, 2019 19:17:52 GMT 10
Hope they are period staples!!! Cobber will notice.
|
|
|
|
Post by Franklin1 on Jul 3, 2019 21:40:54 GMT 10
G'day sgtl,
Yes, I think the secret to success with the calico is not having the hatch frame getting in the way of stretching/laying the fabric tightly over the whole roof. Wish I'd known that before putting the new canvas on my roof.
Is that No.1 son in the photos, looking like he's back in the caravan restoration game?? Bet he wishes he still had that old Franklin he started many years ago.  
cheers, Al.
|
|
|
|
Post by shesgotthelook on Jul 6, 2019 18:39:34 GMT 10
 Backsplash |
|
|
|
Post by shesgotthelook on Jul 25, 2019 18:28:34 GMT 10
Few more bits n pieces. Still waiting on plumber to make water tank & window gutters & the electrician to do the wiring. Flyscreens in 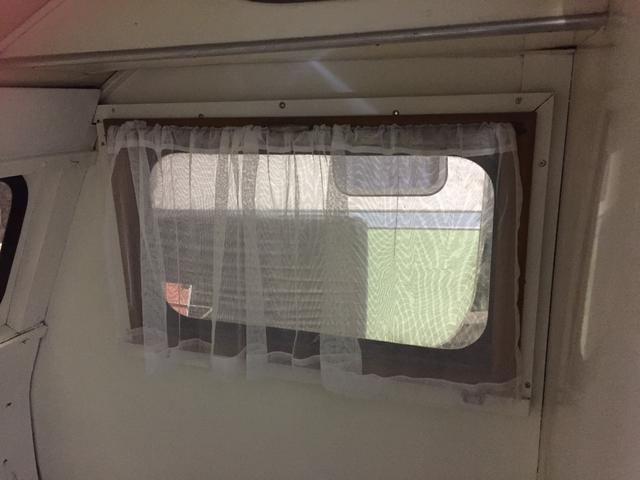 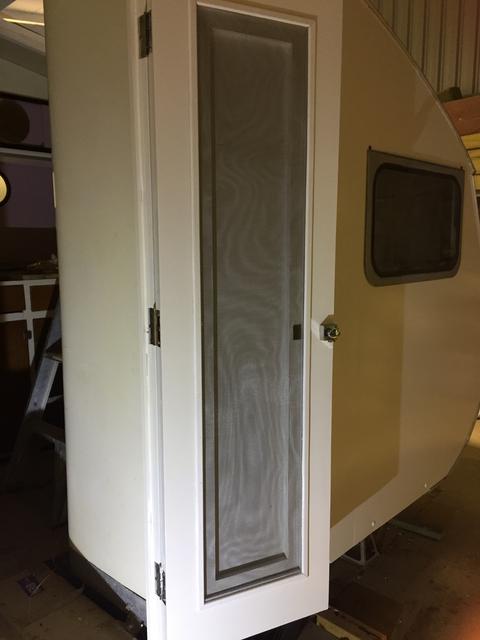 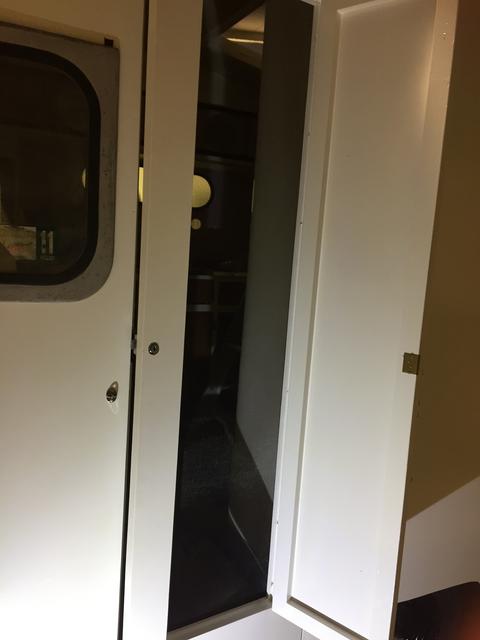 Hatch in 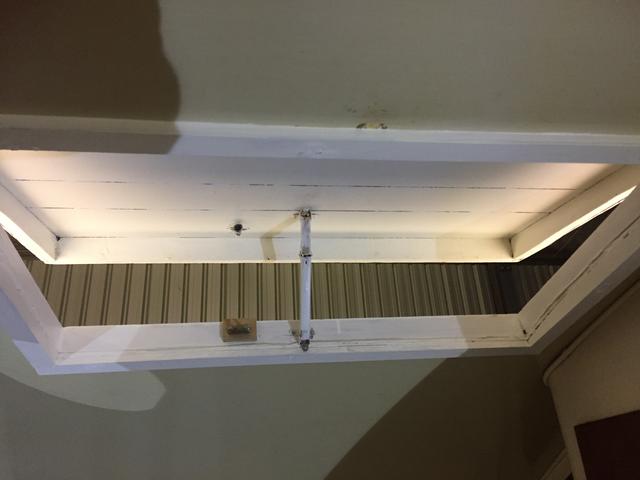 J mould going on 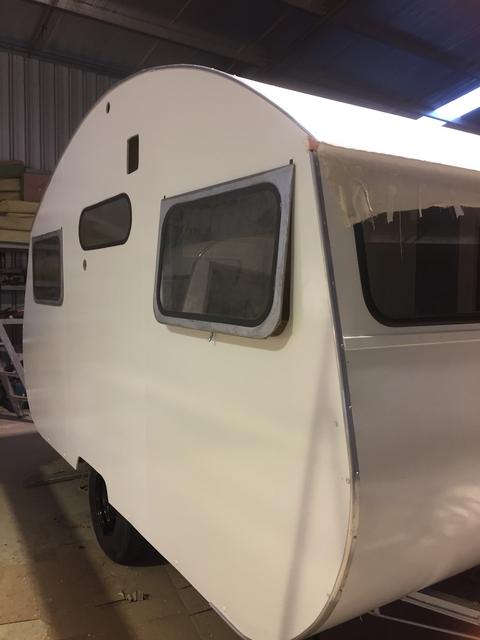 It's not as pink as this photo shows, I promise. New mirrors on. 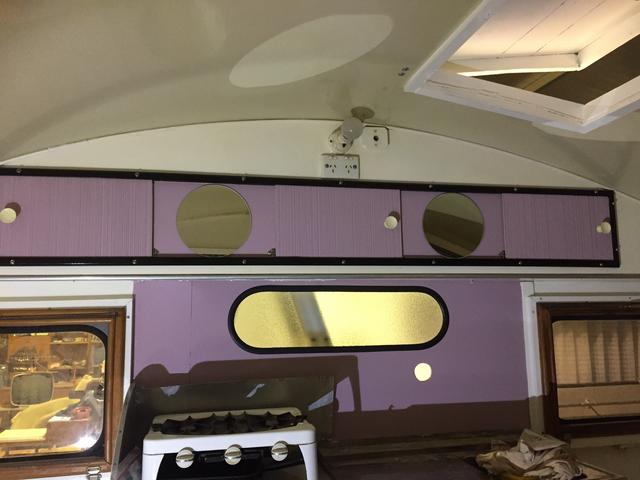  |
|
|
|
Post by shesgotthelook on Aug 4, 2019 20:54:59 GMT 10
|
|
|
|
Post by Roehm3108 on Aug 5, 2019 7:22:10 GMT 10
Coming along nicely SGTL. Regarding that spring-loaded arm you showed in your hatch pic - I had one of those on the Rowvan hatch. It's much easier to use if you screw on a cheap D handle to the longer arm to use as a pull-down.
|
|
|
|
Post by shesgotthelook on Aug 7, 2019 9:35:06 GMT 10
New water tank in, a logistical challenge all of it's own. I had to make the hole slightly bigger. Not sure how we are going to seal it up. 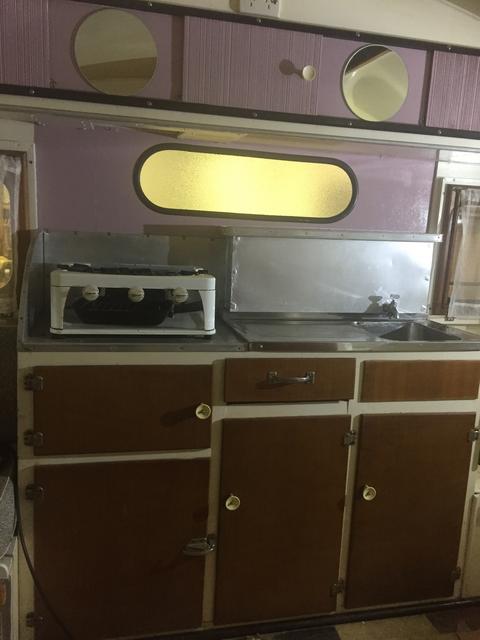 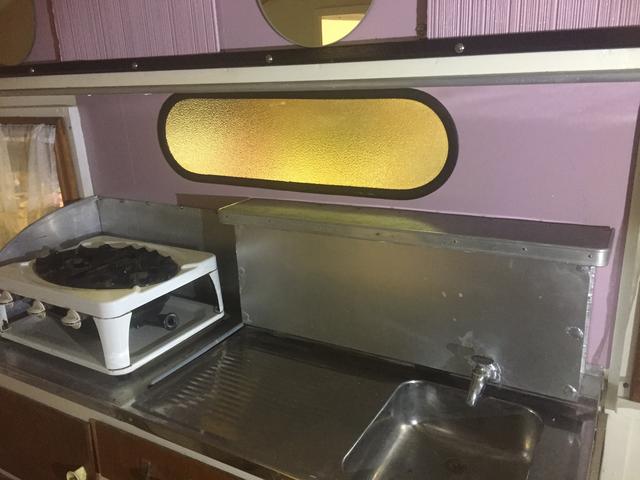 |
|
|
|
Post by Franklin1 on Aug 9, 2019 22:16:45 GMT 10
G'day sgtl,
This is certainly a super job being done on this van! 
Full credit to all the experts involved in bringing the van back to 'showroom condition'. Very impressive! 
cheers, Al.
|
|
|
|
Post by shesgotthelook on Aug 10, 2019 17:40:40 GMT 10
Mr SGTL very cleverly sealed up the water inlet with a toilet pipe fitting. 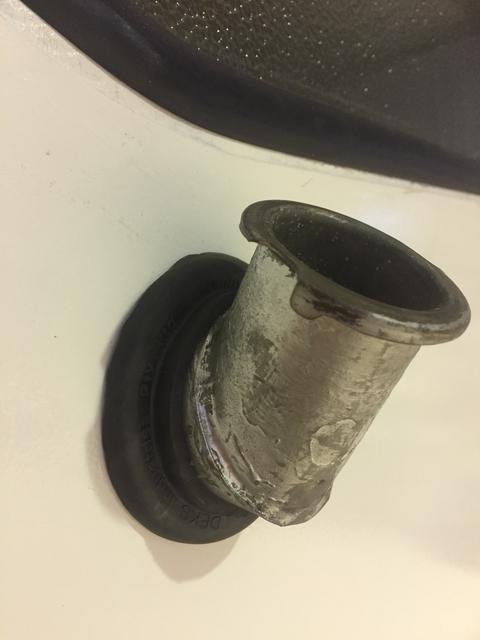 Kangaroo Decal 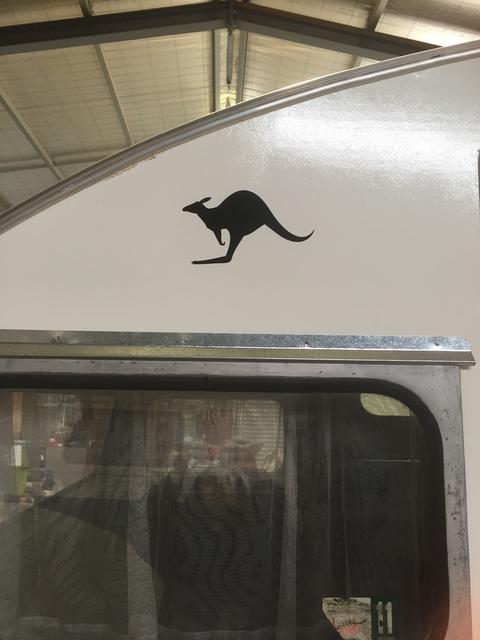 |
|
|
|
Post by shesgotthelook on Aug 11, 2019 21:14:03 GMT 10
|
|
|
|
Post by shesgotthelook on Aug 16, 2019 11:45:54 GMT 10
Did find chassis number when changing tow hitch, 713. This seems to tie in with the history put together by Franklin1. Still not sure on a year, what do you think Al?
|
|
|
|
Post by Franklin1 on Aug 16, 2019 23:49:15 GMT 10
G'day sgtl,
I really can't give any accurate dates with the Globe vans. Your van looks very similar to one of the Globe vans pictured at a display in page 1 of the Globe DHL thread. Don Ricardo gives his usual professional 'forensic analysis' of that photo and concludes it would have been taken around 1958/59.
Your chassis number of 713 would have to be one of the earliest recorded on the forum, which would certainly put the van in the 1950s somewhere, I would think.
Obviously you haven't found any pencil marks around the van that would indicate a date. It would have been really helpful if the original builders had left their mark on all these old vans, hey?! 
cheers, Al.
|
|
|
|
Post by shesgotthelook on Aug 17, 2019 22:13:47 GMT 10
Thinking the rear stripe is not wide enough. 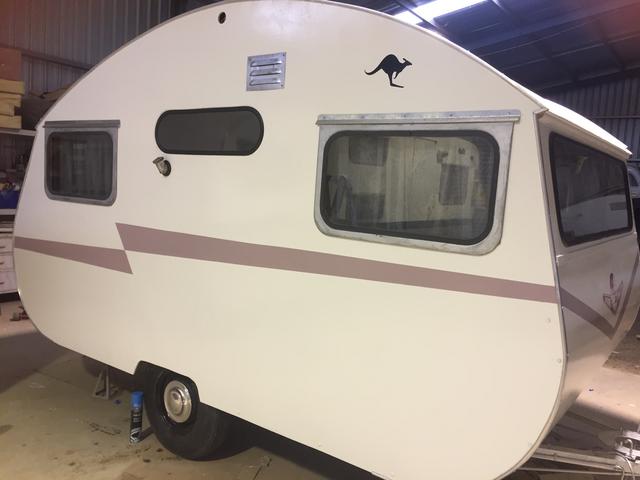 |
|
|
|
Post by Roehm3108 on Aug 18, 2019 6:55:11 GMT 10
Are you adding a feature edge alongside the stripe? Perhaps that would be enough.
|
|