|
|
Post by Observatory on Dec 18, 2014 14:26:57 GMT 10
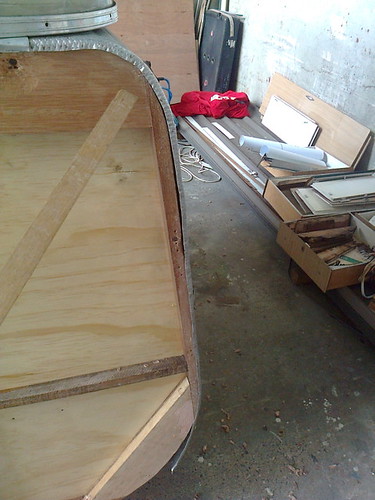
More alignment correcting: - placed a 3 inch long strip of this 4mm Tas. oak under the back cladding (just below the wrap around); to get the cladding to kink to the left (looking from rear). It worked

 |
|
|
|
Post by Observatory on Dec 19, 2014 11:38:19 GMT 10
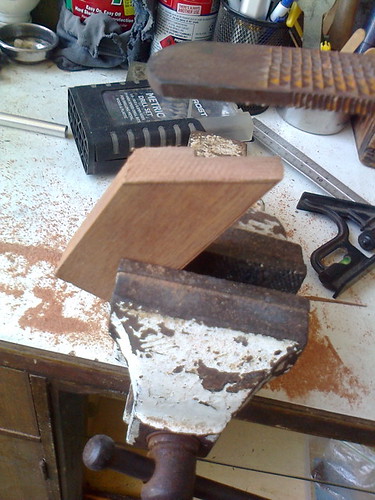
Router fun continues: - Trusty horseshoe file in action.
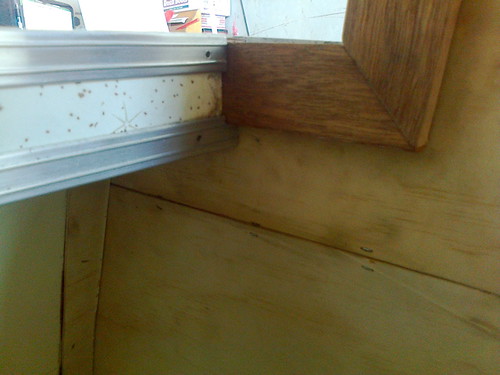
- Test fit for window frame.
  |
|
|
|
Post by Observatory on Dec 23, 2014 12:01:54 GMT 10
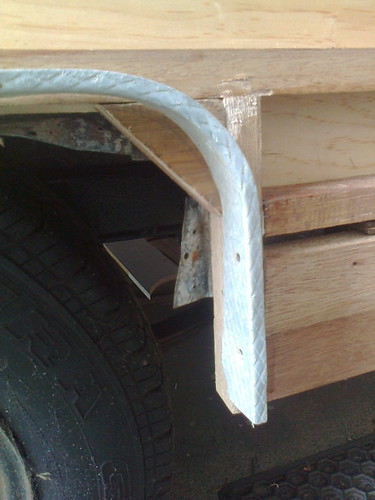
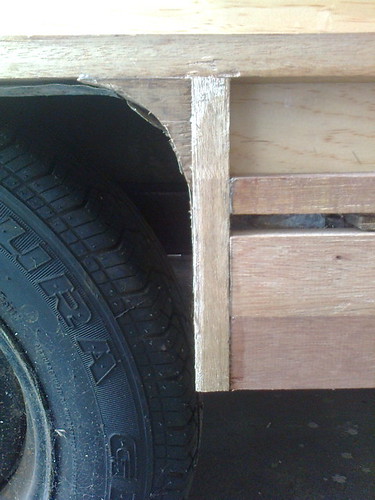
Making the guard corners out of some 24mm thick hardwood scraps. - using the guard cladding as a template
- used an angle grinder with flap wheel to get the concave.
  |
|
dayno
New Member

Posts: 22 
|
Post by dayno on Dec 24, 2014 17:56:11 GMT 10
Well I must say I'm impressed with the reno observatory. I shall be keeping an eye on this thread for more hints and tips. Good work mate. It's very inspiring for my part Reno on my 65 Caravelle.
|
|
|
|
Post by Observatory on Dec 29, 2014 10:09:16 GMT 10
Thanks dayno.... I'm just having a go (and making plenty of mistakes along the way). Learnt a lot so far and ain't out of the woods yet.  Cheers, Pete |
|
|
|
Post by Observatory on Dec 31, 2014 9:54:44 GMT 10
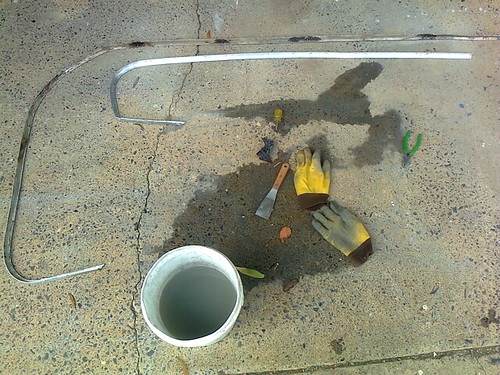
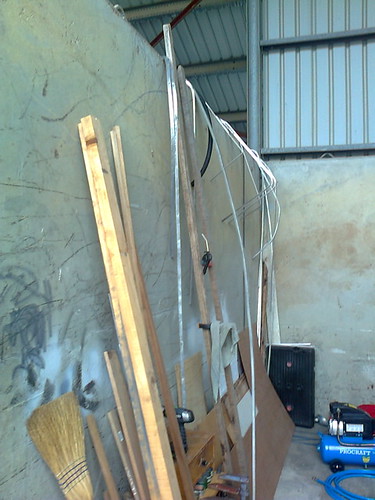
Prep. and more prep... cleaning up the corner moulds.. - before and after
- EDIT 2/1/15 ..and prepped corner moulds and window trims
  |
|
|
|
Post by Observatory on Jan 5, 2015 14:27:39 GMT 10
|
|
|
|
Post by Observatory on Jan 6, 2015 13:48:40 GMT 10
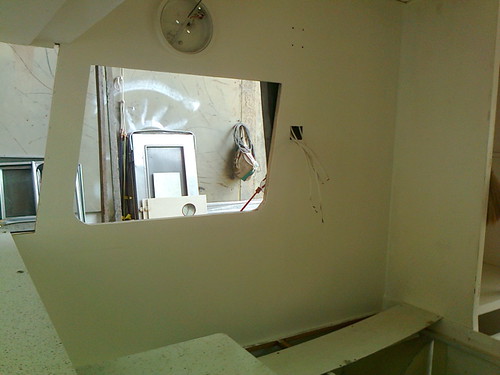
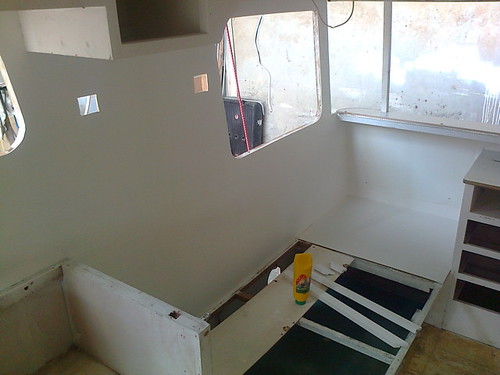
A couple of coats of Antique White USA low sheen interior and pretty close to getting the window trims in. - used Sika fine surface filler for the panel seams
  |
|
|
|
Post by mibosa on Jan 6, 2015 14:28:08 GMT 10
Hi Pete, did you apply the paint with roller, spray gun or some other method? Any primer, or was your paint designed for both? Regards, Bob
|
|
|
|
Post by Observatory on Jan 6, 2015 14:48:23 GMT 10
Hey Bob, - Cut in with a 1 inch brush
- Rolled with a 75mm 10mm Nap roller no primer - yes paint designed for both
 (light sand with 240 grit in between coats) (light sand with 240 grit in between coats)
I originally started painting with an exterior paint (for durability) but stuffed up with the colour pigment and got biege 
Cheers, Pete
|
|
|
|
Post by mibosa on Jan 6, 2015 15:01:34 GMT 10
Okay Pete, thanks for that info. At the rate your are progressing I look forward to seeing your van in Adelaide in February, asking a few questions and getting a few ideas!!! Regards, Bob.
|
|
|
|
Post by Observatory on Jan 7, 2015 11:24:17 GMT 10
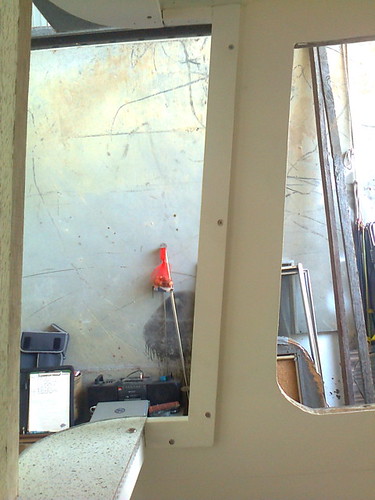
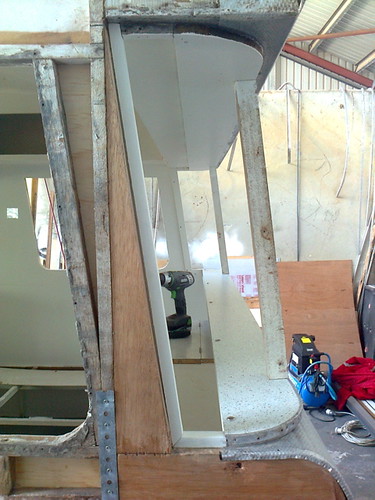
- Window trims screwed in with good outer facings for new wrap arounds.
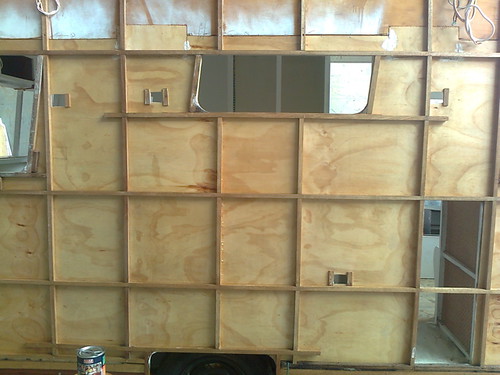
- Exterior walls now have a clear coat - 1 litre of varnish. (thanks Gordon I'll have to write you another cheque
 ) )
   |
|
|
|
Post by Observatory on Jan 9, 2015 14:30:18 GMT 10
Prepping and painting...  |
|
|
|
Post by cobber on Jan 9, 2015 15:49:00 GMT 10
Pete, can you slow down a bit mate ? you're making me feel old   You seem to get more work done in a day than I do in a week, she's looking good though  Cobber. |
|
|
|
Post by DC3Td on Jan 9, 2015 16:25:48 GMT 10
Gday Pete.Judging by how it looks up to now you might have to change the name to Conservatory. gordon
|
|
|
|
Post by Observatory on Jan 13, 2015 13:34:06 GMT 10
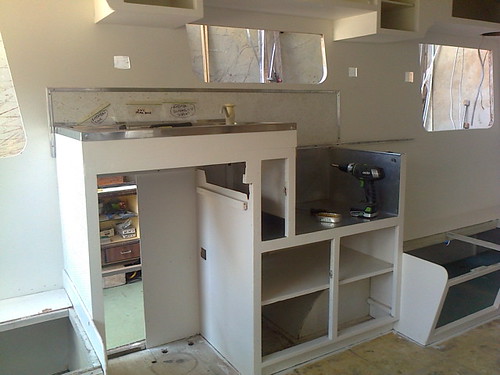
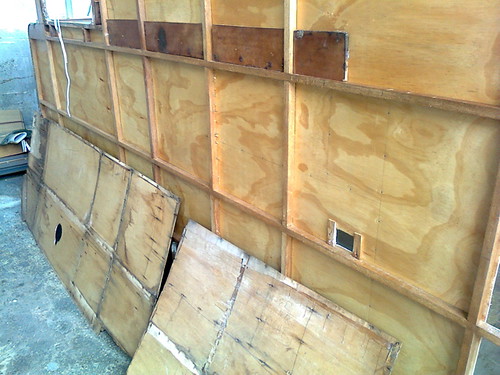
Thanks Gordon, thanks Cobber I'm trying to go slower - I went slow screwing in the slot head screws which take time   - Screwed in the splashback over the sink and the metal track for the sliding stove cover.
- Used 4 scrap ply pieces to screw the metal track into + finished nailing in the sink from outside with 20mm flat head nails; used the old wall panels as templates to find the nailing points.
|
|
|
|
Post by Observatory on Jan 14, 2015 14:14:00 GMT 10
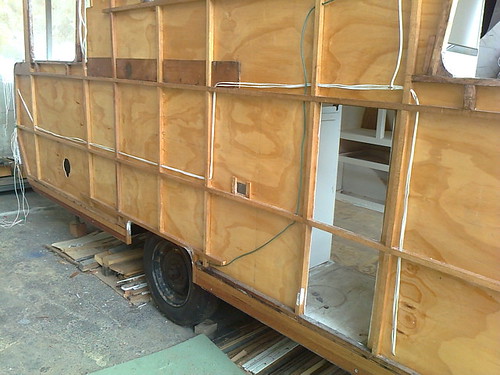
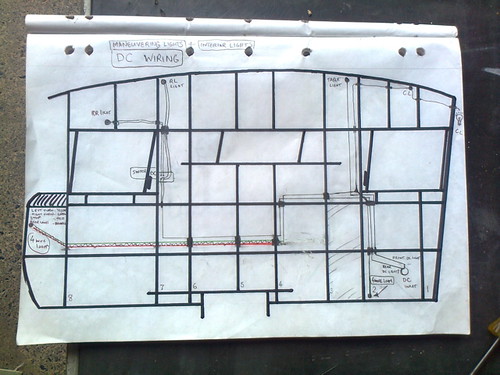
- Reinstating the clearance lights... EDIT: 4/5/15 also added dedicated earths from the front, side marker lamps - back to the junction plug under the bench seat. Reason for this: the added damp course over the Z-rails - will stop the original earth traveling through the side cladding and up to the front, side marker lamps.

- Diagram I did back in August '14
  |
|
|
|
Post by akeepsake on Jan 14, 2015 15:40:04 GMT 10
Love a good bit of wiring ! What a great Restoration you are achieving Pete. No shortcuts here ! Keep up the good work it's a credit to you!
Cheers Andrew
|
|
|
|
Post by Observatory on Jan 15, 2015 11:34:16 GMT 10
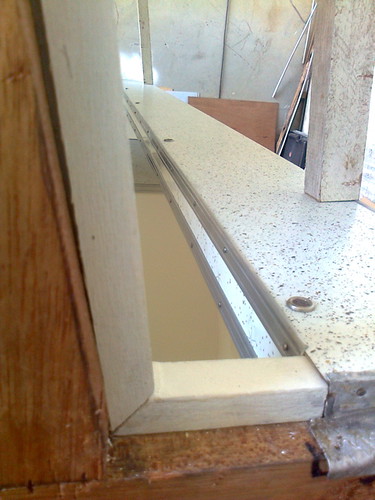
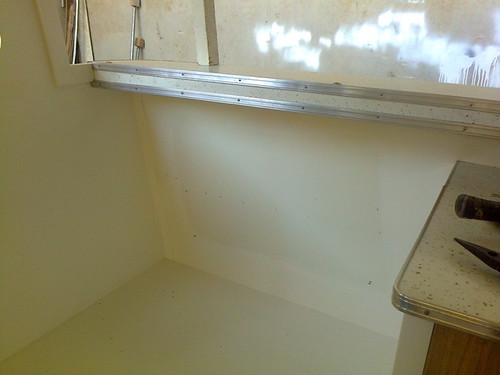
Thanks Andrew will do. Rear lights now working. - rear shelf laminate and trim in.
  |
|
|
|
Post by DC3Td on Jan 15, 2015 16:12:44 GMT 10
Gday Pete.Always good to have a rear shelf to rest the beer on.Another way of useing as a spirit level too. gordon
|
|
|
|
Post by Observatory on Jan 16, 2015 8:10:48 GMT 10
Cheers Gordon. Your idea is certain to be implemented. Is there anything beer cannot do? And in the words of Homer J. Simpson: "to alcohol! The cause of - and solution to - all of life's problems" Pete DC lighting reinstated. 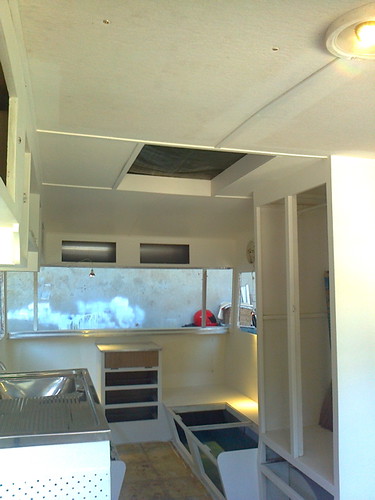 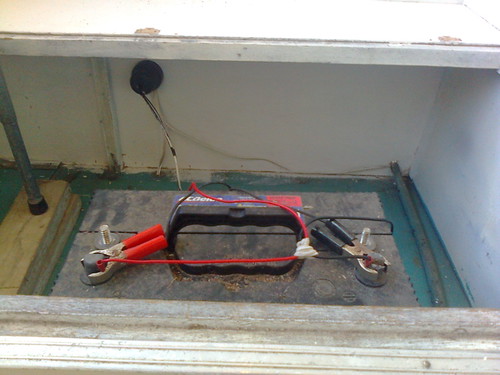 |
|
|
|
Post by Observatory on Jan 20, 2015 9:56:18 GMT 10
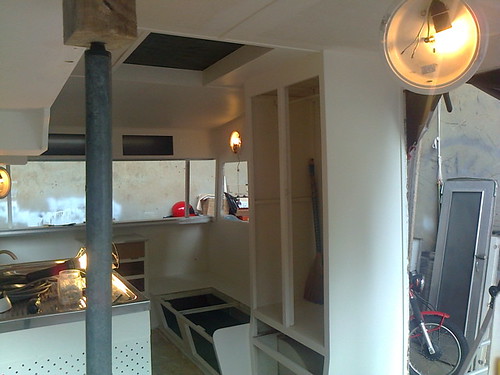
240 volt cabling reinstated (thanks to German Chris for checking and signing off) - 3 times GPO + 3 times lights
- All 240 volt replaced with new 25 Amp cable
  |
|
|
|
Post by Observatory on Jan 21, 2015 9:49:22 GMT 10
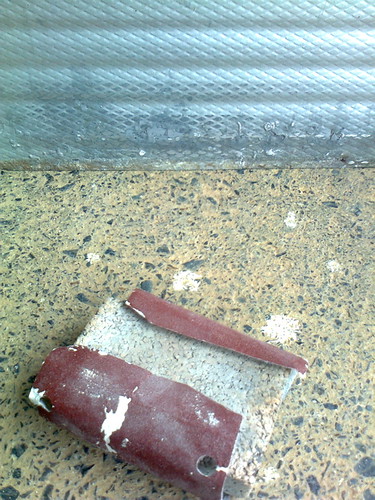
Cladding repairs - filling some (jaffa sized) holes left by electrolysis with chassis. - Polyester resin over fibreglass mat (applied on the inner side of cladding)
- Light sand with 120 grit (outer side )
  |
|
|
|
Post by Observatory on Jan 22, 2015 12:17:47 GMT 10
|
|
|
|
Post by Observatory on Jan 27, 2015 10:52:58 GMT 10
|
|