|
|
Post by Observatory on Nov 7, 2014 12:34:40 GMT 10
Thanks SGTL, great to get your opinion.  Here's the result of a little elbow grease... Refitted the new tape and rubber myself (the 4MP camera adds extra bling).  Very happy with the newly rebuffed aluminium frame. 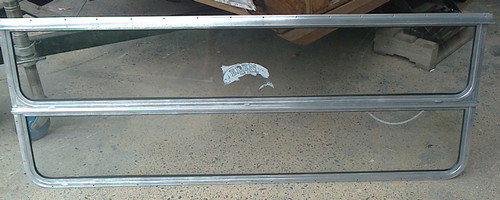 |
|
|
|
Post by murray on Nov 7, 2014 19:13:06 GMT 10
Obserrvatory, That window needs a new decal !!  cheers Double the value  Murray |
|
|
|
Post by Observatory on Nov 7, 2014 19:39:02 GMT 10
How awesome is that  Yes a new decal is in order. Thanks Murray  |
|
|
|
Post by murray on Nov 7, 2014 19:41:24 GMT 10
I will try and track one down .
Will send a PM if I find one.
cheers
|
|
Aussie
Junior Member
 
Posts: 60 
|
Post by Aussie on Nov 7, 2014 20:09:33 GMT 10
Thanks SGTL, great to get your opinion.  Here's the result of a little elbow grease... Refitted the new tape and rubber myself (the 4MP camera adds extra bling).  Very happy with the newly rebuffed aluminium frame.  That looks awesome mate, really well done! Can i ask what you used product wise and how you got such a great finish? |
|
|
|
Post by Observatory on Nov 8, 2014 10:39:37 GMT 10
To your question Aussie.. used steel wool, 600 wet and dry. Also used a blue strip disc [very lightly](below), plus a buffing wheel kit - cut/polish compound (also below). Only my first window so will probably refine the technique after 6 more windows  NOTE: removed the glass from the frames before attacking them with power tools  Cheers Pete 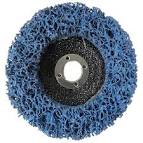 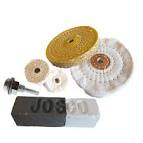 |
|
|
|
Post by DC3Td on Nov 8, 2014 14:15:39 GMT 10
Gday Pete.Another way - steel wool to smooth over surface & rid any oxides etc that may have built up within grooves of frame - then Purple polish (brand name) with old singlet/toweling to buff up.Theres others like Autosol etc but Purple is about as good as it gets.You can also use electric or air polishers with soft sponge adapter pads.We have/use an air polisher at work which is/was used when buffing/polishing bull/bumper bars on 4WDs.Myself i apply Purple to a wad of fine steel wool,rub mostly in one direction,let dry for maybe 10 mins & polish off using a length of toweling.Old school style but i get better results than the guys who used to machine polish.So much so i`m mostly called upon to do the 4WDs at the auto auction business i work at.On flat surfaces though i would use a machine.Have a look in Members Photos re Willyn & his Airstream if you get time. gordo
|
|
Aussie
Junior Member
 
Posts: 60 
|
Post by Aussie on Nov 8, 2014 22:24:48 GMT 10
To your question Aussie.. used steel wool, 600 wet and dry. Also used a blue strip disc [very lightly](below), plus a buffing wheel kit - cut/polish compound (also below). Only my first window so will probably refine the technique after 6 more windows  NOTE: removed the glass from the frames before attacking them with power tools  Cheers Pete   Thanks for the reply Pete. As i imagined, not going to be an easy task, especially with the 9 windows i need to do. Oh well... Thanks again! |
|
|
|
Post by Observatory on Nov 12, 2014 14:25:12 GMT 10
These were done by hand, using a steel scourer sponge with water... then steel wool with purple polish... then buffed off with a clean rag. A far better result than power tools. Elbow grease wins  (thanks Gordo) 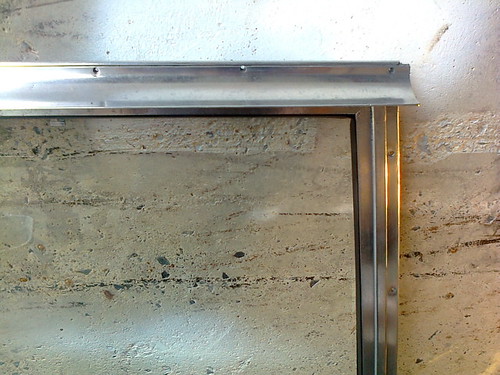 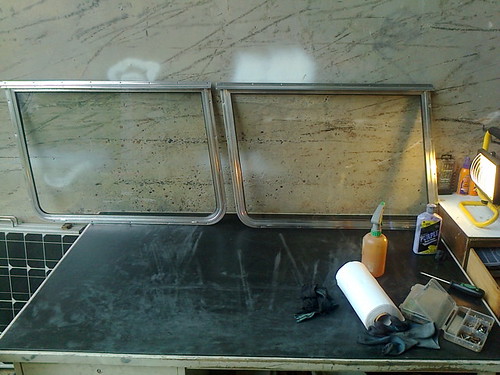 |
|
|
|
Post by DC3Td on Nov 12, 2014 17:25:55 GMT 10
Gday Pete.Havent seen any funds in my account yet.Well they certainly look pretty flash eh.There is a sealant that can be applied over the polish.Can`t think of the name offhand.Might be in Tech section or some one will come along & advise.Don`t use them at work as most 4 x 4s disappear fairly quickly.Old cotton singlets ala Chesty Bond style or terry towelling are also pretty good applying/polishing rags.Tip o` the hat for your effort. cheers gordo
|
|
|
|
Post by Observatory on Nov 14, 2014 13:08:13 GMT 10
|
|
|
|
Post by DC3Td on Nov 14, 2014 14:55:33 GMT 10
Gday Pete.Now when you handle such like after polishing a handy thing is to wear cotton gloves especially when refitting.Hands leave sweat marks & you can buy bundles of those gloves from just about anywhere.Its also why a sealant is used as well as keeping a longer sheen.And no,i still havent thought of its name. gordo
|
|
|
|
Post by Observatory on Nov 17, 2014 13:40:34 GMT 10
Back on the build.. got the rear left wall panel in today. 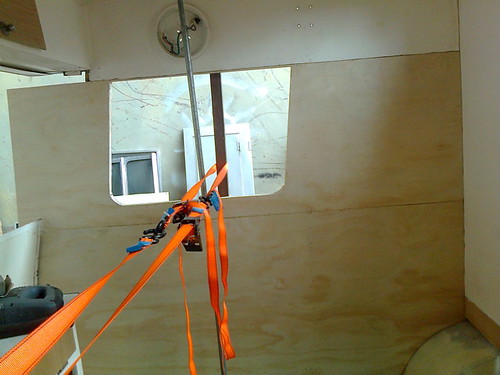 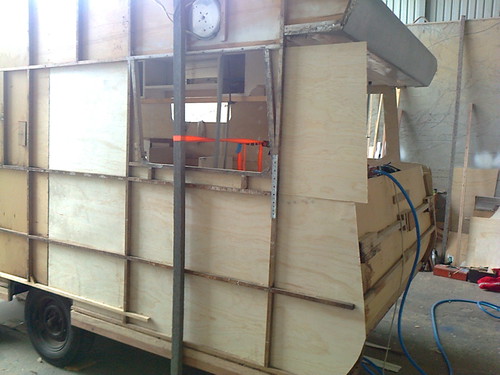 |
|
|
|
Post by Observatory on Nov 19, 2014 11:52:06 GMT 10
|
|
|
|
Post by Observatory on Nov 20, 2014 15:04:36 GMT 10
Both rear walls now complete.. 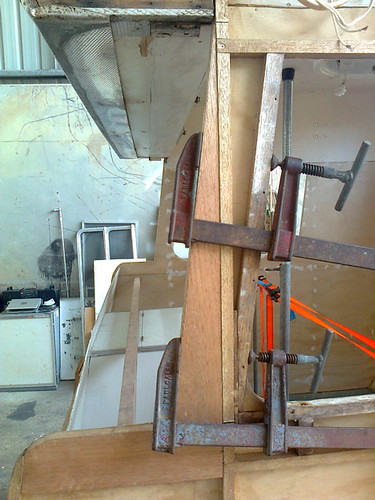 |
|
|
|
Post by Observatory on Nov 21, 2014 10:25:49 GMT 10
Rear window frame and cladding in: - Sat the cladding in place 1st (before putting in window frame)
- Window frame siliconed across top ONLY; frame screwed to top shelf using the 8 screws i.e. self supporting
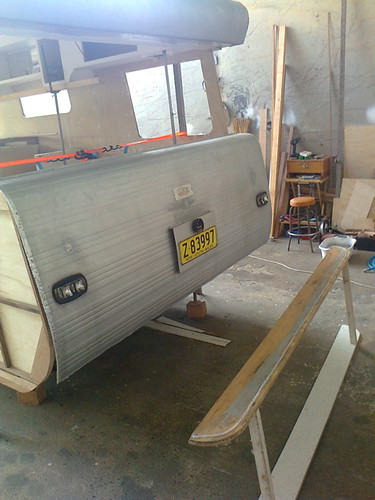 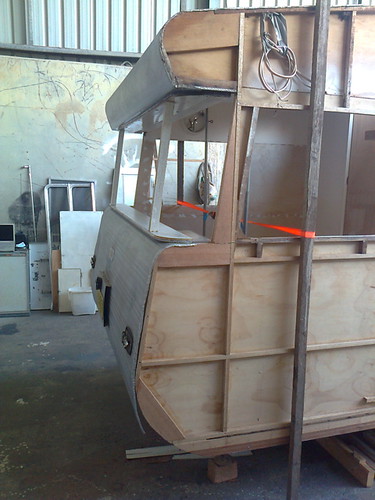 Next... - a silicone bead under the rear window shelf
- aligning the rear cladding - using the wrap around as a template.
 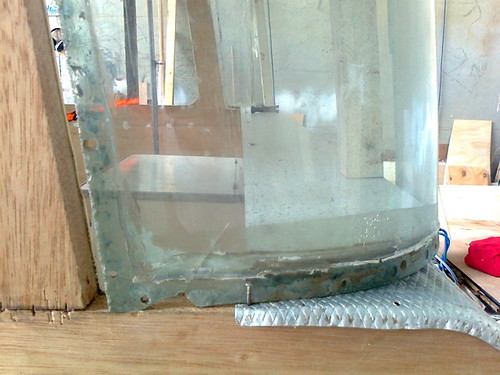 Finally.. - screwed in the cross-beam; under the the window shelf (5 screws) - which squeezed the silicon & sealed the joint.
And the result  EDIT 20/10/15: FORGOT  to seal between the wood bulkhead frame and the bottom rear cladding (at the curve under the window sill). HERE'S HOW I FIXED IT: SEALING: Fixing an oversight when installing the rear window frame - i.e. no sealant between wood frame and rear cladding(the bend under the window sill). So, made a gap for sealant by re-straightening the curved lap edge of the cladding; to compress enough silicone to fill and seal the joint. Panel beat the curve back over after. (refer to page 12 for photo or click here to go straight to the post) 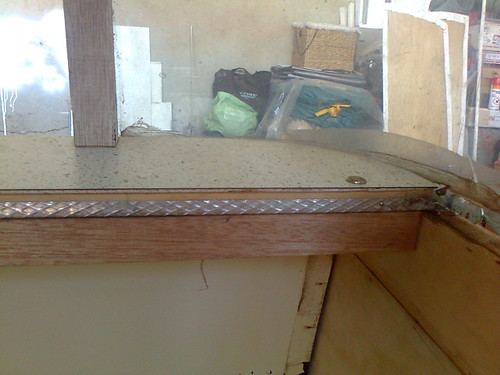 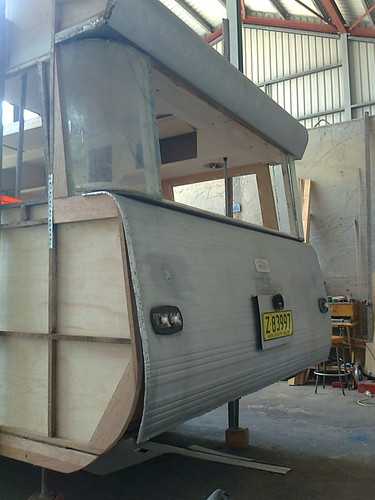 |
|
|
|
Post by DC3Td on Nov 21, 2014 15:39:52 GMT 10
Well i can see Franklin1 (Al) has a new prodigy. Dunno if he`s going to me miffed or `mused! This has been such a great methodolgy (spl?) story so far.Terrific application Pete. gordon
|
|
|
|
Post by Observatory on Nov 21, 2014 18:29:03 GMT 10
Thanks Gordon. Did a test fit with the window and j-molds soon after.... and looks pretty nice for alignment so far. Oh.. and thanks for the promotion to "Steve"   Ava good weekend, Cheers, Pete |
|
|
|
Post by Observatory on Nov 26, 2014 10:24:30 GMT 10
The 2mm polycarbonate has arrived. I cut it into three 800mm lengths (metal blade - jigsaw @ low speed) at the shop to bring it back in the car. Each piece is big enough to comfortably cut out two wrap arounds. Thinking of calling Croydon Caravans for an instruction manual  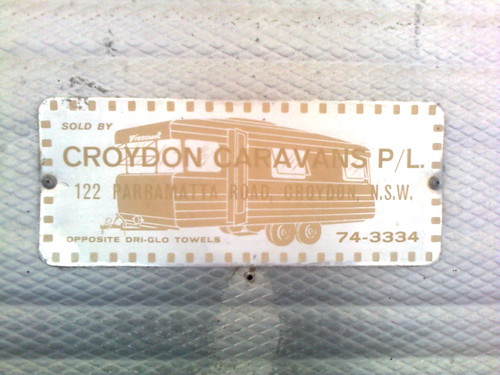 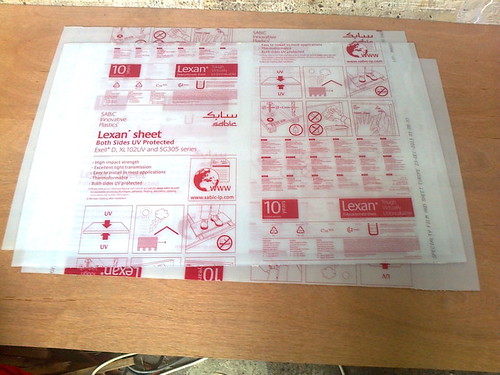 |
|
|
|
Post by Observatory on Nov 27, 2014 9:06:31 GMT 10
Some new meranti window trims; for the new wrap arounds to screw onto. - using some left over aluminium strip as an adjustable router fence.
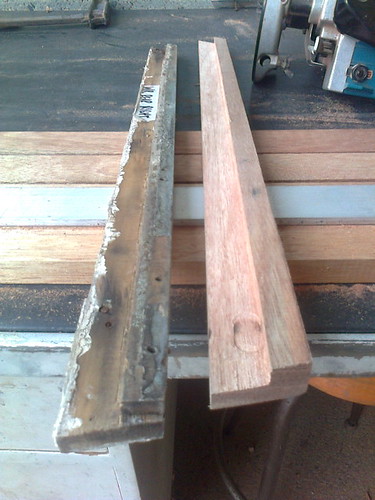 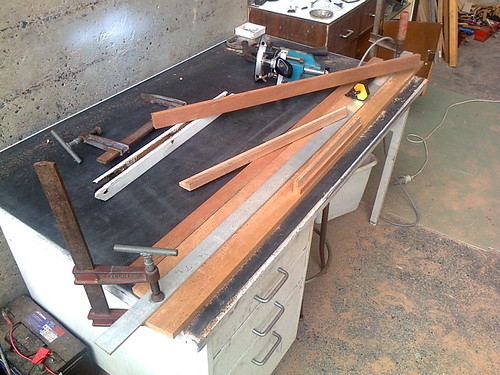 |
|
|
|
Post by Observatory on Dec 1, 2014 14:09:28 GMT 10
Here's a picture of an identical Ambassador (can't remember where I found this pic). This is what my van's paint work was originally. I will be repainting the single stripe in this colour - "turquoise green". 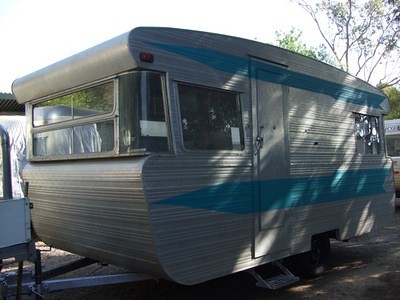 |
|
|
|
Post by Observatory on Dec 4, 2014 10:12:26 GMT 10
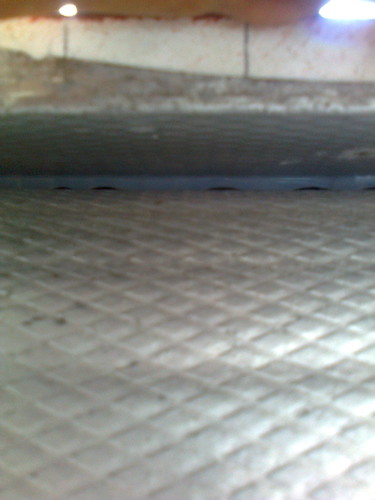
Three stage preparation for painting: - paint scraper to get main excess silicon/demastic off
- angle grinder with brass wire attachment (gets the silicon out of the diamond pattern grooves)
- cleaned back the whole surface with a stainless scourer pad and hosed it down (right photo)
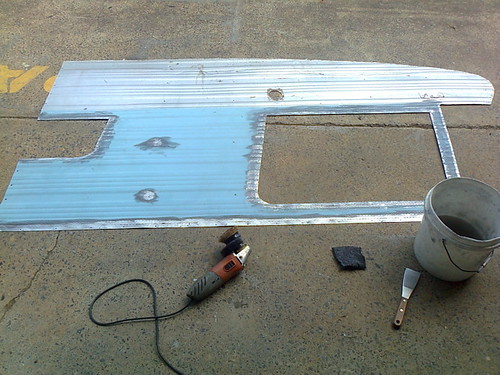 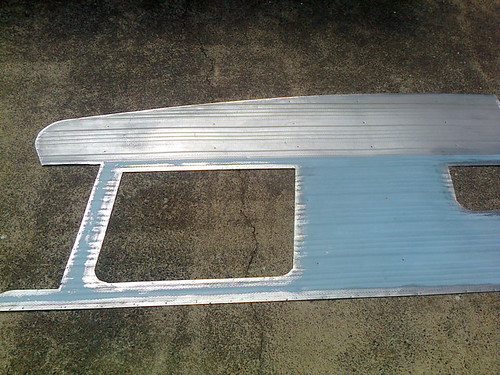 |
|
|
|
Post by viscountofmydomain on Dec 8, 2014 10:58:40 GMT 10
Hi Pete,
Your rebuild is a great read, I will be watching with interest as you prep for painting the inside and out.
Stu
|
|
|
|
Post by Observatory on Dec 15, 2014 12:06:44 GMT 10
|
|
|
|
Post by Observatory on Dec 16, 2014 11:59:22 GMT 10
Some cabinet panels made from 4mm ply brace: 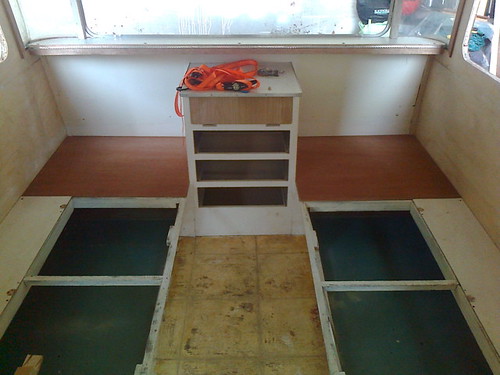 |
|