|
|
Post by strugglebrook on Mar 24, 2016 8:26:39 GMT 10
This is why the Sutcac`s get premium dollars when they sell a van, they do a premium job. Luv your work Mr Sutcac and luv your work and supervision Mrs Sutcac. Shame this one will be a "keeper"  JD. |
|
|
|
Post by akeepsake on Mar 25, 2016 13:30:51 GMT 10
Mr and Mrs Sutcac watching this thread with amazement and enjoying it immensely! You really do do the job well . It's a credit to you
Friends of mine in Tas have just brought what looks to be an identical shape/ style as your 13'er and I'm sure once they take possession they will be chewing your ear for advice .
I was wondering the Perspex front and rear curved Windows on your last van, are they available to buy generically or are they all a bit different ? Also do you have a rough idea of cost
Keep up the good work!
I have found an old sunliner in a paddock down here that looks the goods I just might have to knock on a few doors and find the owner! ......oh blimey I'm feeling itchy already!
|
|
|
|
Post by sutcac on Apr 24, 2016 20:39:22 GMT 10
Hi there aks. The Perspex windows in Sunnys usually vary in dimension from window to window. Hence the need to find a material (Perspex) supplier who is willing and able to supply, cut and bend the windows to your specs. Even better if you can use the old original windows as a template. Its also prudent to have them made slightly oversize so that they can be trimmed depending on the type of rubbers chosen to fit them to the van.
Over the past 12 years, the 3 sets I have had made probably averaged about $100 / $120 per window.
Regards, Sutcac.
|
|
|
|
Post by sutcac on Apr 24, 2016 21:11:12 GMT 10
A little more done over the past couple of weeks. Got the ceiling 3 ply sheets,coverstrips and overhead cupboards primed/filled and sanded back ,reinstalled and ready to spray insitu in " Cool White" 2K. Lots and lots of prep hours here, but quite happy with 'clean' look that I'm chasing in this van. Also using 6x flush mounted touch 12v LED's in the ceiling. 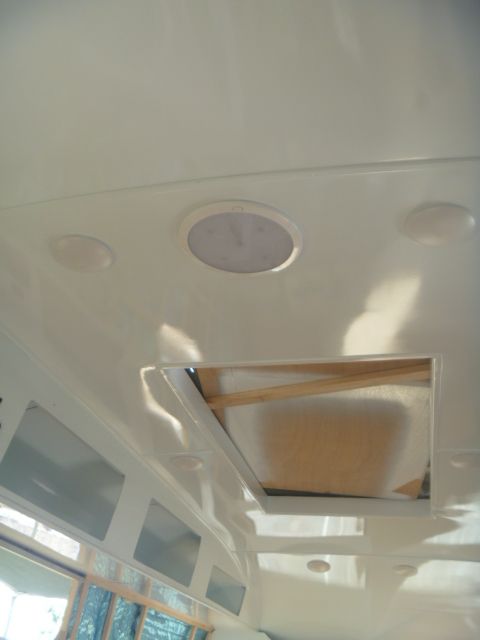 Going with a 600mm deep kitchen bench with generous round sink( Mrs Sutcac's orders!), modern old school tap allows water from mains or via 12v pump from new 80 litre tank. 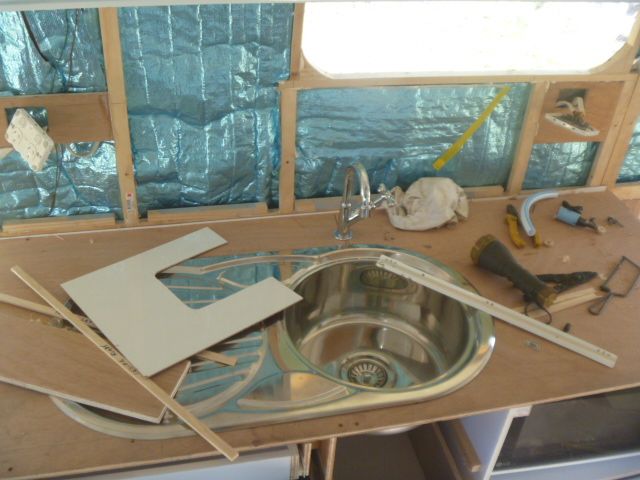  Fridge is new Vitro 12v. All fridge 130l with remote compressor. Drawers are light weight ply on self closing runners. Double sided laminate for cabinets.Generic microwave with generous pots n pan drawer under.Large cutlery drawer above fridge. All new drawer fronts. with original hinges/handles. 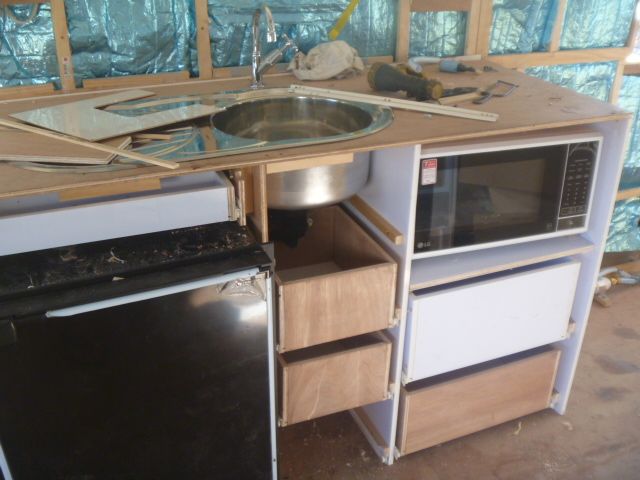 120 amp hr battery/charger/fridge compressor located und dinette seating. 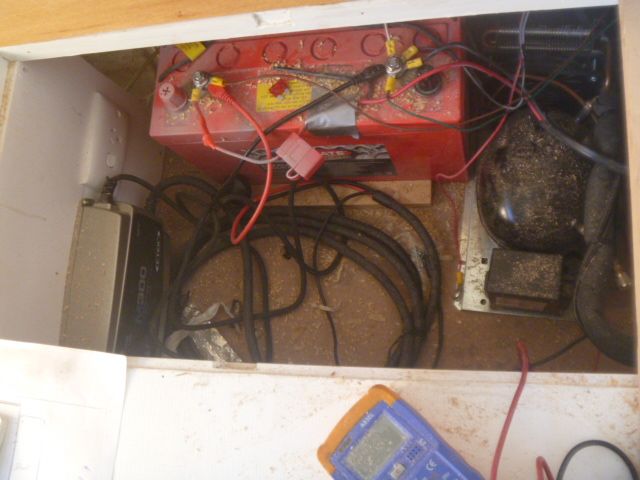 Water filter easy service access. 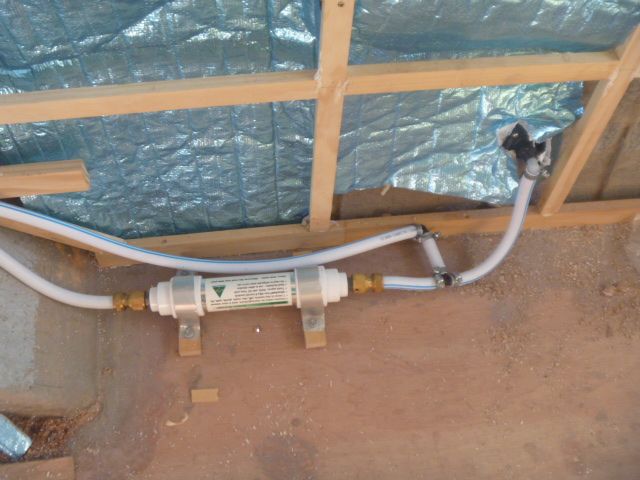 Moving on to framing /insulating the rest of the van, then some bed/dinette furniture. 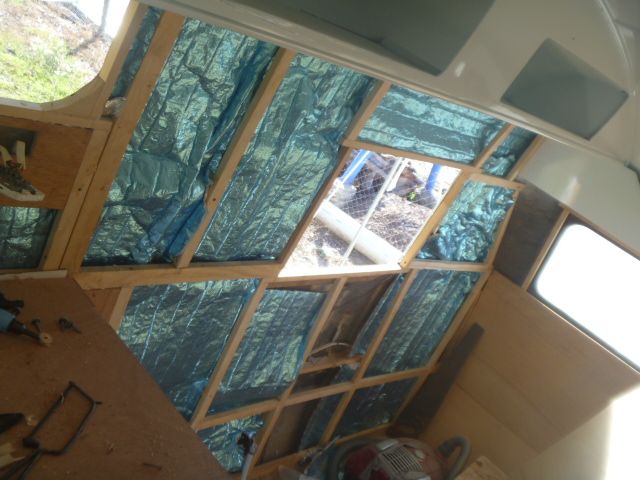 |
|
neilncheryl
Full Member
 Make God laugh, tell Him your plans.
Posts: 324
|
Post by neilncheryl on Apr 24, 2016 22:16:30 GMT 10
coming along nicely Clyde
|
|
|
|
Post by Jennison on Apr 25, 2016 18:51:02 GMT 10
|
|
|
|
Post by sutcac on Apr 25, 2016 21:48:17 GMT 10
Ha Ha Jenno!!! I think we may have just become a 2 vintage van family!!!
|
|
|
|
Post by akeepsake on Apr 26, 2016 0:22:10 GMT 10
thanks for the heads up on the Windows ! I'll pass the info on
cheers Andrew
|
|
|
|
Post by strugglebrook on Apr 26, 2016 6:45:53 GMT 10
Nothing exiting here, just another perfectly executed Sutcac Sunliner restoration. Nothing more and nothing less.
I am waiting for the restoration thread to begin on on Aeroliteee the plywood Goddess.
|
|
|
|
Post by sutcac on May 5, 2016 21:53:13 GMT 10
Getting some prep done on the cupboards/drawers. Preparing ply to take a 2 pack paint finish is time consuming But that's the finish we (I) want in this van. Start with sanding sealer to fill the grain. Then lay on several coats of hi fill primer. Sand back with 120/180 grit dry. Then do it all over again. Another 3 or 4 coats of hi fill .Sand back and finish off with 320/400grit dry. Any blemish will stick out, so extra care has to be taken to have a perfect surface. before the 2 k goes on. I'm even 2 painting the inside of the drawers, which no one but us will see, but that's the finish I prefer, so am prepared to put the time and effort in! 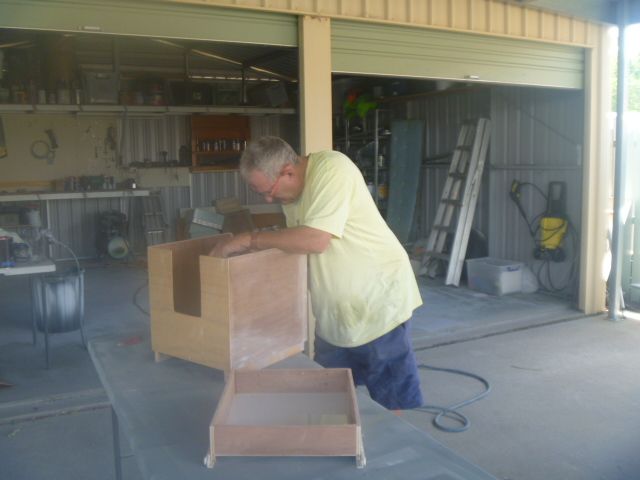 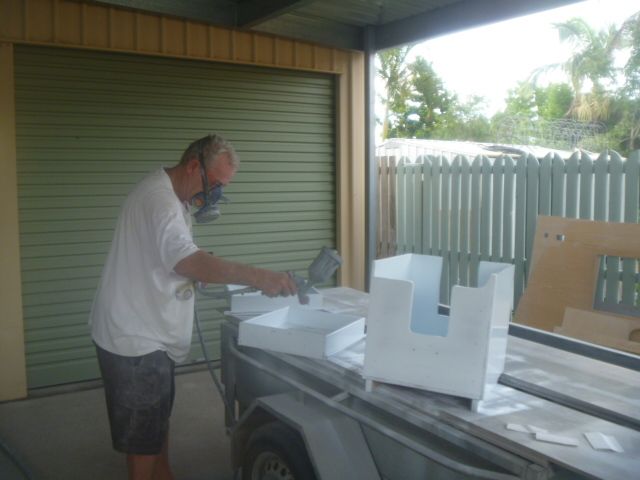 Some drawer fronts in primer ready for 2K. 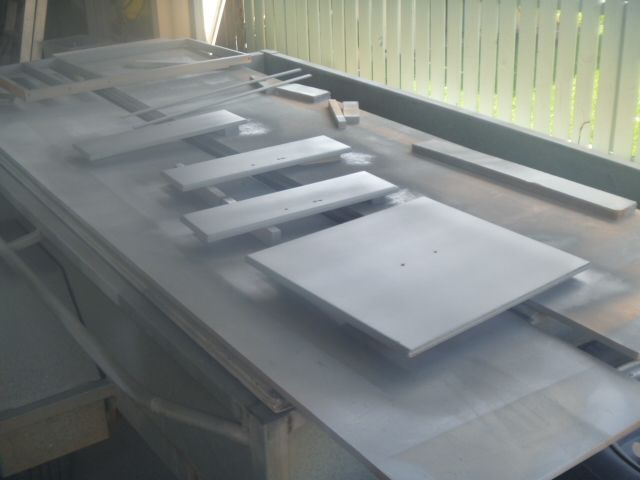 These are 3 ply wall sheets that have been fitted, then removed, prepped and baking in natures oven . then reinstall and 2K insitu in the van. 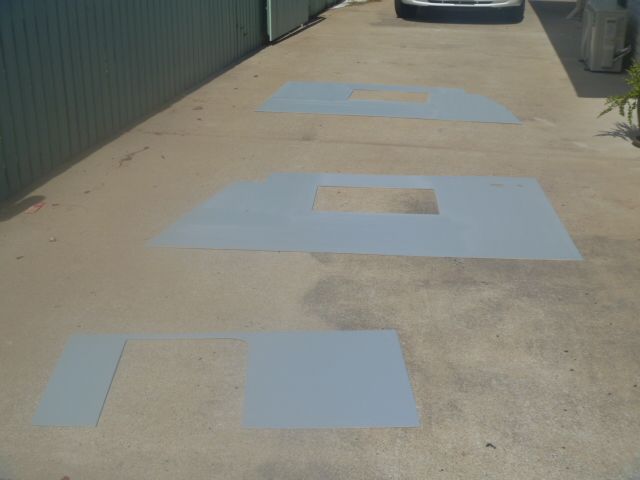 Then lay on some colour and hope no bugs and not too much dust settles on the wet paint before it goes off! 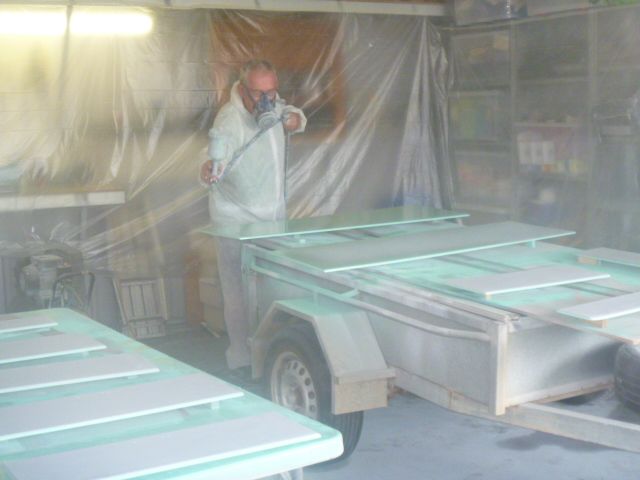  Just painting in my garage with plastic drop sheets to protect stuff from not getting covered in too much paint dust. All Ok if you've got understanding neighbours! |
|
|
|
Post by Surf Tragic on May 9, 2016 19:16:32 GMT 10
Glad to actually see you doing the work Sutcac, I always thought some Elves must come in & do it all while you slept   A lot of effort put in on all your projects, wish I had your know-how with the prepwork & painting, I can't believe the work you're putting into it. Makes me feel old watching a young bloke like you breezing through all the hard stuff, you just into it & get it done.  Well done so far, ST |
|
|
|
Post by sutcac on May 9, 2016 20:32:43 GMT 10
Thanks ST for the kind words of encouragement. Means a lot coming from a fellow repairer/restorer.
A lot of folk don't realize how much time and effort goes into a resto like this.
All worth it at the end of trip , as long as enjoyment is had along the way.
Sutcac.
|
|
|
|
Post by Rodnet on May 10, 2016 9:07:44 GMT 10
Enjoying your resto very much old mate, whoop de do's, yeah right !!!.
As you know, been there done all that (well, most of it), but you have far more talent than I have mate, so good on you.
Looking forward to another trip
Rod
|
|
|
|
Post by sutcac on May 11, 2016 21:14:23 GMT 10
Getting a bit more done. A big thanks to 'florence' on here who gave me 14 handles to help with the original look I'm trying to retain with the cupboards/drawers. 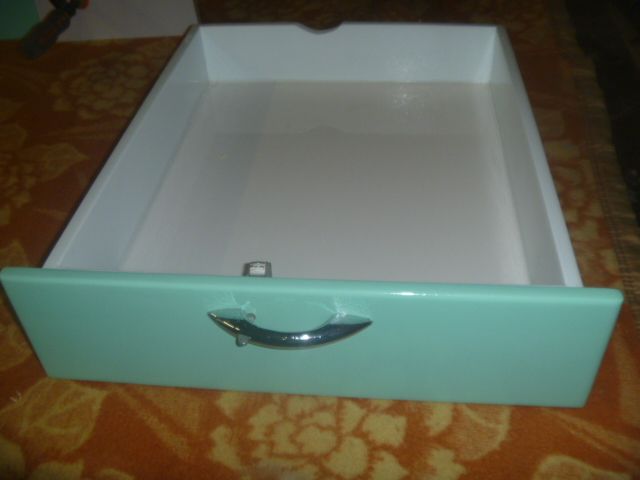 Another difficult area to finish off nicely in a Sunliner ,or many older vans for that matter, is the window opening surrounds. Aluminium flat strips were used in many cases We found the plastic 45mm coverstrip material from Bunnings can be used once the rear side is routed out to allow bending around a curve using a heat gun. Or mitered for 90 degree corners. The dimension is just right to take the 3mm ply. Glued in place overnight with no screws or fixings visible. 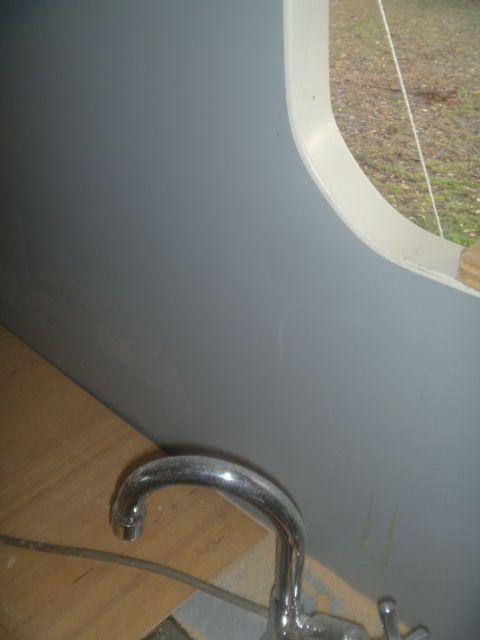 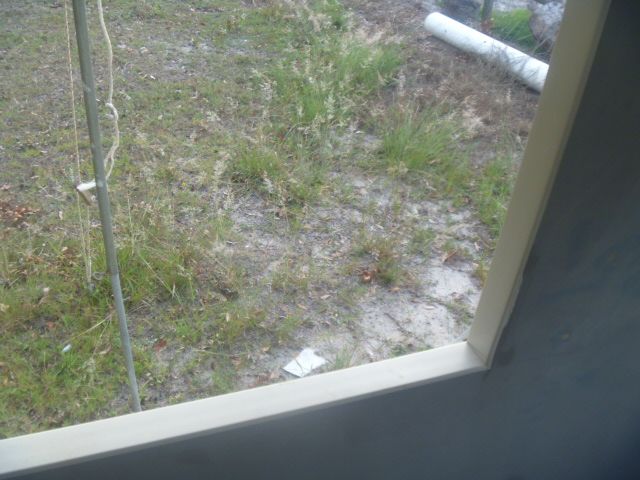 Getting the bed bases sorted. Ended up with good sized singles at approx. 2050x740. 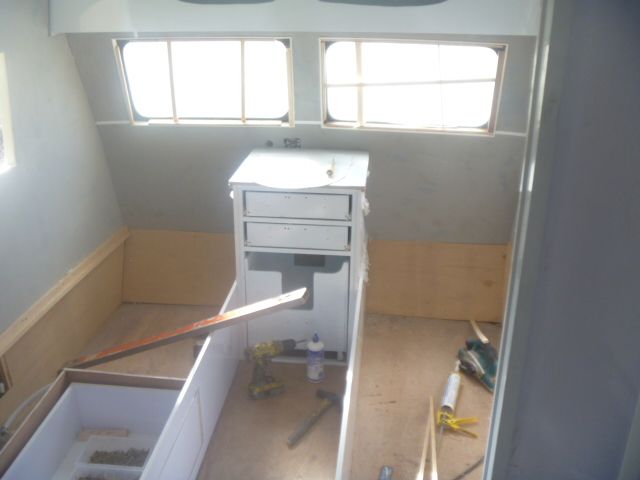 Putting a bit of time into setting up the Porta Potti in its own drawer on H D runners for easy of use. 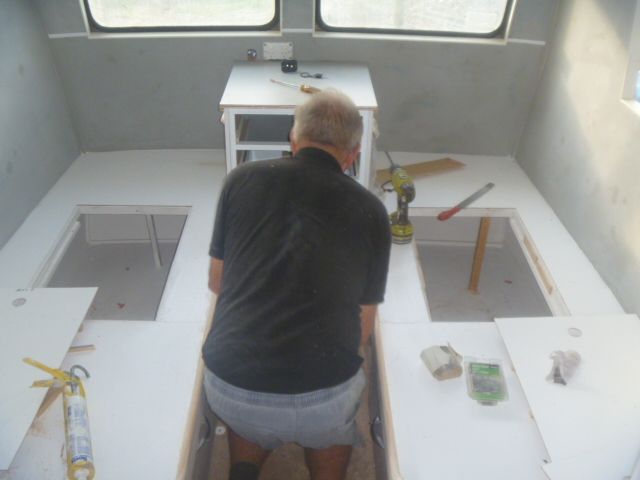  Have used 140x19mm pine as mattress retainers. Shaped and routed so that it doesn't 'grab' you on the back of your thighs when you sit on the edge of the bed. 600mm wide drawers and extra storage under each bed will be handy. 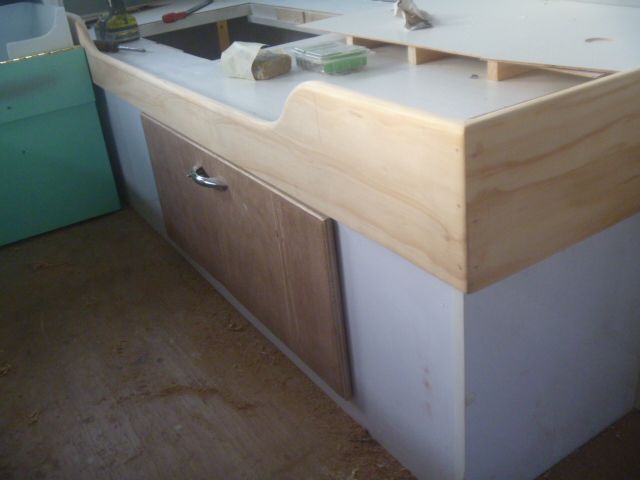 |
|
neilncheryl
Full Member
Make God laugh, tell Him your plans.
Posts: 324
|
Post by neilncheryl on May 11, 2016 21:45:33 GMT 10
Coming along nicely Clyde. Be ready for Goomeri eh. Nice shot of you using the port-a-loo in that photo mate
|
|
|
|
Post by sutcac on Jun 2, 2016 20:41:42 GMT 10
|
|
|
|
Post by Roehm3108 on Jun 3, 2016 8:24:07 GMT 10
Using slave labour again, Sutcac? At least he knows what he's doing!!! |
|
|
|
Post by strugglebrook on Jun 3, 2016 8:45:24 GMT 10
What we have here is an almost finished immaculately presented with tasteful and practicable updates Double Yoker.
What we have come to expect from MR and Mrs Sutcac.
This time with a very skillful helper, an older Dick but certainly a clever Dick.
|
|
|
|
Post by midniteflit on Jun 4, 2016 1:55:13 GMT 10
Congratulations on the clean proffesional finish you have achieved here.You and your team must be
extremely proud of the result at this stage .regards MF
|
|
|
|
Post by sutcac on Jun 19, 2016 14:32:51 GMT 10
Decided to replace the original axle with new 40mm square, new springs/shackles/electric brakes. Couldn't source the same length springs 'off the shelf' so went with a 70mm shorter spring pack which necessitated repositioning the hangers on the chassis to maintain the original axle position. Did this by welding the spring hangers to a length of 50x50mm angle, then welding the whole unit to the chassis rail. This made locating the axle back in its original position very easy. Then triangulated centre of each axle back to the hitch.Got it to 1mm. Will see how it tows and adjust if necessary. 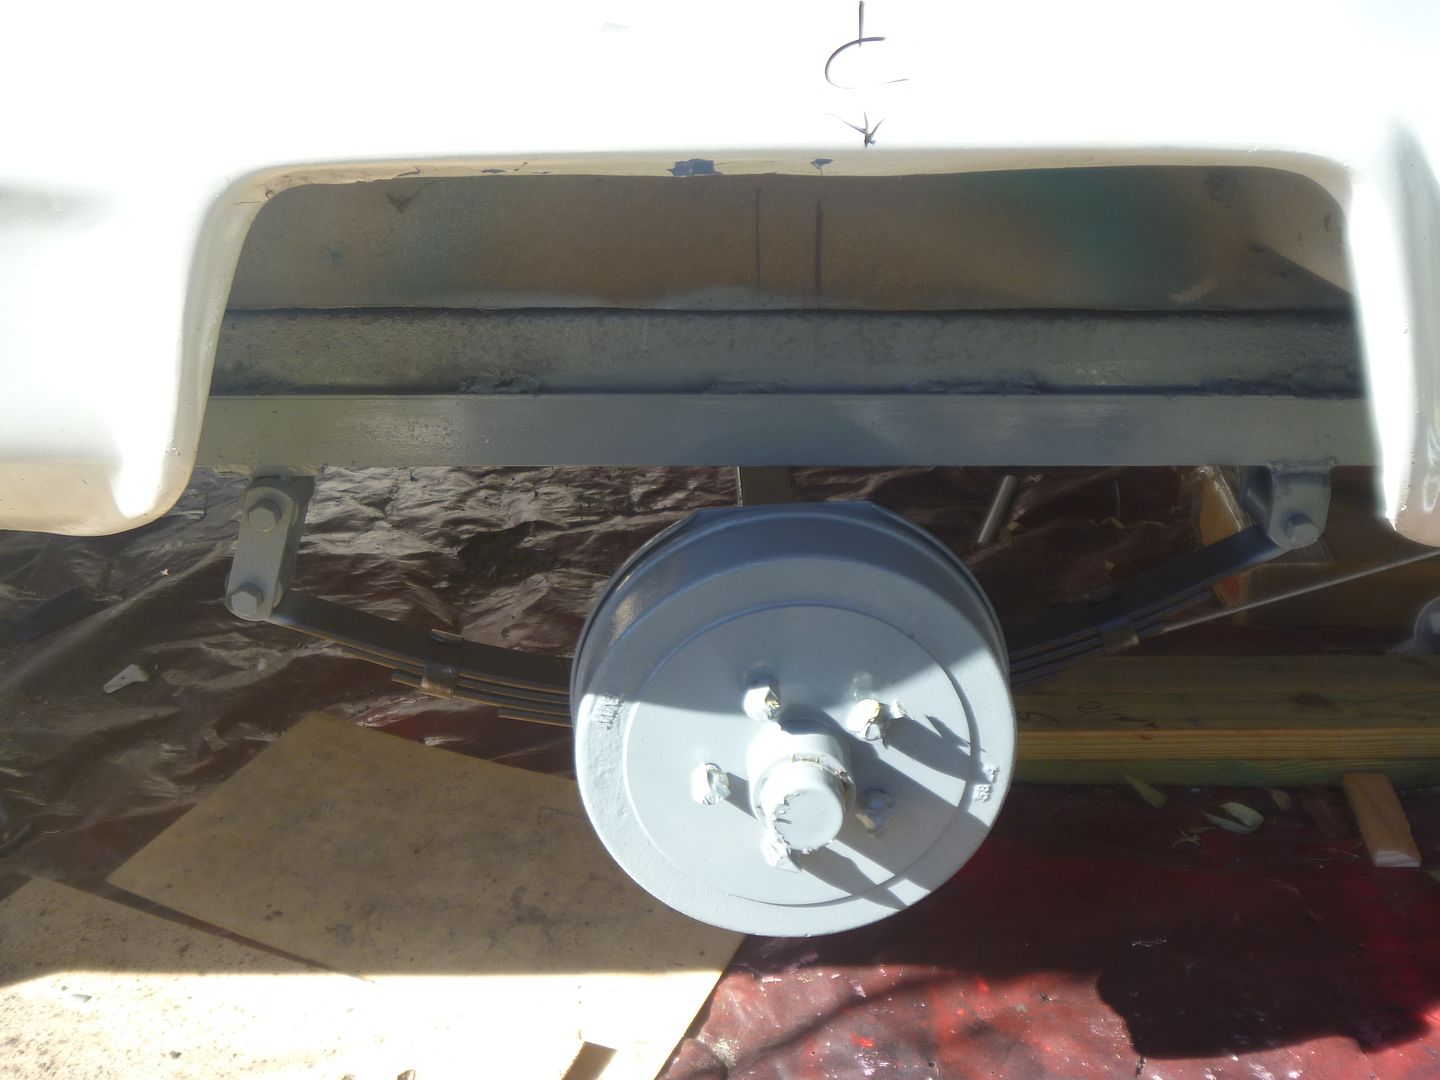 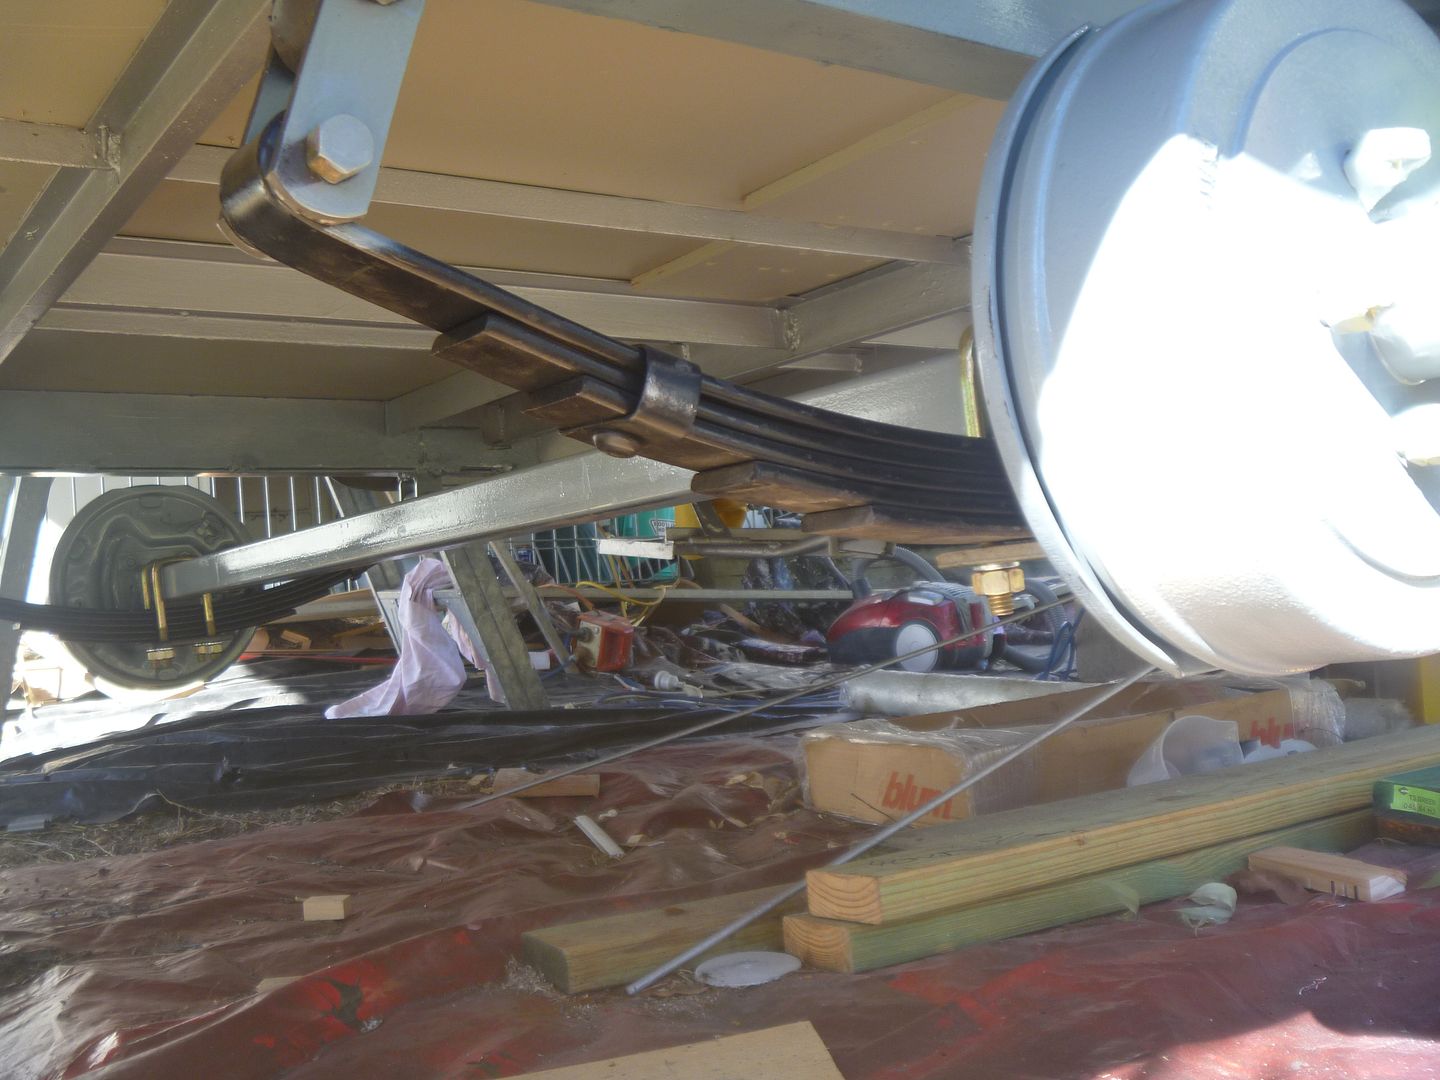 The old axle had a bend in it and antiquated disc brakes. 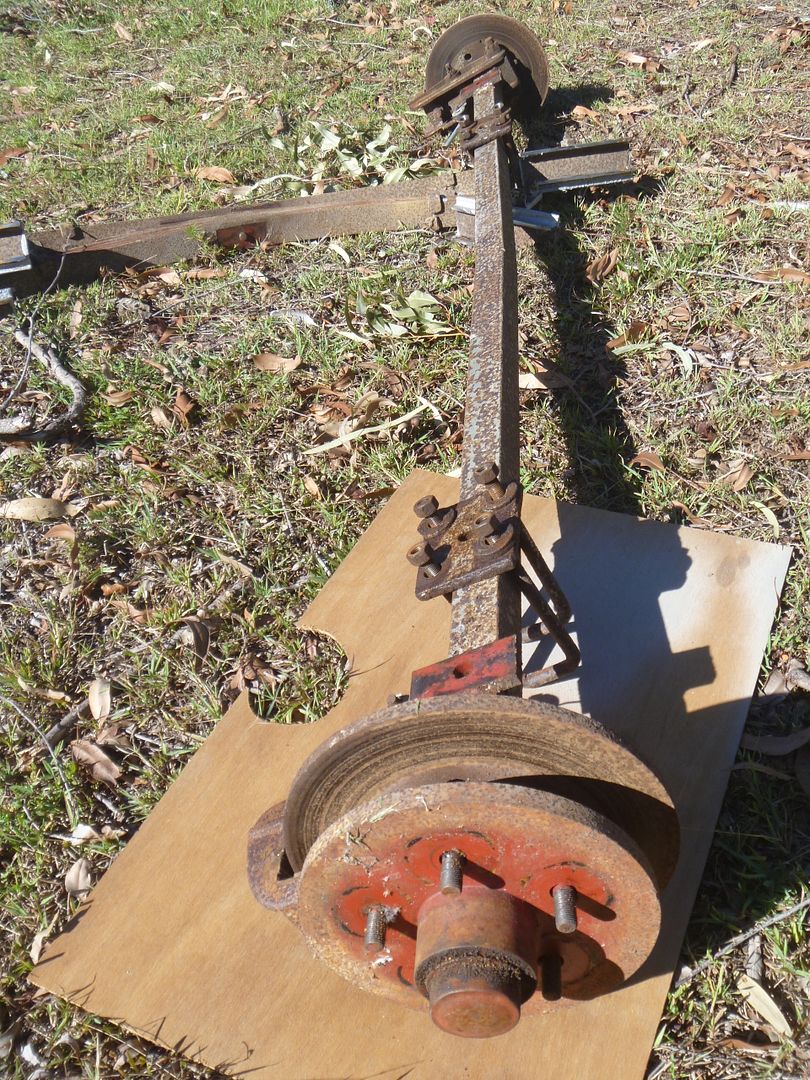 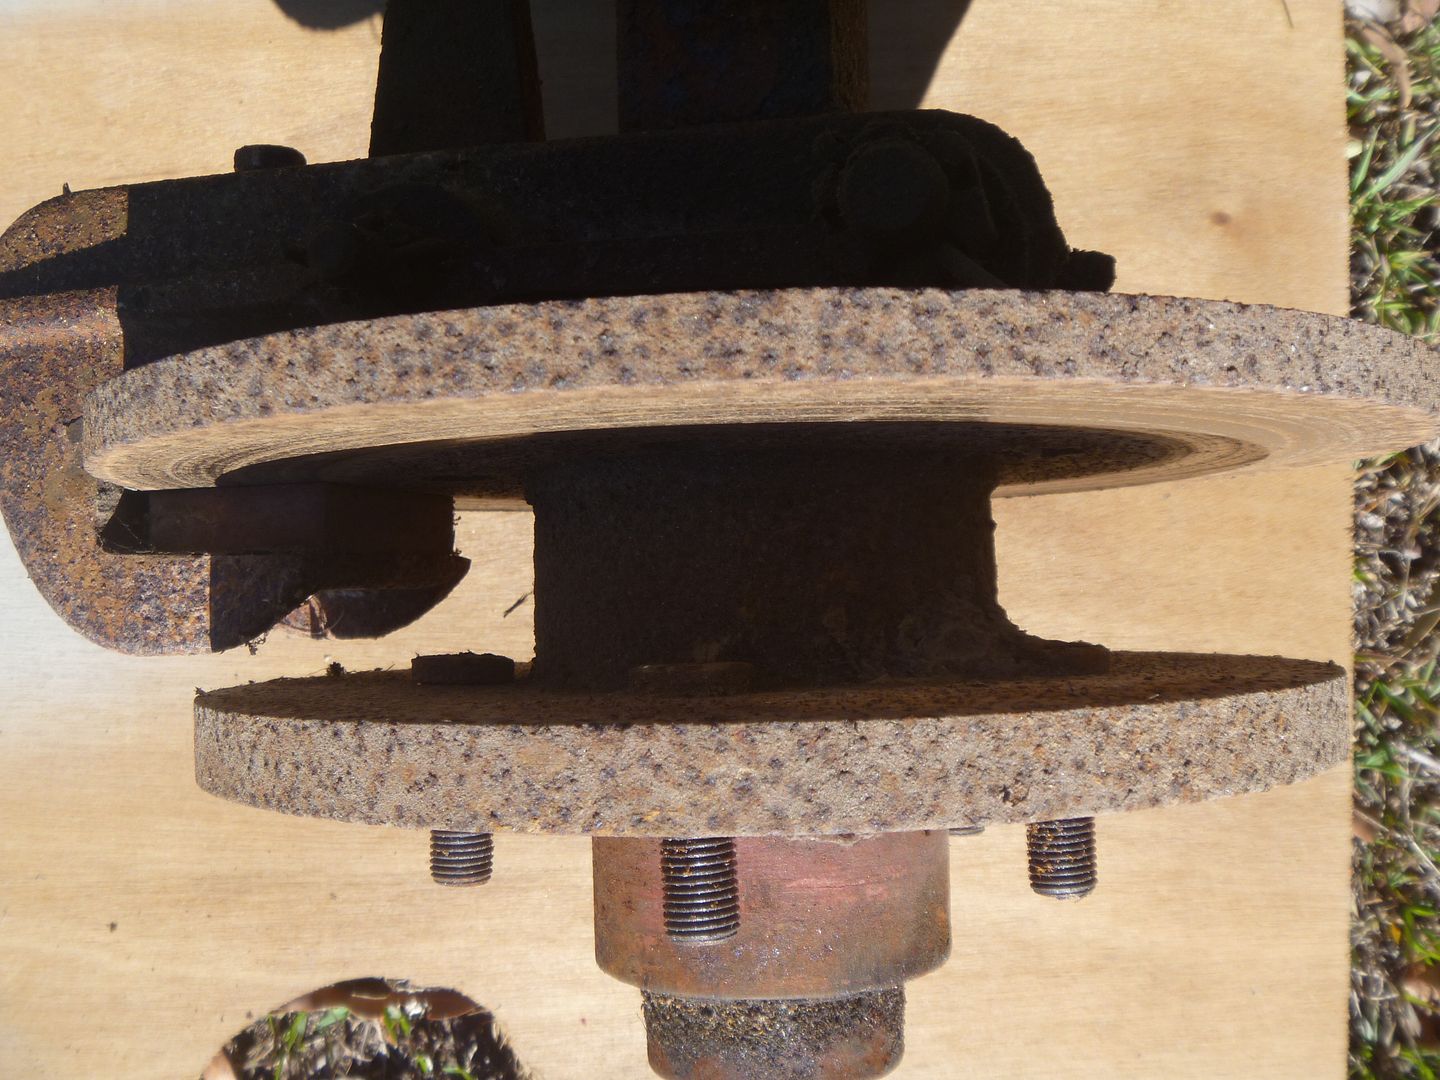 Also replaced the old hitch with new 3500kg job/new chains/shackles. I have been told that transport officers (Qld) have been checking chains(must be stamped every third link, apparently) and shackles, so might pay to check yours?....especially if you have an older set up? Also safety chains need to be mounted using hi tensile bolt as well as welding? 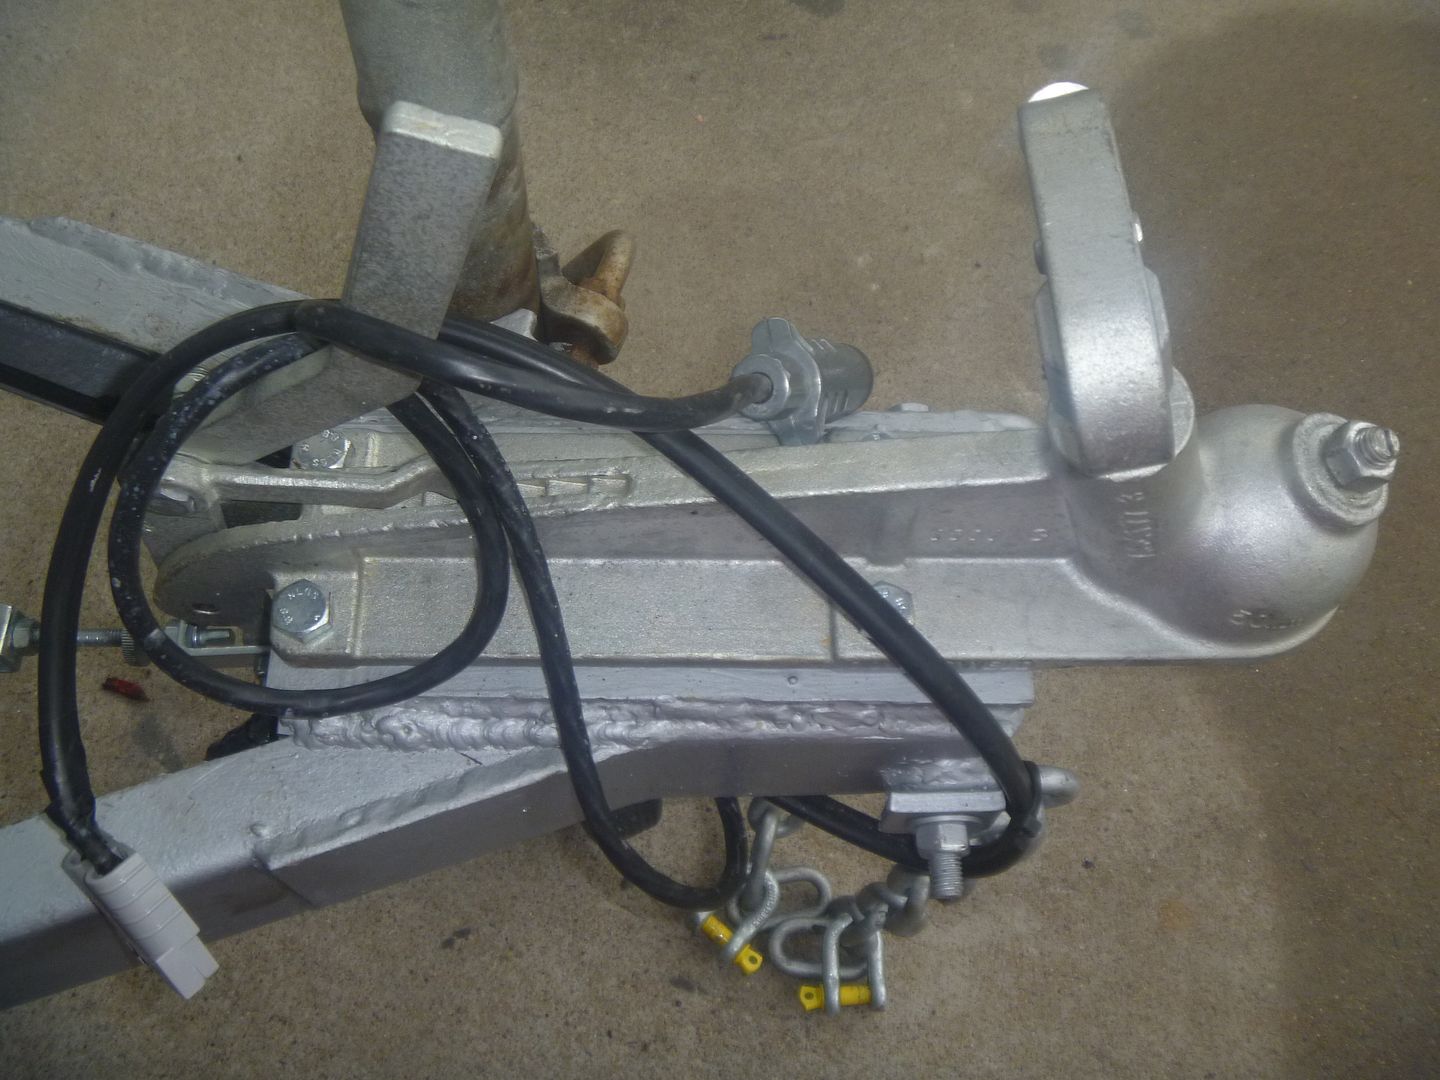 The original fibreglass tank held about 40L, so went with a new plastic 90 litre job. Plumbed in a drain tap and mounted the tank just behind the axle with gal. steel straps. 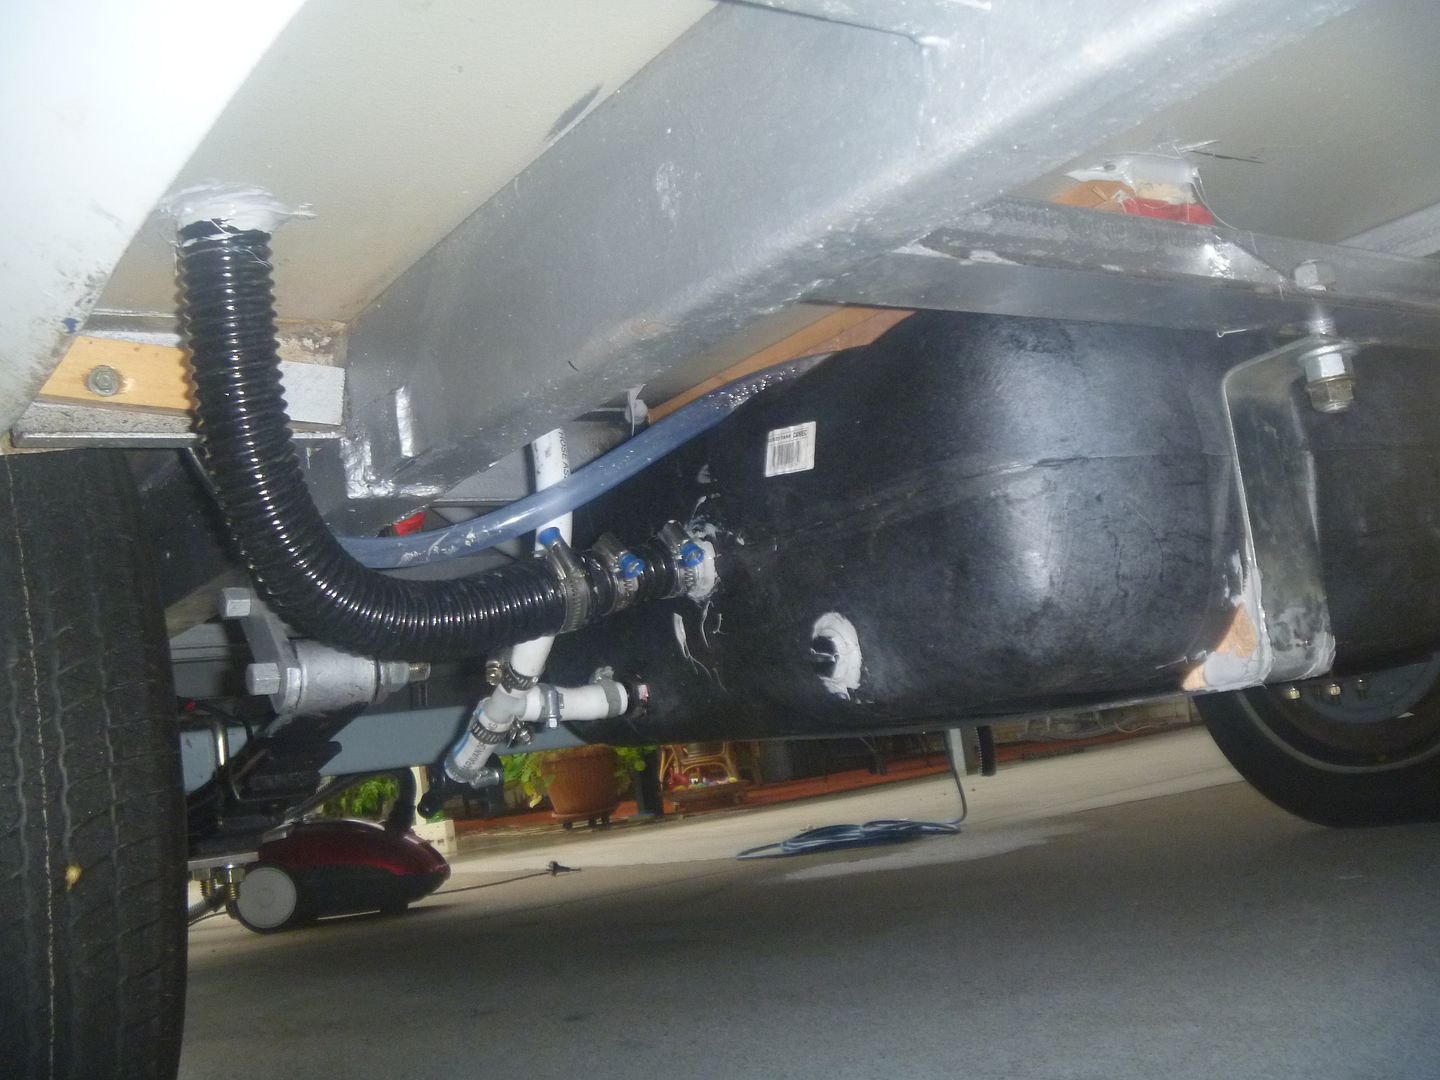 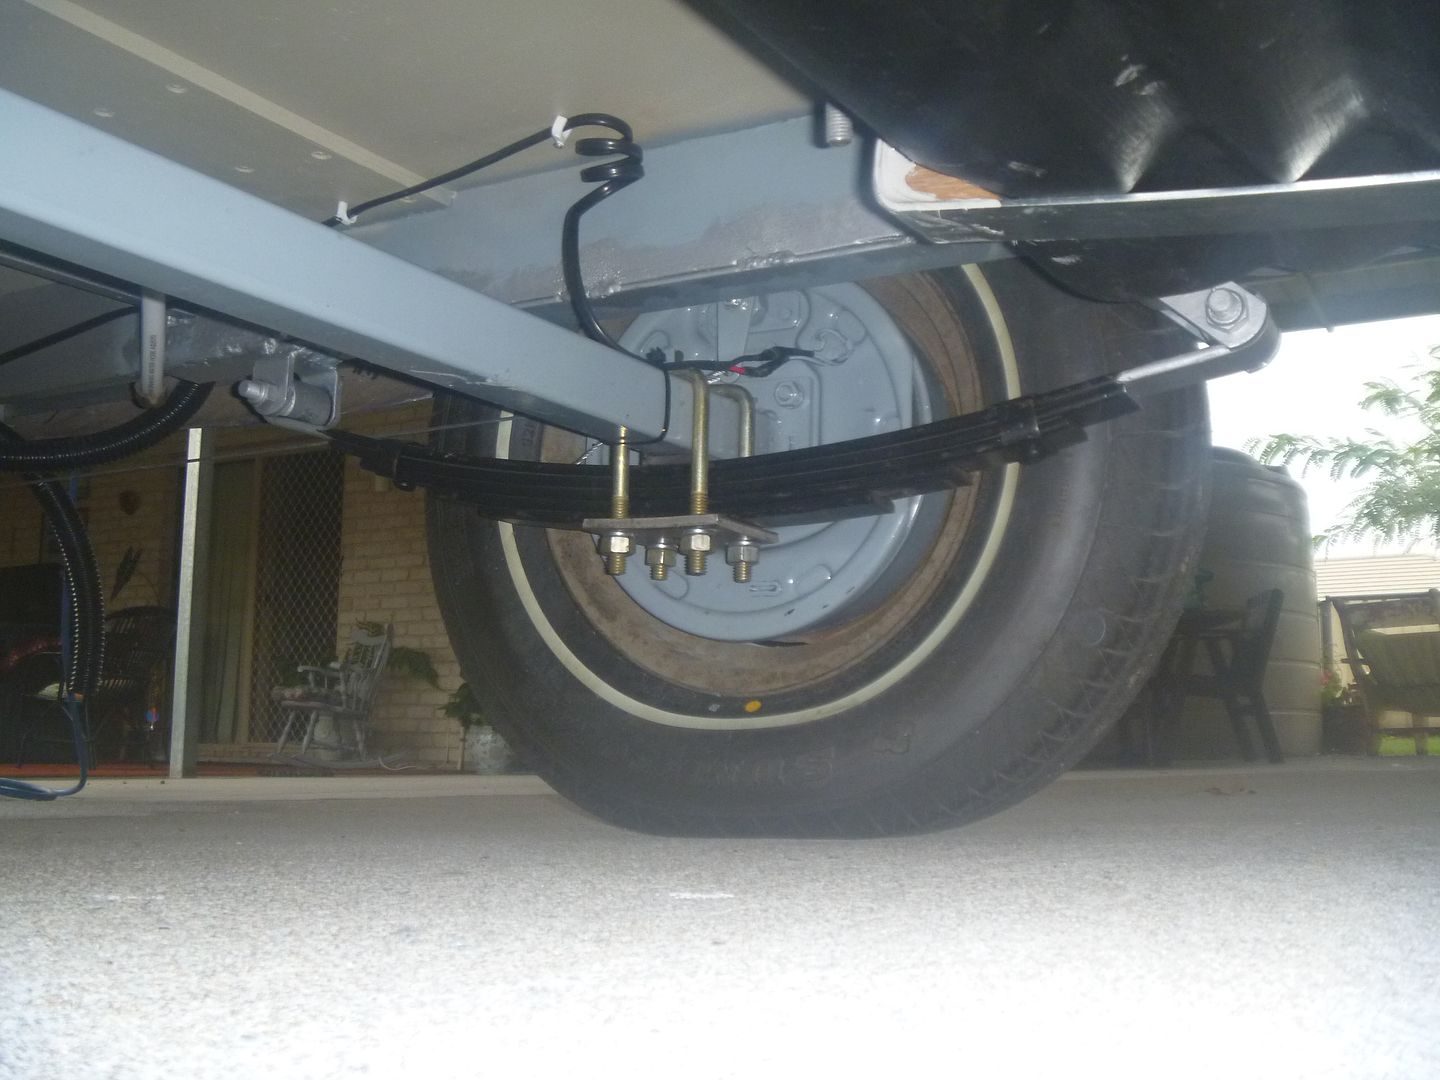 Got the tail lights mounted and working. 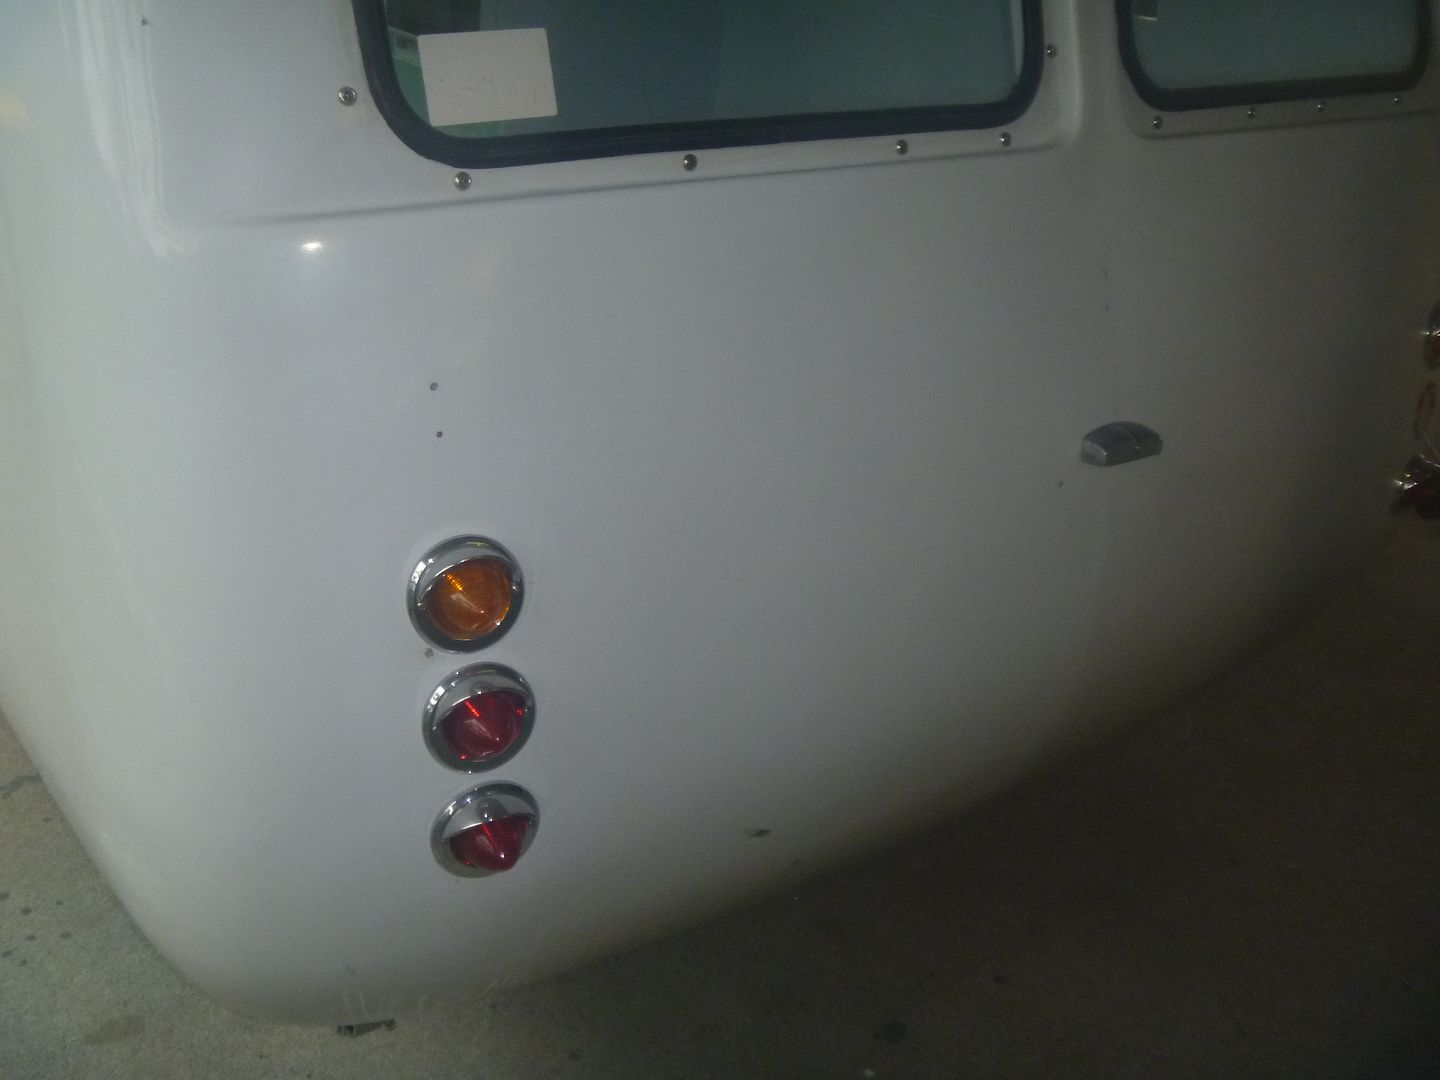 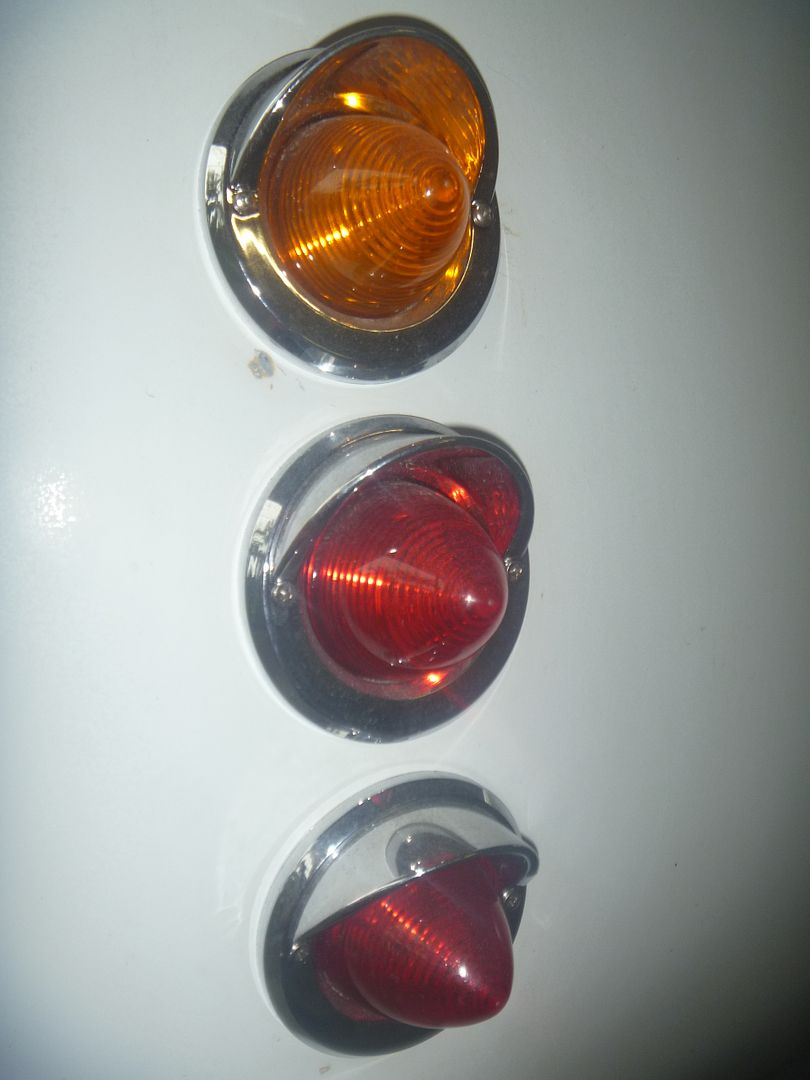 All the 12v/240v stuff set up and working. Very happy with the Vitro Friggo 130L fridge so far . Runs very quietly and appears to be quite efficient. 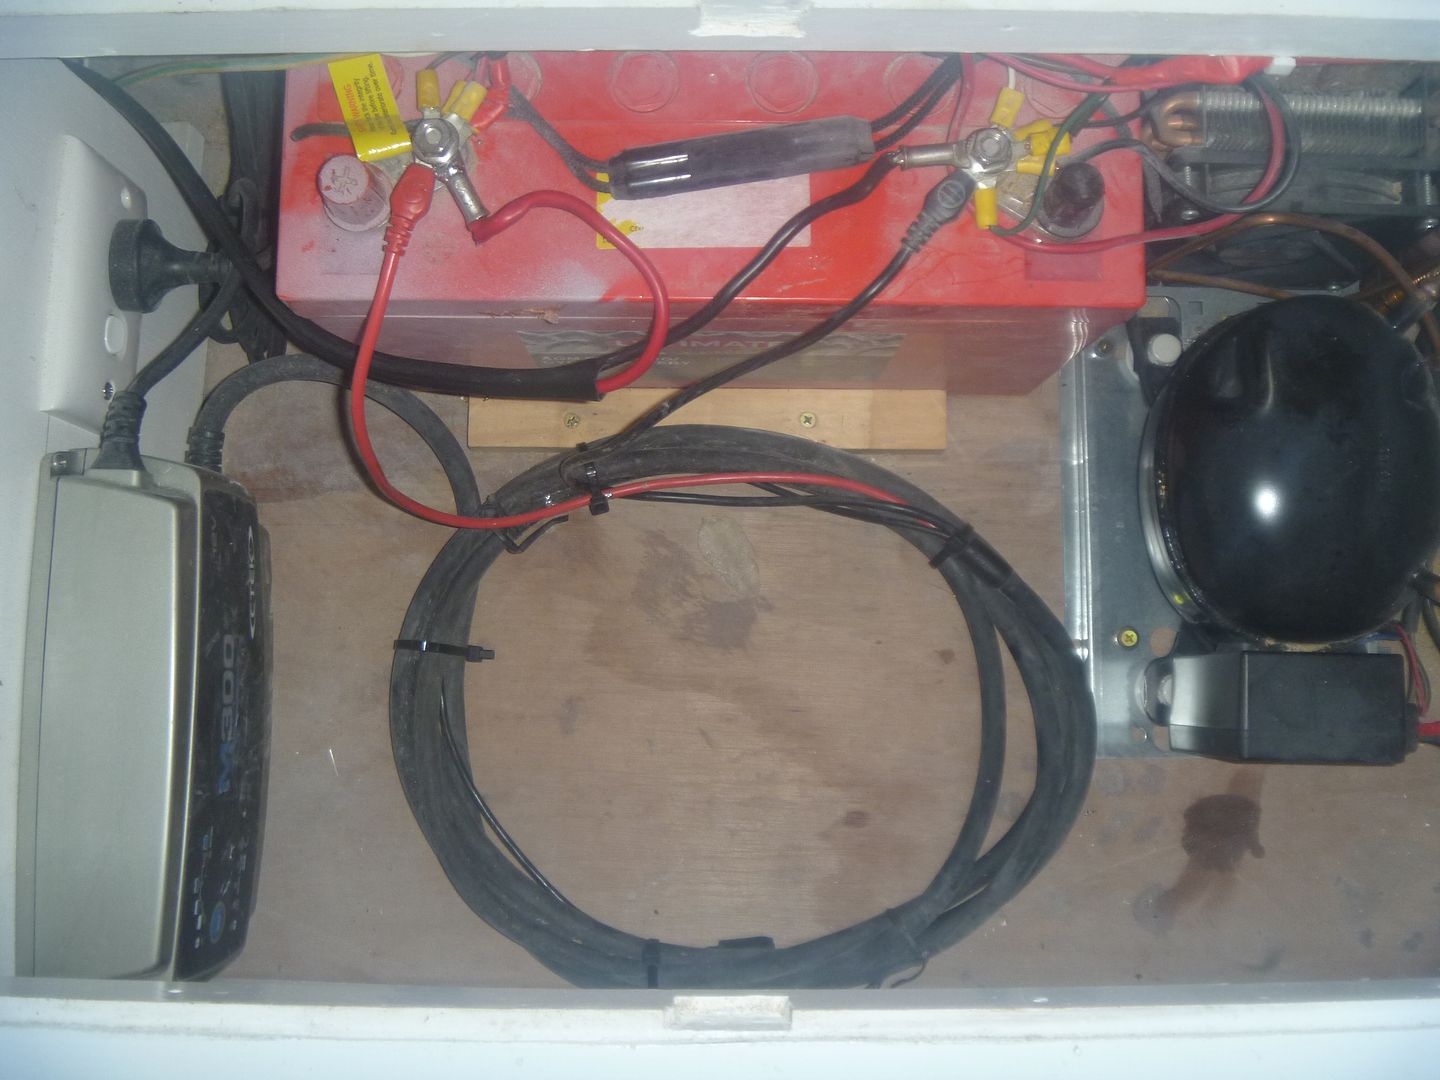 Made up new framing for the hatch. Using the original stays but they aren't a real good design. Anyone used an alternative that functions better? 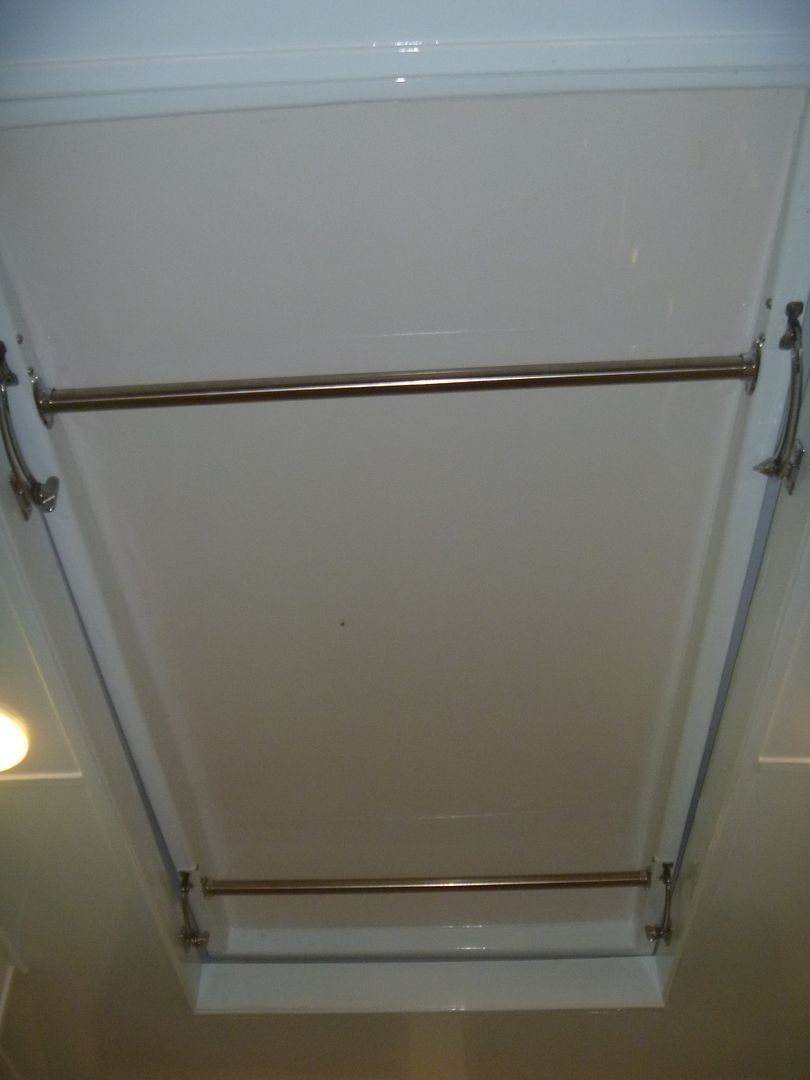 Got all window stays fitted and working. Have ordered some new screw /toggle latches to fit. No two window openings are the same in Sunnies and can be a PITA to get them sealed tight to prevent water ingress( and hard to stop them from leaking too!!) All internal electrics working as they should. Just minor interior details to complete now like pelmets/curtains/blinds/upholstery/floor coverings/ screens etc etc. 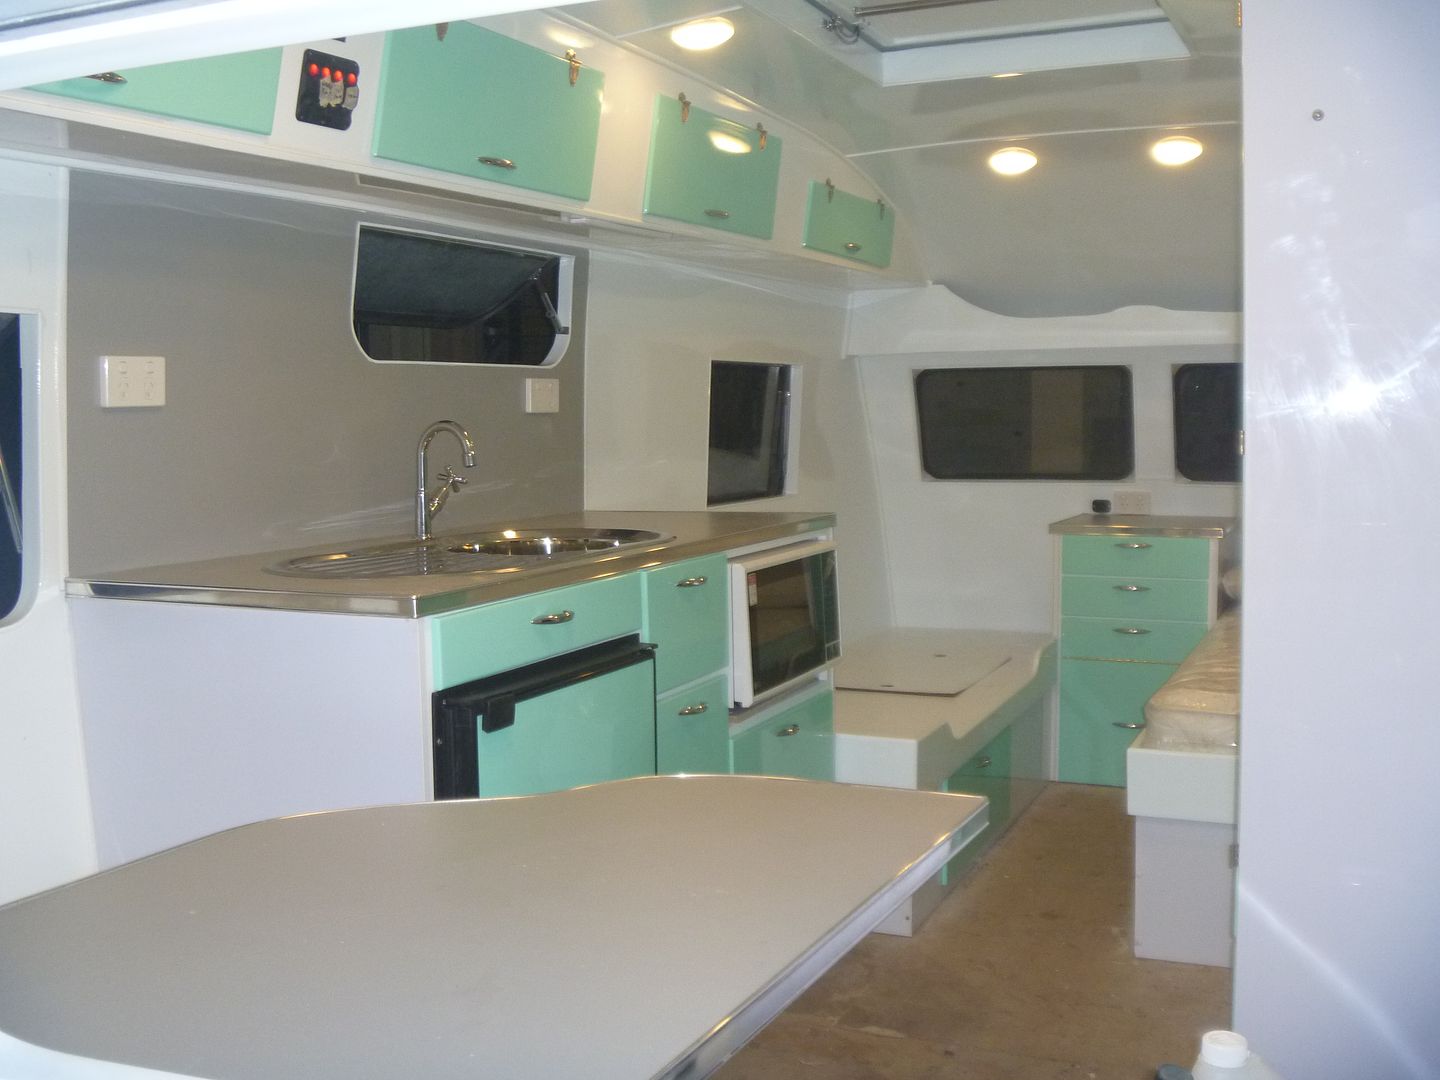 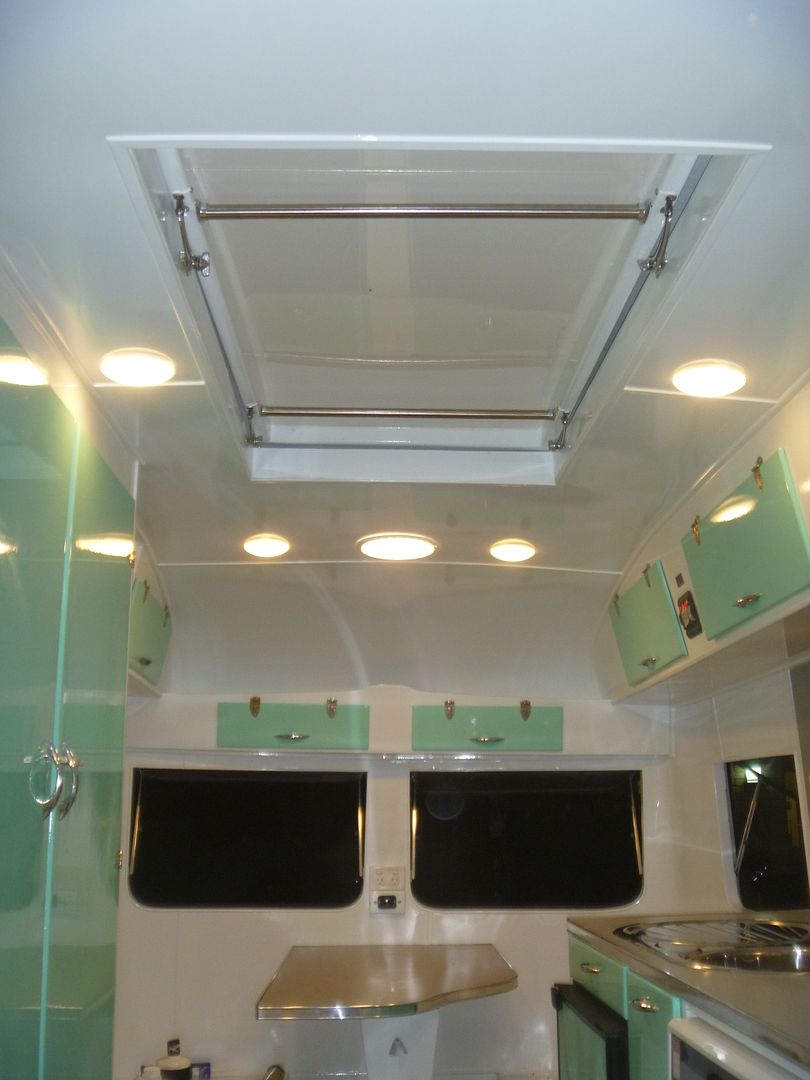 |
|
|
|
Post by Roehm3108 on Jun 19, 2016 17:34:50 GMT 10
Ummmmmm, Clyde! Don't quite know how to say this ............... I noticed where you missed painting a spot!!

|
|
|
|
Post by Johnny & Annie on Jun 20, 2016 9:42:28 GMT 10
Clyde,
Think the bend in middle of axle is a design feature. Mone had the same.
John
|
|
|
|
Post by Rodnet on Jun 20, 2016 23:39:18 GMT 10
Excellent work, old mate
XX
|
|
|
|
Post by Surf Tragic on Jun 21, 2016 21:45:27 GMT 10
It's a Stellar job, no doubt about it. ST |
|
|
|
Post by sutcac on Jun 22, 2016 7:01:18 GMT 10
Thanks all for generous comments.
Now on to shell prep and paint.
After painting two previous Sunnies,vowed I would never do this again but.......... Lots and lots of filling and sanding and filling and sanding and filling and sanding!!!!!!!!!!!!
Quite an onerous task with fine dust everywhere( Barb 's not impressed!)......but worth it in the long run, hopefully.
|
|


 A lot of effort put in on all your projects, wish I had your know-how with the prepwork & painting, I can't believe the work you're putting into it. Makes me feel old watching a young bloke like you breezing through all the hard stuff, you just into it & get it done.


