|
|
Post by sutcac on Feb 12, 2016 20:29:33 GMT 10
Recently sold our 13' Sunliner, to make way for our new project. A 16' Sunliner. T'was a difficult decision to make after having put so much time and effort into the 13 footer. 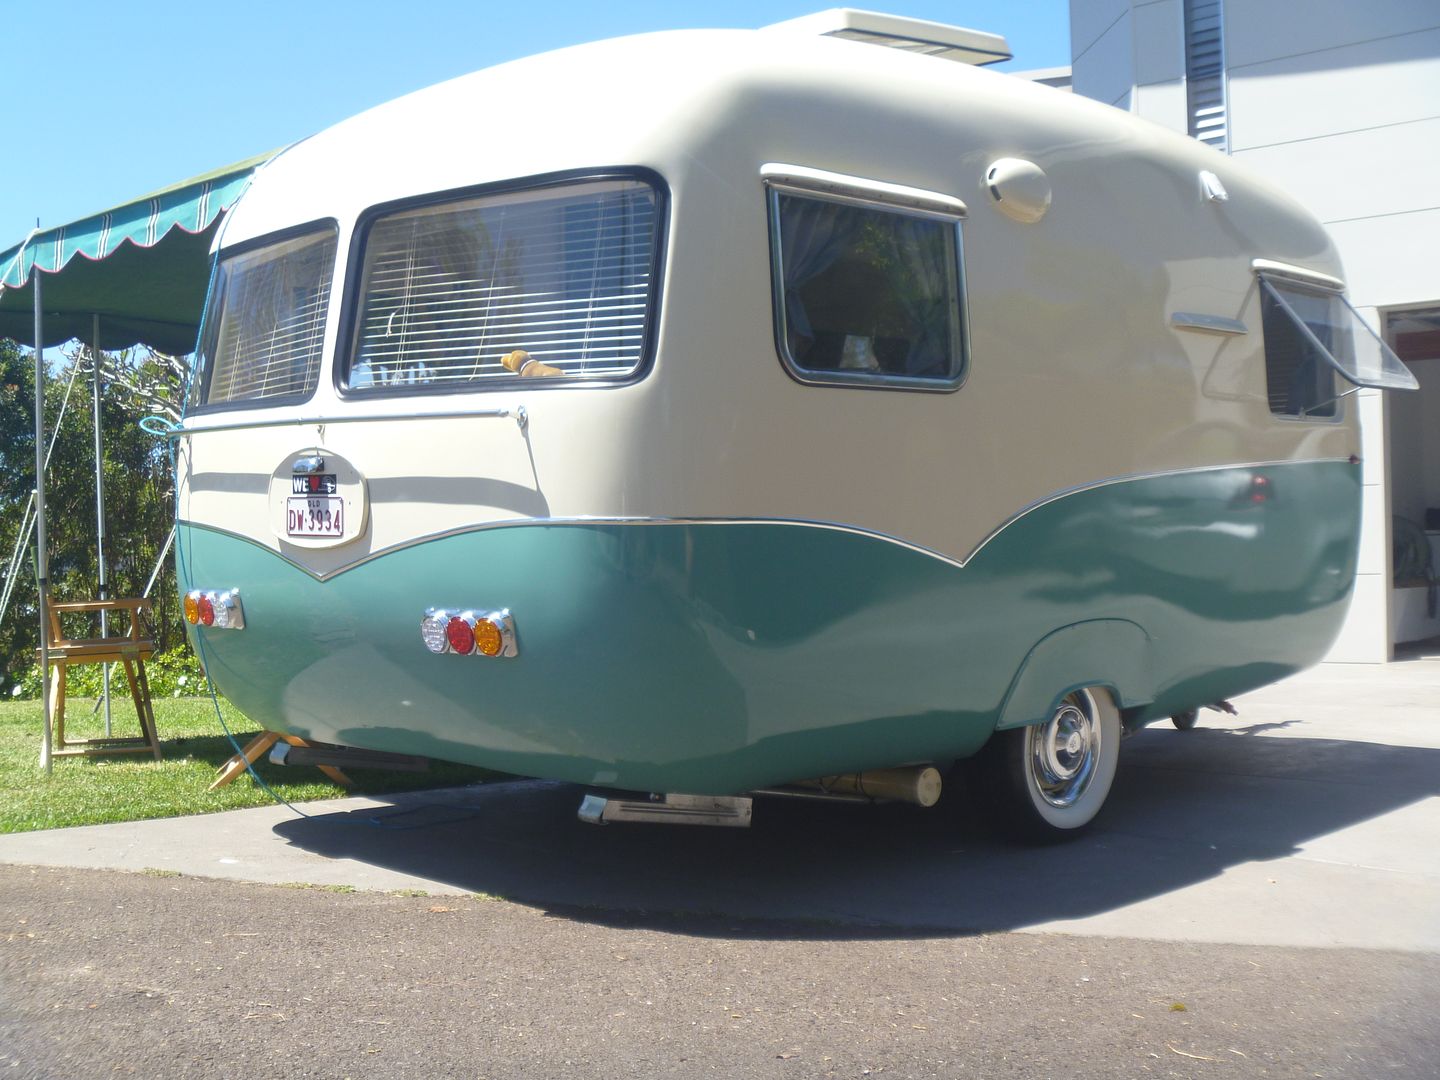 .... but she went to a good home down Canberra way. Now....... here we go, all over again !!!! 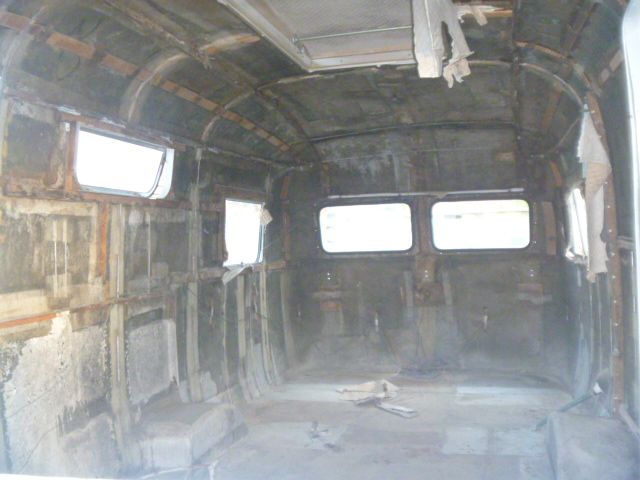 |
|
|
|
Post by Roehm3108 on Feb 13, 2016 6:11:46 GMT 10
|
|
|
|
Post by claireandruth on Feb 13, 2016 6:19:58 GMT 10
congratulations Sutcac - on the sale and the new project! I'll keep an eye out for your old van around here - there are quite a few of us I think!
|
|
|
|
Post by sutcac on Feb 13, 2016 6:52:03 GMT 10
Hi Ray. Lol!!! No. Barb's hands on with this project . After all ,it was her idea to change to the sixteen footer for that extra bit of space and the single bed layout!!
We want this one to be more suitable for some extended travel/ touring over the next few years, so will set it up with that goal in sight.
C.
|
|
|
|
Post by sutcac on Feb 13, 2016 6:54:33 GMT 10
Hi claireandruth. I believe the van will be housed in a hangar at Temora. So may not get to see it that often.
|
|
|
|
Post by strugglebrook on Feb 13, 2016 10:49:15 GMT 10
Less typing , more fixing, South West Rocks Looming. Rattcliffe looking forward to a fresh set of wheels.
|
|
|
|
Post by Rodnet on Feb 13, 2016 12:34:05 GMT 10
We want this one to be more suitable for some extended travel/ touring over the next few years, so will set it up with that goal in sight. C. Can vouch for that old mate, our 16 is off to Tassie second time. Yeah, I know, outside still not painted. |
|
|
|
Post by caddyshack on Feb 13, 2016 14:26:01 GMT 10
Congratulations to Clide and Barb on your new baby / you can enjoy the pleasures of restoring another
great vintage van . and now you are now a member of our 16 ft SUNLINER HARD TO FIND CLUB
GREAT NEWS Jean and kev
|
|
|
|
Post by sutcac on Feb 15, 2016 22:00:03 GMT 10
Ok Ok Mr Strugglebrook..............have started on replacing the original floor with some goodish 12mm ply. 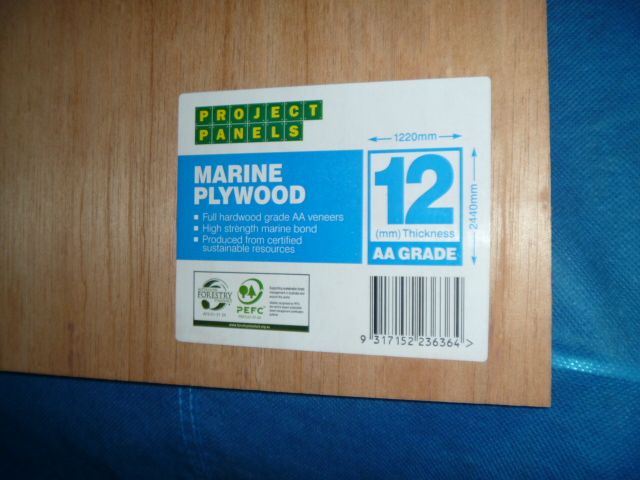 The chassis is in remarkably good condition. Only needed a day on it to get rid of the lightish surface rust. 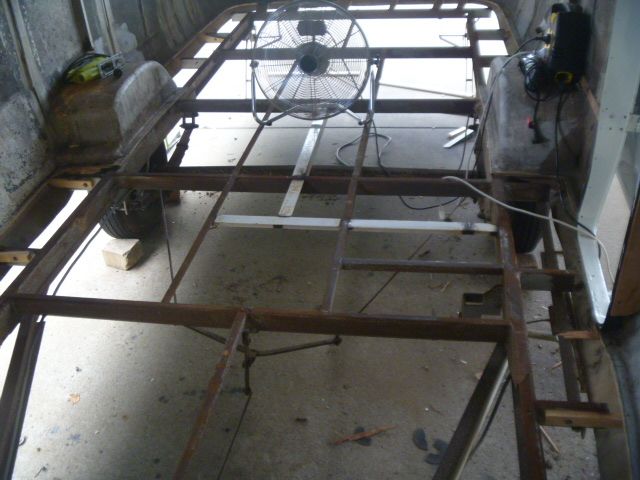 ....and apply a couple of coats of Epoxy single pack rust paint. Always a bugger of a job! 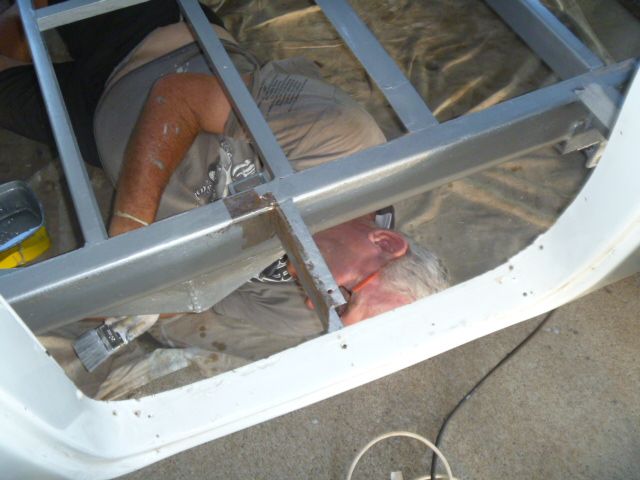 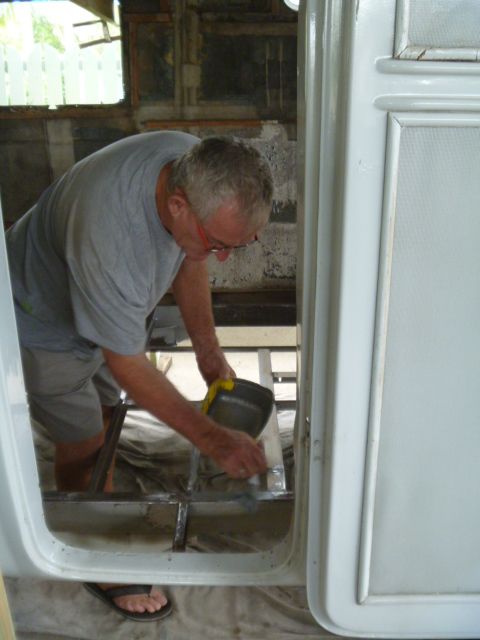 Mrs Sutcac got going on the 4" flapper disc and did a great job on the chassis topsides and foldout step. 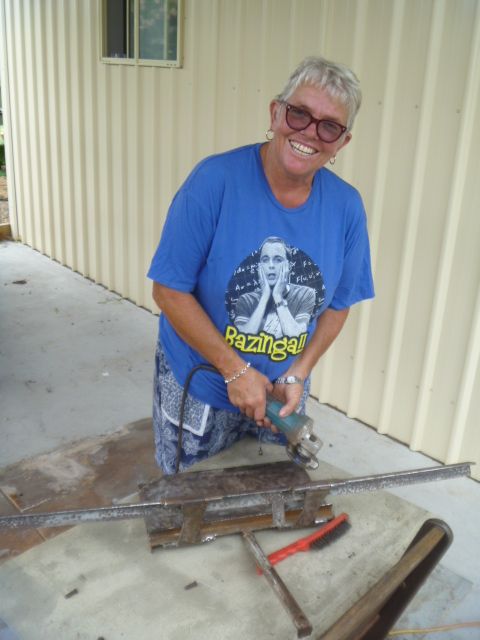 Got a few sheets primed ready to cut a new floor in, using the old floor as rough templates. 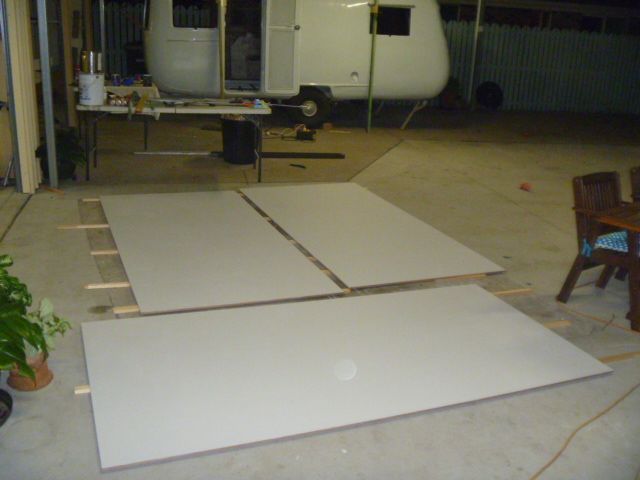 The 13m x 7m awning I added onto the existing 4 bay shed is making life relatively easy with plenty of space to spread thigs out. Bigger ,mess to tidy up too! |
|
|
|
Post by strugglebrook on Feb 16, 2016 8:42:38 GMT 10
Don`t want to hear about the labor pains, just give us the baby.
|
|
|
|
Post by Rodnet on Feb 16, 2016 13:07:42 GMT 10
Body looks pretty good Clyde, not yours or Barb's, caravan
|
|
boots
Full Member
 scootin' along the highway of life
Posts: 139
|
Post by boots on Feb 16, 2016 16:57:33 GMT 10
Good To see you Guys finally have your 16ft Sunny. Barb would I be right in saying you are pleased. The grin on your face tells me so. Sue  |
|
|
|
Post by caddyshack on Feb 18, 2016 8:10:26 GMT 10
GOOD JOB U2 WHEN YOUR FINISHED IT, IT WILL LOOK AS GOOD AS JEAN AND KEV,S
PS CLYDE YOU MISSED A BIT OF PAINTING THERE / CAN,T WEIGHT TO SEE THE NEXT STAGE OF IT
JEAN AND KEV
|
|
|
|
Post by Roehm3108 on Feb 19, 2016 21:25:25 GMT 10
|
|
|
|
Post by Little Lucy on Feb 20, 2016 7:53:24 GMT 10
Very jealous! Completely understand the need for a little more space to stretch out for those longer trips. My husband is interested in the type of rubber seal profile you used for your front/back windows in your old caravan. We need to replace ours as they leak. Can you offer any advice?
Jane & Justin
|
|
|
|
Post by sutcac on Feb 21, 2016 23:56:44 GMT 10
Hi Jane and Justin. Welcome to the forum.
I would seek the services of an 'old school' windscreen replacement person and be guided by their recommendation re type of rubber.
I have had a 'H' type rubber and automotive type rubbers used in prevous Sunnys with varying degrees of success.
The key , I feel, is finding the right person for the job. Someone who has the knowledge, shills , experience and interest to do a good job.
Cheers Sutcac.
|
|
|
|
Post by fuzzyfuso1945 on Mar 7, 2016 11:45:35 GMT 10
Hi Little Lucy, Jane & Justin if you haven`t had any luck as yet re rubber seals, we got ours from a fellow in Qld. if you want his No. please phone me, Gai Fuzzy Fuso. 0249592983. otherwise see you at S.W.R. in our Sunny.
|
|
|
|
Post by sutcac on Mar 11, 2016 23:38:42 GMT 10
Got the 15mm marine ply floor in. Welded some extended outriggers to the chassis around the perimeter of the floor. As Sunny restorers know, there aint much supporting the perimeter of the van to the chassis and the shell is only attached to the floor with fibre glass. I used 2 or 3 layers of 4oz mat around the edges. Floor is tek screwed and through bolted (10) to the chassis. 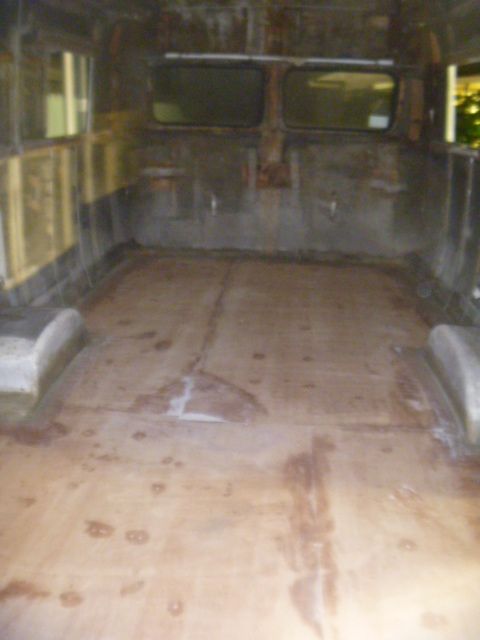 WHOOP DE DO's......All Sunny owners are also aware of the very light weight nature of the fibreglass shell....only about 2mm thick in most places! And hence most Sunnys are susceptible to being quite 'wavey' along the sides. The 16 footers even more so. The factory tried to alleviate this by glassing in curved steel rods across the roof and down the sides. These gave moderate help to support the shape, but most have suffered from rust in the mild steel that was used . These have been replaced by stainless steel rounds and flats . Not a perfect solution but they do help and won't rust. 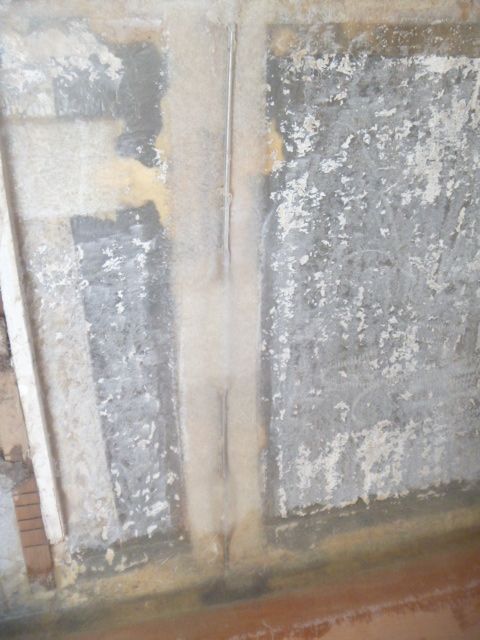 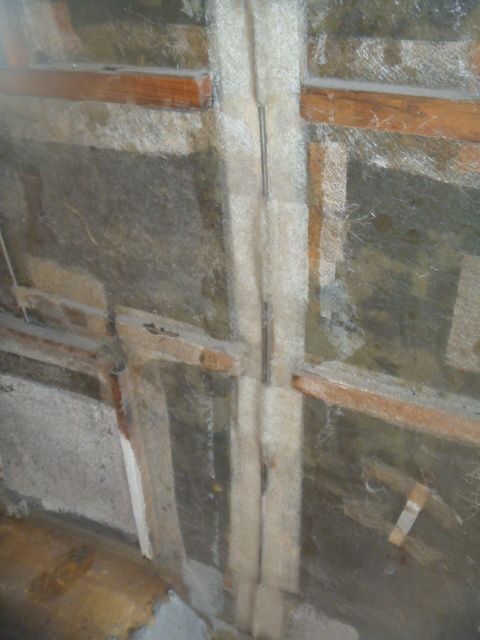 While waiting for our materials order to be readied in Brisbane ,we decided to attack the tedious task of cleaning up the aluminium frames of the Qualcraft windows. Also the nickel plate cupboard door hinges. The window frames were rubbed with 1500 wet and dry paper. Then 2000 grade. And finally buffed up with white compound with a soft mop.. Finished off with Autosol and a soft cloth. The hinges were just buffed up on the soft wheel. 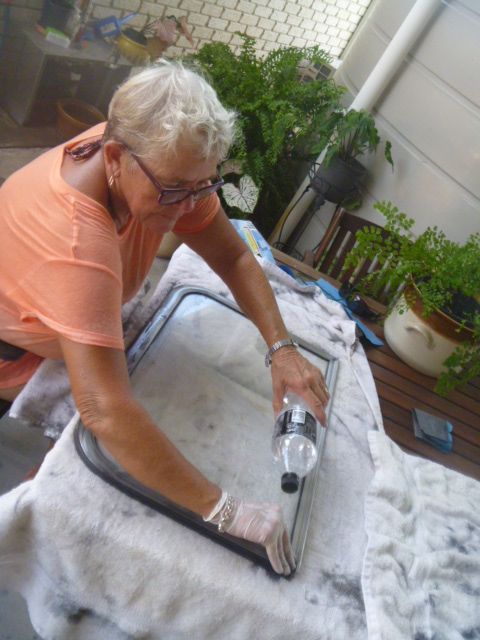 Before and after shots. 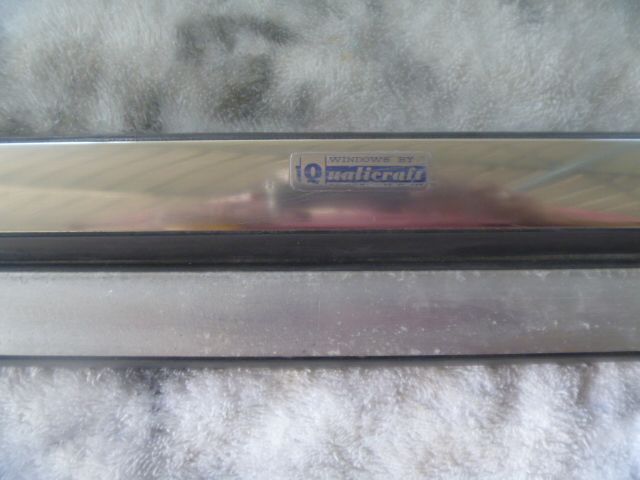  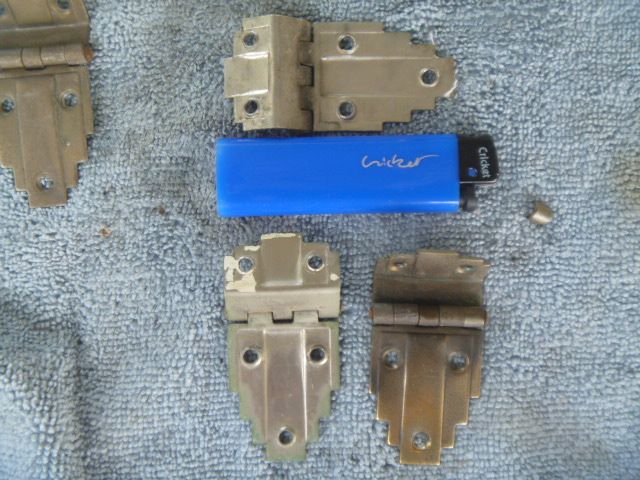 Don't normally wear gloves , but got sick of getting covered in black S*#t!!! 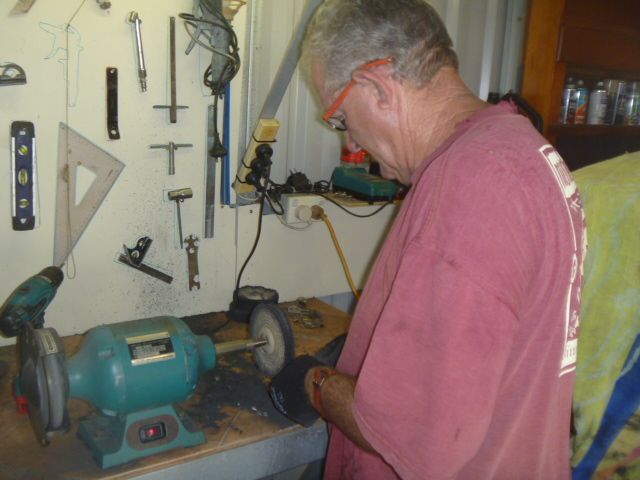 Window stays received a quick hit too. 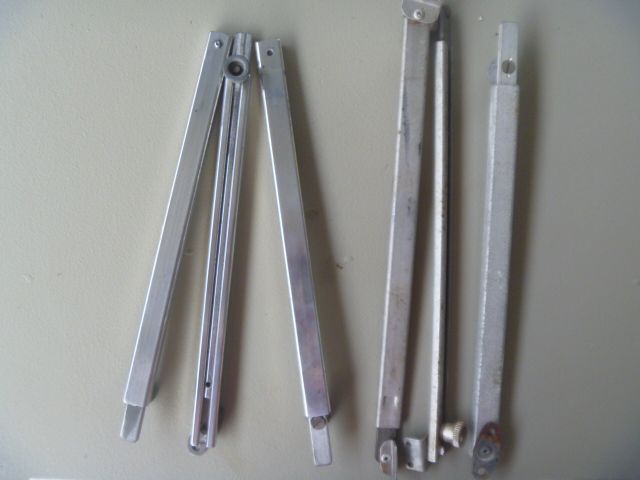 Quick trip down to Brissy last week to collect all the ply to do the interior. 4 x laminated lightweight ply. 4 x 2mm two way bendy ply. 16x 3mm ply (one good face) 4 x 15 mm ply. 100 + meters of 31x 19 and 42x 19 pine Drawer rollers Round sink Vitro Frigo 130 l 12v all fridge.(remote compressor) .....and that's just to get started!!! 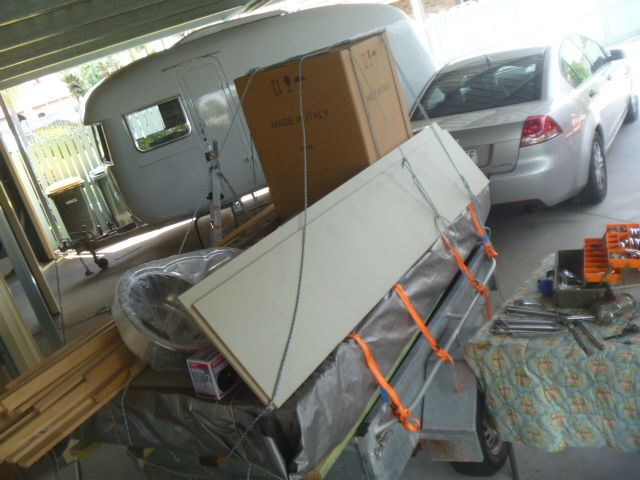 |
|
dawso
Full Member
Posts: 141
|
Post by dawso on Mar 12, 2016 15:57:50 GMT 10
Hi Sutcac,
will be watching your rebuild with intrest. I have just located a Sunny Super 16 and am waiting for a yay or nay.
|
|
|
|
Post by Mustang on Mar 12, 2016 17:15:52 GMT 10
Fabulous finish on the bright ware, not too corroded, to be bought back.
|
|
|
|
Post by sage60a on Mar 12, 2016 18:16:43 GMT 10
Another one to admire. You really are the master of the sunliners, Mr Sutac.
|
|
|
|
Post by sutcac on Mar 13, 2016 21:29:27 GMT 10
Hardly 'the master of the sunliners' sage60a. There are many out there who have far more knowledge/ skills then myself.
There are many different ways to skin the cat. Just got to work within your capabilities and outsource the stuff that's beyond you.
With most vintage restos , its either back to original or modernize to suit ones perceived needs/intended useage.
Our 16' Sunny will be somewhere in between. Best of both worlds, hopefully.
|
|
|
|
Post by sutcac on Mar 13, 2016 22:18:58 GMT 10
Towed the van around to my mates place and set up on blocks under a tarp as close to level as possible. My mate, Dick, is a spritely 78 year old retired chippy who has considerable skills in building all sorts of good stuff. I have enlisted his help to get the inside of the van set up. Originally we were going to start by sheeting the whole interior with 3 ply and bendy 2 ply, then fit out the cupboards/ furniture. Soon found this to be unworkable. So Plan B was to fit up the original overhead cupboards (which are in various states of disrepair, delaminating etc), then work our way from the top down, fixing support timbers, insulation, electrical wiring as we go. We are lining the inside of the overhead cupboards with light 2 way bendable ply. Quite a fiddly time consuming task, but primed and sprayed up in 2k, should have the end result of a nice, clean inner skin .with no daggy fibreglass in sight! Barb will be pleased! 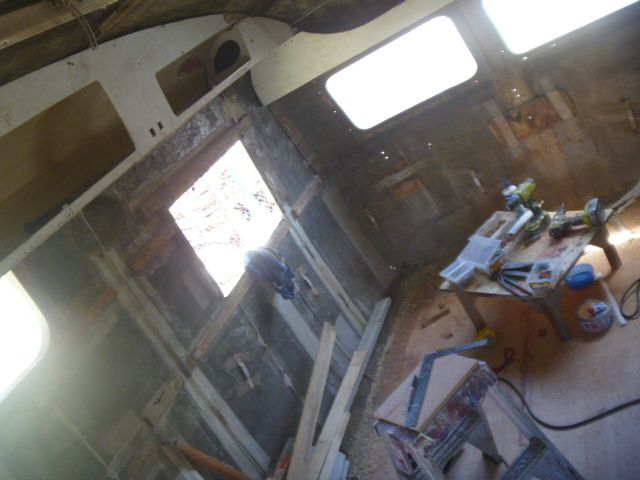 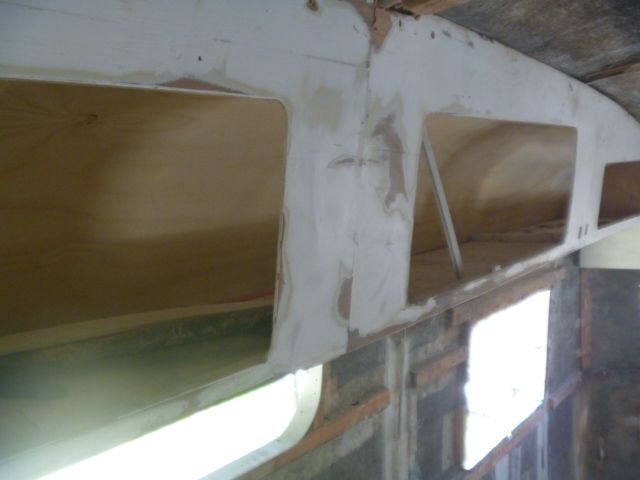 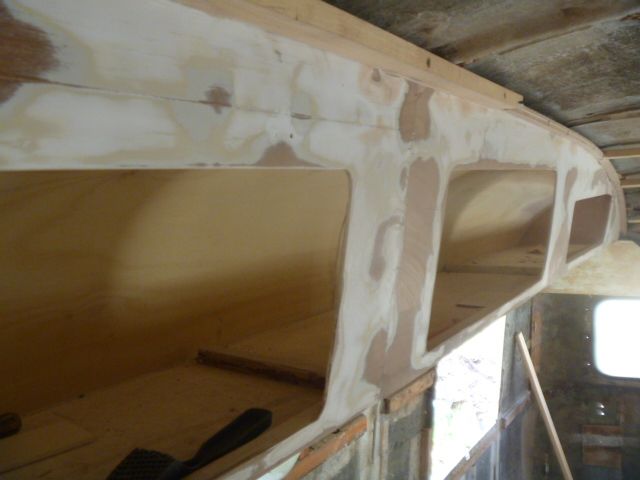 The roof had sagged quite a bit, even with the reinstallation of the new stainless steel rods, so we're using 31x19 pine on its flat, glued and glassed into the desired curved position and supported with stays overnight. Seems to be having the intended effect so far. 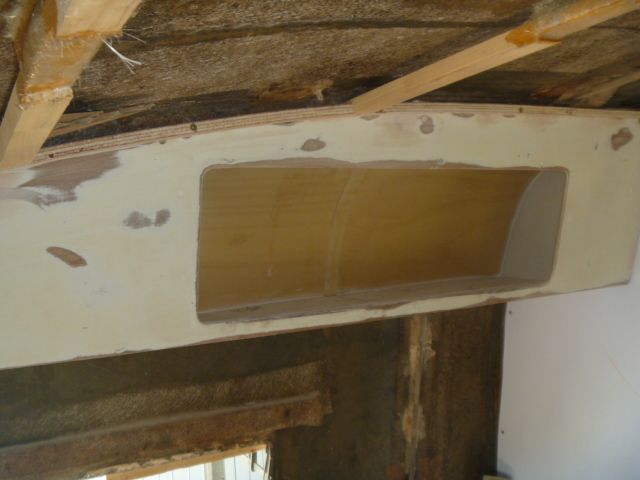 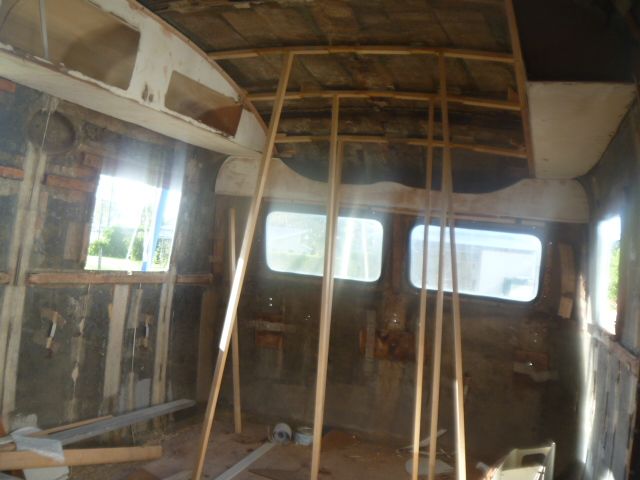 The worst "sagging" had occurred just forward of the hatch, so we doubled up some 12mm ply strips about 90mm wide to make a much stronger laminated support. Glued and glassed in and supported overnight. Good result there. 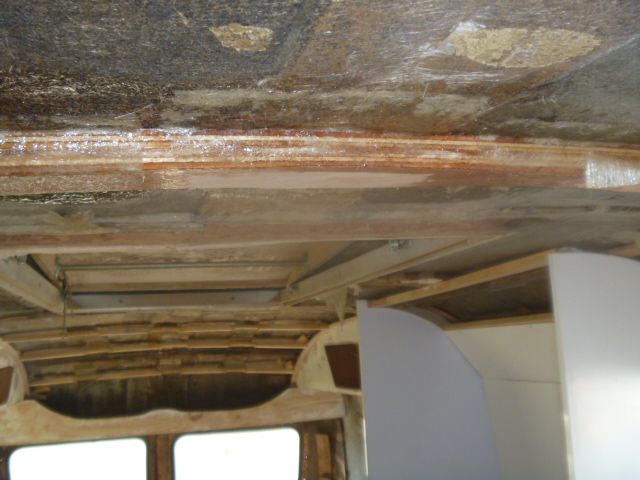 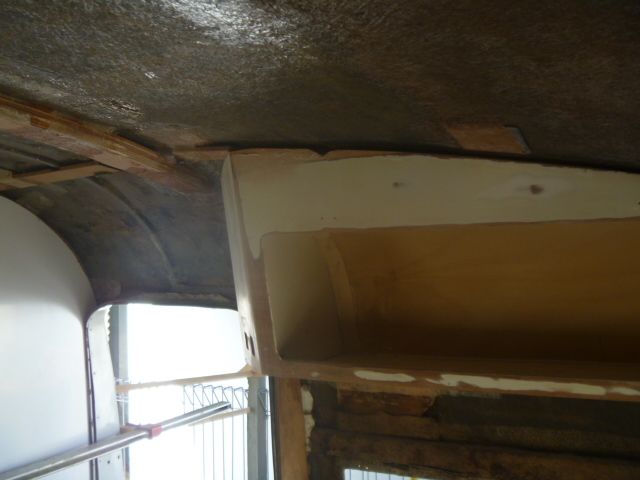 The only part of the original wardrobe we could salvage was the door frame. We are using a wonderful lightweight 12mm ply which is laminated on both sides and edge stipped where necessary ( read very expensive here!!), for the gables and a single skinned laminated sheet for the rear lining. 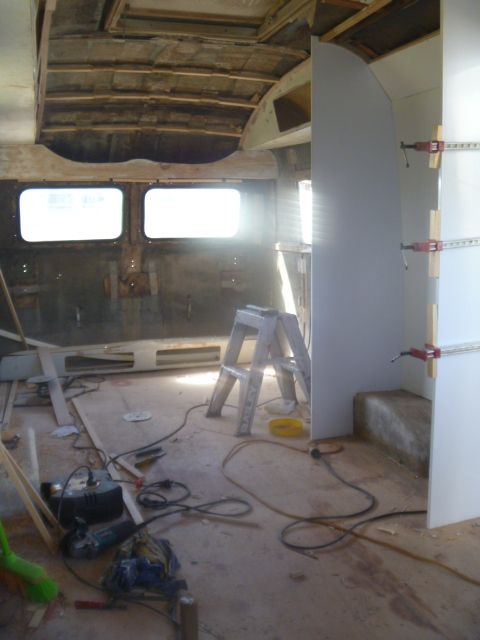 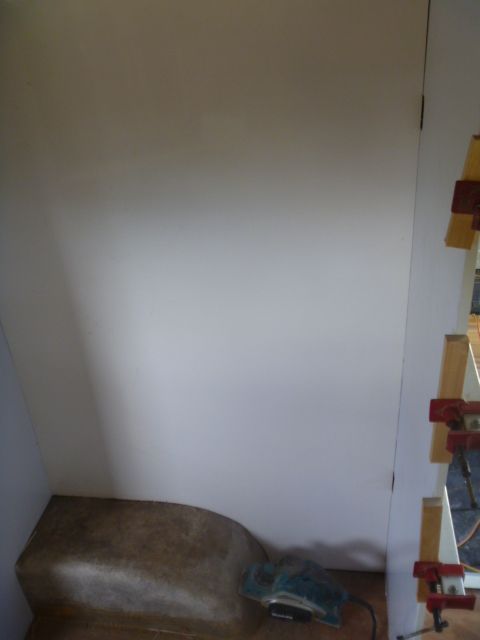 As we go along with the internal bracing, we are endeavouring to alleviate some of the aforementioned 'whoop de doos' along the side of the van with some success.    |
|
|
|
Post by strugglebrook on Mar 14, 2016 7:26:11 GMT 10
Ya gotta luv them woop de doos`, keep the whip out Mrs Sutcac, in no time the state of origin will roll around again so there is a good chance Mr Sutcac will be suffering from bouts of depression.
Our halfback will be nice and fresh after sorting his woop de doos'
|
|
|
|
Post by sutcac on Mar 23, 2016 22:42:11 GMT 10
Bit more done this week. Started sheeting the ceiling in 3 ply. Slow task. Each sheet up and down several times to trim for good fit. Some tricky double curves to accommodate. A bit hard to see in the pics. 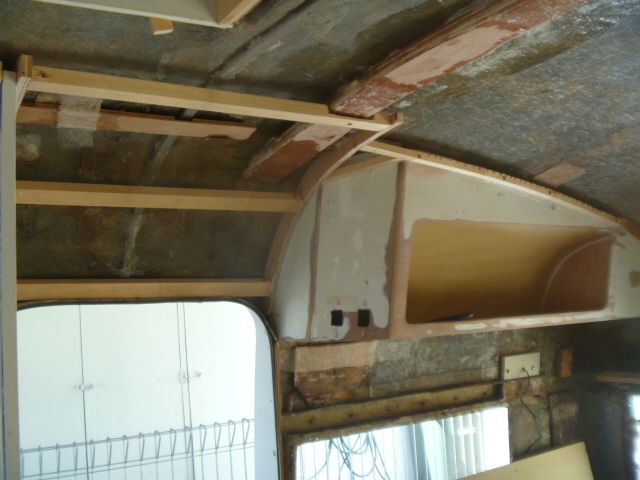 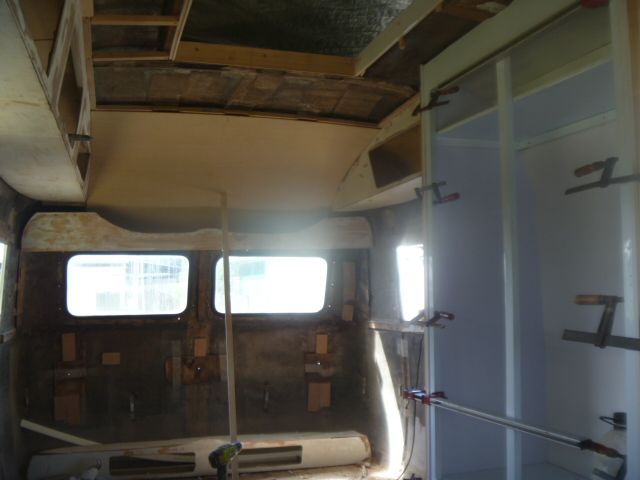 Was going to insulate with styro foam but a mate donated a leftover roll of roof 'Air Gap' double sided foil from his house reroofing, so decided to use that instead. Seems to be doing the job. 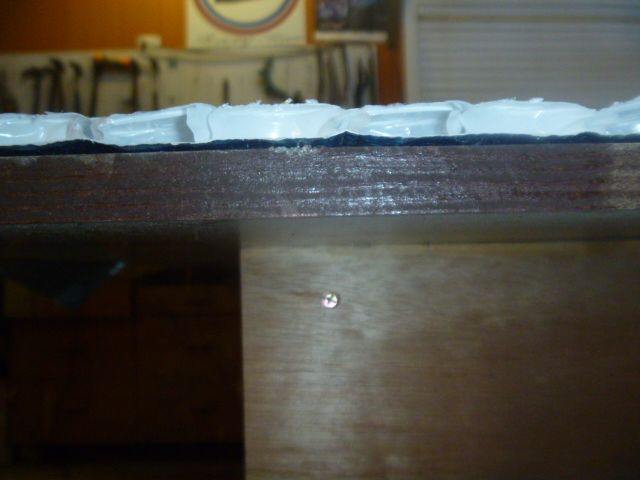 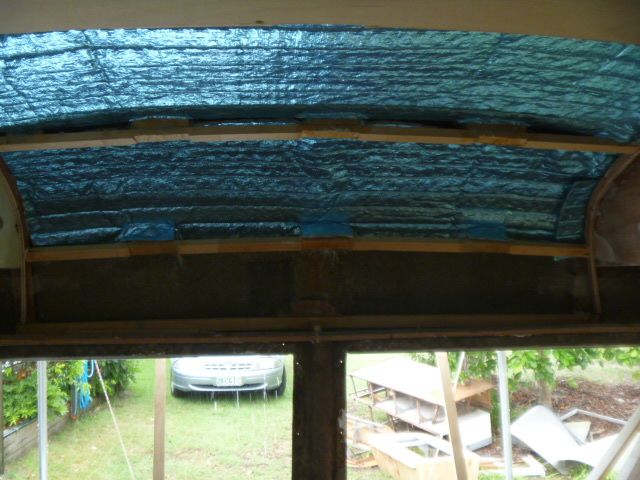 Pre primed the four ceiling sheets and got them glued up into position. 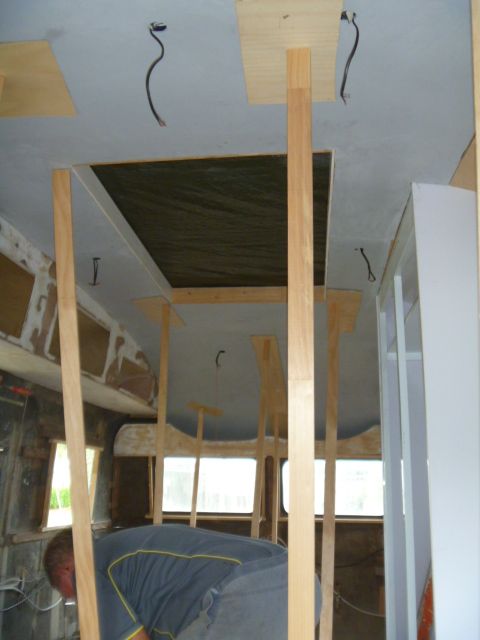 Got some 12v and 240 v wiring roughed in. And window framing glued/ screwed into position. 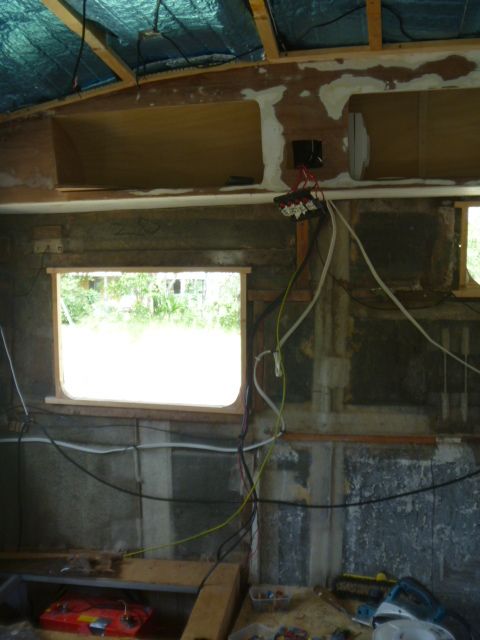 Tail light holes cut out. If the holes look a bit rough , that's because I didn't have the correct sized hole saw , so had to use a fine blade in the jig saw! 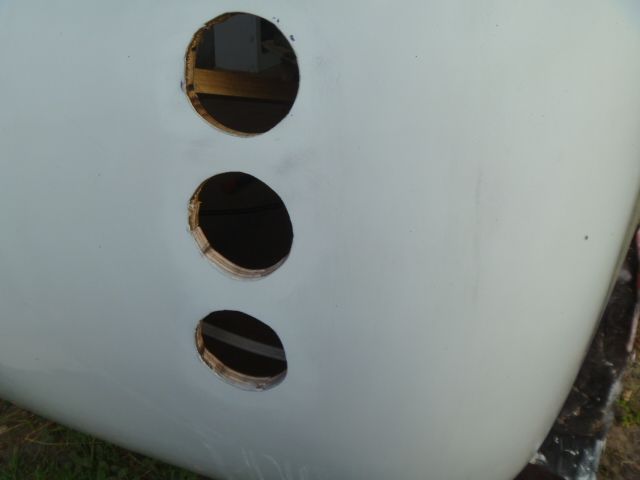 |
|


 Any excuse to get away from the wife Clyde?