|
|
Post by JBJ on Oct 28, 2007 19:52:19 GMT 10
Hi All, Well a few days back at work after getting home from East Coast Tour & Coledale, & back into more finishing Of Sunliner. The wheel spats are straight gelcoat from the molds I had made, without any touchup. Just fixed to van with nutserts & stainless dome head hex key 5mm bolts 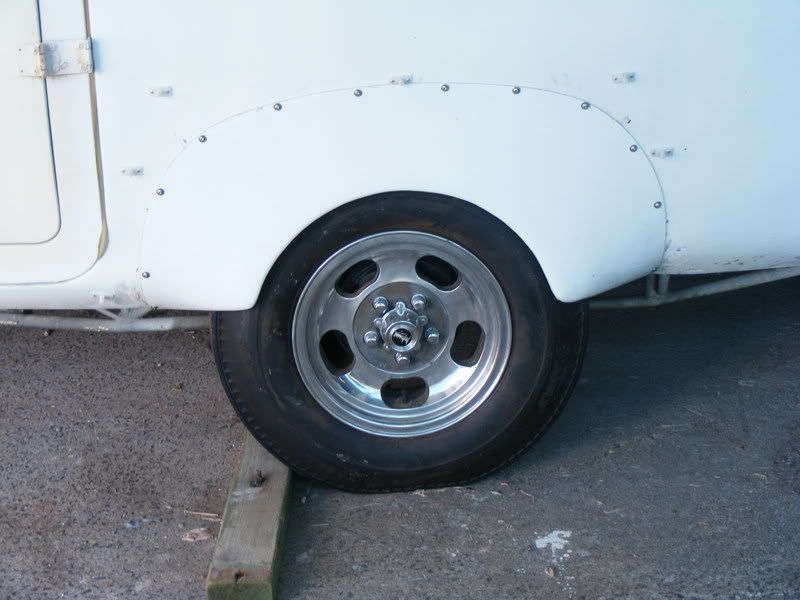 I saw a great idea on Kaybees teardrop, a spirit bubble mounted on the drawbar to show how level the van sat. As our vans a lot bigger, I bought a double bubble from a disposal store, & stuck it in the corner of the floor near the door with double sided tape. Hey presto, I can tell how level the van is sitting without having to get out the spirit level. Cost about $12.  While at Coledale, I had a look at all the Sunliners, & noticed most had bent stabilizer legs. My vans were slightly bent, so I decided to straighten them & stiffen them at the same time. I wanted to keep the modification in the style of the original trussed chassis. I’ve seen them replaced with new windup legs, but Boots & I feel that is a pretty major change in technology, & didn’t want to do that. The original one are basically 2 pieces of ¾”x1/4 flat steel, & they bend about the bolt hole part way down the legs.  The straight edge shows the amount of bow. I saw one at Coledale with at least 2” of bow. 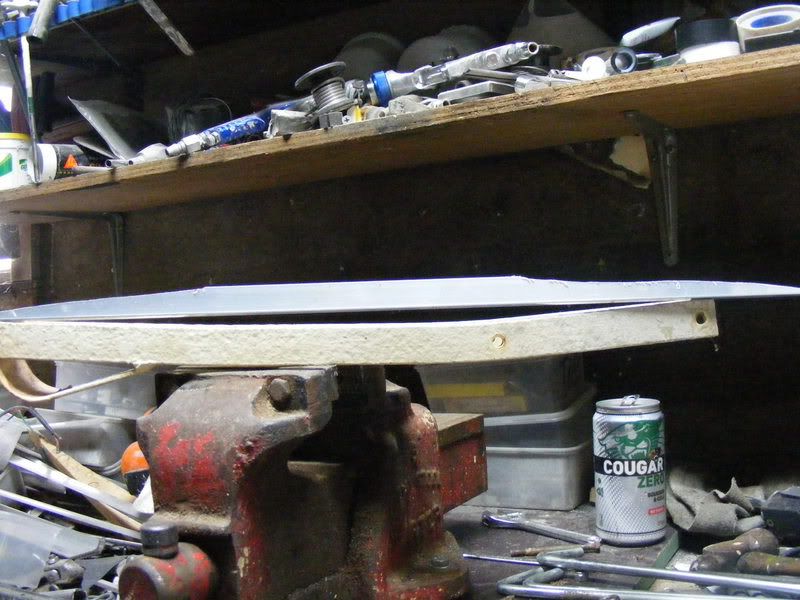 So I hammered them flat, then made a truss shaped from 6( total for both sides ) 3/8” tent pegs. I straightened the bend slightly, then trimmed it to fit. My trusty MIG welder then welded it in place. An offcut from another peg completed the one side. A bit of grinding on the welds, then did the other side of the leg. 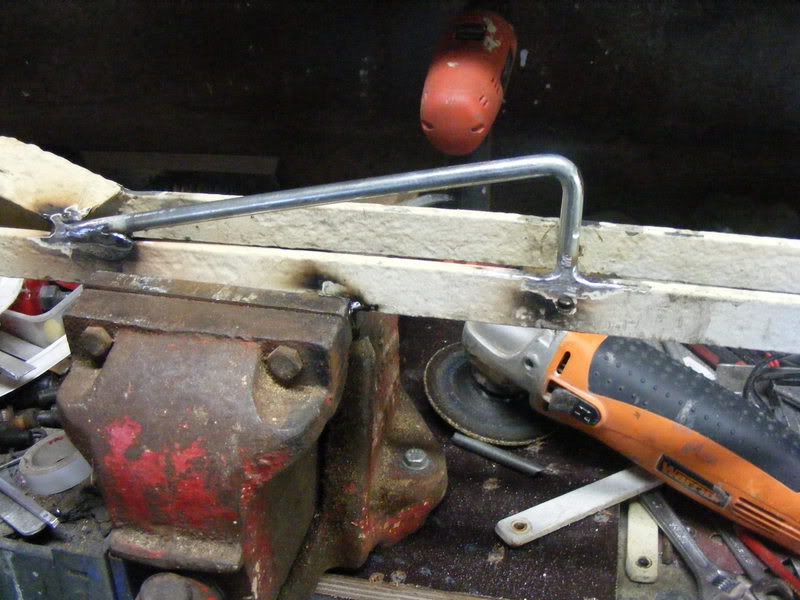 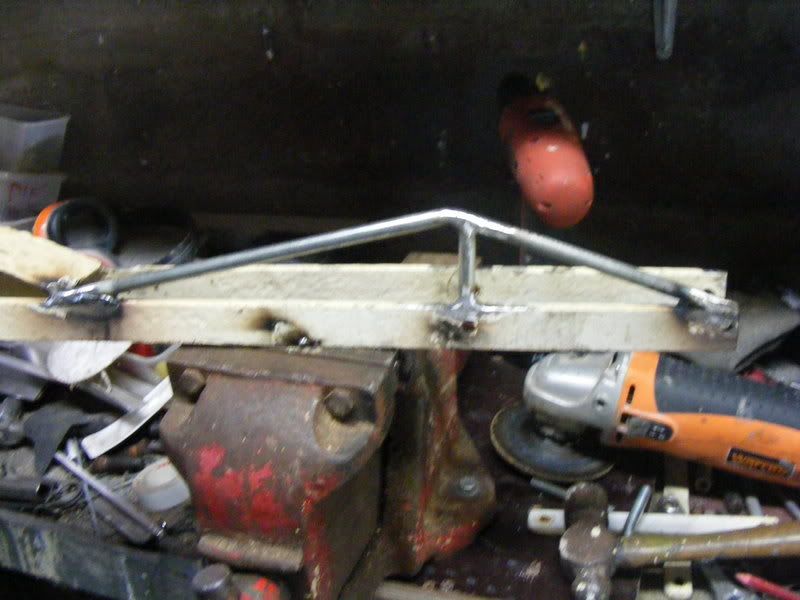 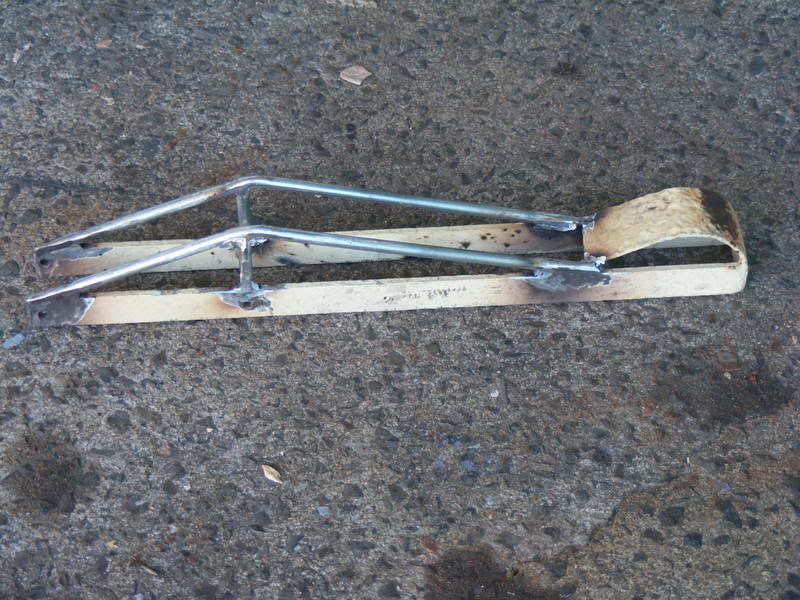 Opposite side was done the same, then a quick pressure pack of Rust paint hammertone & re assembly. 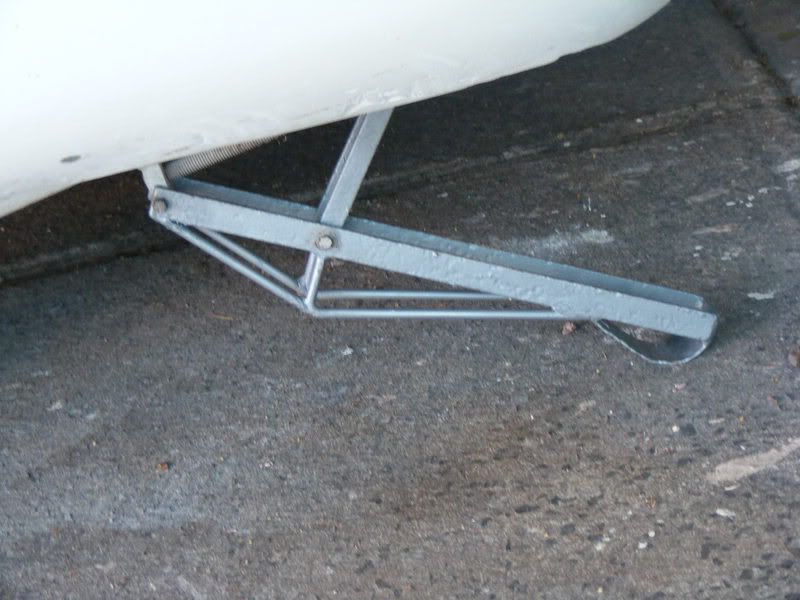 They shouldn’t bend now, & I reckon they are in keeping with the original chassis style. Started sanding some of the roughest bits of the body. I’m going to try my hand at putting spray bog over the panels, one area at a time, to see if it will give me the straightness I want. Soon find out. Next trip is Yamba rod run in three weeks, Jailbarjuice |
|
|
|
Post by JBJ on Nov 3, 2007 19:06:18 GMT 10
OK,
I got a bit crossed up with my request for info re towel rails
under the general topic.
Chippy Dave gave me one position, Then Spyder gave me a totally different one.
Daves van is a later model than mine. There is no timber in my van near the measurement Dave gave ( from his Van) This is a typical example of how much the Sunliners were varied from year to year from the factory.
Spyder rang me & told me He'd just been rubbing an early one back, & the rail should be around 150 below edge of window recess
I started drilling with a 1/16" drill, like Will suggested ( which was pretty well what I thought I'd have to do), but in the centre of the van.
Didnt find any timber blocks in the middle.
So I assembled the rail based on the original assembly I had, & started drilling on the left side, about 30" out from the centre, which was the half width of the original assembly.
I struck a timber block fixed behind the glass at about 135mm down, & it ended about 195 mm down. Pretty well where Spyder reckoned.
It all fits nice, using a fully polished 1.6mm 316 stainless tube I got from an engineering supplier, for around $38, & some cheap 16mm diecast brackets from the local hardware. The stainless from Bunnings & hardware shops is only 0.8mm wall & mill finished ( not shiney), & it bends REAL easily, so much so its useless.
Had to bend the tube about 50mm out in the middle. So I pop rivetted the bracket at the centre to hold things together. The outer brackets fitted the tube reasonably tightly, & didn't need to be rivetted.
A lot of mucking around, but I've got an original looking towel rail, using new materials.
I'll post some pix tomorrow
Thanks to all those for the help offered.
Jailbarjuice.
|
|
Deleted
Deleted Member
Posts: 0
|
Post by Deleted on Nov 4, 2007 18:43:36 GMT 10
Hi Dennis Just got home from a three day motorbike rally at south west rocks . Spotted your post. I wander if you could have parked the van out in the cold night air and then checked early the next morning to see if condensation had formed on the back of the van. Possibly may have been able to identify where the timber was. Sorta like the "X"shape left on the bonnet of a car in the morning when ya start a car up and the motor warms up heating the tin sheet metal first. Ok i gotta get off the weed. Just thougt it may have been a "non invasive " way of finding the timber blocks Reddo ....from the shed of invention  |
|
|
|
Post by humpty2 on Nov 4, 2007 19:26:58 GMT 10
|
|
|
|
Post by JBJ on Nov 4, 2007 19:28:30 GMT 10
Thanks Humpty,
I've got the railing on & I'm happy with it. Jailbarjuice
|
|
|
|
Post by aussietanker on Nov 7, 2007 0:26:44 GMT 10
i really love those stabilizer mods JBJ ..... actually i really love this whole thread .... is it a deliberate "engineering" principle ...or is it just "coincidence" that the little extra support is at the point opposite the hole (which i guess is the weakest point looking at the first pic you posted) ... mmmm, i think that i just answered my own question ... is that the reason why you put that bit at that point  OK ... moving along ... are you happy with the way that they are working now .. and would you change anything if you had to do them again ..... Regards A|T |
|
|
|
Post by JBJ on Nov 7, 2007 5:42:17 GMT 10
Hi A/t,
The engineering principle involved is the same as all trussed constructions, such as roof trusses in housing, bridge trusses, etc.
The reason I put the strut (straight up & down bit) over the hole was that it will be strongest part of the finished assembly, & the arm had bent about the hole. The sizes I used were as simple as grabbing a tent peg that was the right length .
I used the truss shape because the Sunliner has a welded truss chassis. The design is in the style of what the original could conceivably have been from the factory.
I dont know if they would look right on a Don. Why not mock one up in timber or plastic tube, & hang it in place while you look at it for a month or so to see if you think it looks right.
With anything you change you need to have the ability to conceive appearances, so make the change & eyeball it for a while, before you make it permanently.
Jailbarjuice
|
|
|
|
Post by JBJ on Dec 16, 2007 18:43:22 GMT 10
Hi All, Well I'm still working on the van. We last used it at Yamba rod run, the weekend after Bright rod run in November. I then started on finishing off the bodywork in preparation for final paint. I initially just did the van with a 36 grit speedfile sand, with a real quick coat of white hifill primer ( read rough). So I sanded it with 120 on the speedfile, then started spraying CAM spray bog over the surface. After a lot of spraying & sanding I've got the front & LHS pretty close to as good as it will get.  This stuff sands like glass, & my last application was over a few spots that still were low. I'll coat them with a proper coat of white hifill soon, then get onto the rest of it with spraybog. Then put it back together for Mooloolaba in early Feb. Jailbarjuice |
|
|
|
Post by JBJ on Jan 6, 2008 16:56:50 GMT 10
Hi All, Well its been raining here for a week or so, & everythings flooded or waterlogged. But cant let that stop me working on my van in the carport. I’ve got this great outdoor spray booth, with dust suppression ( rain) & my pet butcher bird family as helpers. ( They get out of the rain in the carport. We’ve got around 6 we hand feed) 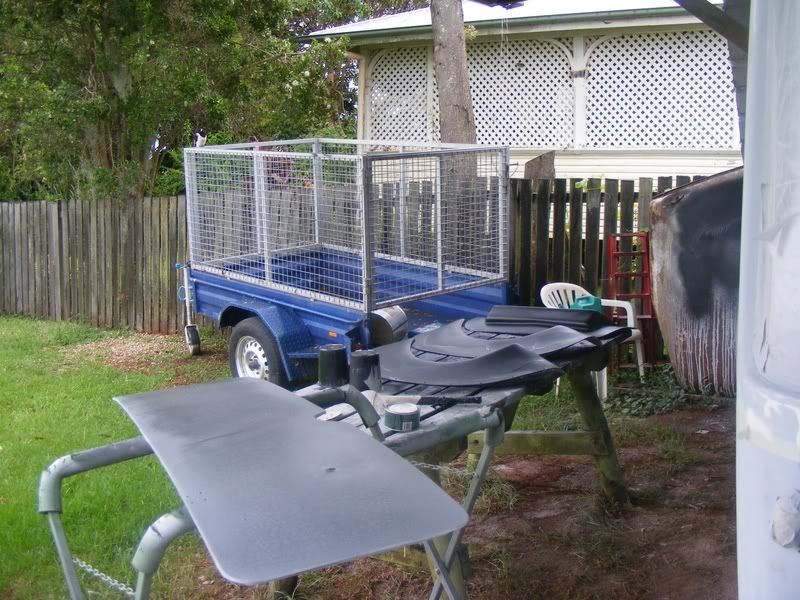 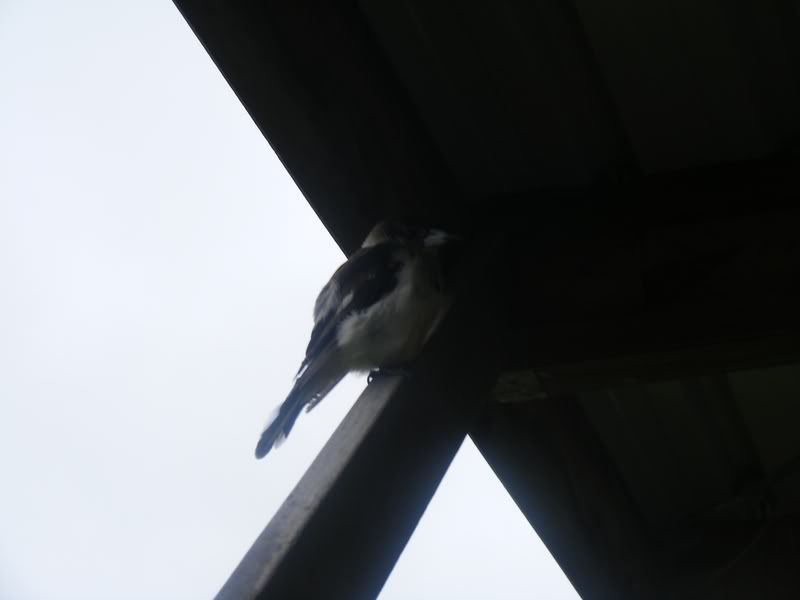 I’ve decided to try to work out my colour split on the van. I suppose I may as well, its too bloody wet to do much else. 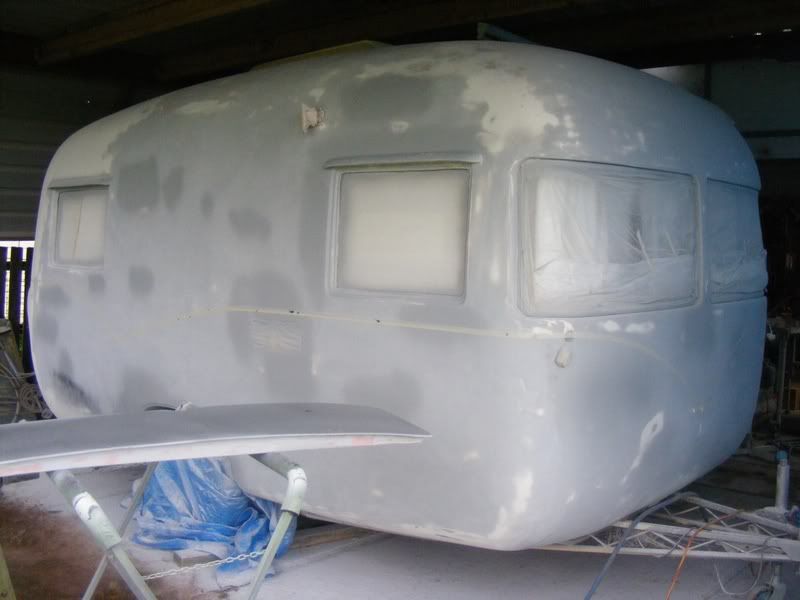 The lower will be finished in black primer to accept the aqua Shimmer flake, & the top will be in white to accept the Super Sno Pearl . 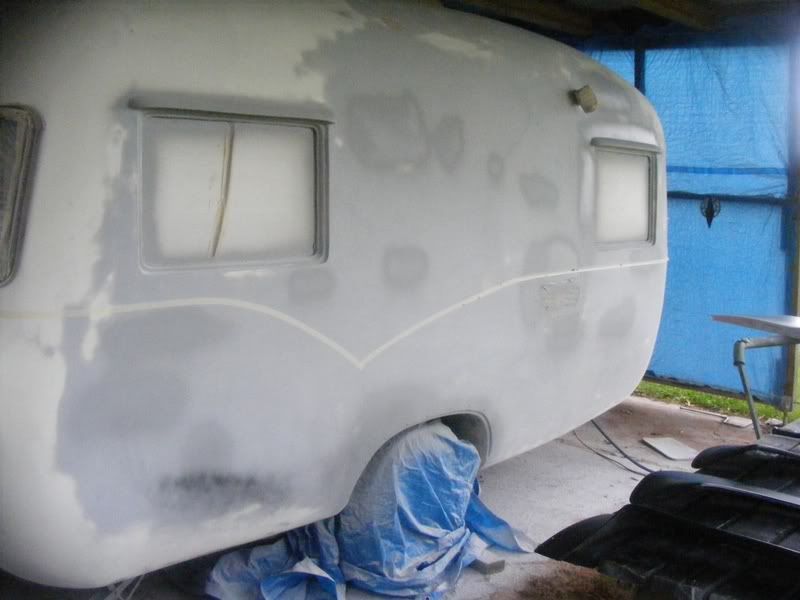  I’ve been working on the doors & replaced the crappy old screws & nuts & bolts with Nutserts. It makes it so much easier to fit & connect. 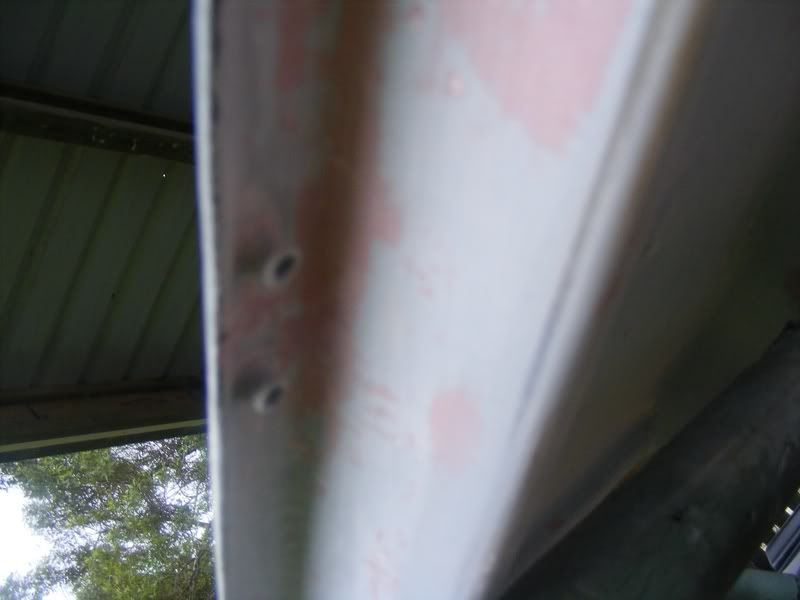 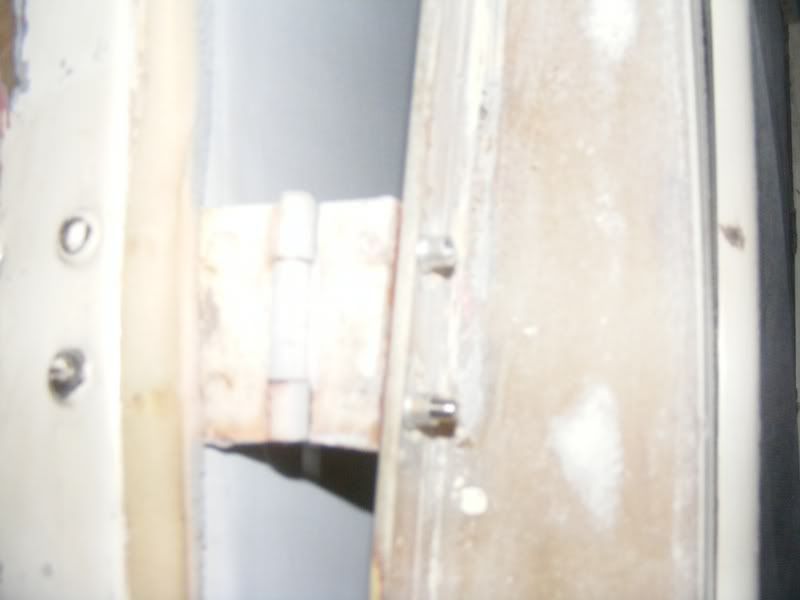 It all looks good, hopefully ( as I’m not at all good on final coats) will go to painter soon, & maybe lucky enough to get it finish painted for Mooloolaba. If not it should be in final primer. Jailbarjuice |
|
|
|
Post by sutcac on Jan 6, 2008 17:33:32 GMT 10
|
|
|
|
Post by Geoff & Jude on Jan 7, 2008 16:45:43 GMT 10
hi dennis yes, i like the shape of the colour split.  do the colours blue and white and it would suit the victoria. geoff 'n jude |
|
|
|
Post by JBJ on Jan 28, 2008 20:26:43 GMT 10
Hi All, Thank god we don’t get too many long weekends. Its been full on putting another ( hopefully final for my part) coat of hifill on the van. These coats are the base for the Spray Chief final paint. The black will be painted Aqua Shimmer ( coarse metalflake) like my hot rod, & the white will be Super Sno Pearl, which is so white its almost silver 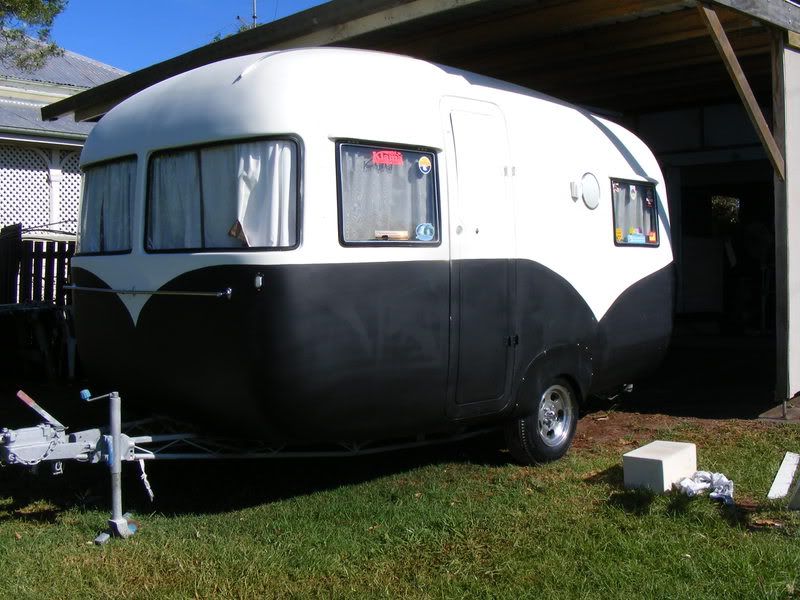 Got it all back together, ready for our trip to Mooloolaba in a couple of weeks, then the Mount not that long after. 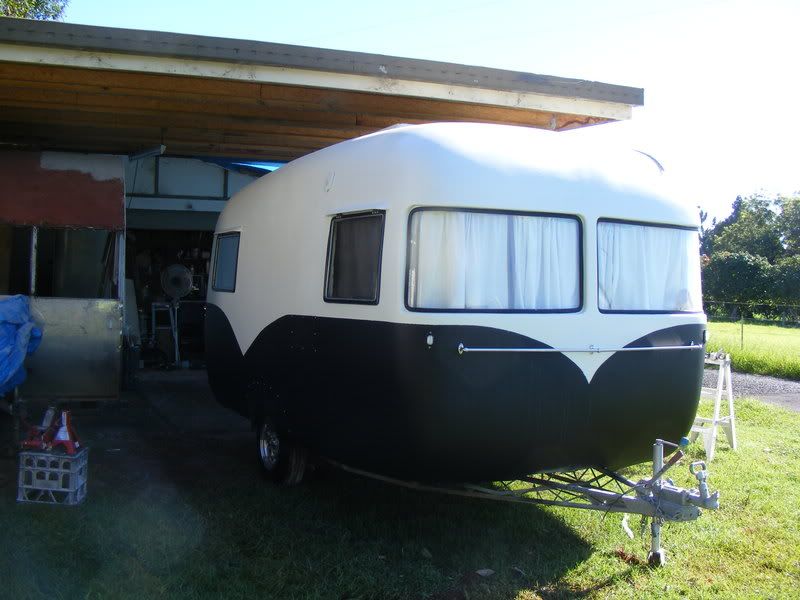 I wont have time to put the final paint on until after the mount. I’m a pretty poor painter, & will no more sing at Karaoke than try to put final paint on. Because of the big hailstorms a month or two back up here, you cant get a painter to do much. I’ll wait, & live with orange peel hifill. Its all fun Jailbarjuice |
|
|
|
Post by JBJ on Mar 4, 2008 17:46:10 GMT 10
Just replaced the door lock assembly. I used a direct replica of the original Lockwood, which is part 200CPAO, STREAMLATCH.
They are the same as origanally fitted, with a couple of minor changes.
You need to reverse the slide/striker. Its pretty simple.
You need longer metric screws to hold the key barrel in than the new lock assembly has.
The catch needs to be altered slightly, or the door jamb can be recessed slightly to fit.
You need to drill an 1/8" holein the catch to accept the small screw & nut that fits inside it
Other than than that its a direct replacement, without 50 years of corrosion & wear on the original.
JBJ
|
|
|
|
Post by Don Ricardo on Mar 4, 2008 19:54:52 GMT 10
Hey JBJ, How satisfying is that when you can walk in and buy something which fits so (relatively) easily and is so original/authentic.  Great going. Don Ricardo |
|
|
|
Post by JBJ on Nov 2, 2008 18:48:38 GMT 10
Hi All, A bit of info on Early Sunliner independent suspension. I knew very little about how they worked, until I had to put a new bush in mine during the recent East Coast Tour. This is the swing axle assembly.The outer bush on mine had disappeared. I can only assume that it slid into the axle tube. The bush fits on the right hand end of the greased shaft, & is a neat fit in axle tube that runs across the van, & bolts up at both sides 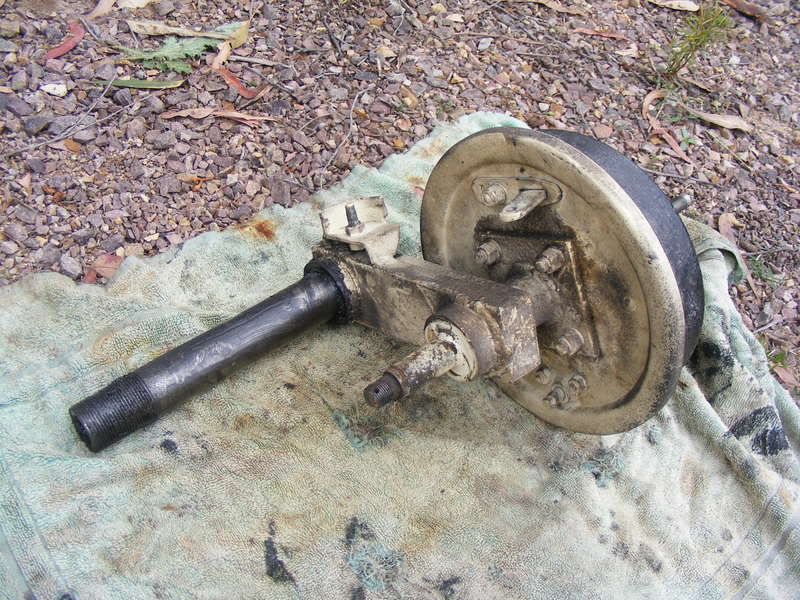 I had a new brass bush turned, 1 ¾” od x 1 ½” id, x 3” long ( hey Sunliners were pre metric measurements in the 50’s), & slid it onto the axle. Lots of grease & it slipped into place. It sits inside the cross tube, & threads into place. As the axle only swings thru around 30^ maximum, it seems a simple effective system. Threaded the axle back into place, then re assembled simply. 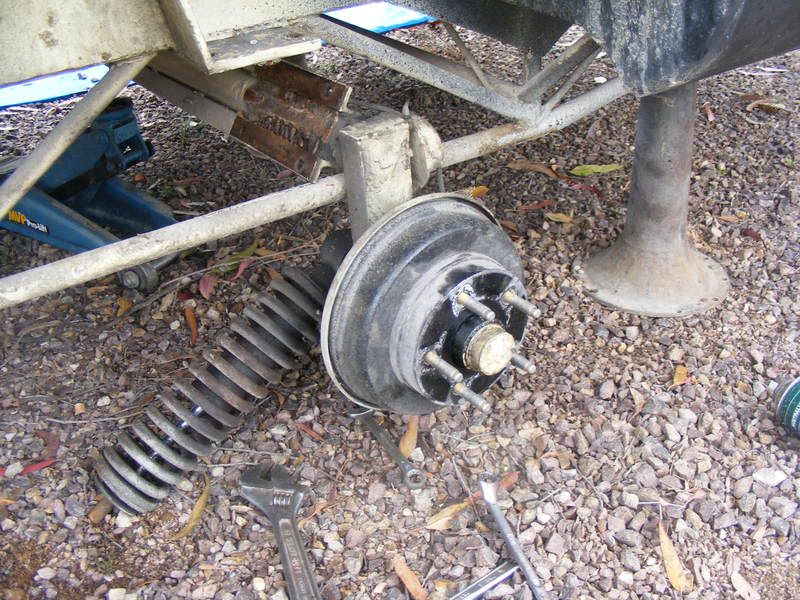 The coil over shock absorbers were pretty advanced for the late 50’s.  JBJ |
|
|
|
Post by JBJ on Feb 4, 2010 7:30:31 GMT 10
Hi All, Well I sold the van yesterday to Kim & Pauline from Inverell. 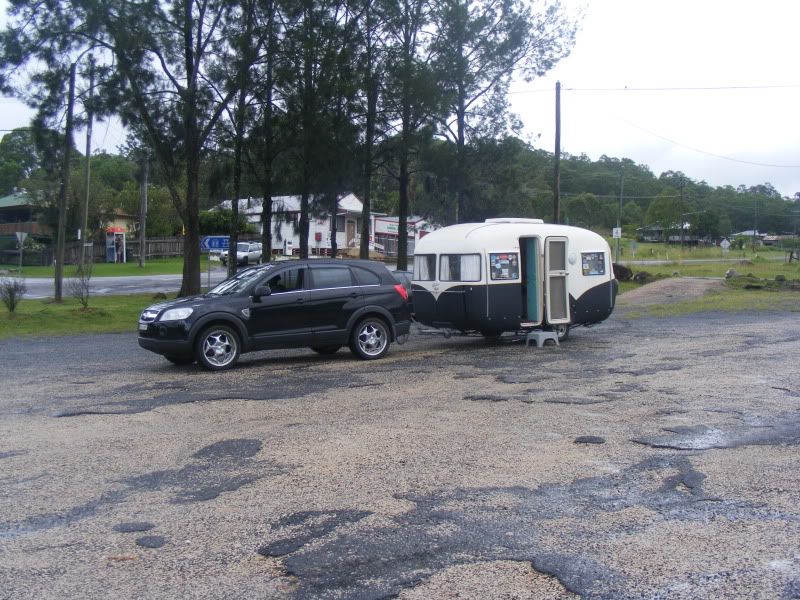 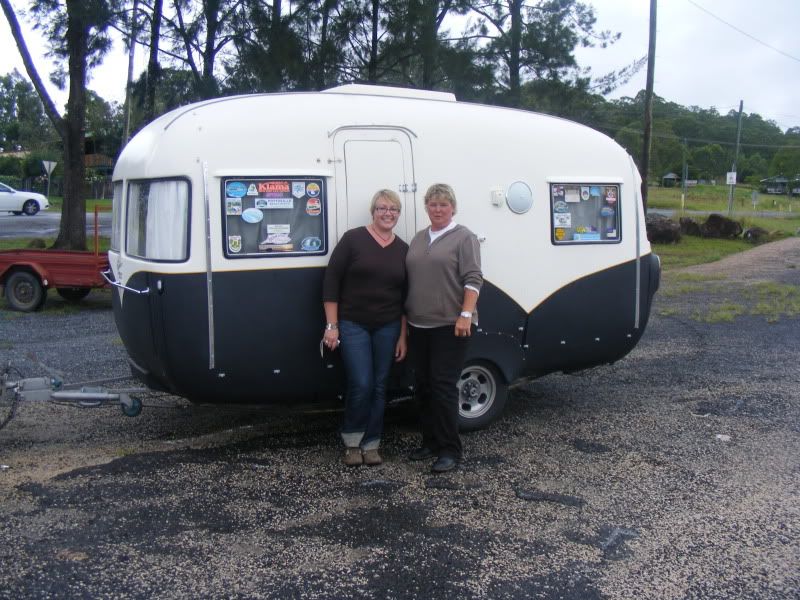 Towed it to Drake, halfway between Casino & Tenterfield to save them some travel, & it was sad to see it go. Its always difficult for me to sell something I built, but I dont need 2 vans. Another phase of my life over, roll on the next one. JBJ |
|
|
|
Post by Geoff & Jude on Feb 4, 2010 8:12:35 GMT 10
hi dennis and sue
it must have been a difficult decision to sell her, but you have to do what you have to do.
geoff.
|
|
|
|
Post by Roehm3108 on Feb 4, 2010 10:28:32 GMT 10
Congrats Dennis
Looks like it was worth the drive!! I like that area around Drake.
Ray
|
|
|
|
Post by JBJ on Feb 4, 2010 20:30:12 GMT 10
hmmmm still sookin :'(loved my sunliner  hmmmmmmm this will cost him big time ;D ;D But there is a reality check here.  Hey geoff, Jude when ya gonna sell me your van ;D ;D last bid was a block of flats and Tasmania Sad Boots |
|


 hmmmmmmm this will cost him big time ;D ;D