HAD708
Junior Member

Posts: 67
|
Post by HAD708 on Aug 29, 2008 10:39:17 GMT 10
Hi Guys Just a few photos of my tedious and slow removal of the 50+ years of paint from my 57 Phoenix. i have as many others have done been using a heat gun to remove in some areas up to 8 layers of paint. As well as old cloth tape and like a thick filler putty in other areas. I have powder coated a number of pieces and have sent the seats off to the upholsterer to be re done. I would like to do it a 2 tone color with sash or stripe down the middle and around the back. I get quite dissillussioned at times at the length of time it is taking me in relation to all the other projects on here but i am aiming for Ballarat swap 2009 so we will see. Any comments etc greatly appreciated. A friend of mine will help with the ply repairs and some minor structural issues. i have all the windows and will refit later. I have also ordered new period venetians. i have the original laminex inside but it is peeling in a number of spots should i re glue or replce and if i reglue what is best to use. i was also going to use the J mould around the edges of the van is that advisable? Cheers Brett 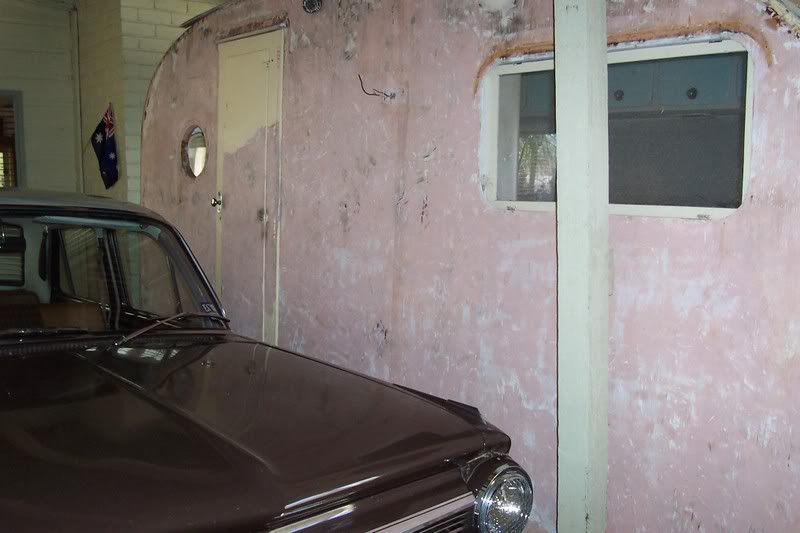 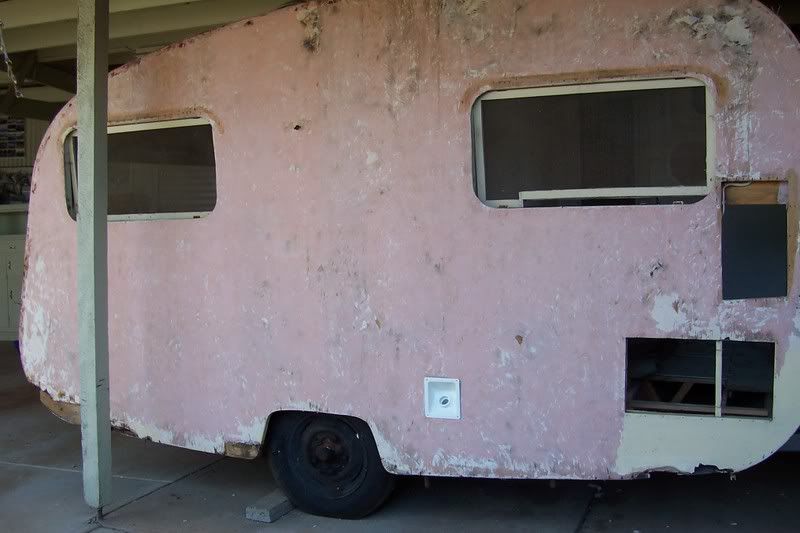 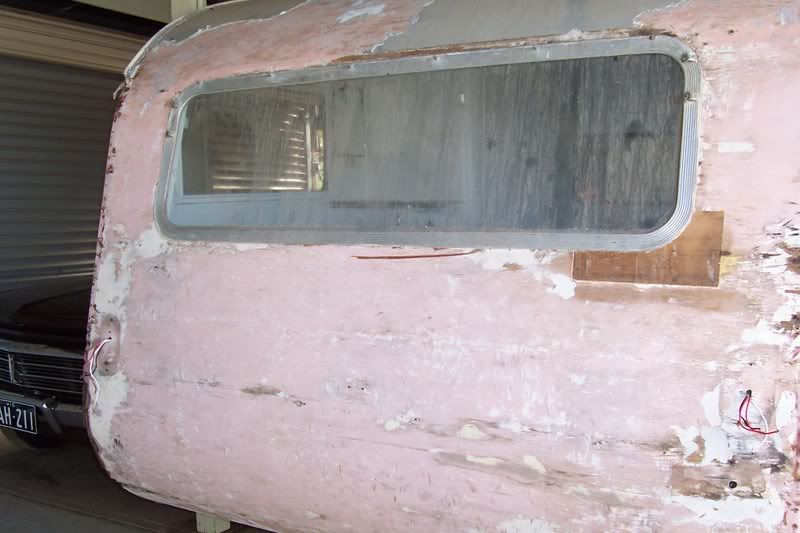 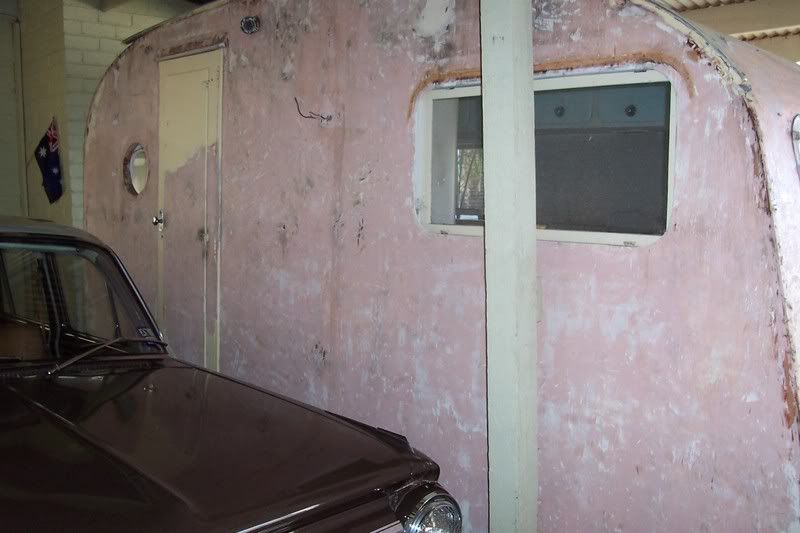 |
|
HAD708
Junior Member
Posts: 67
|
Post by HAD708 on Aug 29, 2008 13:43:47 GMT 10
Col
The EH is a light tan inside and i found it to be fine no warmer than my FC sedan or HK and they are all vinyl.
Cheers
Brett
|
|
Deleted
Deleted Member
Posts: 0
|
Post by Deleted on Aug 29, 2008 18:48:31 GMT 10
Hey Kaybee Interesting question you raised there with Brett  I recall having a similar problem with a dark coloured Holden i use to have..... totally unbearable in the summer  . By stroke of luck i picked up a mate hitchhiking on a very hot summers day.........He pointed out that each door has a pair of handles on it... he went on to explain that one handle was to open the door and... ......wait for it.... The other was a WINDOW WINDER...... Wellllllllllllllllllllllllllll, i'll be buggered i said  . He then went on to show me how to wind it down to let cool air in .. and.... .....wind it up when it rained............  Amazing... simply amazing Reddo |
|
|
|
Post by Franklin1 on Aug 29, 2008 22:38:21 GMT 10
Hi Brett, sounds like you've been putting in the hard yards on this van!  No easy way with any of this stuff, just gotta keep sloggin' away. One day you'll look back and think, "Gees, was I stupid for starting this, or what?! is this van lookin' GREAT, or what?!!" ;D ;D No reason why you can't use the old J-mould back on the van if it is still in good nick. I assume the "cloth tape" you removed was the edge sealant under the J-mould? (often used method back then). You can still buy the tape, or you can use the more 'modern' mastics or sealants (eg. sikaflex) under the moulding. If the laminex is still in good condition, I'd be inclined to repair it. Can't get any of the old patterns anymore in the latest laminex range, so you'd have to go hunting for old tables to collect enough for the replacement. You can repair any laminex that is lifting by forcing contact adhesive into the gap (use putty knife, kitchen knife, etc) and then clamp in position for a day or so until it dries properly (...this is called a "wet bond", as opposed to the normal method of fixing laminex by coating both laminex and timber with adhesive and letting them tack dry before sticking them both together. You end up with the same result...the wet bond just takes longer.) Stick with it mate! cheers, Al. |
|
HAD708
Junior Member
Posts: 67
|
Post by HAD708 on Aug 30, 2008 7:53:05 GMT 10
Col
The place in bayswater sounds good if you have the number that would be great,also do you no of any where to get some period like clearance lamps and i am also chasing and outside light for the van as well any suggestions or tips greatly appreciated.
Thanks
Brett
|
|
|
|
Post by Franklin1 on Aug 30, 2008 18:44:18 GMT 10
Hi Brett, I have an option for you to consider for the clearance lights. Due to the sometimes quirky nature of ebay, I ended up with over 40 (yes, forty!) clearance lights from USA ebay last year (...it's a long story...  ). More than what I'll ever use in my lifetime. I have approx 10 of each of four colours...red, amber, blue, and purple (...who uses purple??!!  ) Anyhow, have a look at the photos and see if this sort of light might suit your needs... 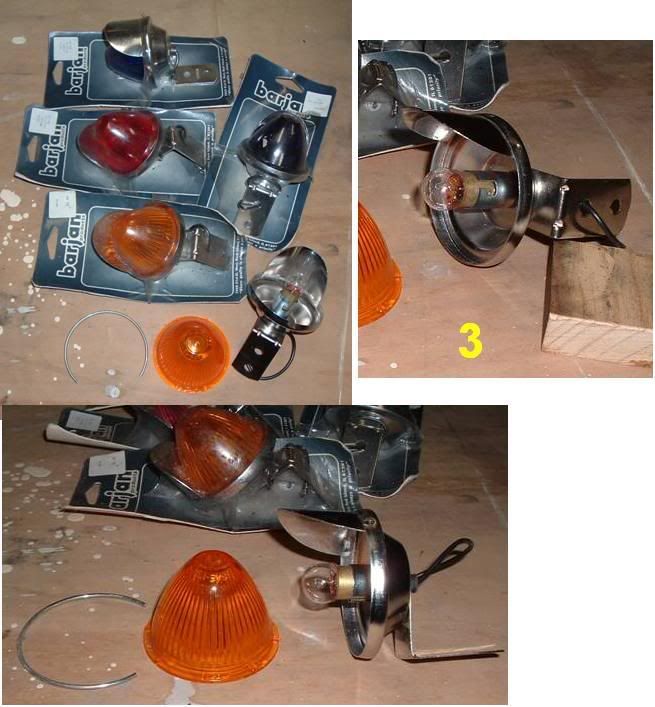 Lights are 'new old spares' still in the blister pack. Made in Taiwan, Metal is nickel plated (I'm going to spray the ones I use black), Globes are 12v but no wattage rating (assume 5w maybe?), Hooded bowl can be gently swivelled around to allow for different fixing positions (photo 3 above), Beehive lens are plastic. If interested, send me a PM and we can discuss a deal. Quality is acceptable (...emphasise Made in Taiwan here... ), but may get you out of trouble until you can chase the genuine ones. cheers, Al. |
|
HAD708
Junior Member
Posts: 67
|
Post by HAD708 on Aug 31, 2008 12:37:42 GMT 10
Al
Thanks for the reply and the offer of the lights.Are the clearance lights when fitted, on both sides of the van and if so what colors are used? Do you think the Taiwan lights as pictured are likely to fade in the sun? Again thanks for the reply. Also what type of light should i use outside the door of the van?
Cheers
Brett
|
|
|
|
Post by Franklin1 on Aug 31, 2008 21:24:30 GMT 10
Hi Brett, as far as clearance lights go, if your van didn't have them to begin with, then you don't really have to fit them now. Looking at the pictures of your van over in the History section, taken before you went berserk , there doesn't appear to have been any clearance lights on it to begin with. However, if you want to add clearance lights, then they are positioned in two common places ... one is on the side wall above the window, and the other is on the front face below the window, as per the crosses in this photo... 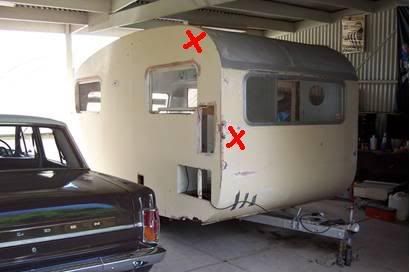 You can have a read of the Victorian registration regulations from 1953-1958 over in the History section (via this link... vintagecaravans.proboards30.com/index.cgi?board=chat&action=display&thread=1998 ) and see if you need them or not. The ones I have would only be used if you are desperate. Taiwanese clearance lights fitted on an Aussie vintage caravan means you will have to park waaaaaaay down the bottom of the park, well past the modern towcar parking area . People will speak in hushed tones every time you walk past ("That's him...the one with the clearance lights...") I don't know whether the amber plastic lens will fade in any hurry. They'll probably get vandalised well before they had a chance to fade The only good thing going for them is that they will be a cheap deal for you. On the matter of an outside light... somebody (Hello, Geoff!!) will be able to put the link to the thread about outside lights here for you. I seem to remember a discussion a few months back about what lights people were using on their vans (I think maybe it was in the Technical section??) Did I mention that I have a cheap torch for sale as well? Yeah, made in Taiwan...comes with a free piece of string so you can hang it up on a hook outside the door. Gives good light coverage when it's windy ;D ;D Thank gawd it's Monday tomorrow...I can get serious again!! cheers, Al. |
|
|
|
Post by cuz on Sept 1, 2008 0:57:55 GMT 10
Hiya Brett, nice EH, didn't you used to have an FC that some guy that was supposed to be fixing cut up for a couch? I suppose I'm preaching to the converted but I'd advise you to replace the j mould, it's cheap as, and if you polish it up before you fit it, it comes up a treat. Also check carefully before you fit clearance lights to the lower front of your van, the light shining into your mirrors at night will drive you crazy. Vic roads accepted reflectors here on mine and i replaced the clearance lamps up on the front corners where they were originally fitted. Will talk to you soon about the FC. Regards Bill  |
|
HAD708
Junior Member
Posts: 67
|
Post by HAD708 on Sept 1, 2008 12:47:46 GMT 10
Thanks for the advice both Al and Bill. Al maybe i will do as you say and wait for some quality clearance lights to come up though thank you for the offer of the Taiwan alternatives. If anyone has any spares in the cupboard they would like to move on please let me know as i would be only too happy to take them off your hands . Bill my FC is in good hands and will hopefully be ready for a coat of paint soon  Chhers Brett |
|
HAD708
Junior Member
Posts: 67
|
Post by HAD708 on Sept 1, 2008 18:34:06 GMT 10
Thamks Col any lights that you dont need i would love to buy from you
Thanks again
Brett
|
|
HAD708
Junior Member
Posts: 67
|
Post by HAD708 on Feb 15, 2009 15:51:32 GMT 10
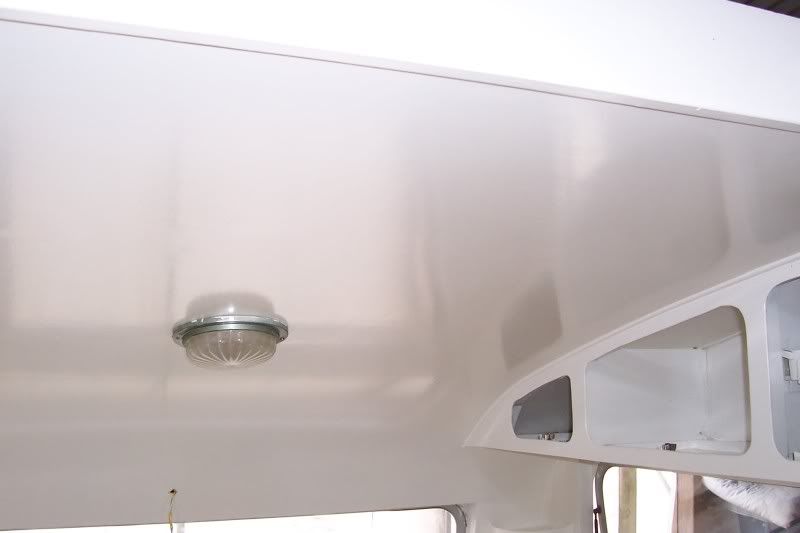
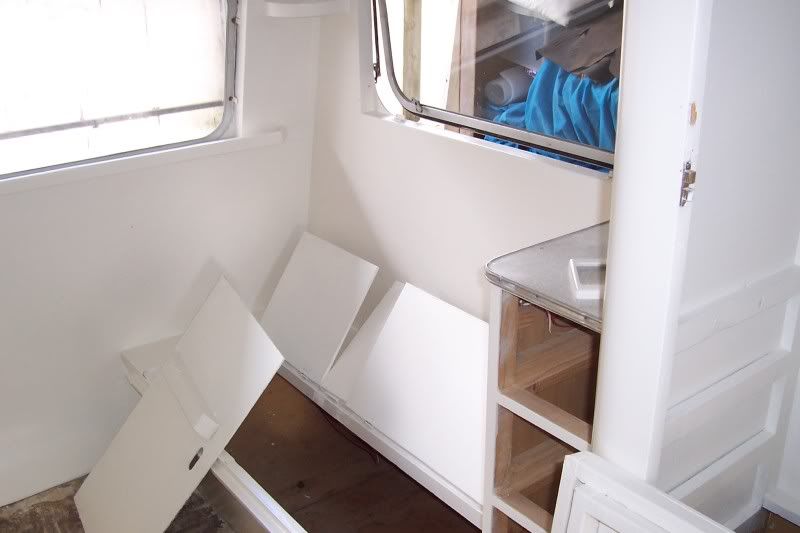
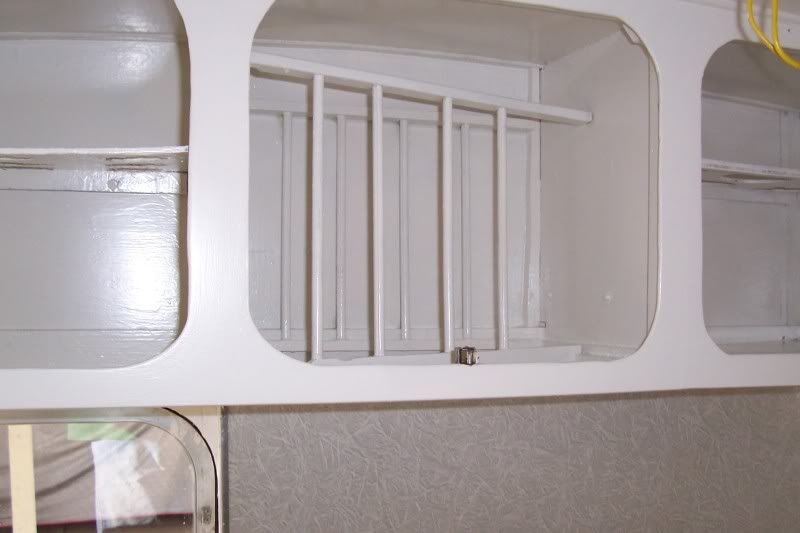
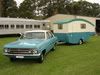
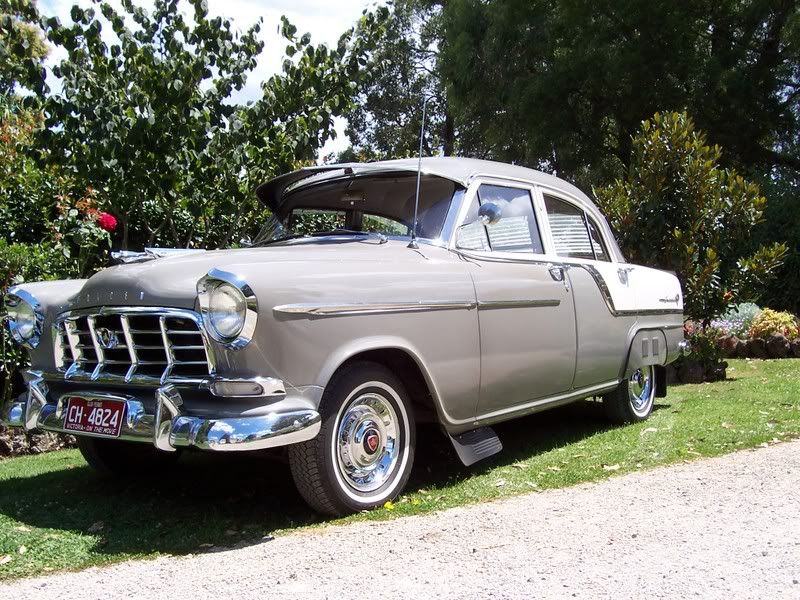
Ok Guys some photos of where i am up to on the old girl a little by little so they say! A good coat of oil based undercoat and all the holes repaired ;D ;D 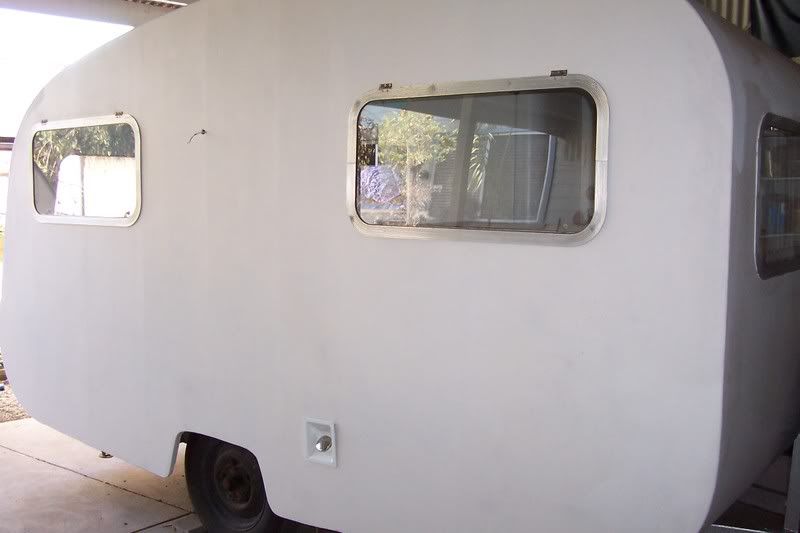 The windows cleaned and some liitle shelves added, also another shelf and bench top altered where ugly modern fridge once was. 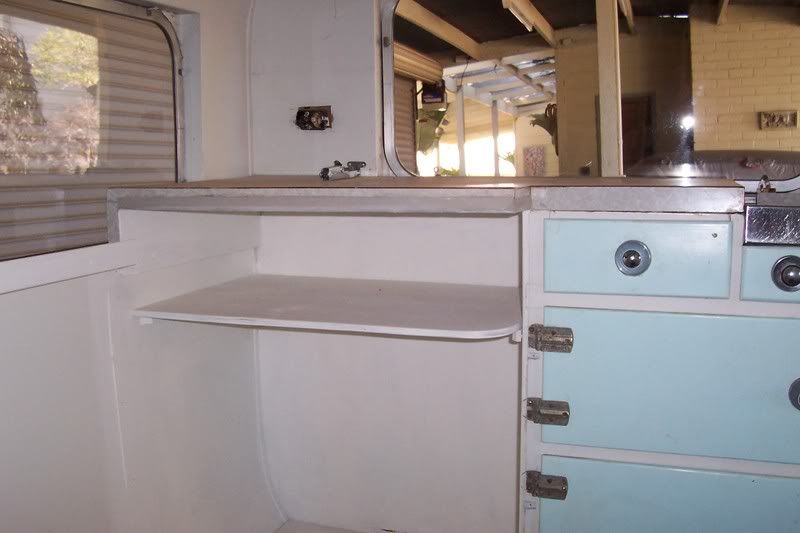 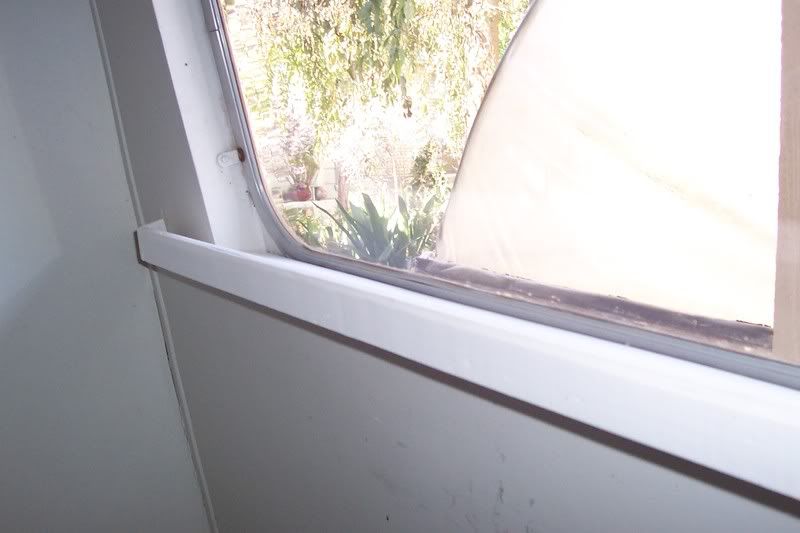 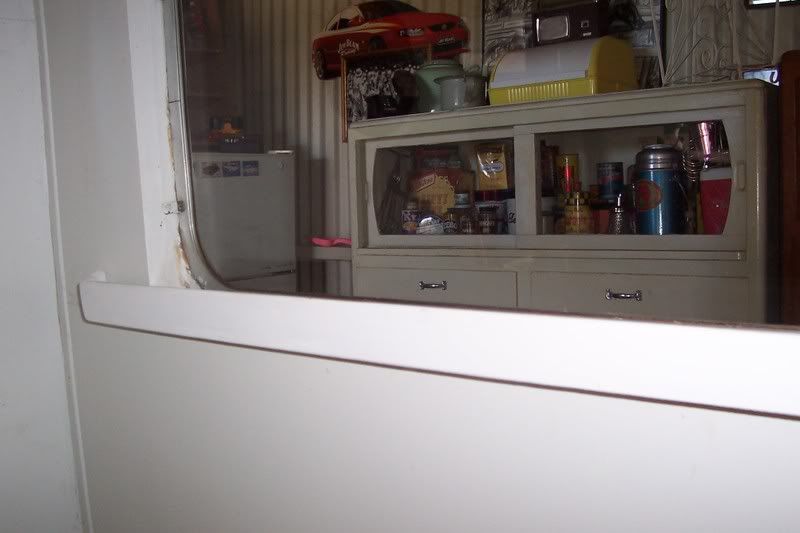 Old lights all perished and wiring VERY dodgy so new lucas lamps to be fitted and backing plates fitted,lights are NOS lucas type and look great! Also room on the right for original number plate. 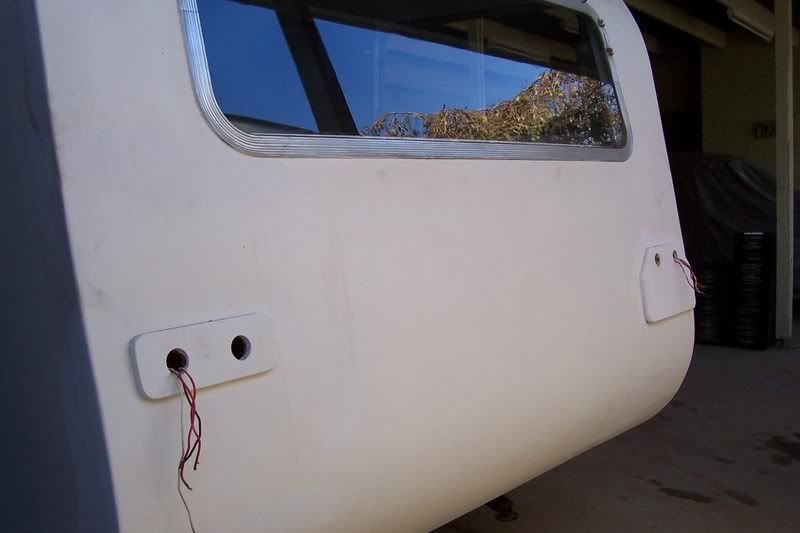 Draw bar cleaned up of 50+ years of rust and plates and old rusty chains and spare tyre fitted to the back of the bar instead of under the rear seat in van! 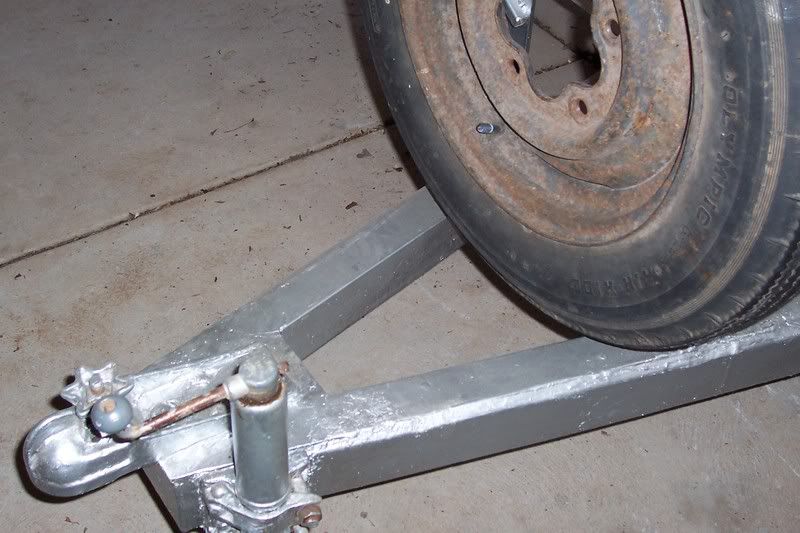 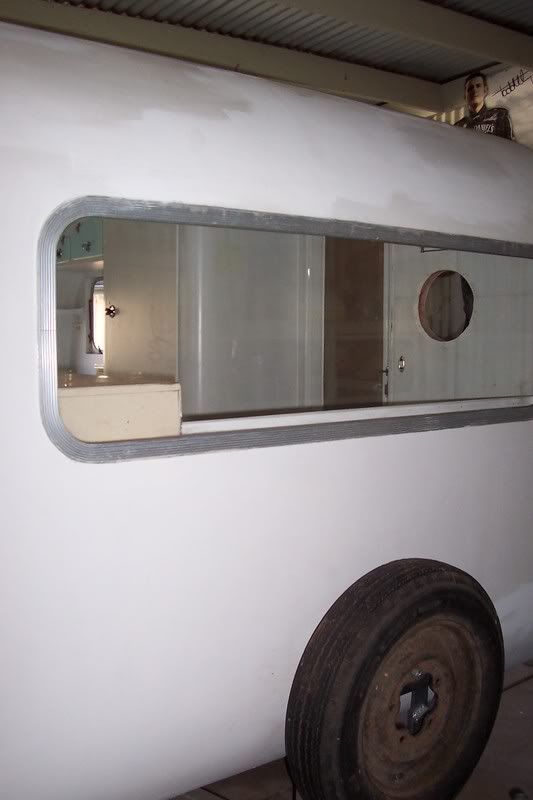 Original water inlet re powder coated and and cap polished. 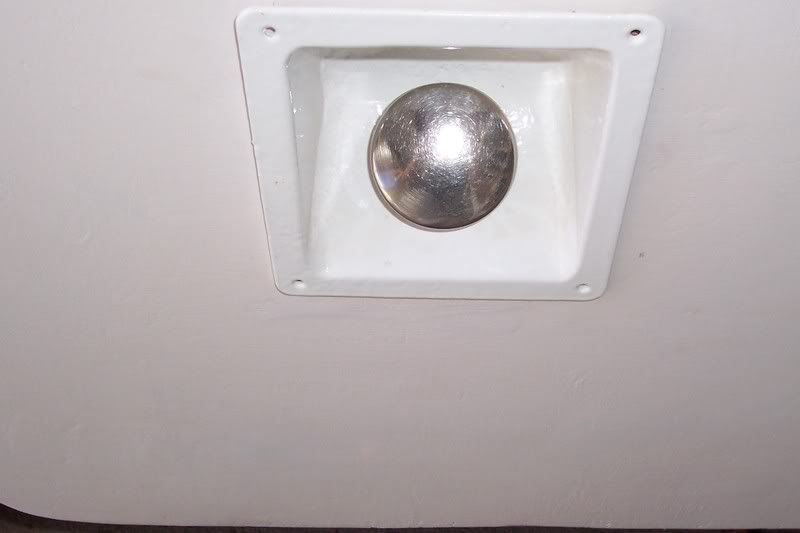 And last but not least nice clean Eh sedan with wiring recently fitted and tested ready to tow the old girl on the original holden tow bar. 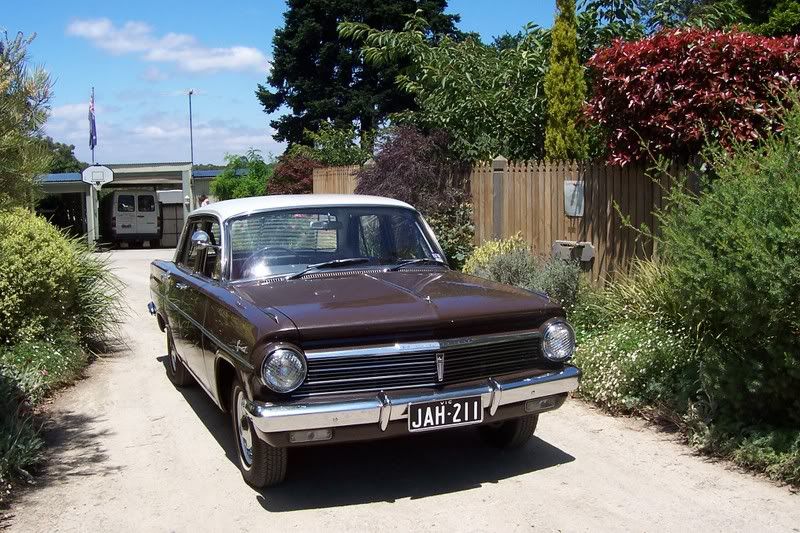 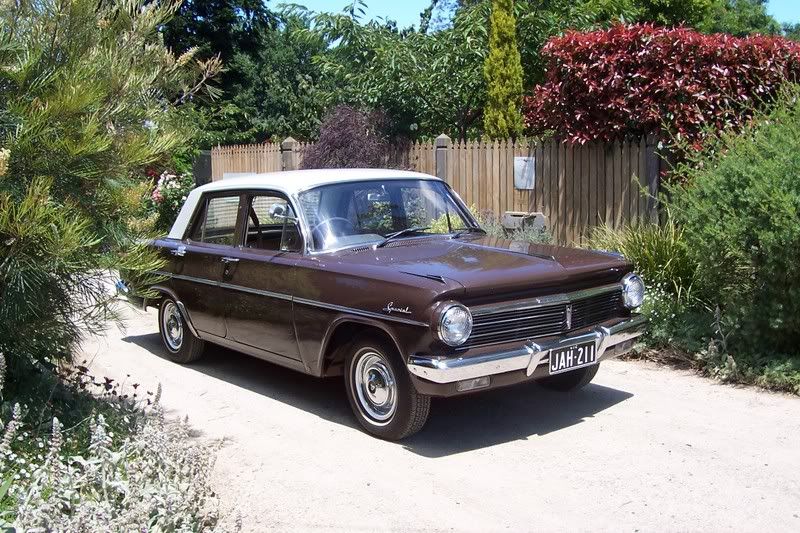 All sugestions for outside colors and stripe on the caravan greatly appreciated Cheers Brett |
|
|
|
Post by atouchofglass on Feb 15, 2009 17:48:01 GMT 10
Hey Brett
Starting to look good mate
Hard work but rewarding
Love the cabinet door knobs and surrounds
Cheers
Atog
|
|
HAD708
Junior Member
Posts: 67
|
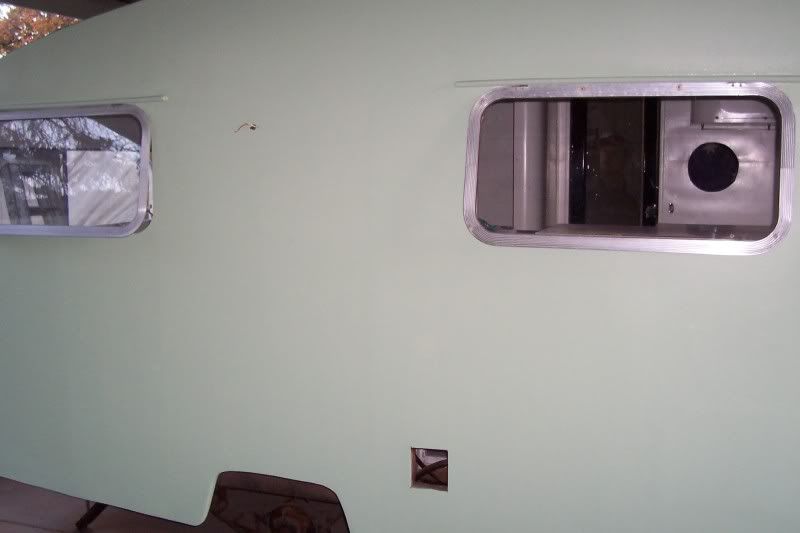
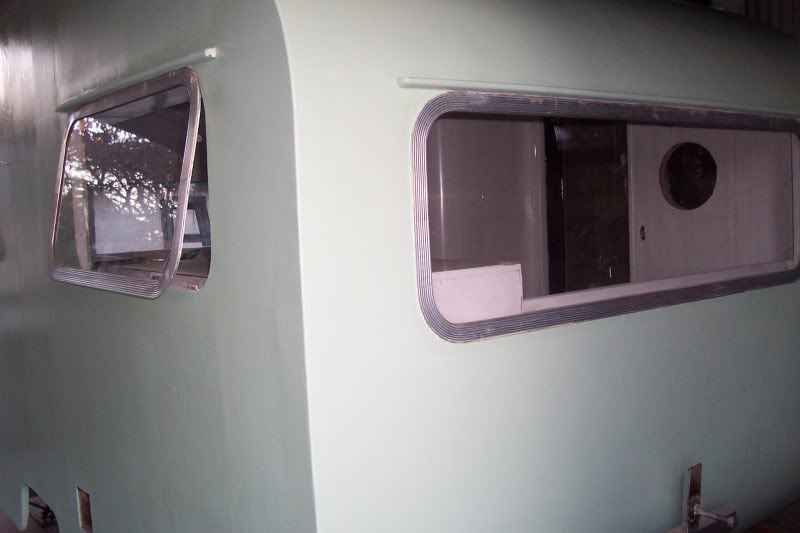
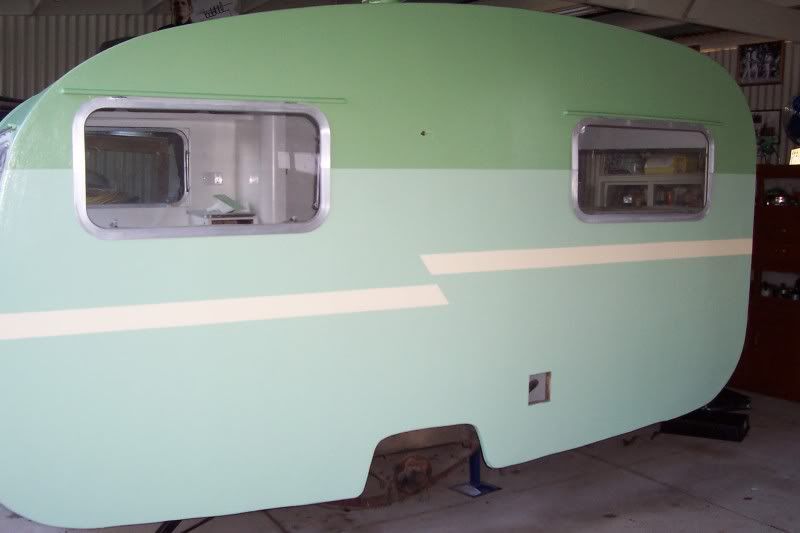
Post by HAD708 on May 26, 2009 21:14:15 GMT 10
|
|
|
|
Post by beksdiner on May 26, 2009 21:33:52 GMT 10
Wow~!
What a transformation....love, love the mint-green!!
Bek
|
|
HAD708
Junior Member
Posts: 67
|
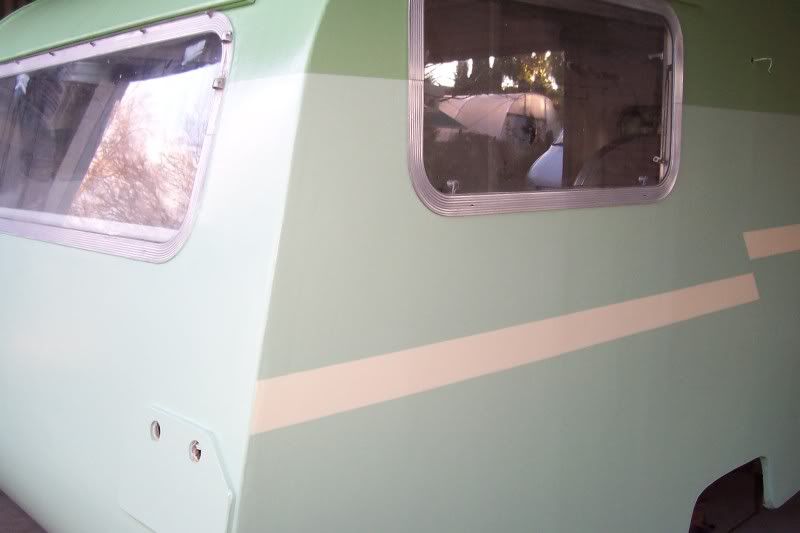
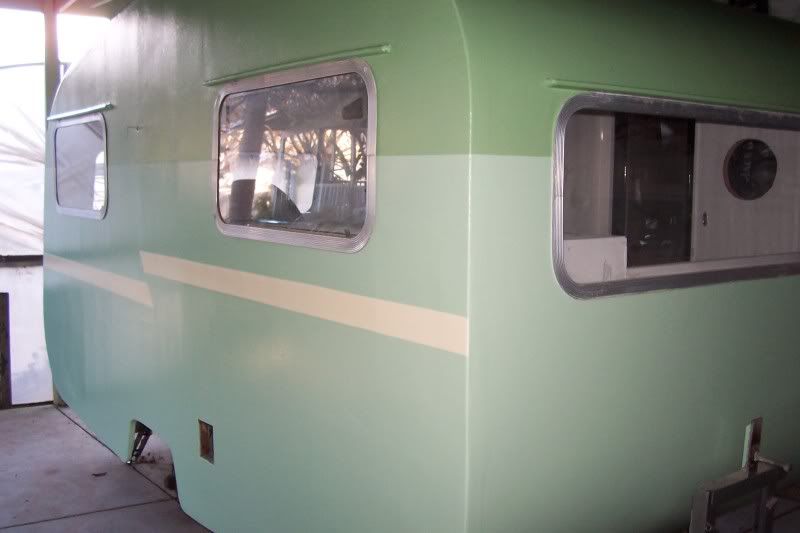
Post by HAD708 on Jun 15, 2009 18:09:07 GMT 10
|
|
|
|
Post by sportsman 1 on Jun 15, 2009 18:37:40 GMT 10
LOOKING GOOOOOOOD!!!!!!!!!!!!!!!!!!!
That is terrific, cant wait to see it in the flesh.
Keep it up.
cheers, Leigh.
|
|
|
|
Post by Nascohunter on Jun 15, 2009 19:58:28 GMT 10
Great job Brett. Can't wait to see it out behind your EH.
Cheers mate,
Tony.
|
|
HAD708
Junior Member
Posts: 67
|
Post by HAD708 on Sept 3, 2009 7:12:28 GMT 10
Hi Guys
The van is going along well and i will try and take some more update photos soon. All the interior is now painted blinds are now in and outside is finished still waiting on vinyl for the floor and of course more mucking around! It will be hopefully ready to roll for Cora Lynn as planned last year. What i need help with is i want to have an awning made up for the outside and need to know where i can get one made. It will be 3250 long and around 7 ft wide,just to have something to sit under etc. All advice greatly accepted.
Thanks
Brett
|
|
HAD708
Junior Member
Posts: 67
|
Post by HAD708 on Sept 15, 2009 20:34:03 GMT 10
Thanks to two forum members who helped me out with great advice and the purchase of a quality awning ready to go in suitable colors and never been used and local!! ;D ;D Also the added bonus of seeing a fantastic set up full of great period cars caravans and memorobilia
Thanks
Brett
|
|
|
|
Post by kaybee on Sept 15, 2009 23:36:58 GMT 10
Hi Brett,glad to have been able to help. Col |
|
HAD708
Junior Member
Posts: 67
|
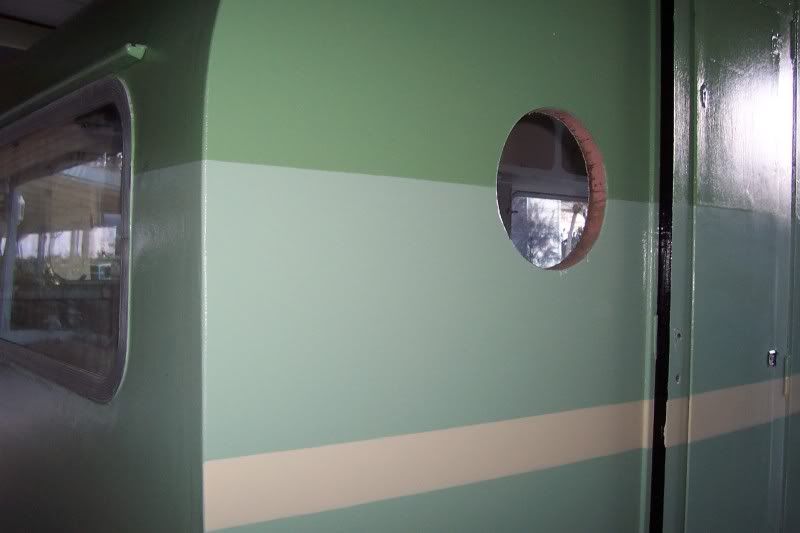
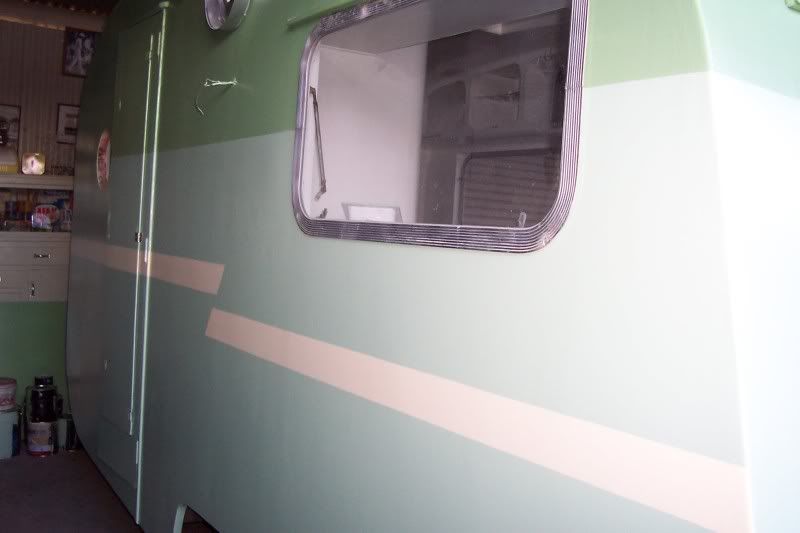
Post by HAD708 on Sept 20, 2009 20:03:44 GMT 10
Hi Some further shots of 57 phoenix coming together. All paint has been finished and van has been signwritten and pinstripped and it will be affectionally known as 'Tuddy' 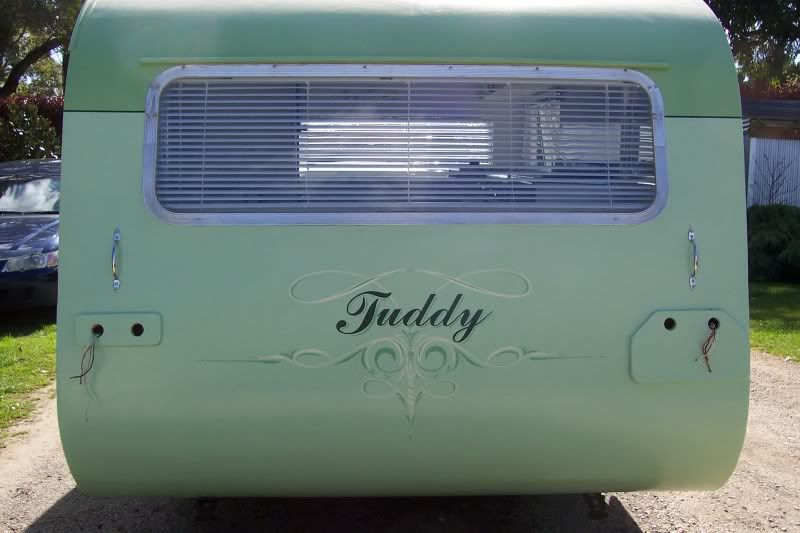 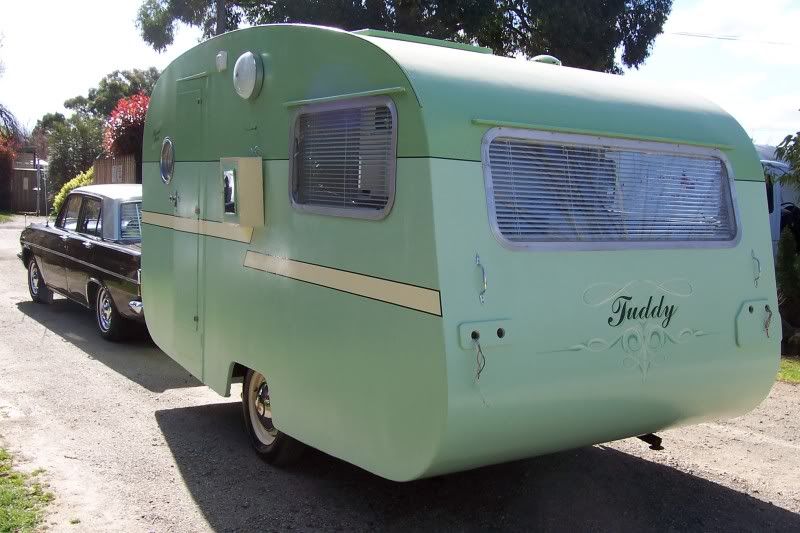 I have also had the Phoenix brand name written up as well by the signwriter in a direct copy of a original 50's brochure and show van that the company had in Victoria. 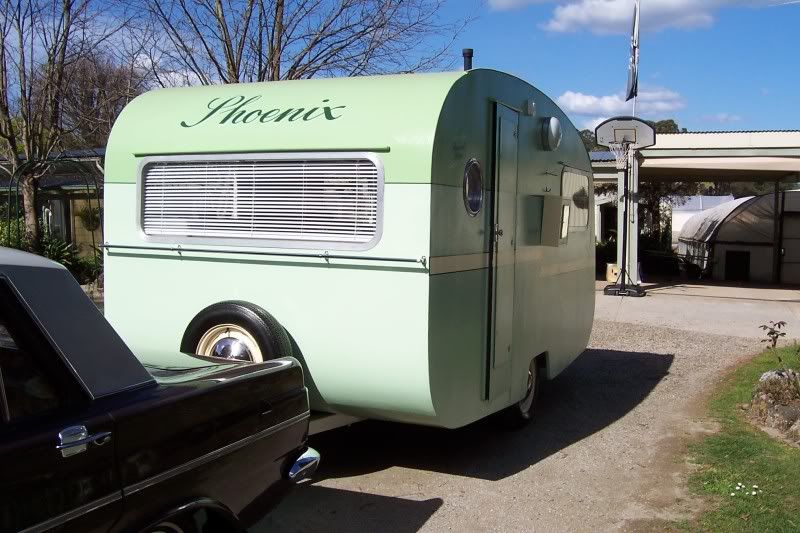 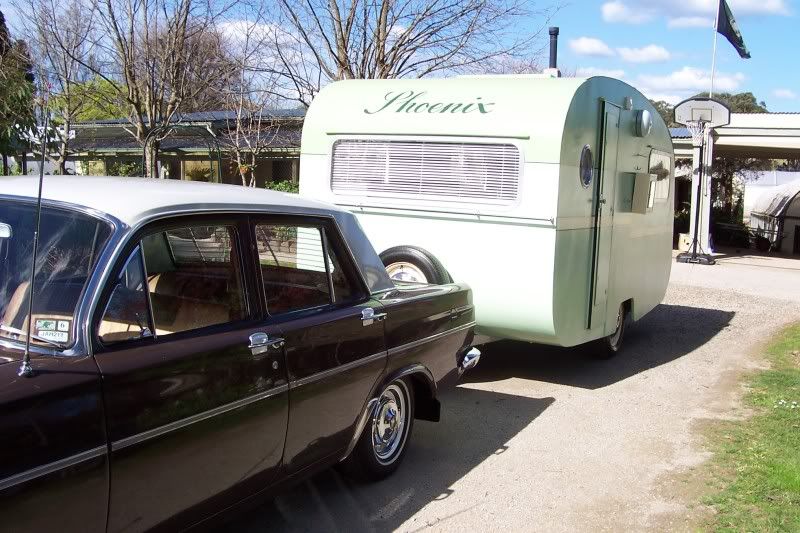 Also some memrobilia trialled in some of the overheads for display period feel or whatever 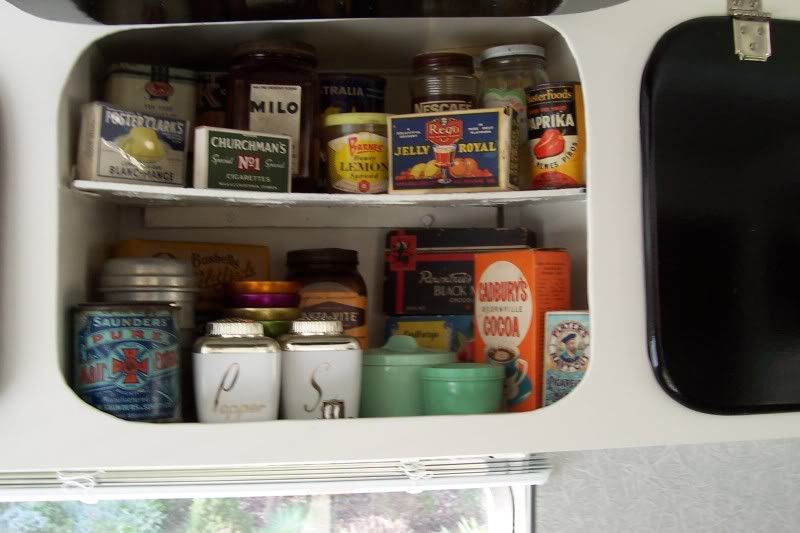  The interior has the 50's diner feel with all the cupboard refitted and all polishing plating and painting finished and the cushions unwrapped and fitted. Table still to be refitted and water and 50's cool safe to be finished 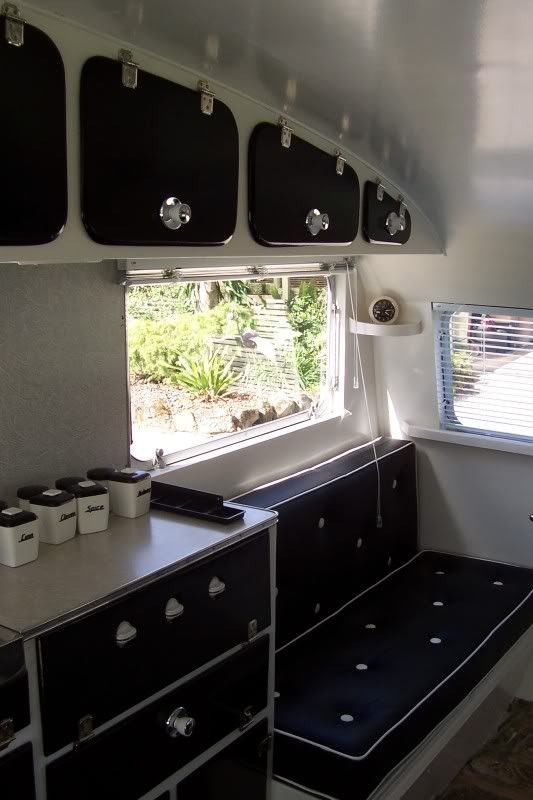 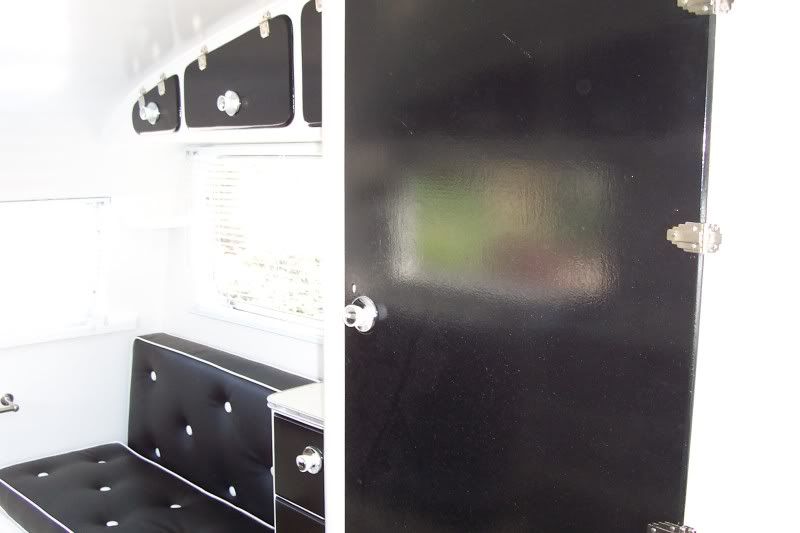 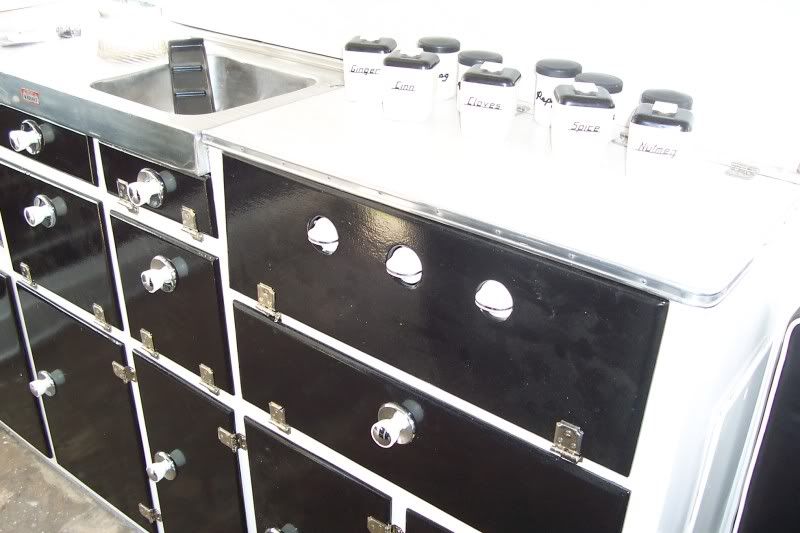 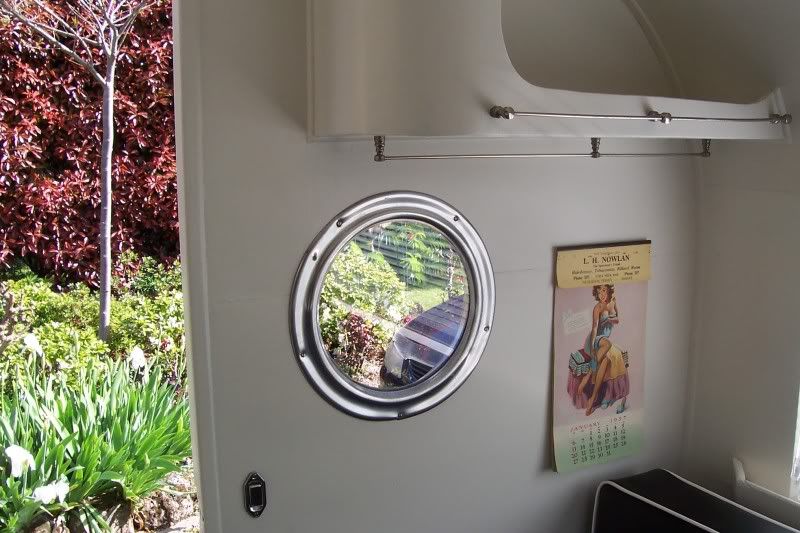 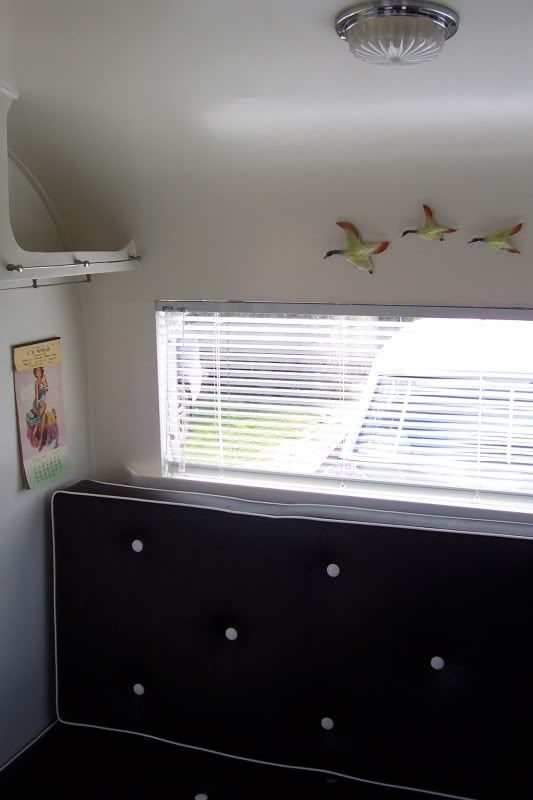 Still the lights to fit and the sink tap and and ...............! Cheers Brett [ |
|
|
|
Post by Franklin1 on Sept 20, 2009 21:35:38 GMT 10
Crikey Brett, that is one beautiful, beautiful job you've done there!! ;D ;D Congratulations on a really fine effort. Love the colour schemes too! ------------------------- ps. I always remember a cartoon I saw years ago about the three ducks on the wall in your bottom photo. The cartoon showed that duck season was about to open. This fella is in full duck-hunting gear and has blasted the three ducks through the loungeroom wall of his house. His wife is standing off to one side, and her caption is: "You just couldn't wait, could you!?" So watch out for duck hunters... cheers, Al. |
|
|
|
Post by Don Ricardo on Sept 20, 2009 23:32:52 GMT 10
G'day HAD708, What a fantastic effort. "Tuddy" looks stunning. Congratulations! Don Ricardo |
|
|
|
Post by Dave&Tammy on Sept 29, 2009 11:46:38 GMT 10
;)Congratulations the van looks fantastic!! you must be very happy with it. Dave & Tammy
|
|


 .
. 


 ). More than what I'll ever use in my lifetime. I have approx 10 of each of four colours...red, amber, blue, and purple (...who uses purple??!!
  )
)