|
|
Post by humpty2 on Feb 7, 2012 20:47:11 GMT 10
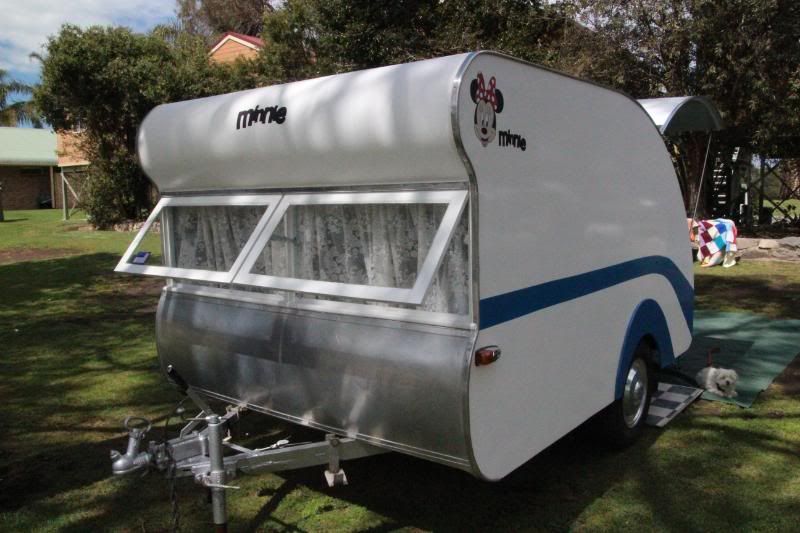
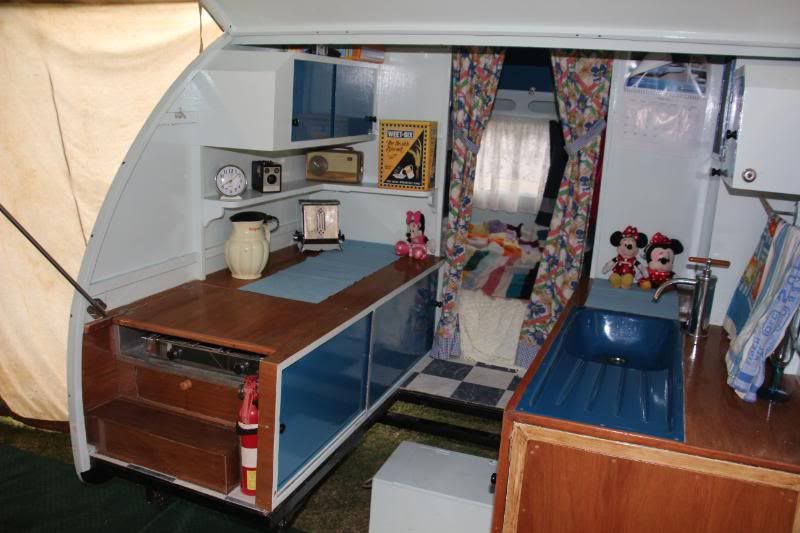
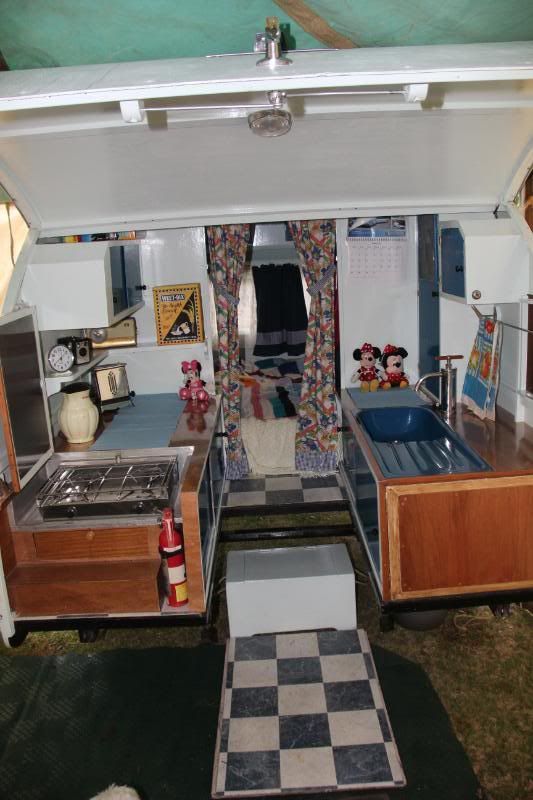
Just started to restore "Minnie" our teardop. This won't be a quick process.....I want it ready for October WA. Just a reminder of what we start with.  Interior shot. 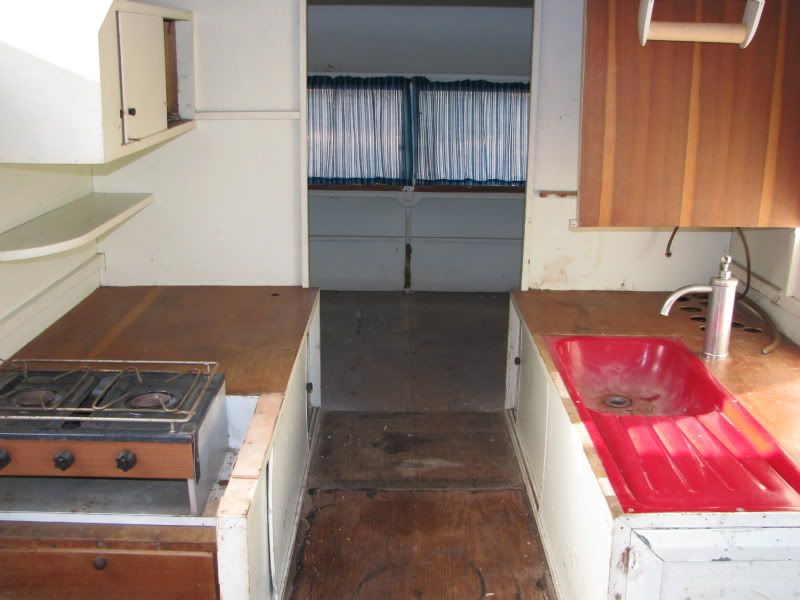 At the right hand side you will see holes in the benchtop.this was for a gas fridge  which I dont want to do The fridge also had a vent on the side of the van.........got to get rid of that 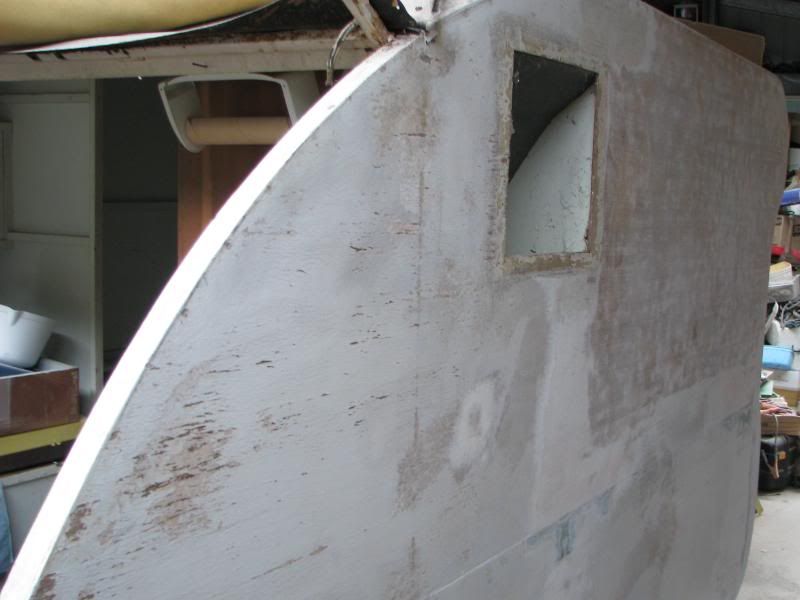 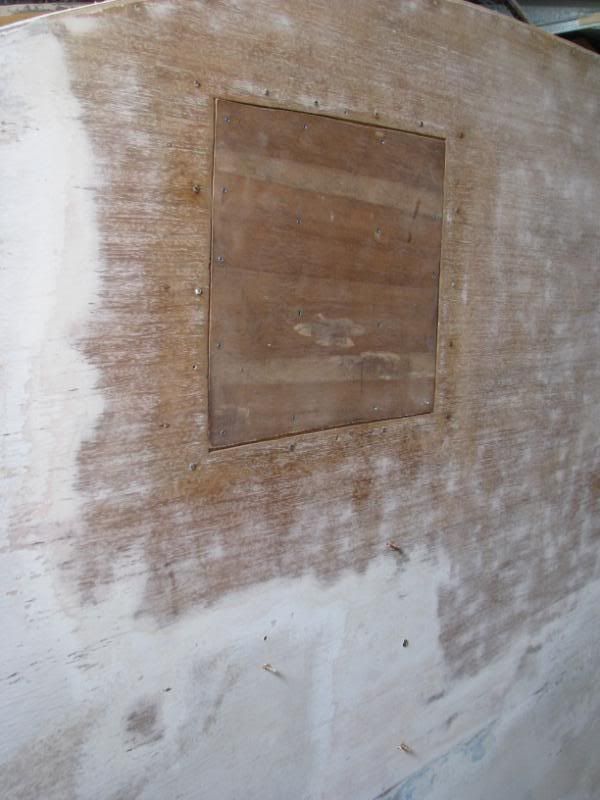  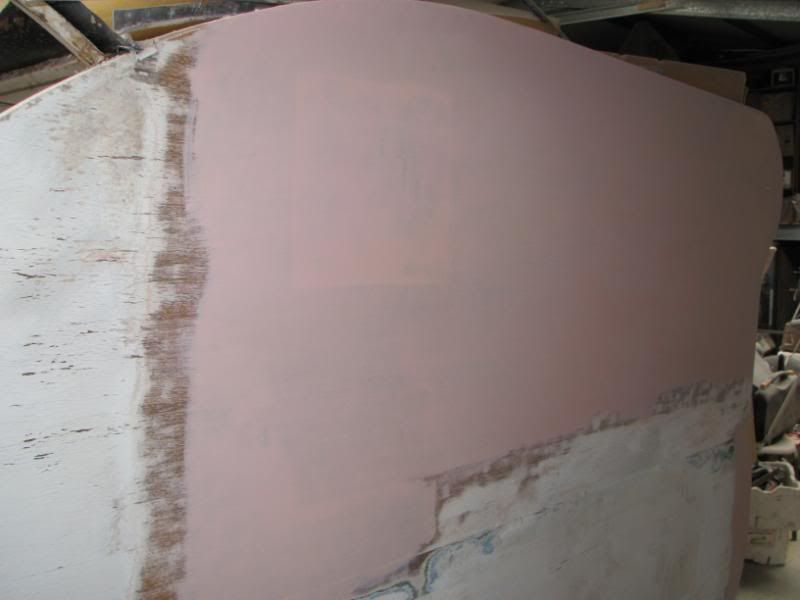 Into destruction mode now.  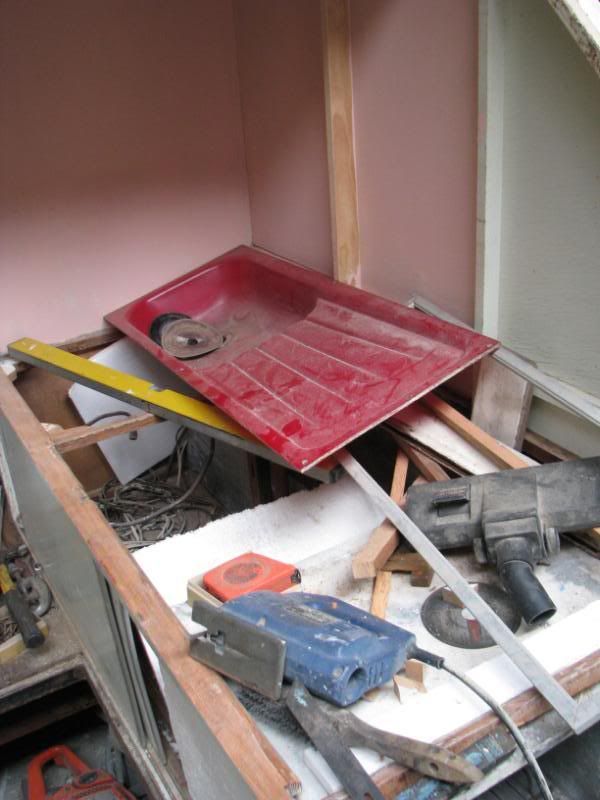 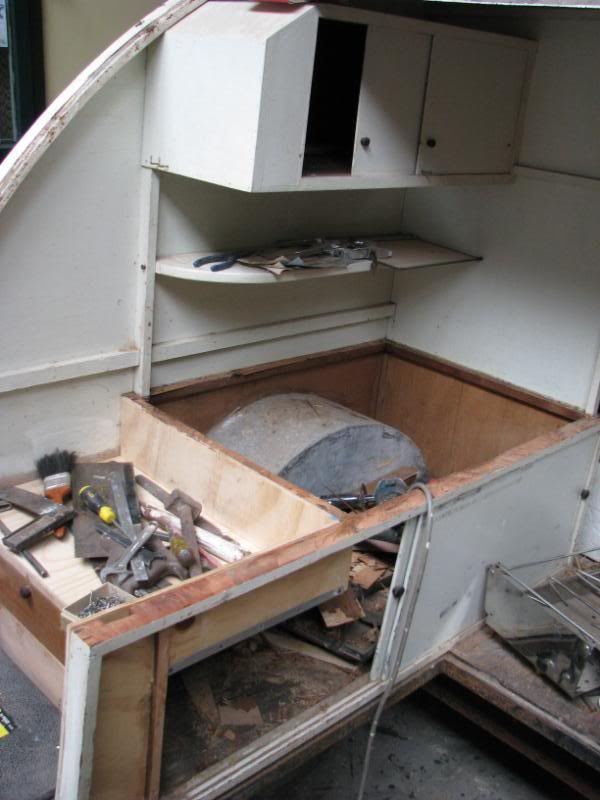 Seeing I wont be having a gas fridge.I may as well not have a gas stove either!! 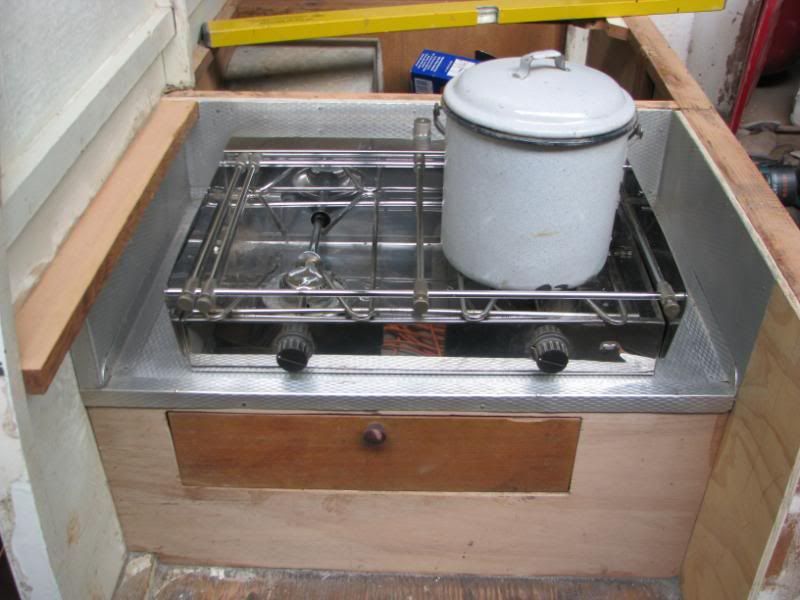 More tomorrow night ;D |
|
|
|
Post by humpty2 on Feb 8, 2012 19:01:48 GMT 10
Just a little more today.......mainly painting the inners of the cupboards 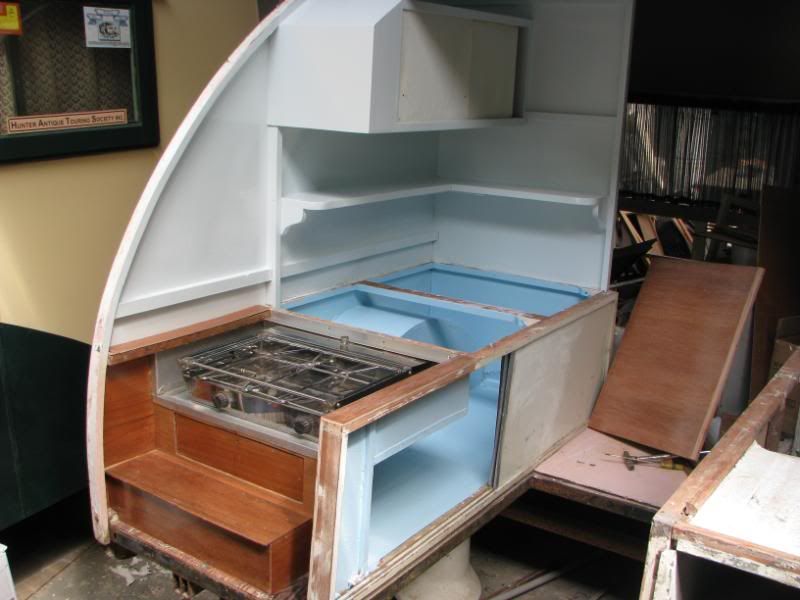 That was the port side..now on the starboard. 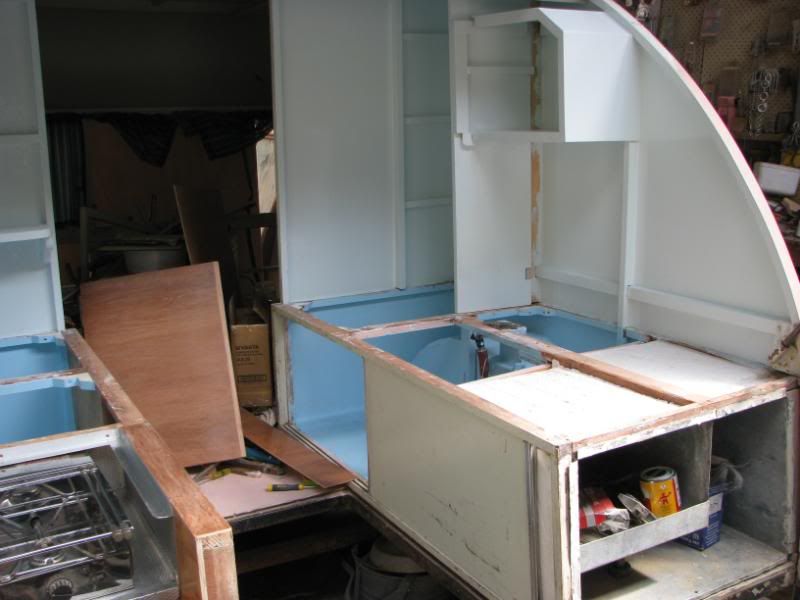 Additions to this side are the little cupboard and the pantry......starting to take shape in the corner. 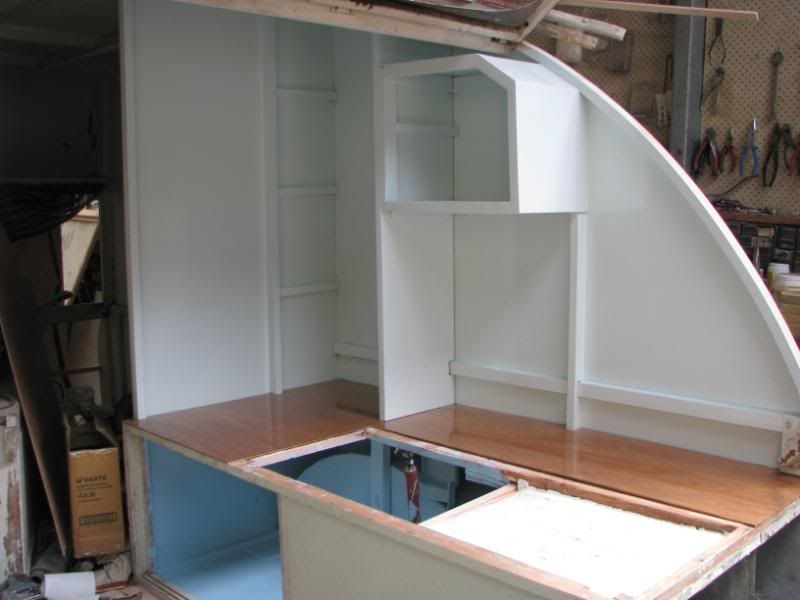 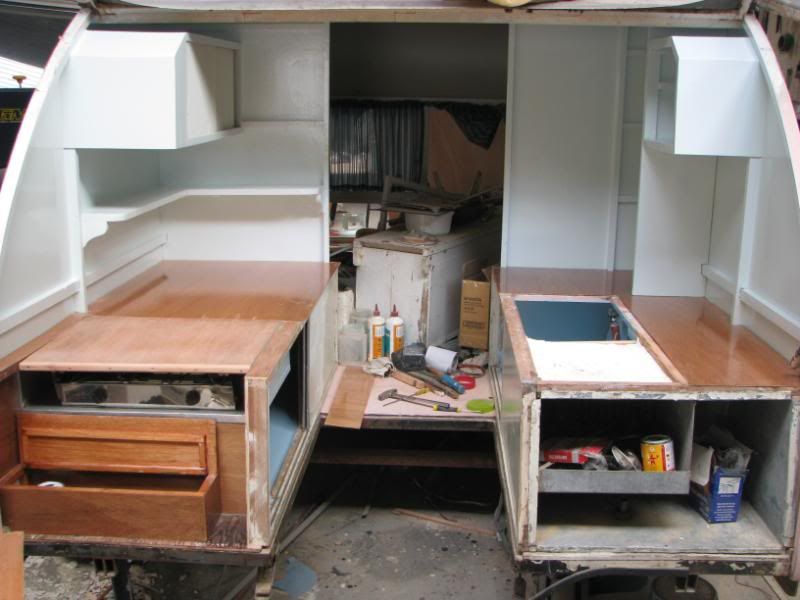 looking to the galley it is starting to 'balance' 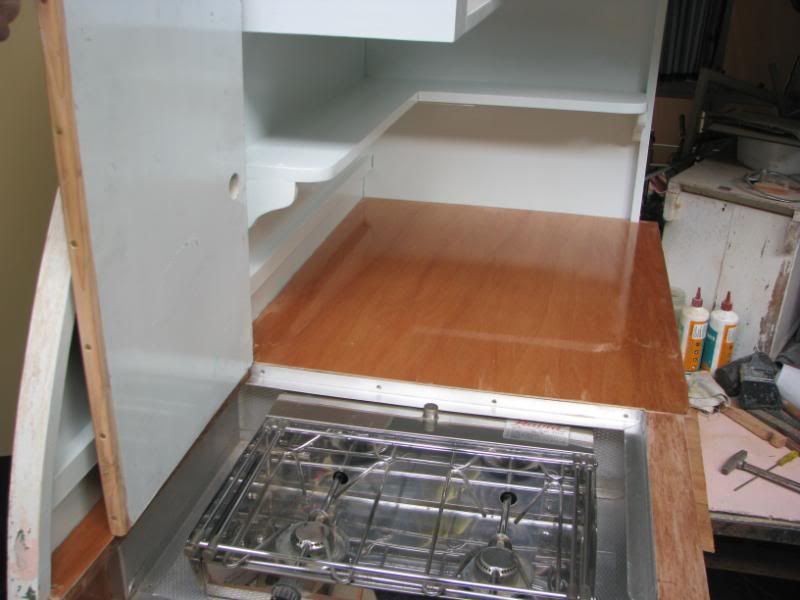 The stove will have a lift up cover when not in use....more bench space |
|
|
|
Post by Franklin1 on Feb 8, 2012 19:28:36 GMT 10
G'day humpty, Please tell me you've been working on this van for MONTHS, but are only just now catching up with putting the photos on the forum. Please!...  If you tell me you've done all that work in just the last few days, I'm giving up.  I was telling somebody the other day that my project is like the artist who sets up their canvas and does one brushstroke on the first day. Then they go away and think long and hard about what the next brushstroke will be. They do that one on Day 2. And so it goes on and on, until the painting is completed over a 2 year period.  I really like what you are doing. I've seen your previous projects to know that you don't do any amateur work, so this one will be the "bees knees" like the others were. It's looking great!  But I really, really, really need to know that you don't do this quality of work overnight. That would prick my balloon BIG TIME!!  All the best, Al. |
|
|
|
Post by humpty2 on Feb 8, 2012 19:36:50 GMT 10
Probably about 3 to 4 weeks effort there Al.
You know how it goes when its not copy the existing piece.
Its measure....measure again.....OK cut..........bugger lets do it again. Then you change your mind about how it should function......and start all over again.
|
|
|
|
Post by DC3Td on Feb 8, 2012 19:41:30 GMT 10
That`s a very well proprtioned galley Humpty2.Love the walk through access. Should look real smart once finished. gordon
|
|
|
|
Post by humpyboy on Feb 8, 2012 20:44:01 GMT 10
You know how it goes when its not copy the existing piece. Its measure....measure again.....OK cut..........bugger lets do it again. Then you change your mind about how it should function......and start all over again. So I'm not the only one who works like that. ;D  |
|
|
|
Post by seeshell on Feb 9, 2012 15:26:31 GMT 10
Hi Humpty2 I just love Minnie.  I think the walk through the kitchen to the bed area is a great feature - no getting wet on cruddy days when you want a cuppa! I had a question or two about the walk through: 1. At the end of the van there appears to be a rod (at about knee height) that goes across the opening as you exit from the kitchen presumably to support the cupboards and give the door something to latch to. Do you step over it, or can it be removed when you are set up at your campsite? 2. When the floor is out so you can walk through, do you have steps to get up to the bed area? Your work is amazing - no wonder Al is sweating! Cheers Seeshell |
|
|
|
Post by humpty2 on Feb 9, 2012 18:50:17 GMT 10
Seeshell I assume you are talking about the 7th picture from the start. If so that is actually the frame of the tailgate...there is no cladding on it at this point. That frame/tailgate will lift up. Steps may be required.......for some.....but at this point I have no trouble getting up or down & I am 65!!! Only a little work done today.......no piccies |
|
|
|
Post by seeshell on Feb 9, 2012 18:55:47 GMT 10
Hi Humpty2 Of course now you point it out, it's obvious - still think it's quite an ingenious design. You might be 65, but clearly you're not a short-round like me. I need steps for everything. Cheers Seeshell |
|
|
|
Post by humpty2 on Feb 9, 2012 19:11:23 GMT 10
It is a clever and unique design...I would like to know if another exists like it. At this point to the best of my
knowledge ...............no.
Yes the Missus wants steps of some sort............just a 1 step will do.
|
|
|
|
Post by Franklin1 on Feb 9, 2012 21:46:18 GMT 10
Darn tootin' there, seeshell! I mean, here's a bloke who's just spent years doing 14-hour days in a truck. Finally he gets to retire, but does he spend a bit of time smelling the roses?? NOOOOO!!! He's jumped out of the truck on the last day, bolted to the shed, hooked up an intravenous drip to feed himself, and it's head down, bum up ever since! I tell you, it's un-Orstrayan! Might have to sneak into his shed and pinch a few of the parts he's gonna need. Heh heh heh... ;D |
|
|
|
Post by humpty2 on Feb 10, 2012 17:57:45 GMT 10
|
|
|
|
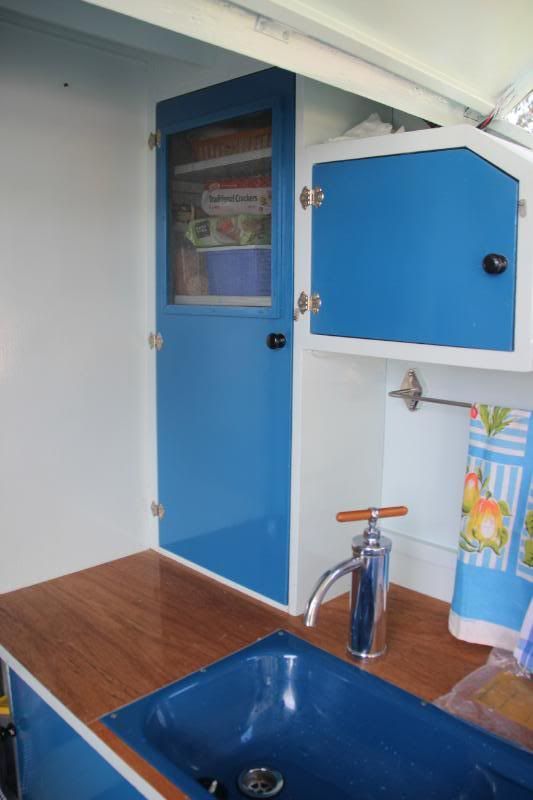
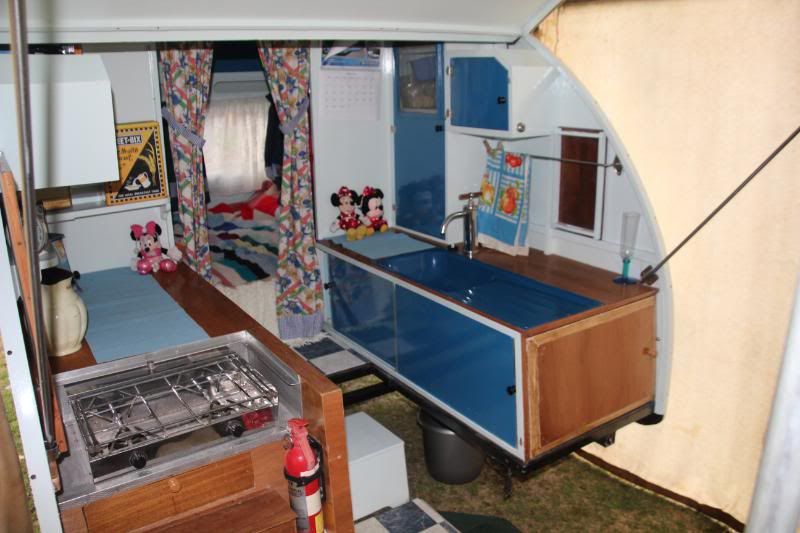
Post by humpty2 on Feb 16, 2012 19:29:24 GMT 10
I haven't been slacking off...just getting jobs completed before the photos taken. This is the starboard side.....followed closely with a shot of the doors open 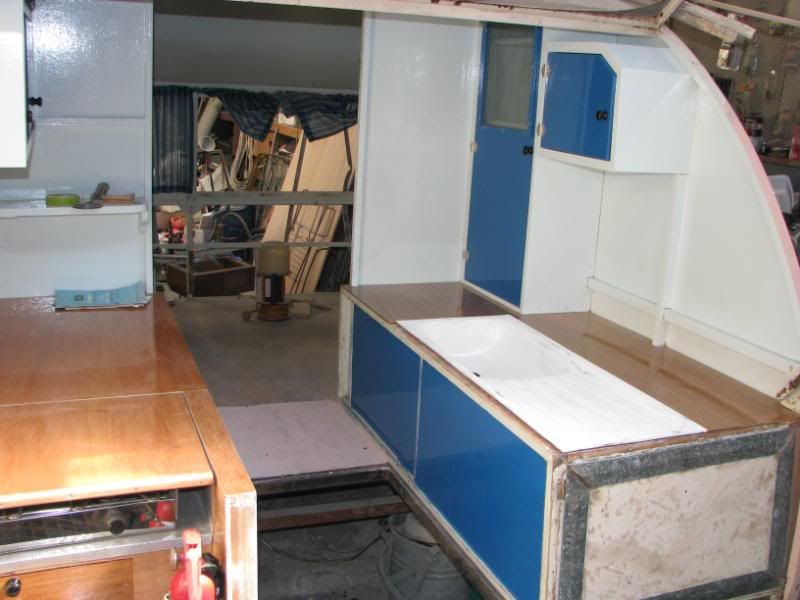 The sink is in place........temporarily. I am yet to paint it blue. 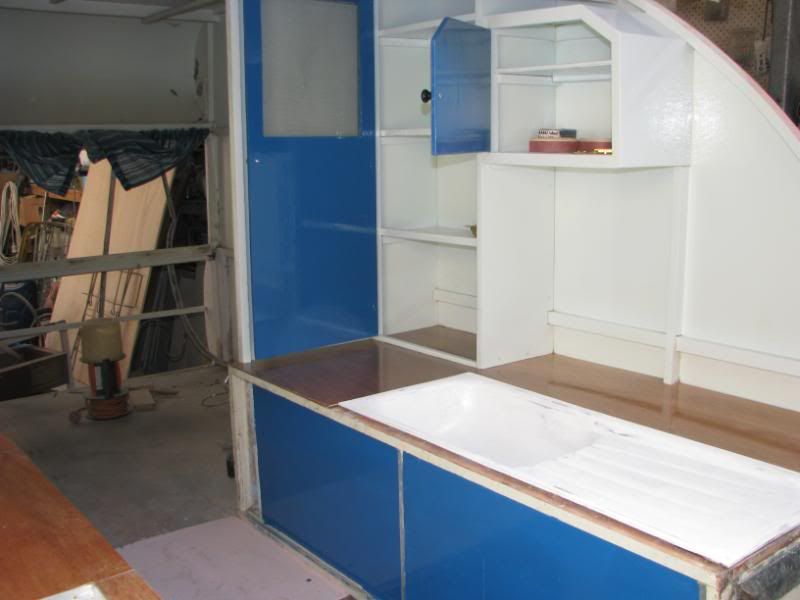 This is the port side 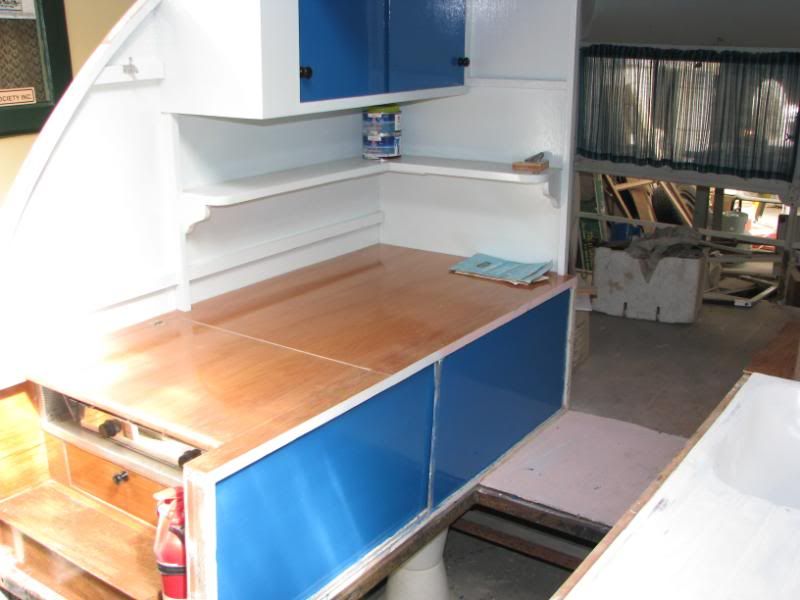 I have lifted the stove access in this photo 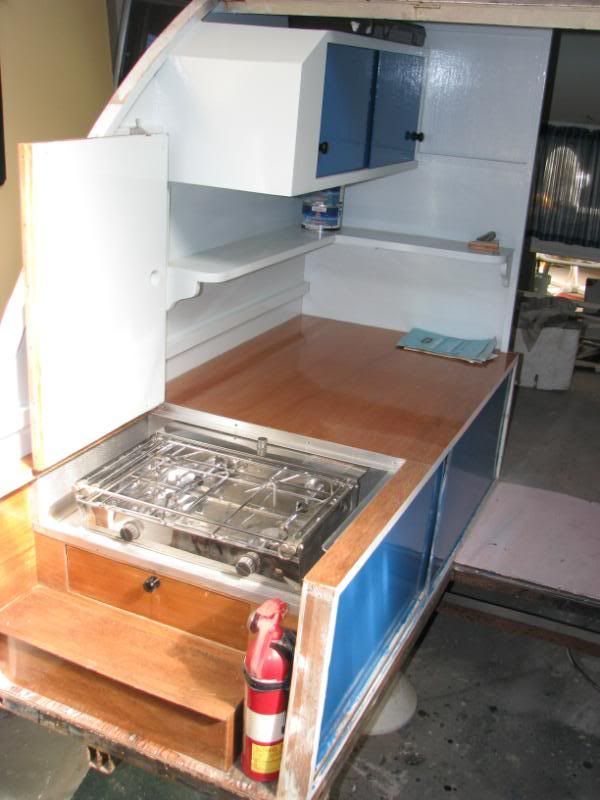 Notice the 'slot-heads' all lined up ;D  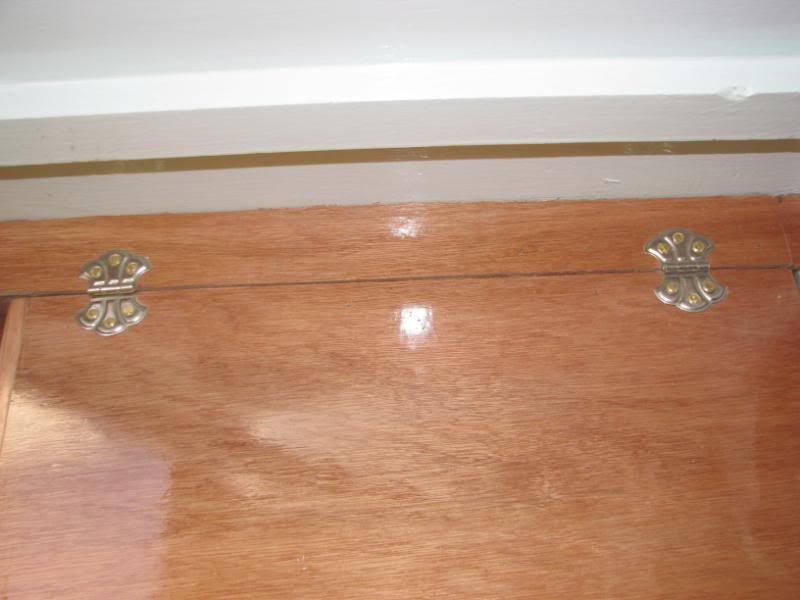 BTW does anybody know the trick to soldering  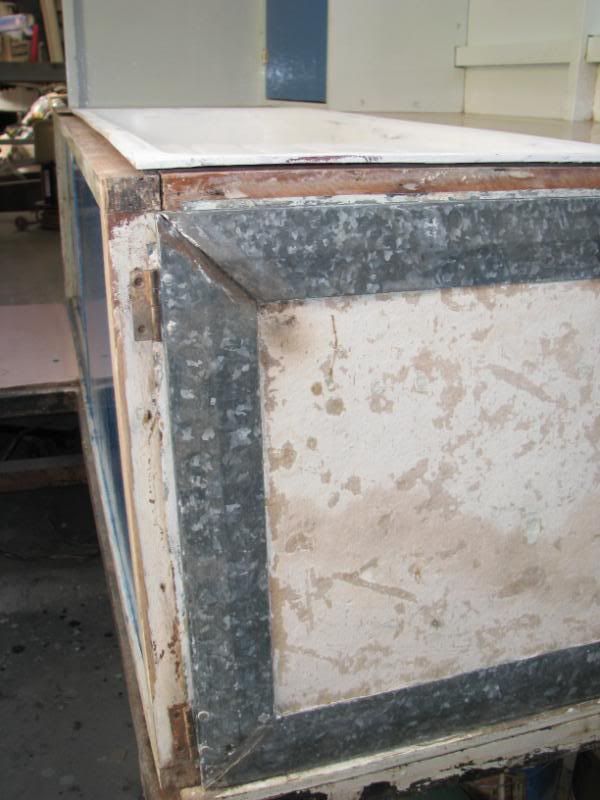 |
|
|
|
Post by DC3Td on Feb 16, 2012 20:04:09 GMT 10
Looking good Humpty. Primus torch & soft solder off a roll. Or heavy duty electric iron & solder stick. Surface must be clean & wire brushed.Guessing a torch`d be much easier to work with. Heats the surface area quickly allowing the solder to flow.You don`t or won`t need it red hot,just enough to soften the solder along the mitre gaps.Thin strip of smooth timber to spread solder if need be. gordon
|
|
|
|
Post by cruisindoug on Feb 16, 2012 20:13:08 GMT 10
Might need to check if you need a particular solder to suit the Galv, plumbers solder rather than electrical solder .... not sure if there is a difference.
I'd definately be going for the Primus torch.
|
|
|
|
Post by humpty2 on Feb 16, 2012 21:10:14 GMT 10
Tried to grind the Gal away.I have a little butane bottle with a 'thingy' on it that heats a copper soldering tip..........RED HOT!
I have tried cored solder on a roll and solid sticks.....it still doesn't stick!! do I need to wipe with an acid or somethig?
|
|
|
|
Post by Geoff & Jude on Feb 16, 2012 21:57:41 GMT 10
hi pete
try wiping the surface with bakers fluid or muriatic acid or even vinegar to clean and prepare the surface.
you're better of not using the torch directly because it will leave oxide deposits on the surface from the flame and this will prevent the solder from flowing smoothly.
a good old fashioned copper iron heated up with the torch is a better option.
you'll still need to use a flux to get the solder to run and "stick".
geoff 'n jude
|
|
|
|
Post by Franklin1 on Feb 16, 2012 22:35:11 GMT 10
G'day humpty, I hesitate in giving you any help that will speed up your job, but hang the expense... Many years ago in my Steelworks career, we used to do quality assurance tests on steel samples to test their solderability. One thing I learnt was that the smoother the surface, the better the solder flows. The other thing I learnt was that plain steel is much harder to solder than galv coated steel. Grinding the galv off is going the wrong way. More galv on the surface is better. To repair a broken solder seam, heat the surface until the existing solder melts, and then wipe the melted solder off with a dry rag. Then apply new solder over the wiped area (flux cored is easiest for us handymen). If you have to do any mechanical cleaning of the surface (but you normally wouldn't need to) then use the finest brushes/sandpaper that will achieve the cleaning. Remember, smoothest surface is best, and more galv coating is best. Plumber's solder (50-50) melts completely at 230 degrees C, so don't apply any more heat than is necessary to do the melting, otherwise oxidation of the surface will occur and soldering won't. Pull the burner back away from the job to maintain the heat at just the right amount, working just ahead of where you are feeding the solder 'wire' into the joint. Good luck! cheers, Al. ps. I was up your way last weekend visiting rellos. You might wanna check you've still got all the necessary parts for your job.  |
|
|
|
Post by humpty2 on Feb 17, 2012 12:03:14 GMT 10
Thanks for all the tips guys........it was 'operator error' I was trying to melt the solder on directly.........instead of heating the metal and applying the solder.........job done ;D ;D |
|
|
|
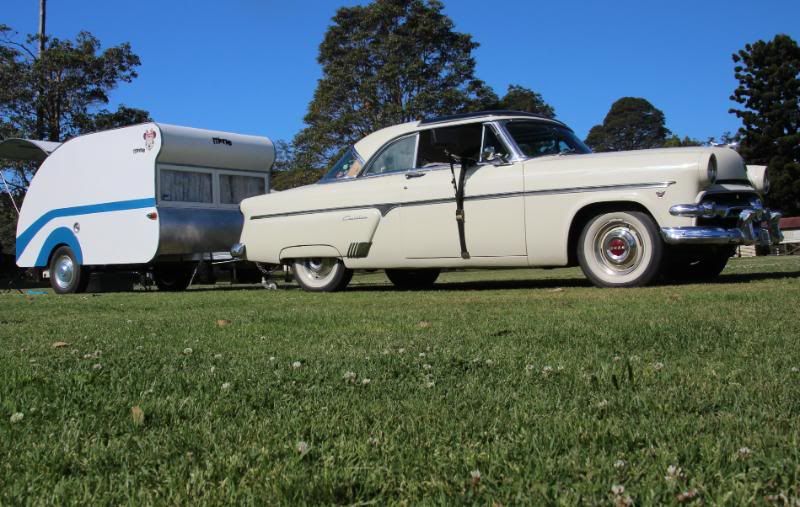
Post by humpty2 on Oct 22, 2012 16:02:11 GMT 10
|
|
gregw
New Member

Posts: 43
|
Post by gregw on Oct 22, 2012 17:00:55 GMT 10
Minnie looks absolutely fantasic Humpty. You have done a magnificent job on her
Greg
|
|
|
|
Post by bobandjacqui on Oct 22, 2012 18:05:41 GMT 10
G'day Peter and Denise, Minnie is looking vantastic How's retirement going? Cheers Bob and Jacqui. ;D |
|
|
|
Post by humpty2 on Oct 22, 2012 18:25:57 GMT 10
Hi Bob & Jacquie, Yes Minnie is vantastic,,,,,,,,,,,,Retirement is ,,,,,,,,,,,,,,,not for the faint hearted. No weekends, no sickleave, no public holidays, no rostered days off, no annual leave and its all paid at the same rate......no OT rates!!! But I wouldn't have it any other way ;D ;D |
|
mezmo
Full Member

Posts: 131
|
Post by mezmo on Oct 29, 2012 16:35:02 GMT 10
Hi humpty2,
Congrats on such a great restoration of the "Drop-Out-Floor"
TD ! [As I've called it.] It turned out beautifully.
It's great to see such an original and useful design given a
second life !
Enjoy it on many camping adventures.
Cheers,
Norm/mezmo
|
|
|
|
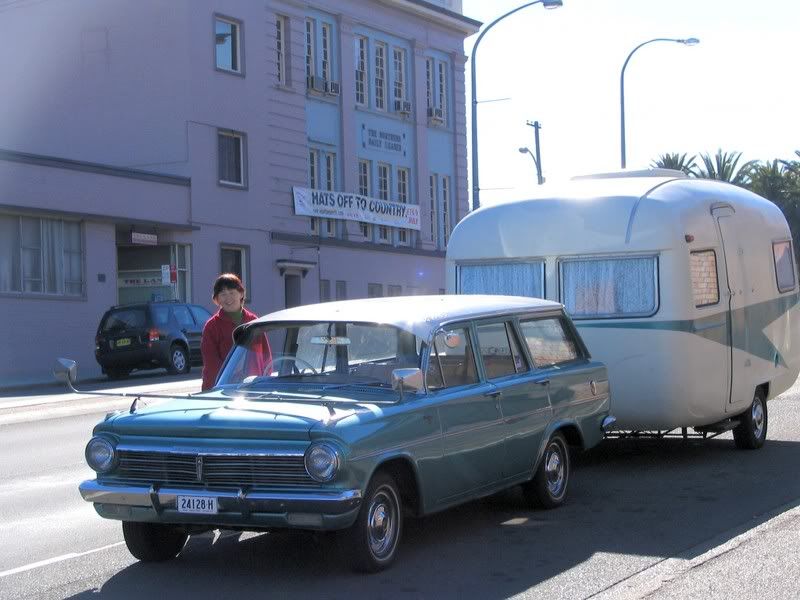
Post by humpty2 on Oct 29, 2012 17:33:06 GMT 10
Thanks Mezmo.......just about to take-off for another jaunt in it for about 10 days. This time towed behind the EH Holden ( Thats the car in my avatar).
Off to Lake Goldsmith ;D ;D
|
|


 which I dont want to do


 I think the walk through the kitchen to the bed area is a great feature - no getting wet on cruddy days when you want a cuppa!