|
|
Post by greedy53 on Oct 16, 2010 10:24:29 GMT 10
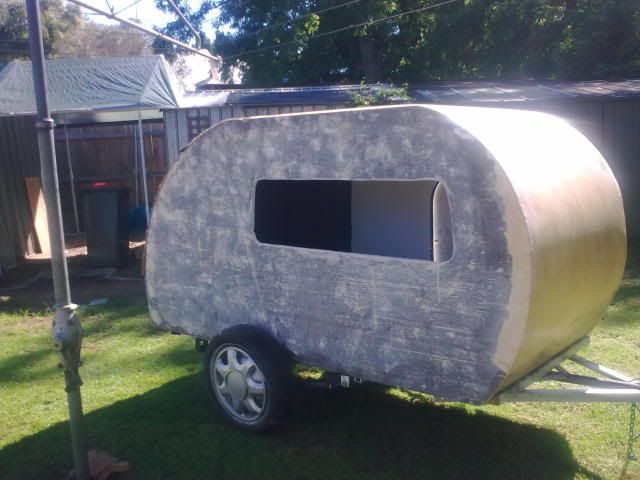
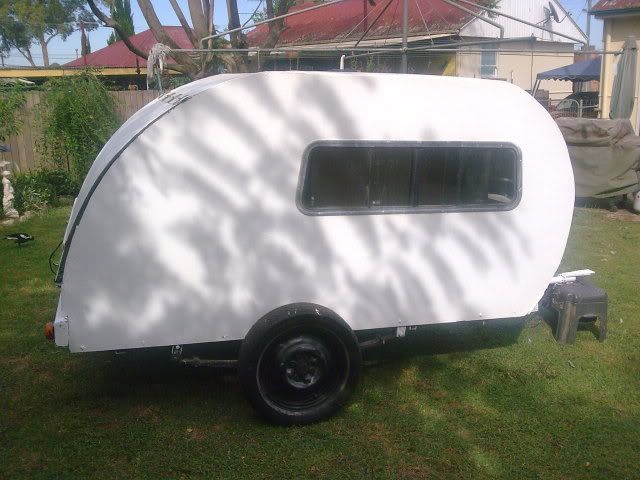
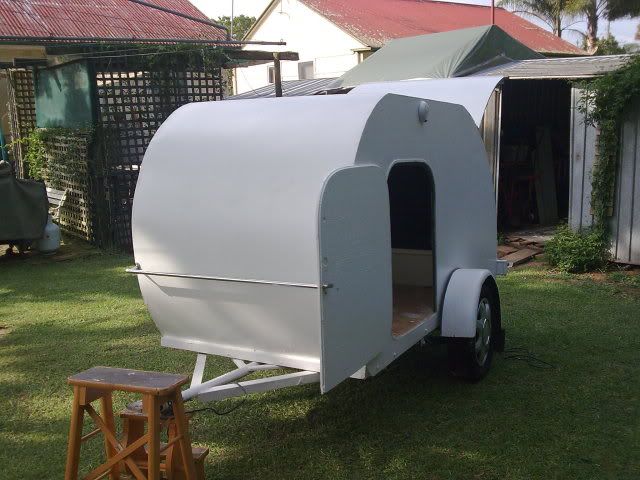
a trailer thats not being used well now grab ya hammer and tape than go forth or fifth maybe even threeth and build grasshoper
build,
|
|
|
|
Post by greedy53 on Oct 21, 2010 17:02:14 GMT 10
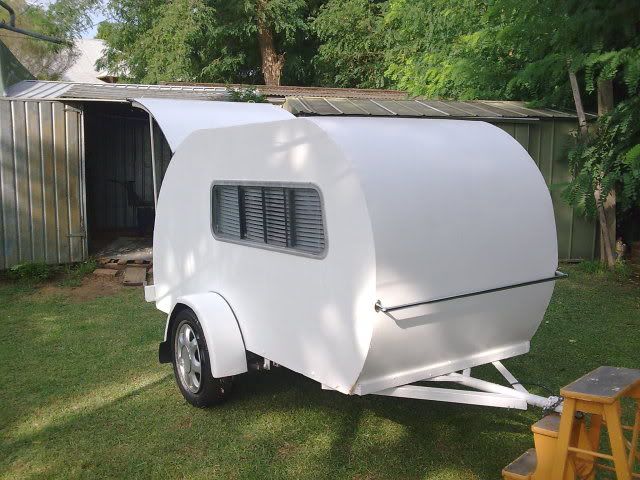
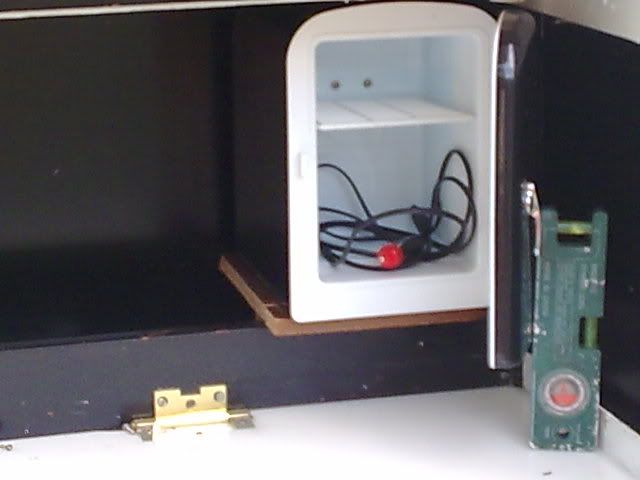
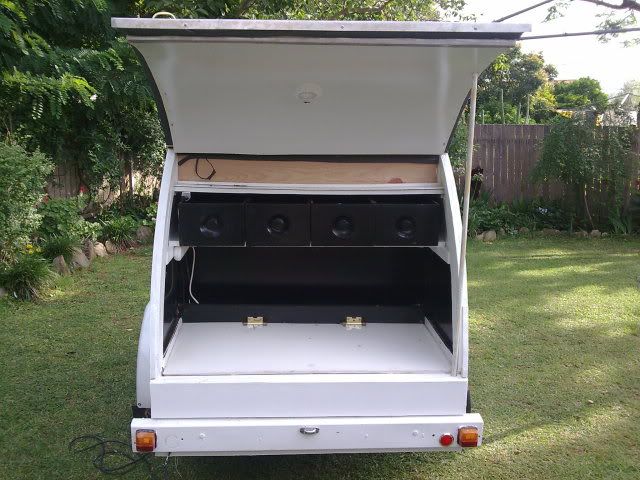
well a bit more done the inside has now been painted white because i ave lots and lots of white, 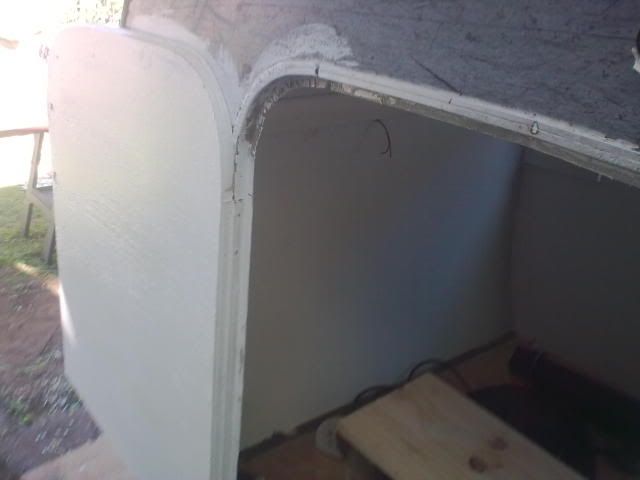 while i'm at it i must fill in a few gaps ,i have sealed all joints and all ends have been fiberglassed resined and than sealed with a good oil based paint. while i was slapping the paint around i saw a place where a shelf was just begging to be put,so out with tape measure and a rummage through the off cuts and a shelfwas made and painted than tossed in 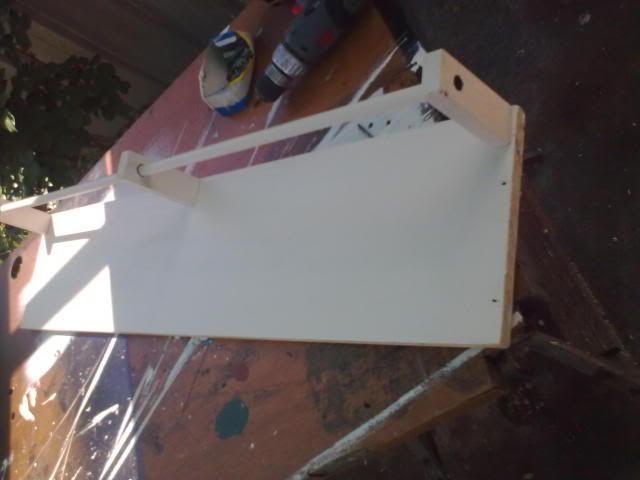 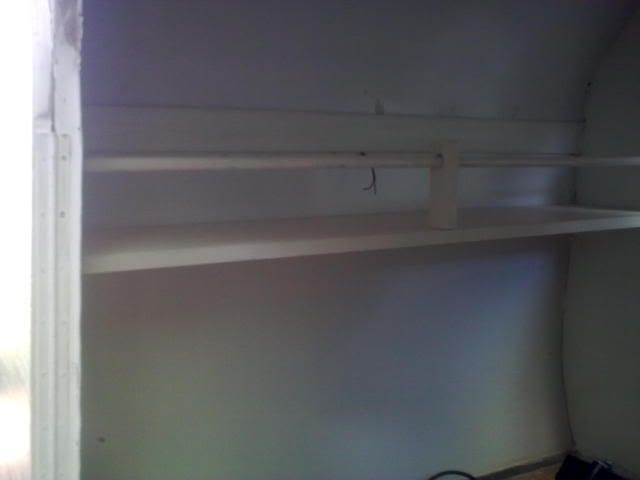  i have started the kitchen and a steep learning curve it is,my wife wanted some storage space so the bottom was fitted with a cover tat acted as a work bench youslide the top back to reveal the storage area,dam i need a pic of it oh well here is the top i'll get a pic later  well thats all for now i'll be back soon |
|
|
|
Post by greedy53 on Oct 22, 2010 12:33:21 GMT 10
a few more pics ofstuffi found and where i used it,but first the storage in the back under the floor nearly all the everyday stuff can be sored here the top slides so i can still use it for cooking or preperation while it's open  also i found some stainless steele angle that should be ok for pretty edges and things  the door has had a grove routed into it because i have used some ali frame that i found and now has a rubber edge fitted cost $12.00 starting to cost me,better check the wallet yep empty but i have about half of that left,but still looks like being under budget,i thank heven i have been a horder all my life on't have a budget or money for that matter  |
|
|
|
Post by greedy53 on Oct 27, 2010 18:15:53 GMT 10
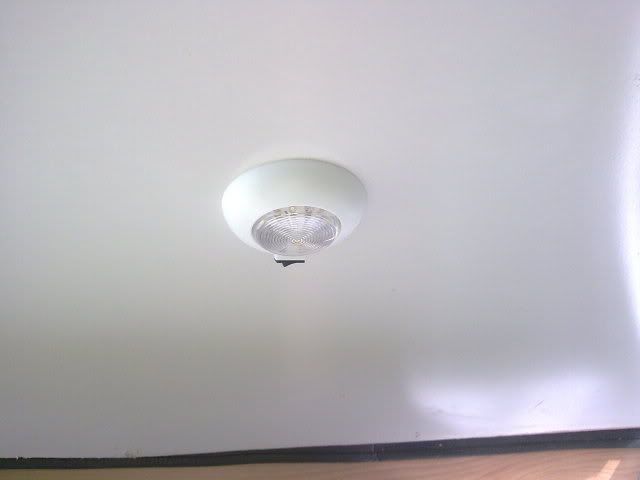
well i have been busy doing the little stuff like the wiring for lights that i want now and i mite want later,i fit the wires where i need them and at the same time i run other wires to areas that in future i mite need a light,this i do by making the feed hole a bit bigger and wrapping the wires into it than bogging over them oh and doing a sketch of where they are here is the sleeping areas light 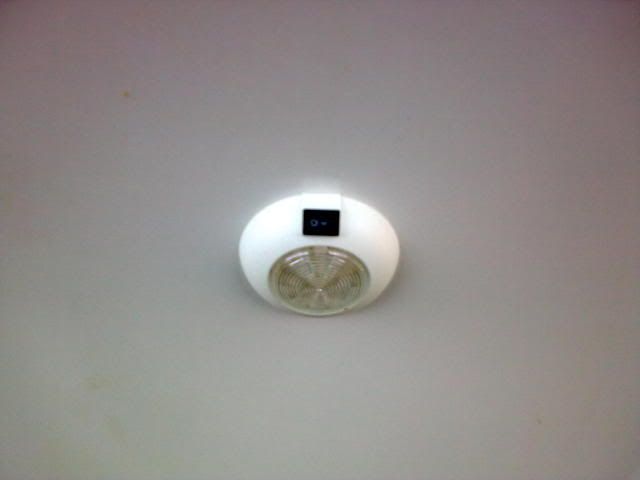 i only use LED's some only batteries as they last for ever ,and i have made some venetians for the van and the tow van no pics will have stay tuned and i will |
|
|
|
Post by JBJ on Oct 27, 2010 19:05:53 GMT 10
Hi Greedy,
When I rebuilt my Sunliner, I used the old light bodies, & cut up the modern LED's to fit inside, Gives good light, but looks original.
JBJ
|
|
|
|
Post by greedy53 on Oct 28, 2010 16:35:34 GMT 10
that sounds great wish i had thought of that never to old to learn as i said i would have some pis of the blinds i have made using old blinds from lifeline i pick them up for $5.00 most of the time and the altering takes about an hour  i must admit i did these to get some brownie points with he boss  i am doing the sides at the moment i mean getting them flat because i used second hand ply it needs a bit of loving ,money i don't have time i do when i get them ready i'll post some pics |
|
|
|
Post by greedy53 on Nov 3, 2010 17:08:54 GMT 10
|
|
|
|
Post by DC3Td on Nov 3, 2010 17:31:07 GMT 10
Looking real good Steve. You did allow for taking it out through side entrance? Ha. Just joking. cheers gordon
|
|
|
|
Post by greedy53 on Nov 6, 2010 5:48:10 GMT 10
Ha ha I had better check on that the best thing is its still unber dudget
|
|
|
|
Post by greedy53 on Dec 17, 2010 21:07:59 GMT 10
thats a great idea using the original fittings and im slowly going a bit slow new pics son
|
|
|
|
Post by greedy53 on Dec 23, 2010 22:36:21 GMT 10
|
|
|
|
Post by greedy53 on Dec 23, 2010 22:39:37 GMT 10
|
|
|
|
Post by Franklin1 on Dec 29, 2010 21:29:09 GMT 10
G'day greedy53, I was reading an interesting story a couple of weeks ago in a 1990 Caravan World magazine, where the writer was reminiscing about building his first caravan a couple of years after World War 2. Timber was very hard to get for a few years after the war, and the only way people could build stuff at home was to scrounge around for whatever they could find. The writer said he remembers purchasing three pine crates that the Austin Motor Company were selling after the new Austin cars from England were unloaded from them. When demolished, the crates contained hundreds of feet of 6 x 1 pine boards. He was then able to scrounge another two crates made of Tasmanian Burnie Board [masonite] and two crates made of Swedish Hardboard. That gave him enough timber to make a start on building his first caravan. The chassis was completely made of West Australian karri timber, including the drawbar. The wheel assembly was from an American 1939 model Lend Lease ex-army utility, modified for a caravan. And he says that until bondwood became available after the war, that's basically how a lot of caravans were built. Greedy 53, I reckon your teardrop project probably comes pretty close to how things were built back then, judging on the amount of scrounging and recycling that you've done to get it to this stage. Good onya for showing that it's possible to make something on the smell of an oily rag!  cheers, Al. |
|
|
|
Post by greedy53 on Jan 7, 2011 17:16:13 GMT 10
thank you for that it's nice to know that people still like things that are built with passion rather than a wallet, there are still a few of us that still have only a old mind and a hammer and if ya lucky a hand full of nails that you don't need to straighten,it's the journey that is all important and I love it,when it's finished i'll use it for a few years than sell it and start another using what i have learnt along the way ,more pics soon
|
|
|
|
Post by greedy53 on Jan 8, 2011 16:19:13 GMT 10
geday folks back with a update first the hinges that i pointed out were fitted over some white leather tat a mate donated looks great next i finally sorted out the mudguard situation, what to do well after trying everything i had like bendy ply than wheel well tin wifes bucket required bandage after, very bad idea i was saved by ebay aquired a set of rolled guards for $20.00 the pair they were of an old rod and needed a bit of cutting and welding no worries have a welde ok a pic   this is what i was saying about the leather 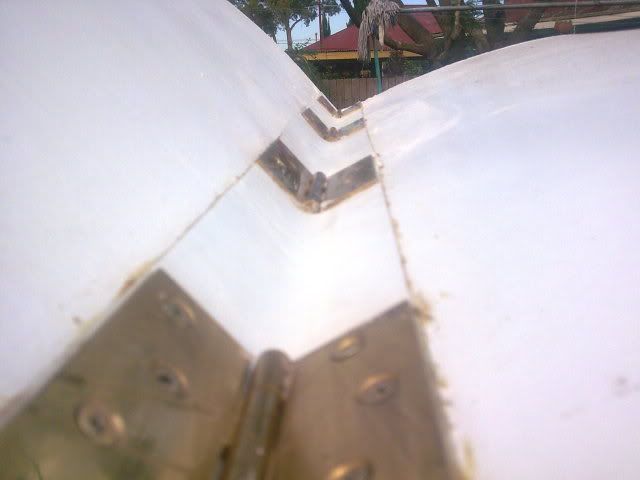 |
|
halps
Full Member
 Get out and enjoy your van man!
Posts: 229
|
Post by halps on Jan 8, 2011 17:42:02 GMT 10
Greedy53,
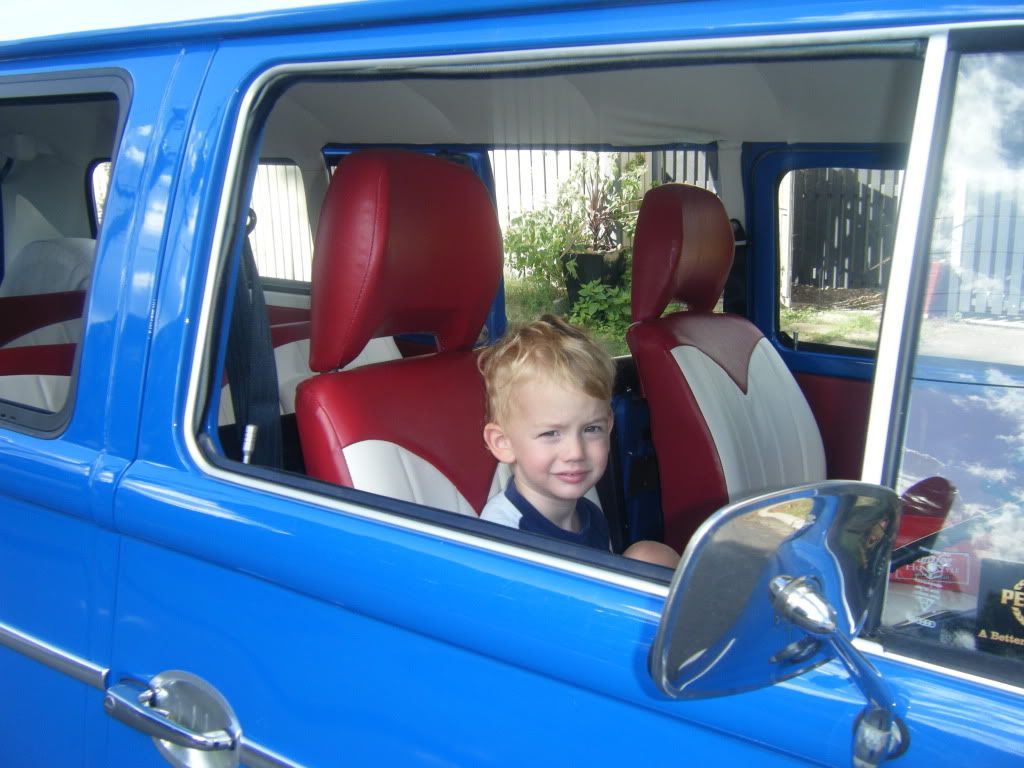
You are doing a great job. I really like the mud-flaps. (Kombi or Beetle???)
Keep the posts coming.
HALPS
Brisbane
And Kombi lover!
|
|
|
|
Post by greedy53 on Jan 11, 2011 16:51:04 GMT 10
kombi my little chug tug 76 mod really happy with the van it was a donner but turned out to be a better van than the one i was going to use , well back at it tll next photo showin
|
|
|
|
Post by greedy53 on Jan 12, 2011 18:16:16 GMT 10
|
|
|
|
Post by humpyboy on Jan 12, 2011 20:47:19 GMT 10
Amazing what one can do with limited resources, it is coming together real nice greedy, well done.
|
|
Deleted
Deleted Member
Posts: 0
|
Post by Deleted on Jan 13, 2011 6:38:04 GMT 10
Onya Greedy Shes lookin good mate. There is nothing like having a go at designing building something like your TD. Certainly brings out the creative skills in a person. And.. the more ya practice the more you learn... the better you get at it. Lotsa lessons learned along the way too. Keep at it and it will be finished before y know it.  Reddo |
|
|
|
Post by greedy53 on Jan 13, 2011 16:05:59 GMT 10
thanks redo ya right it's a learning program do it and do it again is what i am finding out the next 1 will be a snap if i ever build 1 again.
the super sucking up to the lady boss has payed of she let me buy thats right buy and new i'm getting dizzy just writing about it the edging for the top and sides with insert sound nice,seeing how she is in a good mode i had a go at new nails dam she seen me straighting some out so she knows i have a few stashed away the good ones i mean,Oh dam i need screws to fix it to the van oh wel i just have to look at what in can remove them from,hope she don't move the bed side table
till the next wright up
|
|
|
|
Post by cruisindoug on Jan 13, 2011 21:46:49 GMT 10
Greedy, Greedy, Greedy .... Now you said you were doing this build on a budget, but now, NOW you say you are getting NEW stuff!!!  And BUYING it TOO Next thing we know you'll be lashing out on NEW SLOT HEAD SCREWS for that NEW MOULDING!!! Cheers, have really enjoyed your build especially the way you have (mostly) just gathered the bits and put something together that looks great. But lets keep to that budget, OK?? Doug. |
|
|
|
Post by greedy53 on Jan 14, 2011 17:40:01 GMT 10
ok dear
|
|
|
|
Post by greedy53 on Feb 2, 2011 17:32:32 GMT 10
well i'm back again and the build is just staggering along (hate being poor) i invested it new trim for the top edge white with black filler.Oh and had a near fire talk about scarey while i was drilling the start holes for the trim i screwed through the 12 volt wiring and seeing that i have lights fitted the battery was live outside the tear all seemed well but inside i could smell that wiring cooking wire smell hoped out and could see nothing than my next door neighbor was doing some thing his car so i thought it was from him Next morning when i stuck by boff head in i could see black burnt bits dam nearly fainted so close had i been using a stronger battery all would be soot now enough of me some pics 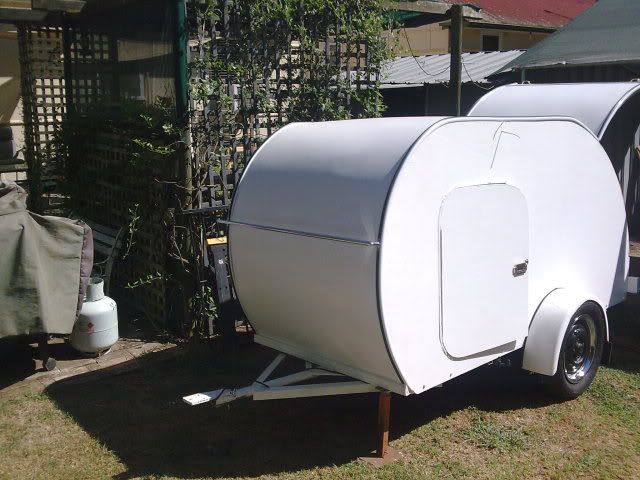  \ 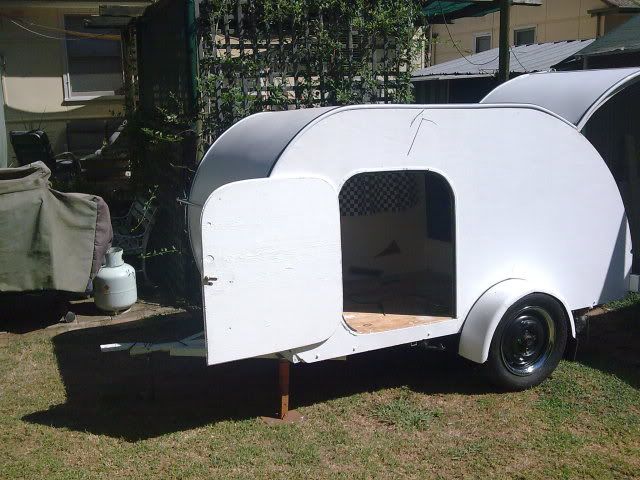 how much did i sell my soul for $30.00 i feel used and cheap |
|
|
|
Post by DC3Td on Feb 2, 2011 17:56:27 GMT 10
Hi Greedy.Coming along at a cracking pace now. Hope you sorted the wiring out. cheers gordon
|
|