|
|
Post by retro1 on Sept 9, 2004 23:36:22 GMT 10
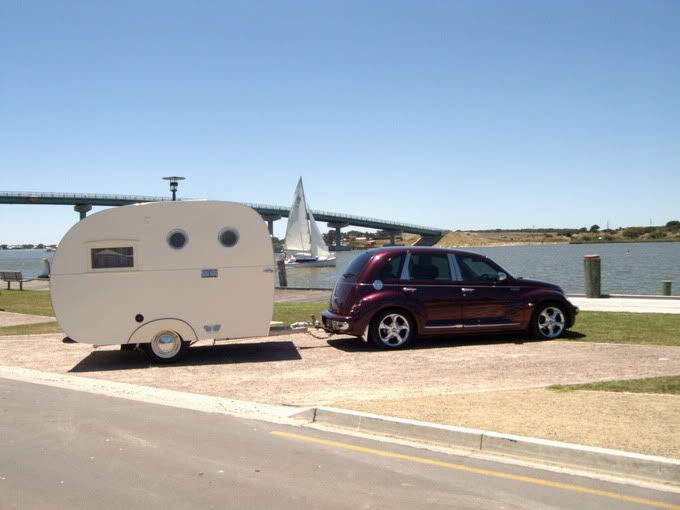
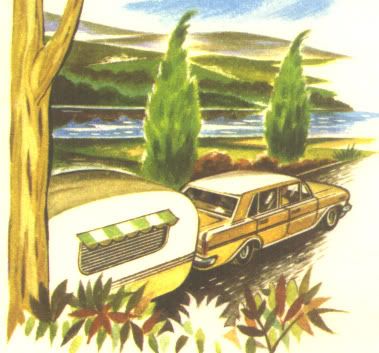
Hi I've just started to restore a 1957(approx) Castle Deluxe caravan and thought I would post some pics. I'm doing a full restoration from ground up and will try to keep it fairly original. Some of the changes I have made are in what materials I use and the slight changes to the internal joinery. I'm also putting modern appliances inside. I will be using the original pump,port holes and hardware. The chassis number is #135.Will post more photos as I progress if people are interested. ![]() 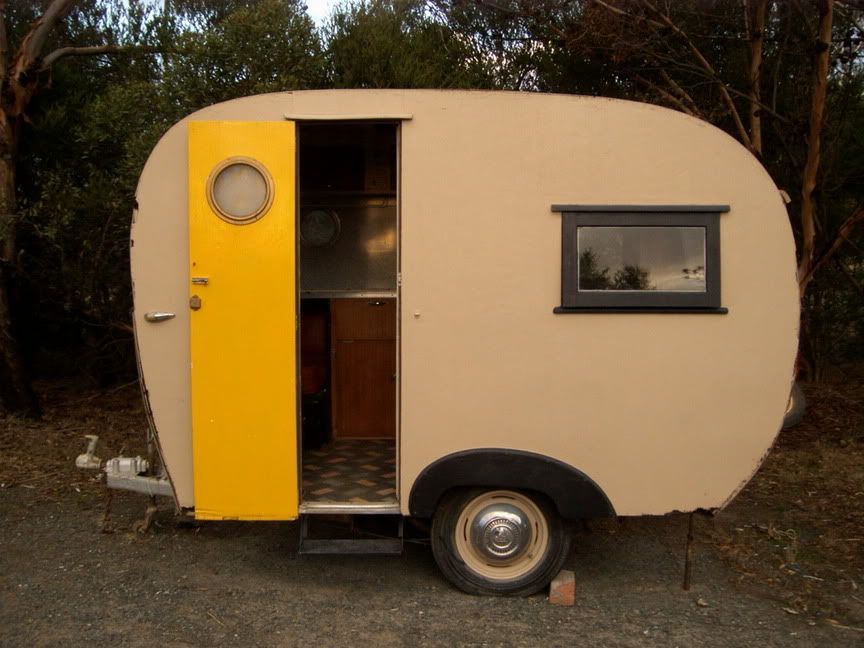 [img src="URL ![]() img.photobucket.com/albums/v384/castlecaravan/caravanpictures053.jpg img.photobucket.com/albums/v384/castlecaravan/caravanpictures053.jpg"] ![]() |
|
|
|
Post by retro1 on Sept 9, 2004 23:47:40 GMT 10
|
|
|
|
Post by retro1 on Sept 9, 2004 23:56:42 GMT 10
This is 1 of the port holes that goes in the door. The other 2 are of Mexicans but sadly 1 is cracked and will need to be replaced. ![]()  |
|
|
|
Post by trev and carrots on Sept 10, 2004 3:04:42 GMT 10
nice little van ;D
cheers trev
|
|
|
|
Post by retro1 on Sept 11, 2004 0:28:25 GMT 10
Slowly getting there!!!!!!!!!!!!!!!!!!!!  ![]() 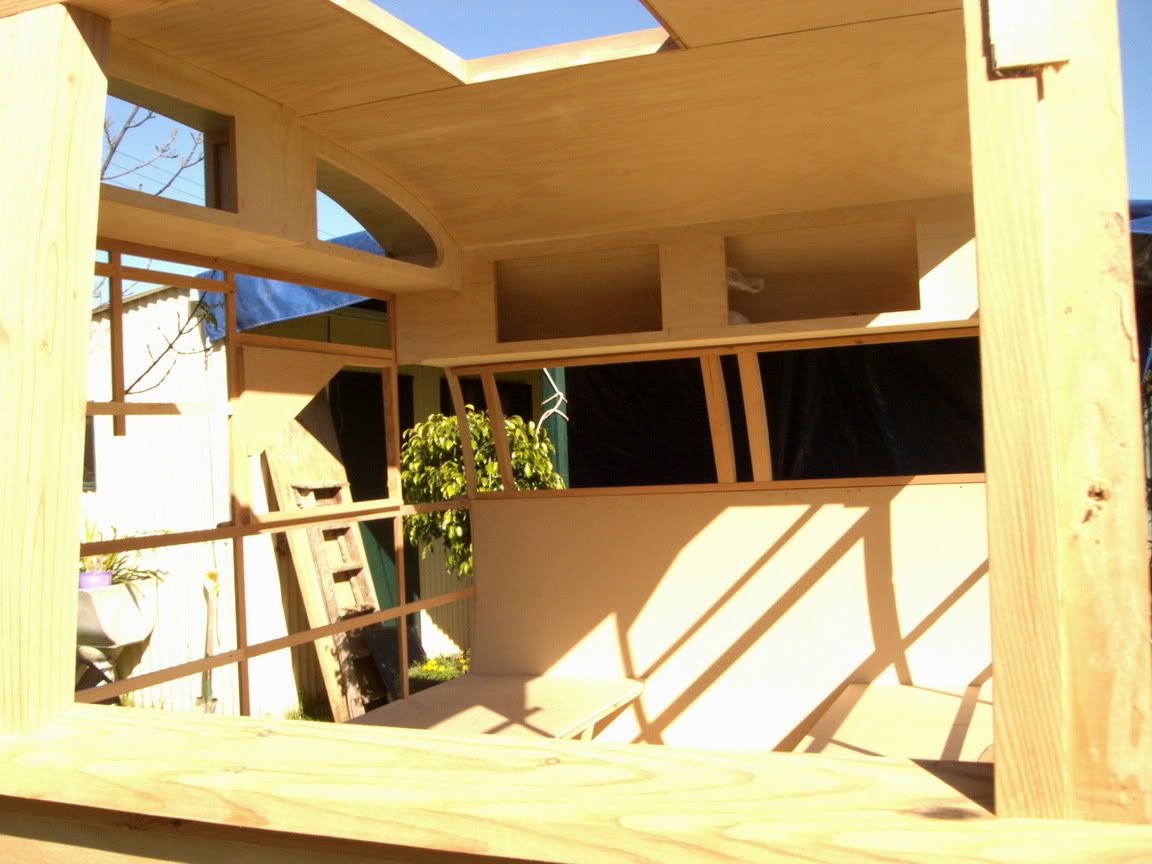 Will post more as I do it |
|
|
|
Post by retro1 on Sept 14, 2004 21:04:34 GMT 10
|
|
|
|
Post by retro1 on Sept 16, 2004 22:46:34 GMT 10
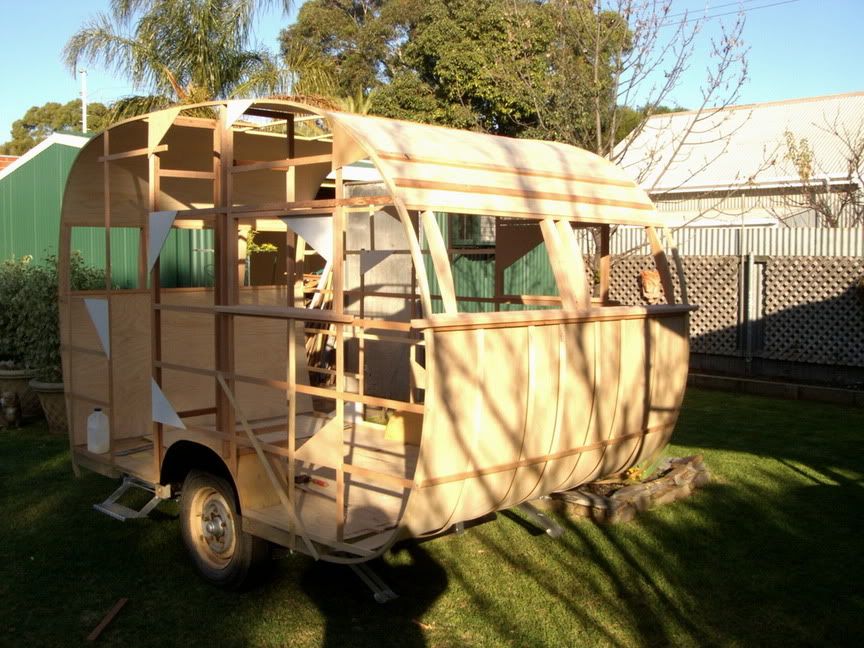
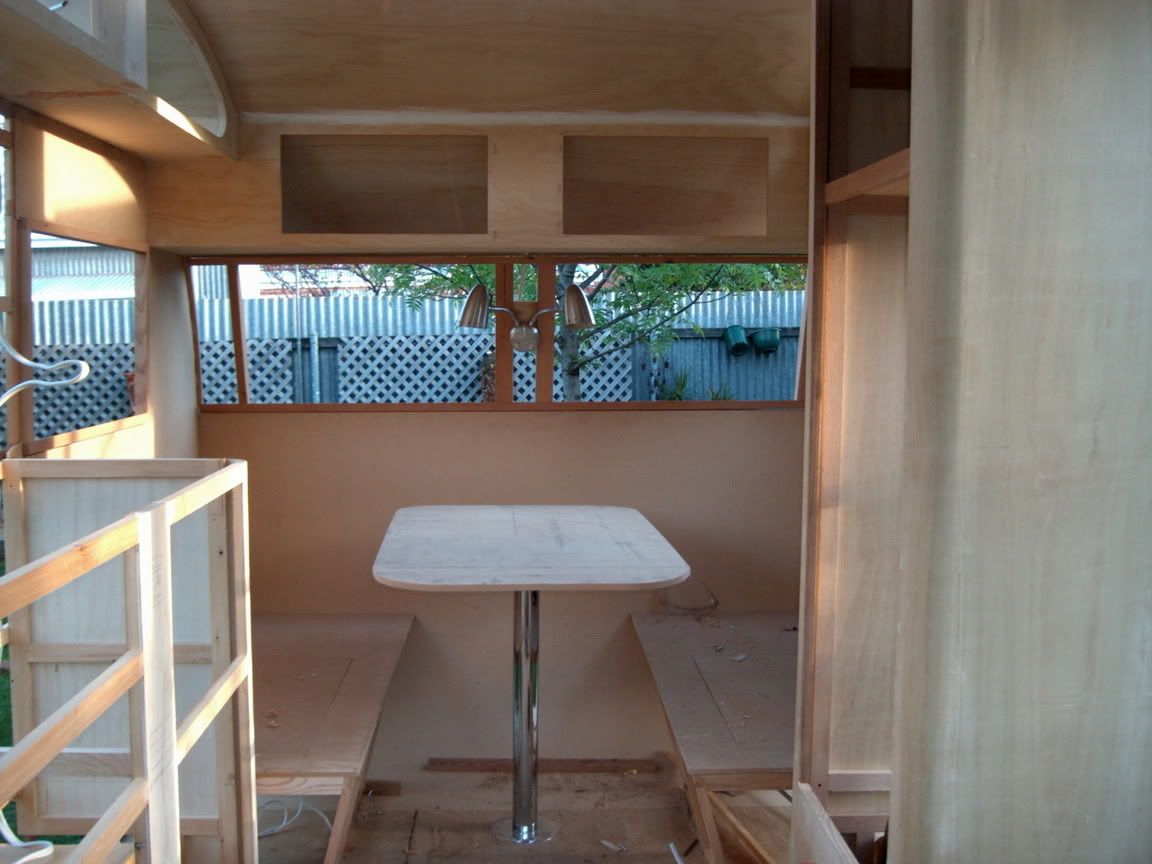
These photos were taken late in the afternoon (sorry they are a little darker) Progress up until now has been fairly fast and it is getting a lot slower as the detail of the internal joinery is the strenght of the van. As you can see I have put in one of the Mexican port holes to see if it fitted. The fridge I'm using is a 60 litre 240 volt in which I have modified the cupboard to suit. The original had an ice box. As for the stove I got a small oven/toaster/grill with hotplate unit ( most of the times we cook B-B-Q's) ![]() 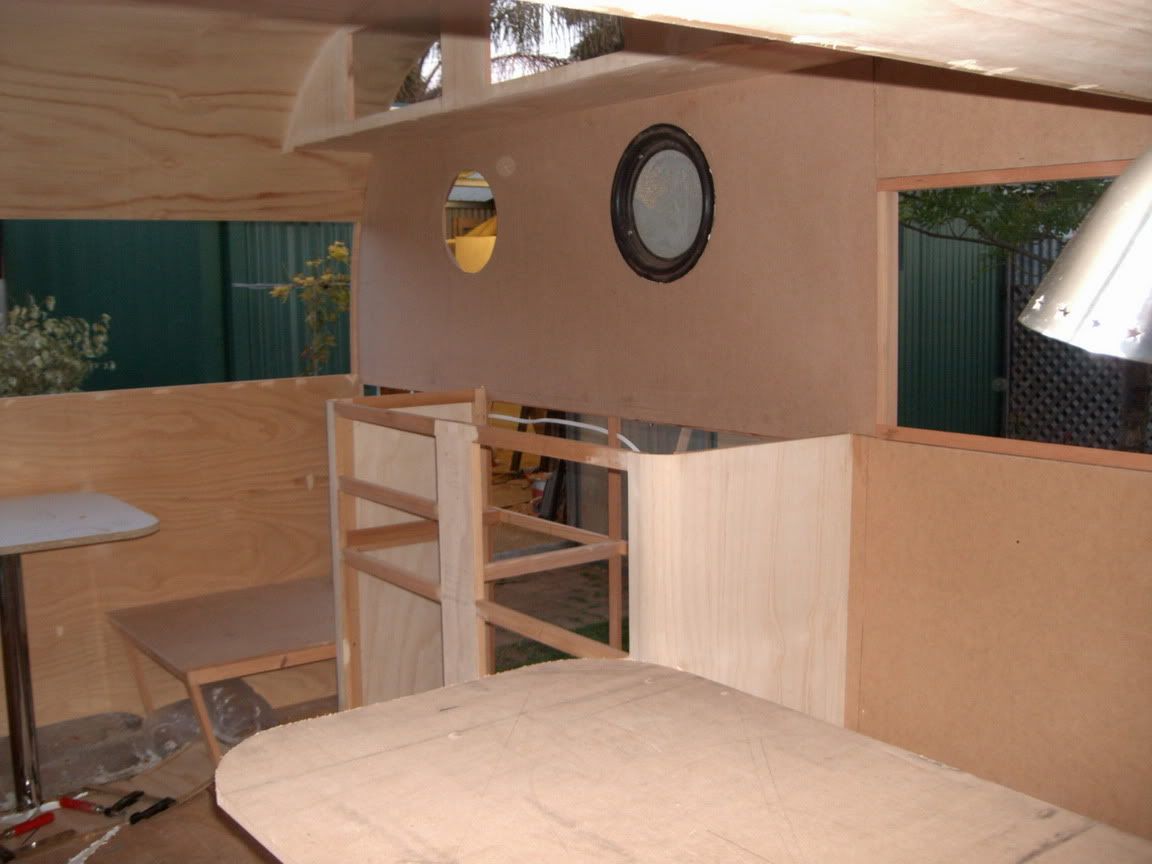 As you can see in this picture I'm starting to do the electrical layout. I'm only wiring for 240 volt with the exception of a 12 volt light. I hope you enjoy looking at my Castle Caravan and please feel free to ask my any questions on my van. ![]() 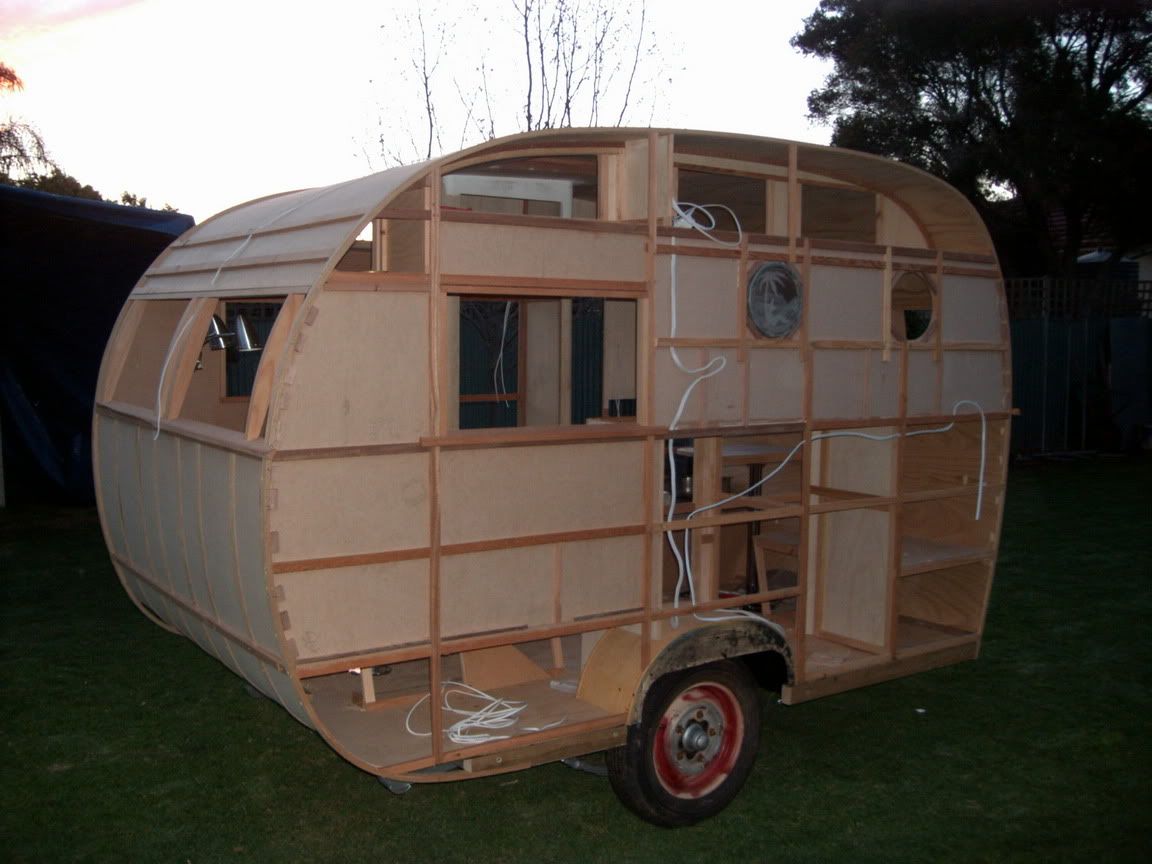 |
|
|
|
Post by carrots and trev on Sept 17, 2004 5:58:22 GMT 10
retro, this is happenning very quickly..how long have you been working on it?. looks great ;D
cheers trev
|
|
|
|
Post by retro1 on Sept 17, 2004 7:18:47 GMT 10
I got the van in May and work on it after work every night and most weekends. I have already booked a site for x-mas so I have to get it finished or I'll lose the deposit on the site.
|
|
|
|
Post by retro1 on Sept 17, 2004 23:42:18 GMT 10
Thank you Gem and Brad for you comments. I would like to know what sort of van you have? If I can help you in you project please contact me. Hope to have more pictures soon. Regards Retro 1  |
|
|
|
Post by retro1 on Sept 19, 2004 22:11:44 GMT 10
This is a picture of the handles I am looking for so I can replace some of the broken ones. If any one knows where to find/buy/borrow or steal these I would only be interested in buying them  Please let me know I will pay for these if you can get them. I am in need of at least 6 handles with catches. The catch plate is not that important but the handle is. The handle is 12cm or 4 3/4 inches long ![]()  Went looking for some rear lights today and found the same ones as the original ( very happy ;D) If anyone knows that they are not the original lights please tell me and provide a picture please. This is the rear of the van as I purchased it . ![]() 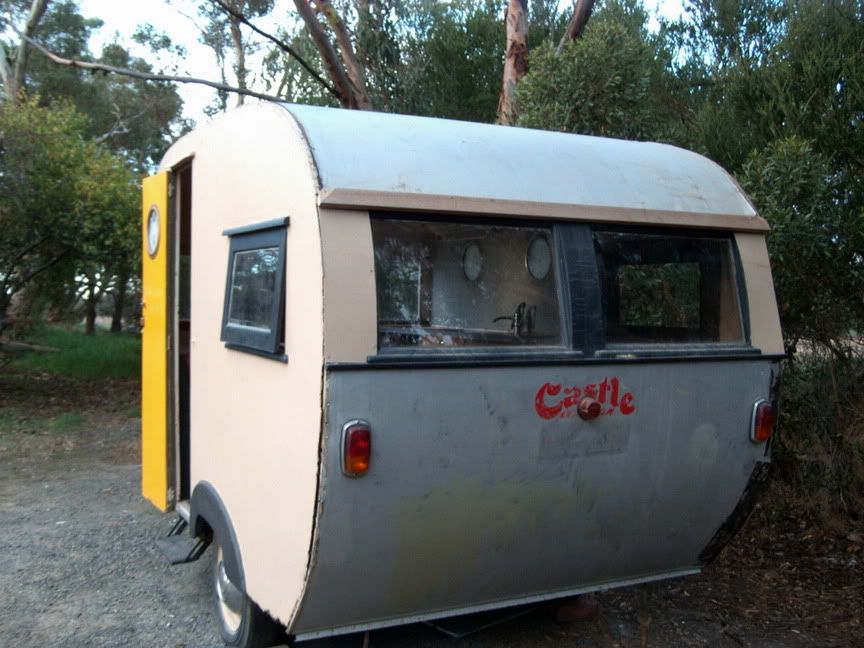 |
|
|
|
Post by trev and carrots on Sept 19, 2004 23:36:56 GMT 10
retro, i reckon those lights are too modern. your van would have been "born"without indicaters & it would probabley have had 2 reflectors, like an fj.
mine is set up with middle tail /number plate light & seperate round lights for brakes & indicaors. early landrovers are good donors for them.
hope this is of some help
cheers trev
|
|
|
|
Post by retro1 on Sept 19, 2004 23:43:16 GMT 10
As I was pulling the van apart in the construction I found no other screw holes. I know the centre light is not the original and was going to remove this and replace it with a chrome numberplate light. The metal sheet on the rear had my chassis number on it . Thank you for you imput I appreciate it
Cheers
retro1
|
|
Deleted
Deleted Member
Posts: 0
|
Post by Deleted on Sept 20, 2004 17:14:03 GMT 10
yeah ........I agree with Trev & Carrots .......those lights are too modern to be the originals .......most of the old vans I have seen have been updated at some stage with new rear lights ......
Mark
|
|
|
|
Post by retro1 on Sept 20, 2004 23:02:52 GMT 10
Hi thanks for the information mark, trev and carrots. Some weeks ago I contacted the Birdwood National Motor Museum to see if the had any stuff on older vans and what was used on the rear as lights. To my amazement they sent 2 pages to me on the rear of vans. As you both said no-one had lights only small reflectors. I have decided to use the current lights as this is one of the features in which I purchased the van and would like to leave a little of it's original personality. Also the museum sent me all the info they had on vintage caravans which was one more page. I was shocked to see this but was very greatful so I posted it as it is on Castle Caravans. ![]()  Longweekend coming up soon so I'll be able to to some serious work on the van |
|
Deleted
Deleted Member
Posts: 0
|
Post by Deleted on Sept 21, 2004 12:14:37 GMT 10
Arthur Pullin from Victoria, the fellow who built my van "Joker11" in 1956 had alot of forsight when he built the van, coz the van was built with rear turn indicators. There are two light clusters comprising tailights, indicators and reflectors. The light clusters appear to have come from a vanguard of the period. Holden had only just introduced indicators on the all new "FE" model at the time, so it was the time when indicators were being introduced on cars. www.vintagecaravans.com/images/f1010004.jpg |
|
|
|
Post by retro1 on Sept 25, 2004 0:17:36 GMT 10
Decide to break away from traditional caravan construction from the 50's. I have started to line the internal walls with insulation grade polystyrene foam. This is used in modern caravans but as you don't see it when the van is finished I thought why not. The foam cost is cheap with the 12mm at $8 for a 2.4 x 1.2 sheet and $9 for a 16mm sheet. This will aid in keeping the van warm on those cold nights and cooler on the hot ones. It is very easy to install and would highly recommend if anyone is building or renovating a van. ![]()  |
|
|
|
Post by bradngem on Sept 29, 2004 19:52:02 GMT 10
Hi Retro1,
like the idea of the foam plastic sheet as insulation .....good stuff....what's your next great idea that we can incorporate into our teardrop build...haha
cheers......Brad
|
|
|
|
Post by retro1 on Oct 1, 2004 0:31:23 GMT 10
Thanks Brad The next picture is of a 12 volt halegon light I am fitting to "The Castle". This light is 60 mm round but is only 15 mm thick. It only gives of little heat above and most the heat is let out through the globe. It fit in between the inner ceiling and outer linning. It comes with a transformer which can run up to 5 lights at one time.If you are from WA it is avalible at Galvin Hardware and is mainly used in cabinetmaking for under bench lighting. If you are handy with electronics it comes in a kit in which you do not need an electrican or as I have done is wired it for both 240 volt and 12volt. The light is equal to a 60 watt globe but it uses little power.This picture shows it half inserted I'll paint it before I push it all the way in. ![]()  |
|
|
|
Post by aussieambo on Oct 2, 2004 11:51:29 GMT 10
G'day Retro
Would love to catch up with you sometime and look at your handywork on the van.
From a fellow South ausie enthusiast
Regards
Graem
|
|
|
|
Post by retro1 on Oct 2, 2004 18:44:05 GMT 10
Hi Graeme If you want to catch up contact me at retro@iprimus.com.au Here are the latest instalment of "My Castle" It is starting to look more like the old van as I bought it. Had the wheels powder coated and a new set of tyres. Put an external powerpoint so we can have power outside for watching TV etc. Also put a 12V/240V light it was one of the oldest styles I could find ![]() 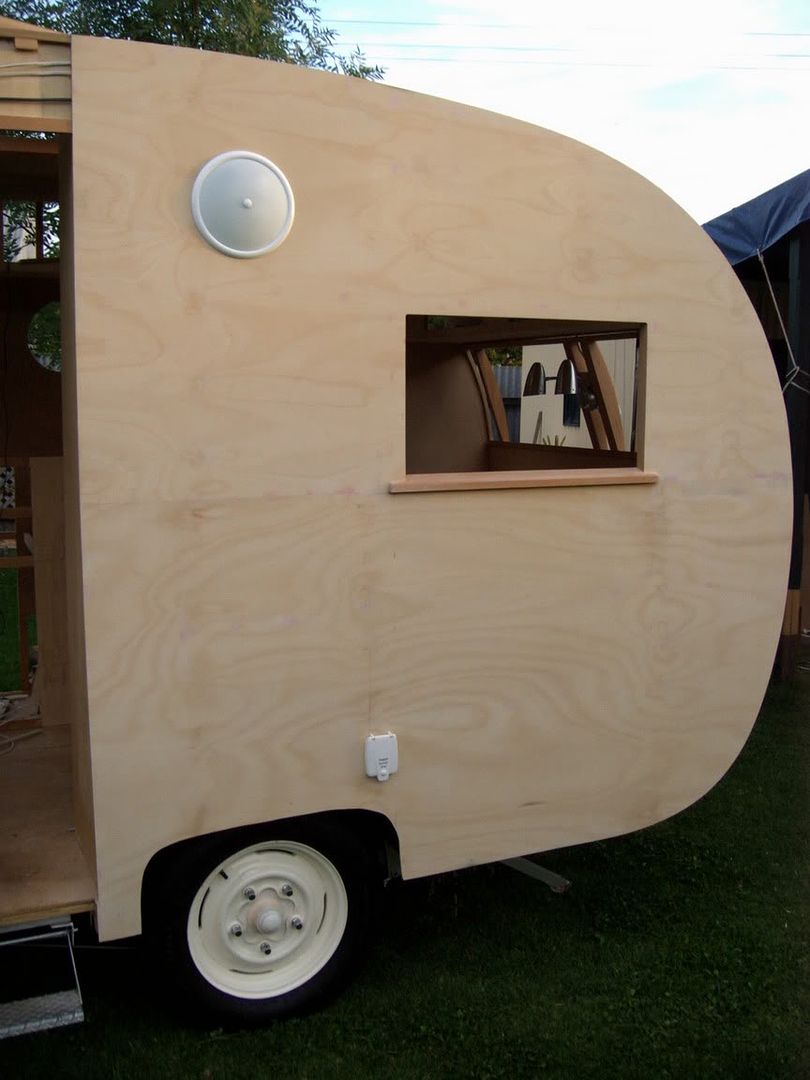 ![]() 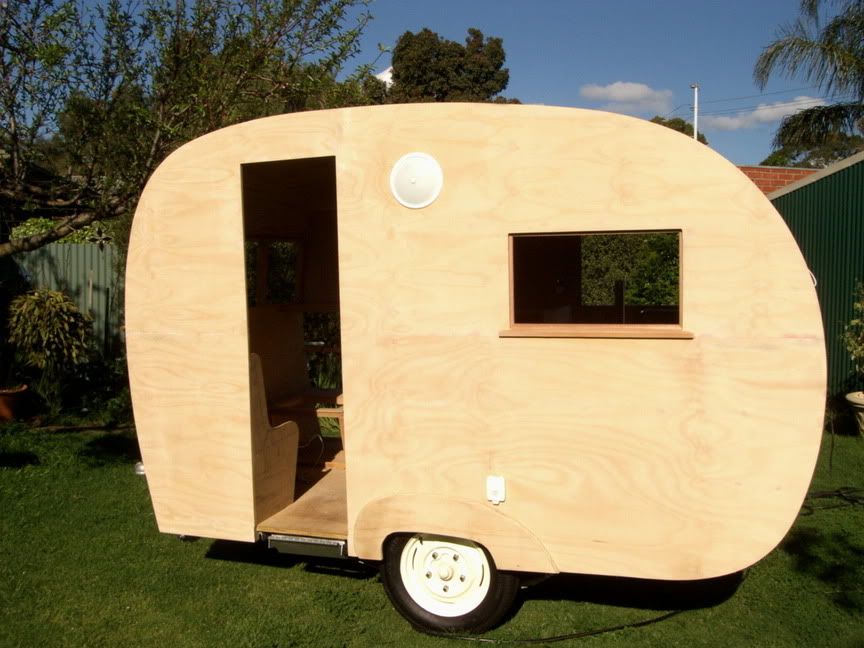 Will post more when I can . I hope you are all enjoying the pictures. |
|
|
|
Post by retro1 on Oct 3, 2004 12:51:57 GMT 10
Thanks for that Graem
I noticed that to and will move this light
|
|
|
|
Post by retro1 on Oct 4, 2004 21:16:15 GMT 10
The wheels on "My Castle Caravan" are 15 inch Holden rims. What I would like to know is can I get a hubcap that is plain with no picture on it? I have 2 FJ hubcaps which I really don't want to use.This is a picture of the original wheel as I bought it . Please contact me if you know where,what will fit ![]() 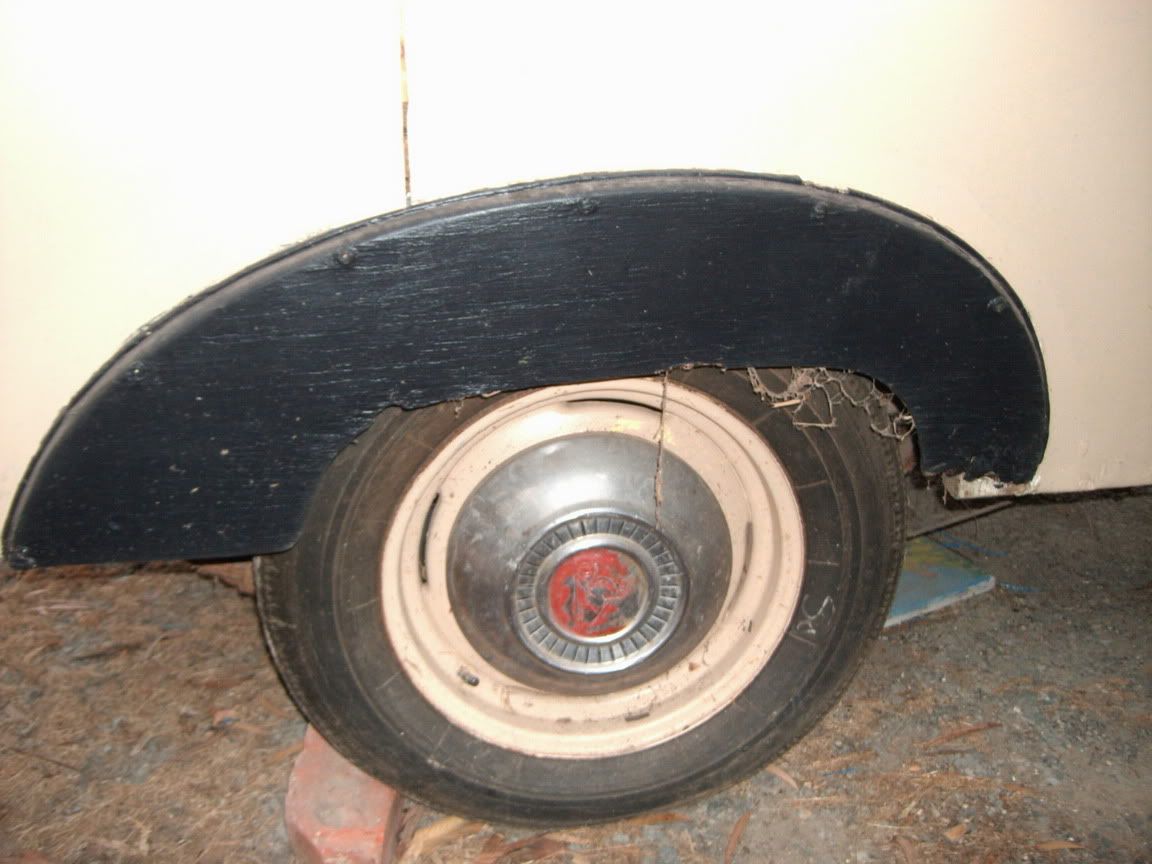 |
|
|
|
Post by retro1 on Oct 7, 2004 23:39:29 GMT 10
Thanks Matt
I will look those hubcaps up and if I find the right ones I'll send you mine as I will have no use for them.
|
|
|
|
Post by retro1 on Oct 10, 2004 20:52:02 GMT 10
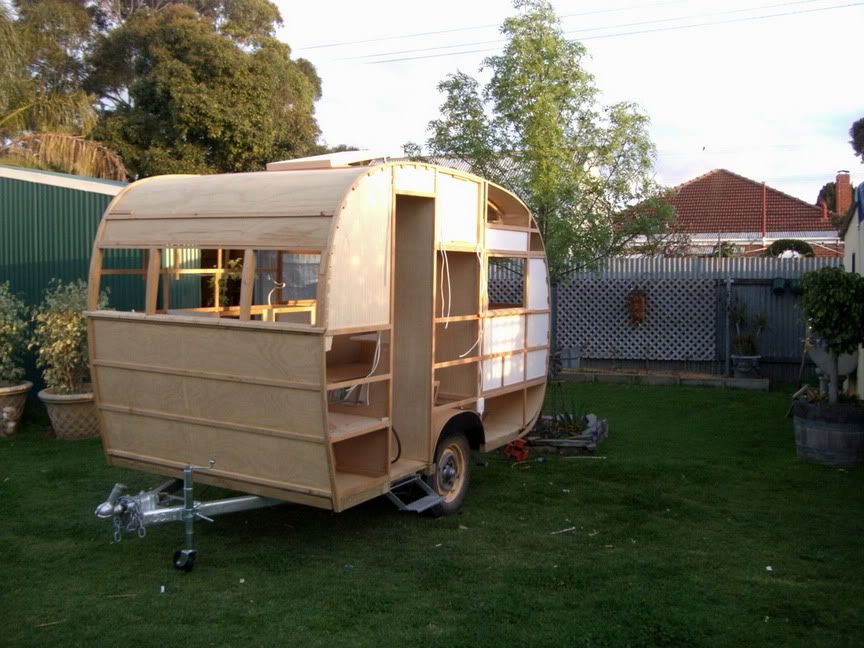
This next picture is of the other side of the van. It is half finished with more sanding to be done. The strips of ply on the front section of the roof are holding the foam insulation down while to liquid-nails dries. The strength of the van has become very strong using this method and I would highly reccomend it . When you do this make sure you allow a hole in the cavity to expell the hot air otherwise the pocket where the foam is will expand and blow the glue joints. This is also a good way to reduce weight because the foam helps support the marine ply and thinner ply may be used(some method used in the house door manufacturing industry) ![]()  |
|