|
|
Post by King Fisher on Apr 4, 2012 17:53:05 GMT 10
G’day fellow vv’ers, I have been at it now for about a year restoring my ’59 home built vv. Things stalled for a bit due to commitments but now I’m back into it in full swing, hoping to get some travelling at Christmas. So far I’m stripping off the old paint on the outside of the van and have just rebuilt the front under the window sill. Looking forward to not having to sand or paint strip any more… When I first got my VV home: 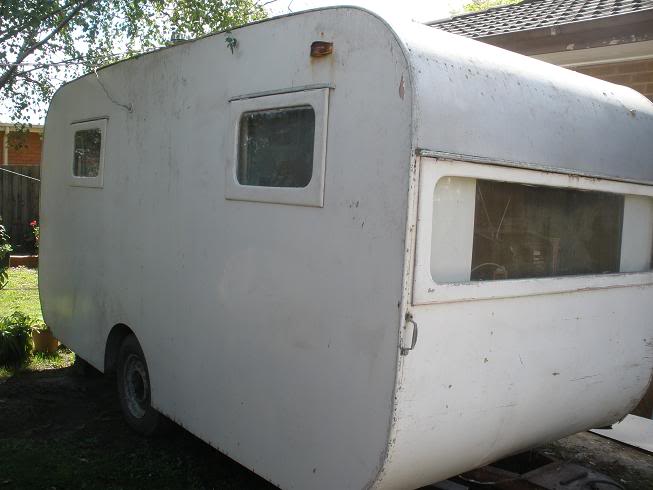 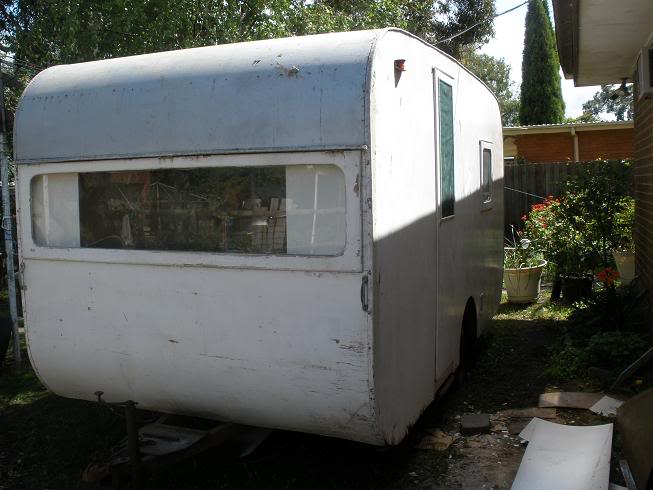 Poor baby had been used as a shed for a bit, Ripped off the front as some water damage had got into the wood in the corner under the front window.  Current state of restoration: Outside- 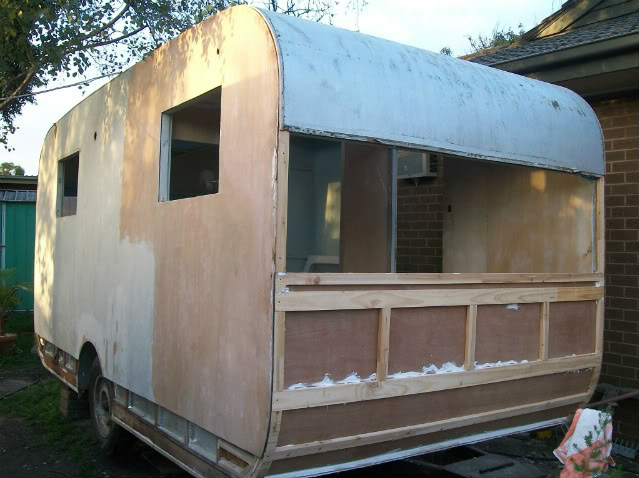 Inside- 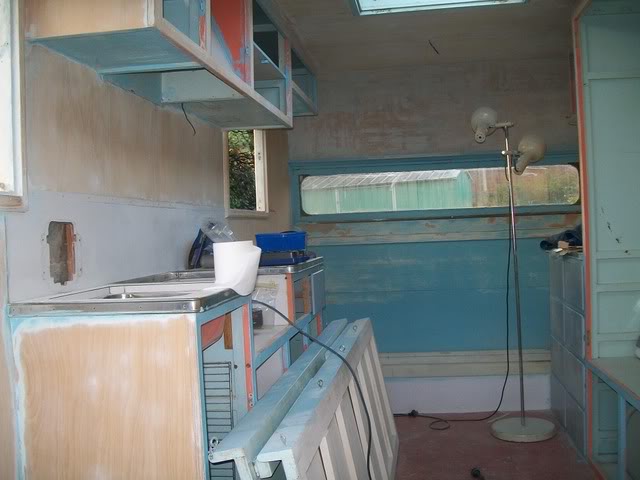 Then it’s onto the roof… |
|
|
|
Post by King Fisher on Apr 6, 2012 6:34:00 GMT 10
The story so far. We got our little lady for $500 from Phillip Island Vic. Brought her home on the back of a trailer. 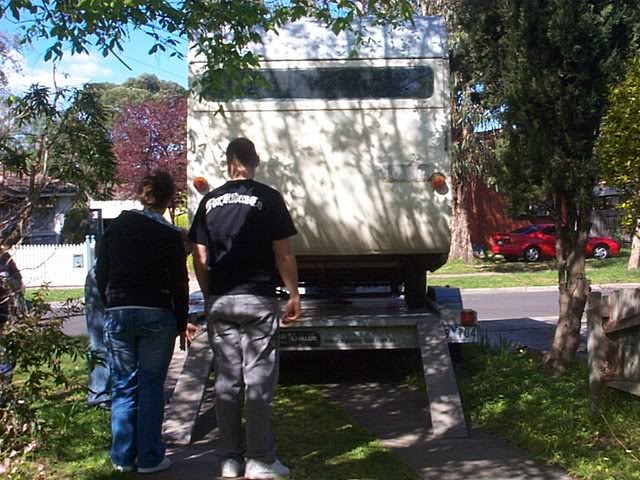 I was simply after a doo-er-upper and was really looking more at a 70's tinie rather than a bondie. (Knew nothing about vintage vans at that stage) Searching the Trading post we found this one and went and had a look. She had been purchased by the previous owners dad and when he died had been sitting under his holiday house for 20+ years, just being used for storage and a spare bed room. We ascertained by an old RACV tag (adding the years since he died = 1959) and a magazine found in the lower cupboard dated December 1959 that it must have been built prior to that date and I assume that it's maiden voyage was around December 1959. Firstly we removed the old flaking laminate from the cupboard doors and drawers, some came off easily others needed more coaxing 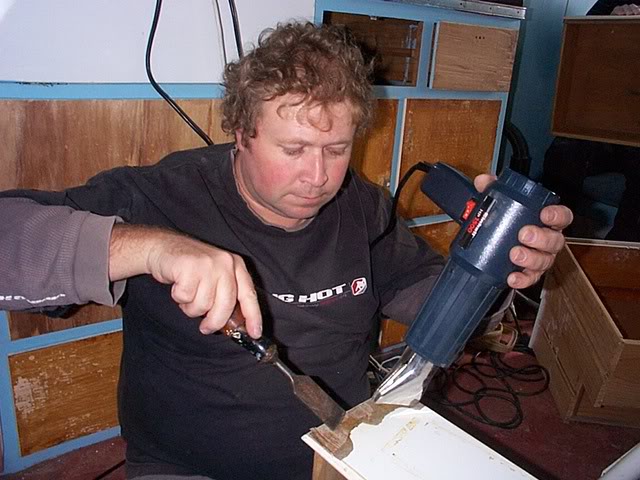 The interior had it's original light green paint (Enamel) inside the cupboards and the walls and cupboard surrounds had all been painted over in a blue acrylic. Because of the mix match and the signs of rejection in the paint we decided to strip back all the new blue paint from the wood inside the van. Sanded all the flat surfaces and used paint stripper on the curved surfaces. All hands on deck for the dismantling of the doors and drawers: 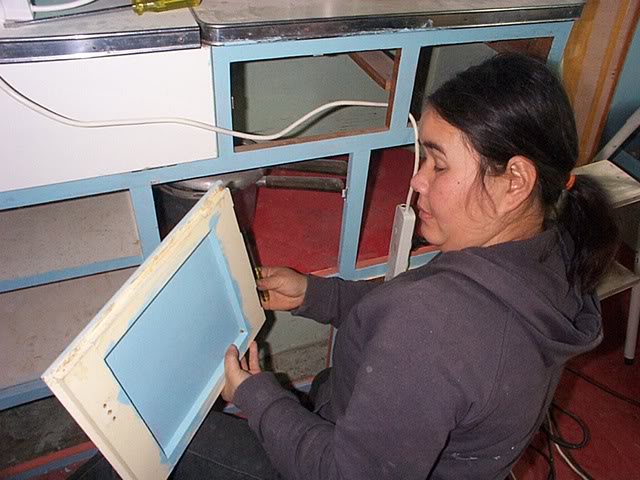 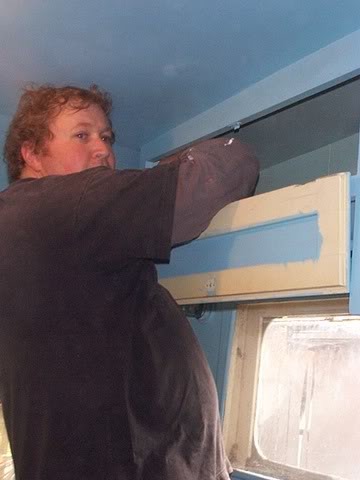 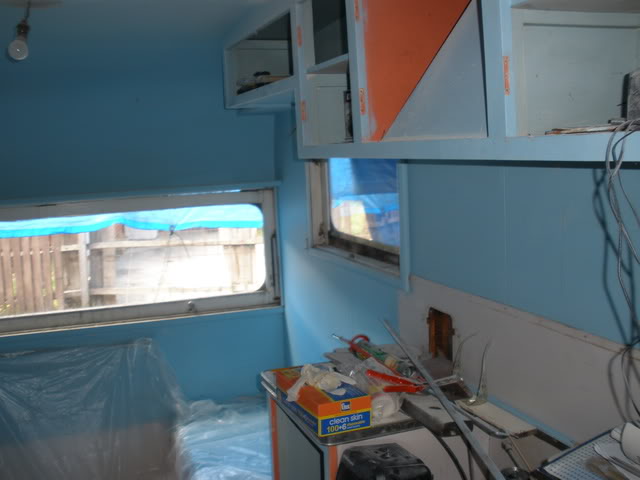 Finally ripped the front off the van and repaired the whole front, the wood had some rot in the corners and we strengthened up the frame around the corners a bit. Traditional carpenters might want to skip over this bit as we didn't bend the wood but rather laminated smaller pieces to make the curved shape holding them in place with sickaflex, nails and screws.  All the metal under the van has been sealed with a rust sealer and is now ready to paint. Next was the decision what to do about the sides of the van. I was tossing up replacing all the wood in a single piece however it's only a small bin in the corners and at the bottom that has deteriorated, and the rest of the ply is in excellent condition, so we have decided to cut it off all the way along (about 30cm high) and soon replace this with new wood keeping the old sides. However as the old paint has cracked and flaking in places, the decision to keep the wood meant that we now needed to rip off all that paint... Oh well... 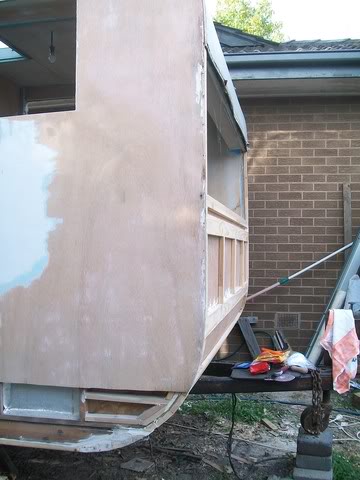 Thanks Wiffie  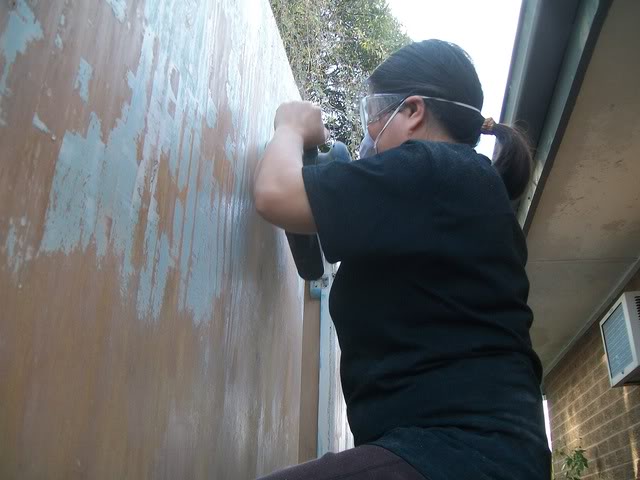 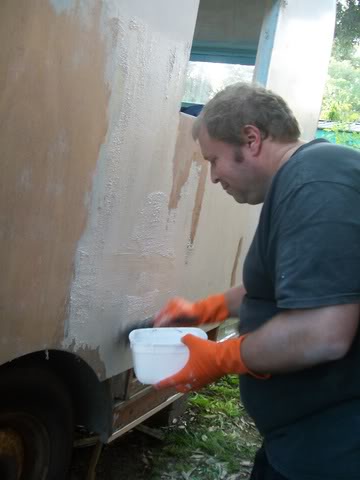  |
|
|
|
Post by Roehm3108 on Apr 6, 2012 6:41:42 GMT 10
Welcome to the forum guys. You're doing a great job on your find. Another VV rescued!!!!!
|
|
|
|
Post by seeshell on Apr 6, 2012 7:29:37 GMT 10
Hello Kfisher Welcome! I can see why you were seduced away from a 1970s tinnie to a bondwood - what a handsome van you found. You've both done a wonderful job with your renovation so far. Quite a good decision about that paint - it would have been a shame to do all that work only to have it sheet off later. Have you decided what colours you will put inside? The windows on your van are very pretty and I think your reconstruction of the front looks good.  Keep up posting pictures - we really love to see them. Cheers, Seeshell |
|
|
|
Post by King Fisher on Apr 7, 2012 19:19:20 GMT 10
Hey I forgot to mention befor that the table although a bit scratched with ware and tare over the years has a very interesting Australian themed laminate, with pictures of indigenous persons, cookaburras, kangaroos, boomarangs and koalas and more interesting items in the pattern. And yes I am defently keeping the table as is even with the scratches (caracter marks). 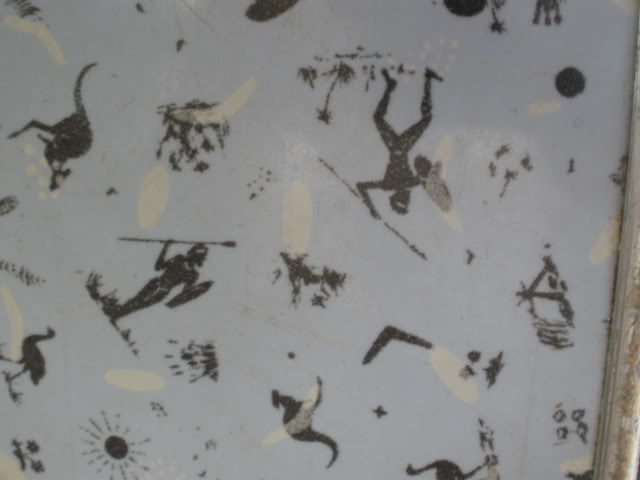 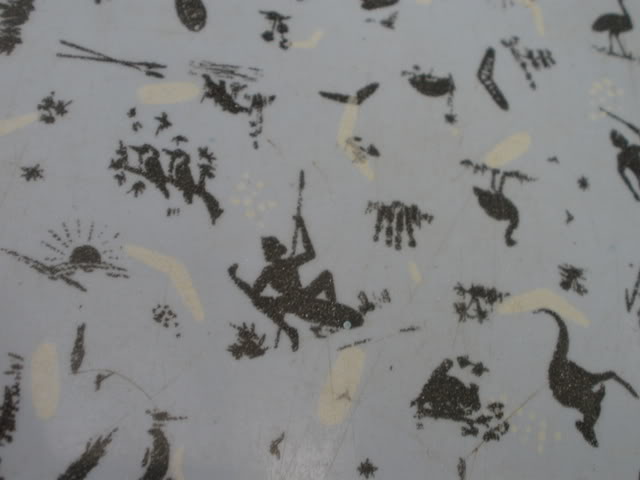 Also all the original light fittings were still with the van even though some of them were found in the drawers. 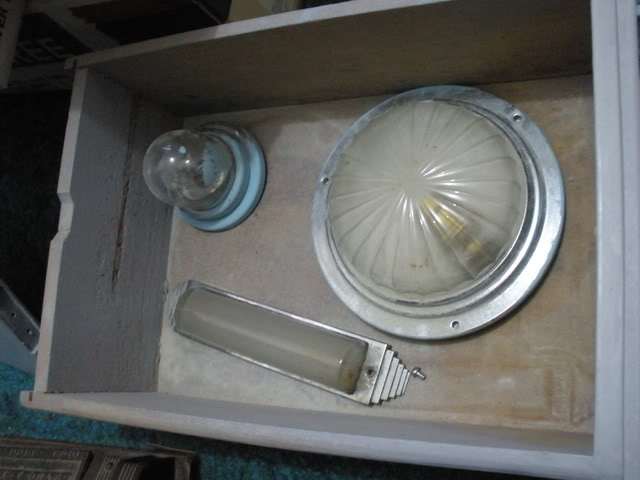 one of two wall lights near the table 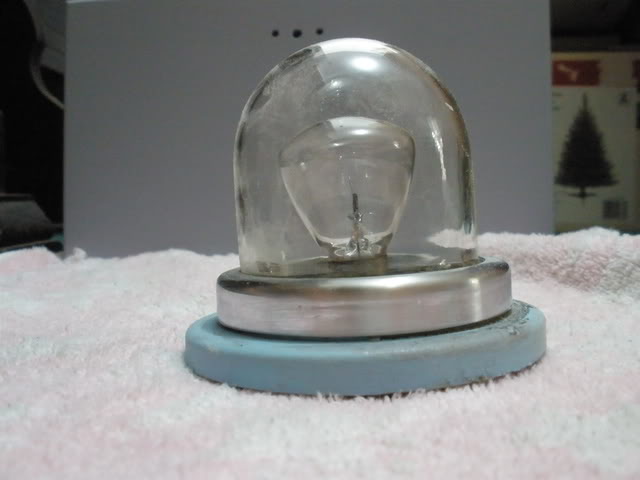 one of two internal roof lights 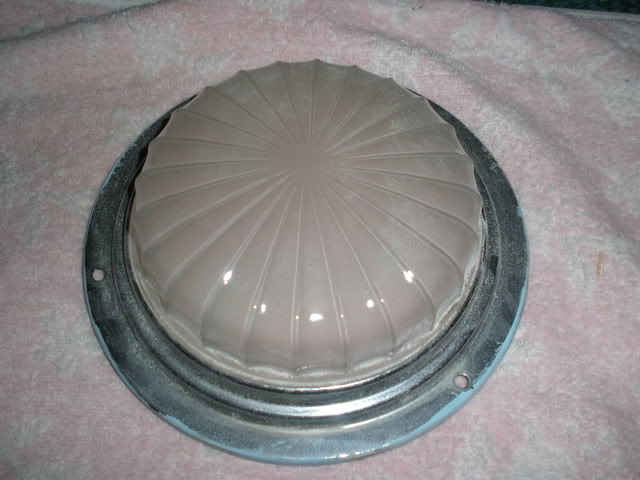 |
|
|
|
Post by King Fisher on Apr 7, 2012 20:30:06 GMT 10
The last picture is the interior light, there are no exterior lights apart from the indicator, clearance and break lights. There are two of these lovely round art decor lights in the roof.
Dave, what's wrong with paint stripper? and the answer is yes followed by a hard sanding then a finer sanding.
|
|
|
|
Post by King Fisher on Apr 7, 2012 21:02:31 GMT 10
|
|
|
|
Post by seeshell on Apr 8, 2012 2:06:32 GMT 10
Hi Kfisher What a set of wonderful features - that formica is something special, so I can really see why you would want to keep it. Maybe one of the old timers would be able to tell you if they had ever seen anything like it - maybe so, but I think it would be extremely rare! The lights are quite attractive too - lovely that they haven't been lost. So many things that get put in drawers end up getting separated from their original use. And nice going getting off all the canite - I agree with Dave that a paint gun is by far more useful on most of the caravan paint / sealer removal. You just have to watch out for hot curls of paint dropping on your feet, scorched fingertips, and the occasional burn! Or maybe that's just me.  You two (with the help of some great friends) are really off to the races...well done! Love your work! Cheers Seeshell |
|
|
|
Post by King Fisher on Apr 8, 2012 7:22:14 GMT 10
Hey thanks for the encouragement, never taught about a hot gun till now that the job's done  , darn!!! might have saved some stinging. We will soon know if it caused a hassle. Fingers crossed. It has been a huge amount of work for us and I think it will be worth it in the long run as I'm doing this van up to be used as our family tourer. Hoping to have many great times and countless holidays in her in the future. (just need some kids to fill the bunks in the back  ...) And don't worry I love taking photos so I am sure many more will follow...  |
|
|
|
Post by DC3Td on Apr 8, 2012 7:24:37 GMT 10
Fantastic resto going on here guys.You got real lucky stripping the roof back.One of the more not so easy jobs. Interesting laminex table top.Can`t say i`ve ever seen one like that.That`s certainly a keeper. gordon
|
|
|
|
Post by King Fisher on Apr 8, 2012 8:11:46 GMT 10
|
|
|
|
Post by King Fisher on Apr 8, 2012 9:05:48 GMT 10
We finished removing the old paint on the rear of the van. However there was a bit of cancer in the roof timber to deal with. Like a surgeon I carefully cut off the lower 100mm of board allowing for the affected wood to be cut away. I also have had to remove the timber across the top of the window. And on the left side. A bit of wood cancer in the roof ply 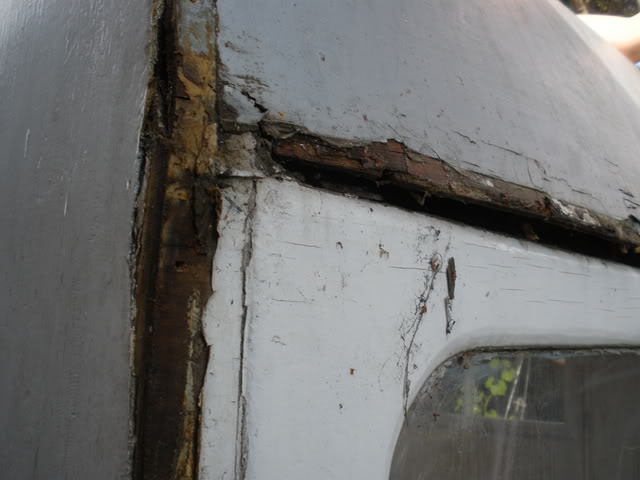 The worst of the wood cancer 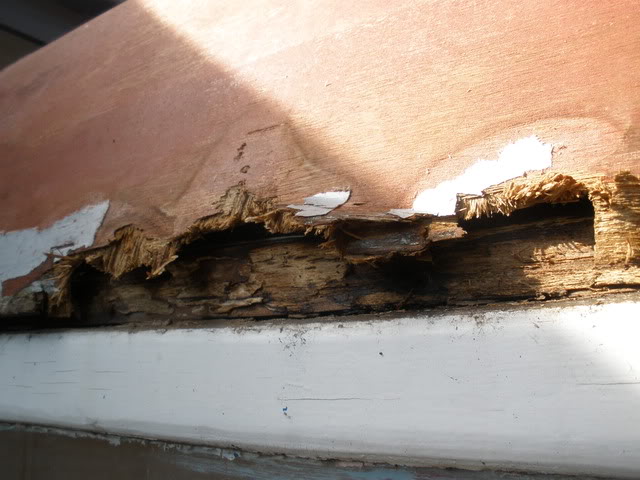 After cutting the ply 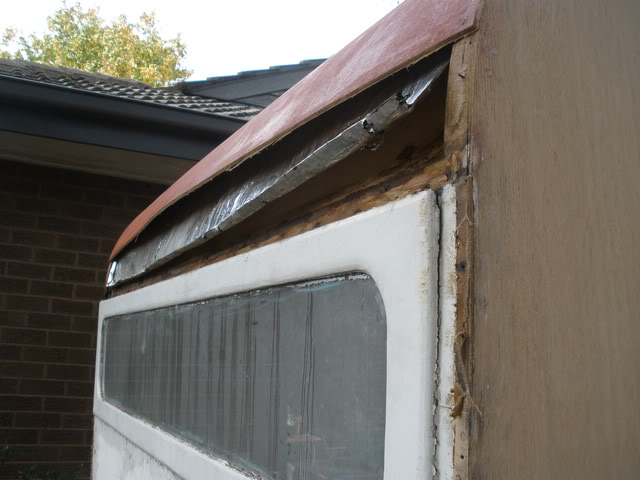 To help hold the cut roof ply I liquid nailed a board across and screwed it securely in place from the inside through the internal ply countersinking the screw heads, and notched and screwed at the end. I allowed this to set overnight before screwing down the roof ply on the outside. With countersunk 20mm long powder-coated decking screws. Bearer board fitted and notched in to hold down the roof ply at the join 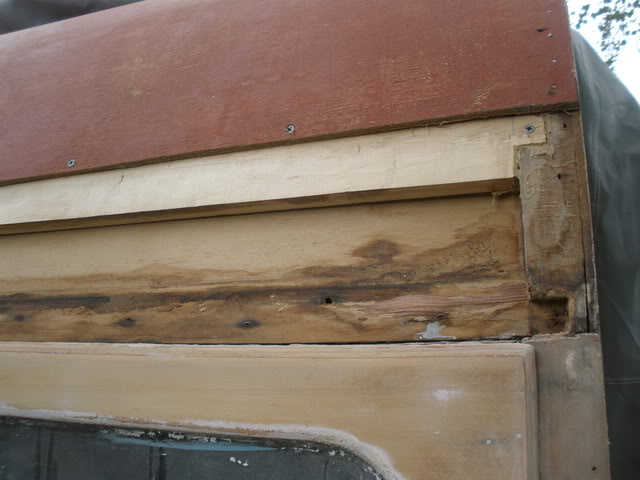 The next step will be to finish the framing around the top of the window as to secure up the framing in the corners a bit. Another day... Removing the last of the paint around the back window 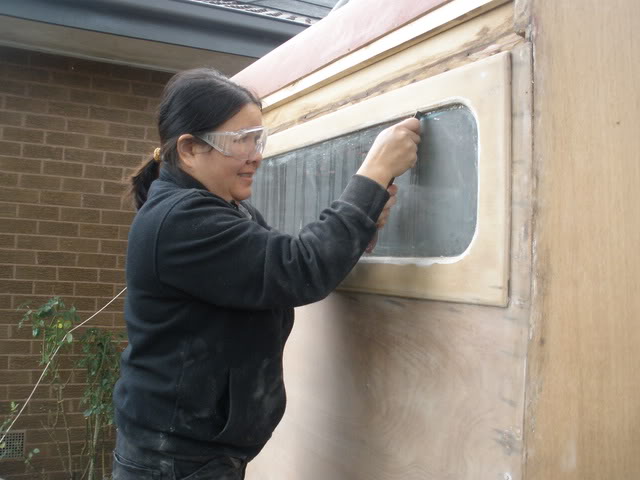 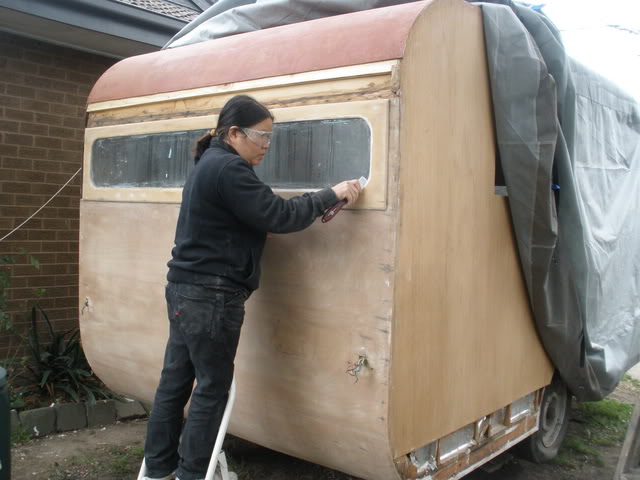 A quick dust off before sealing 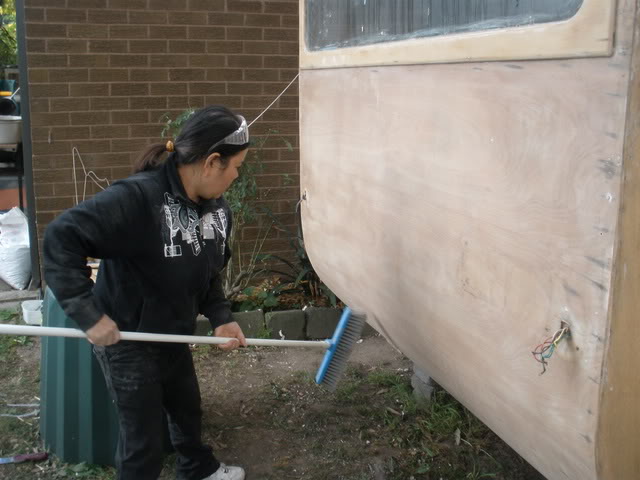 All outside paint gone, Woo Hoo! 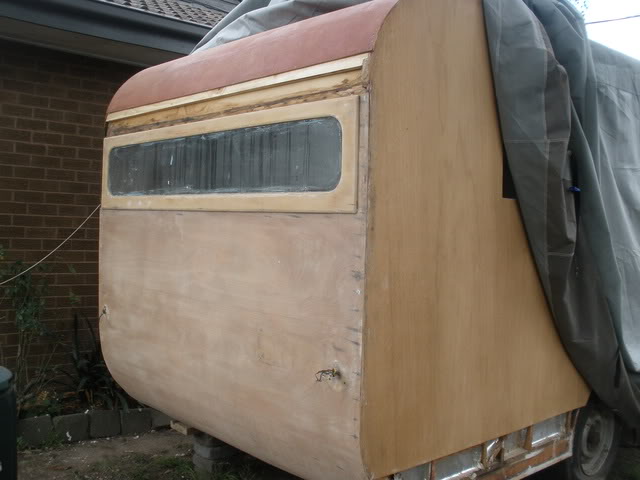 |
|
|
|
Post by hilldweller on Apr 8, 2012 12:14:31 GMT 10
Wow that's a lovely van, and great pics. I can't believe how good the roof ply looks - that canvas had obviously done its job in protecting it over the years. Looking forward to the next installment  What colour will you paint the exterior? |
|
|
|
Post by King Fisher on Apr 10, 2012 17:42:37 GMT 10
I decided to have a look at one of the windows which are made of wood on my little van, comprising of a flat piece of 9mm ply board to make the face that you see from the outside, and a box frame behind which forms a well for the glass to sit, held in by a 9mm square beed. The box frame was held together at the corners by metal strips knocked into the wood linking it into place. Going by how hard it was to remove this frame from the ply I assume that it was glued down to the back of the ply. The problem was that water and age had got into the ply board and the layers had started to de-laminate. Also I broke the corner of the glass during the deconstruction process. Darn! Didn't matter much as it was pretty scratched and I probably would have replaced it anyway. My lovely wife said, “honey make one and if it turns out any good then you can replace all three side windows.” Sound like more work I was only thinking about replacing one... Well I started by getting some 9mm ply, a length of 12mm x 65mm pine and some 9mm x 9mm square for the window quad. The 12x65 I cut into the required lengths to create the frame at the back of the face plate. 2 long and 2 short pieces with 90^ cuts. The original pieces were only 48mm wide so I cut down the width to about 55mm and used my plane and a jig I knocked up to hold the pieces in place while I planed them down to a desired 50mm My $14 Aldi 'ye olde' plane – after sharpening the blade works a treat  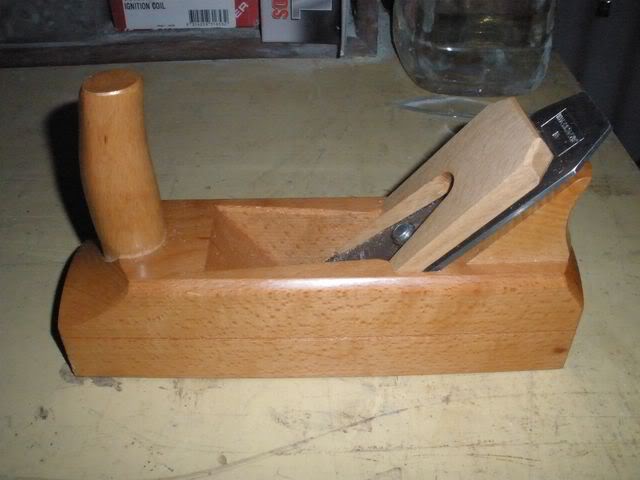 A quick light sand along the planed surface and the wood looked like it had just come from the shop. Jig to hold the pieces while planing 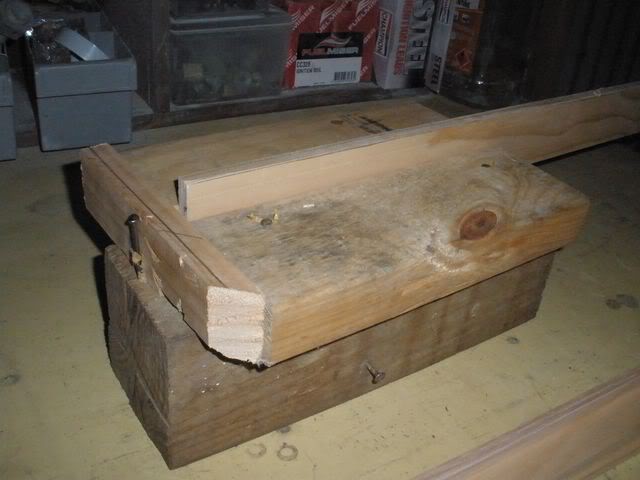 The face plate I cut the rectangle shape out of 9mm ply. I then lay the old window face over the newly cut rectangle and marked the inside shape, using the old window face as a guide, with a penceil. Drilled a starting hole and jigsawed out the inside of the face plate 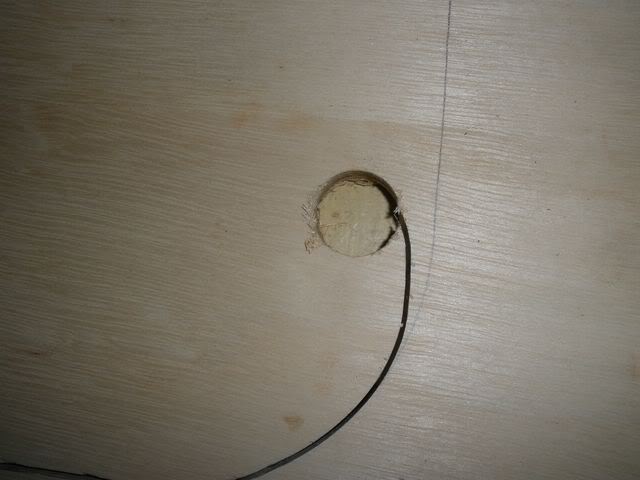 Carefully jigsaw out the shape 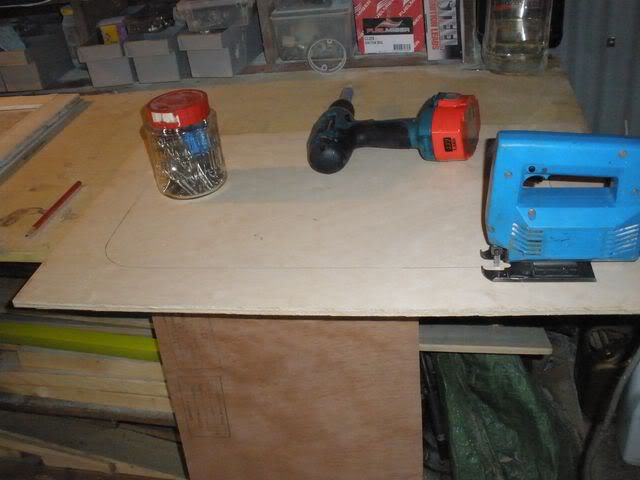 Next was to round the edges to crate that nice rounded look, used an old 40grit sanding disk to round the sharp edges of the cutout and the edges of the face. Followed by a 120 grit to smooth it out. Didn't take too long but gee got some ripper splinters!!! 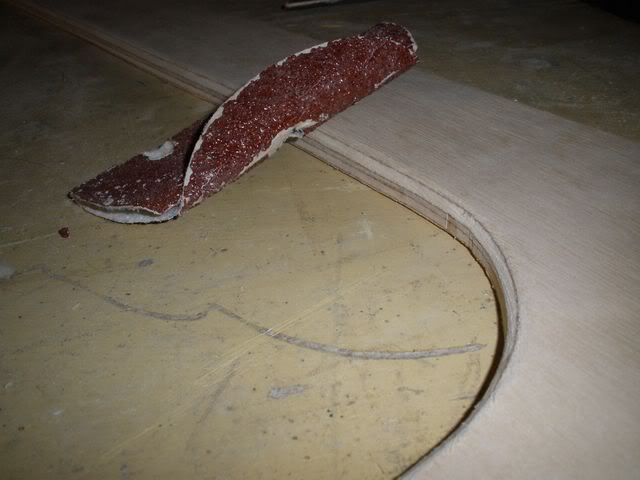 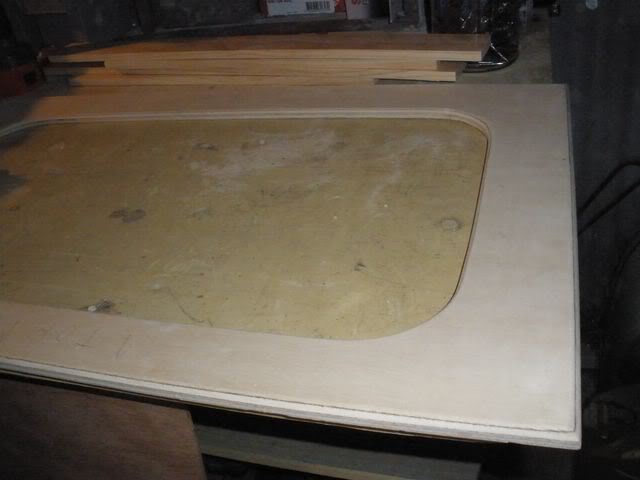 Once the edges are all beveled round I got the frame pieces, assembled them with some liquid nails under neath and stapled (with a pneumatic stapler) the pieces together in place. Placed some weights on top of the frame to allow the liquid nails to set over night. 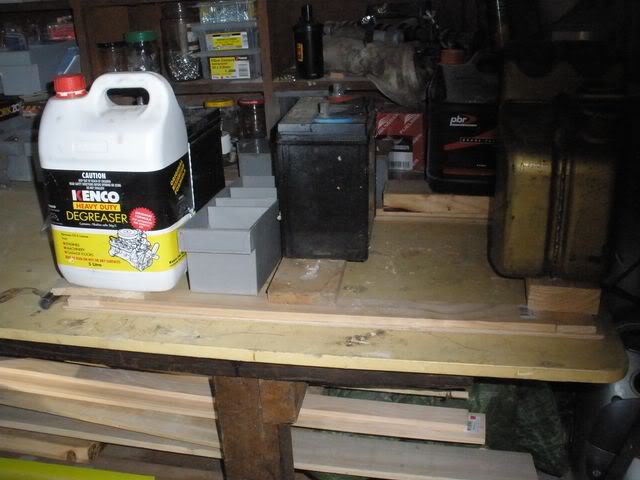 My lovely wife saw how they are turning out and said, "Honey you can replace them all... " |
|
|
|
Post by King Fisher on Apr 11, 2012 8:44:22 GMT 10
"Yes dear, OK ;D", I think it will be better to replace them all anyway, it's not as hard to make one as I had originally thought.
|
|
|
|
Post by seeshell on Apr 11, 2012 12:19:48 GMT 10
Hi Fisher Now that's what we like to hear: "Yes, dear!"  Your windows have turned out really well. I daresay if the wood holding in the glass had been glued to the old frames, then any attempt to refresh the glass or seal would result in destruction in any case! Replacing them all is the go. How will you seal in the glass on your new windows? Are you going to use glazing stars under putty to hold them in, or glue the support on the back again as was done before? Will be a consideration in case you have to service them (replace glass) again in future. I want to know how you do it, since I have very similar windows.  I also wanted to ask what product you used to seal the roof - do you have a shot of the package? Just about to attempt a roof and that stuff sounded interesting as an undercoat for a new calico installation. Fantastic work! Seeshell |
|
|
|
Post by King Fisher on Apr 11, 2012 17:48:58 GMT 10
Hi Seeshell, The window is constructed similar to the sketch, (side view and not to scale). The 12x50s create a lip for the glass to sit into. Where I am thinking about using automotive windscreen sealant as I don't like the idea of putty as it could crack and let the water in. The original window used a window putty of some sort. From what I can tell you seal under the glass where it makes contact with the back of the face, and a bit around the side and top. There is then a small square wooden bead which is tacked in with small tacking nails on the top of the glass to hold it in place.  The product that I used to seal the roof was called Bondcrete (Apparently developed in 1951) see: www.bondall.com/bondcrete/Bondall_Bondcrete.htmlIt's often used for sealing concrete and rough surfaces. Seems to be very similar to PVA glue, and similarly dries clear. The only catch for our application on the vintage vans is that you can't use it with enamel (oil) based paints. Now I don't want to start a paint war here but as I saw in one of the posts Acrylic (water) paints have been around since the mid 50s. The nature of the Acrylic paints allows for them to be more elastic and hence cope better I feel for our aplicacions where there is a lot of movement in the wood. The only draw back is that the enamels can give a shinier and move glossy look. Hence after a LOT of research I came to the conclusion that I was going to use a semi gloss Acrylic paint on all of the van, and have settled for Taubmans' Endure range. Hope this helps |
|
|
|
Post by cruisindoug on Apr 11, 2012 18:06:32 GMT 10
You are doing a great job on the van, its looking teriffic.   Cheers Doug |
|
|
|
Post by King Fisher on Apr 17, 2012 8:09:26 GMT 10
Well it's been another huge weekend. Had my friends over again and Dad came over for some of it too to help with some framing and the inserting of the new piece at the back. Because there was so much happening at once I am going to break up the work into individual parts otherwise we will be jumping all over the place. Firstly was to finish the repairs to the rear around the window and the roof above. With dad's help we shored up some framing in the sides around the window and placed the timber back in place across the top of the window 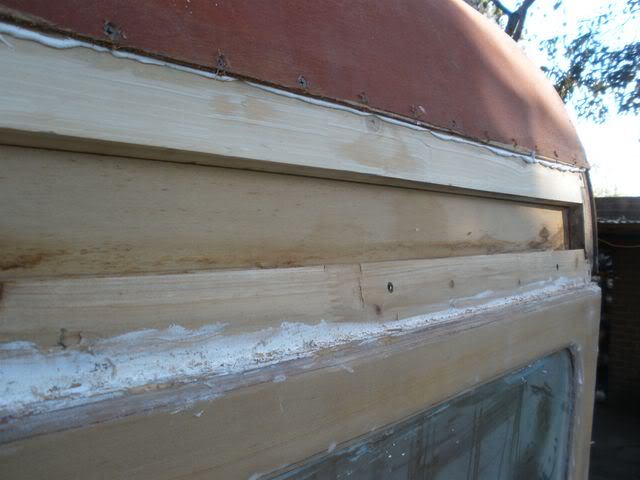 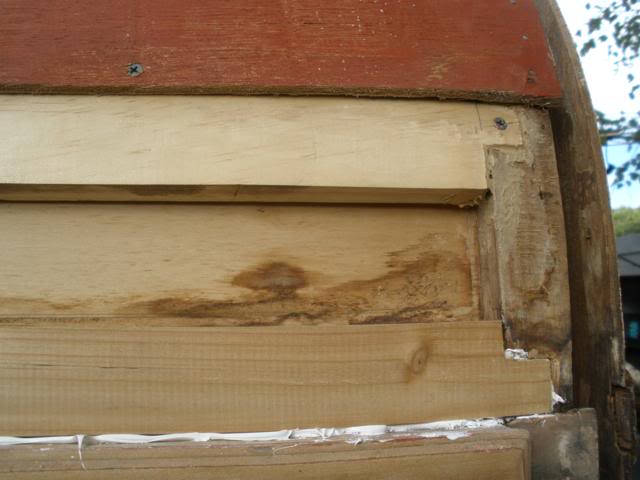 and some extra framing in the wall to make it a bit more secure and give something for the window to screw into. 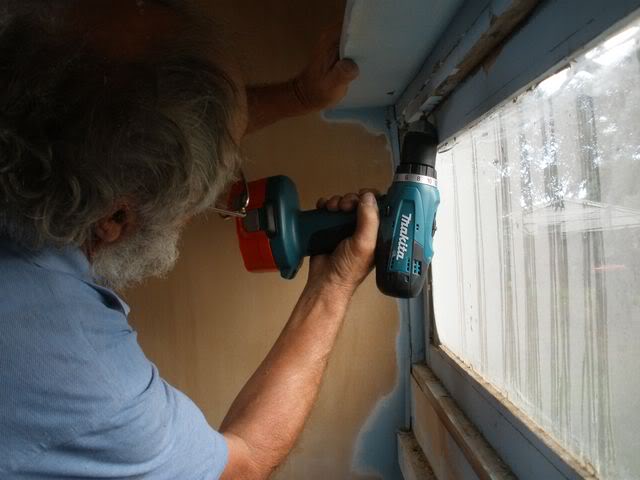 There was still a bit of movement in the right hand rear corner, so we took off the inner lining across the back under the back window and found a bit of rot in the verticle timber in the corner. So we replaced the soft piece with a new one (Left corner in picture) and the piece that poped off while removing the inner ply (2nd on the right in the picture). 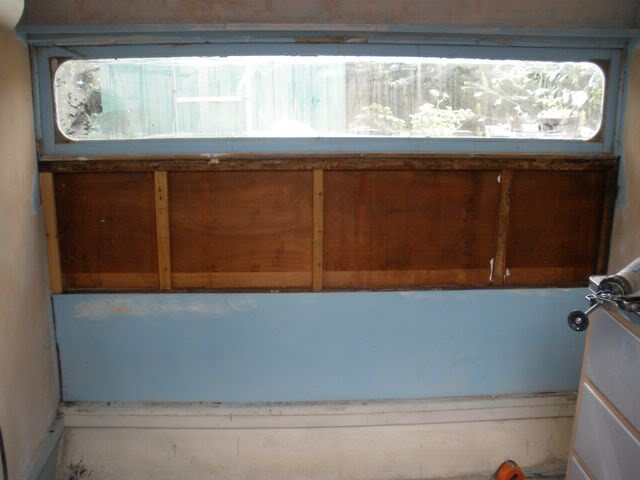 Cut and sized up a new piece of ply to fill the gap created 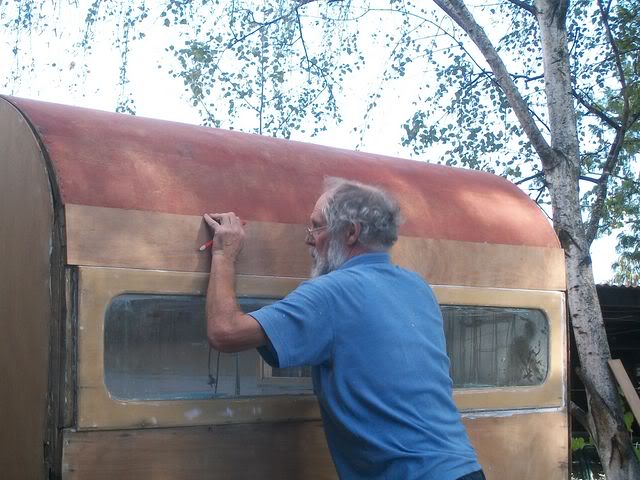 Applied sickaflex to help adhere the new ply. 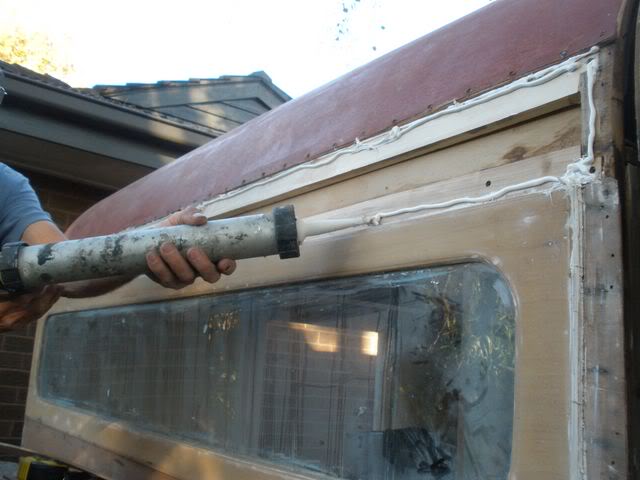 The new piece of ply was hammered into place 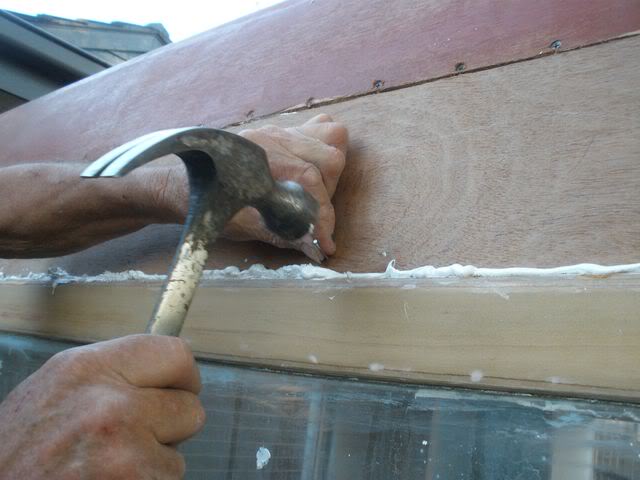 Some builders bog was smeared over to help fill the small gap and to sooth out some imperfections. 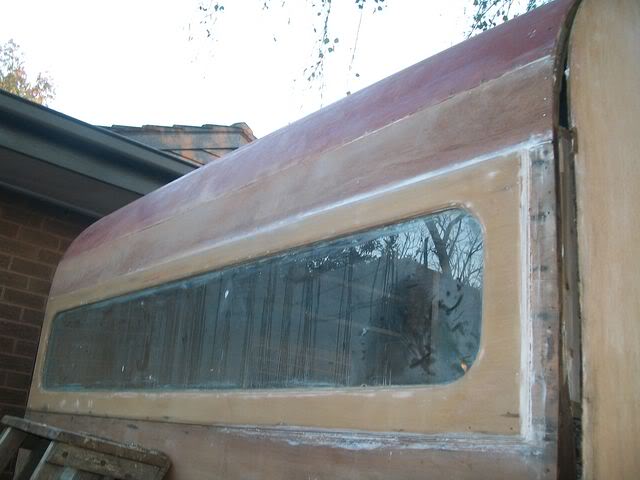  Dad gave it a quick sand with his girly sander 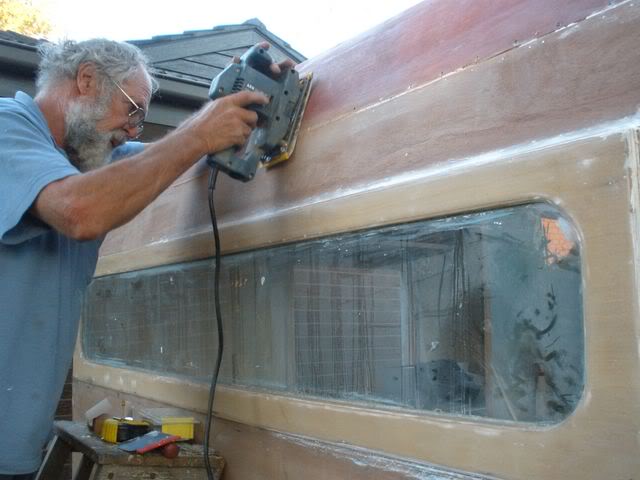 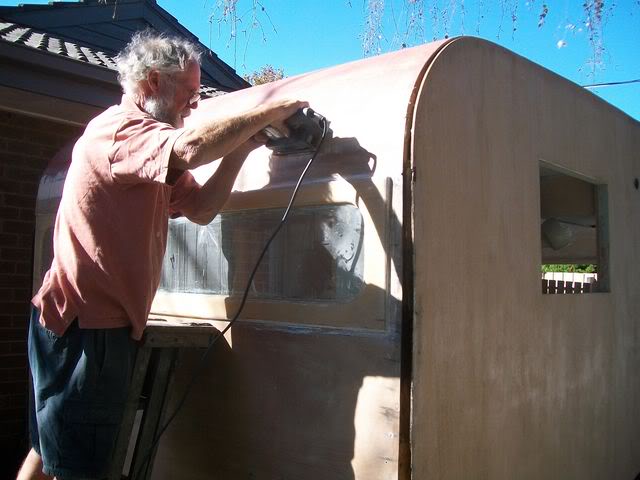 Then a touch of undercoat to cover all the sins and protect it better till we are ready to do the material roof. 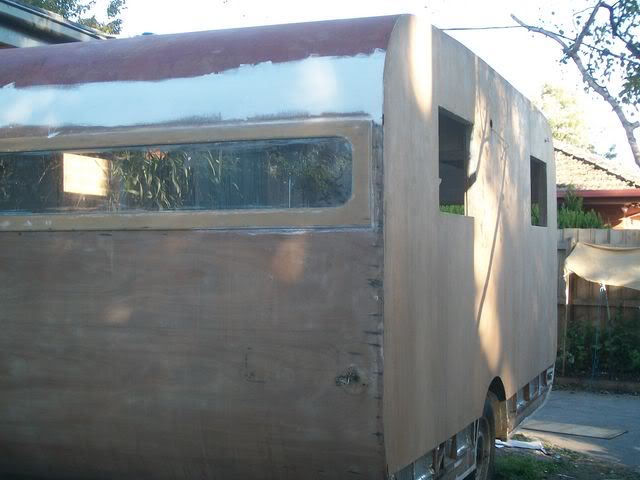 |
|
|
|
Post by King Fisher on Apr 17, 2012 8:14:26 GMT 10
2. We decided to have a bit of a 'play' with the canvas (calico) that will soon be applied to the whole roof. As there is a vent for the kitchen and the sides of the skylight sticking up we decided to use these as a test and to put a sealing layer on them firs so that the final layer over the top will for a better water tight seal. A thin strip was ripped off the longer length and formed a strip 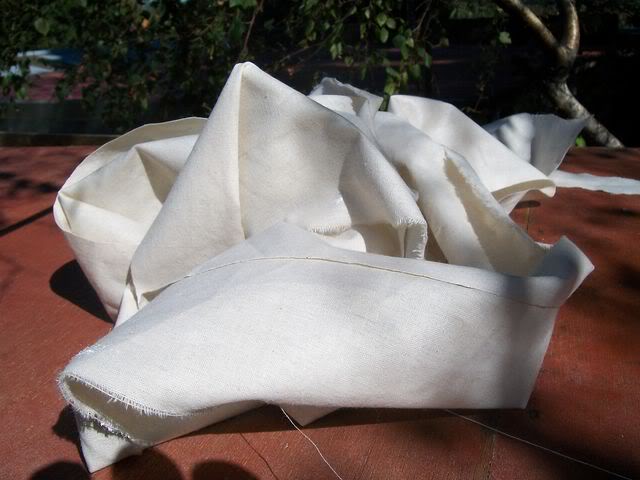 A good thick coating of the undercoat was brushed on and the material layed into the wet undercoat while being rubbed and worked into the wet undercoat, working out any air pockets. 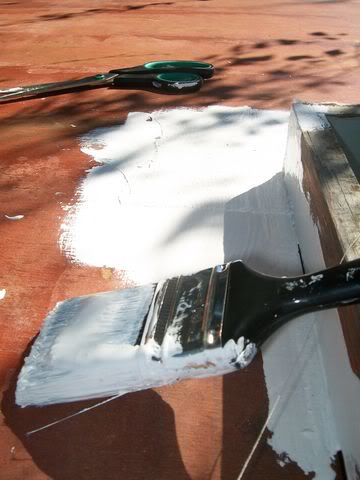 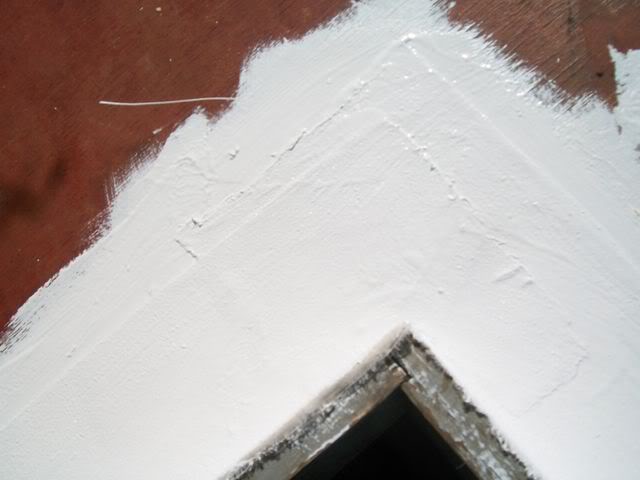 Then before it dries brush another layer of undercoat over the top of the material to really soak the material. 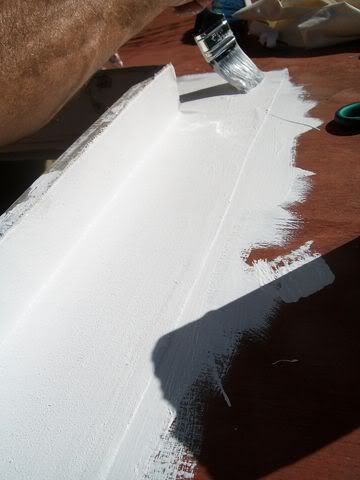 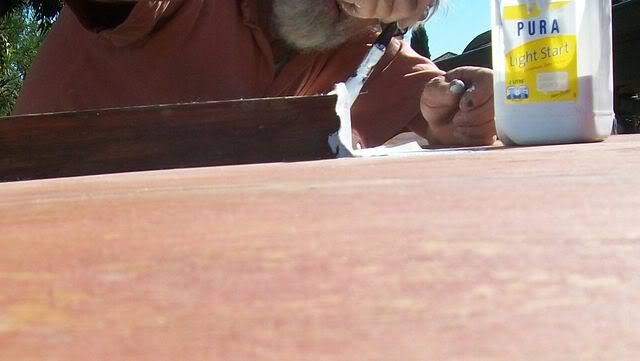 Also did around the kitchen vent hole with many strips 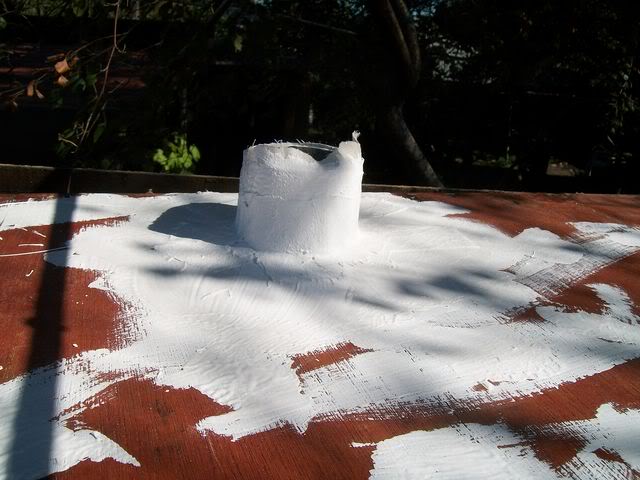 Thanks Dad 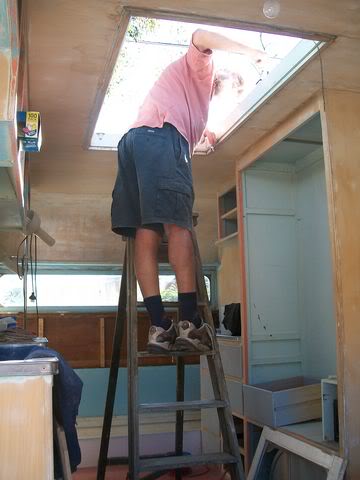 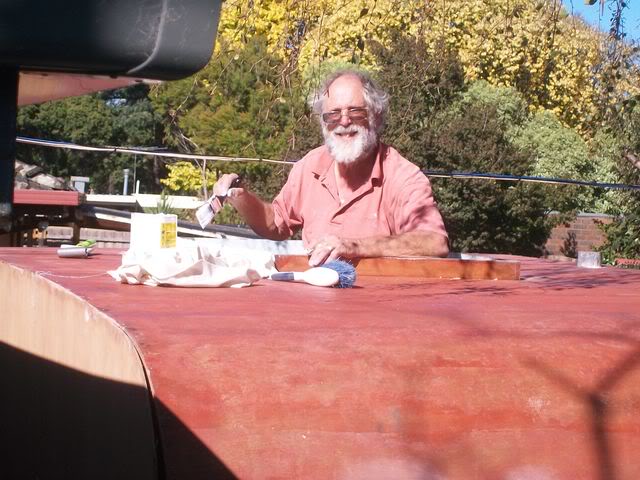 |
|
|
|
Post by King Fisher on Apr 17, 2012 8:16:11 GMT 10
3. The Outside Walls... As we had pealed most of the walls back at each corner it has come time to reconnect the ply to the frame again. The first trick was to remove as many nails as possible before pushing the ply back onto the frame.   Nails removed, extra wires run, just need to place back the silver insulation  Had to run an extra wire on this side so the whole ply in front of the door came off. Preped with insulation at the front and sickaflex ready to take the ply back  Then it's hold and nail it back on  Repeated this process: Nails out, Insulation in, Wiring in, Sickaflex on, Mark beams, Nail like crazy till all the sides were on    The last panel to go on for the day was the front of the van. Foam panels were cut out to fill the gaps to form the insulation for the front.  The front panel was cut out and sized up to fit   more sickaflex  And finally after a lot of nails it was on again. Woo hoo job well done. This was the last thing we did for the day, hence the fading light.  |
|
|
|
Post by King Fisher on Apr 17, 2012 8:17:30 GMT 10
4. The Floor My loverly wifie decided that it would be better to get rid of the floor tiles. A job that I was dreading, and was considering covering them with Masonite. Armed with just a chisel and a hammer my wife and my friend's husband started chipping away at the tiles while we were doing the sides of the van outside.  Sheer determination  Continuing.   and continuing   still going...   And about 3 hours later the last tile was lifted to much relief  The final product    |
|
|
|
Post by King Fisher on Apr 17, 2012 8:22:22 GMT 10
5. Wiring The other thing that we did over the weekend was the wiring. While the walls were off it was easy to run the new wires. I have tossed up for a long time now about whether to keep the old wires or to replace them. My view about wiring is that the old fittings are not necessarily safe enough for 240v due to age and deterioration in the plastics. As this is a van that I intend to use often I feel that I need to make the wiring for the 240v circuit safer and conformative to current standards. I decided to replace the old rubber two core and separate external bare earth wire with a modern TPS and will be replacing the power points. Currently one roof light was 240v and the other was 12v. The other two lights in the wall near the table and above the cooker are also 12v. I decided to convert the current 240v light to 12v so all lighting will be 12v. This was a simple matter of joining the wire in the cupboard to connect to the near by 12v.  Running the new 240v in the wall   Because of my modern life, and the need to charge things I will be doing a small mod and adding a couple of 12v points. These are flush mount and take a standard cigarette lighter plug. This will allow for charging phones, running laptops, tv etc off the 12v electric built into the van. But don't worry this is one of very few mods that I am making to 'Bessie'.  Down the back I had just run some wires in the wall to put a 12v point near the rear side window above the bench with the set of drawers (To allow sitting a 12V TV on the bench). Later I found two existing 12v wires in the wall in the next compartment, all I had to do was to pull them back a bit and poke them through the wall... Doh! Wish I found them before I ran the other wires... Obviously the intent was to originally put a 12v point here but later they changed their mind as the bunk bed does not allow for any protrusions (As it moves up and down against the wall) in this area where the wires were found.  partially run 240v  On the outside I had to make the entry hole a little bigger to take the new clipsal power inlet. The old one was fairly corroded and there was no weather protection for the plugged in lead. I have temporarily sat it in place for now to check clearances in the wall.    In the cupboard is the power house to the 12v electrics. I have just sat a battery in there for now. But you can see the worn paint where the original battery had moved around a lot. Originally the 12v battery was connected to an isolation switch near the door which then connected to a wire to the trailer plug. Obviously you would isolate the battery when camped so that the car battery would not drain flat, then reconnect it (by flicking the switch) once going again to charge it while driving.  After the query about the light fittings I could not find the brass fitting for the second light. I looked everywhere and pulled apart the shed to find if. It wasn't till I was working on the van at the weekend that I found it... IDIOT!  |
|
|
|
Post by cobber on Apr 17, 2012 10:08:10 GMT 10
G'day kfisher, Not only are you doing a great job saving this old van but you are doing a great job providing a photographic record of how you are going about it. It's all good but I like what you are doing with the calico..... a good old fashion system that seemed to work  Cobber. |
|
|
|
Post by King Fisher on Apr 17, 2012 12:21:47 GMT 10
I hope that this photo record can help others that follow in our footsteps. Also it's interesting to reflect on the journey.
From what I found out the calico provides an excellent waterproofing and really protects the roof ply far better than any other sealant. So hopefully it will be fine enough next weekend to finish it off, as we have only done around the potential leaky points at the moment.
|
|