Post by richard on Dec 27, 2011 21:25:17 GMT 10
Progress!
Mostly exterior disassembly, but progress is progress. The Jag is almost finished, so I'm able to get back onto the caravan.
Removed this weekend:
Still on, but needs to be off:
Notes (as always, feel free to give advice):
Arrived on-site:
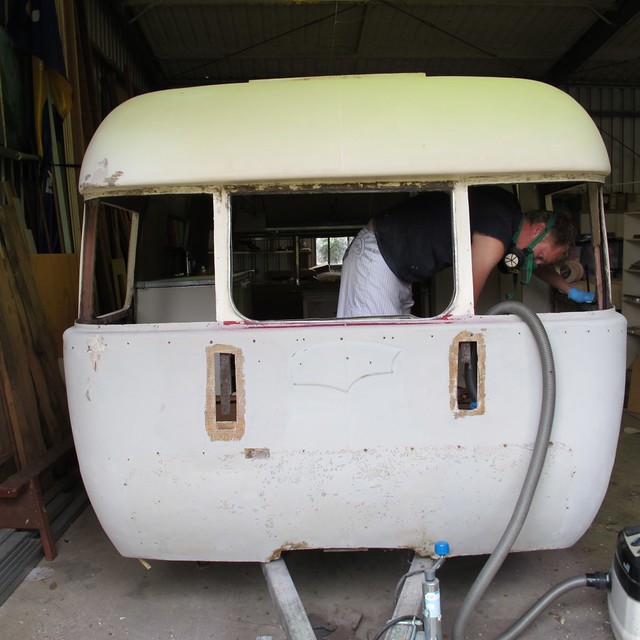
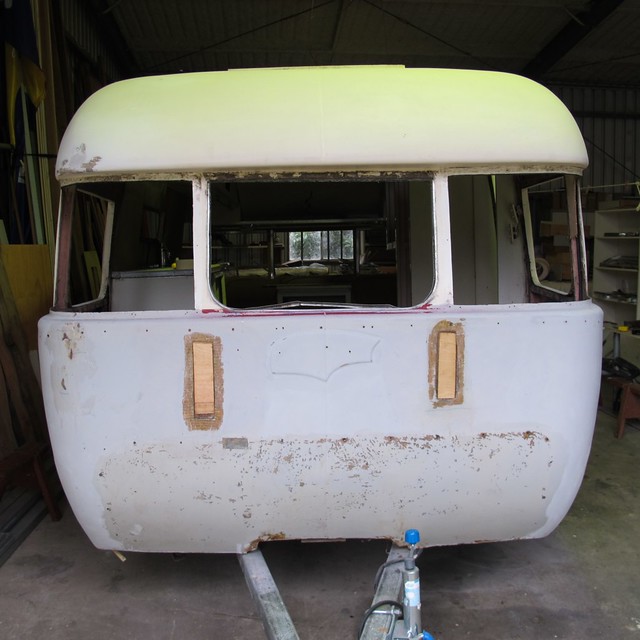
Mostly exterior disassembly, but progress is progress. The Jag is almost finished, so I'm able to get back onto the caravan.
Removed this weekend:
- Two hatch fly-screens (hatches were already off), the door screen and five window screens.
- Five opening glass windows.
- Exterior aluminium trim holding the perspex windows in.
- Four curved perspex windows, one flat.
- Interior aluminium window trim & plastic seal thingy.
- Boot lid
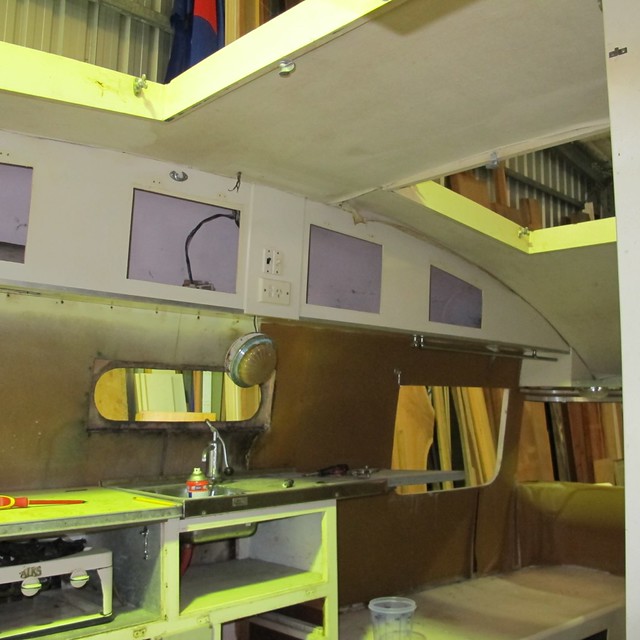
- Some of the ruined tan vinyl wallpaper, to get an idea of what the structure is like.
- Curtain rails
- Exterior power socket
- The rest of the gaffer tape
- 90% of the random stuff that was still inside.
- Hundreds of tiny stainless steel screws, 90% of which were seized (steel into aluminium sucks)
Still on, but needs to be off:
- The door! bottom hinge screws all seized.
- Rest of the tan vinyl wallpaper, probably the white vinyl as well.
- Lots of linseed window putty, a lot of which is still soft 52 years later.
- The glue the gaffer tape left behind...

- The chassis... (haven't though about how to do that yet).

- The seat-box-tops (which have to be re-made in ply anyway).
- All of the drawers and all the cupboard doors - once everything has been photographed and labelled!
- The Lino tiles (which is mostly "pick them up" rather than do any actual work to remove them)
- Interior light fittings, switch-gear, etc (because I'm going to repaint the interior with a spray gun).


Notes (as always, feel free to give advice):
- One window frame is partly broken, need corner pieces to repair it. All glass intact and unmarked.
- All screens need new mesh.
- Perspex is good enough to use as templates, but not good enough to put back in. I've heard that I should re-make them in polycarbonate?
- Some of the interior skin is hardboard, not plywood, and some is in poor shape. Most of the plywood is OK, other than the front wall and some of the boot. Boot can be fixed with fibreglass (and will then be waterproof & hose-able).
- Exterior socket is 10A, not 15, but also not waterproof. Will replace with a 10A waterproof one & add a breaker and non-electrocution-thingy.
- If I get veneer grade bendy ply, I might not need to put oooogly tan vinyl wallpaper on it. Or I might have to because of all the edges. Not sure yet. Roof will get new white vinyl wallpaper. The white looks much better than the tan... maybe just white everywhere.
- Not sure if current Lino tiles can be salvaged. If not, will have to try and find the same or similar, as we're using those tile colours as the base for the exterior: Two-tone Sea-foam Green over Grey.
- Interior paint scheme will be same as current one - white with grey doors & drawers. Current finish is quite good, I'll give everything a light sand, then use my little electric spray-gun to put a coat of primer, then a coat of high-gloss interior enamel over everything. Should look just like it did ex-factory.
- Need to find the soft aluminium extrusion used to hold all the fixed windows in. It's the same suff as 50's diner table edge, shouldn't be too hard.
Arrived on-site:
- New steel for chassis. Selected 75x50x2.5 RHS for drawbar & main chassis rails. 75x25x2.5 RHS for cross rails. Should be overkill.
- CigWeld 175i multi-fuction inverter welder (new) plus 6' tall Argon cylinder (borrowed).
- $1,500 of professional grade fibreglass repair & painting materials (most of which is the paint). The paint is all two-pack, and I have the full system (primer, high-build, epoxy sealer). Haven't got the top-coat yet, but I have got a boat restoration expert who's willing to come out to Camden and spray it on-site with his own gear. Score!