|
|
Post by Daggsey on Jan 28, 2009 21:23:45 GMT 10
Hi JBJ, All looking good.........  My experience with foam rollers is that, yes, they don't leave furry bits, but, depending on how quick the enamel is in drying and whether the weather is hot, you may end up with air bubbles  . Could I suggest you look for a product called Penetrol which slows down the drying process and allows the paint to flatten out. Cheers Daggsey |
|
|
|
Post by JBJ on Feb 1, 2009 18:21:21 GMT 10
hi All, Weekend progress report. Those of you not interested just skip over this post. 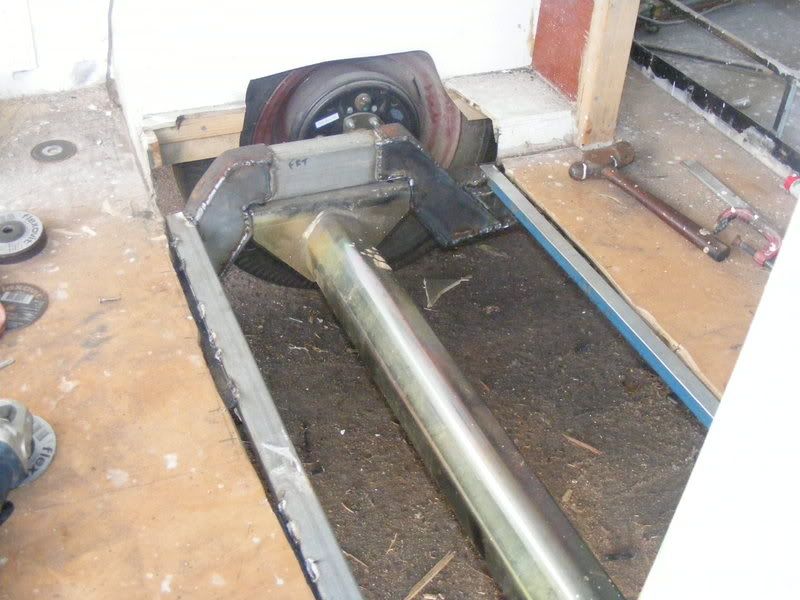 Got the welding completed inside the chassis for the lowering rework. Used 3mm plate, & treated it like a C- section cut for a radical lowering job. This is much stronger than neccessary, but I try to work that way. Just have to fit some longitudinal angles to support the floor that now goes in place. Still got some welding to do accessed from wheel wells, but its safe to move around now. When the windows are fitted & final colour paint in place, I'll tow it to get the brakes plumbed, & put it on a hoist so I can ensure all of the welding is completed. Fitted an edge strip around the hatch flyscreen assembly. All above the screens will be black, as a method of hiding the irregularities ( rough stuff)  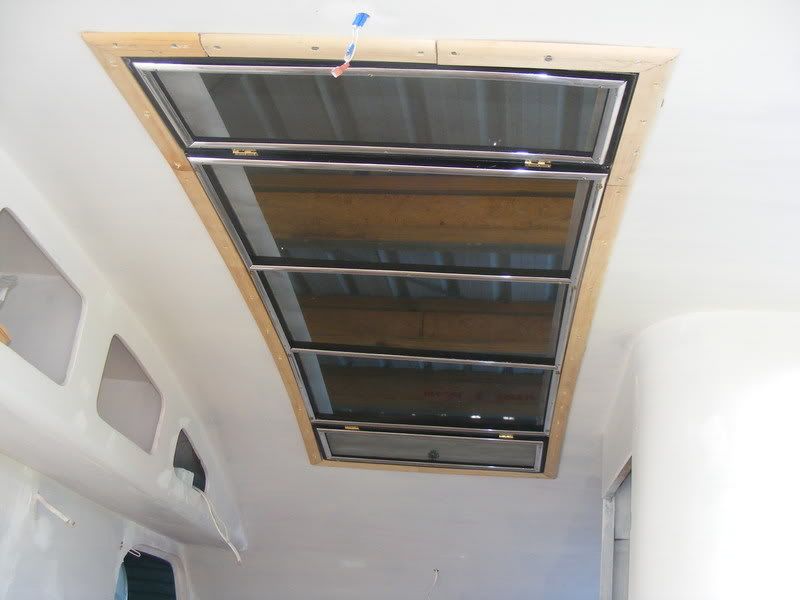 Its all fun JBJ |
|
|
|
Post by sutcac on Feb 1, 2009 20:42:17 GMT 10
G'day Den...........she's coming along now old mate!!!!!!!!! Love the large dimensions of the hatch..........can never have them lbig enough in our part of the world , hey?  Be ready for a lick o paint before you know it!!!!!!!!!!! Any particular reason for using several shorter pieces of edge moulding around the hatch?  In a century or so when this vans nearing its use by date, I suppose someone could use it to cart a couple of Bullens Circus elephants around !! ;D  ;D ;D |
|
|
|
Post by JBJ on Feb 2, 2009 7:05:36 GMT 10
Hi Sutcac,
The reason for using the short bits was that was what was left from the 3 pieces that they cut a 4.5 length into so it fitted into my Dodge. As I only really get to work on the van on weekends, & generally after lunchtime, I find that I have to drive a 40 plus km round trip to a Bunnings if I want anything, as my local Mitre 10 has restricted weekend hours.
As the strip is going to be filled & painted, the joints dont worry me.
Its OK for people living in cities to be able to get stuff easily, but its different when you live out of town.
JBJ
|
|
Deleted
Deleted Member
Posts: 0
|
Post by Deleted on Feb 2, 2009 9:46:21 GMT 10
;D ;D ;D Ah the irony of it all aye Den.  I mean .. here is you living in the bush surrounded by trees and ya have ta travel 20Ks to buy timber moulding. Reddo |
|
|
|
Post by minicamper on Feb 2, 2009 18:49:12 GMT 10
Thanks all for the roller comments, JBJ i too had fluff to deal with in the pink primer, even after "washing" it in turps and scraping and roughing it to get it all out. I have used the foam rollers when i repainted Alby and did find the air bubbles a problem too. Having said all that, I just recoated Olive in another pink primer coat and ran over the rolled areas immediately afterwards with a brush in long continuous strokes and found that gave a good compromise between both results..
Keep it up...
Cheers
Chris
|
|
|
|
Post by JBJ on Feb 17, 2009 18:53:39 GMT 10
Hi All, More progress & pix. Lots of things happening at once, got my windows underway & nearly ready, my front leadlight window is ready to pick up, & I've been replacing the missing bits of flooring. 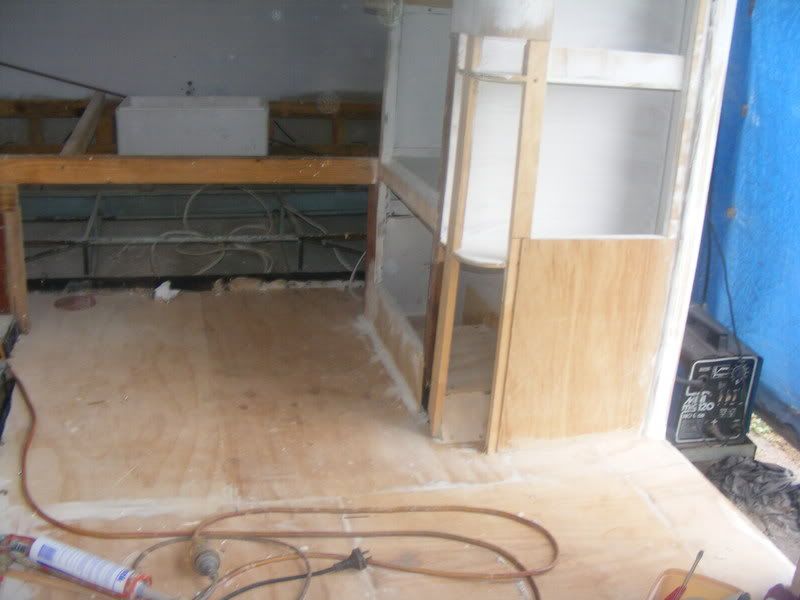 Also started reconstructing the clothes cupboard to provide a pantry & addittional storage, as well as finishing the last internal wall double skinning. 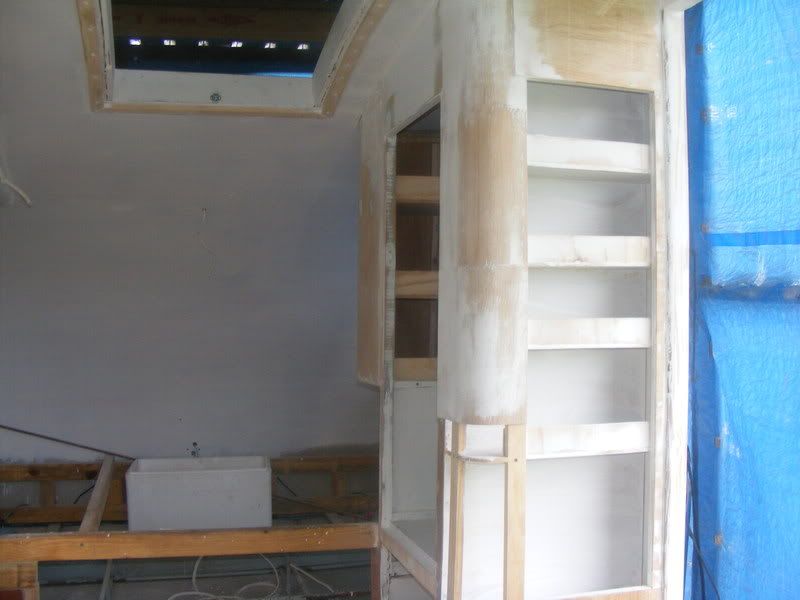  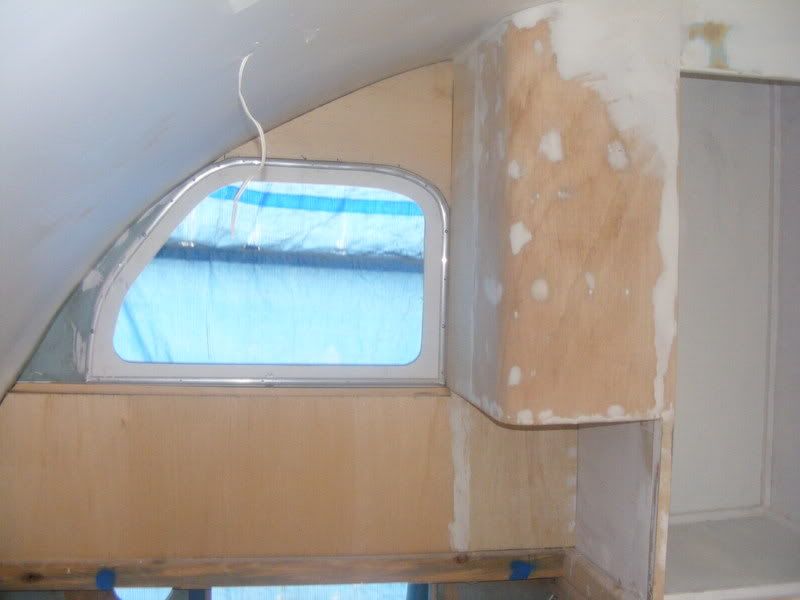 This sorta stuff takes a lot of spare time, as well as consuming a fair bit of loot in ply sheeting , glues, screws, putty, paint, etc. But it looks good when a nice coat of primer gives a smooth surface. All this while the heavens are open & raining pretty regularly. What a wierd place we live in. If it keeps raining we wont be able to go to Mooloolaba in 10 days time. JBJ |
|
|
|
Post by Jennison on Feb 19, 2009 6:07:00 GMT 10
My father looked after the painting of their steam trains at the local "histerical" society for many years. He swore by that penetrol stuff. Jennison
|
|
|
|
Post by JBJ on Feb 22, 2009 18:37:44 GMT 10
Hi All, Another weekend of fitting fiddly bits. Did a bit more sanding & priming internally. Picked up the leadlight front window we had made, & screwed it in position for a squizz. 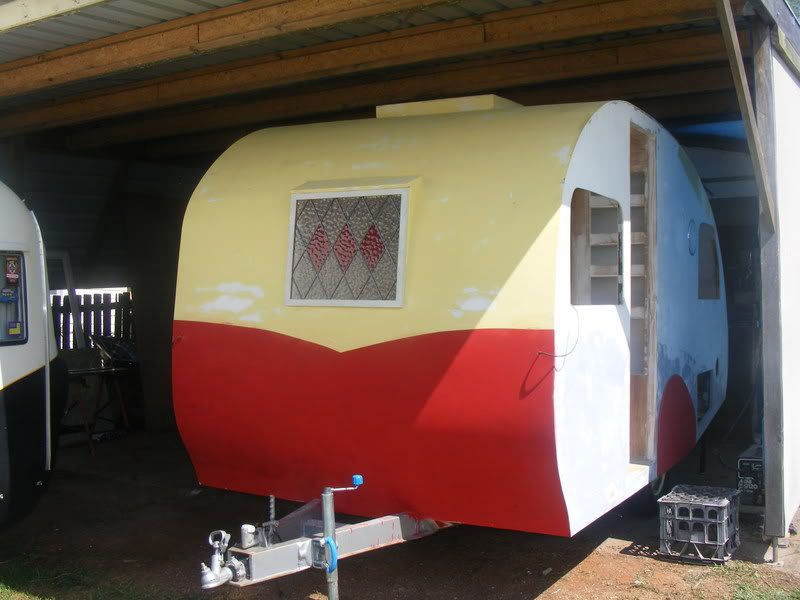 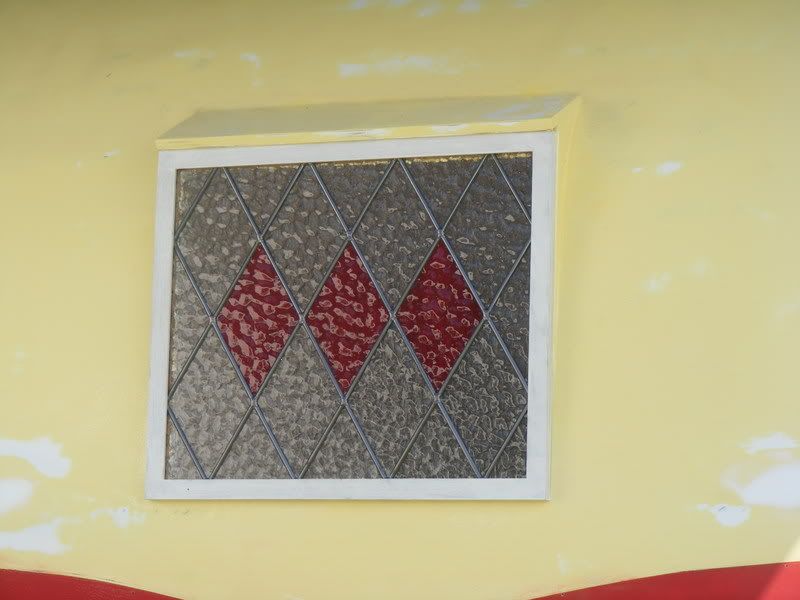  Inside looking out. 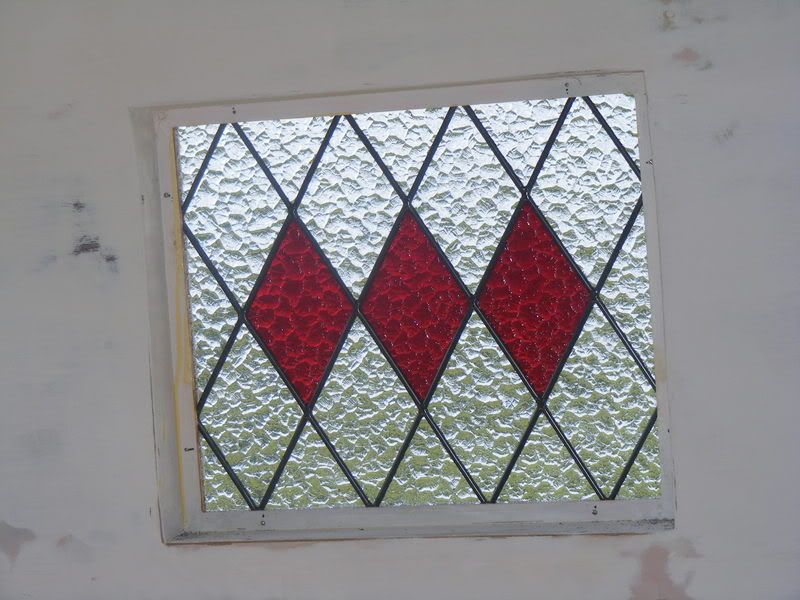 We like it, so its back off the van to paint the timber frame. JBJ |
|
Deleted
Deleted Member
Posts: 0
|
Post by Deleted on Feb 22, 2009 19:15:19 GMT 10
Hi JBJ Must admit i was a bit apprehensive about the whole project when you started carving it up..... Thank god you have stuck to your game plan and have come up with a winner in the making. Gotta love that leadlight . It "ages " a van by 20 years ...... it.. it.. it...  oh alright it looks like a Don.... sorta.. Not the highly overated Dons mind you.......... just a replica. Reddo
|
|
|
|
Post by chippydave01 on Feb 22, 2009 19:44:28 GMT 10
Looking good Dennis ;D ;D ;D
Dave
|
|
|
|
Post by JBJ on Feb 22, 2009 19:44:58 GMT 10
Hi Reddo,
Its a long haul with a project like this.
But the reason I started is that it is a unique shape. God knows where the original builder came up with the ideas from.
I noticed the van that Richard has on his web sites sticker is similar in the back end, but still different.
Its always good when a major project starts to look a bit look you hoped it would.
BUT its not meant as a copy of anything.
I like the Don leadlight windows, & possibly the way way I rebuilt the front could be based on a Don. Who knows what influences a fertile mind ( other than drop or three of JD)
I know I'll never run into a similar van, & if I can make it look correct for the 50's, I'll be happy.
JBJ
|
|
|
|
Post by carrots on Feb 22, 2009 20:31:17 GMT 10
JBJ it looks soooo good. Can`t believe it is the same van as the one you were starting on when we were there. Lots of interest in it too when you look at the number of views you have had on this thread.  I reckon it will be finished by the time we get back up to you at this rate. ;D carrots |
|
Deleted
Deleted Member
Posts: 0
|
Post by Deleted on Feb 22, 2009 21:38:15 GMT 10
Luv it JBJ ......it'd certainly catch my attention seeing yours on the road The leadlight window looks great ......leave it there !! As Carrots says ......your project is a hugely popular thread Mark |
|
|
|
Post by Swellwillys on Feb 23, 2009 11:02:20 GMT 10
Enjoy seeing the progress Dennis- thx for sharing your work - I m sure you'll love that ALKO !
Swellwillys
|
|
|
|
Post by earlee on Feb 24, 2009 8:22:34 GMT 10
looking excellent JBJ. It is another GEM from the JBJ workshop. ;D ;D I notice you are using slot screws and not phillips head - even where they will be puttied over on the hatch - thats real dedication to the era those slots are so hard to screw. the leadlight looks great - good idea by using dimpled glass as there will be no need for curtains. earlee. ;D |
|
|
|
Post by JBJ on Feb 24, 2009 20:12:38 GMT 10
Hi All, Its all going together good. Slapped a couple of coats of white primer over all I've got into shape internally. Lots of finishing putty & rubbing & she'll be smooth as. I've always preferred the all painted look inside vans. It reminds me more of the old vans I travelled with as a kid. Not knocking the examples of very good joinery/cabinetmaking some of you guys are producing, but its my desire to have all paint, with laminated top & splashback. Interior will be all cream colour wityh red door handles & hilights, according to the interior decorator, Boots. I just get it ready for her to put final colour on the inside, & stay away from interior colours. 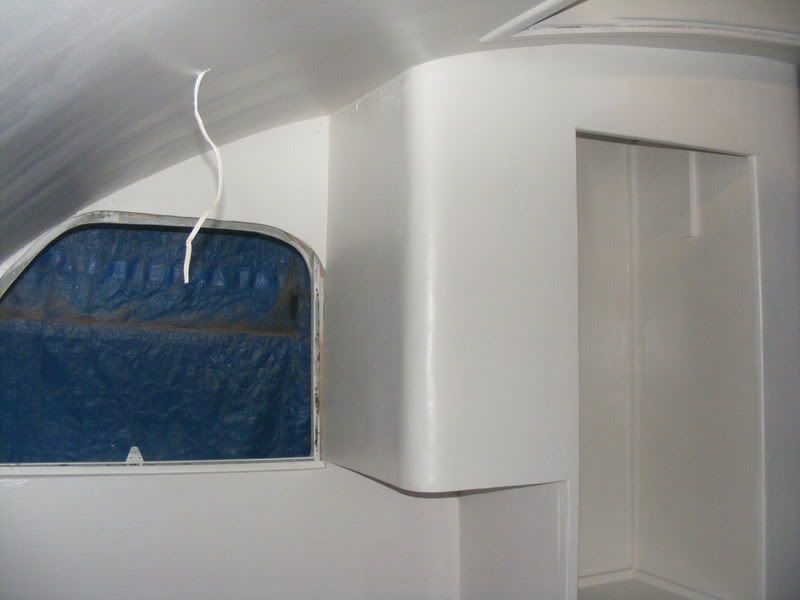  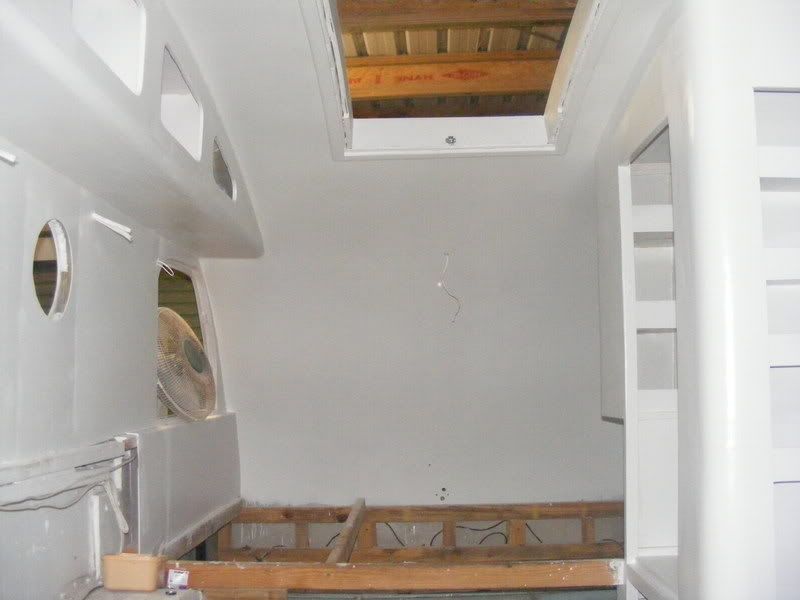 Now I can fit lights, doors, cupboards, seats, etc, before final interior paint. Guess I gotta stop now & get ready for Mooloolaba JBJ |
|
|
|
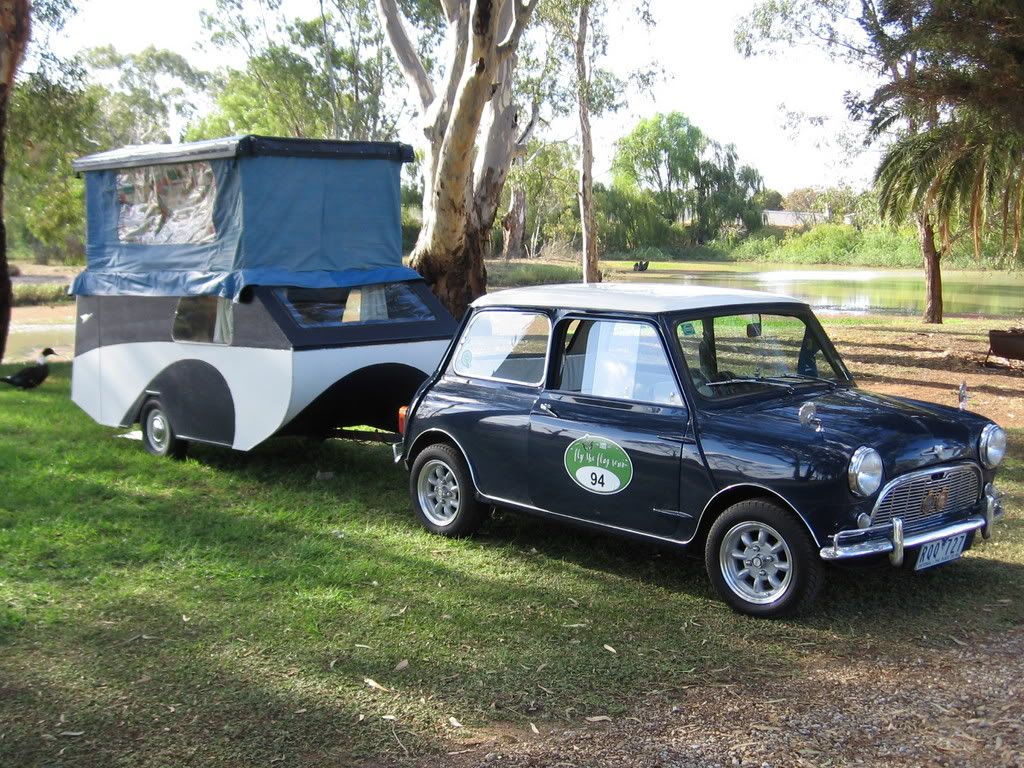
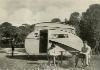
Post by JBJ on Mar 21, 2009 18:59:44 GMT 10
Hi All, Back working again after a couple of weeks out with the flu. Got final paint on top & RHS, fitted one window assembly, bought lots of bits. Finished welding & painting on chassis.  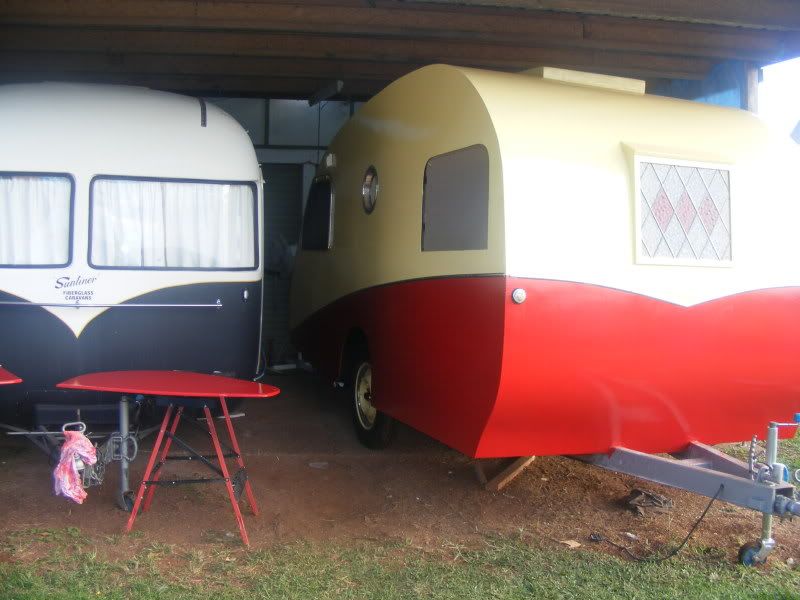 Bought some nice front lights from spares Galore in ferntree Gully. About $25 per side, clear glass lenses with stainless clip in rings. I'm very impressed with the quality. They are english units. 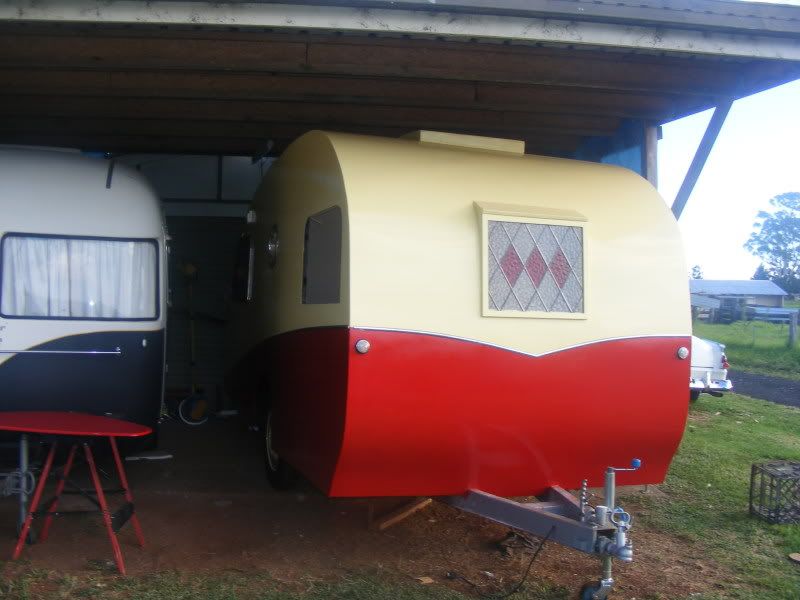 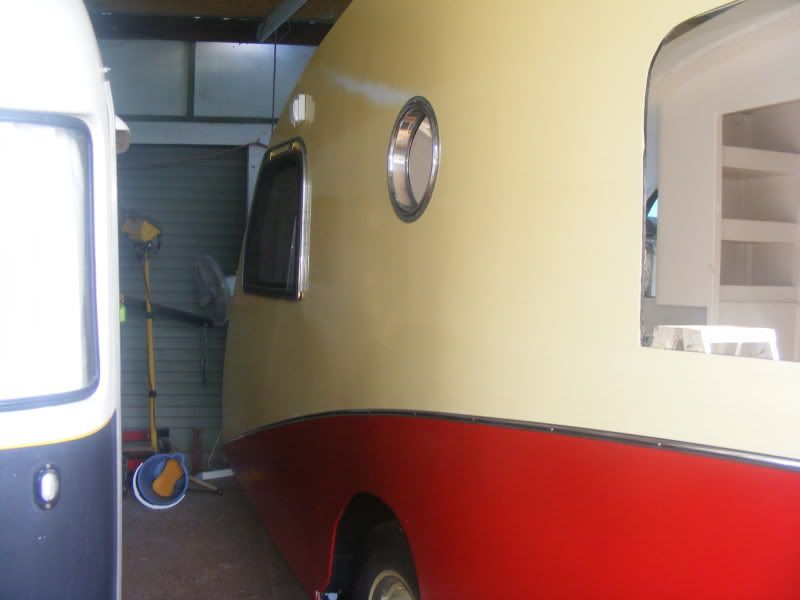 Fitted & polished the D mould front & RH side, fitted taillights, got all lights working Fitted front leadlight Tomorrows job fabricate & prime roof hatch, paint & refit spare tyre carrier. Aiming at rego early May. Cant see any reason I cant make it if I keep at it. JBJ |
|
|
|
Post by humpty2 on Mar 21, 2009 19:46:06 GMT 10
Seeing that you have nothing to do you should re-paint the Dodge to match the Van. ;D ;D ;D What a great job you're doing, an inspiration to everyone.......even us fibreglassers. |
|
|
|
Post by JBJ on Mar 21, 2009 20:14:13 GMT 10
hi humps
Always wanted a two toned finish on the Dodge. As its in a pretty sad condition in spots bodywise, it will be the next project after Lucille is registered & useable as sleeping quarters.
They look so good together. Cant wait to tow Lucille to the weighbridge, & then down the Highway to Ballina to get the hydraulic brake bits fitted & working.
Might even have a go at photoshopping a side view of the combo in matching colours.
JBJ
|
|
Deleted
Deleted Member
Posts: 0
|
Post by Deleted on Mar 21, 2009 20:23:23 GMT 10
Oiy 'Umps You aint goin' all soft and mushy on us Bondyblokes are ya...... ;D Reddo |
|
|
|
Post by JBJ on Mar 22, 2009 18:08:12 GMT 10
Hi All, Well finally got my hatch framed & primed. Its a big Mutha, just over 1850 x 760 opening size, which is bigger than any other I've seen before. 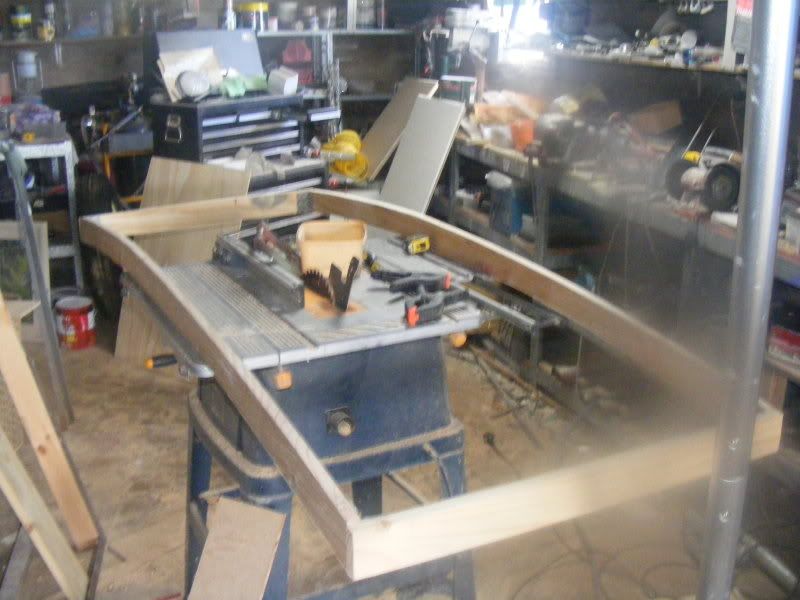 Made the side stringers from 240 x 20 x 2100 pine boards, cut with jigsaw & finished to size. Its 70 deep section now. Glued & screwed together, then glued & screwed hardwood ply to top & ends, then puttied screw heads & marks. A couple of coats of primer then I can set it on hinges etc. 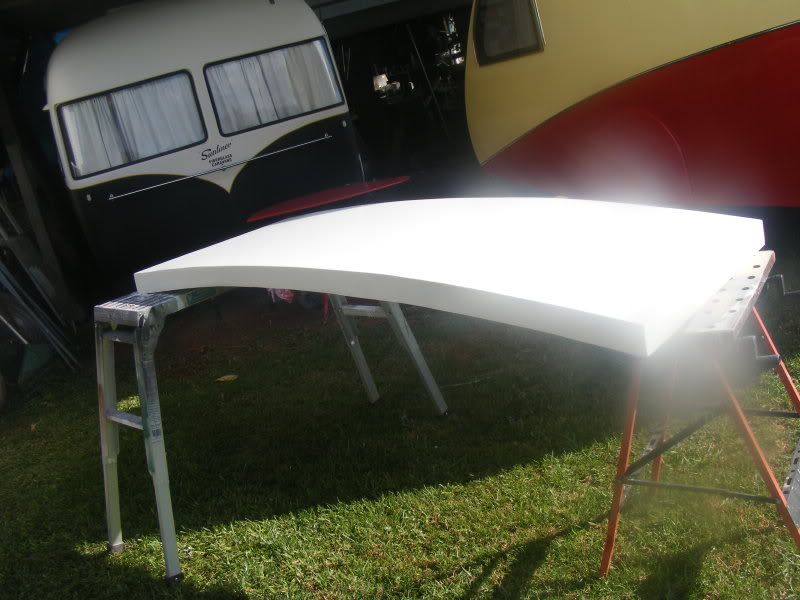 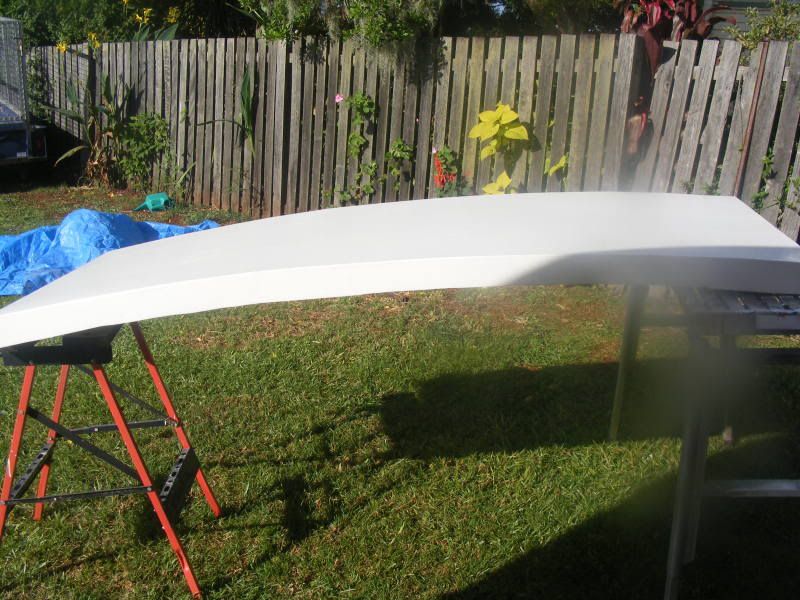 This panel will be painted Red to give Lucille her red head.  JBJ |
|
|
|
Post by humpty2 on Mar 22, 2009 18:55:44 GMT 10
Reddo.......Not going soft!.....I do own a bondwood, but don't tell anyone.
Merely saying what an inspiration JBJ is..........my Missus throws him up as an example at the end of my toilings on the van.
"You've managed to put on a couple of hinges in 2 days and Dennis has nearly totally rebuilt his van in the same time".......
And then, she reckons at this rate I'll be 5 years before I get wheels on it.
I won't get cranky with her as she is usually out there toilling away with me, as she was today with sandpaper and a wire brush.
|
|
neilncheryl
Full Member
 Make God laugh, tell Him your plans.
Posts: 324
|
Post by neilncheryl on Mar 22, 2009 21:42:20 GMT 10
Well done Dennis
Love the colours you chose - suits her very well.
Might see her at Tallebudgera?
|
|
|
|
Post by sutcac on Mar 22, 2009 22:19:50 GMT 10
Hey Den............love the colours and break up lines on Lucille .............the front stained glass window really set it off also ...........will be a practical van too, with that huge hatch giving some excellent ventilation and circulation.........a design feature that is needed ,but often overlooked in our warmer parts of the country ............ ...............the Dodge would look absolutely stunning two toned in the same colours..imo. ..........can't wait to see it finished ;D .......Cheers , Sutcacs |
|


 ;D
;D 


 I reckon it will be finished by the time we get back up to you at this rate. ;D