|
|
Post by humpty2 on Sept 23, 2007 17:24:01 GMT 10
Will skip on the boring sanding painting bit....now for an interesting time ....Fit the perspex windows, here you can learn new words and use a lot up a lot of time that you could have made useful elsewhere, like painting, mowing lawns, or gardening  The first window took more than its fair share of time, but fitted up OK..with a lot of adjustments and help.......the other 2 were a breeze after the first one........The bad news came on the last one........it was an inch too short  so we will have to wait for another to be made. Only true love runs smoothly  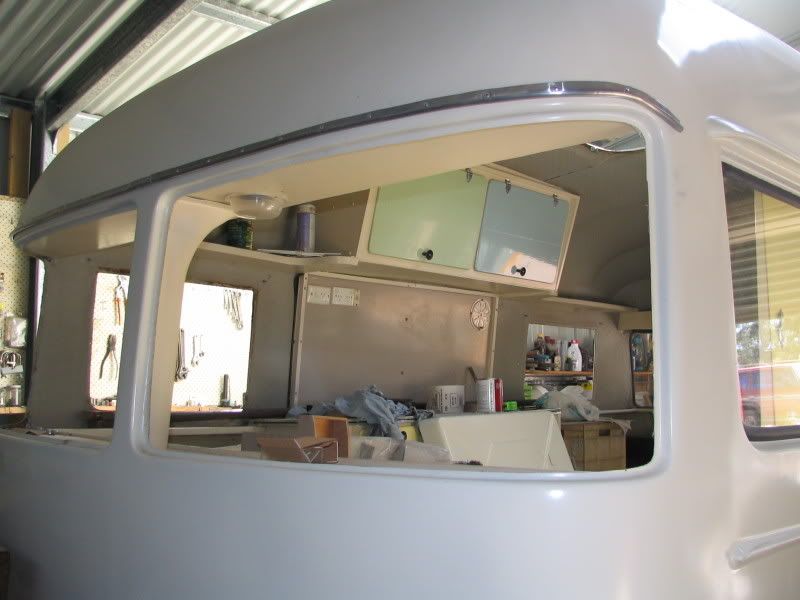 No window 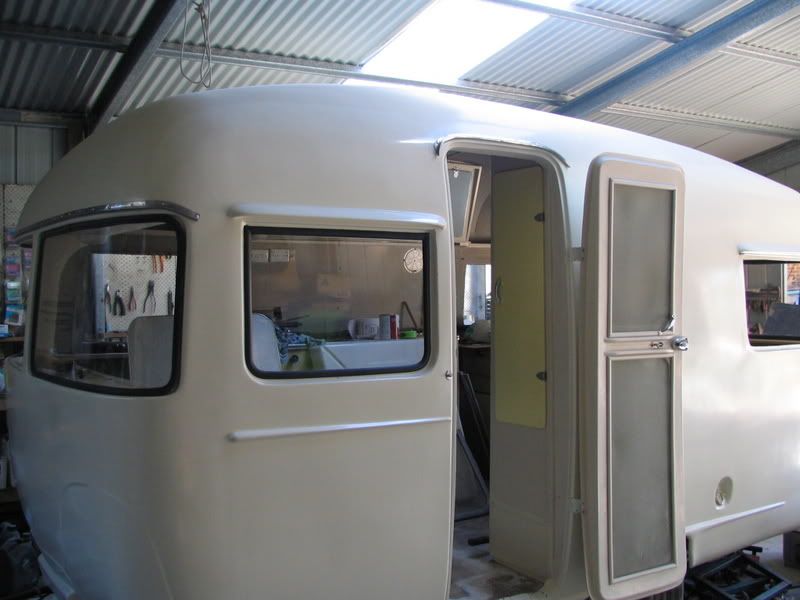 window in!! 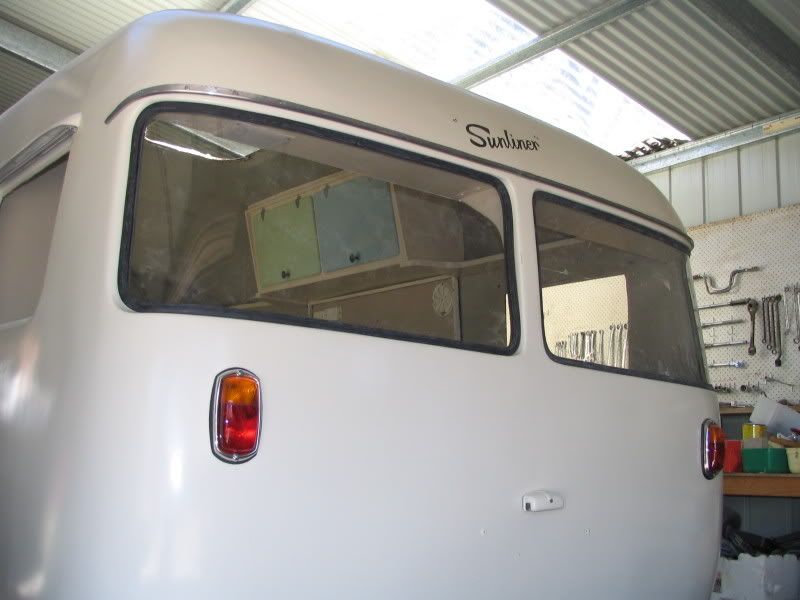 2 Back windows in 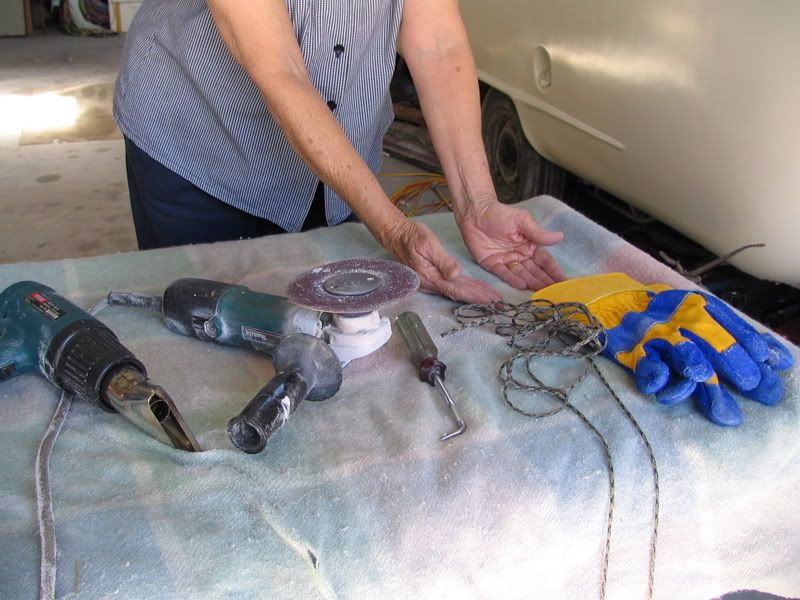 Absolutely necessary equipment for putting perspex windows in. Heatgun to maybe reshape slightly.....Angle grinder with coarse disc to get the correct final shape........."tool" and string to pull the rubber through.....gloves so as not to hurt your hands when pulling string, and lastly the most important...another set of hands!!! 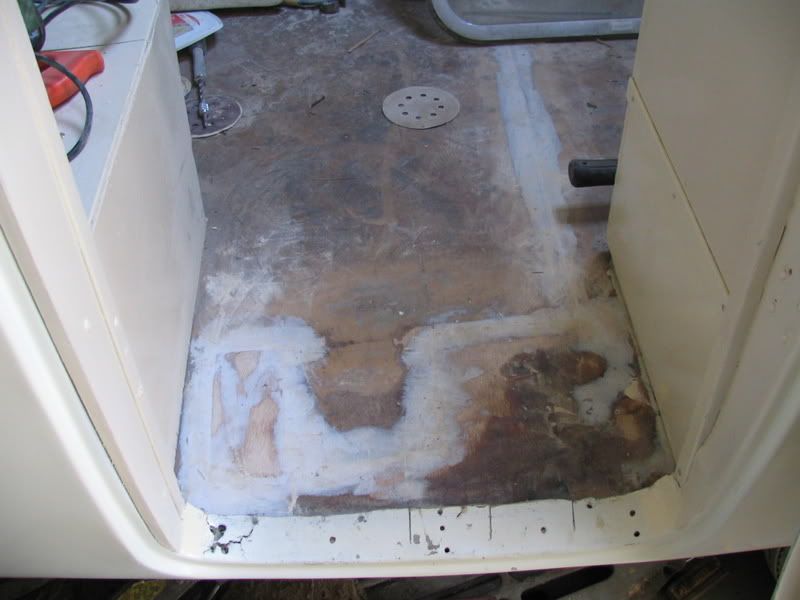 A little bit of floor had to be replaced |
|
|
|
Post by will and Lyn on Sept 24, 2007 8:59:11 GMT 10
;D  Hi ya Humpty For any one refitting windows in Vintage Vans or new ones as a matter of fact there is a product on the Market that is sold in bunnings but you must ask for it to be ordered in generally It requires no heat to fit it and it is shatterproof you can bend it to right angles simply and easily on a standard window curve simply remove your old window preferably in one piece and make a paper or cardboard replica stencil trace it onto the product which is known as Handy clear Premium polycarbonate manufactured by Laserlite Australia All your window problems are over simple easy cold bend fully flexible and super tough unlike perspex that needs heat and will crack generally if it has been over tempered when the heat cools down I will post the sticker and the window I fitted to my van a couple of weeks ago Will |
|