If you have a young family and you like vintage vans...this is a really good question.
As many of you know I have very little
handy-type skill so I could see real value in this "need". Here is how I tackled it and If I could do it anyone can. ;D
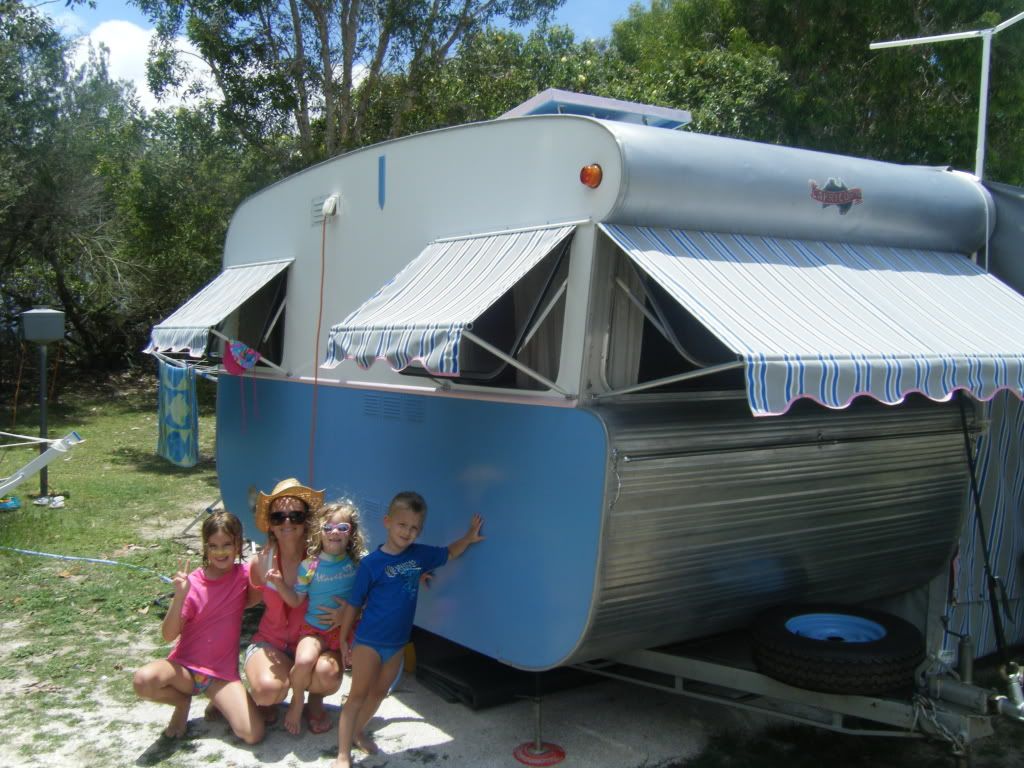
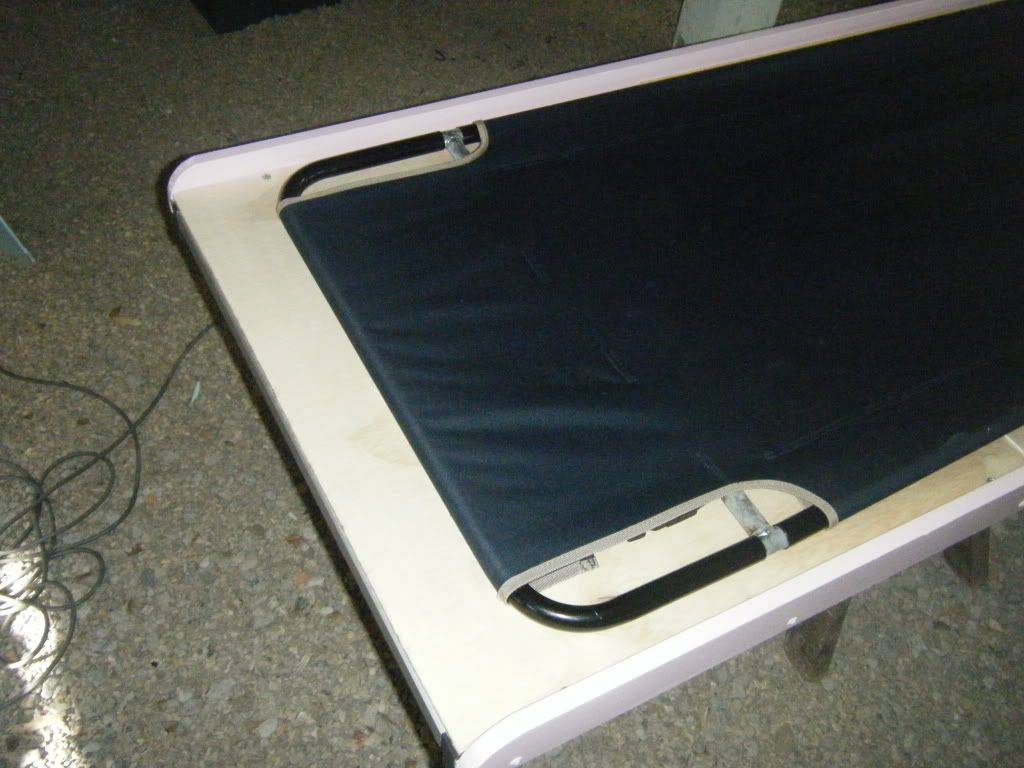
This question struck a chord with Mrs HALPS and I as every time we go on holidays in the Capricorn I have to put together those camp-stretcher-type bunks. See below...
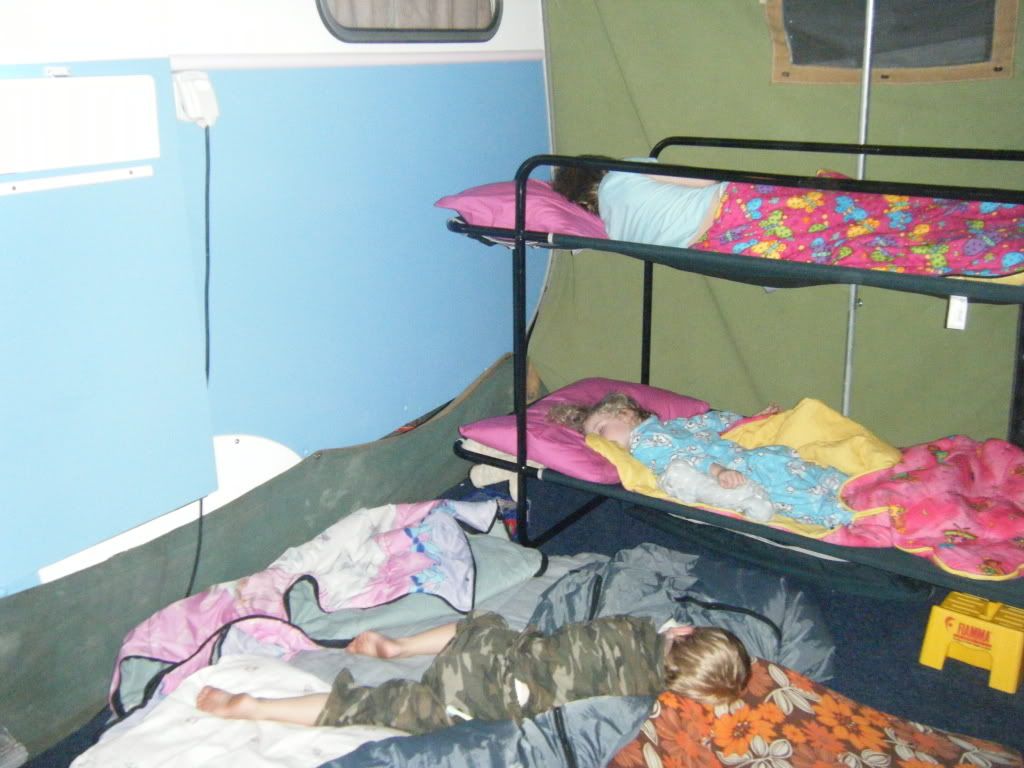
Any person that can put these bunks together, without swearing, smashing a finger or wanting to shove one of the poles up someone's a##

is a saint. I need a counselling session and a lay down every time I do it.

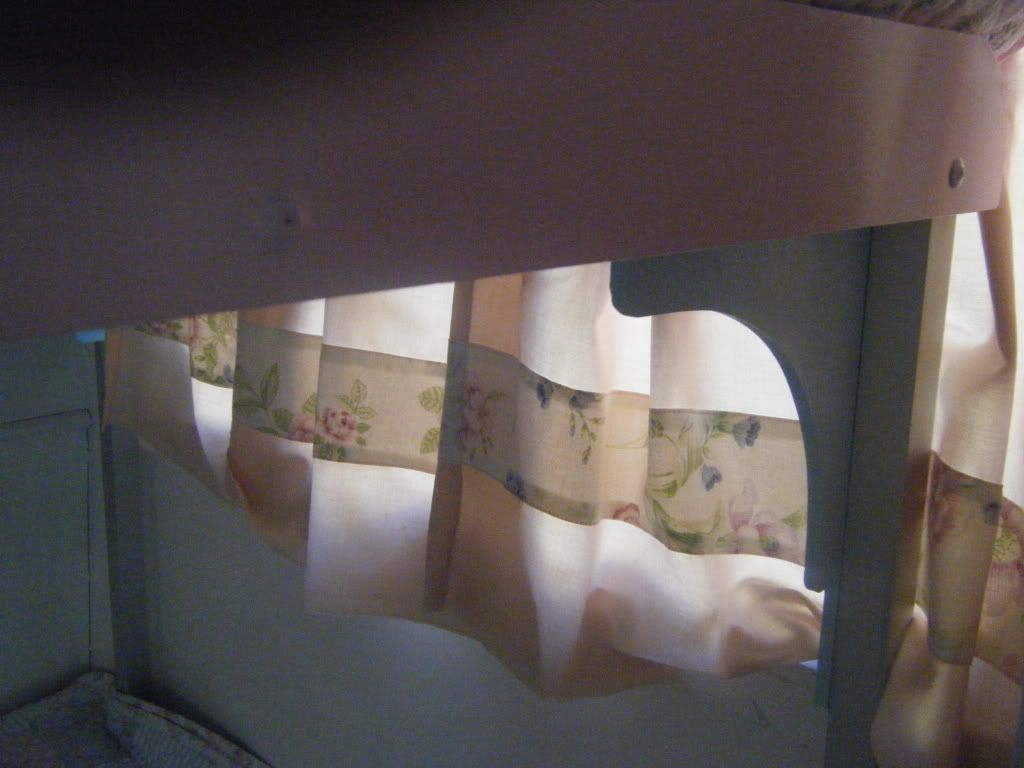
This is the area that we had to work with in the Capricorn...
Here is what I did...
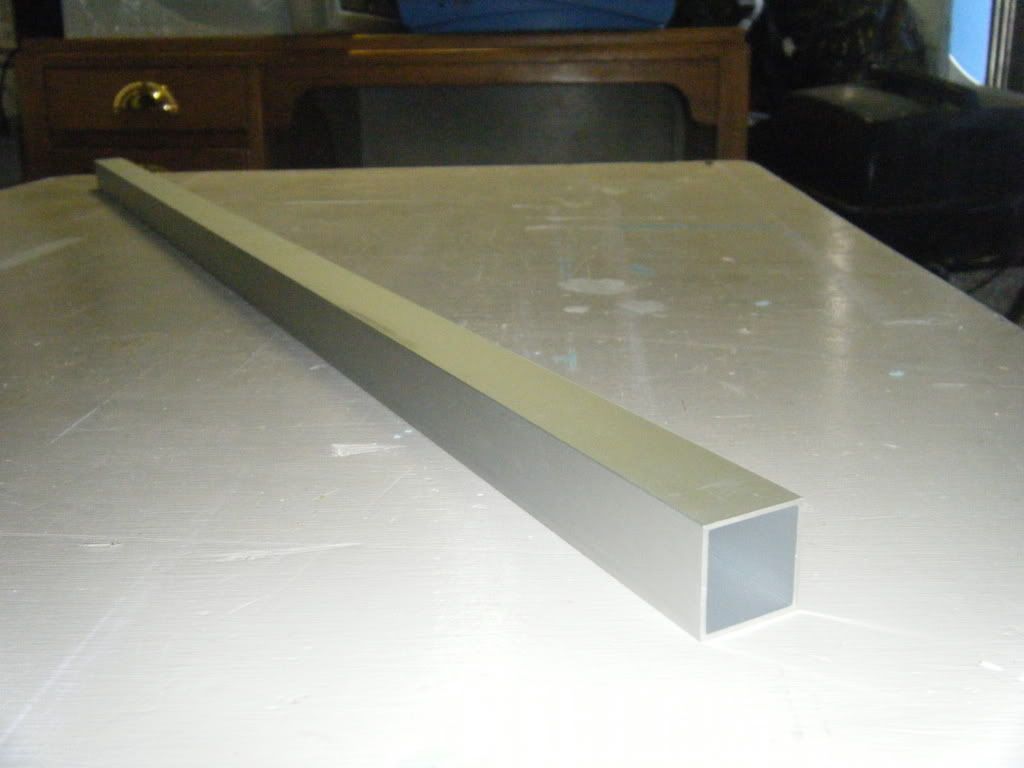
You can go to the
"Big Green Hardwear Store" and they have a product that "clicks" securely into place. This allows you to build a multitude of box sections that are very light and pretty robust. I bought several sections of aluminum and "T"/"Corner" plastic sections to fit the plan that I had drawn up. Below is the aluminum section with a shot of the corner piece

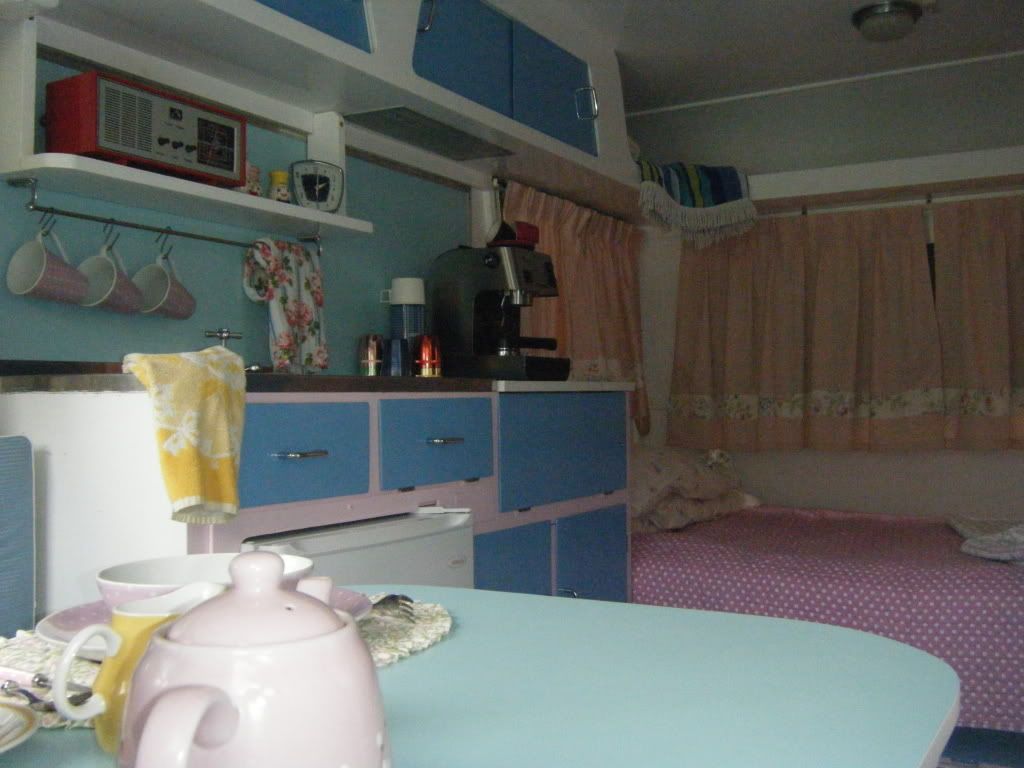
I lined the bed area in 9mm ply as it is only going to hold the weight of my kids aged 7, 5 & 4.
I had to take into consideration the following:
1: I was given some advice that kids get the best out of bunks if they can comfortably sit on them (I measured the height of my kids to get an idea of where to place the top bunk...830mm from the
base of the double bed)
2: I have to take into consideration access to widows and fly screens
3: Safety...kids need to feel and be secure
4: They need to be wide enough to have a comfortable night sleep and long enough to cover growth spurts
5: Weight: the camp bunks weigh 23kgs (the bunks that I built weigh 16kg)
I measured the width of the van and knew if the system worked by "clicking" into place, strength would come from a snug fit. The bunk is tight against the internal walls. Below is a shot of the underside of the bunk. (800mm wide...the same width of my mattress from my swag which will be used to place on top of it)
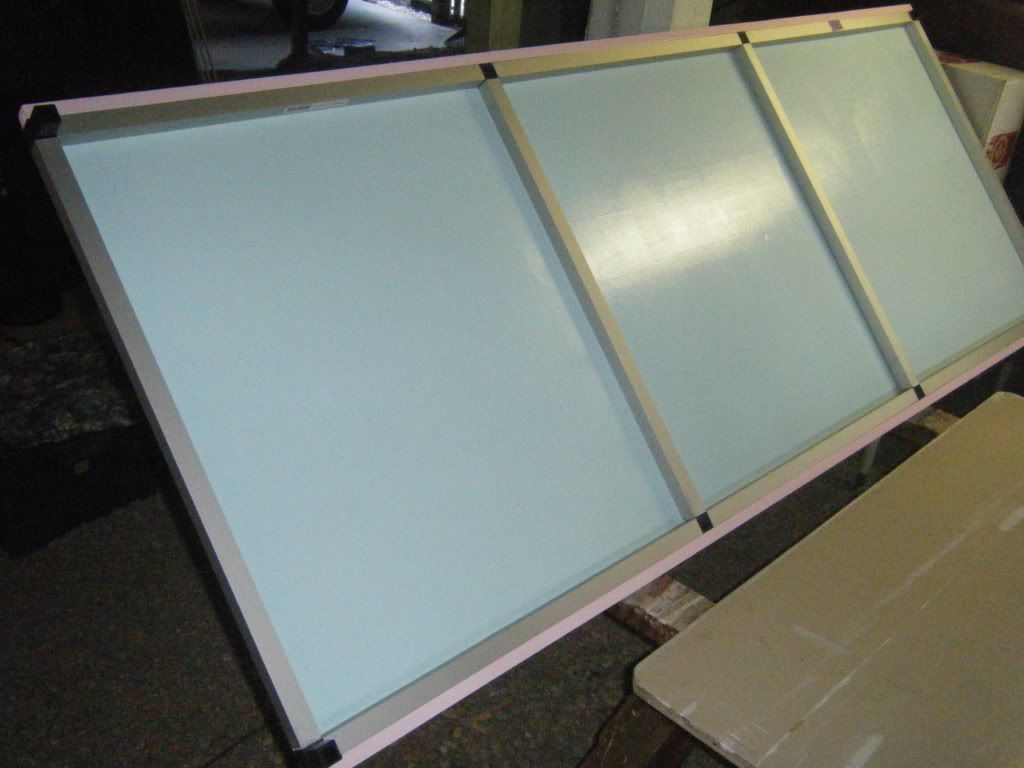
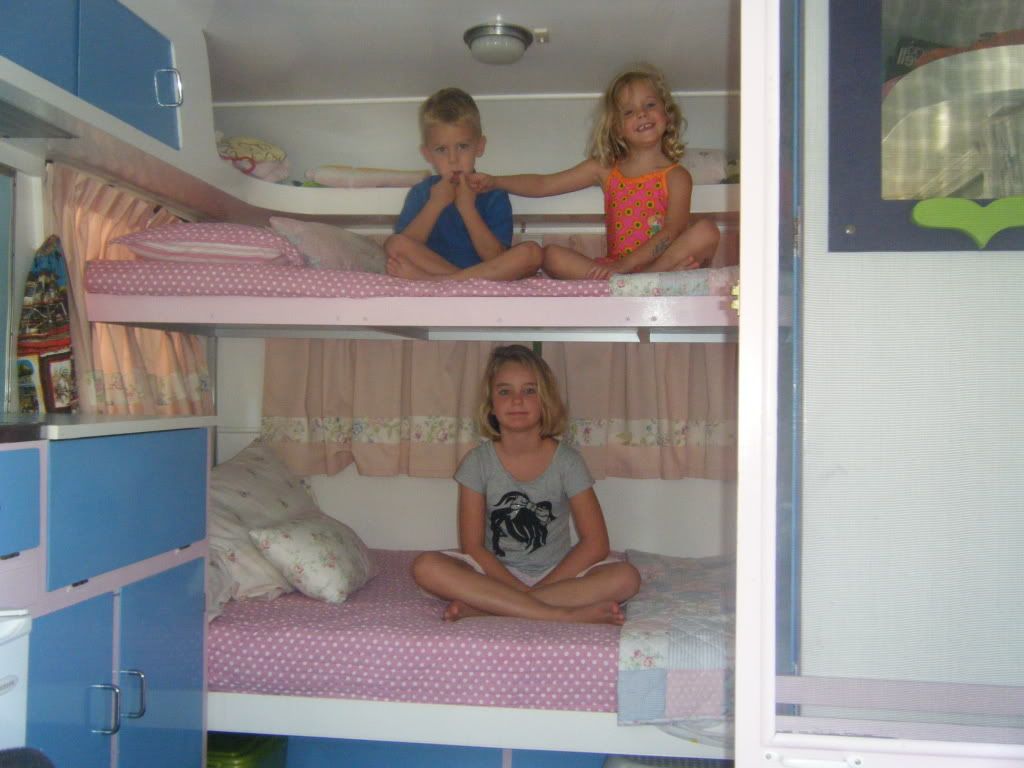
You can see in this image the new bunk is larger than the existing ones that we have used.
I attached legs to the bunk that would rest against the base of the "double" bed below it. I reinforced the ply double bed base with another layer of ply (about 15mm this time from some off cuts). I also attached two pieces of recycled pine (old floorboards from the demo yard) to add strength, hold the mattress in place and to make it more pleasing to look at rather than the aluminum edge.

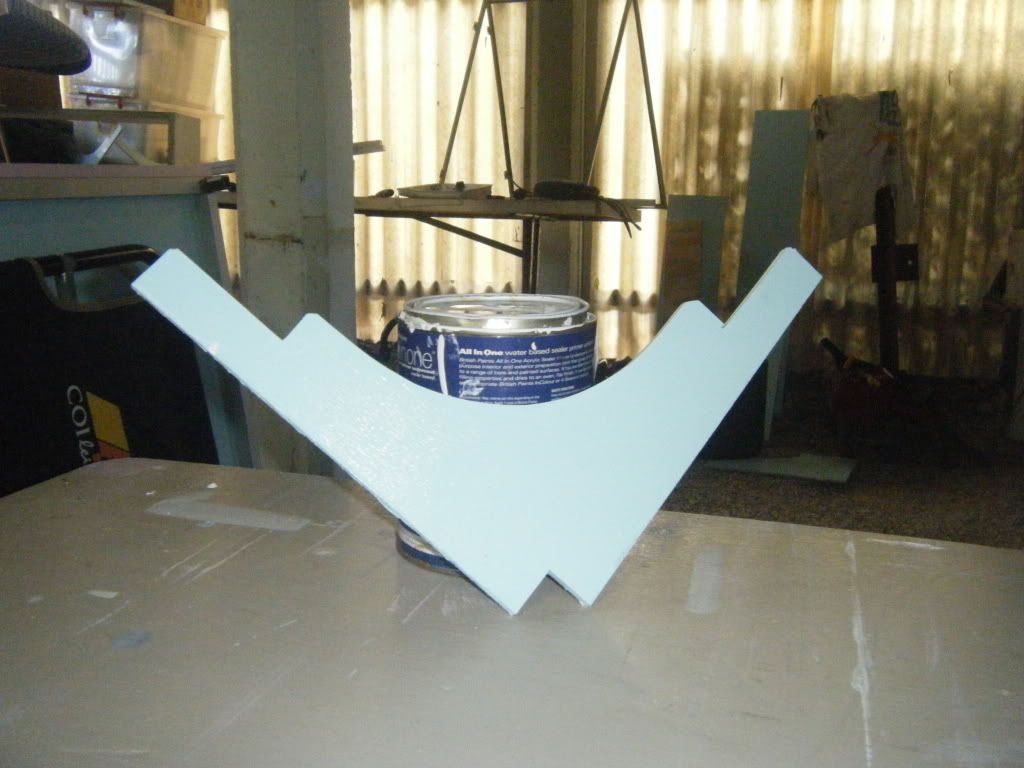
I constructed some corner brackets to again add strength to the bunk out of off-cuts from the 9mm ply.
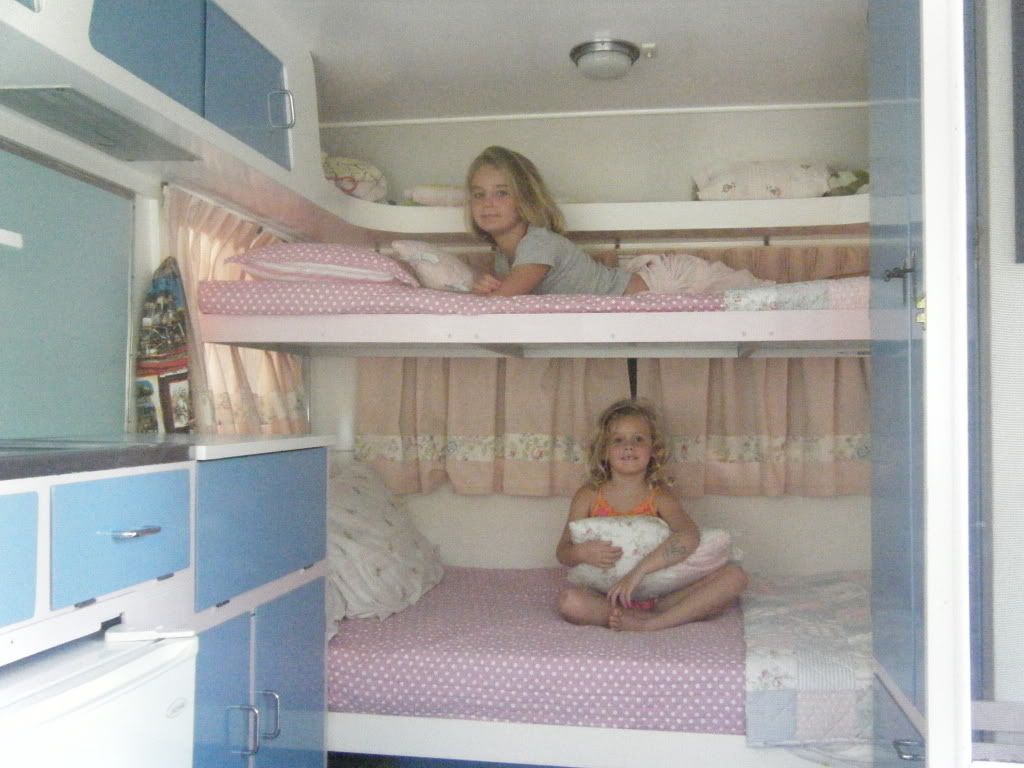
Below is a shot of the final product (without the canvas safety sling for the top bunk)
And here is a shot of the corner bracket in place
In the future I might add some timber to cover the aluminum legs..
TOTAL COST $129.50 (this could be done for a cheaper amount if you have the equipment to cut the ally sections yourself. I paid for the cuts to be done at the shop to my measurements.
REMEMBER if I can do it...anyone can.
Finally here is a shot of my son attempting to pull a face, just before he pushed my daughter off the top bunk and "claimed" it as his

Vintage vanning...it is all good fun ;D
HALPS
Brisbane


 is a saint. I need a counselling session and a lay down every time I do it.


 I am very impressed

