|
|
Post by jp63 on Dec 26, 2018 15:57:22 GMT 10
I’ve always had a soft spot for these and I have said to the husband, if we ever are to get rid of the Harris Van its to be replaced with a Zestline. with the kids getting bigger it’s become apparent that our little Harris Van just isnt going to work for us anymore so the hunt for our next van began. We found this one complete with fins in Vic, the previous owners had owned it for nearly 30 years and believe it to be a 1962 van. 17 years ago they parked it undercover stripped it out and used it as a bedroom while they where building their house and that is where it has sat ever since. 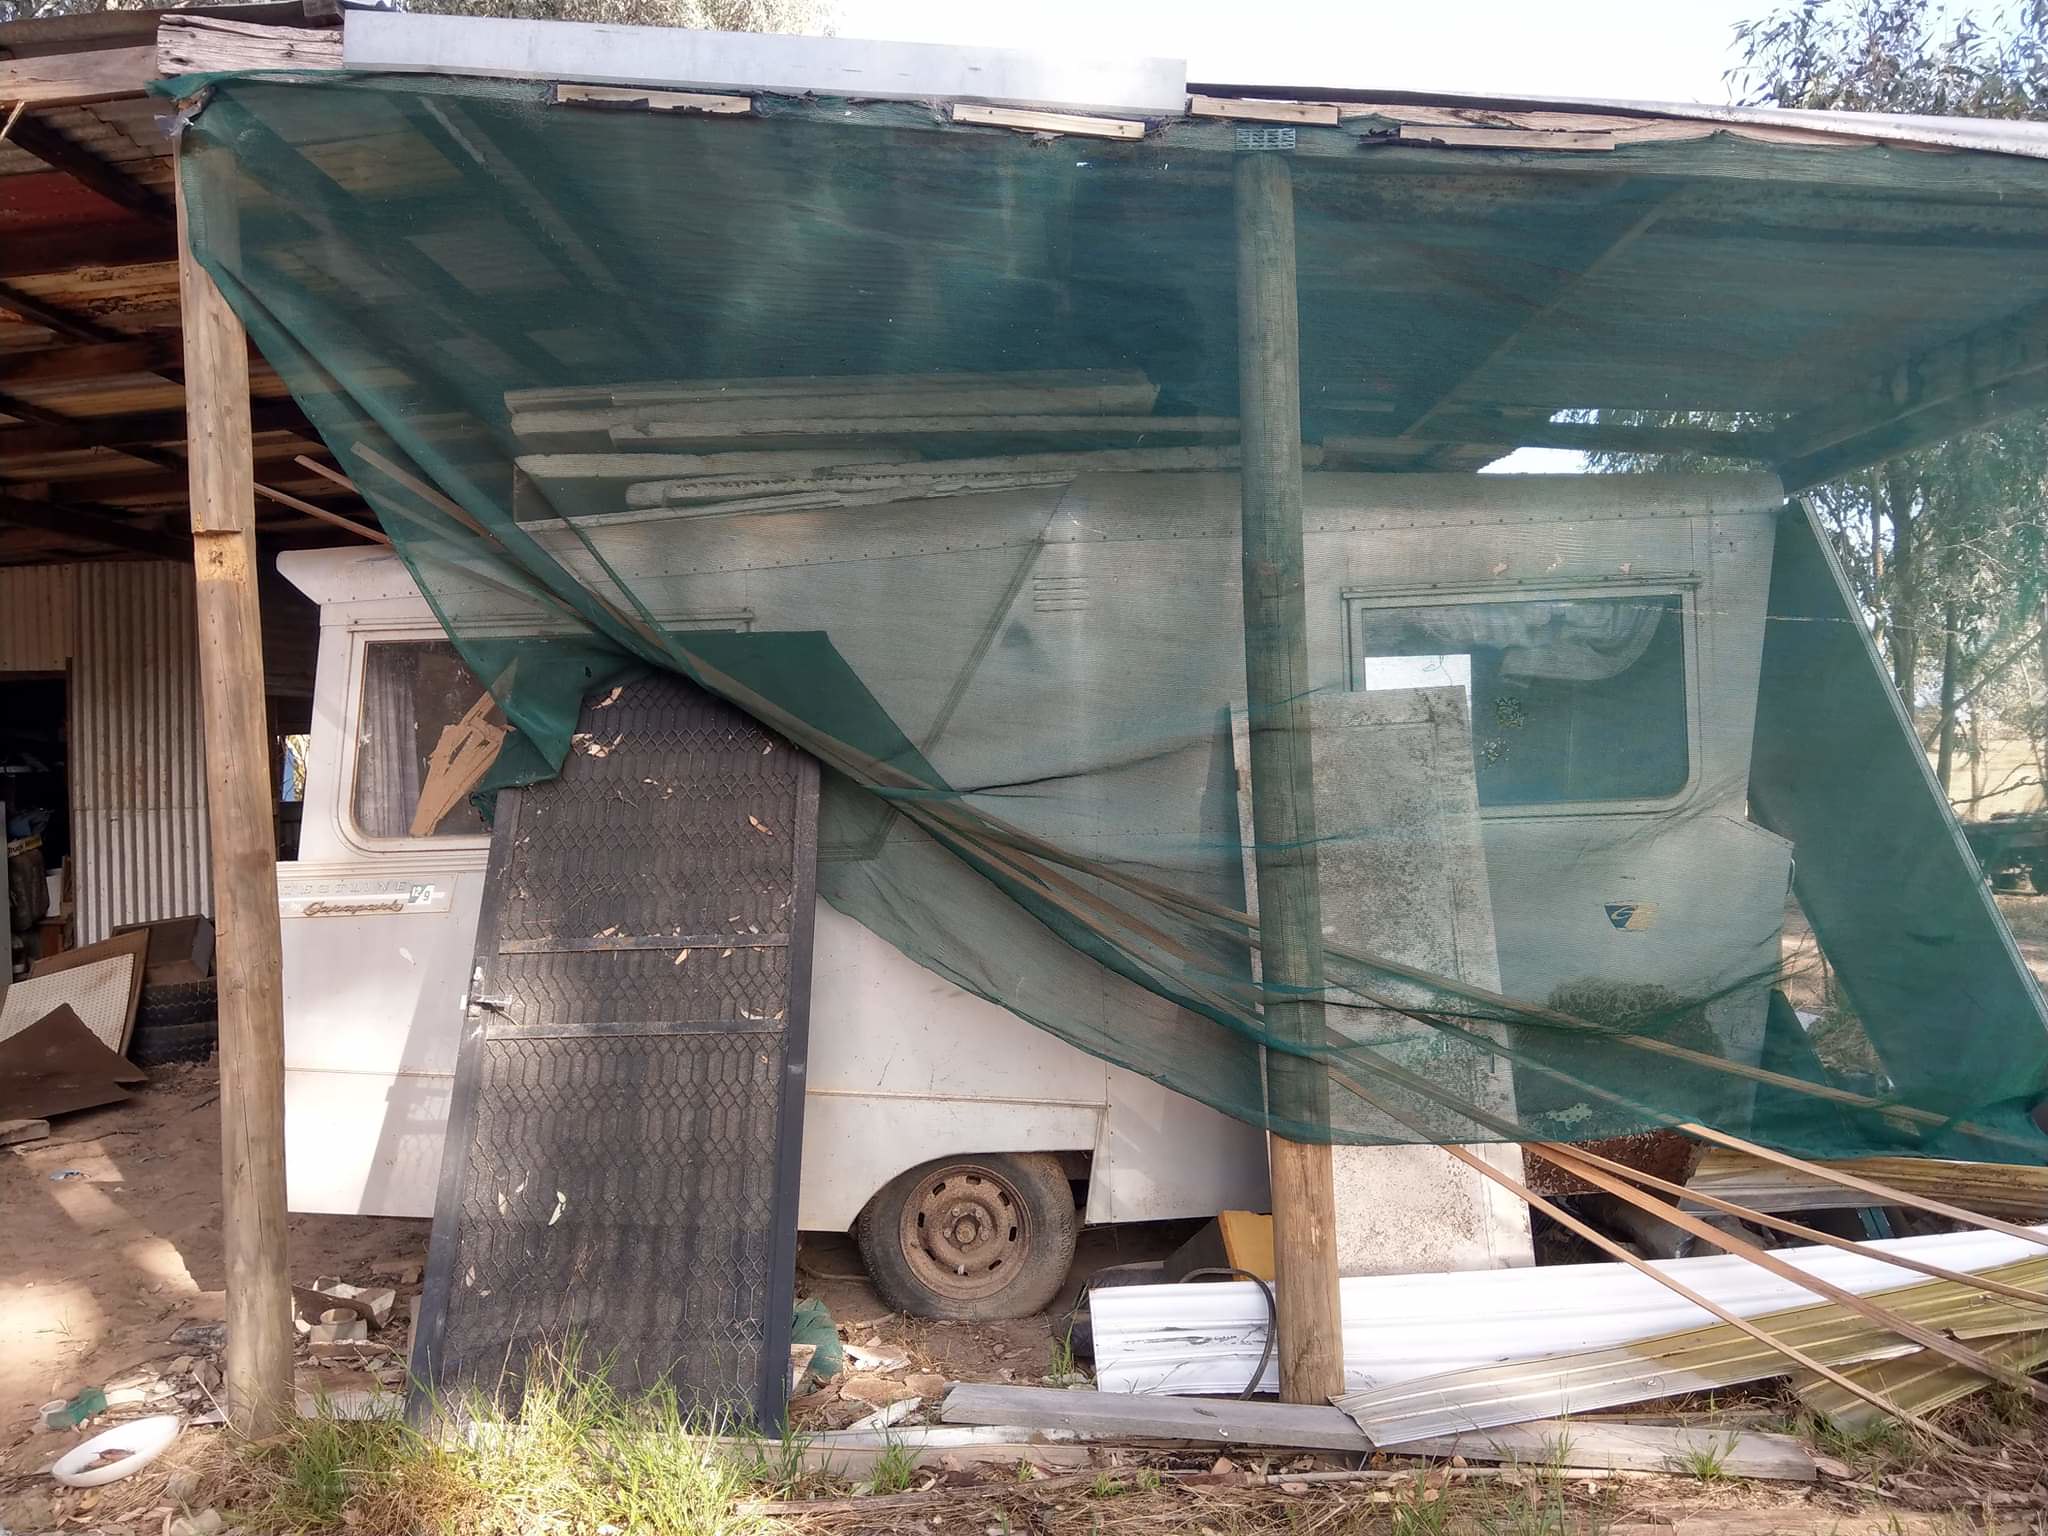 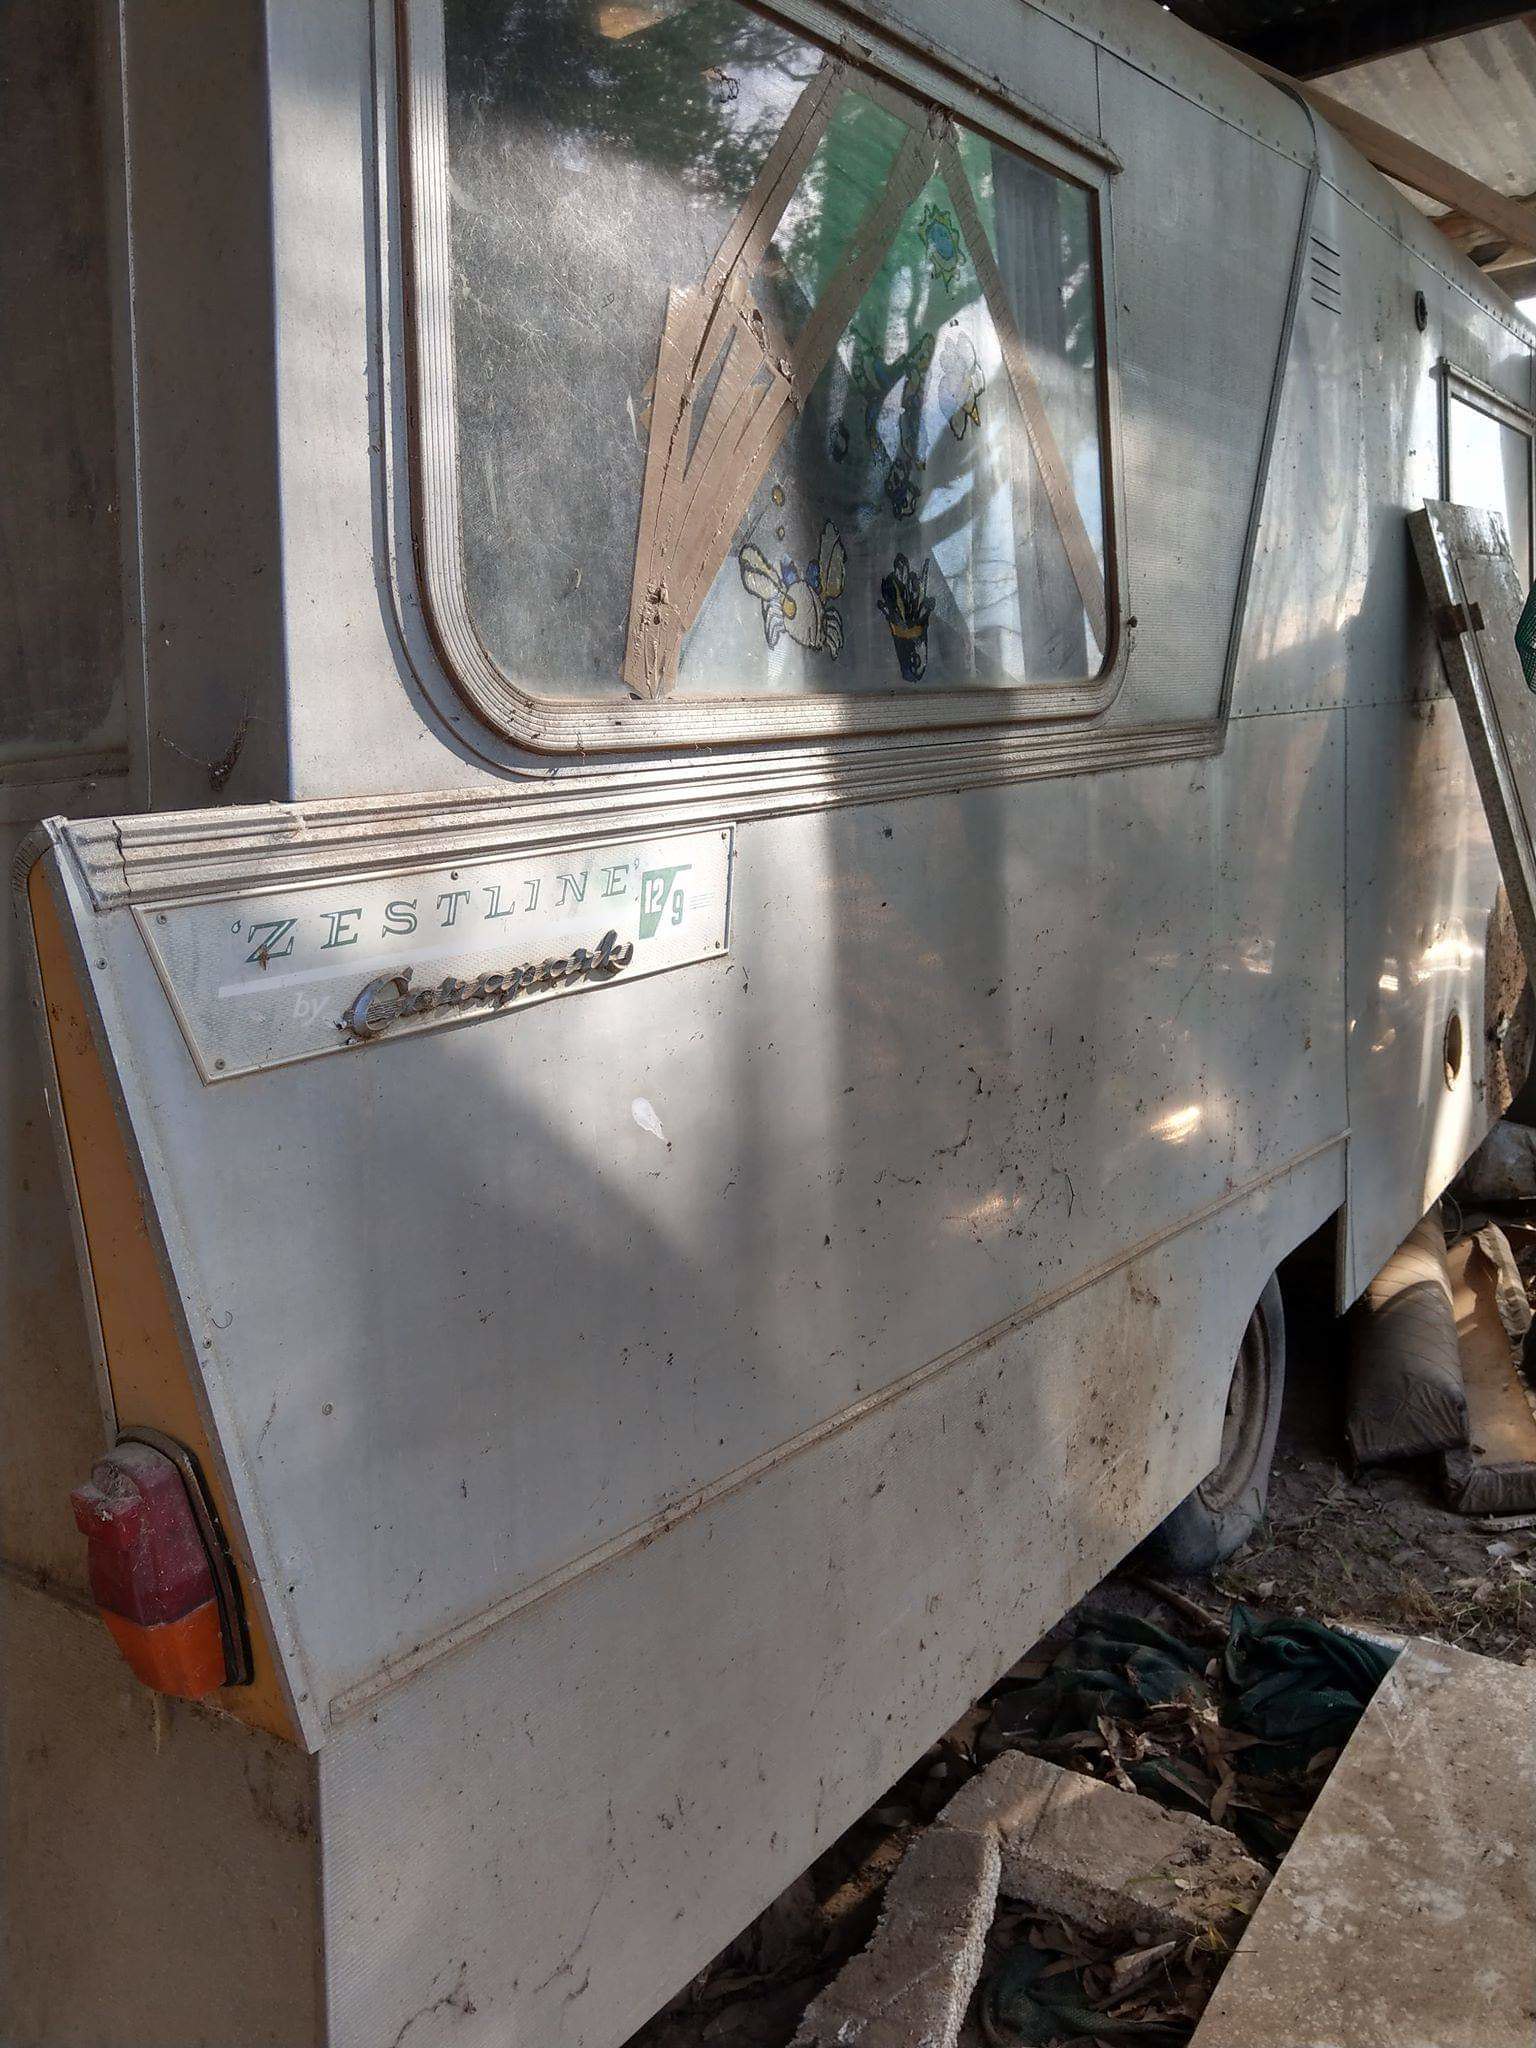
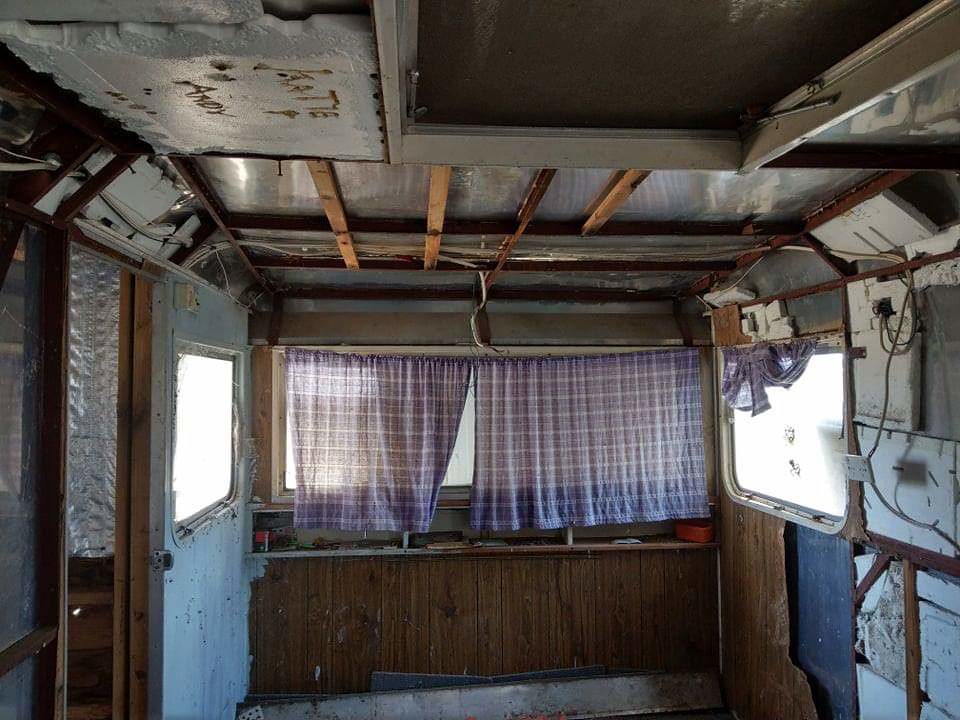 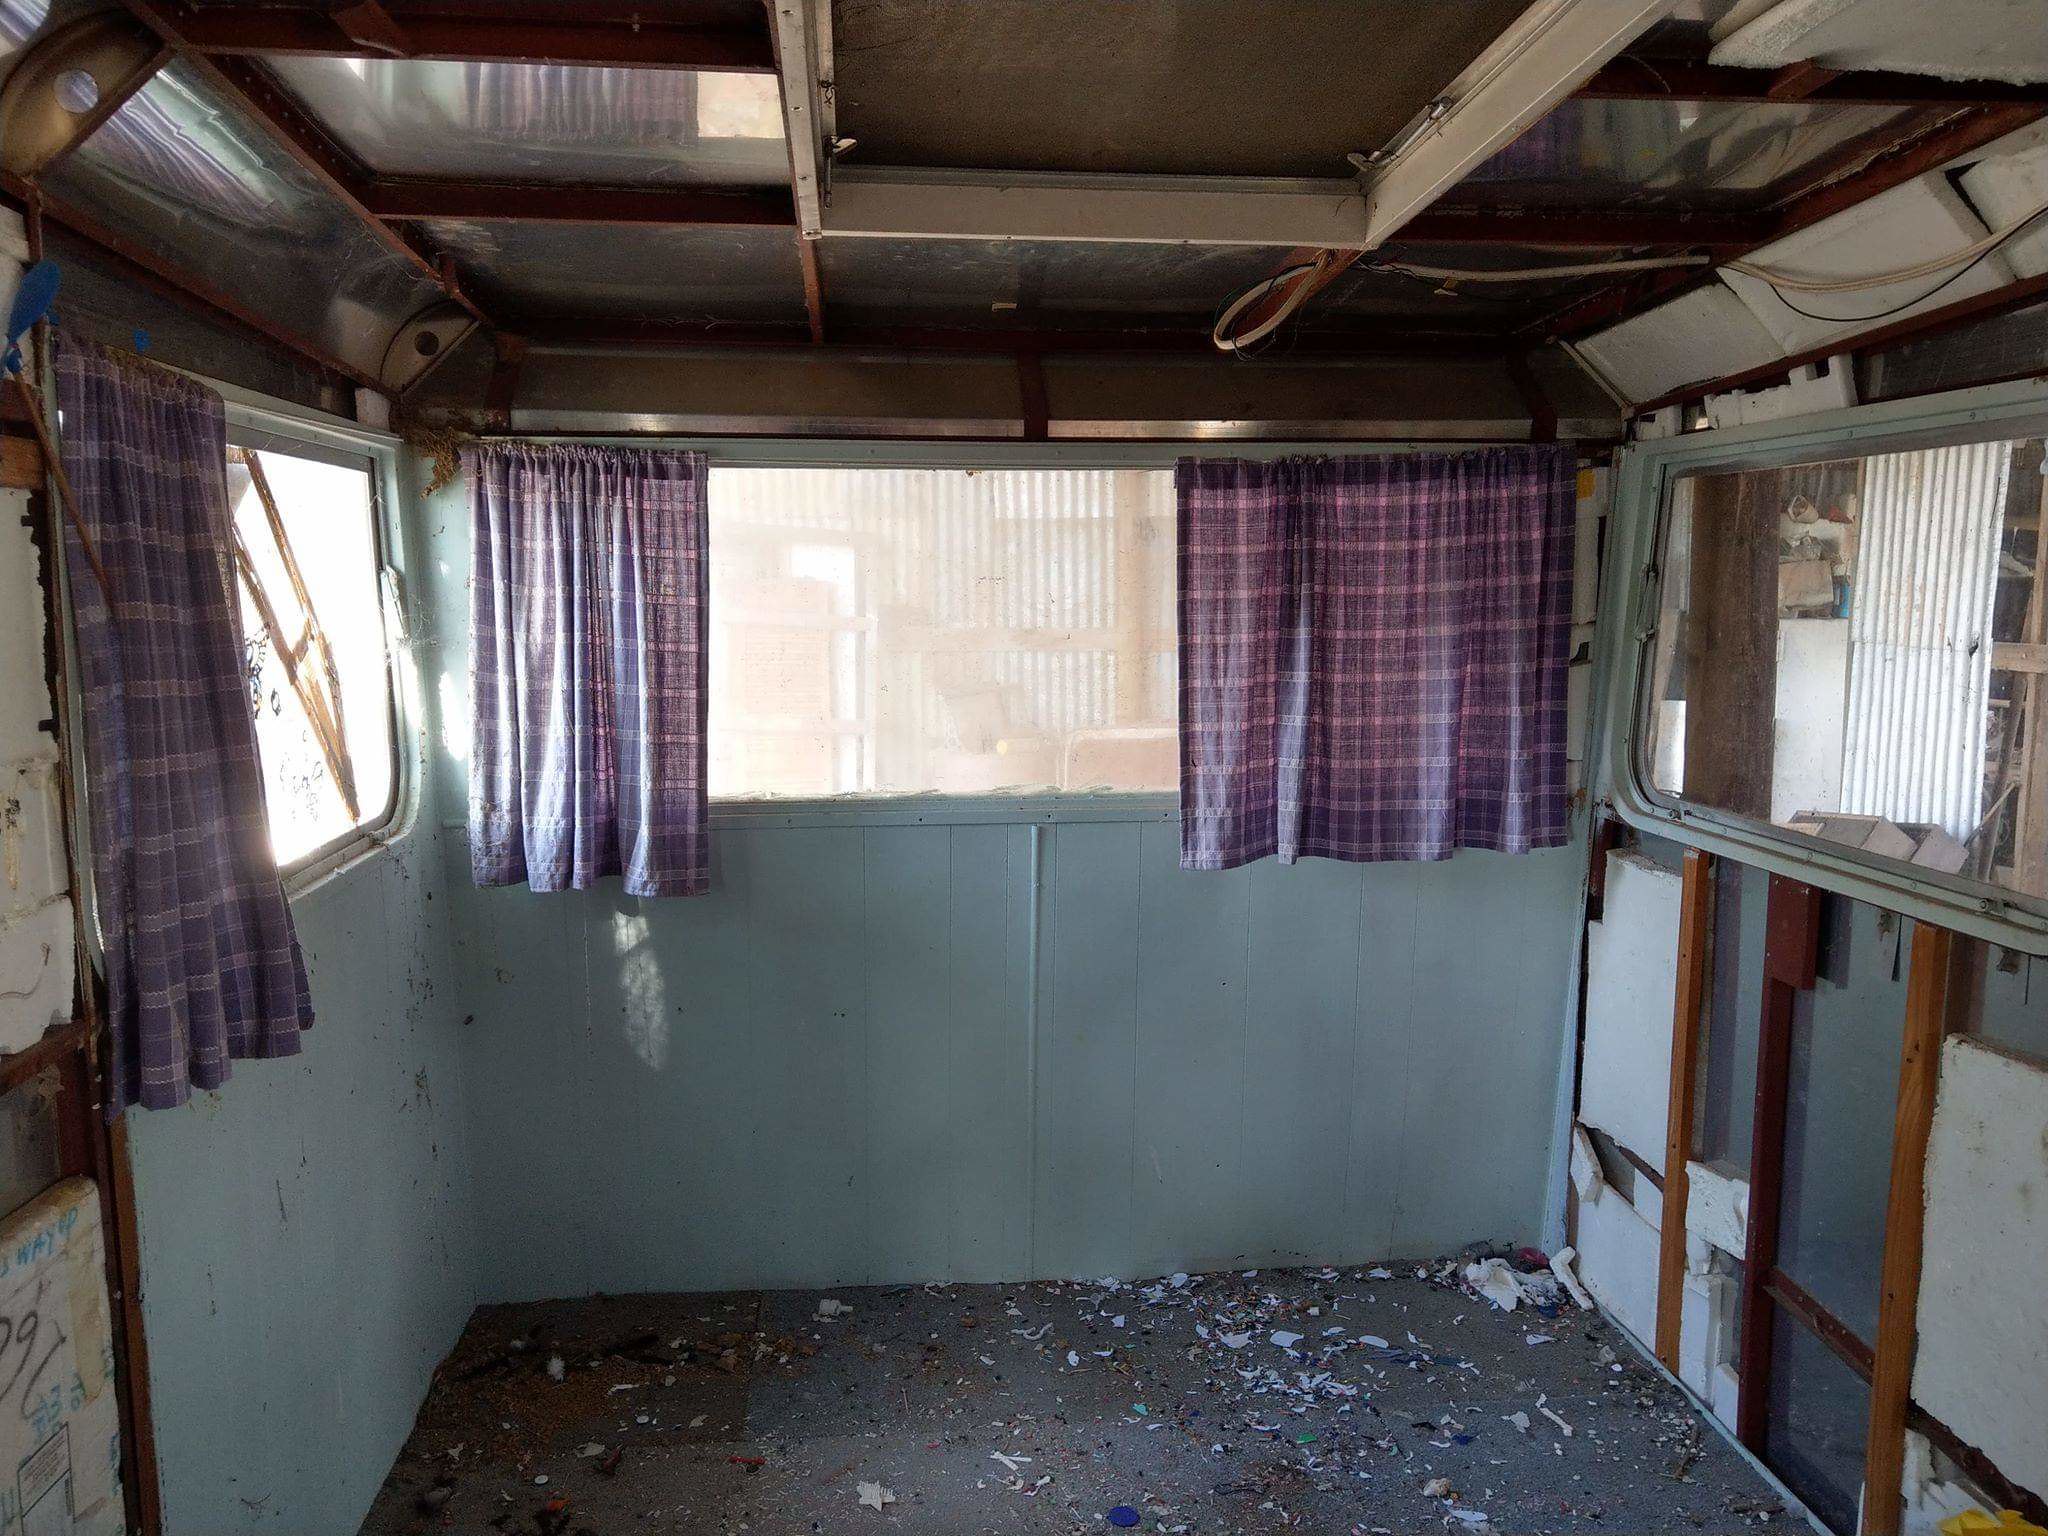 Deciding a stripped out van might actually be a better option for us and what we need as a family, (because we couldn’t bare to destroy an original van to make it work) we made the 20 your round trip to pick it up.  Despite being empty she towed well with the only hiccup being loosing some rivets out of the roof and having it start to lift, but a few screws later it was secured and we where on our way again. [/a] 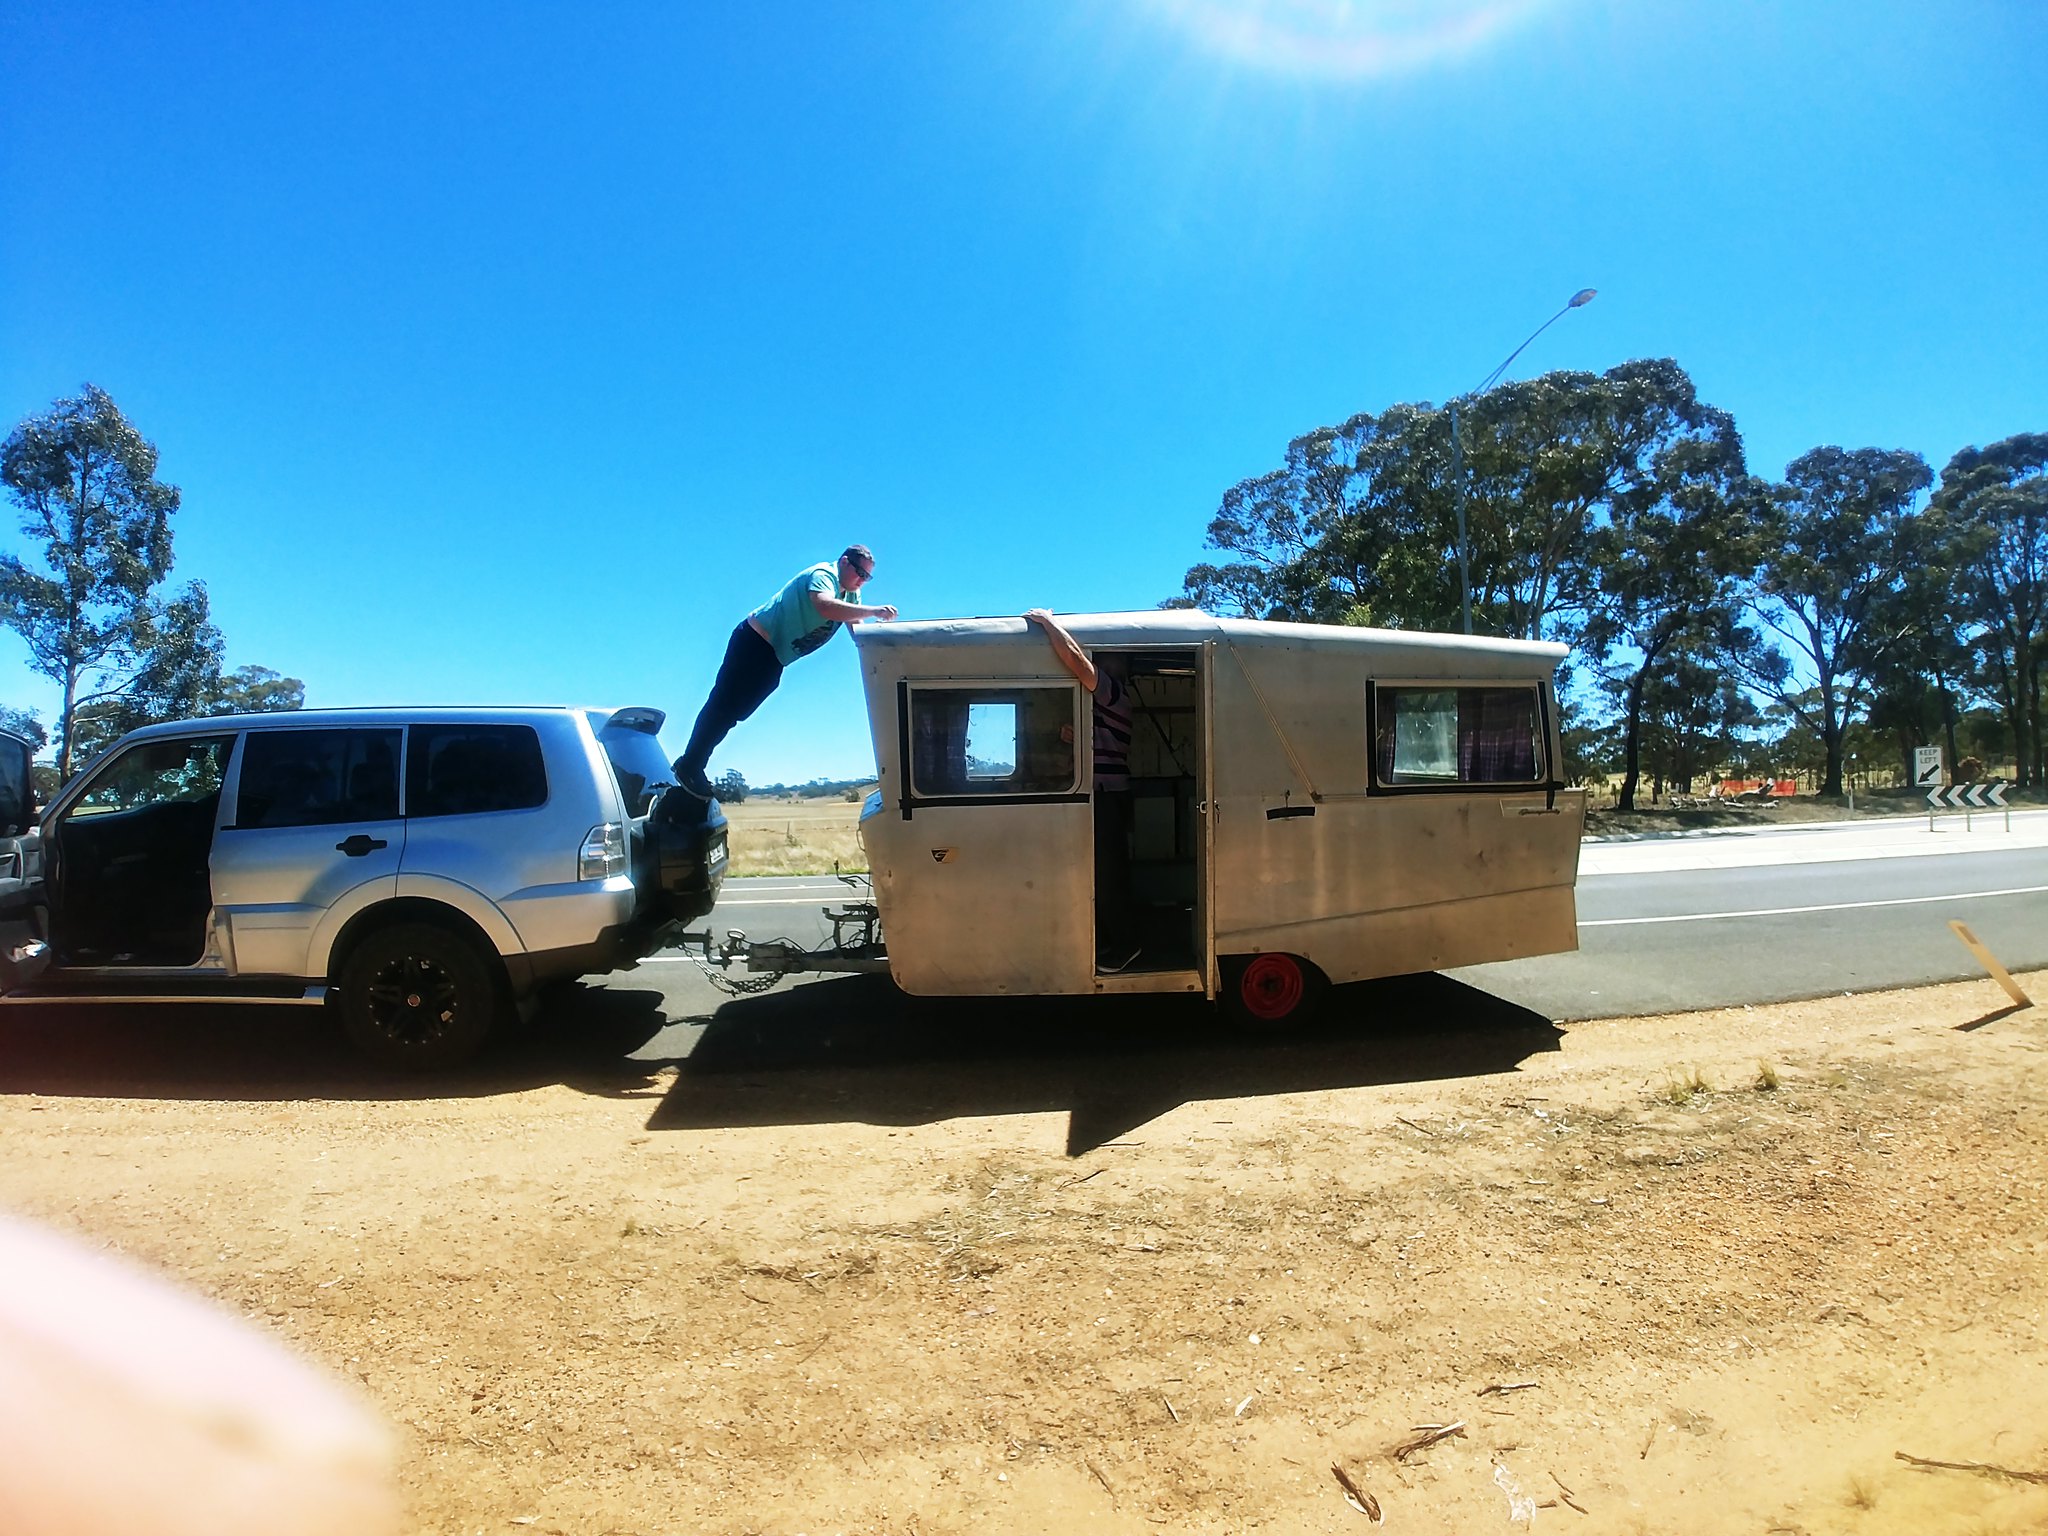 Once home, we gave here a quick clean and she is pretty straight and solid with all her stickers and badges still intact. [/a] 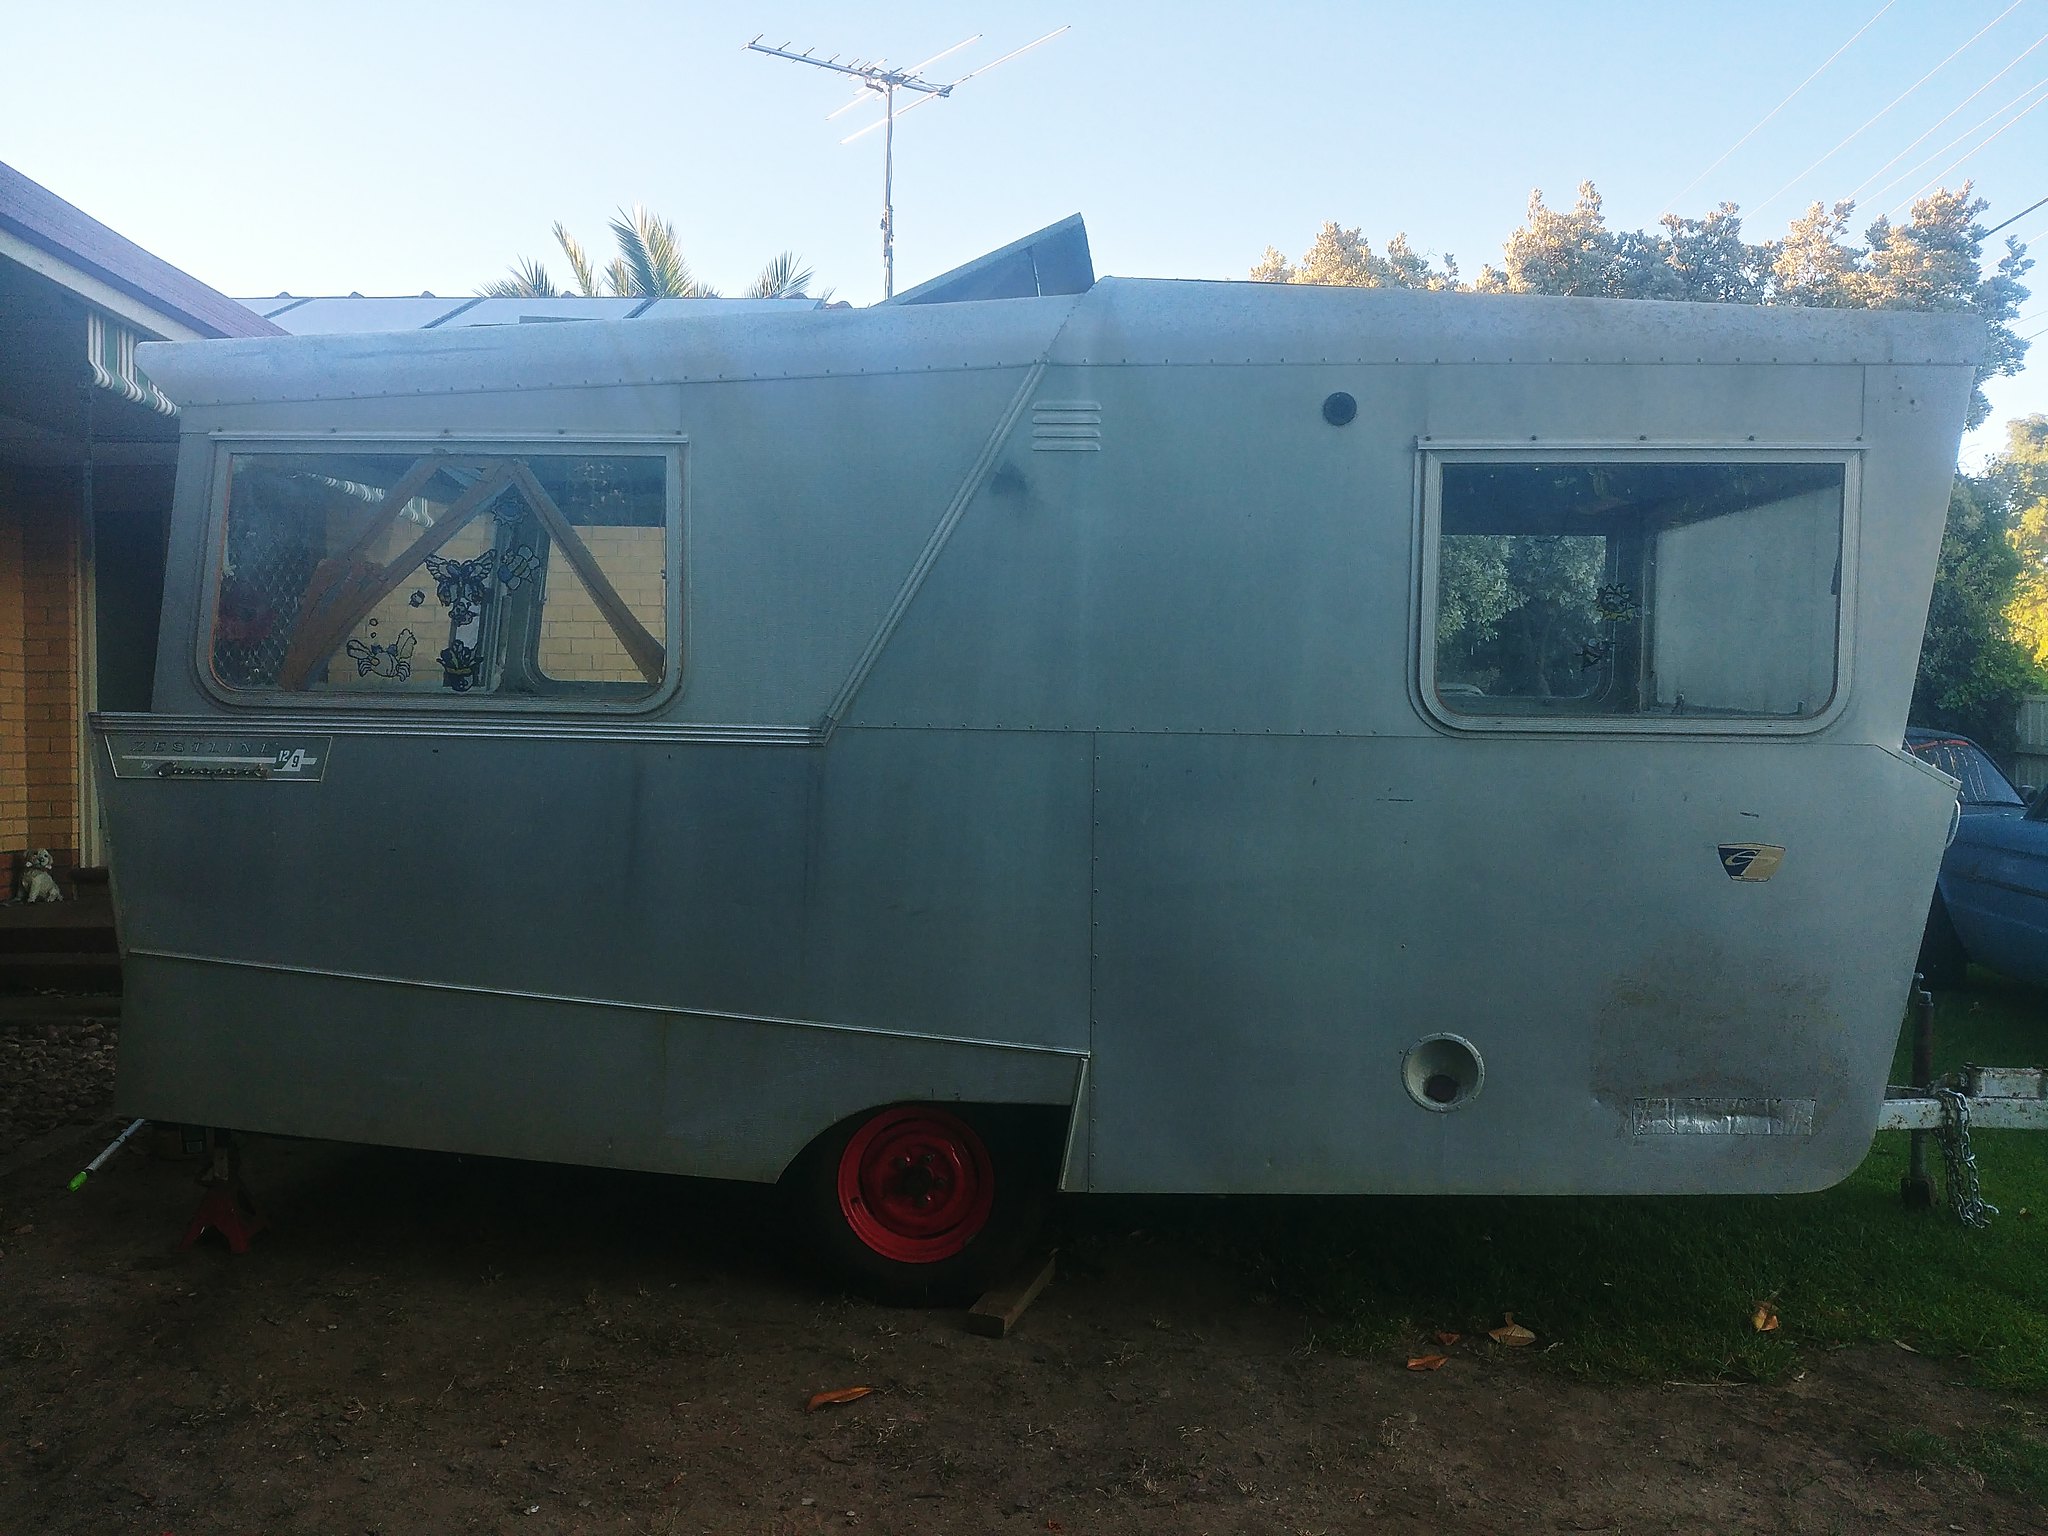 The only thing is a slice in the aluminium where something has been hit on the drivers side. The husband and I are in negotiations as to if we try to fix it or replace the whole panel (which would mean loosing the sticker and possibly having to do the whole van to keep it matching. 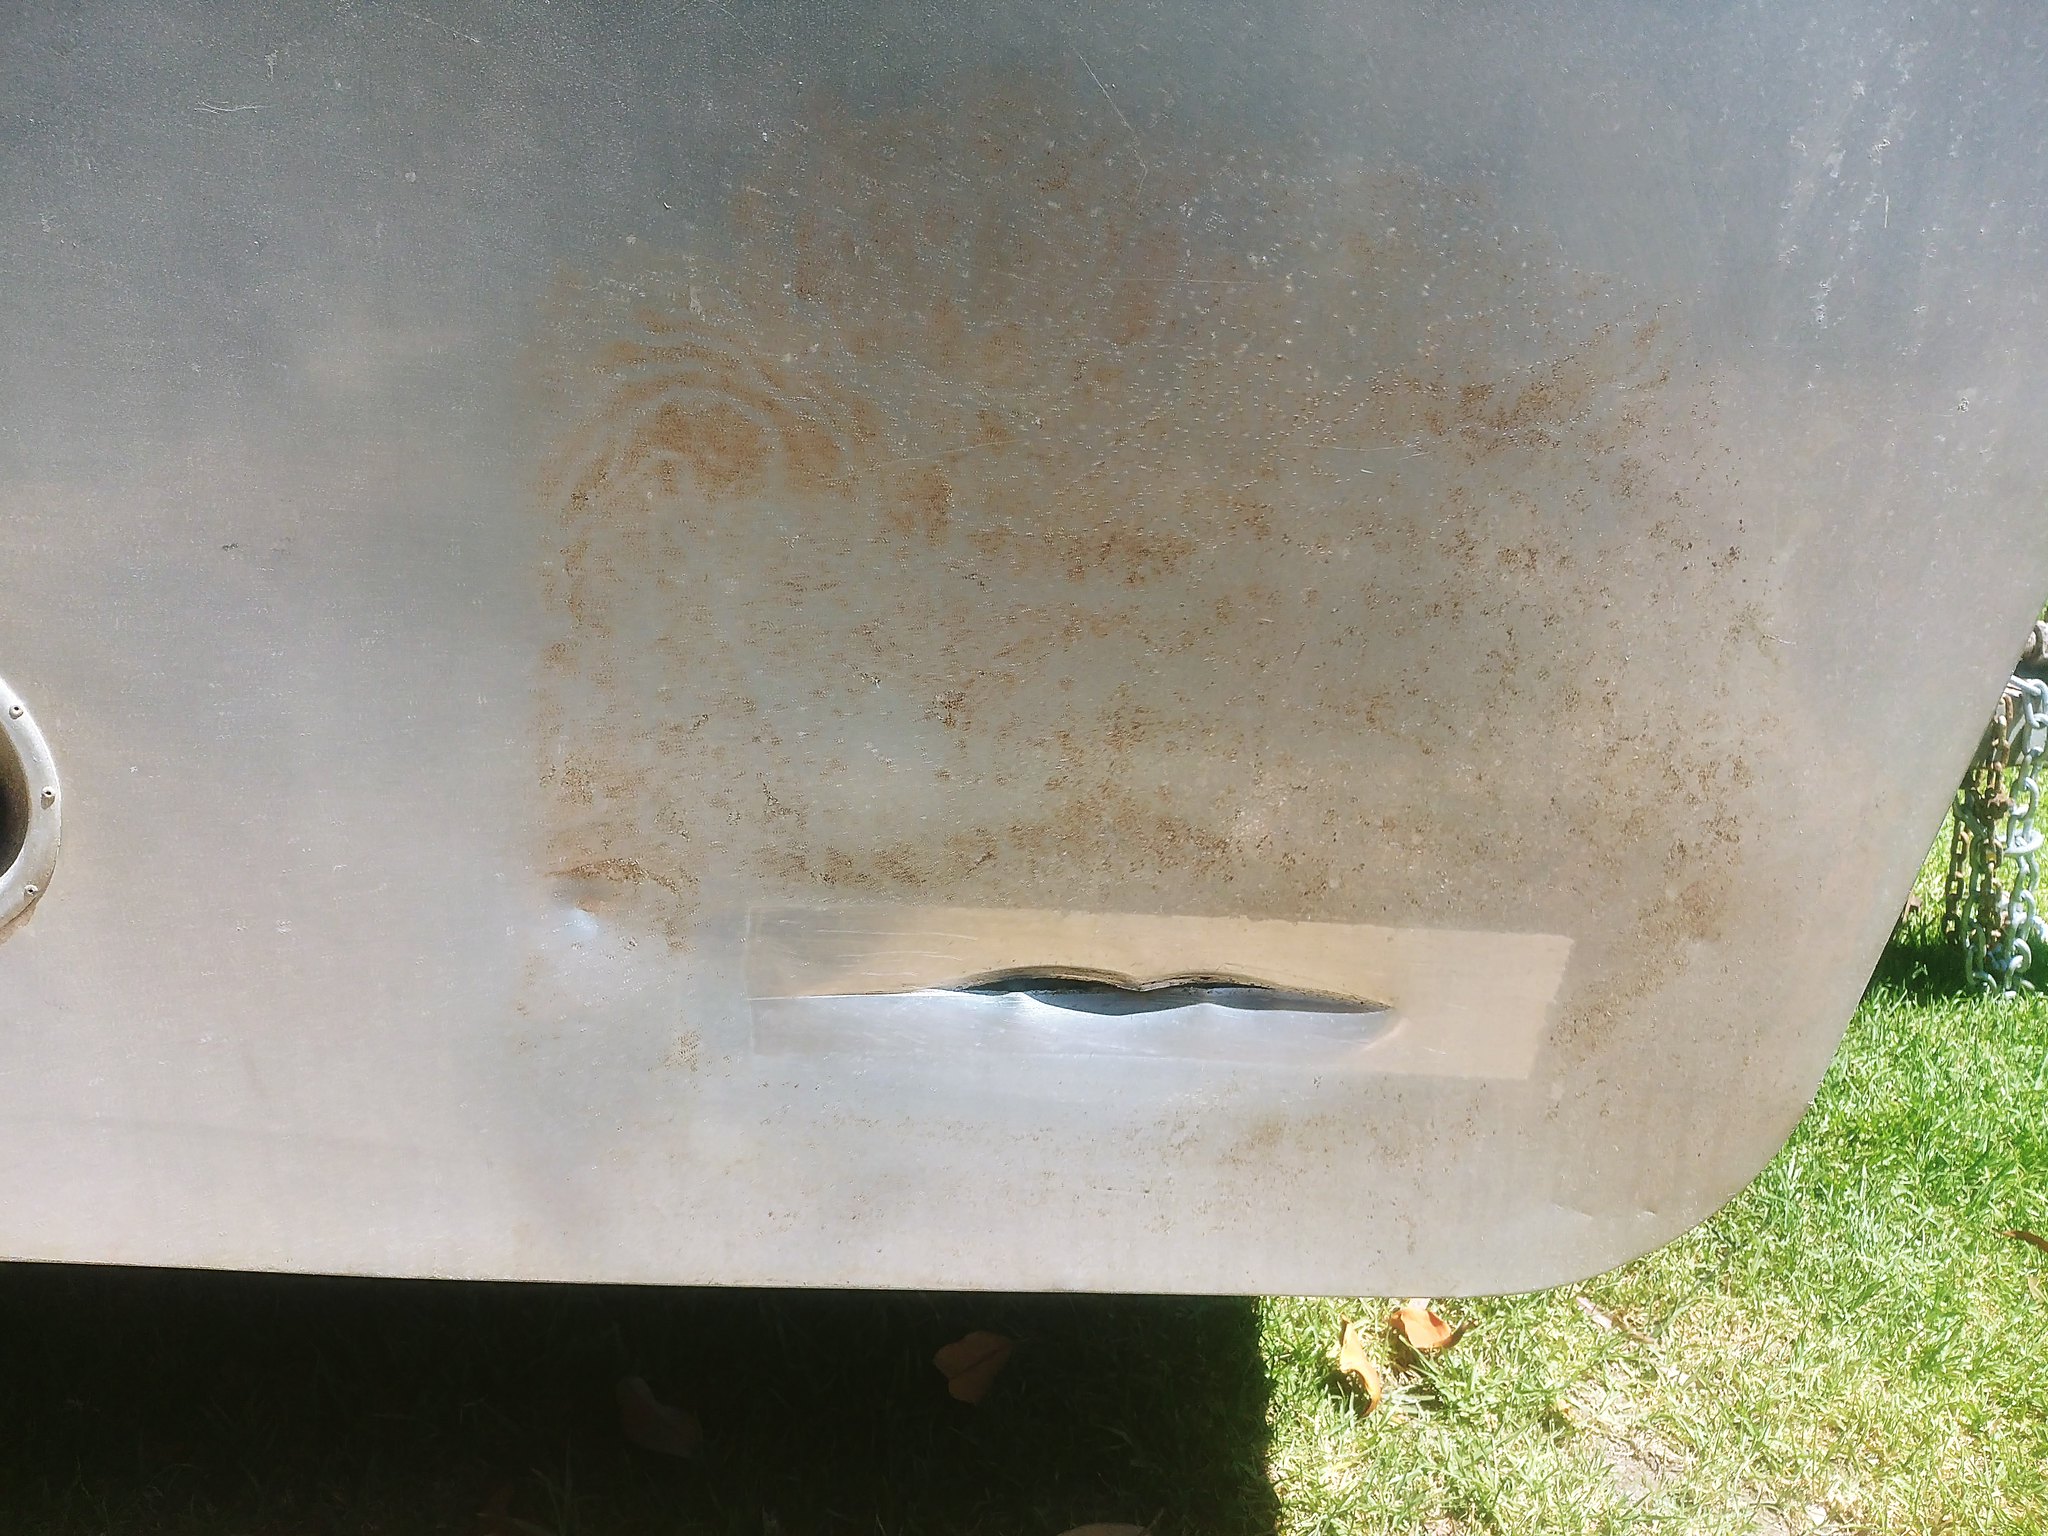 The plan is to refit the inside as close as possible to original but with a full double bed instead of the smaller than double that we have in the Harris, and somehow make up a stretcher type bed to go over the table when it’s lowered to accomodate both kids in a bunk bed fashion. Lots of work ahead of us, but one things for sure, despite if you love or hate Zestline, she’s going to look pretty good behind the Falcon. [/a] 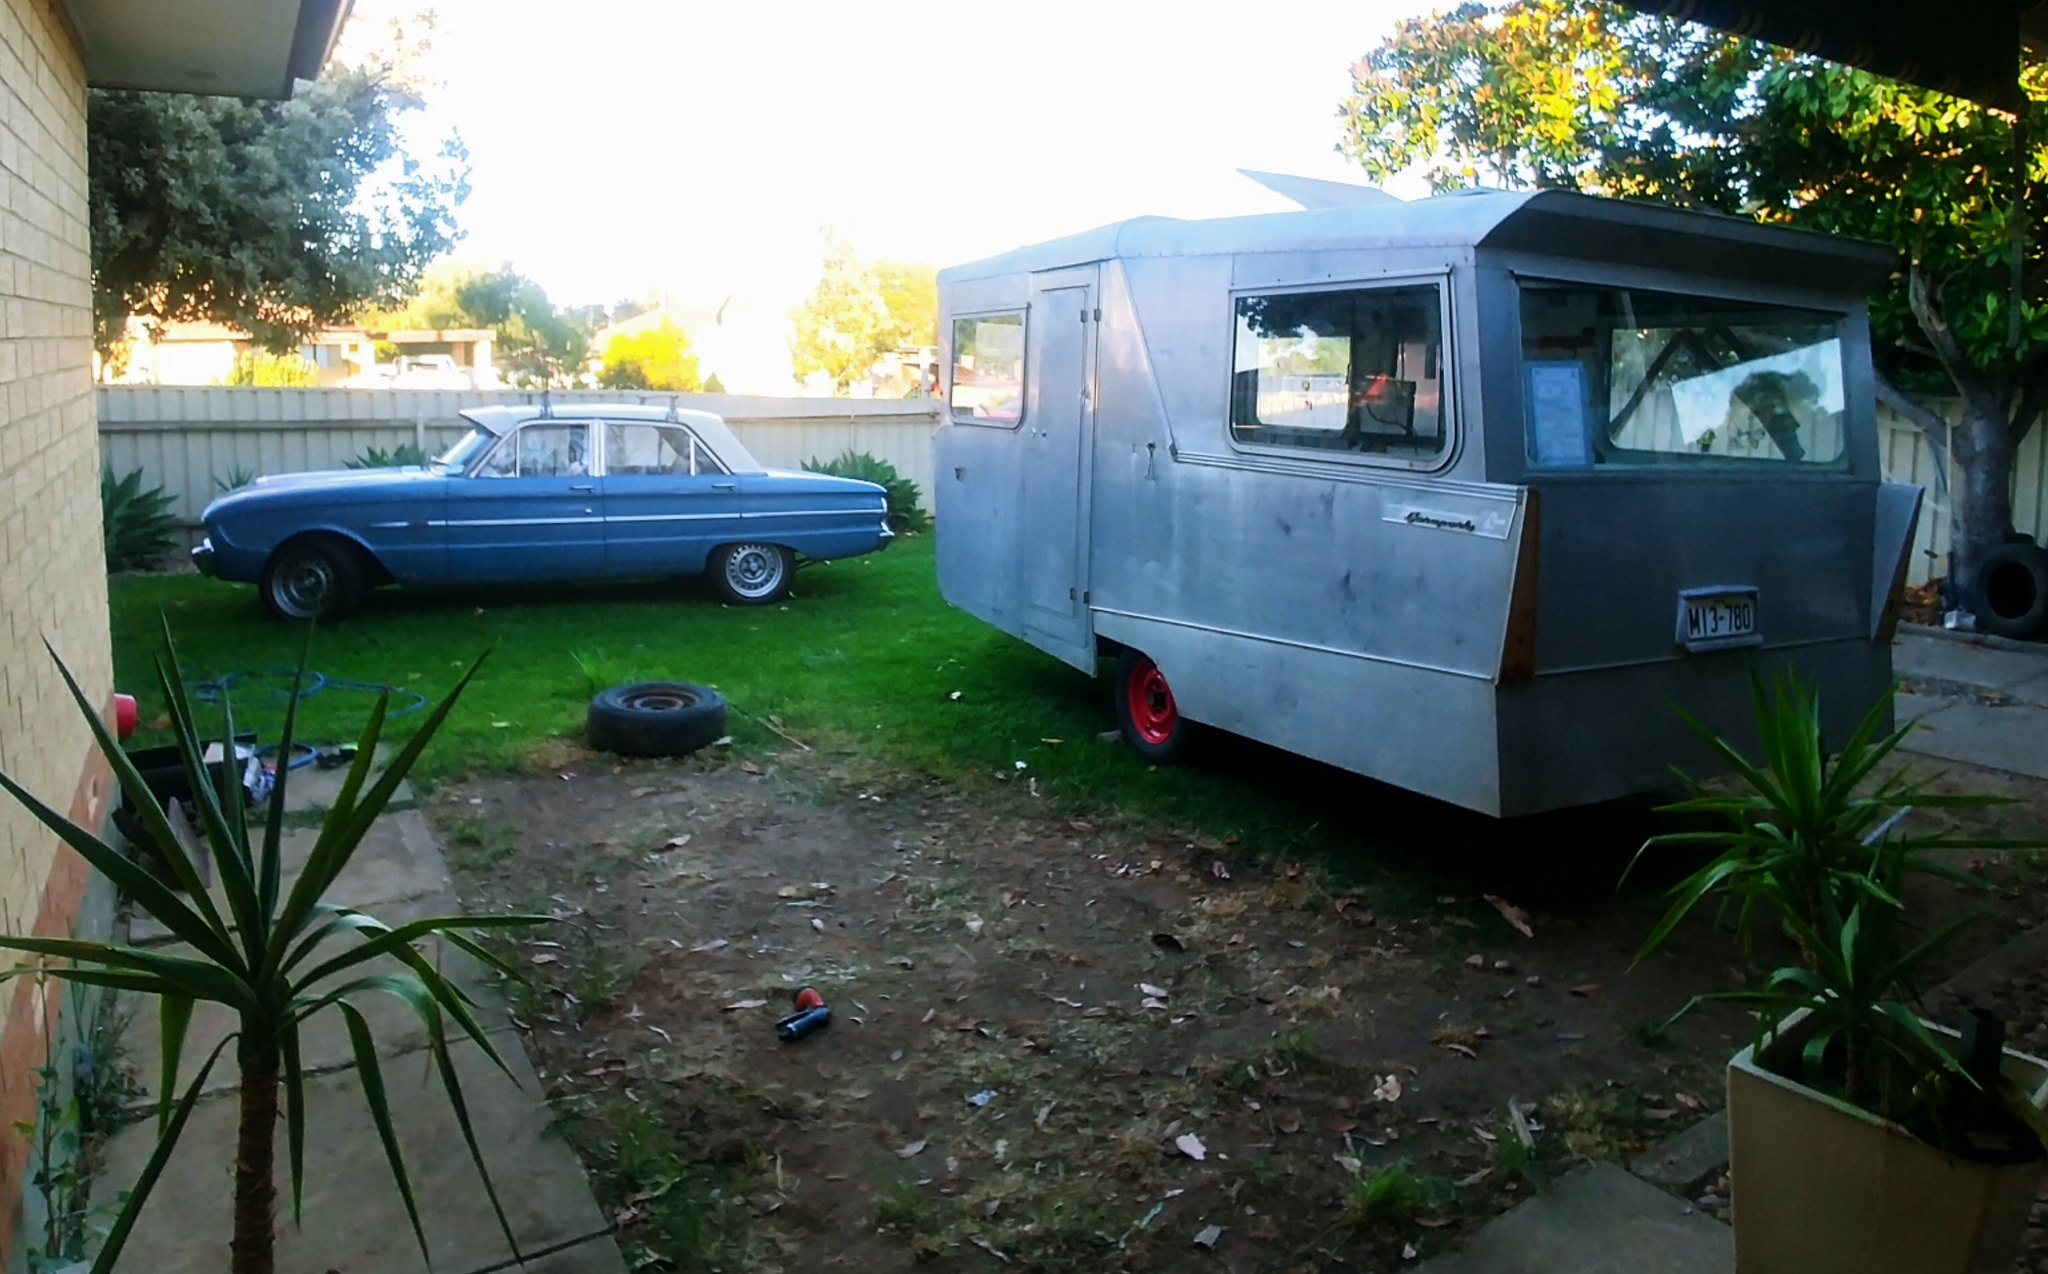
|
|
|
|
Post by aussieute on Dec 27, 2018 9:05:59 GMT 10
Take the photo's of the damage to some one that does aluminium or alloy boat repairs they should be able to fix it it is not too bad tap it out with a couple of hamers and weld it up Save replacing the side cheers chris
|
|
|
|
Post by Mustang on Dec 28, 2018 9:48:43 GMT 10
The area could also be sealed & disguised with a fridge vent. Aluminium sheet expands very easily when panel beaten.
If you want to get it back to original I agree with Aussieute & would seek professional help.
|
|
|
|
Post by jp63 on Dec 28, 2018 22:03:00 GMT 10
Thanks for the advice on the damaged panel, obviously We’d like to keep it if we can but a little worried about welding the aluminium as it’s so thin. But we will see what we can be done
|
|
|
|
Post by jp63 on Dec 31, 2018 15:45:21 GMT 10
|
|
|
|
Post by jp63 on Jan 7, 2019 8:55:07 GMT 10
Another week gone and a bit of progress on the van. Our original plan was to do the floor next, we got as far re painting the chassis before we decided that we would be better off cleaning and resealling the outside first. After a weekend of scrubbing and polishing we are only half done. Our process has been a good scrub with CT18 then a light buff with jiff to remove some of the remaining build up and then finished off with purple polish applied by hand. 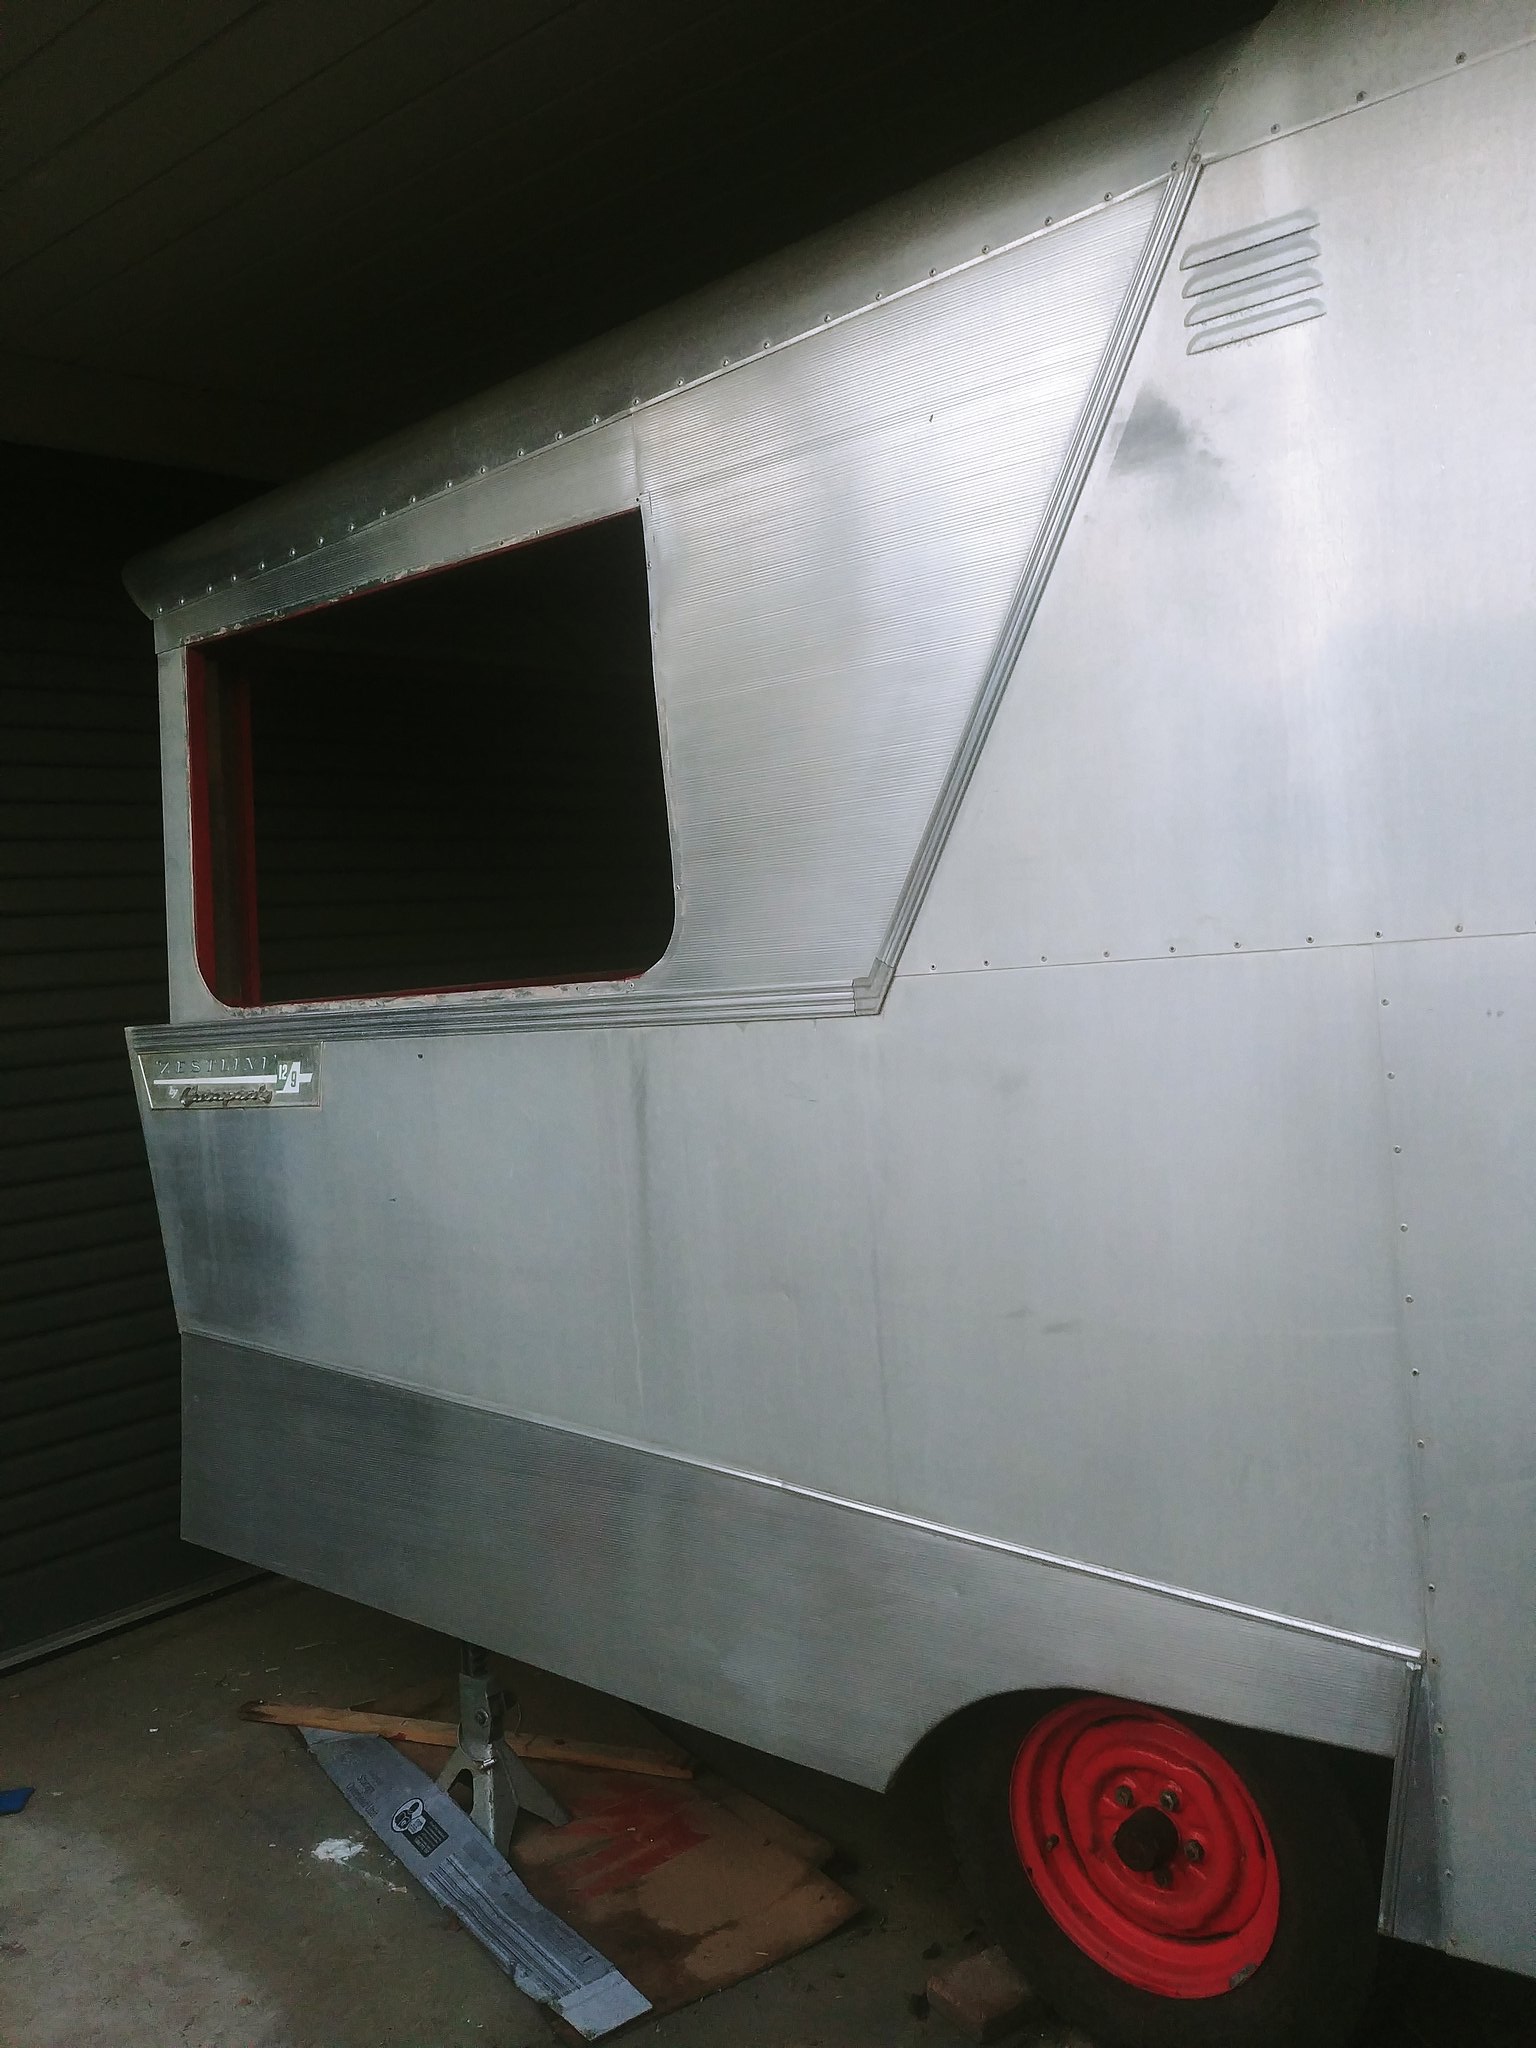
 20190105_143106_HDR 20190105_143106_HDR by in.kognito, on Flickr 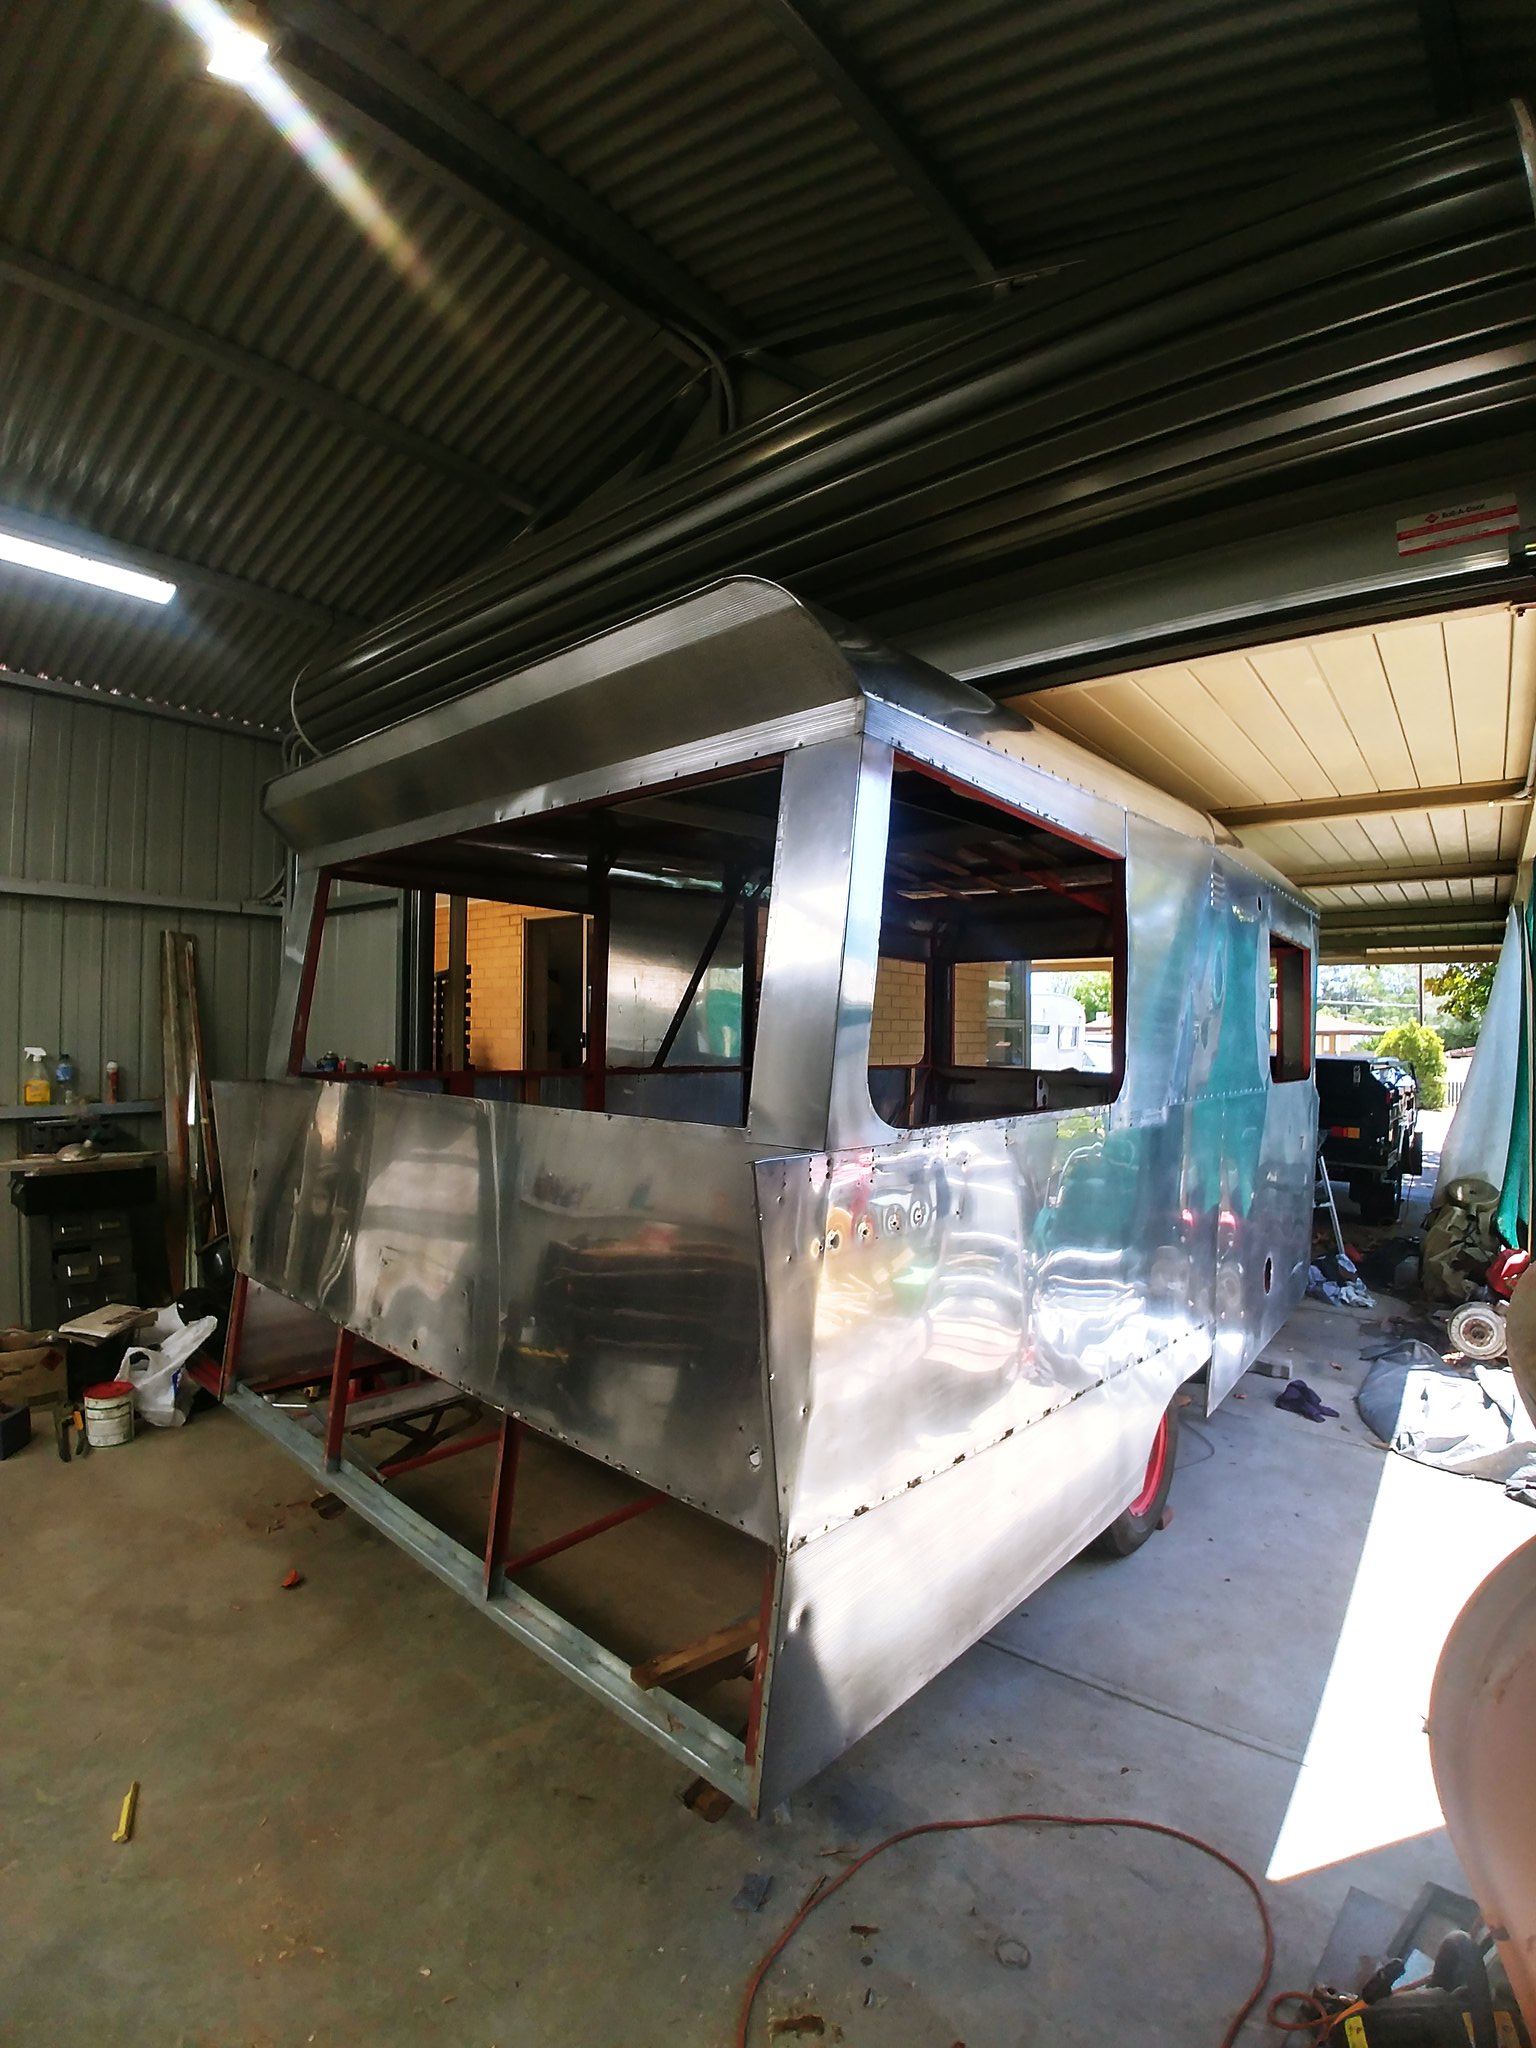 20190105_143157_HDR 20190105_143157_HDR by in.kognito, on Flickr All in all it’s come up pretty well for an old girl and possibly a little shinier than we planned. The roof and hatch are also off waiting for a good clean before we start the big job or re sealing. 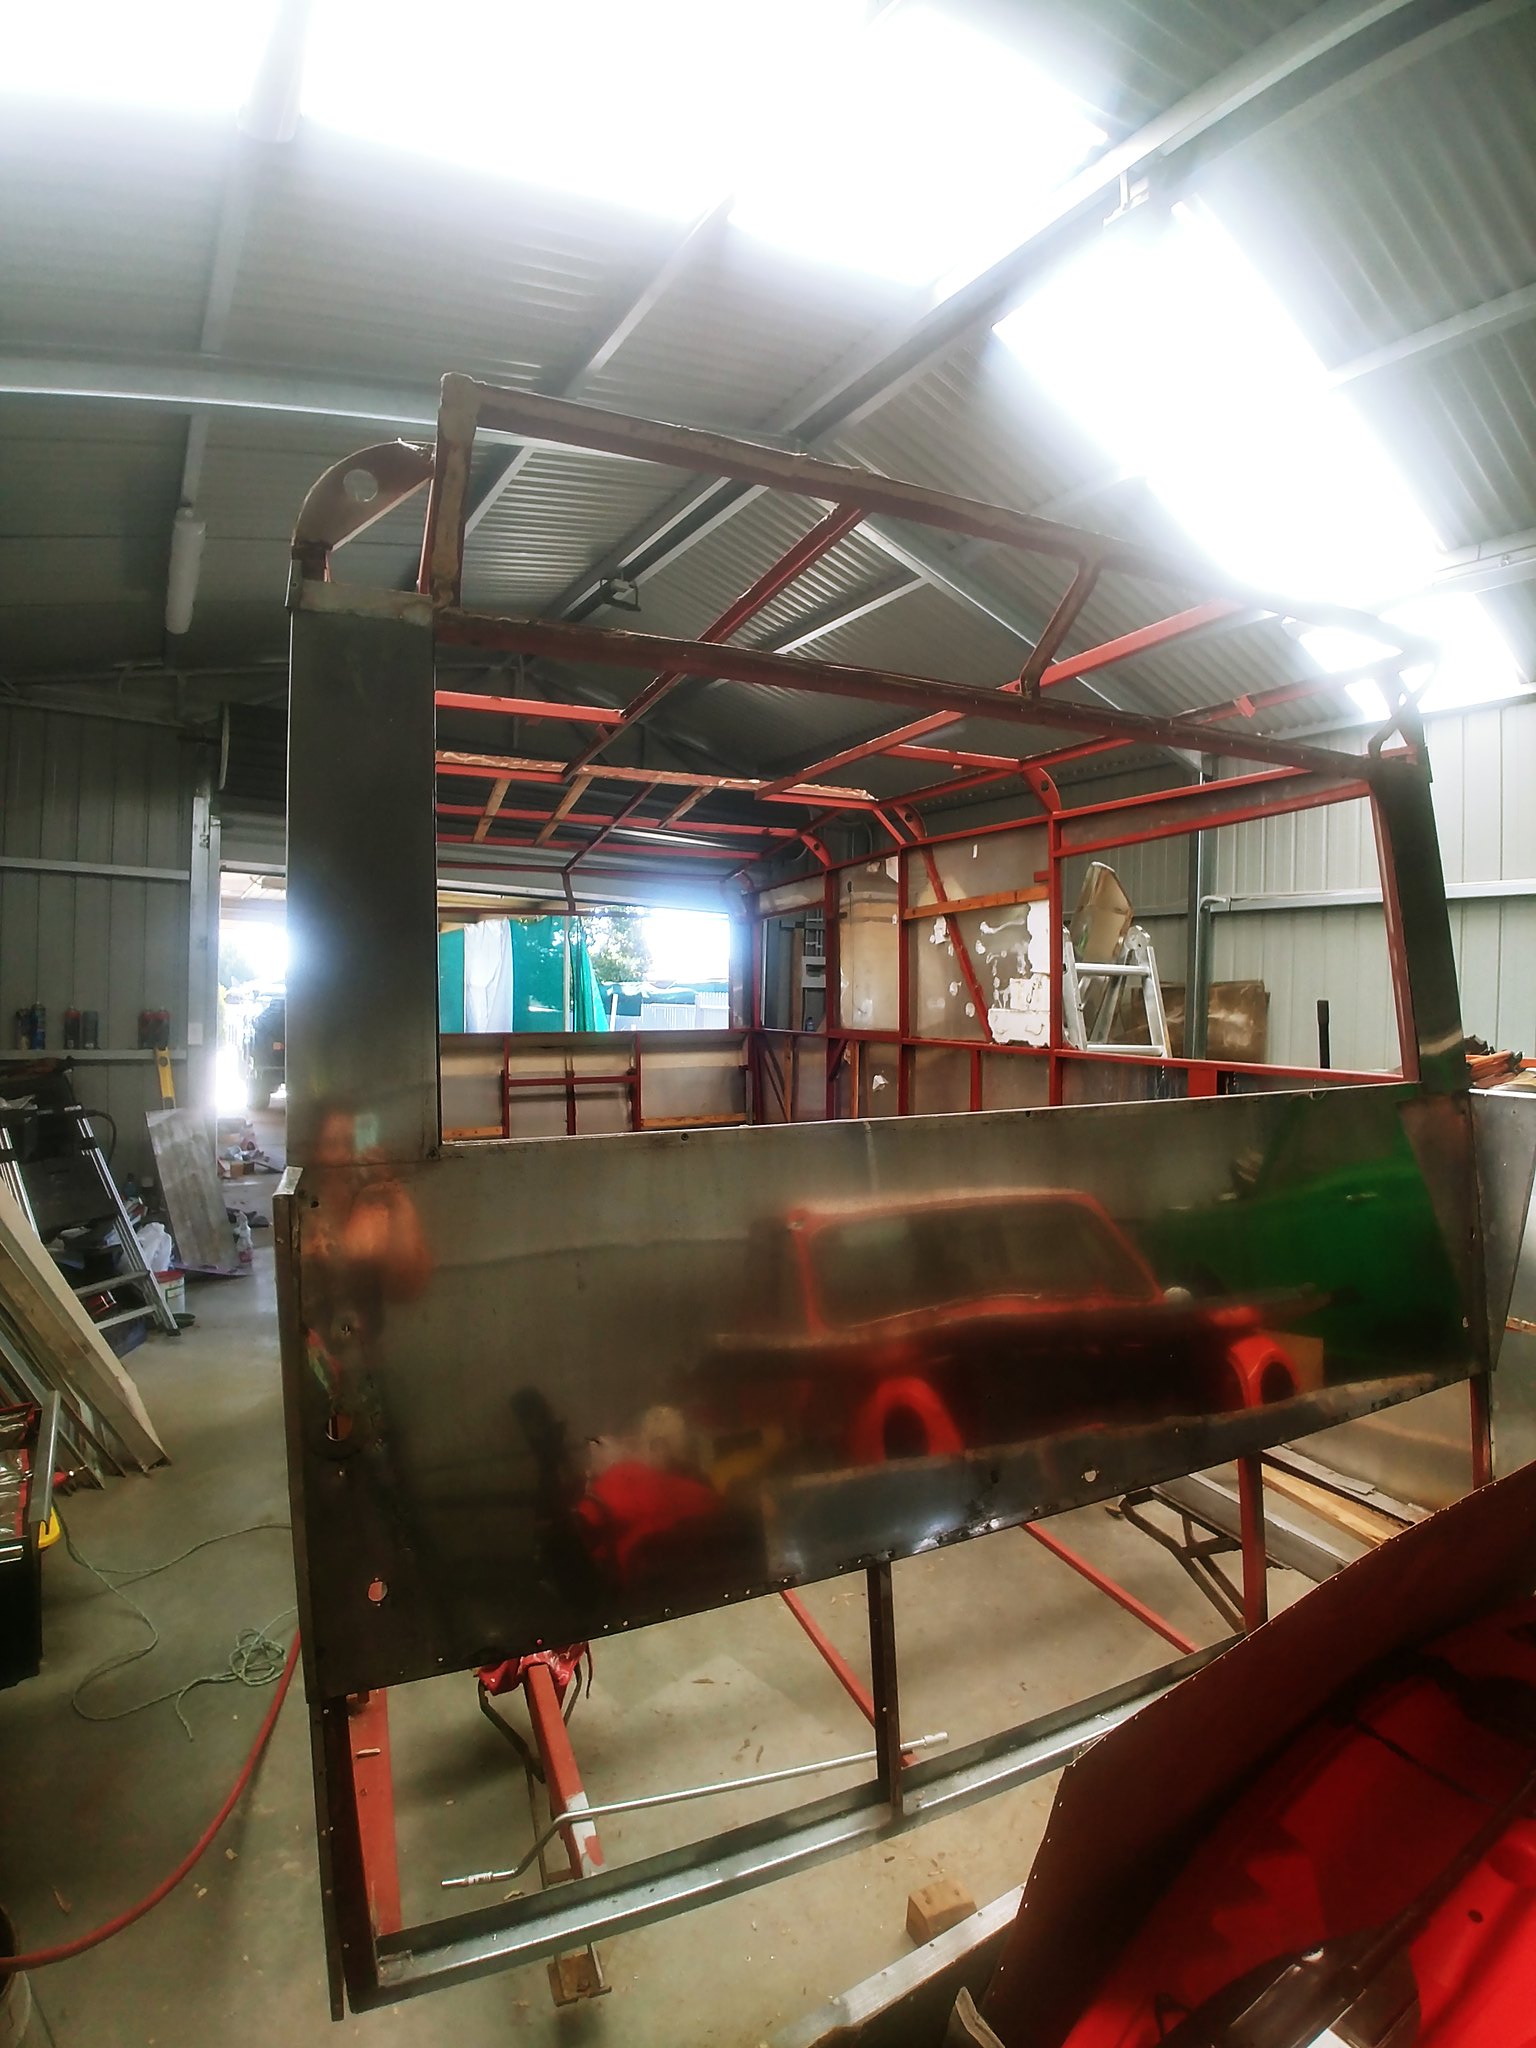 20190106_171257_HDR 20190106_171257_HDR by in.kognito, on Flickr  20190105_172152_HDR 20190105_172152_HDR by in.kognito, on Flickr We picked up a couple of interior lights, a cooktop and a small 3 way fridge in our travels during the week and then got lucky at our local flooring place and got a good stack of the same vinyl composite tiles that we used in the last 2 caravan restos. The majority are a light grey (which they had nearly a full pallet of) with a few square meters or what they had leftovers of in few different colours. 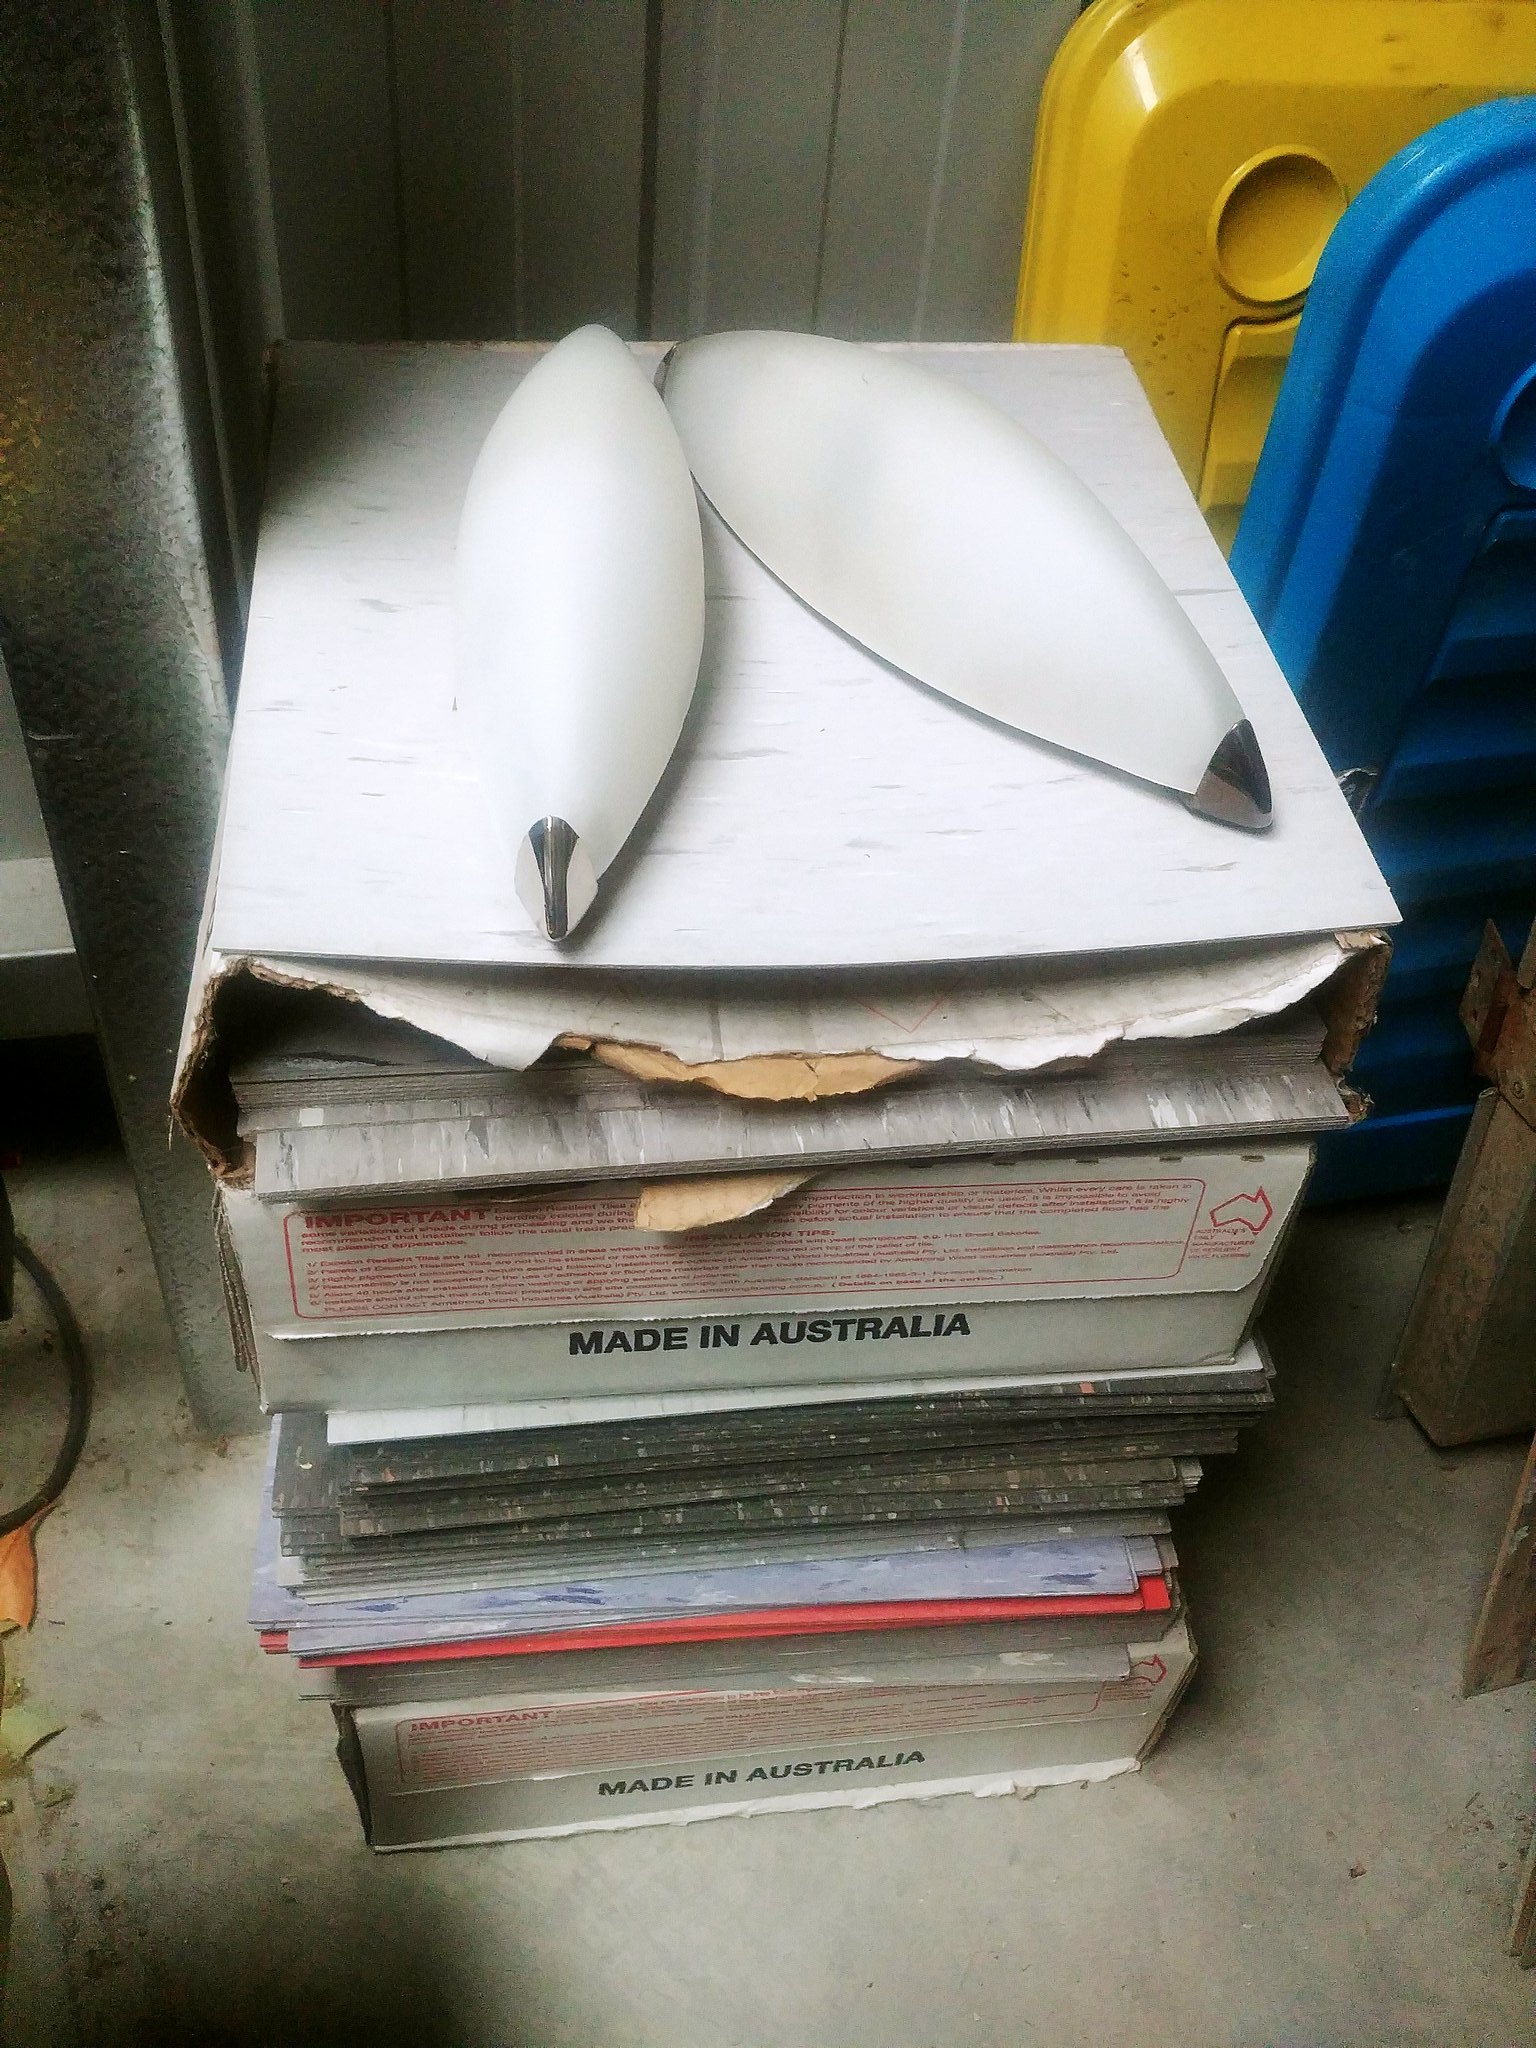 2019-01-07_08-38-24 2019-01-07_08-38-24 by in.kognito, on Flickr |
|
|
|
Post by Mustang on Jan 7, 2019 17:25:39 GMT 10
Holy Dooley,what a shine, you certainly are getting stuck in!!!!
|
|
|
|
Post by Franklin1 on Jan 7, 2019 20:51:28 GMT 10
G'day jp63, have sent you a Personal Message.
cheers, Al.
|
|
|
|
Post by jp63 on Jan 8, 2019 7:50:27 GMT 10
Haha mustang, its certainly shiny, we where aiming more for clean than shiny but hopefully it will dull a bit over time.
As for the pace, we have a trip to Mildura planned for July so hoping to have it done before then.
|
|
|
|
Post by aussieute on Jan 8, 2019 16:16:40 GMT 10
You are really going for the airstream look (blinding) great job lots of time and perserverence love to see the finished van cheers chris
|
|
|
|
Post by jp63 on Jan 8, 2019 20:54:03 GMT 10
You are really going for the airstream look (blinding) great job lots of time and perserverence love to see the finished van cheers chris It wasn't really the plan we just wanted to get rid of some of the rub marks and build up haha. It looks much shinier in photos than in real life but its still a little too shiny. |
|
|
|
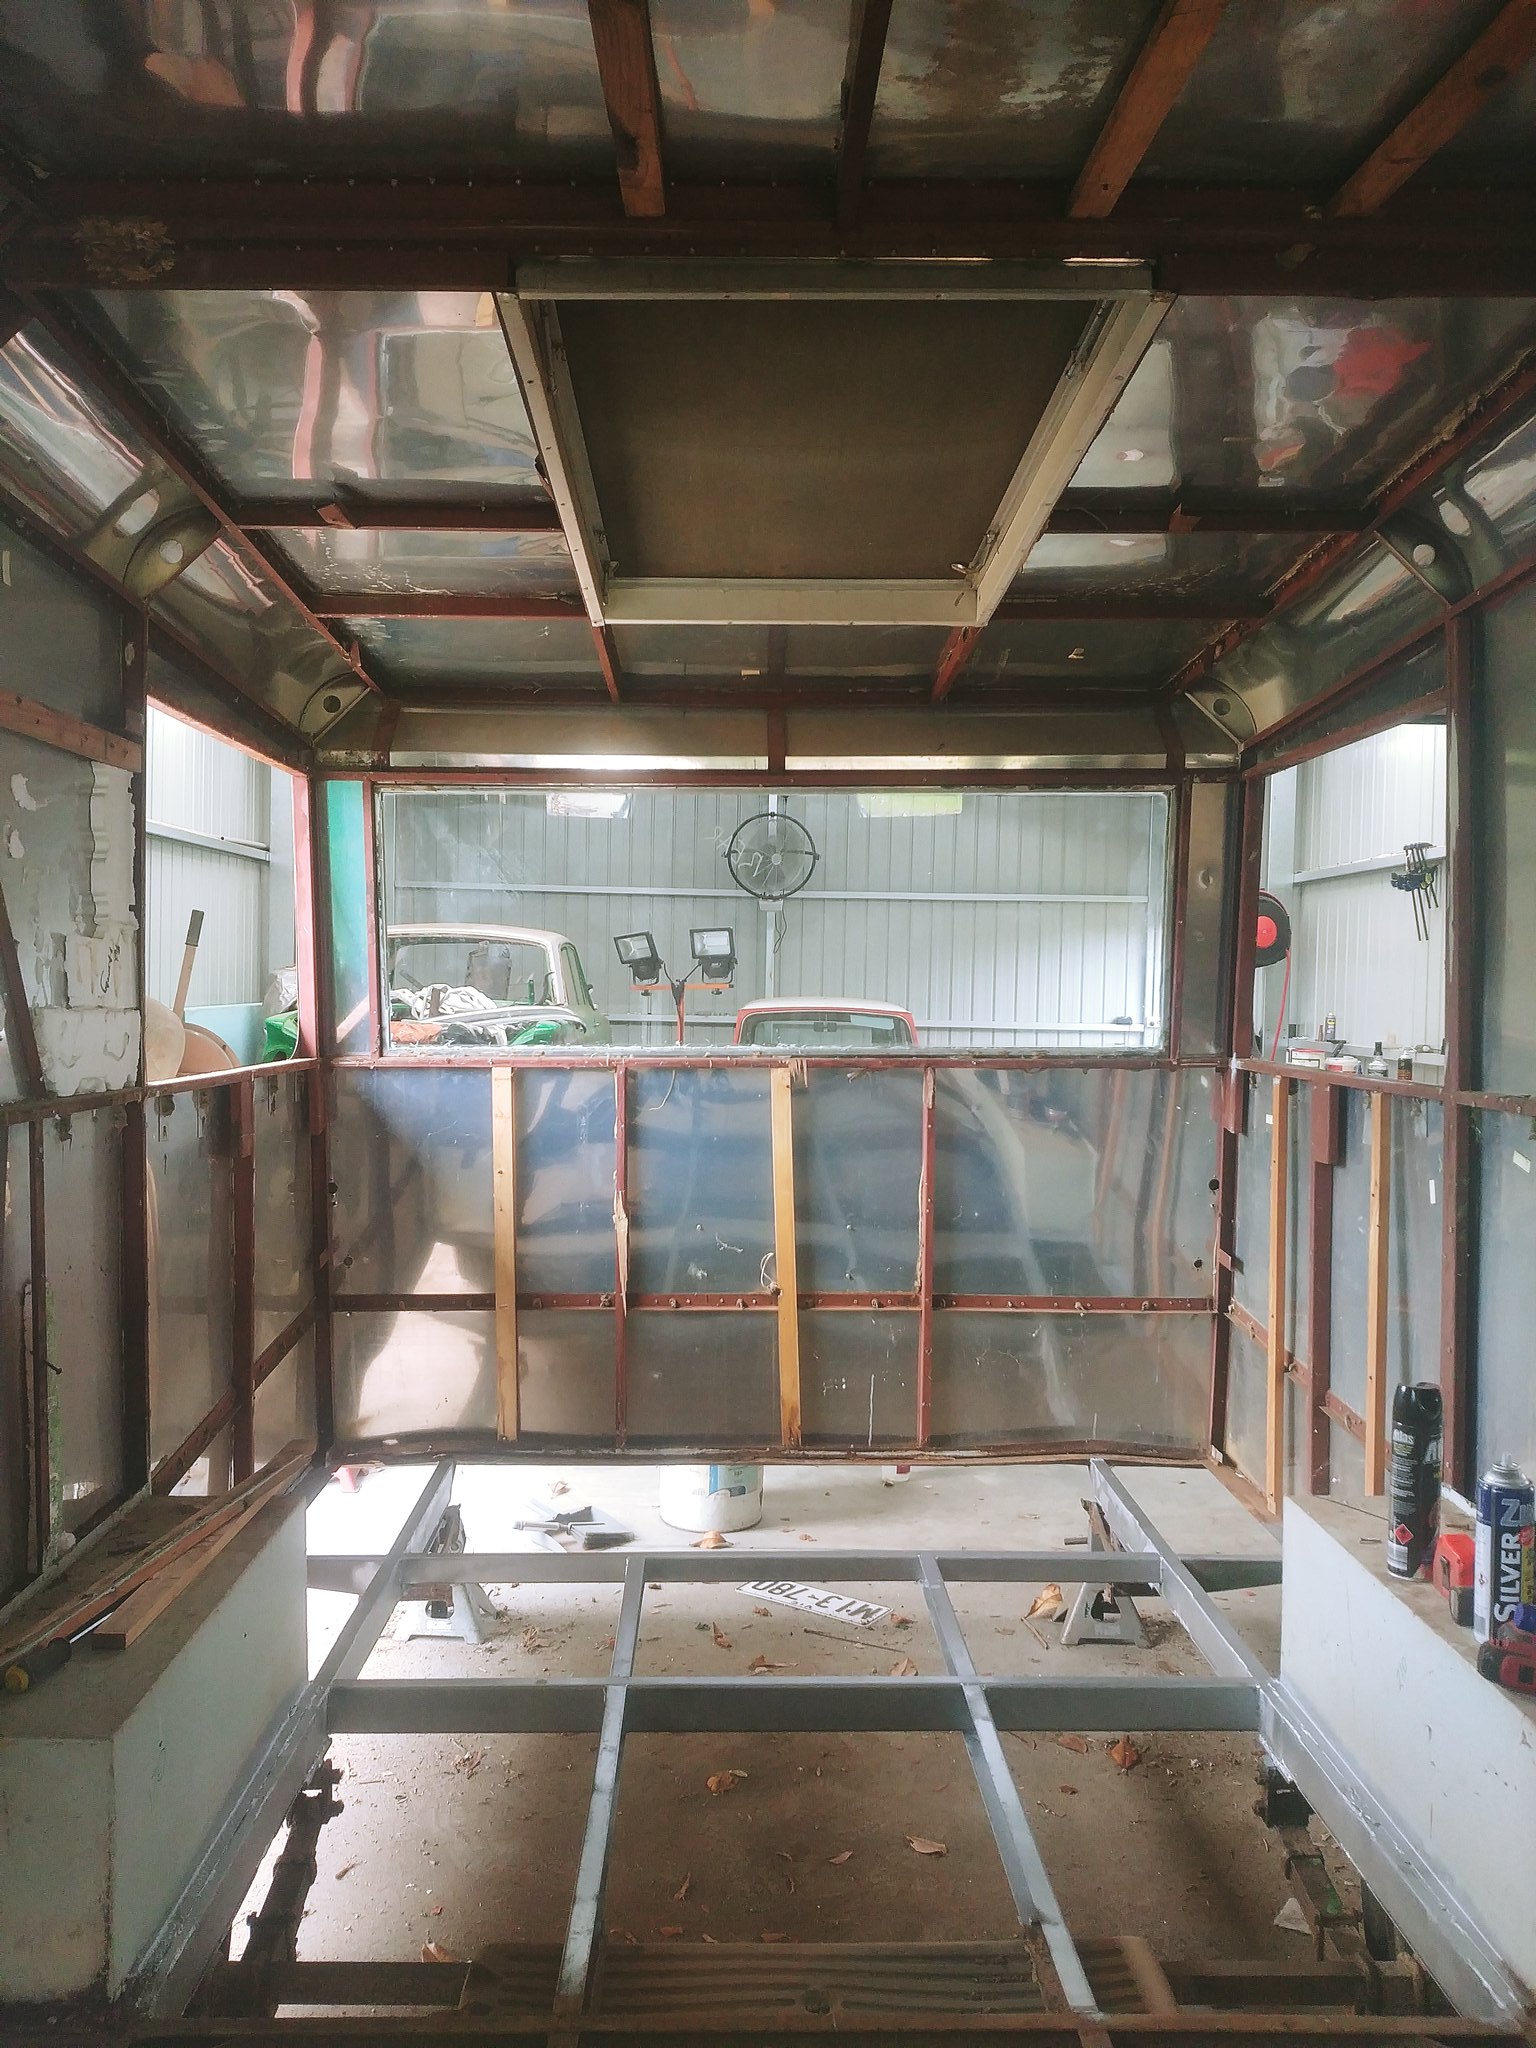
Post by jp63 on Jan 22, 2019 12:04:17 GMT 10
It’s been too hot to do too much on the van over the last couple of weeks so progress has been slow, with our plan still to clean and seal the outside before we start on the inside in full swing, more panels came off before they started to go back on.  20190109_195324_HDR 20190109_195324_HDR by in.kognito, on Flickr Followed by lots of scrubbing and polishing of aluminium, I’m not completely sure if my arms will ever fully recover. But it’s come up pretty well we think. 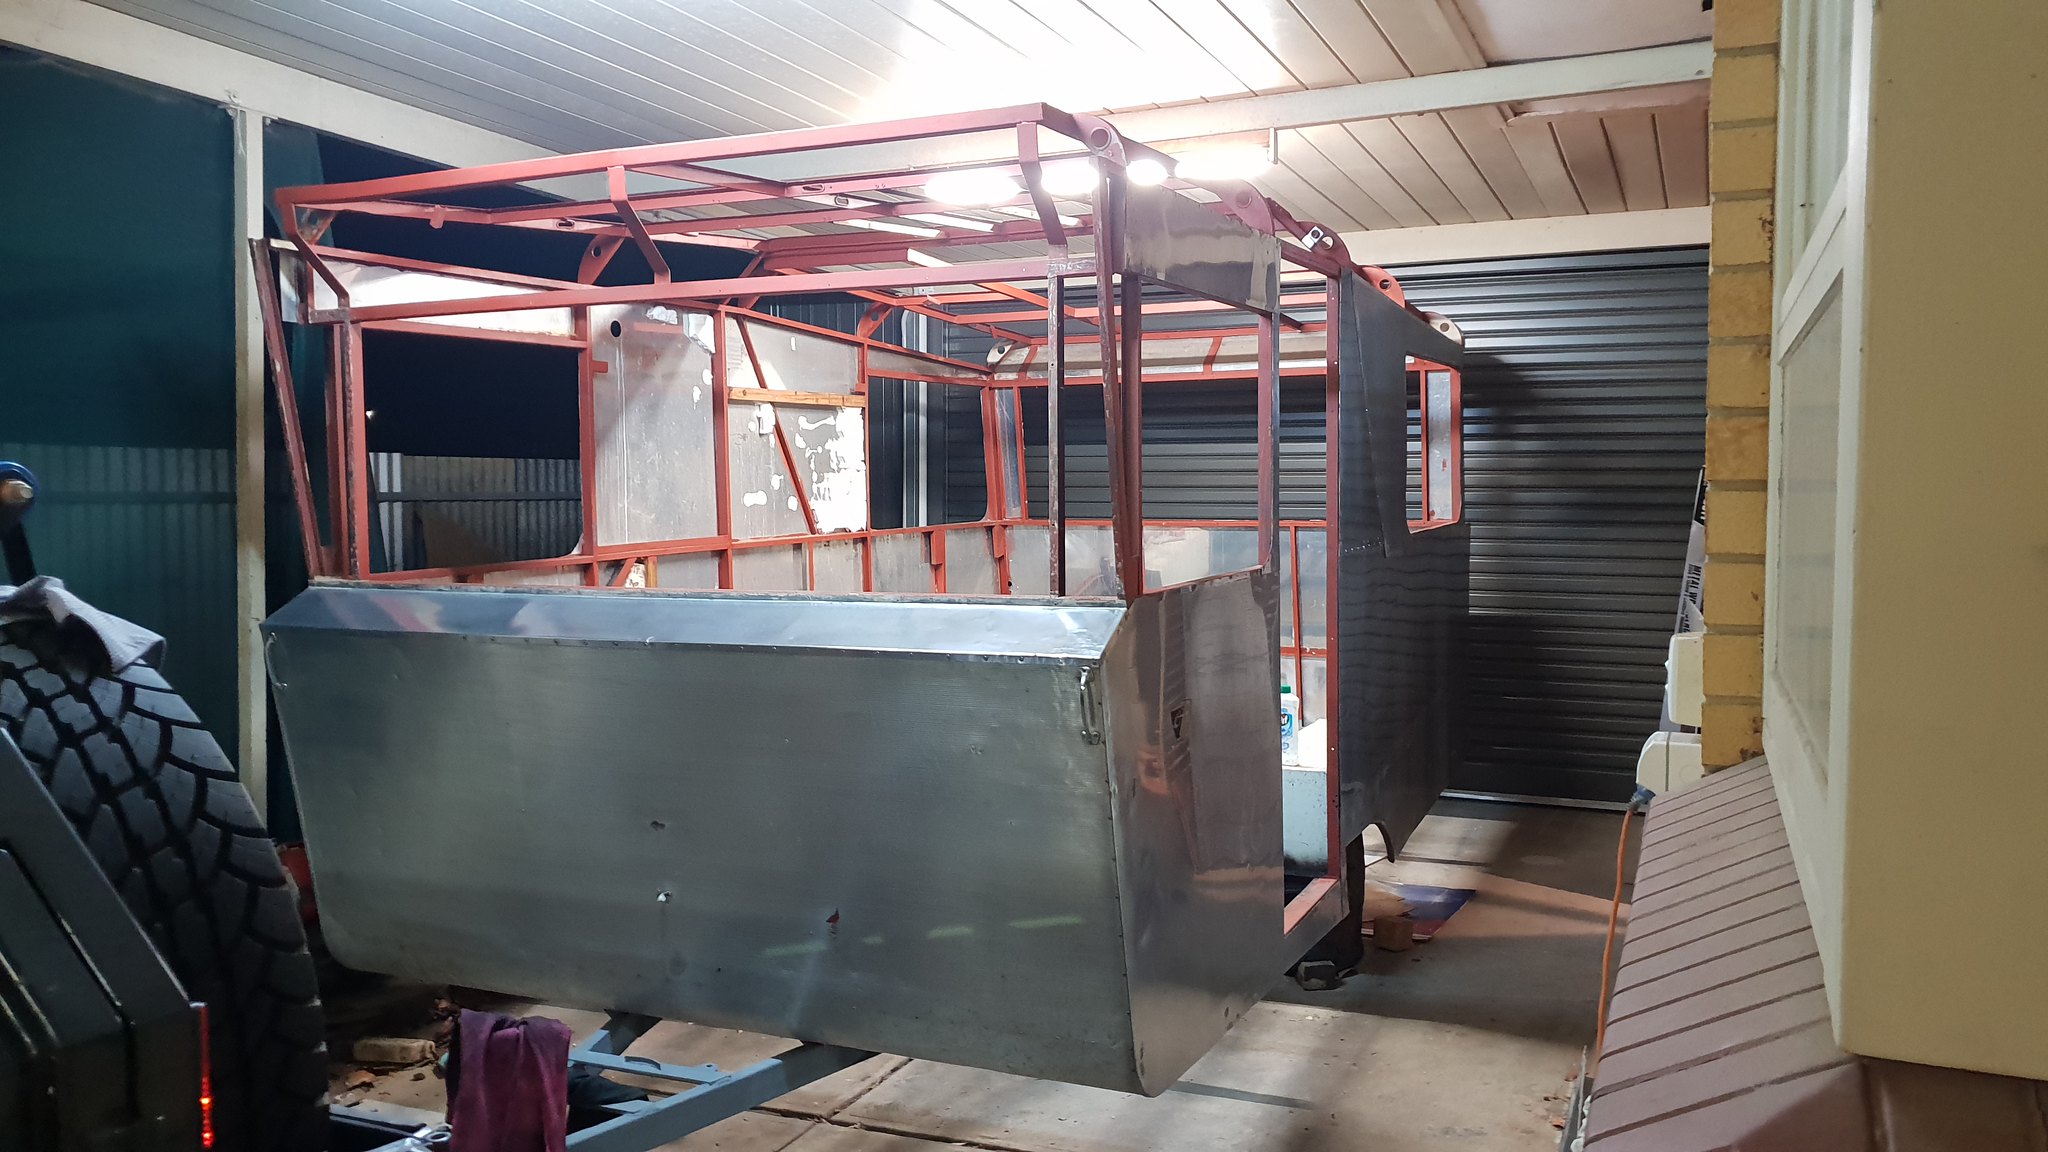 20190118_223315 20190118_223315 by in.kognito, on Flickr 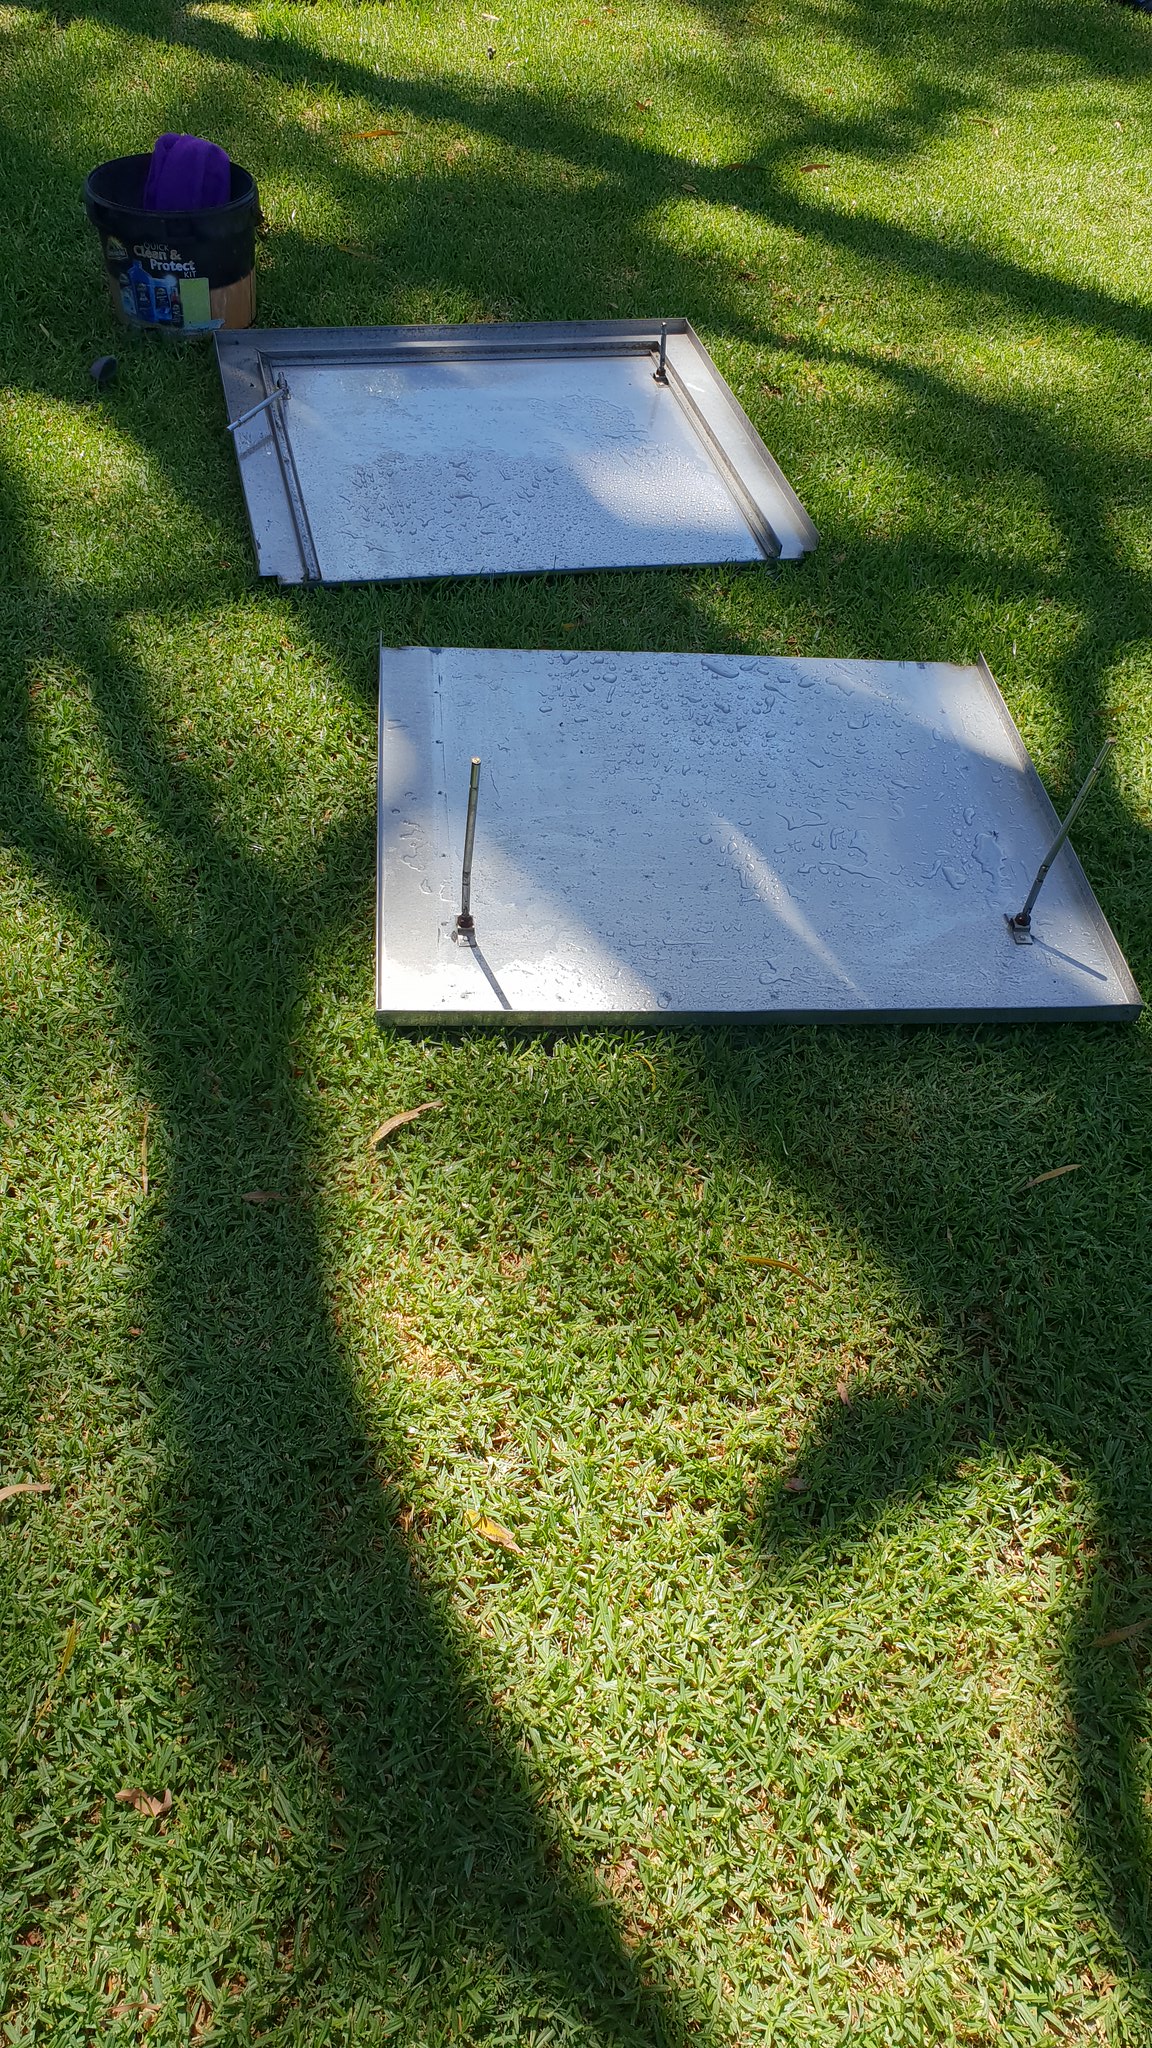 20190119_115538 20190119_115538 by in.kognito, on Flickr And then finally pieces have started to go back on! The front and rear, the curved roof panels and the rear roof panels are all back on and once it starts to cool down again the rest of front section will go back on too.  20190120_202658 20190120_202658 by in.kognito, on Flickr This week we where also lucky enough to pick up (hopefully) enough knobs, handles and hinges for the interior when we finally get to it. They need a bit of a clean up but From what I have been able to see in the limited photos of Zestline interiors I have come across, I think they are close enough the original to not look out of place.  2019-01-22_11-56-26 2019-01-22_11-56-26 by in.kognito, on Flickr Till next time |
|
|
|
Post by jp63 on Feb 20, 2019 16:19:07 GMT 10
Now that the Harris Van has made its way to a new home we have started to get stuck in to the Zestline. The rest of the roof (including almost 500 rivets) has been but back on and sealed. Plus the new floor has gone in, for this we used a 12mm Cedar Plywood which has the same glue as marine grade. We will seal the underside also. 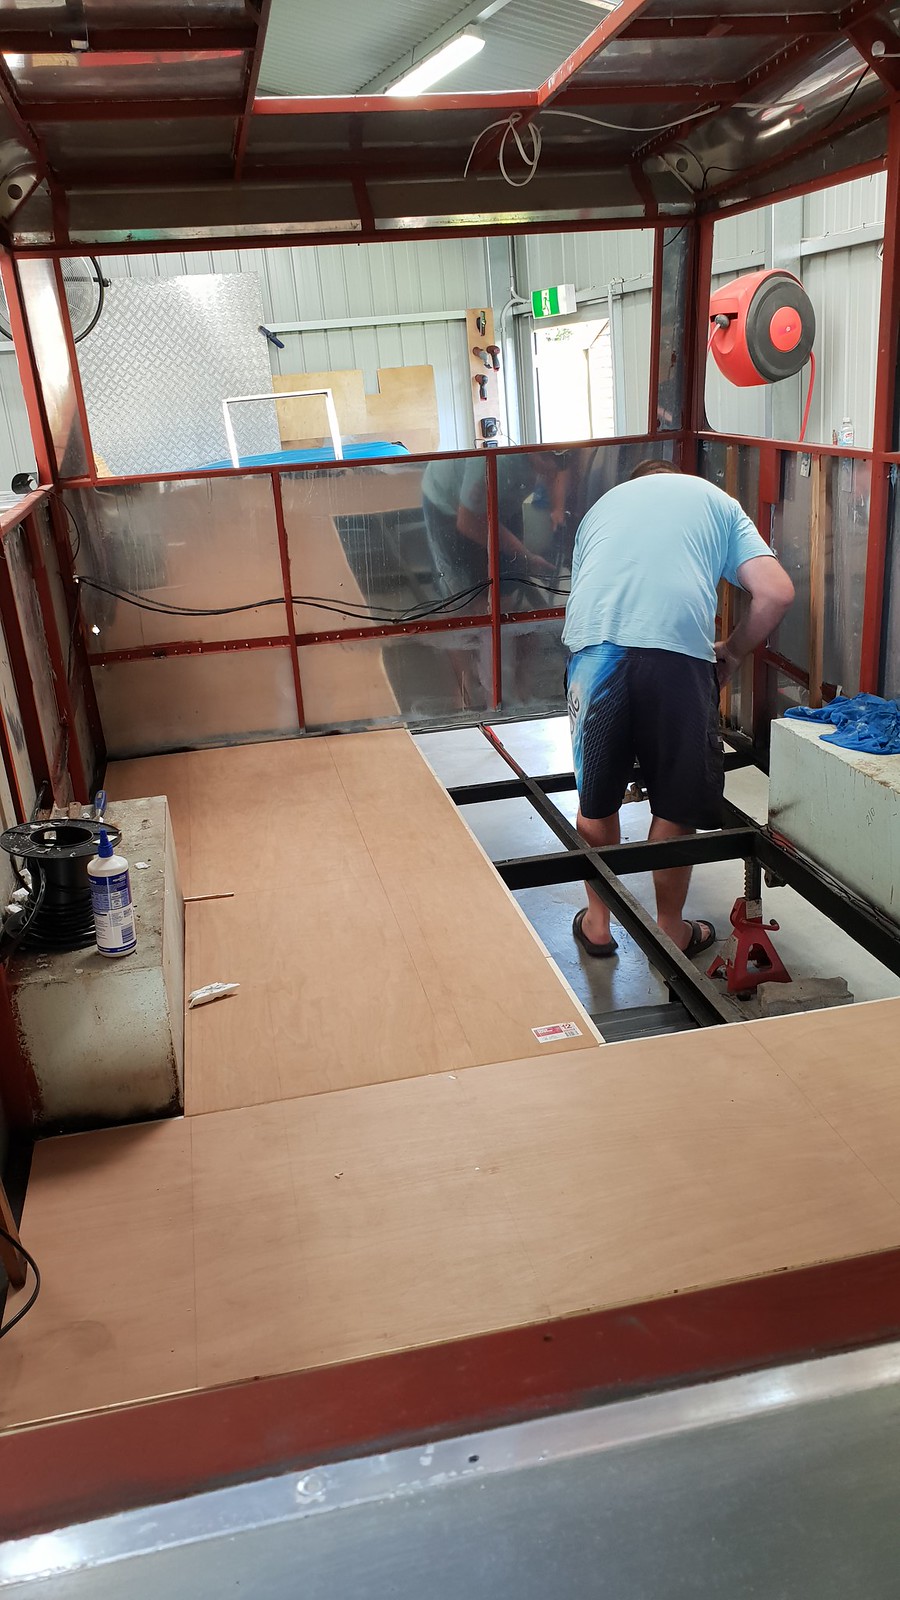 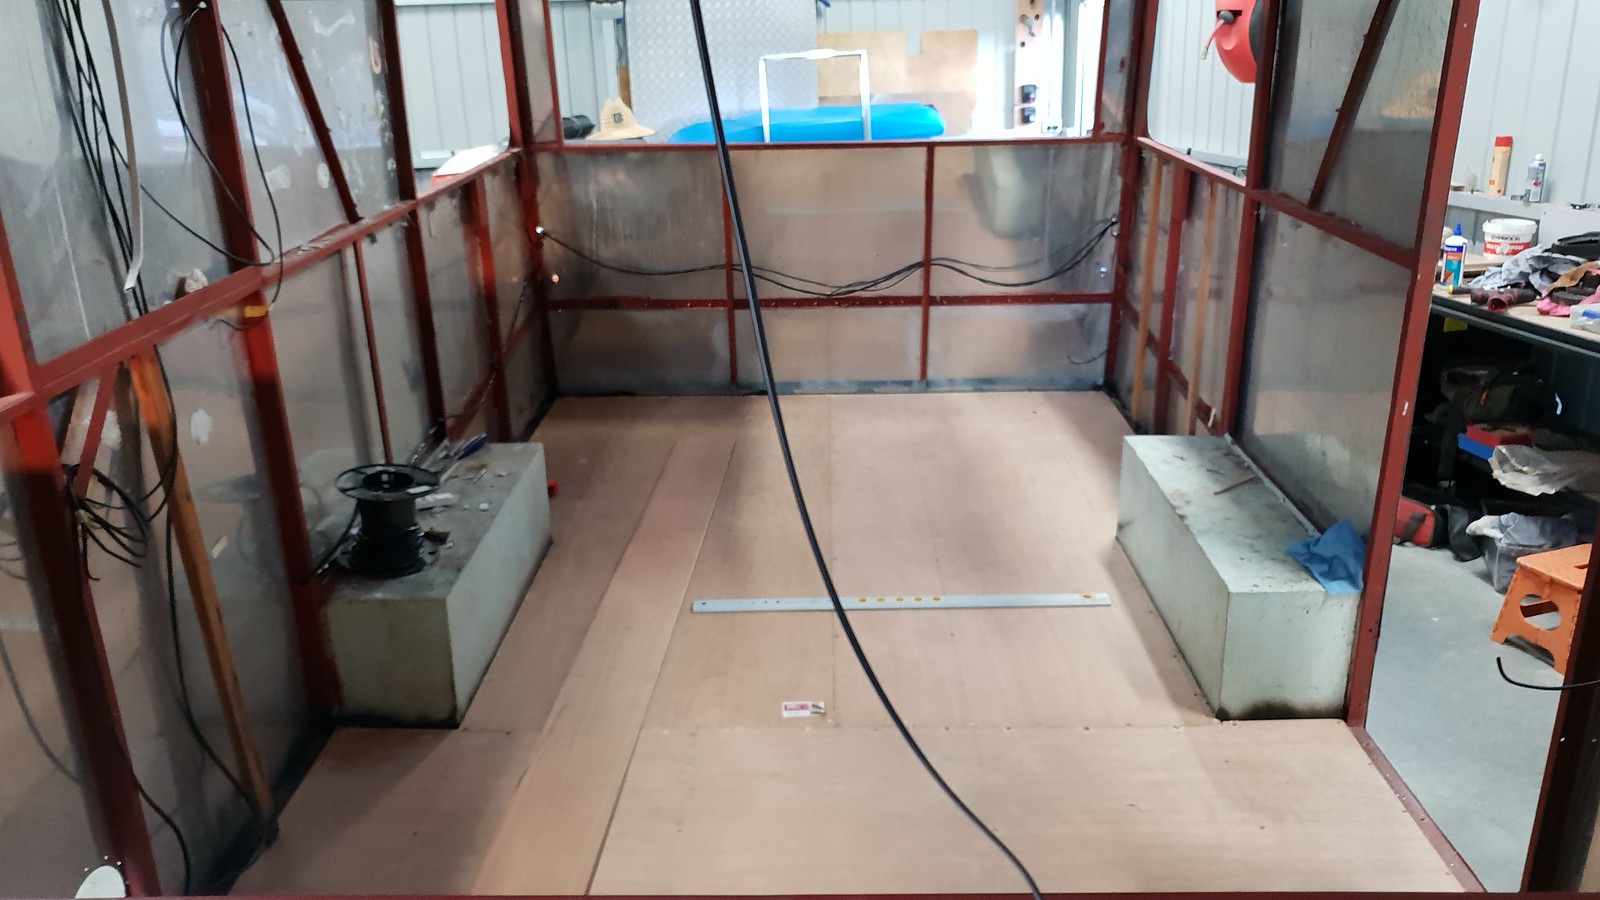
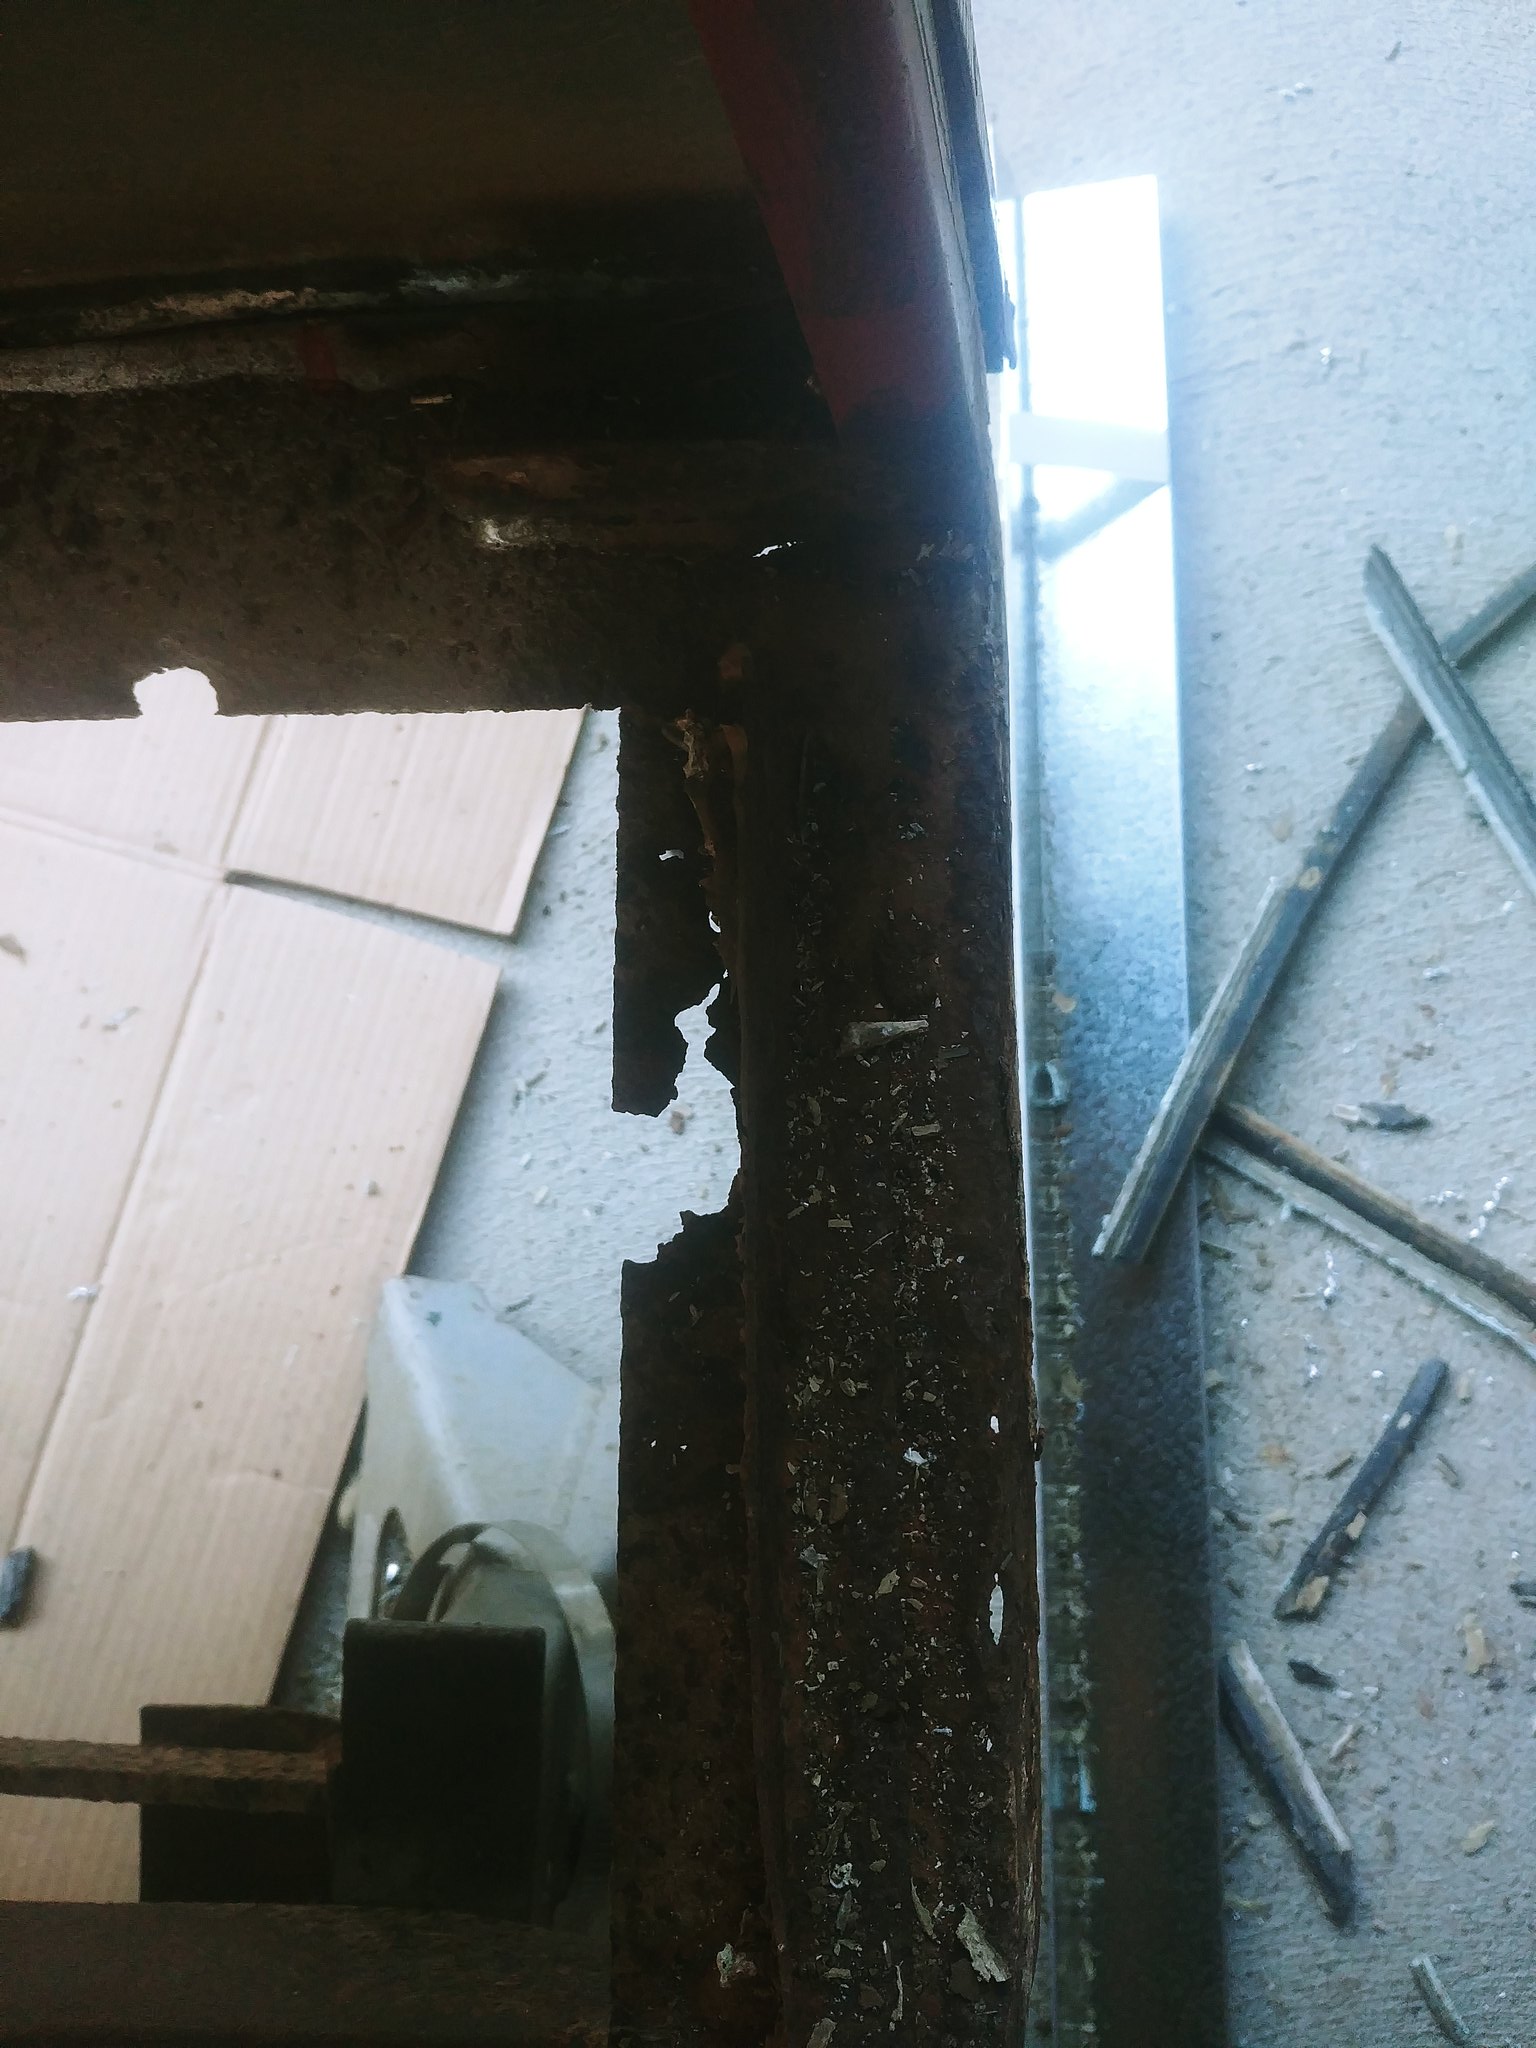
Since we are going to lay the floor tiles before we build the cabinets etc We also started to play around with possible tile layouts and think we may go with something like this. 
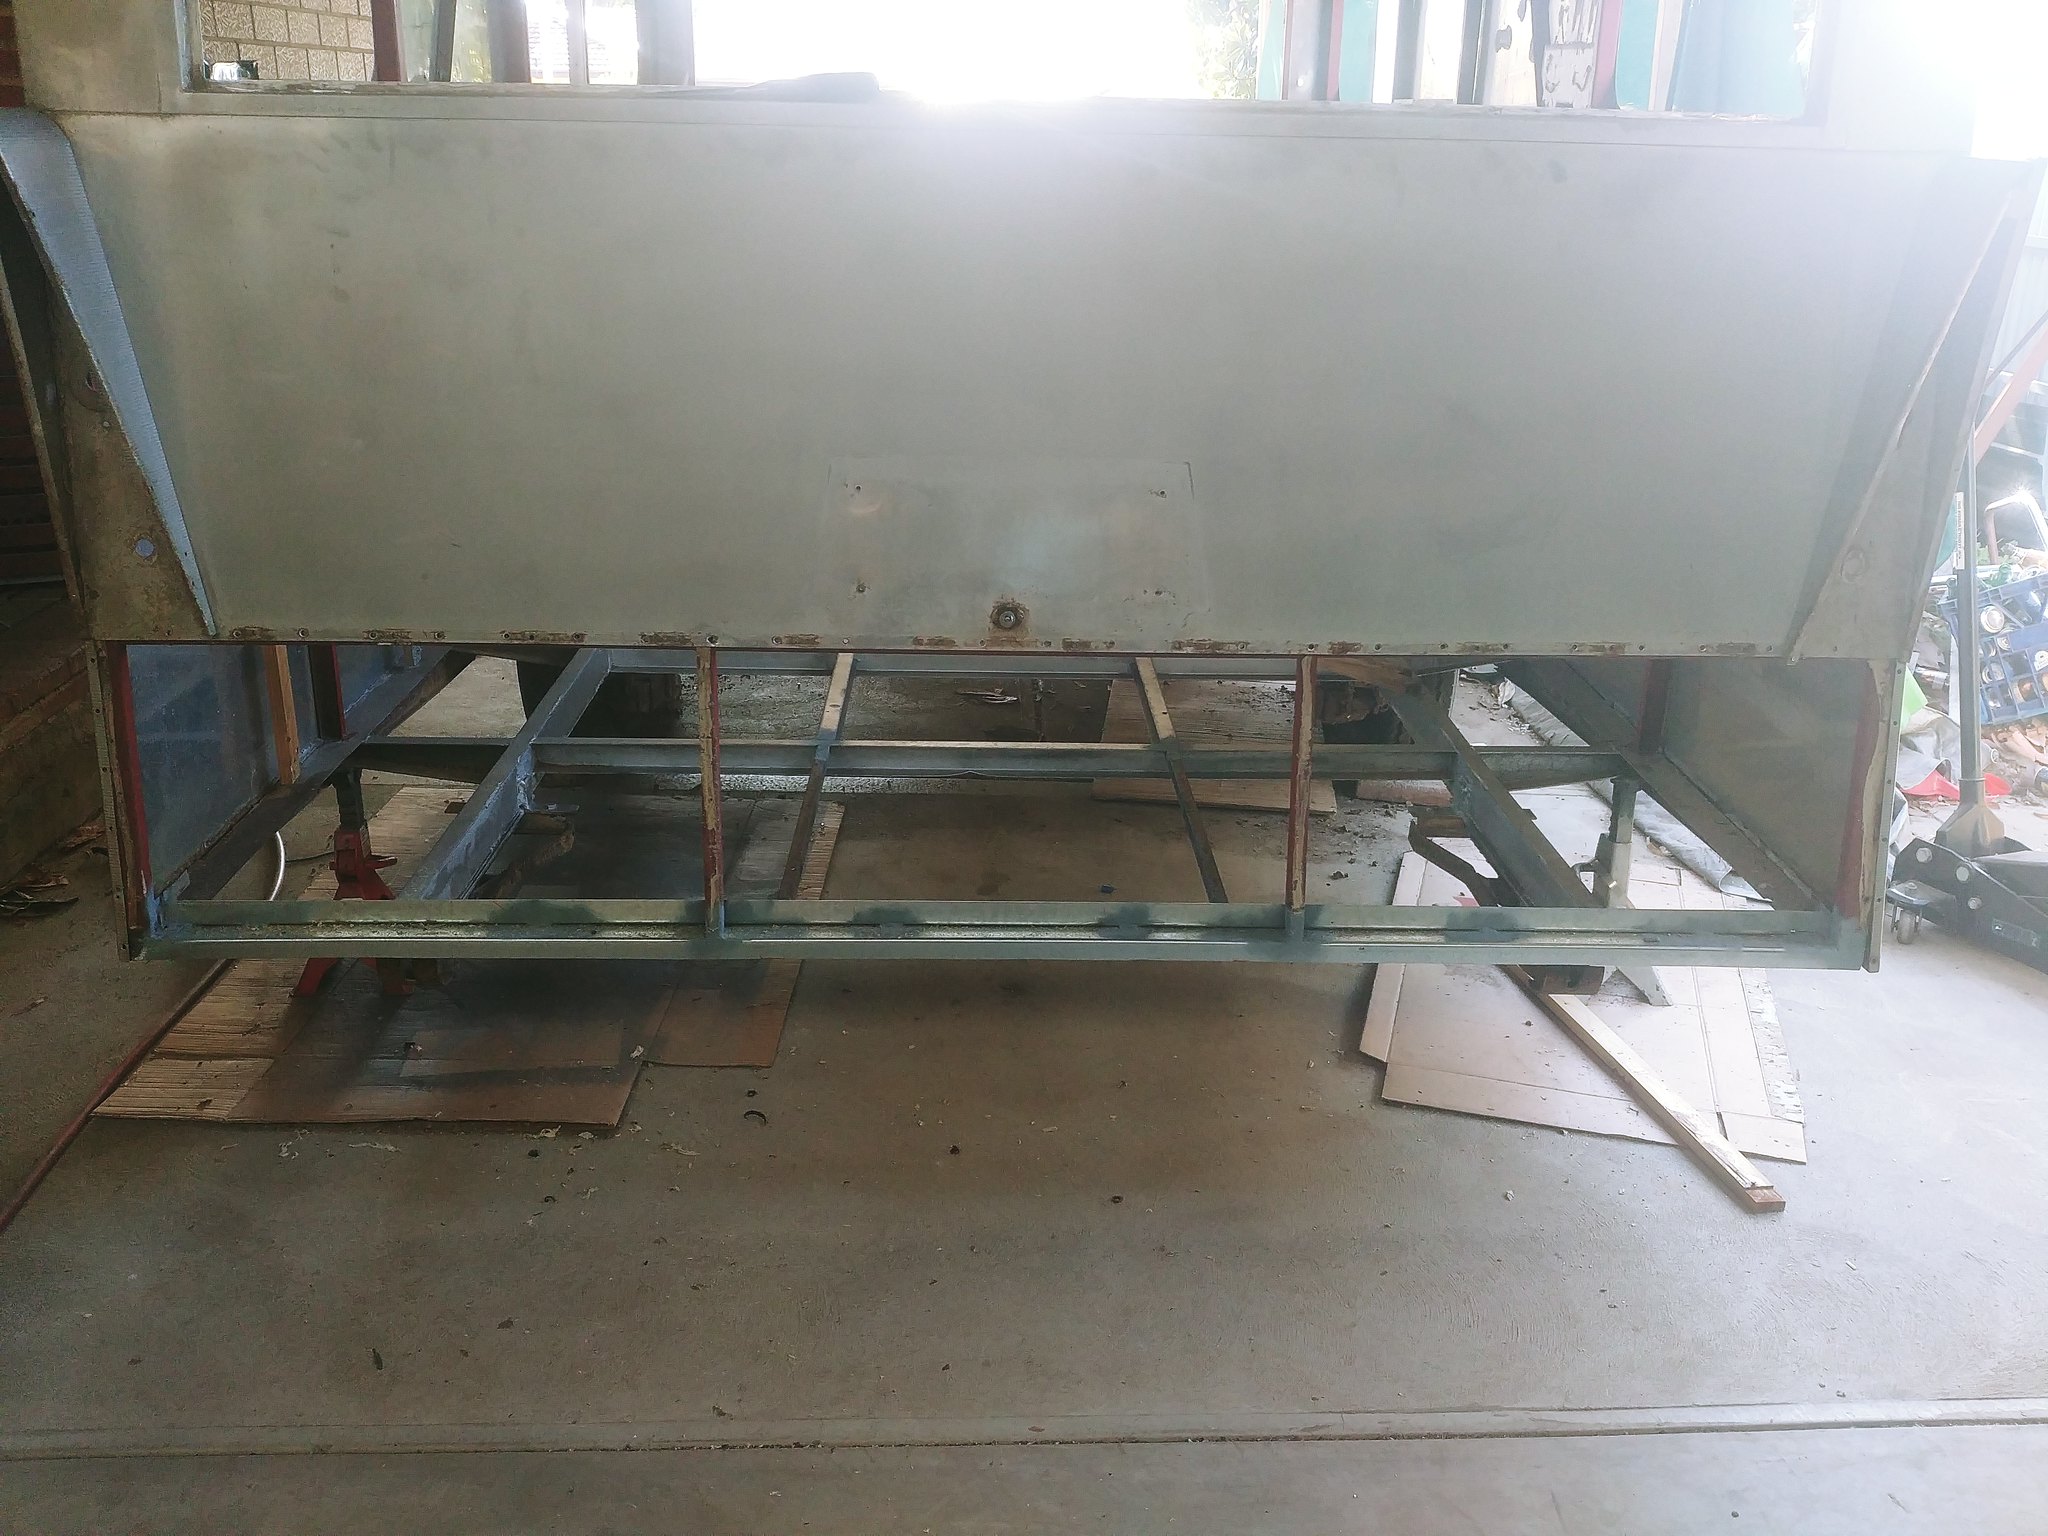
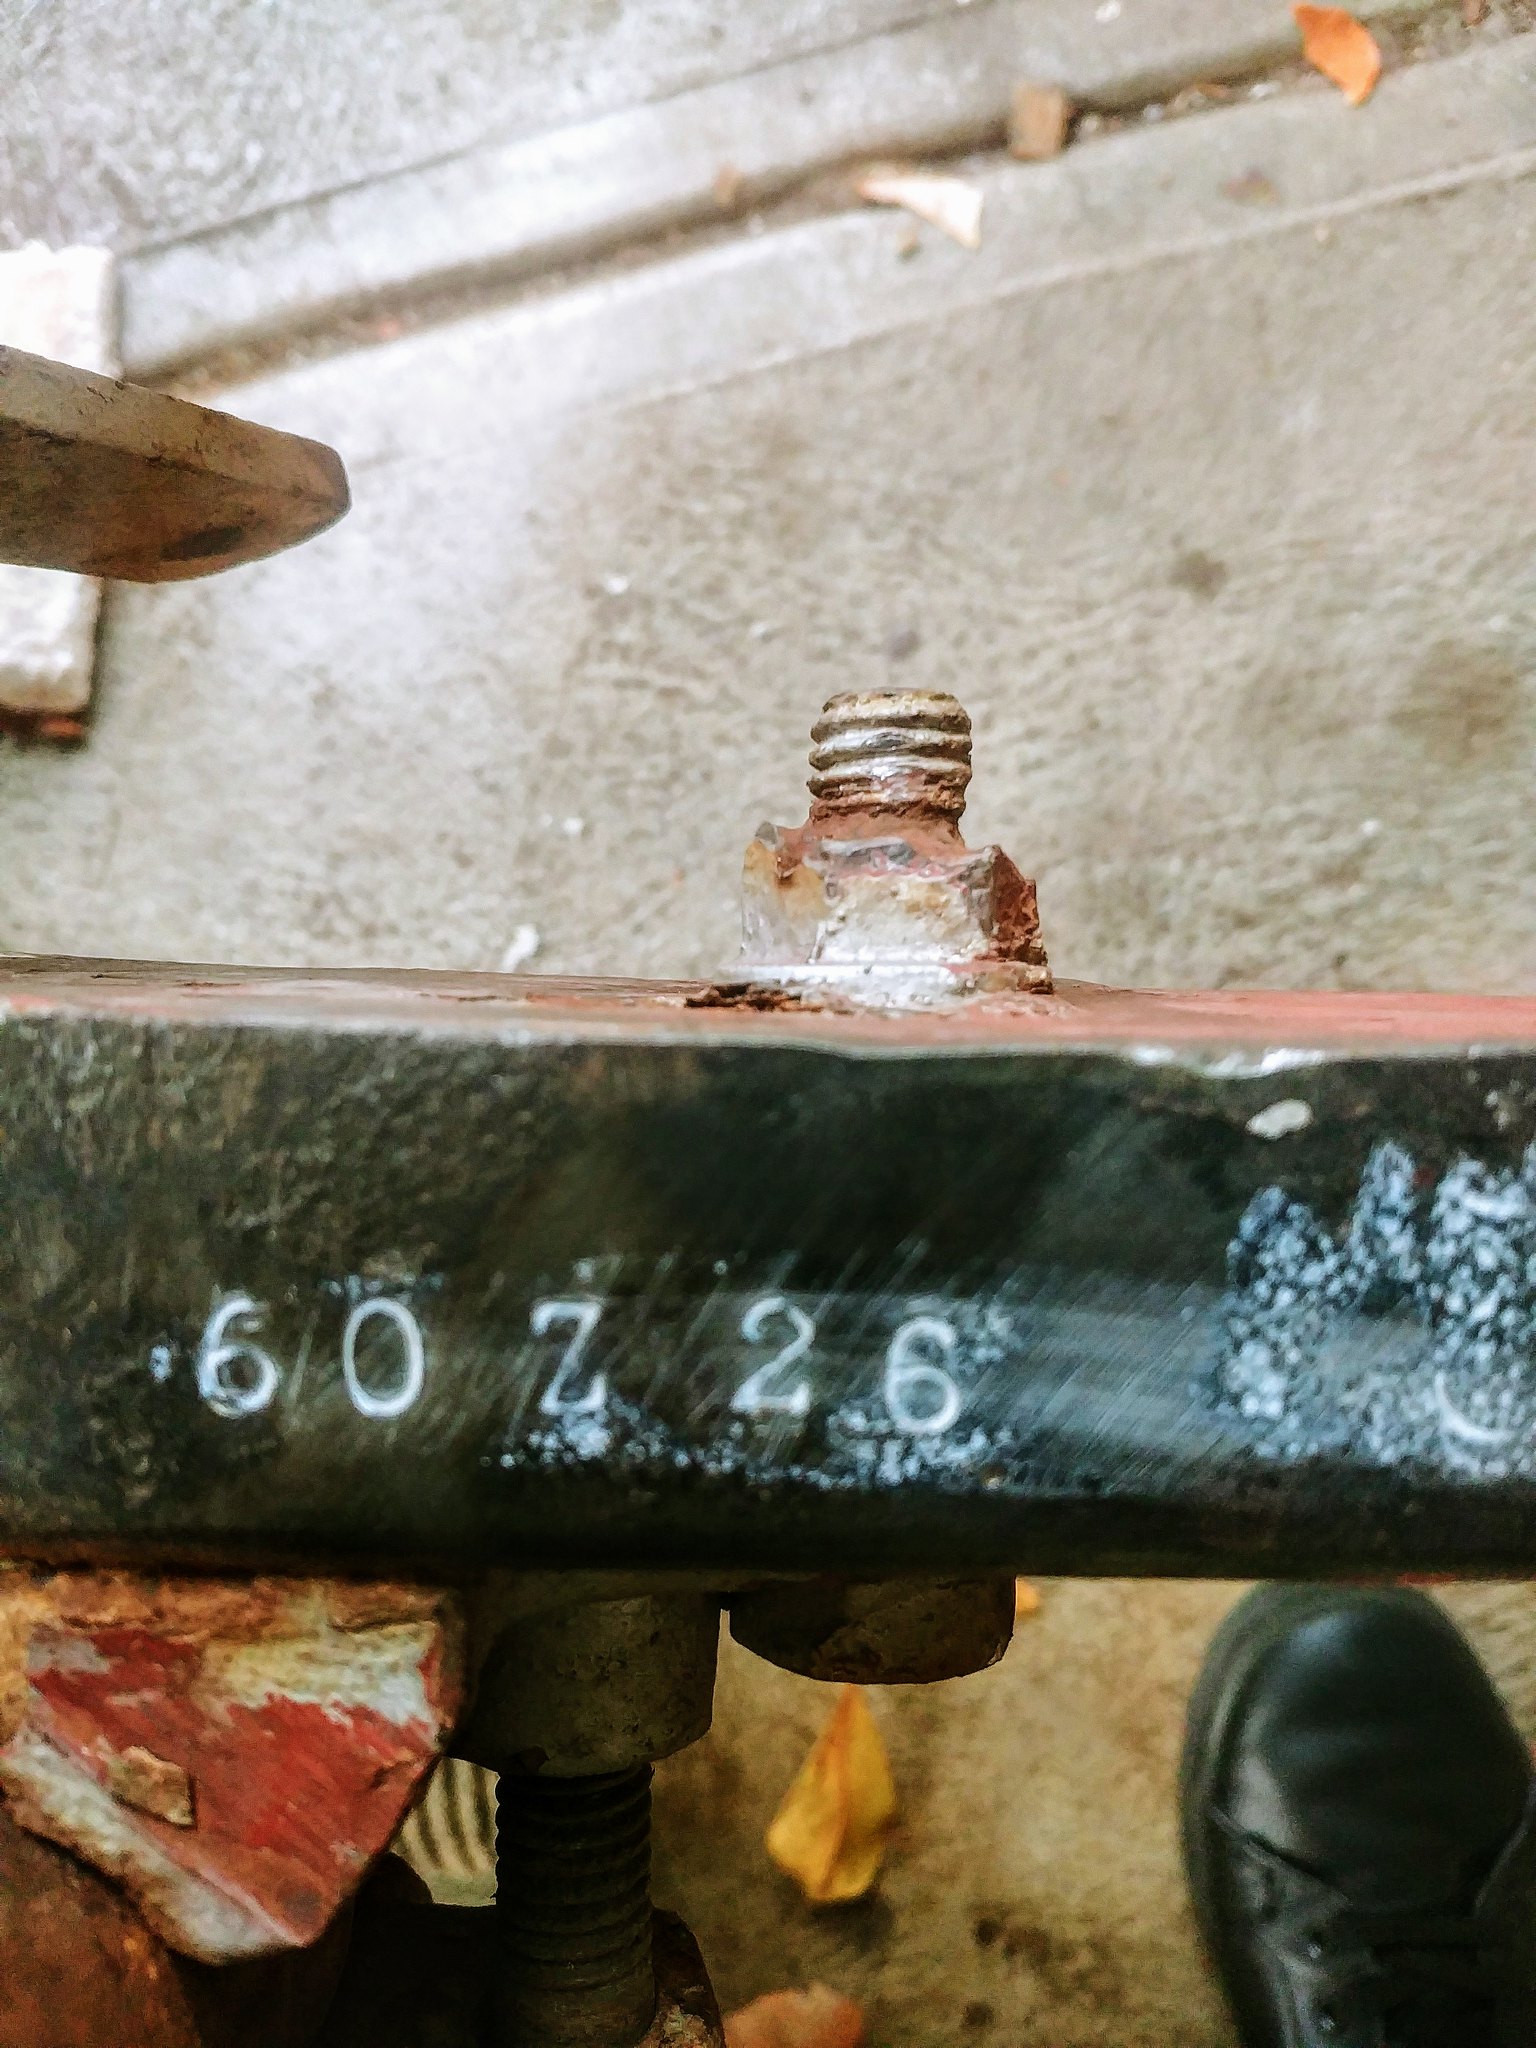
The husband also pulled the axle out and it looks like we will more than likely be replacing it, mainly because the bearings are not all that common (or cheap) and we would hate to end up stuck on the side of the road somewhere and not be able to get the bearings we need off the shelf.  We picked up the polyester coated ply the other day so have been chipping away at installing the insulation so that we can get started on lining the inside. I’ve been using an oscilating tool to cut through the polystyrene sheets which has been much quicker (but messier) than the Stanley knife I used last time we insulated a van. It helps that everything is pretty much square too. 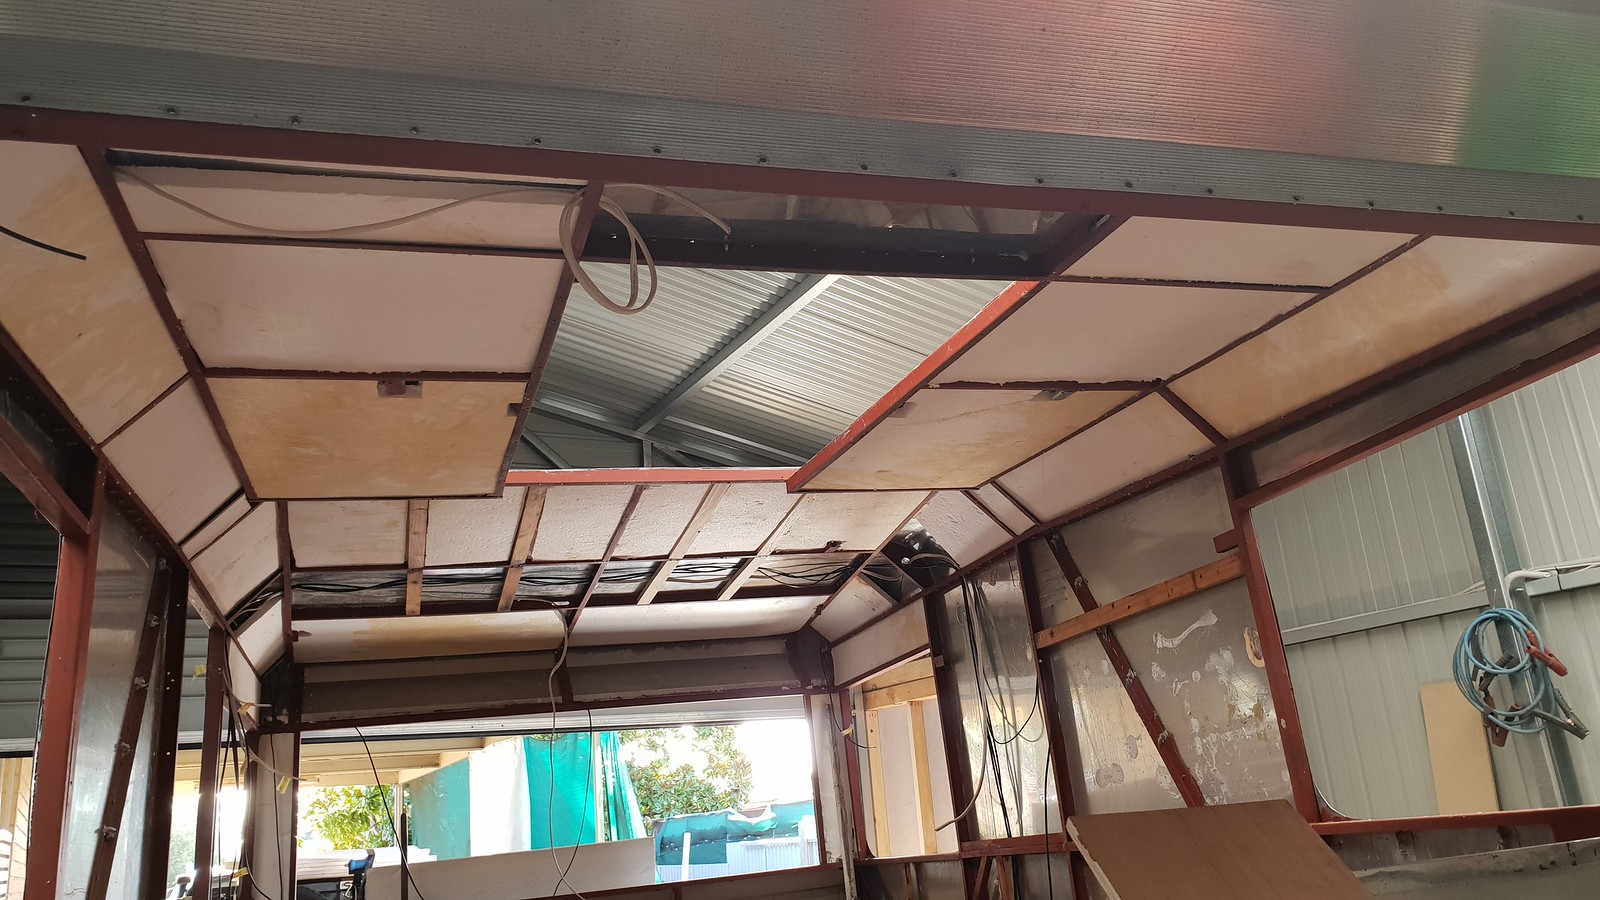
And possibly the most important descision (for me anyway haha) has been made. I’ve decided on the fabric for the cushions. The aqua/turquoise Fabric is from spotlight, and I found this atomic boomerang print online and am currently waiting for it to be printed on a cotton canvas fabric and shipped out to me from spoonflower which could take up to 4 weeks but I think it’s worth the wait and shouldn’t look out of place with the era of the van. I also managed to pick up a 50m roll of waterproof canvas in a dark grey for $50 at the local salvage yard so will use this for the sides of the cushions and possibly even make an awning out it since I have so much to work with 
Till next time. |
|
melanco
Full Member
 Bess in all her glory!
Posts: 204
|
Post by melanco on Feb 23, 2019 7:45:42 GMT 10
Wow, you guys are doing an amazing job! Let me know if you need pics or measurements from mine.
Cheers
Mel
|
|
|
|
Post by jp63 on Feb 23, 2019 21:10:07 GMT 10
Wow, you guys are doing an amazing job! Let me know if you need pics or measurements from mine. Cheers Mel Oh yes please! That would be super helpful. |
|
cster
New Member

Posts: 49 
|
Post by cster on Mar 15, 2019 18:51:55 GMT 10
Are you aware you can buy Aluminium solder for small jobs like that tear?
|
|
|
|
Post by jp63 on Mar 19, 2019 16:37:42 GMT 10
Here we are still plodding away on the van. Between sickness and a long weekend away it doesn’t look like we are far but things are still happening, just a little slower than our timeframe would like. Since our our last update we have managed to get the ceiling lined. We have used the paper/poly ply from gunnersens in embossed grey. We had just enough sheets left over from the Franklin Reno we did a while back. We used aluminium T channel and a piece of aluminium angle to replicate the H channel that would have been used originally and sikaflex to fix the sheets to the frame and then each panel was held up with tent poles while the sikaflex set. We did 1 panel a night so this alone took us nearly a week. 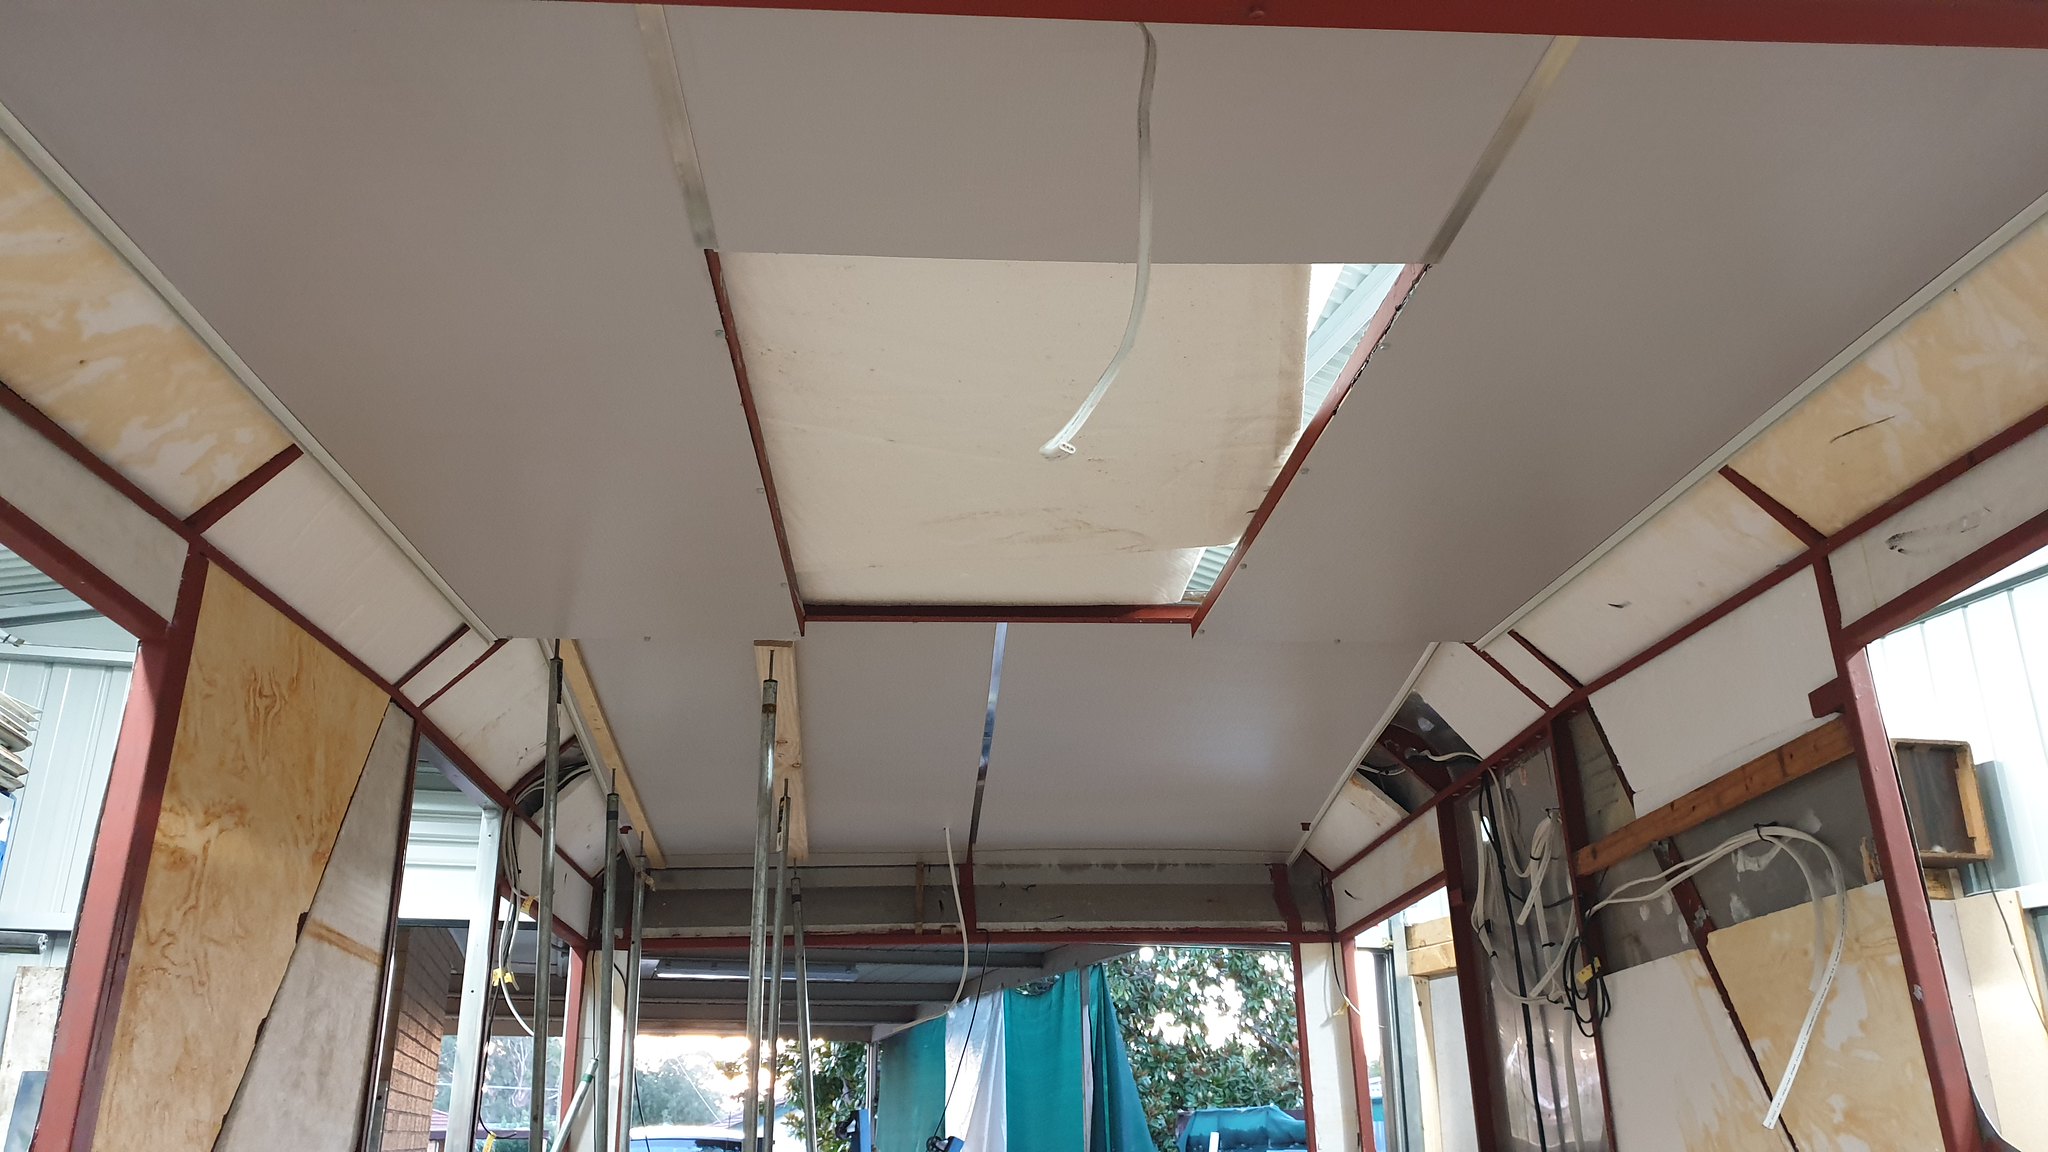 The new Axle arrived and has now been installed, Which means we can now move it back in to the driveway which will make it easier to cut the panels for the walls. 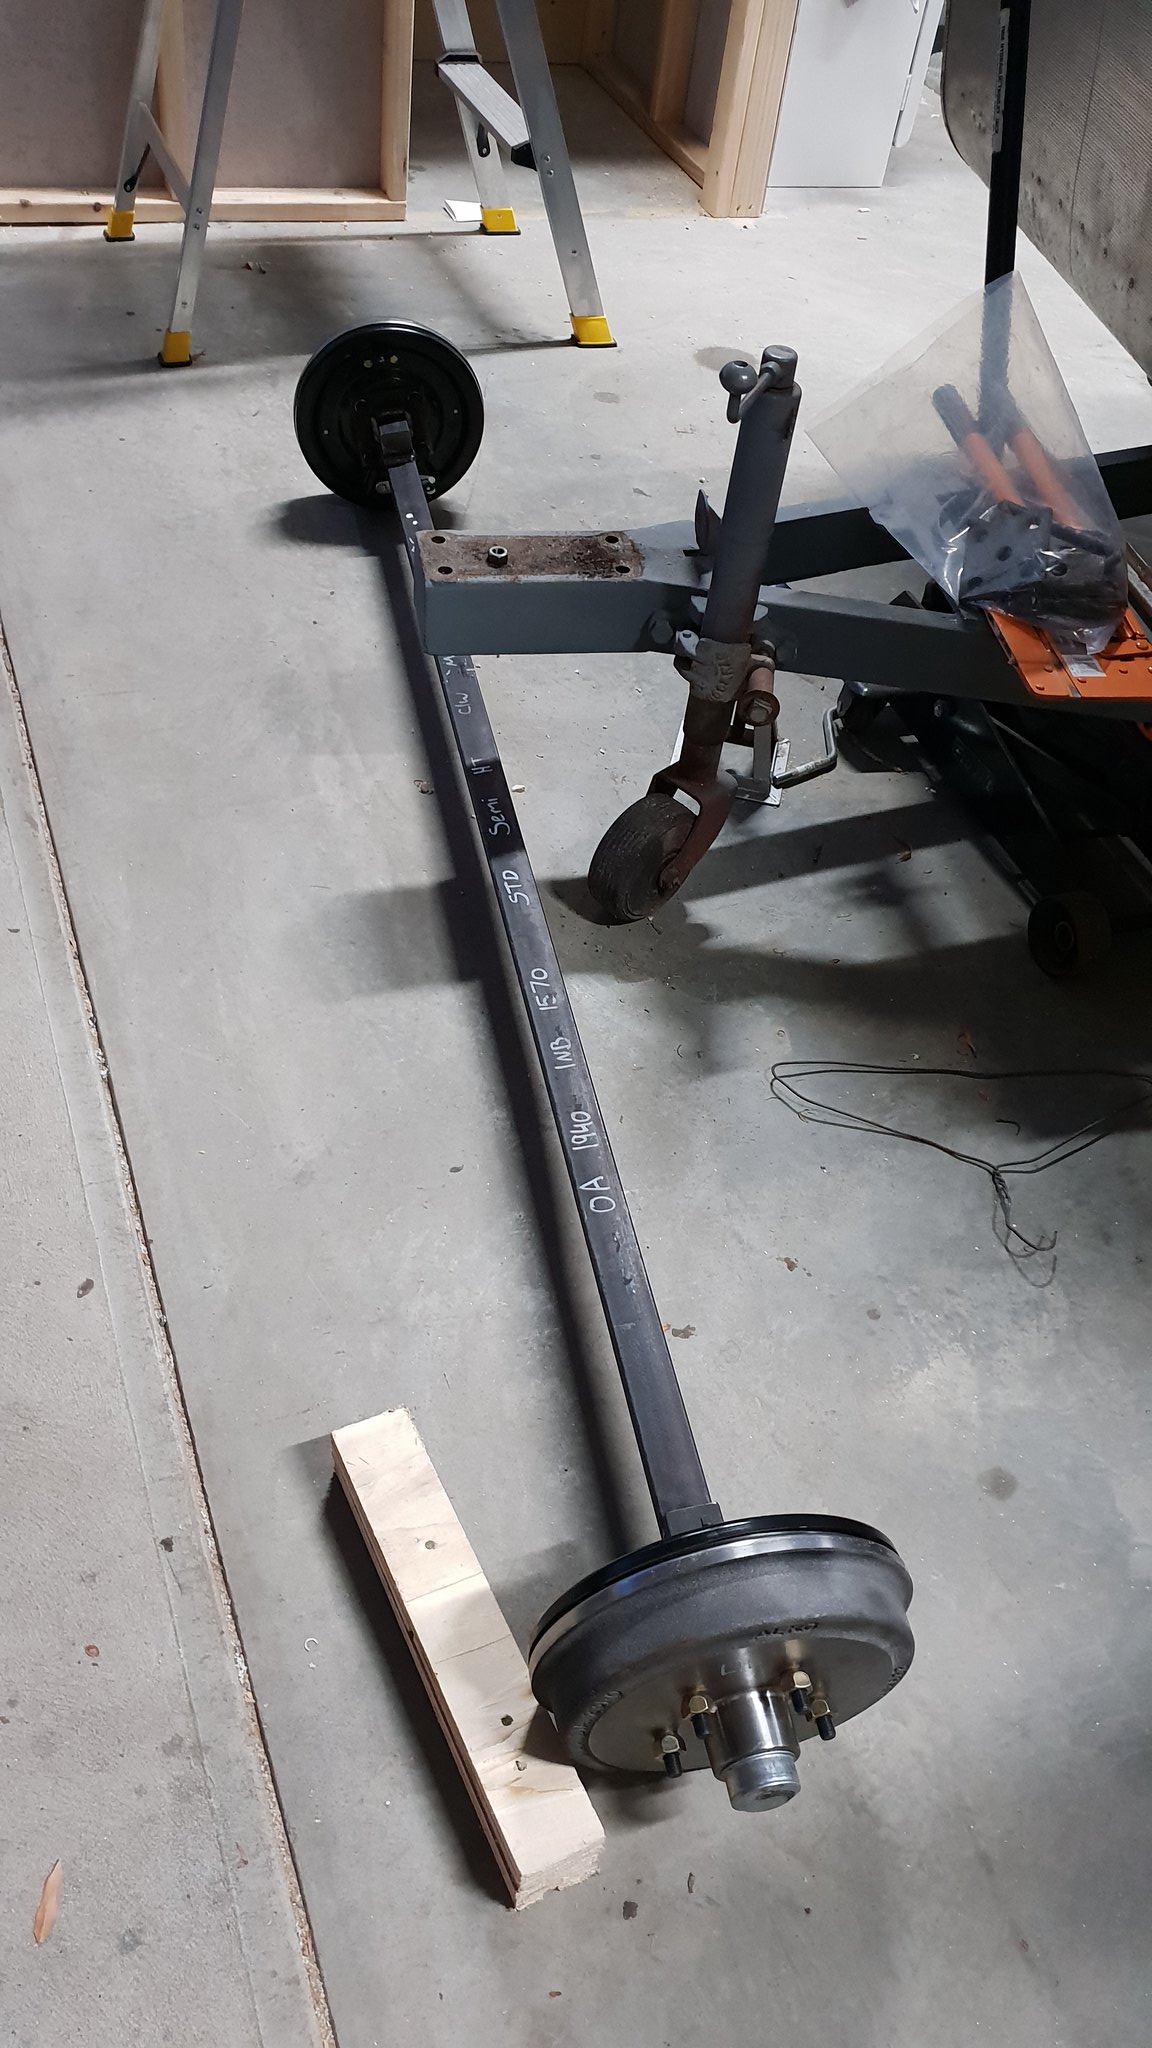 And finally the weekend just gone we made the trip from Adelaide to Melbourne to see the lovely Melanco who very kindly offfered us the opportunity to have a look through her van and to take any measurements etc that we needed , she also very generously parted with some original interior bits and pieces that she had for our van. So we now have templates for the wardrobe and overhead cabinetry as well as enough of the original sliding doors to get us out of trouble. Then on the way home we stopped in at Ballarat and saw another zestline the same as ours and got more measurements and photos as well as a table with the original leg (Vintage caravan people and honestly the best people)  We are pretty confident now that we have enough information and bits and pieces to be able to closely replicate the original interior that our little caravan would have had which is pretty exciting. Next up is the walls and Then lay the flooring before we get started on rebuilding the interior. |
|
|
|
Post by Mustang on Mar 20, 2019 19:03:09 GMT 10
The coating on my new axle/backing plates was crap, I would advise repainting the backing plates & axle before you fit it.
great progress there.
|
|
|
|
Post by jp63 on Mar 21, 2019 20:13:49 GMT 10
Mustang, Yes definitely. the coating wasn't the best so the husband gave it a couple of coats of paint before it went back in.
|
|
|
|
Post by jp63 on Apr 15, 2019 17:51:47 GMT 10
with less than 3 months left to our planned deadline we are still chipping away at the van. In between all the other projects that I have the husband working on and we have managed to finish lining the interior with gloss white coated ply sheets. We used 3mm panel joiners and had to router a few edges (since the ply is 3.6mm) to get things to fit as they should but it’s come together nicely. He has also made a start on remaking the overhead cabinets and it’s so nice to see the interior start to come together, it almost looks like a caravan again.   [/a] 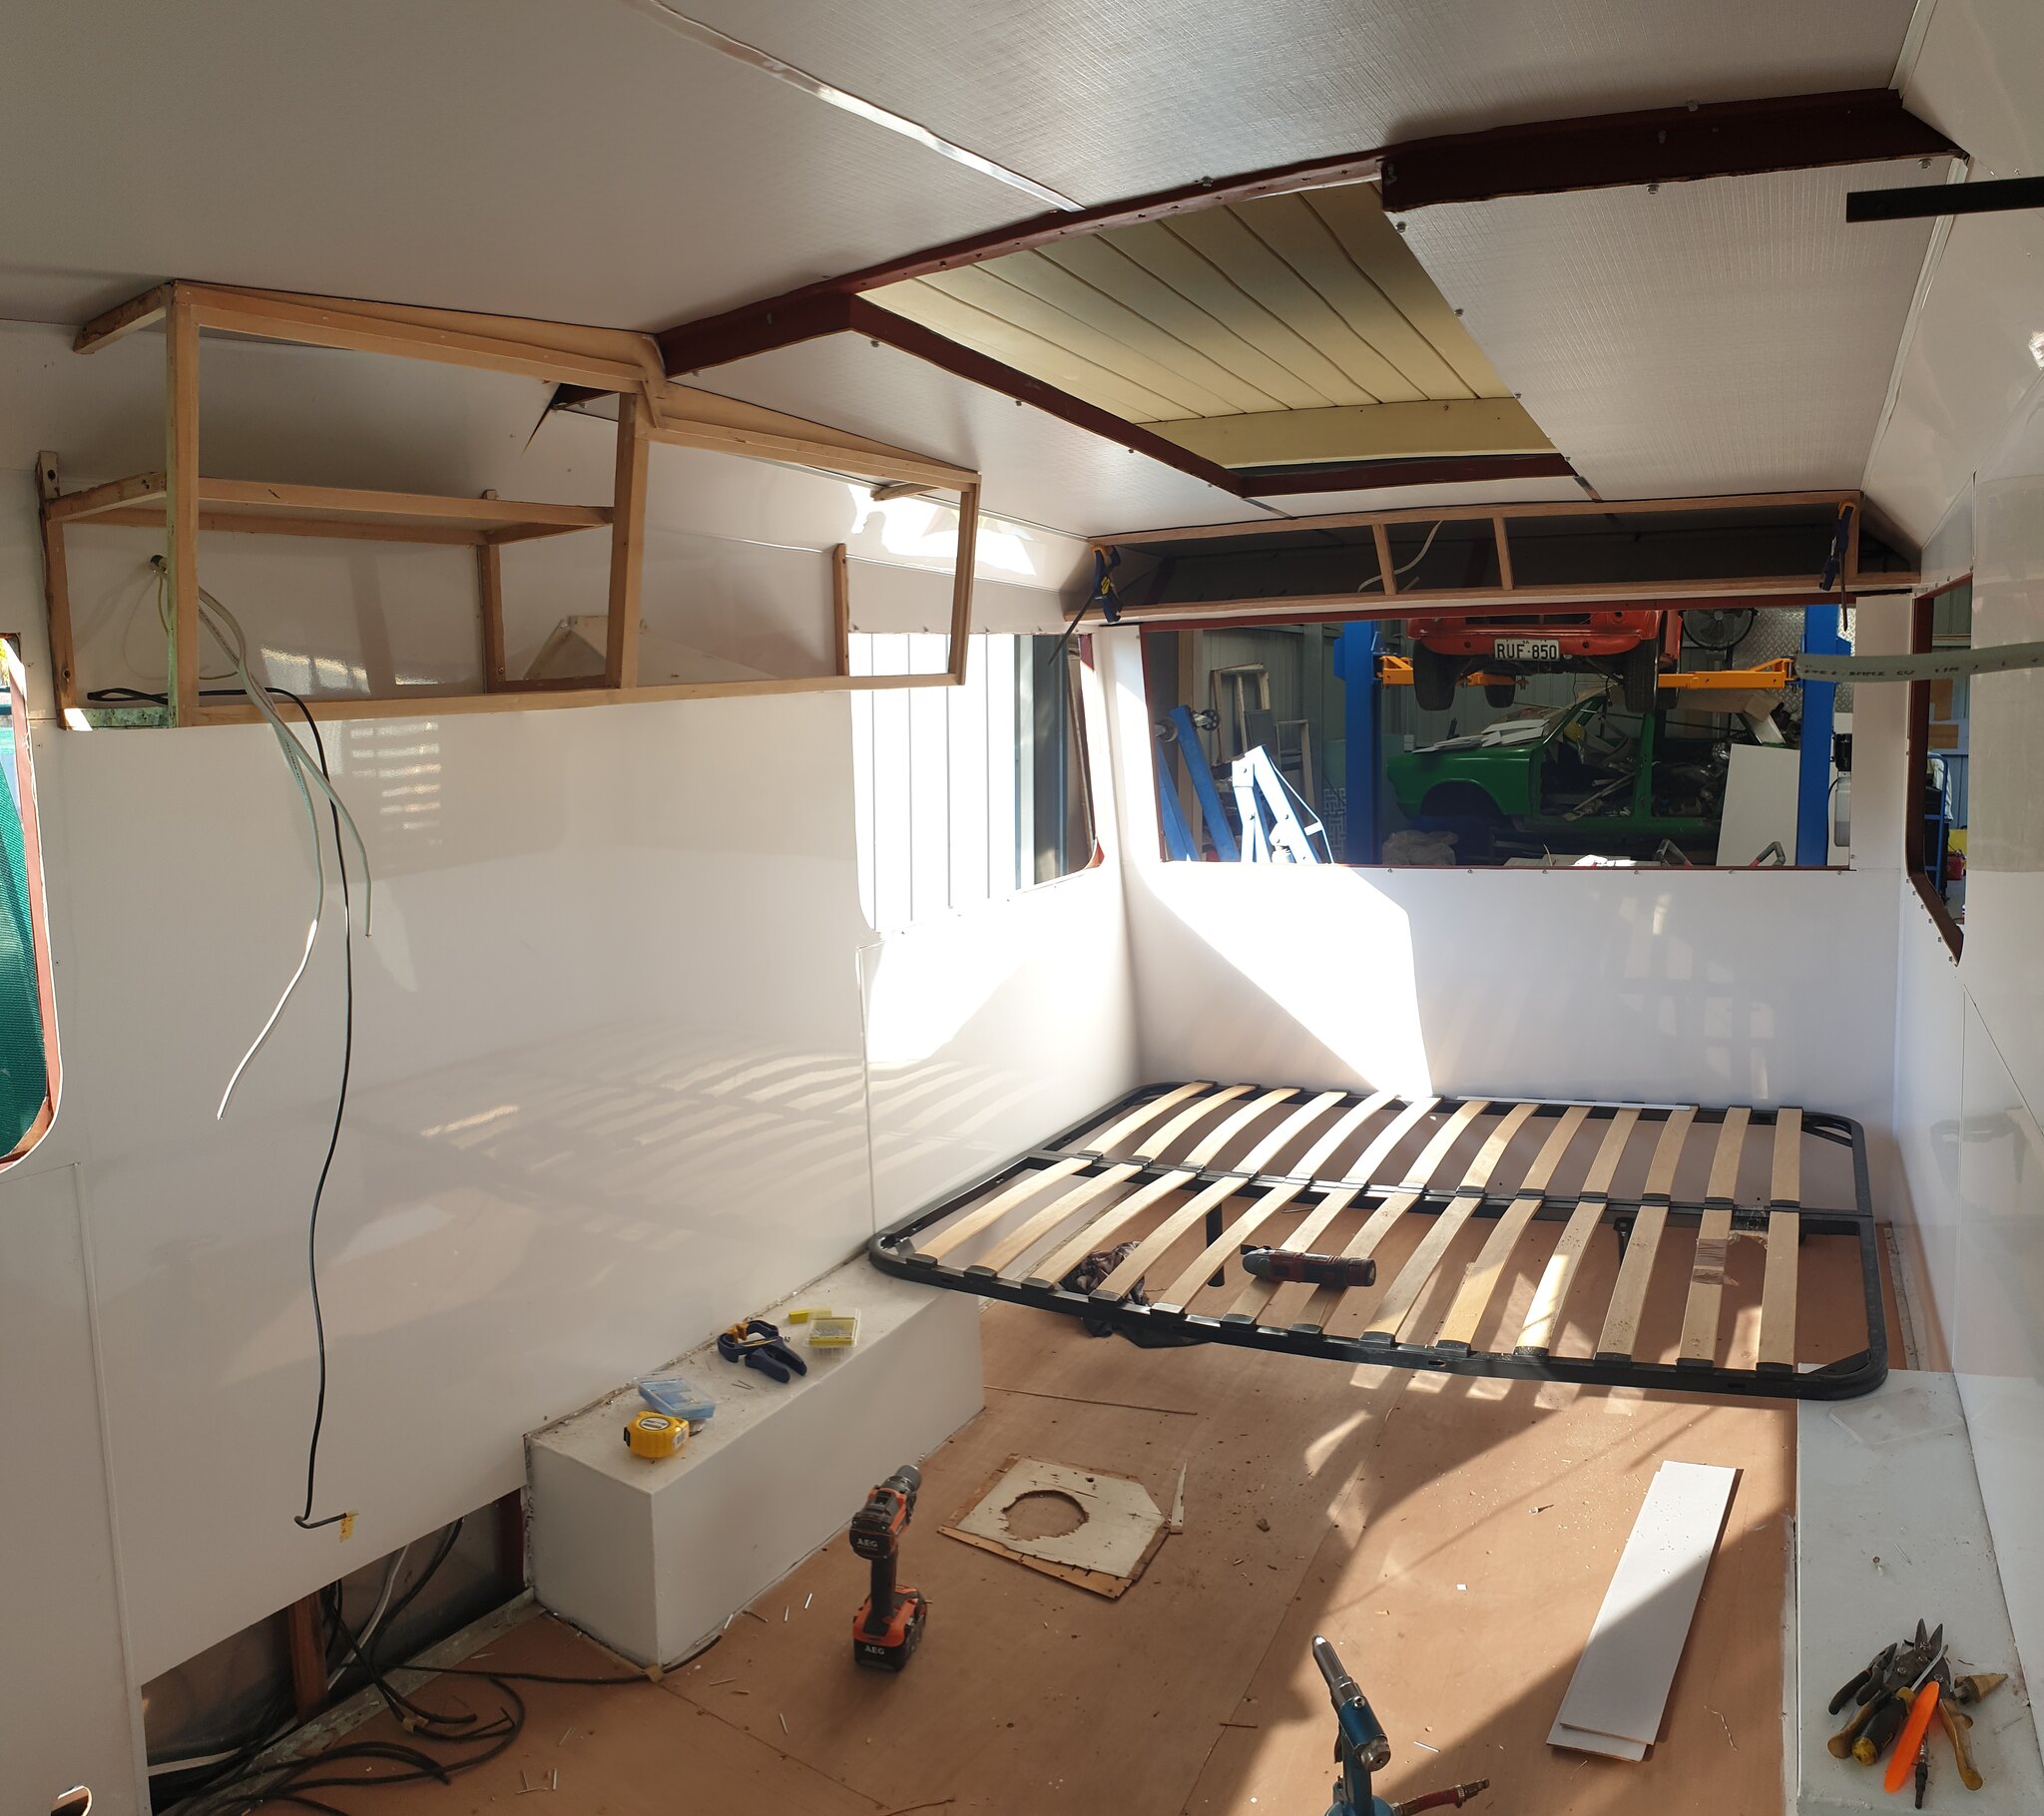 I have been cleaning bits and pieces including removing the old paint from overhead cabinet doors, all those delicate grooves meant that I had to gently scrape the paint out one groove at a time... but I keep telling myself it will be worth the effort.... 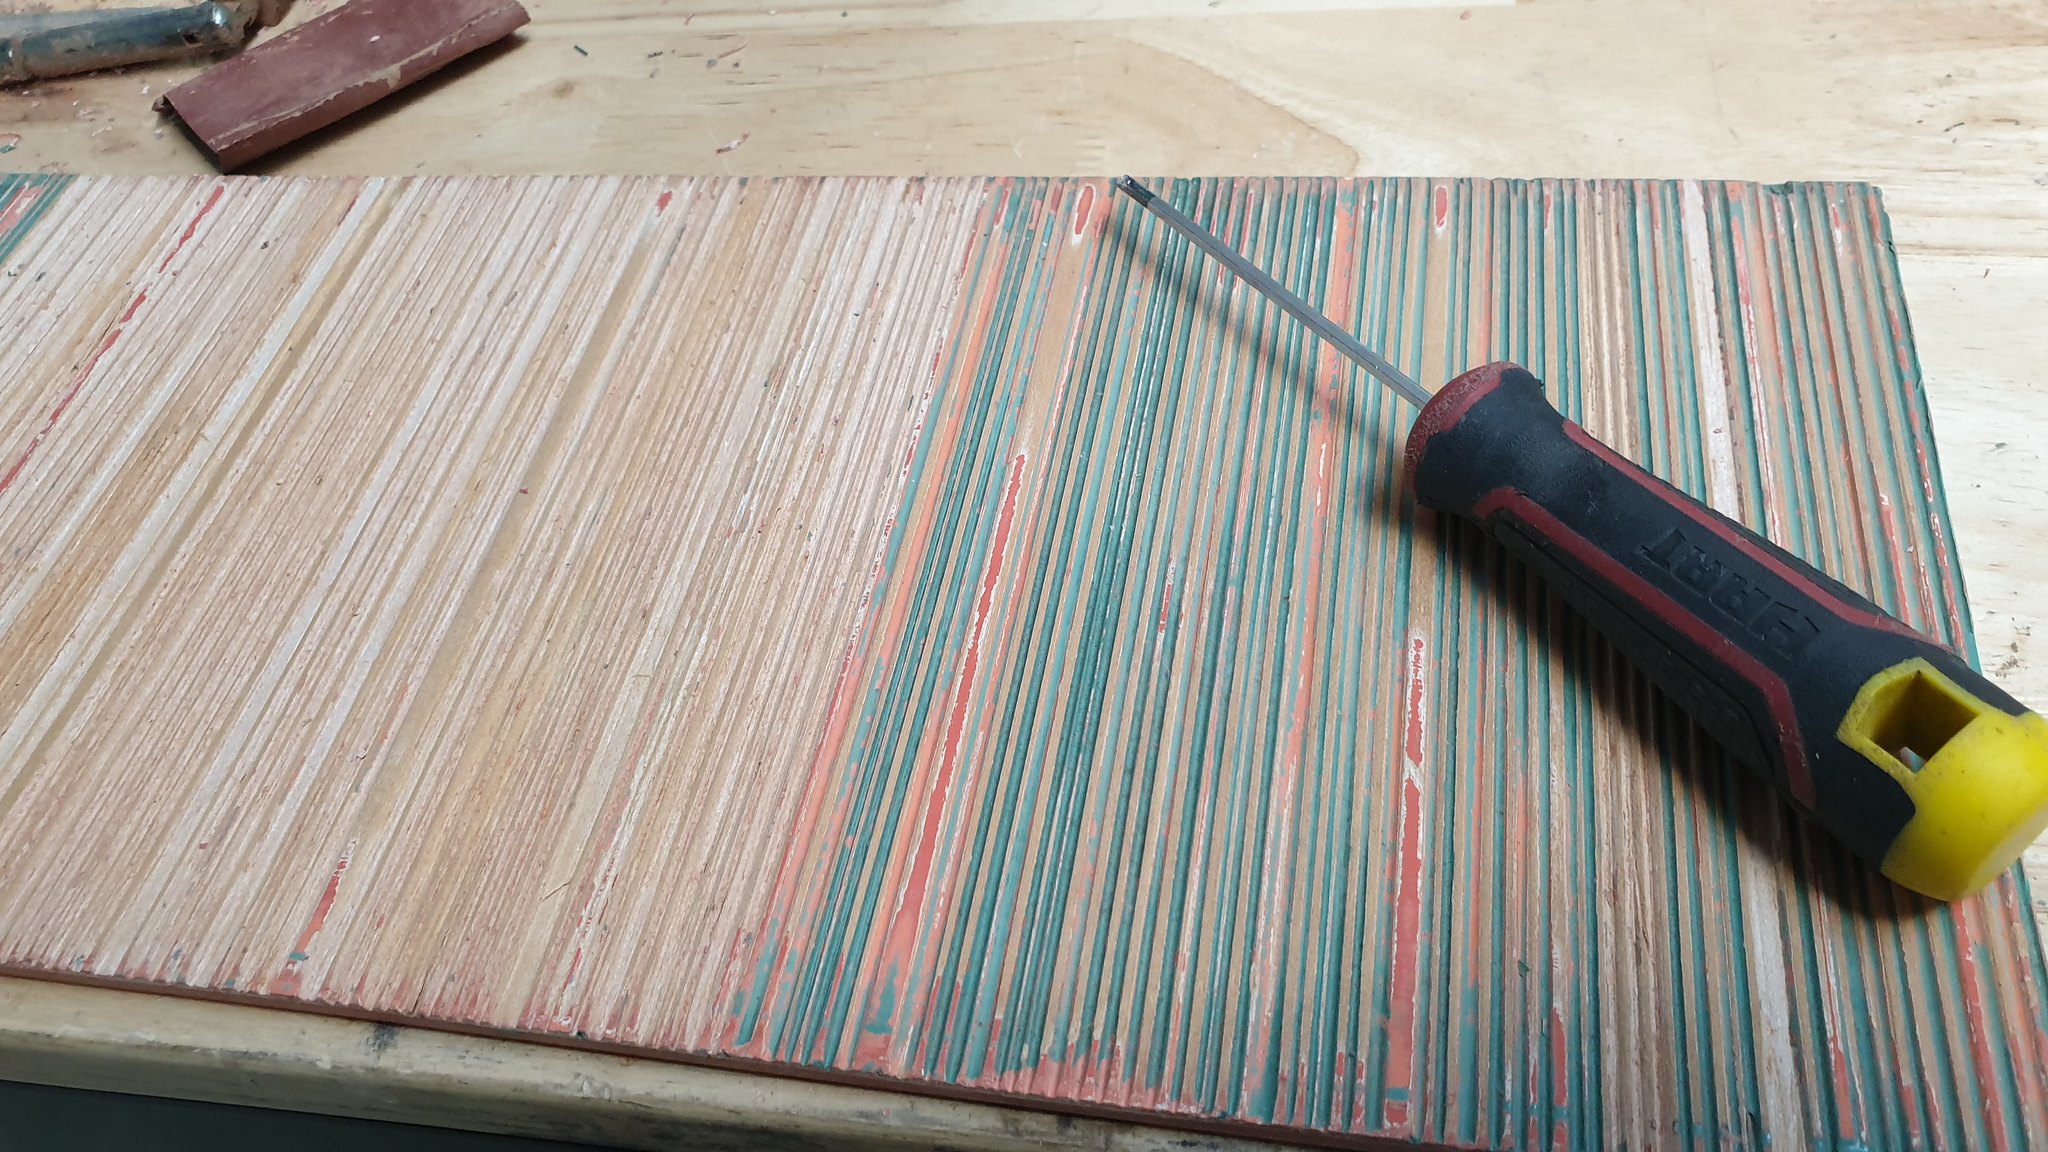 [/a] In our travels We also managed to pick up a bed base and an old table with the same laminate as the original table we pick up on our road trip to Melbourne, so now we have enough for the bench top and possible to replace the table top as it’s quite faded. Next up, The flooring will be laid and I’ll make a start on cleaning the windows and a bit of painting while the husband keeps going on the interior. We might just make that weekend in July. |
|
|
|
Post by Franklin1 on Apr 15, 2019 23:51:09 GMT 10
G'day jp63,
It's certainly an eye-catching difference inside the van now, hey?!  Congratulations on the great work you are both doing.
A couple of points...
1. Have dedicated earth leads been put in to each of the 12V lights on the van? It's something the manufacturers of aluminium vans seemed to have skimped on to save costs.
2. Are you using paint stripper to help soften the paint on the overhead cupboard doors? If so, use sawdust under a pad of rag (or preferrably a pad of coconut fibre) to remove the paint a lot easier. The sawdust is fine enough to get into the grooves and will act as a scourer to remove the paint, without leaving marks on the timber. Coat the paint with the stripper, wait 5 minutes for the paint to soften, then sprinkle copious amount of sawdust over the stripper. Then scour away with the pad or coconut fibre (can get from old mattresses). Stubborn paint patches may take a couple of coats of stripper, but the end result will be a surface back to bare timber ready for a light sanding and repainting.
cheers, Al.
|
|
|
|
Post by jp63 on May 14, 2019 12:41:51 GMT 10
Franklin1, Yes that was something we noticed, and have run dedicated earth leads for the lights.
Also thanks for the for the tips on removing the paint, that certainly would have been much easier than the way I did it. I will definitely file your method away for future reference if we ever need to do them again (which let’s be honest, will probably happen because I can’t decided on what colour to paint them)
|
|
|
|
Post by jp63 on May 14, 2019 13:45:42 GMT 10
It’s been 4 week so since our last update, and things are still getting done. We have laid the flooring, we used the vinyl composite tiles by Armstrong flooring laid in a diamond pattern which meant more cutting than if we had laid them straight but I think they have come up well.  The husband has also been busy making the frames for the kitchen, wardrobe, dinette and bed. The over head kitchen cabinet is finished, painted and has been installed. the first of the 12v lighting has been put in too, plus It’s a little hard to see in the photo, but I also made up some welting/piping to go between the cabinets and ceiling to cover the joins. It’s finally starting to look like a caravan, instead of an empty shell.  
Slowly but surely we are getting there, next up is to seal the floor, finish and install the cabinets then start on the windows. 2 months left till our planned first trip in the van, let’s see if we get it done.
|
|
|
|
Post by Mustang on May 14, 2019 16:43:37 GMT 10
Wow, a shadow of its former self, at least you don't have to paint the outside.
|
|
|
|
Post by jp63 on May 15, 2019 12:28:01 GMT 10
Wow, a shadow of its former self, at least you don't have to paint the outside. Thanks. We might not have to paint, but it will still need another polish... I'm not sure which I'd prefer... |
|


 Congratulations on the great work you are both doing.