|
|
Post by Observatory on Oct 7, 2014 19:25:48 GMT 10
Hey there, No pretty picture today but I think I'm getting to the heart of the upper cabinetry sag problem. The main reason for the sag seems to be the batten next to the front of the roof hatch. I did a splint repair on it 3 years ago and didn't screw the upper cabinetry to it. With the roof cladding removed I can now replace the batten properly. Hopefully replacing it will fix the sag problem by pulling the cupboards back up to square again. Fingers crossed  PS Had a good weekend thanks Gordon and hope yours was goody too. Plus appreciating your input as always. Cheers, Pete |
|
|
|
Post by Observatory on Oct 9, 2014 14:40:35 GMT 10
Hi all, On the left; the new hatch coming to shape. The right; some creative batten screwing. First drilled through the cupboard to get access to the screw head; then screwed in the new batten. Will have to do some patch work on the hole, later. Pete 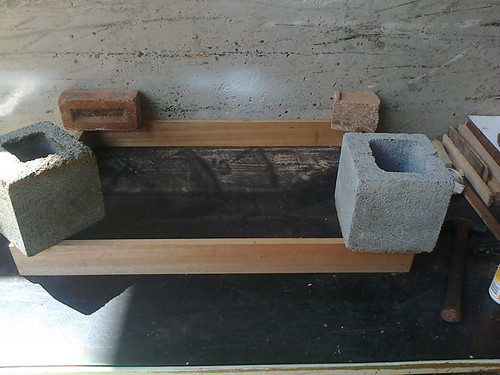 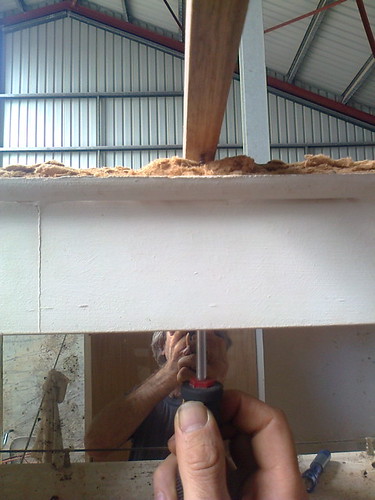 |
|
|
|
Post by mibosa on Oct 10, 2014 21:07:55 GMT 10
To Pete (and Gordon), As the owner of a 1966 Viscount Ambassador which I am restoring/renovating, I am watching this thread very closely and appreciate the comments and photos. Pete, how do you envisage you will paint the inside, spray gun or other method? I am doing all my 12v and 240v business okay with a sparky for a son, and just about to embark on my new hatch framework which has got me thinking but always thinking ahead about the paint job. Regards, Bob.
|
|
|
|
Post by Observatory on Oct 11, 2014 11:00:43 GMT 10
Hi Bob, Glad you're appreciating the thread.  I'm gradually getting the hang of this resto business. The most valuable thing I've learnt so far is to slow down a bit (less redoes later). Still a bit undecided about paint. I now have a small compressor (21 litre); so have been pricing some cheap gravity fed spray guns - which I'm told are the standard these days. And there's always roller and brush. What ever I use, you can be assured it will end up on this thread - I'm a bit of a serial threader. Great that you've got your son to sign off on your electrical work. I'll have him up here when he's finished with your van  Cheers Pete |
|
|
|
Post by Observatory on Oct 13, 2014 16:14:58 GMT 10
Okay, new hatch is in  NOTE: before starting this I put the cladding in place to check for correct alignment. 1. nailed and glued in the frame beams to the battens. 2. aligned the hatch frame to the height of the ceiling panels. 3. penciled the height of the hatch frame. 4. glued, nailed and clamped the hatch frame in. 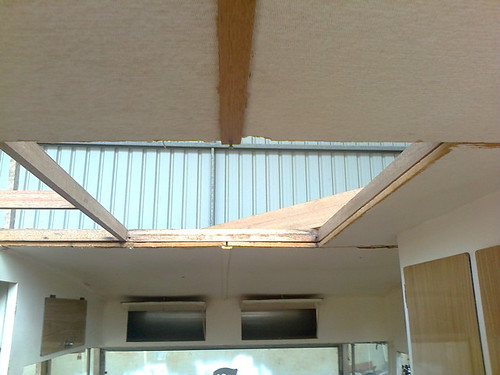 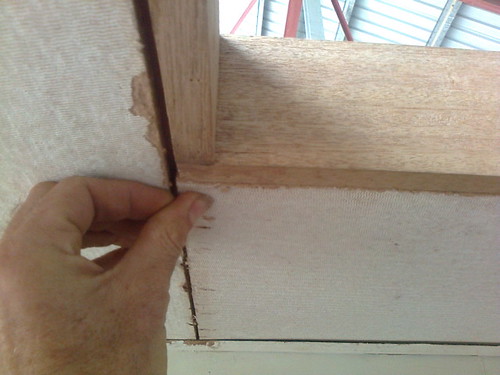 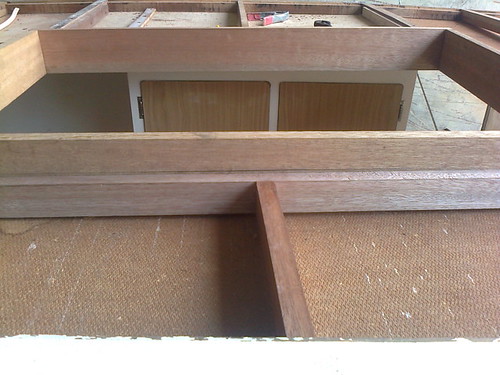 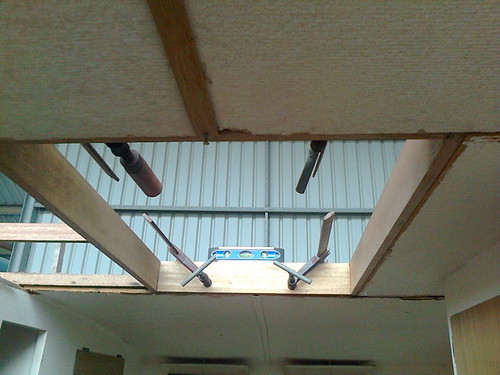 |
|
|
|
Post by Rattles on Oct 13, 2014 17:17:08 GMT 10
From the Pictures you are a fast learner, Keep up the fine work.
Rattles
|
|
|
|
Post by DC3Td on Oct 13, 2014 17:36:55 GMT 10
Geez those panorama skylights certainly brighten up the interior Pete! Seems you`ve gotten everything under control & hopefully the rest will flow easier for you now. gordon
|
|
|
|
Post by Observatory on Oct 15, 2014 19:27:44 GMT 10
Thanks Rattles and Gordon. The panorama skylight got a piece of soft board stuck in it now   Getting the roof, the right side and the cabinetry as strong as possible before getting stuck into the left side. Cheers, Pete |
|
|
|
Post by Observatory on Oct 16, 2014 18:29:52 GMT 10
Hi all, Found out that the sink cabinet has been modified - ie the previous owner made it higher by adding to the top - about 3 inches in height. Unfortunately they also took away a main structural support  on the left side of the cabinet, which would have contributed to the bulging wall problem. Anyway, have rebuilt it with some new frame bits and a new masonite pegboard which is thicker than the original. Cheers, Pete PS. The sink is now tied into both lower cabinets. All cabinets now nailed in from the outside, and screwed to the floor and wall from the inside (as when originally built). Overall, should add a lot more strength to the right wall. 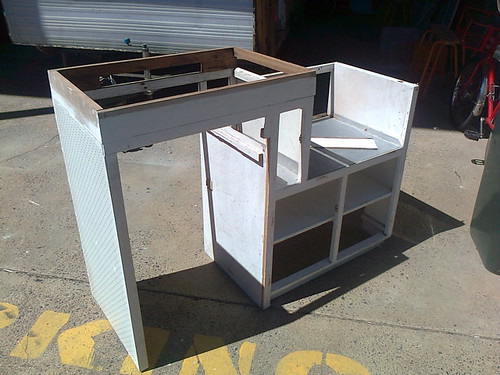 |
|
|
|
Post by DC3Td on Oct 16, 2014 20:14:54 GMT 10
Ah,don`t you just love masonite pegboards Pete? Particularly sealing & painting them.Not.Btw,hope its the right height(for you)as a bugger of a job to redo. gordon
|
|
|
|
Post by Observatory on Oct 17, 2014 14:54:16 GMT 10
Left side is off. More mysterious writing "WRAPAROUND ' 15 O DOOR". (perhaps - outside door frame???) The other bit of writing seems to read "4 75" and maybe "c f"  Anyway, more fun and games next week.. but for now, it's the weekend off  Cheers, Pete  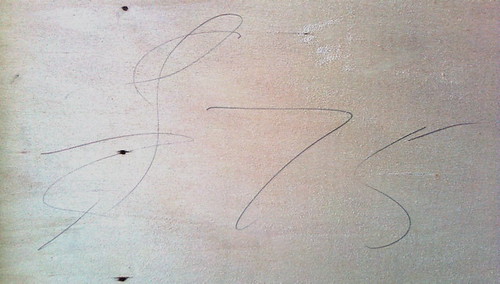 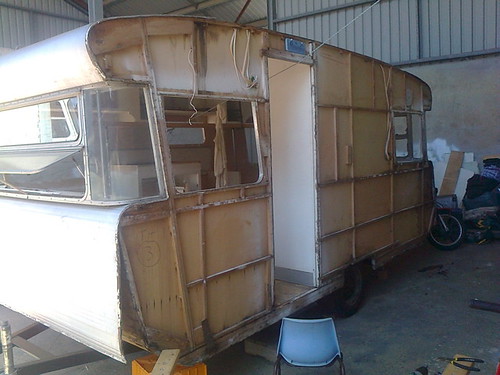 |
|
|
|
Post by Observatory on Oct 21, 2014 16:50:37 GMT 10
The left side Z supports are in (as well as the beam across the wheel arch). The supports were joined along their length with countersunk screws (screwing up from the bottom) and glued. Also gave the inside, lower, horizontal edge of the supports a slight bevel, to make them pop in nice and tight. The 2nd photo shows the rear sill frame under construction: two pieces of 31x19mm meranti, stuck together to get 31x38mm (countersunk screws and glue). This beam is a crucial tie in point to give overall strength to the back end (the old one had let go from dry rot). Cheers, Pete 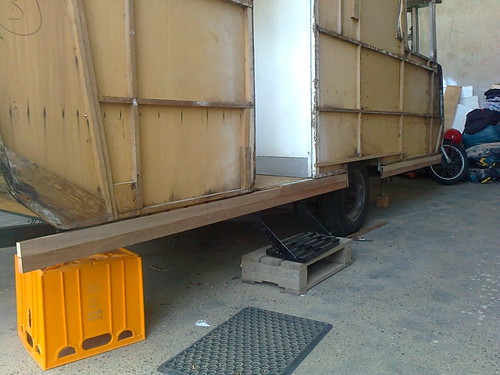 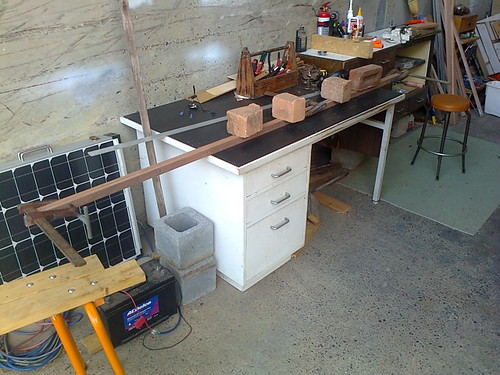 |
|
|
|
Post by Observatory on Oct 23, 2014 12:58:19 GMT 10
Left booty taking shape  (not nailed or glued yet): 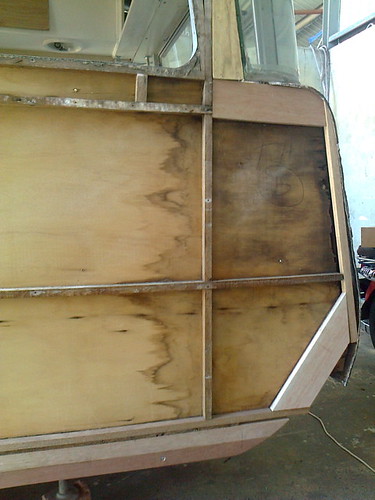 |
|
|
|
Post by DC3Td on Oct 23, 2014 20:15:43 GMT 10
You must be doing something right Pete as you`ve got nearly 2500 views - or a stalker or two!
|
|
|
|
Post by Observatory on Oct 24, 2014 13:34:57 GMT 10
(my bad joke time) Aha, one would expect on a caravan forum that one would be followed. boom boom   |
|
Aussie
Junior Member
 
Posts: 60 
|
Post by Aussie on Oct 26, 2014 20:00:48 GMT 10
Great thread Observatory, thanks for the effort with the pictures and explanations too  |
|
|
|
Post by Observatory on Oct 27, 2014 13:39:22 GMT 10
Thanks Aussie - welcome to the forum. I see you have a similar van to the Observatory. Judging by the cladding and handle fittings we have similar year models - my guess is some where around the mid to late sixties. Franklin 1 has posted some great info on year models of Viscounts. Good luck with the resto/reno.  Cheers Pete Digging a little deeper on the backend to get ready for new wall panels.  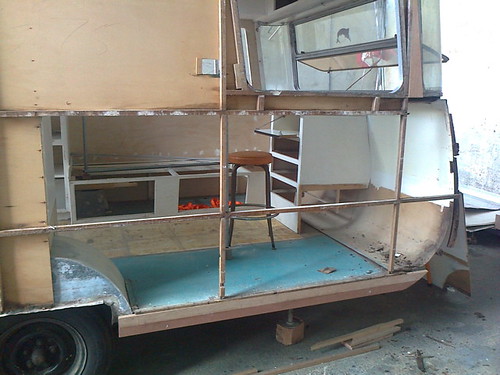 |
|
Aussie
Junior Member
 
Posts: 60 
|
Post by Aussie on Oct 27, 2014 17:07:59 GMT 10
Thanks Aussie - welcome to the forum. I see you have a similar van to the Observatory. Judging by the cladding and handle fittings we have similar year models - my guess is some where around the mid to late sixties. Franklin 1 has posted some great info on year models of Viscounts. Good luck with the resto/reno.  Cheers Pete Whilst i wont be going to the lengths you have in your resto, i do hope i am able to come (even remotely) close to the level of workmanship you've shown. Bloody sensational mate! Thanks for the welcome, i appreciate it. |
|
|
|
Post by Observatory on Oct 30, 2014 16:51:45 GMT 10
|
|
|
|
Post by Observatory on Nov 3, 2014 19:21:51 GMT 10
Moving slowly at the moment... this back end is really tricky. The window frame is self supporting ie. hangs from the back cabinetry via 8 screws. The bottom window ledge has the back cladding sandwiched between it and the cross beam that ties in to each side wall. So here's the plan: 1. Align the crossbeam to the bottom shelf of the window frame - using the back cladding as a template. NOTE: shelf still unattached to window frame at this point. 2. Pre-drill the bottom window ledge and crossbeam for alignment but not screwed together yet. 3. Assemble window frame and attach to upper cabinetry with sealant in between the frame and cabinetry. 4. Attach the crossbeam to the lower ledge with the back cladding sandwiched between them and using demastic between the back cladding and underside of shelf. 5. Finally fix the cross beam (window frame/ledge/bottom cladding) to each side wall/frame with nails and glue. yeah I'm confused too  Cheers Pete |
|
|
|
Post by DC3Td on Nov 3, 2014 20:05:16 GMT 10
Gday Pete.You`re confused? Just make sure that if ever the window needs removing you don`t have to do the reverse of what you just said.Whew,i`m going to bed now.Got a headache. gordo
|
|
|
|
Post by Observatory on Nov 5, 2014 14:28:59 GMT 10
"Just make sure that if ever the window needs removing you don`t have to do the reverse of what you just said." You speak wise words Gordon. Before proceeding, the roof cladding above the window has to be sealed with silicon. Reason being, it's only accessible with the window framing out.  Below: the cross beam pre-drilled and ready for assembly at a later stage now. 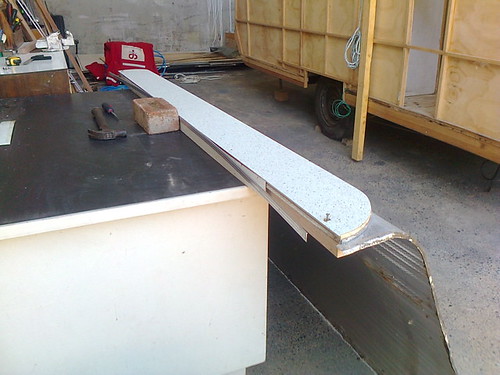 |
|
|
|
Post by Don Ricardo on Nov 5, 2014 19:08:40 GMT 10
Excellent work you're doing there Observatory. The van is coming along really well, and thanks for posting regular updates. It's fantastic to 'be part of the project' as we watch admiringly from afar!    Don Ricardo |
|
|
|
Post by Observatory on Nov 6, 2014 12:18:48 GMT 10
Very kind of you Don  Getting such feedback is a shot in the arm, when this deep into the project. About to put the back window frame in, but what sealant to use? I have some 680 silicon and some demastic; both in corking gun tubes. But alas which one to use? (opinions welcome please). 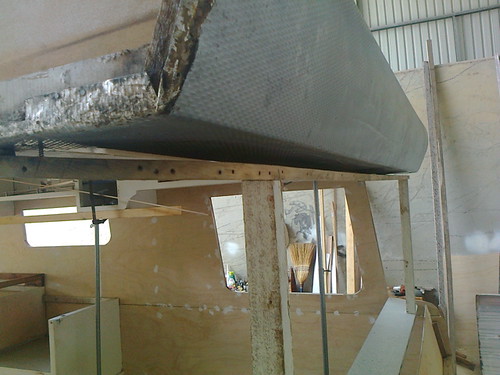 |
|
|
|
Post by shesgotthelook on Nov 6, 2014 15:55:11 GMT 10
Don't use sillicon, looks bad. try sikaflex or Selleys sealant multipurpose which comes in grey or white. After it has dried, it is easy to remove any that is showing.
|
|