|
|
Post by surferboy on Aug 31, 2006 14:38:16 GMT 10
Well we've started the renovation (?) on the Convair we bought from Ditzy. lets hope it doesn't become a cubbyhouse for the grandkids. the before photos 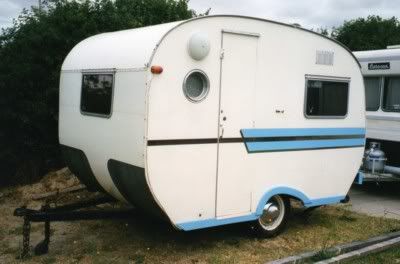 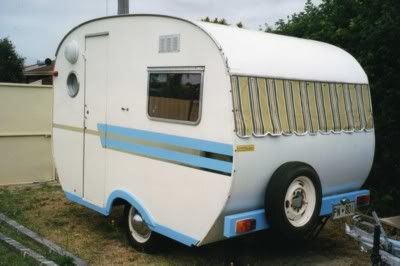 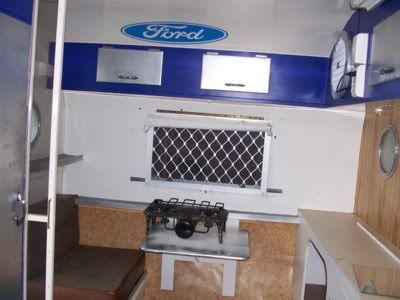 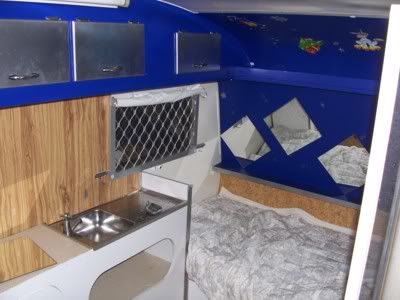 It has some unusual modifications done to it already, so we will modify it to suit our needs rather than try the impossible and restore it back to original. Some changes include..steel front and rear instead of ply....no rear window...single front window...no stove..no cupboard doors...1/2 a bed...whopping big exhaust fan...skylight instead of roof hatch..security screen on all windows. (It makes us wonder what it was being used for  ? ) Lets hope it doesn't join the 4 fish tanks , 2 fridges , 1 trailer, the repairs to games room, paint on the ugly duckling etc. etc. that surferboy has started and not finished (yet)  & Cathy |
|
|
|
Post by surferboy on Aug 31, 2006 15:00:38 GMT 10
THE DEMOLITION BEGINS. 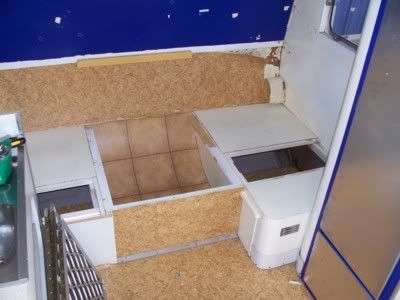 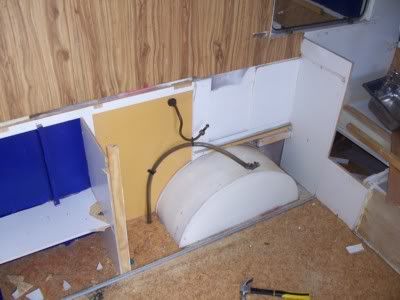 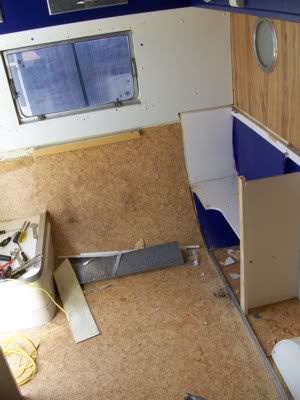 we started by removing as much as possible of the added on cupboards. I think this is going to be one of those jobs where you learn by your mistakes ( and we are going to learn a lot ) & Cathy |
|
|
|
Post by retro1 on Aug 31, 2006 22:12:31 GMT 10
Are you going to restore it to original or custom fit out?
|
|
Deleted
Deleted Member
Posts: 0
|
Post by Deleted on Sept 1, 2006 19:49:00 GMT 10
Hi SFRBoy and Cathy You will be well on your way to a great restoration if you get rid of any blue and white plus any reference to Ford  ........ change the decor to red and white... Holden colours    ;D and i am sure your little Convair will give you no troubles while restoring / rebirthing it. Hey Retro1.... Good to here from you again. Reddo |
|
veedubnut
Full Member
 The Compact Camper
Posts: 272
|
Post by veedubnut on Sept 2, 2006 1:09:20 GMT 10
OMG  What drugs was the young man on when he did that renovation/decoration job??? I can imagine what the security grilles on the windows were for... To keep his date from escaping during the night  As for that exhaust fan I can only imagine that sucking all the "mary jane" smoke out of the van very efficiently ;D Really good to see you guys are going to renovate it to a tasteful standard. I will keep watch on the progress Cheers Greg |
|
|
|
Post by surferboy on Sept 3, 2006 23:07:58 GMT 10
 Ask and ye shall receive Reddo. the restoration STEP 1 Remove f##d rubbish and replace with quality HOLDEN stuff & Cathy |
|
|
|
Post by surferboy on Sept 3, 2006 23:23:35 GMT 10
WHOOPS ! 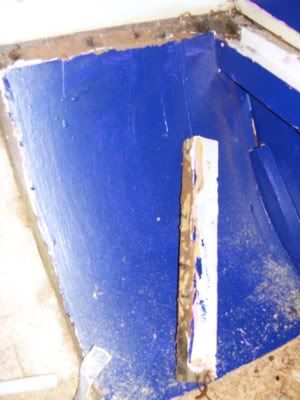 I found most of the renovations were held together with 1000s of 1 1/2 inch screws. BUT some of the original timber is held in with nails ..from the OUTSIDE ! 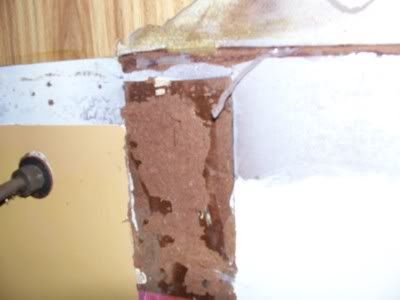 some new stuff was glued and siliconed in (result some slightly damaged masonite) 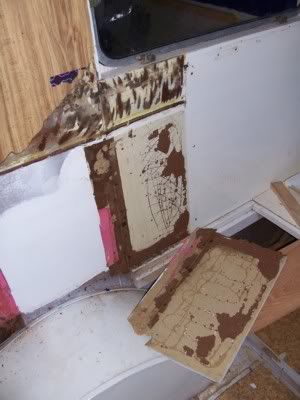 one 12''x12'' piece had 16 screws AND GLUE to hold it in ( ) (result MORE slightly damaged masonite) 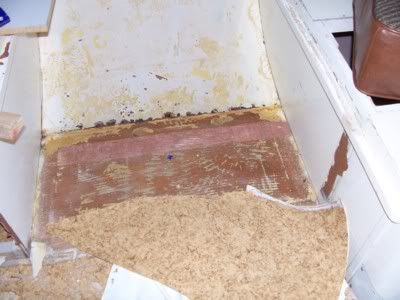 the vinyl floorcovering came off the gloss painted masonite really easily..... but I now have one less layer on the plywood floor & Cathy THE LEARNING HAS BEGUN |
|
|
|
Post by surferboy on Sept 10, 2006 21:56:58 GMT 10
Surferboy pretending to be a carpenter But looking more like a plumber 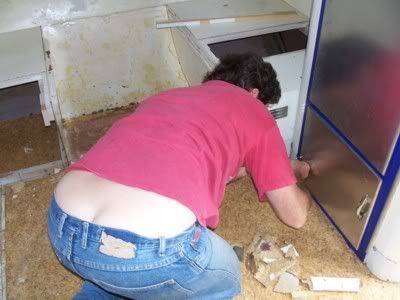 Cathy |
|
|
|
Post by surferboy on Sept 10, 2006 22:08:39 GMT 10
Ha Ha Ha ....very funny. Got curious to what was behind the rear panelling (yea i know i shouldnt) so i took it off.. 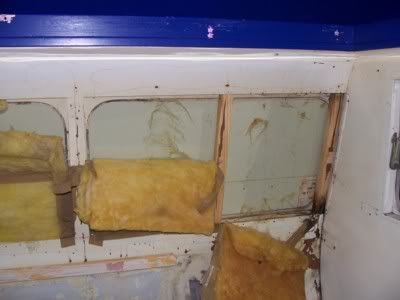 found fiberglass insulation had been installed.. AND what appears to be the original ply with window holes still in place under the steel exterior. started playing around with the layout. 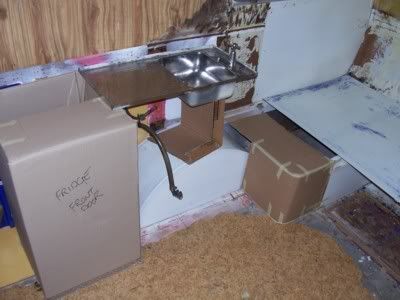 laying it out in cardboard to see how it fits (or doesnt fit) Cathy wants me to figure out how to fit a Queen size bed... I love her optimism |
|
|
|
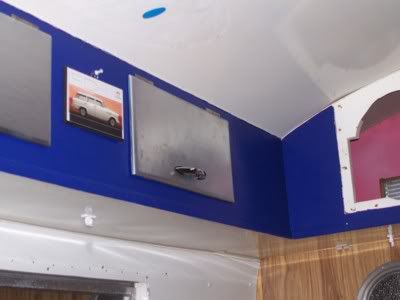
Post by surferboy on Mar 11, 2007 0:06:31 GMT 10
I ran out of bits to rip out of the interior, we've got a couple of nice warm days, I've got the weekend off work, and I started getting curious so I started ripping off the exterior to see what all that steel sheeting was hiding ! 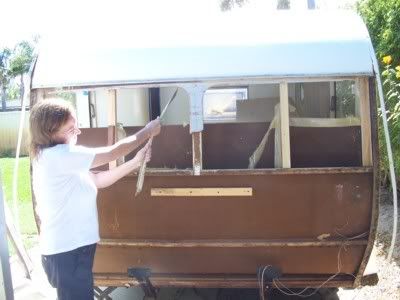 Cathy helped 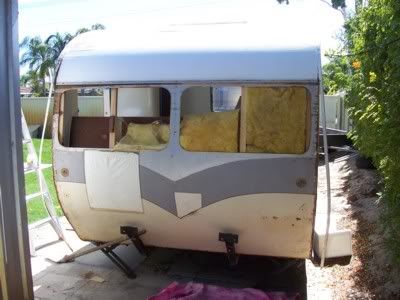 the original masonite and ply. and what are the white patches ? (i hear you asking) 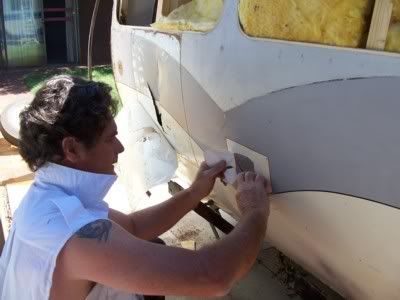 An absolute must have acsessory............VINYL HOLE COVERS 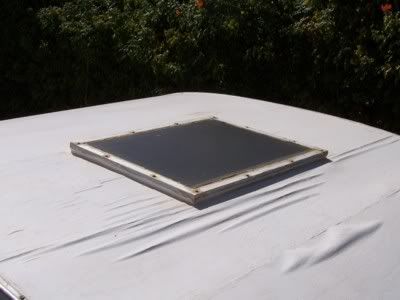 The perspex sunroof, thats glued, screwed,bogged and silasticed shut........BUT still managed to leak when it rained ! 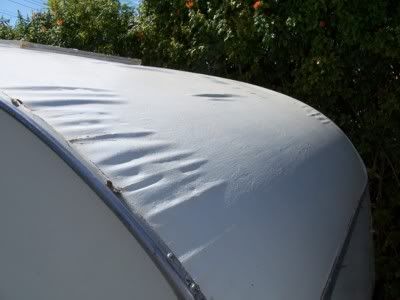 Damage to roof at rear of van I was going to ask for advice as whether this much damage is repairable or whether to replace (but its to late to ask now) 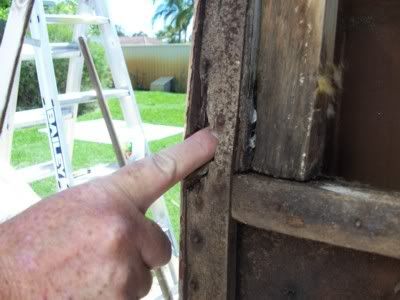 BUGGER...! I'm guessing this isnt some form of lightweight caravan framing 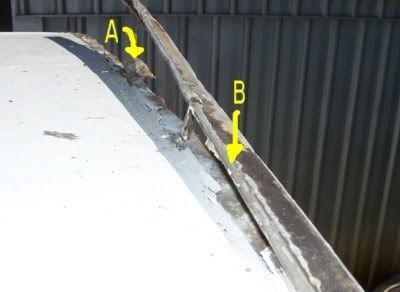 just incase anyone is interested,when pulling off the edge moulding I found .. A. hessian/canvas wrapped over the edges of the ply under the moulding....B. silver stuff (?) along flat edge of moulding 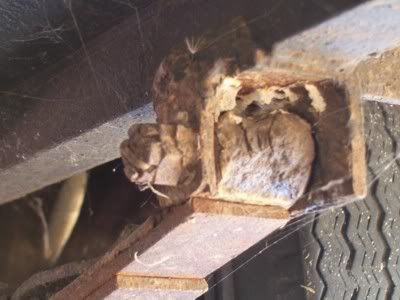 A heavily textured finish (sounds much nicer than rust doesnt it) to the bolts on the springs...Have no idea how serious this is, I dont want the springs and wheels falling off half way across the Nullabor Dont ask me why I'm taking pics of rusty springs when I'm supposed to be pulling ply off the roof ...I dont know 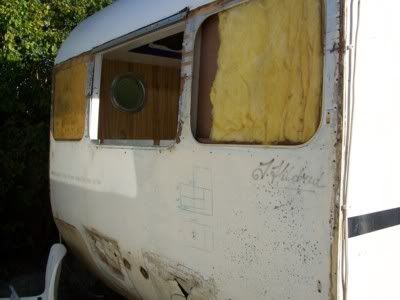 Ripped the steel panelling off the front and found the original masonite (with more holes)  Started pulling the Ply off the roof at the front, It looks OK, some staining but is dry and feels solid Looking forward to ripping the rest of the roof (and that skylight ! ) off tomorrow Then I'd better go shopping for some tarps or some ply & Cathy |
|
|
|
Post by surferboy on Apr 14, 2007 15:06:53 GMT 10
Well I did it ! Went out and spent lots of money on Marine grade ply to reskin the cubbyhouse. So now I HAVE TO finish the renovation. mgmblemmmgulpmgbllechomplmbbhlemwnplmmbbbblechewblearghchokechokemmdblpodmlwadmmffplrtspewbdmlldmrt (the sound of Surferboy chewing what he has bitten off) |
|
|
|
Post by krisbee on Apr 14, 2007 20:03:01 GMT 10
Hi Surferboy and Cathy, I think your new ply is a good idea, we spent a lot longer trying to work with the old timber on our TD than it would have taken to reskin it  .Are you going to put the windows back where they were originally?.And it looked like you uncovered the original paint design too, a bit like an archaeological dig, isn't it. Hope you have as much fun as we did putting it all back together, keep the photo's coming, its great to look back at them when you have finished. Cheers Kris. |
|
|
|
Post by surferboy on Apr 30, 2007 15:38:35 GMT 10
WHOOPS ! 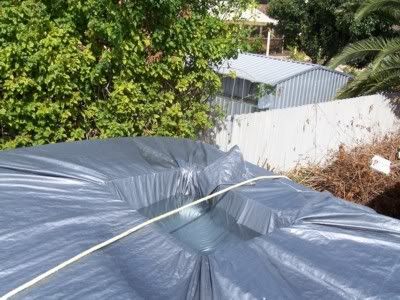 IT RAINED ! I removed the outer ply and THAT skylight and we got 40mm of rain in one day. And I hadnt thought about covering the hole. Than god the tarps held !! (I did think about covering it with tarps ... I'm not completely stupid (?) ) |
|
|
|
Post by surferboy on Apr 30, 2007 15:51:07 GMT 10
 ONE MILLION rusty panel pins that held the plywood on ( I counted them as I pulled them all out ) I'm thinking GLUE might be a good idea ( unless I want to remove the ply later...then maybe its not such a good idea) What does everybody else do ? |
|
|
|
Post by cobber on Apr 30, 2007 15:56:38 GMT 10
|
|
|
|
Post by kingy on Apr 30, 2007 17:28:00 GMT 10
I never intend to remove any ply on my van surferboy, so i glued and screwed my sheets on, not only for the added strengh but it also anchores the ply to the frame while the glue dries I have'nt had the pleasure of replacing roof sheets, i guess the reason they used pins/brads or whatever is because they are easier to seal and cover You would imagine the best way to attach a roof would be to glue only with minimal chance of water entering, then there's the question of strengh Kingy |
|
|
|
Post by Scoot on May 1, 2007 0:59:37 GMT 10
Hi Surferboy, When I built Princess helen. I pinned and glued. Wasnt taking any chances. If you can get PVC glue then its better, now dont confuse PVC glue with PVC pipe glue. PVC is the grade not the type. Most wood glue is PVA but PVC is a lot stronger and good for things that move and go bump in the night.
Scoot
|
|
|
|
Post by surferboy on May 13, 2007 12:06:40 GMT 10
Thanks guys I will most likely glue the whole thing together, with pins to hold it while it sets. some of the frame still looks a bit iffy so i'm hoping the new ply, lots of glue and some replacement framing will hold together for the Nullabor crosssing to Mt Gambier (i'm still optomistic that we'll get there) Its still raining so i got busy in the shed building this for my grandsons birthday 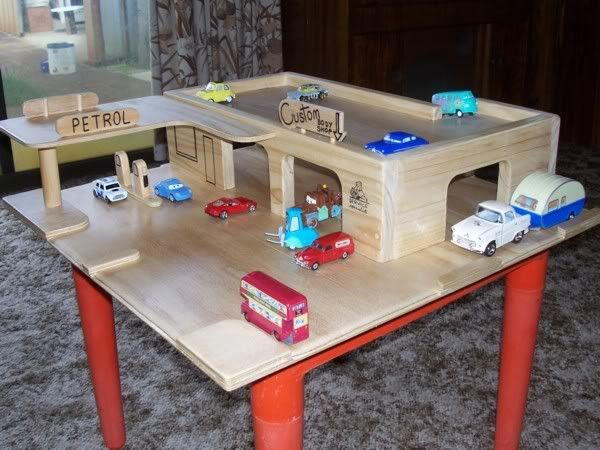 |
|


 ? )
? )

 ........ change the decor to red and white... Holden colours

 ;D
;D
 As for that exhaust fan I can only imagine that sucking all the "mary jane" smoke out of the van very efficiently ;D
 .Are you going to put the windows back where they were originally?.And it looked like you uncovered the original paint design too, a bit like an archaeological dig, isn't it.


