|
|
Post by Geoff & Jude on May 7, 2012 19:35:26 GMT 10
hi all this is our new project. it's a 15' aerolite (with the optional bay window front). 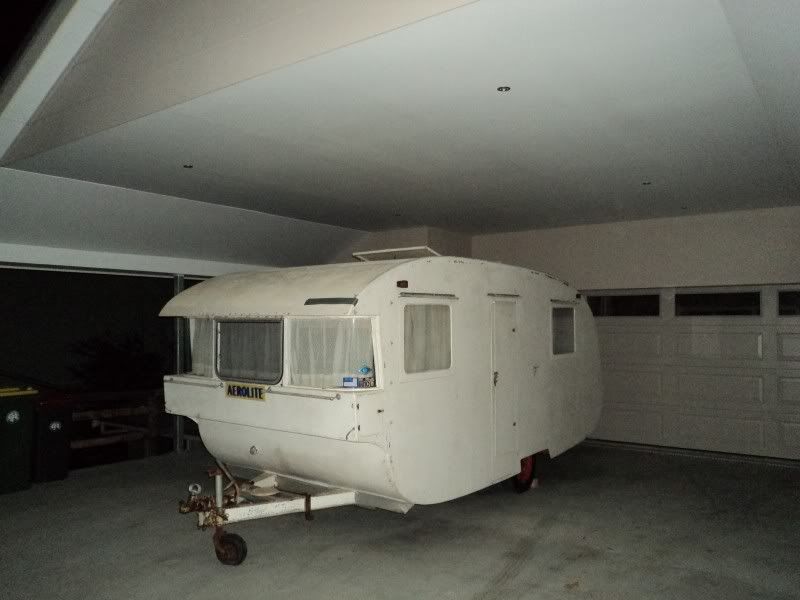 we think the bay window was optional because this photo from the 50's shows an aerolite of about the same size with (almost) the same bay window treatment. 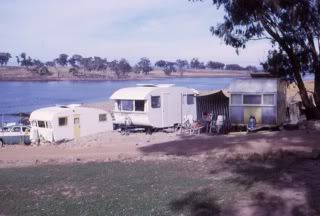 some of you might have seen it at cowra - we picked it up the week before, after it had been shedded for 39 years. 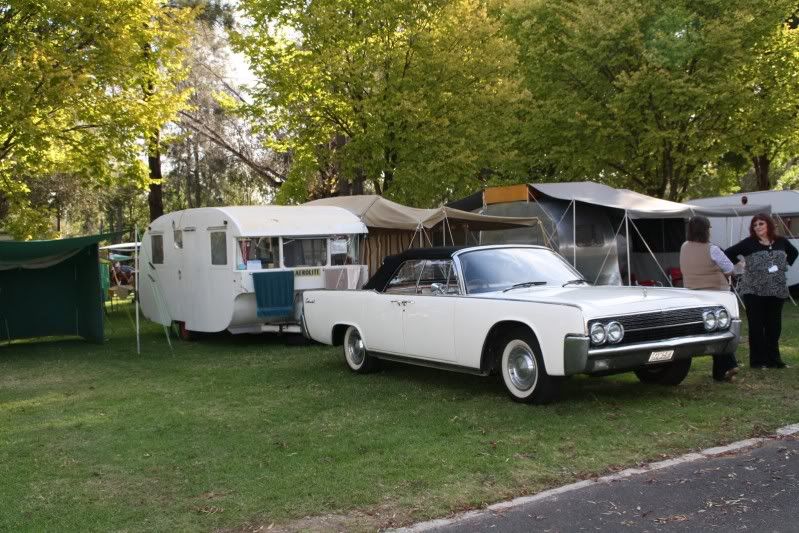 a quick look at the wheel bearings and electricals and after a couple of hours it was registered and towed home to sydney from berry, ready for a spruce up before cowra. at 600kg, it's certainly (aero)light and towed like a dream. (at one stage, judy highlighted to me that i was doing almost 120 kph on the way home from cowra - it sat behind the continental without a fuss) we'll keep you informed of the resto, mainly the outside, the inside is almost good enough to keep as it is. it will end up being painted a (rich) cream, with a yellow drop flash, bordered with blue pinstriping. anyhow, here's some pics of it as it was when we picked it up. 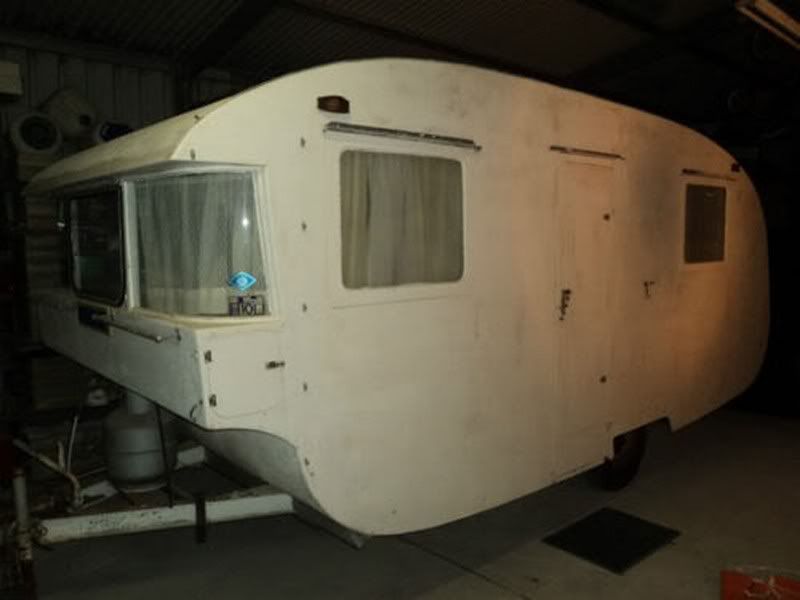 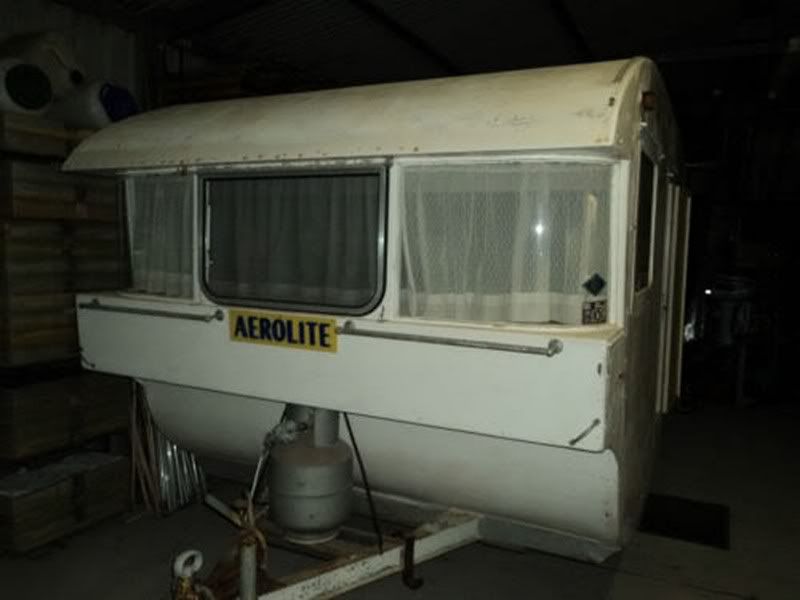 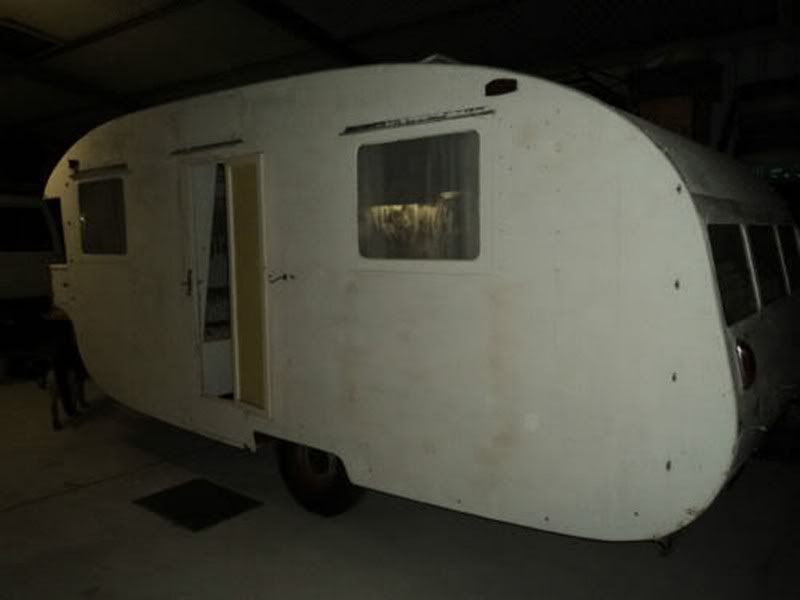 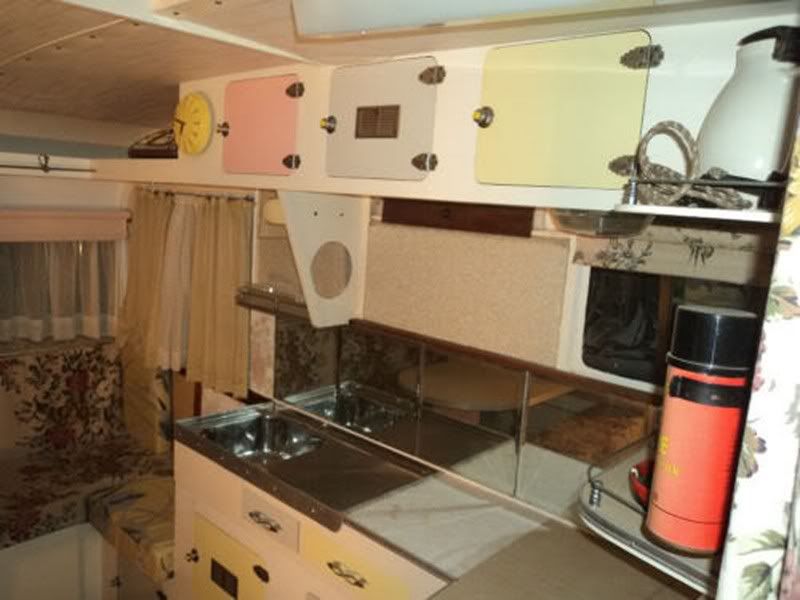 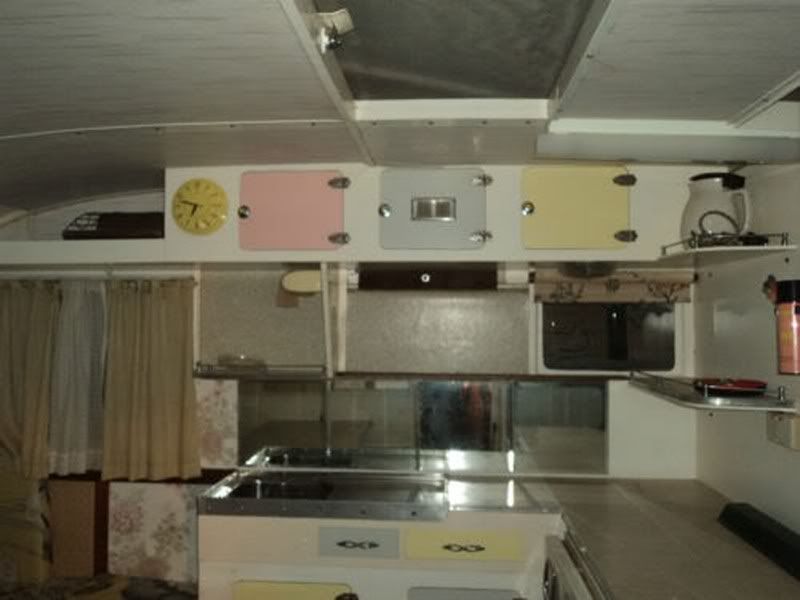 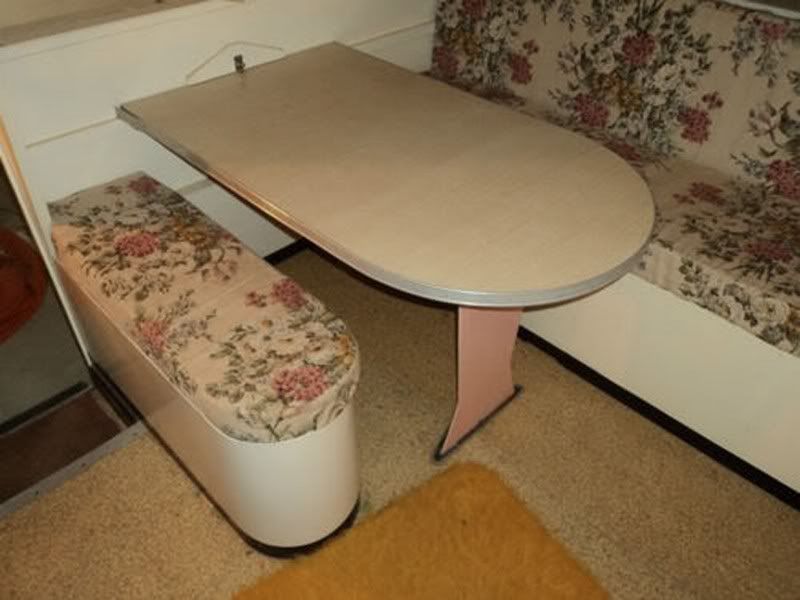 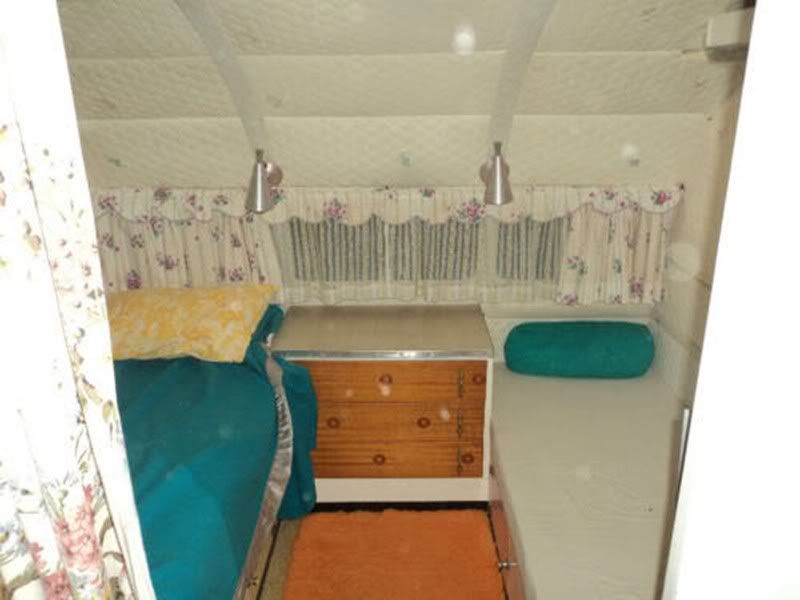 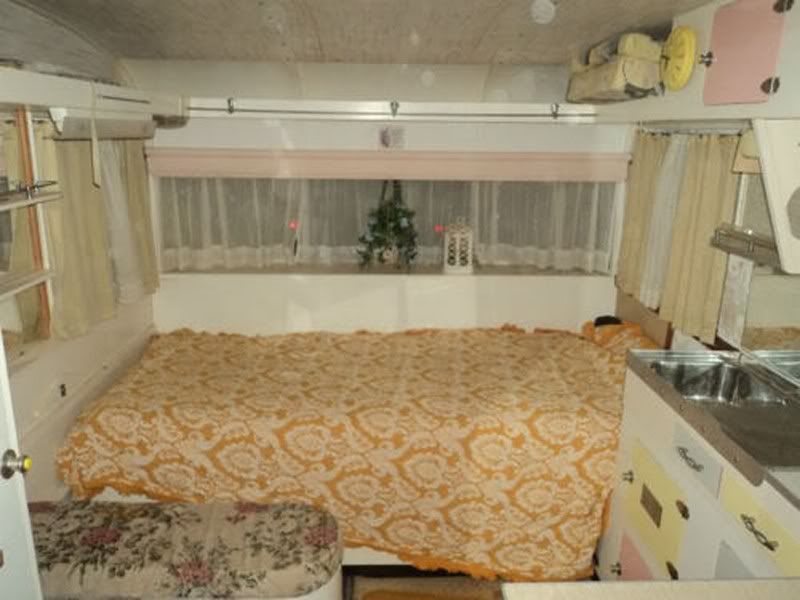 geoff 'n jude |
|
|
|
Post by Roehm3108 on May 7, 2012 20:36:54 GMT 10
|
|
|
|
Post by King Fisher on May 8, 2012 7:11:22 GMT 10
What a cute little van, Love the little bench seat for dining area. Looks surprisingly good inside, what a good buy.
|
|
|
|
Post by DC3Td on May 8, 2012 18:05:26 GMT 10
Very nice Conti. It appears that your entry door is equispaced between the windows as opposed to the others in the early 50s pic. Can`t see a stowage door under their bay windows either. Love the quilted headliner & brocade? cushion covers. gordon
|
|
|
|
Post by Geoff & Jude on May 8, 2012 18:34:55 GMT 10
Hi Gordon,
The quilted headliner looked OK in the photos, but was pretty ugly in real life - that was the first to go, followed by the equally awful headlining in the front half of the van.
Sadly the fabric isn't brocade but floral material, which came up a treat after several washes.
Lots more to do yet
Jude & Geoff
|
|
|
|
Post by Geoff & Jude on May 8, 2012 18:37:24 GMT 10
Hi Ray,
It is not as spacious as the Roadmaster, but there is ALWAYS enough space to mix cocktails ;D ;D ;D
Jude & Geoff
|
|
|
|
Post by Geoff & Jude on Sept 15, 2012 16:20:34 GMT 10
hi all started doing a bit of work on the aerolite today, hoping to get the outside finished before tathra. we're removing all the paint by either sanding, stripping or heat gun, then we'll give it a few filler/sealer/undercoats before the top coats. if it's half as good as col and kris' results we'll be pretty happy. found this across the back under a few coats of paint.  "Aerolite" 15
AUSTRALIAS LIGHTEST CARAVANS there's something after the 15 that looks like ?SE?? but it's very faint and we can't work it out. there's also a ying-yangy looking thing with 13 cwt in it. 13 cwt comes to about 660kg, so that's pretty light for a 15 footer. (the data sheet lists 15' as 12 cwt (610kg)) geoff 'n jude |
|
aquamum
Full Member
   1968 Viscount Ambassador - Sydney NSW
Posts: 493
|
Post by aquamum on Sept 15, 2012 16:45:52 GMT 10
610 or 660kgs, wow that really is light!
My Gypsy came in at 600kgs ;D
|
|
|
|
Post by DC3Td on Sept 15, 2012 16:49:54 GMT 10
Hi Geoff`n Jude.Looking forward to your resto. In Don Ricardos Reply#11(DHL) the 5th pic of a 22 footer shows a somewhat clearer pic of the 'ying yangy' thing! gordon
|
|
|
|
Post by retro64 on Sept 15, 2012 20:15:33 GMT 10
Hi Jude,
Congratulations on your new baby.
The shape really is unusual and its great to see something so different on the forum. Is it a tent pole locker under the bay window? or someother type of hiddy hole?
A pitty that the hoodlining was crappy, but the multi coloured doors look lovely.The little bench seat just inside the doorway looks an interesting feature. All in all a unique looking van.
What a bonus to find the original signwritting under all that paint, decades after it was originally applied.
Good luck with the resto and we look forward to seeing your progress.
Cheers retro64
|
|
|
|
Post by Geoff & Jude on Sept 21, 2012 17:08:43 GMT 10
hi all things have moved forward a little bit so i thought we'd put up a few progress pics. we gave away the idea of sanding (too dusty) and paint stripper (too messy and too expensive) and stuck with the heat gun and scraper. burnt one gun out already but bunnings had them for $19.95 with a 2 year diy replacement warranty so bought 2, one each for jude and me. so far we've done the top, back, right hand side, some of the front and some of the left hand side. by the end of the weekend it should be stripped, sanded and probably the first undercoat if we get a few very small repairs done where it was dropped of the car trailer before we got it. the good part is that there is absolutely no dry rot in it at all - you've gotta be lucky sometimes. anyhow, here's a couple of pics for posterity. 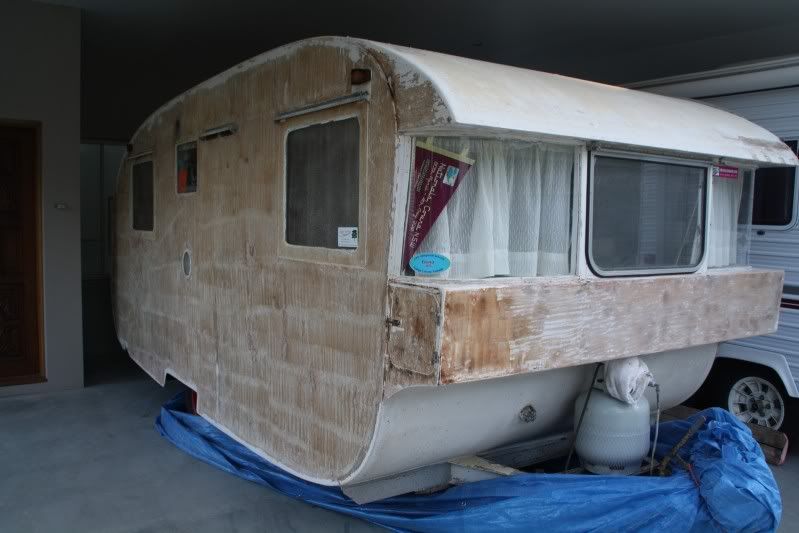 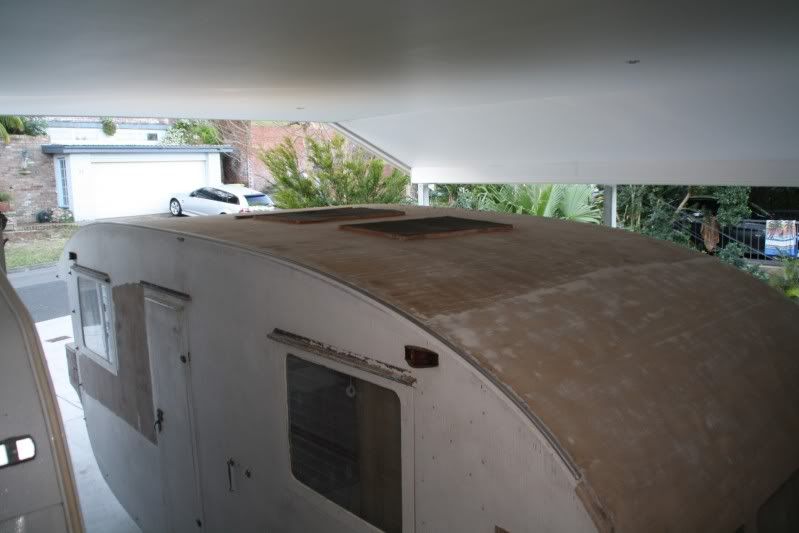  geoff 'n jude |
|
|
|
Post by cobber on Sept 21, 2012 17:43:19 GMT 10
WELL DONE JUDE    Keep him at it. Interesting....but not all that surprising that you prefer the heat gun over the alternatives, I might get around to using one....one day  do you reckon they would be as effective on water based paints ? Cobber. |
|
|
|
Post by Geoff & Jude on Sept 25, 2012 18:07:14 GMT 10
hi all just a quick update. we were hoping to have paint on by now but got a bit held up with needing to replace some of the edging tape that had worn thin or rotted near some of the nail heads. couldn't buy any edging tape so started with hemming tape but decided that wasn't as good as it should be, so we had some calico and jude bought a pair of pinking shears and we made our own. anyhow, tomorrow morning i'll put a few bits of tape on then away we go with the primer. 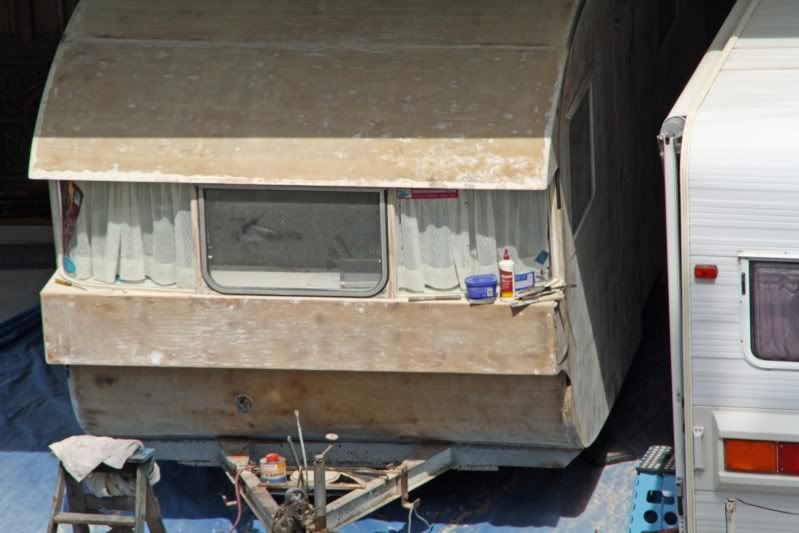  the primer we're using is some stuff called australis stain block that was recommended by our local professional paint shop then following it with a marine polyeurathane from norglass called weatherfast premium enamel. (They have a sunliner as part of their website promotion.) super glossy and it runs out very smoothe, almost like spray painting. hopefully we'll have some pics of it in undercoat tomorrow afternoon. haven't even thought about the chassis at this stage, that'll get done after coledale. geoff 'n jude |
|
|
|
Post by Geoff & Jude on Oct 2, 2012 18:11:39 GMT 10
hi all just a quick update for the records. we finished the outside paintwork today and started refitting all the bits and pieces back onto her.  the body colour is opal white with white windows and hatches. at this point there won't be a yellow flash, we think that would ruin the clean, elegant look (maybe a fine pinstripe in the future). still need to do some work on the chassis and wheels but that's later on. geoff 'n jude |
|
|
|
Post by Miss Molly on Oct 2, 2012 18:32:40 GMT 10
LOVE the Opal white, looks very elegant! Beautiful job.
MM x
|
|
|
|
Post by cobber on Oct 2, 2012 20:13:47 GMT 10
G'day Geoff 'n Jude  Another beautiful plywood van being restored to it's former glory.....I had a feeling you would do it justice  Cobber. |
|
|
|
Post by Roehm3108 on Oct 2, 2012 20:21:39 GMT 10
That's becoming one VERY Schmick van    LOVE the lines, almost as good as yours Jude ;D ;D ;D Ray |
|
|
|
Post by First Glass - Tory on Oct 2, 2012 22:17:22 GMT 10
Congrats on the buy, doing a great job on it. The opal white looks fab.
Looking fwd to seeing more pics as you progress.
Cheers Tory (Torrich, new member - just bought a 69 Olympic Debonair)
|
|
|
|
Post by Geoff & Jude on Oct 3, 2012 11:54:14 GMT 10
Hi Ray,
The Aerolite wins hands down for smooth lines - giving up smoking may be good for ones health, but it sure doesn't do a lot for the "lines" ;D ;D ;D ;D
Jude (& Geoff)
|
|
|
|
Post by DC3Td on Oct 3, 2012 16:27:32 GMT 10
What a huge difference a paint job does.Brilliant.
|
|
|
|
Post by Geoff & Jude on Oct 3, 2012 17:33:50 GMT 10
hi all
thanks for your supportive comments.
we've still got a way to go yet but slow and steady etc, etc.
geoff 'n jude
|
|
aeroliteej
New Member
 2 many toys?? BUT I,M NOT DEAD YET !!!!!
Posts: 33
|
Post by aeroliteej on Oct 22, 2012 21:54:41 GMT 10
Howdy Geoff & Jude, l just found this extra link on your Aerolite. Looking great with the new paint and trimmings re-fitted. Very exciting to see. We have had some trouble with the edge tape as well,so might borrow your idea of using Calico(hope you havent patented it yet). I havent noticed anyone else talking of owning an Aerolite,so may well be a rare survivor. We are using a sander/polisher on our van,not going too bad, but not as much acreage to cover as yours either. See you at the Aerolite Nationals,h haa-Pete.
|
|
|
|
Post by Geoff & Jude on Sept 9, 2014 16:01:16 GMT 10
hi all a couple of years ago we stripped the aerolite back to bare plywood and repainted it, including the roof, with oil based Australis Stain Block Undercoat and Norglass Weatherfast Opal White. 2 years later and the paint had cracked so much that the timber surfaces were beginning to show signs of deterioration so we have just about finished redoing the whole of the roof area again. this time we stripped the roof back to bare timber again, then followed kingfisher's model of sealing with bondcrete (which also has the added advantage of acting similiar to a pva glue to bind any small splits) laying calico between water based taubmans 3 in 1 primer, sealer, undercoat then finishing with water based taubmans endure exterior gloss. we figured that the "plastic" paint will be better than enamel because of it's ability to absorb the movement in the timber better than the enamel did (the calico will also help here). only time will tell but so far there's no signs of any problems (and it's been almost two days since it was done.   ) i'd prefer to use enamels because of the better gloss finish but it didn't work for us. the next decision is whether or not to completely re-do the sides again since the enamel on them is cracking up as well. if we ever do another timber van, we'll definitely use plastic paint all over. geoff 'n jude ps - as an aside, a couple of days ago, i stuck two pieces of timber together (without clamping) using only the bondcrete and when i split the join with a chisel today, the glued faces kept the bond and the timber split just beside the join, so bondcrete will not only seal the plywood successfully but will also glue any tiny faults in the surface of the ply. (thanks kingfisher for your research) |
|
|
|
Post by Geoff & Jude on Sept 9, 2014 16:02:42 GMT 10
hi all i've just calicoed the hatches for the aerolite but this time i did the final colour coat in white enamel, so in about 2 or 3 years time i'll be able to give you a true comparison between the two finishes. i also didn't use the bondcrete as a waterproofing base. (only because i forgot to.   ) i know that's no help right now but it might be useful in the future. geoff 'n jude |
|
|
|
Post by Geoff & Jude on Sept 12, 2014 11:29:07 GMT 10
hi all i took the front off the boot today to replace the ply which had de-laminated and found this behind it, on the original front face of the van. 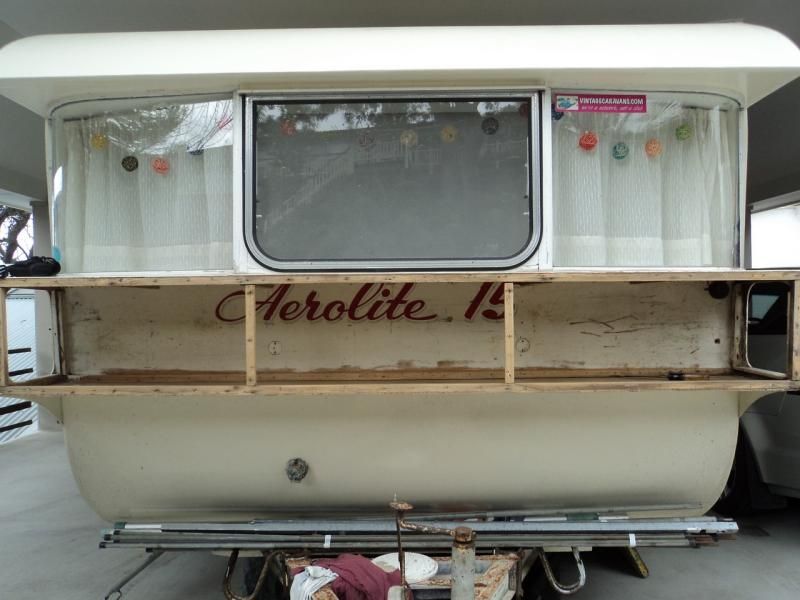 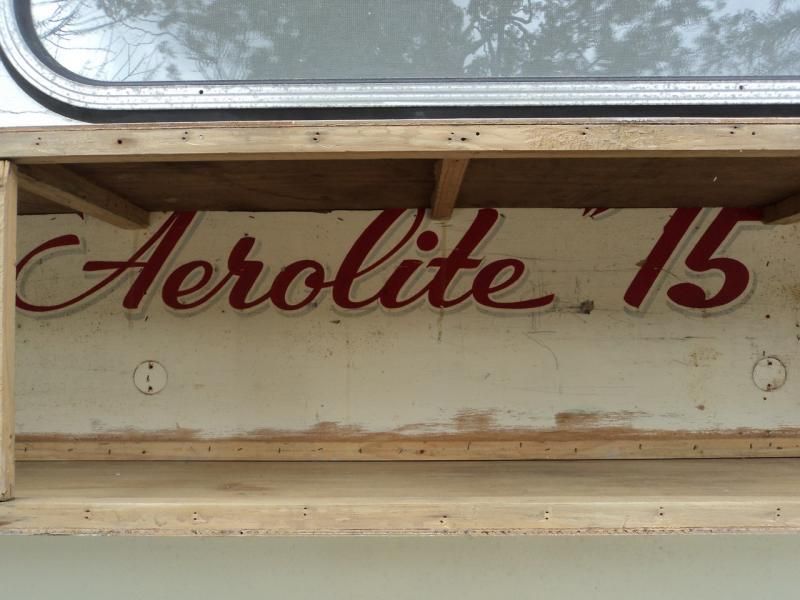 i've always known it was there but wasn't able to get a good picture of it. it suggests that the van was originally built without the bay window, which was added later. maybe the first owners asked for it to be modified before they picked it up. i've sent photos of the sign to our old mate daggsey to get new logos made up. geoff 'n jude |
|