|
|
Post by kaybee on Aug 4, 2012 21:26:42 GMT 10
Hi Ray , we tried that with the little yellow van....painted the cupboard doors in about half a dozen popular 50's shades.....put 'em in the van and they looked awful  .....too much in a small space, could give you indigestion I reckon...... ;D. Figured we'd best stick with one colour this time and just mix the handles for effect. And yes,it's Enamel..... Portholes.....they were really hard to get out ......they had heaps of sealant like Nonporite (remember that stuff ?)......they were screwed around the perimeter of the frames ,trouble was they were also screwed through the inner rings (that hold the glass in place)....right into the timber frame of the van......so I managed to snot one up a little before I figured it out , but a bit of gentle massage squared it up again OK. What you might be able to do is remove the nail heads with either a small grinder or a die grinder with a burr in it , then tap the nails in with a pin punch once the heads are off....then lift the windows out. When you put them back in , just move the frames around a little so they clear the nails and fit new screws.....?....definitely don't try levering on the alloy,it's too soft.....good luck....  |
|
|
|
Post by Geoff & Jude on Aug 5, 2012 9:21:49 GMT 10
hi col and kris
you guys are doing a really nice job on the hawthorn, not that we'd expect anything less.
geoff 'n jude
|
|
|
|
Post by hilldweller on Aug 5, 2012 11:18:43 GMT 10
Wow that's looking beautiful ! All your work looks so straight and clean and professional. Love that lino too - what an awesome pattern  |
|
|
|
Post by kaybee on Aug 6, 2012 21:22:43 GMT 10
Thanks for all the nice comments guys, we appreciate it .This was originally going to be just a clean up in the area's that needed it,have you heard that before ? :)The hardest thing I have found is just where do you draw that line, what is OK to leave and what is screaming out for attention. Inside, most of the paint is good, except for a few small repairs needed, so there has been no change of colour, coz if I had changed one area I would have ended up doing the whole interior ,but it sure is hard to know when to stop.  So, because, as I said, this van is only untill Col finishes the Lantern Van,I have started calling the Hawthorn Tilly. Get it, untill/Tilly , much to Col's disgust. ;D ;D ;D Cheers, Kris. |
|
|
|
Post by Roehm3108 on Aug 6, 2012 22:09:27 GMT 10
|
|
|
|
Post by kaybee on Aug 12, 2012 21:10:29 GMT 10
What about "Gunna" as in gunna do the lantern roof van up ONE DAY ;D ;D ;D Ray .yep...one day,not too soon though....but hey!....we've got a place to do it now. Figure we'll get this one sorted first...take a bit of a break after and do some house fixups ( new carpets and restore the lounge room).....then get stuck into the '41 Woodie ( seein' it got sidelined to do this van)......also need to learn a new trade to do all the precision timberwork on the Woodie ;D...... ....but in the meantime , we've spent all week priming, spot filling and sanding,priming some more....etc,etc...... in between bouts of big rain , enough to turn the slab in the caravan shed into a small dam with about 1/8" freeboard ( or maybe freeconcrete ;D) until it all goes underwater......so given the generally soggy conditions , we relocated uphill to the proper workshop and did a few other jobs ..... 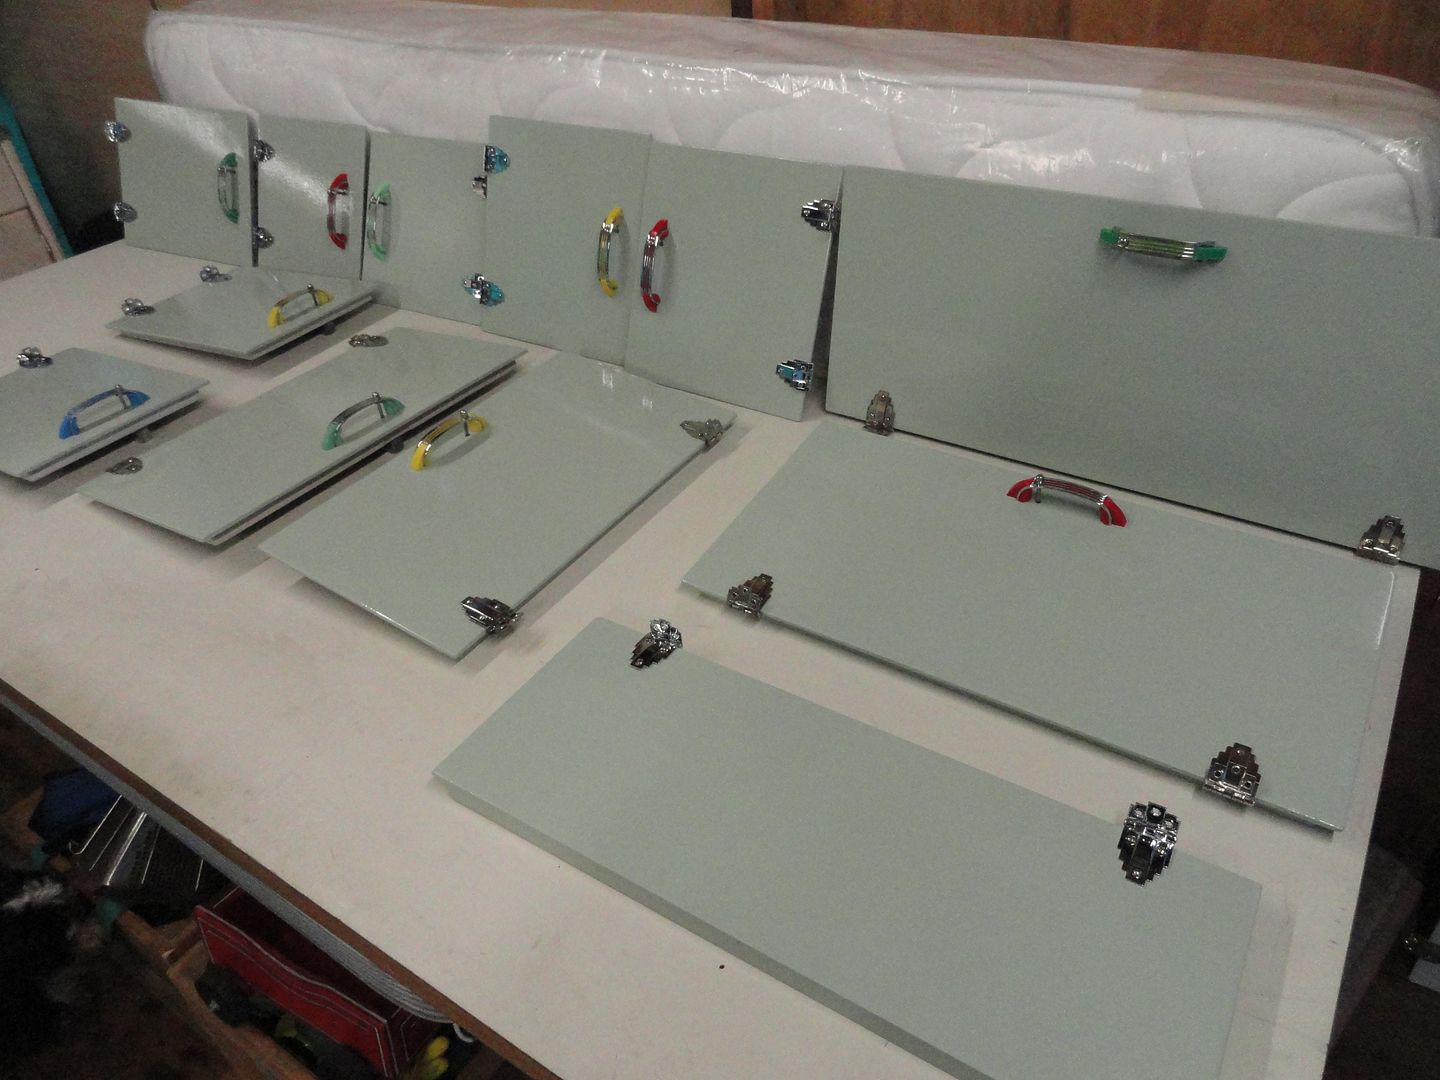 ...re-assembled the assortment of doors after picking up the rechromed hinges...... 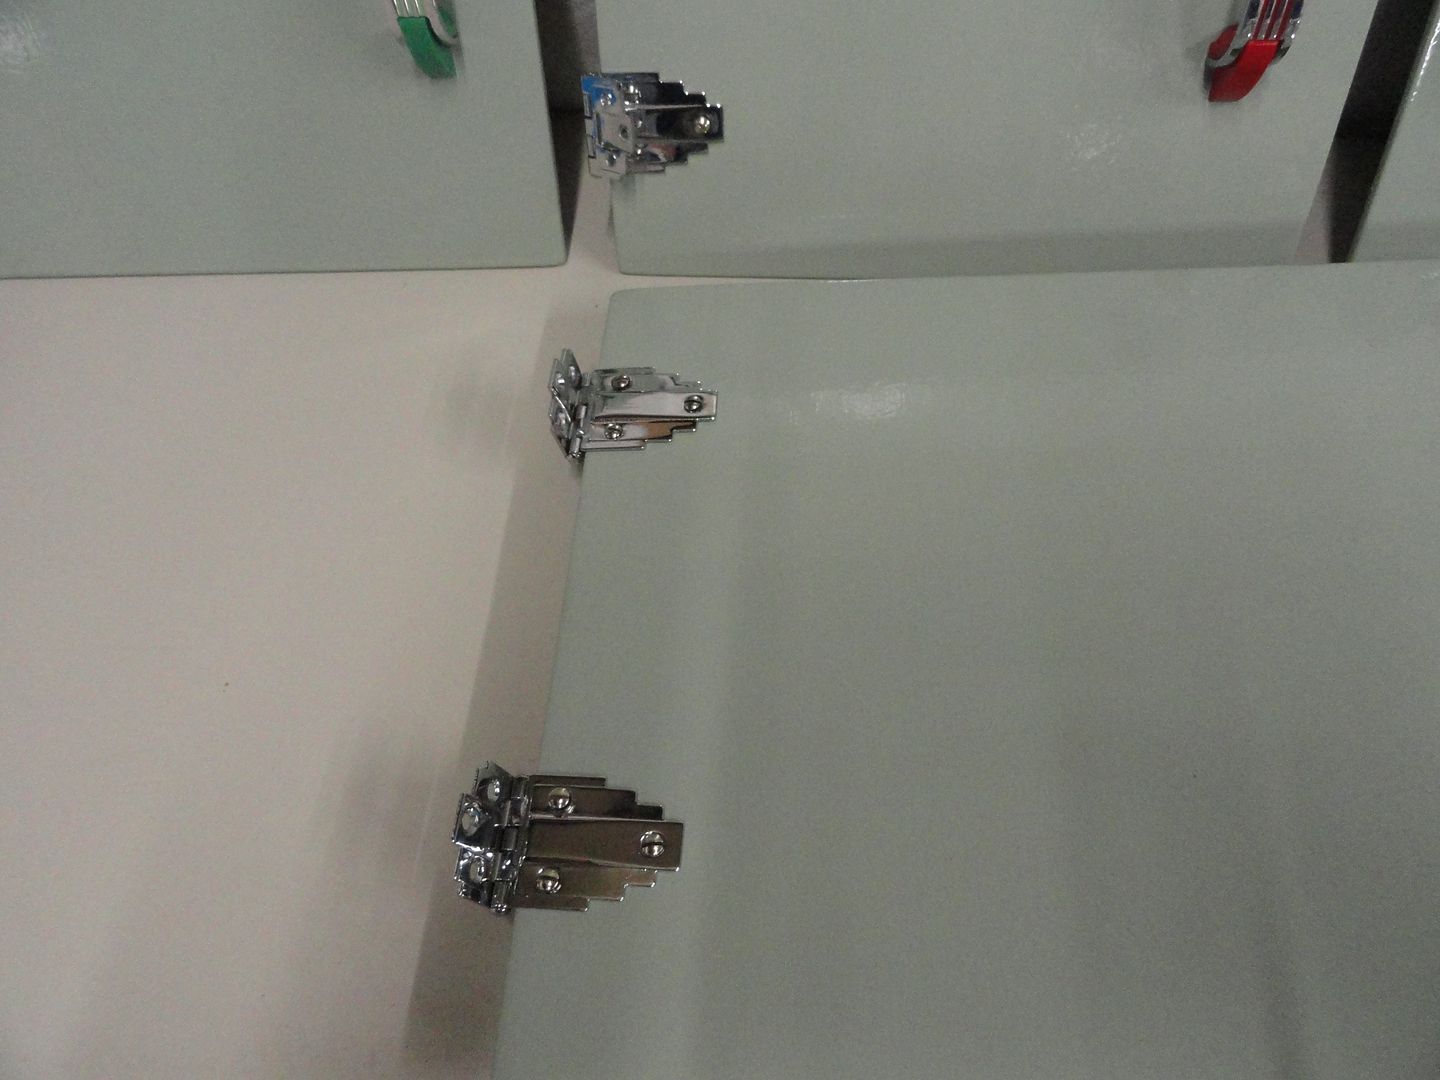 ....filled and primed the door and made up new timber trims for the insect screen......sorry about the sideways pic , blame Photobucket for sending it out sideways repeatedly 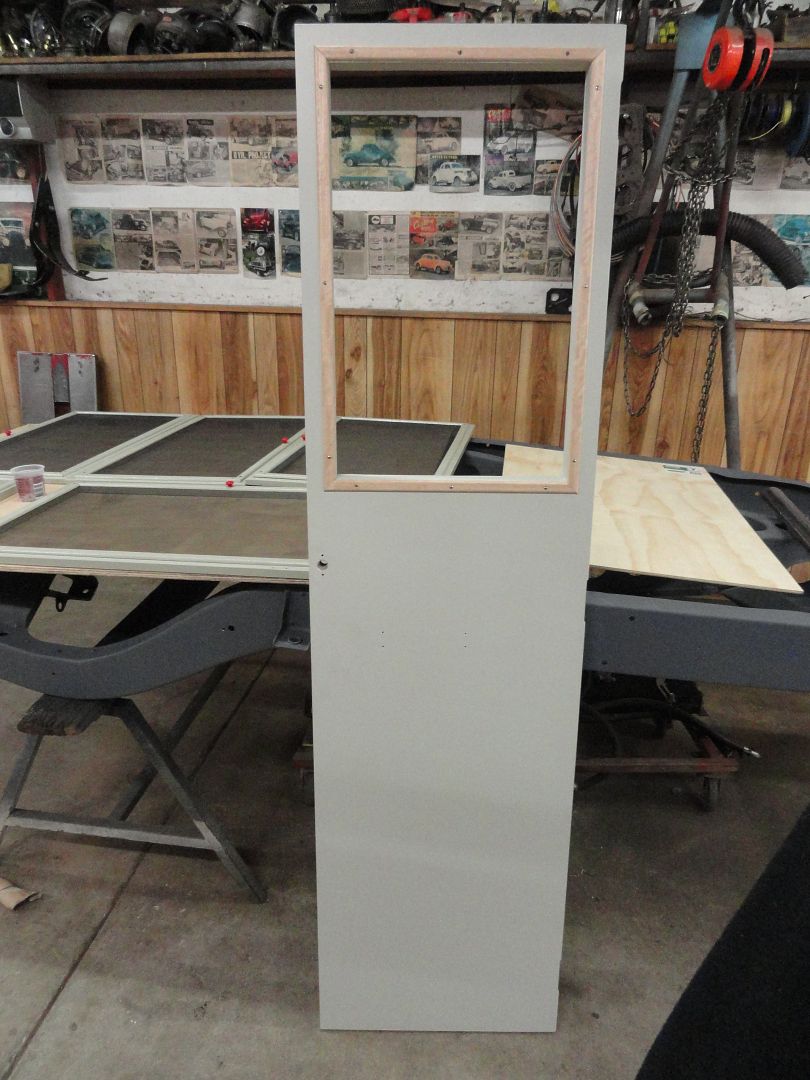 ....we sorted through a collection of about a thousand small curved head slotted screws to get enough of the "correct" fasteners to do these and all the other finished screens ( some of which are in the background).....also in the background on the wall , middle of the door is my old orange '39 Coupe on the cover of Custom Rodder ,and the '36 in another feature above it , and our Ute beside that.......  ....and it wasn't even an arty shot...... ;D 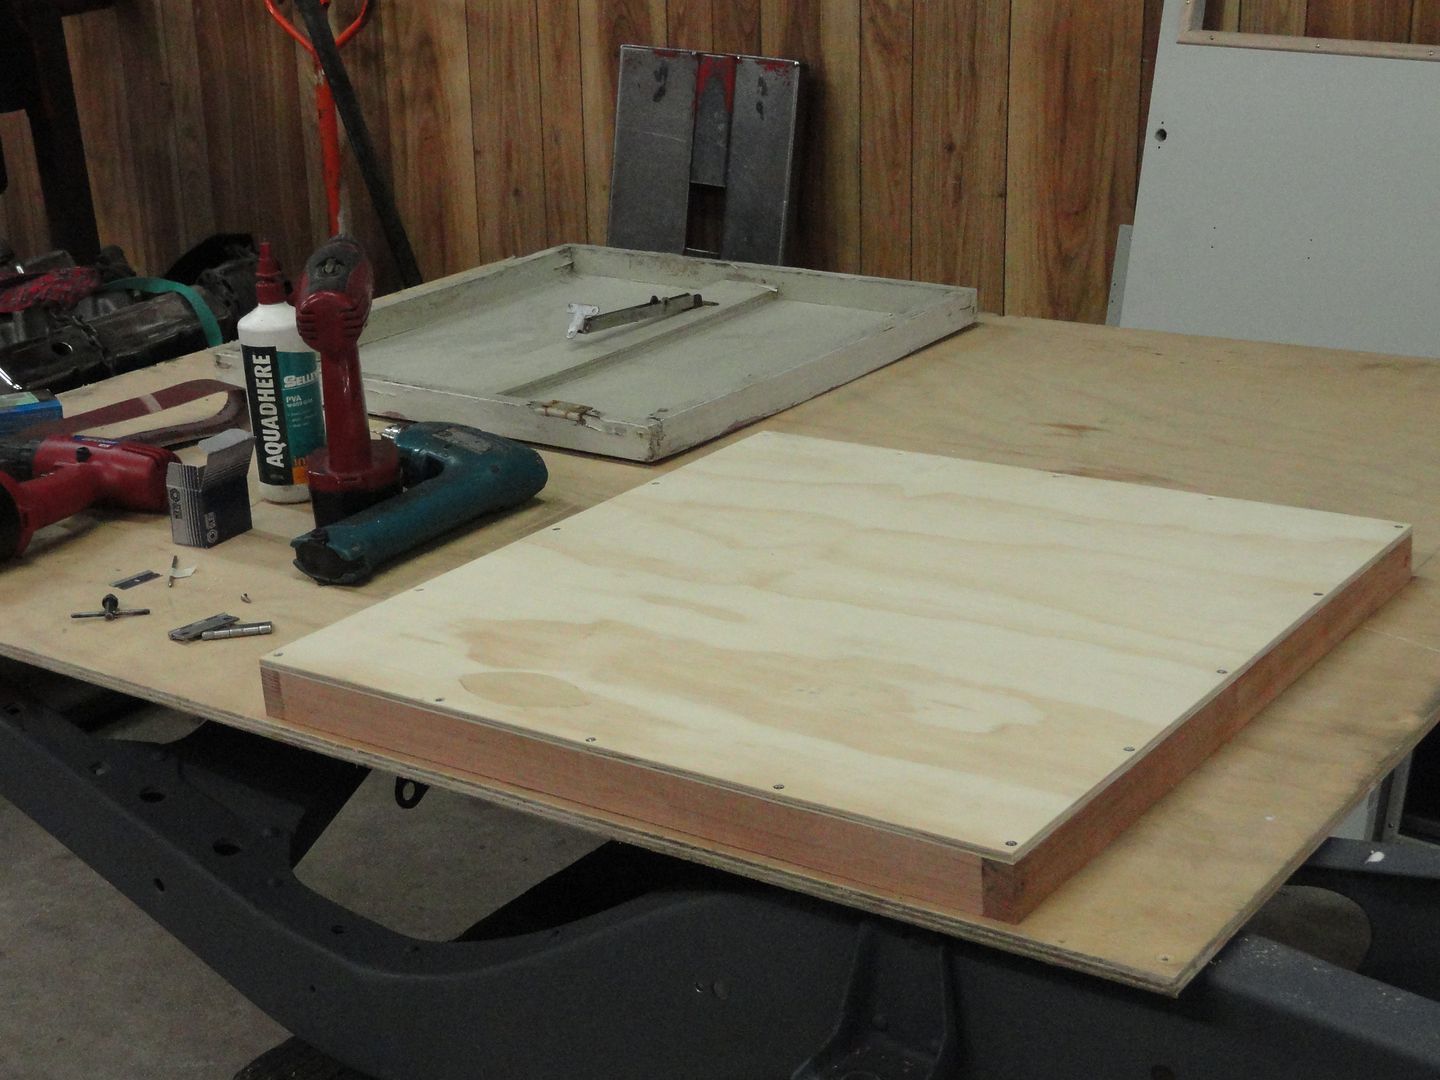 ....made up a new lid for the hatch , old one is mouldering away behind it there.... got some nice new old stock hardware to replace that old basic opener/support thing...... ....also out of stock is this new light for the side of the van.... 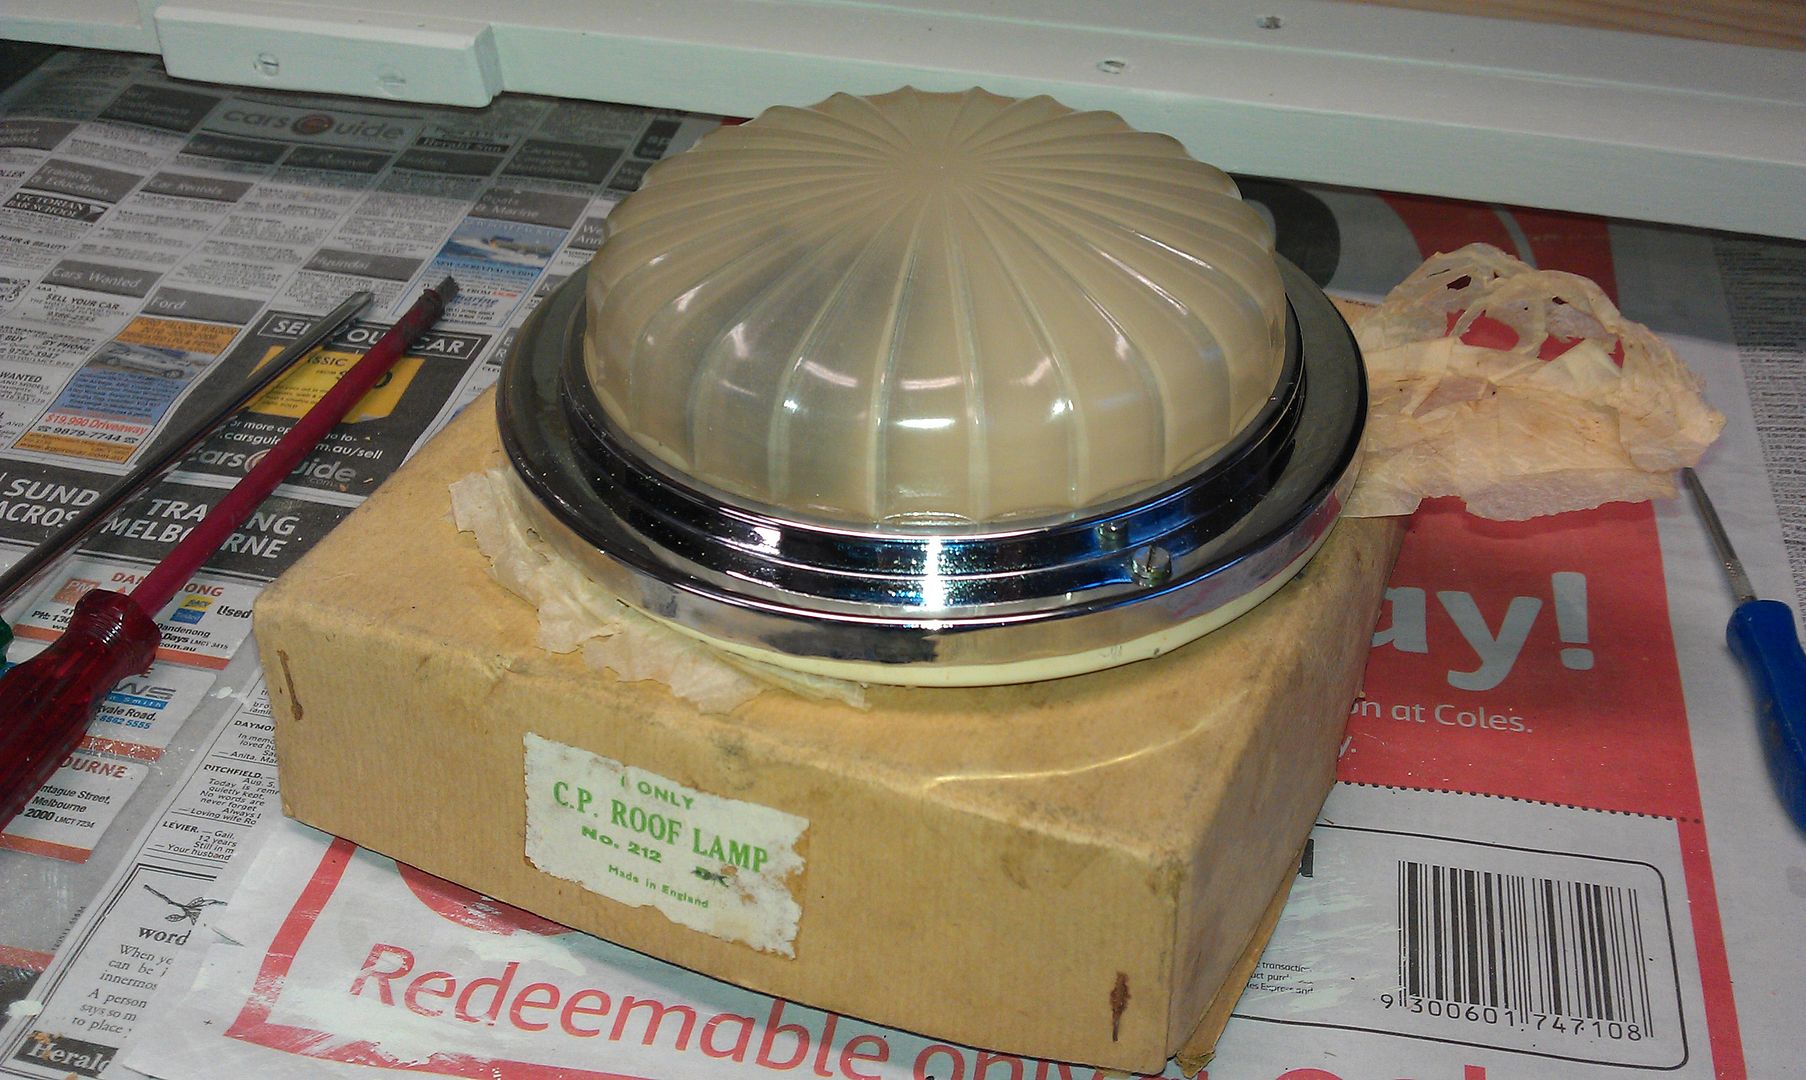 ....mounted it ,drilled holes in the new primer 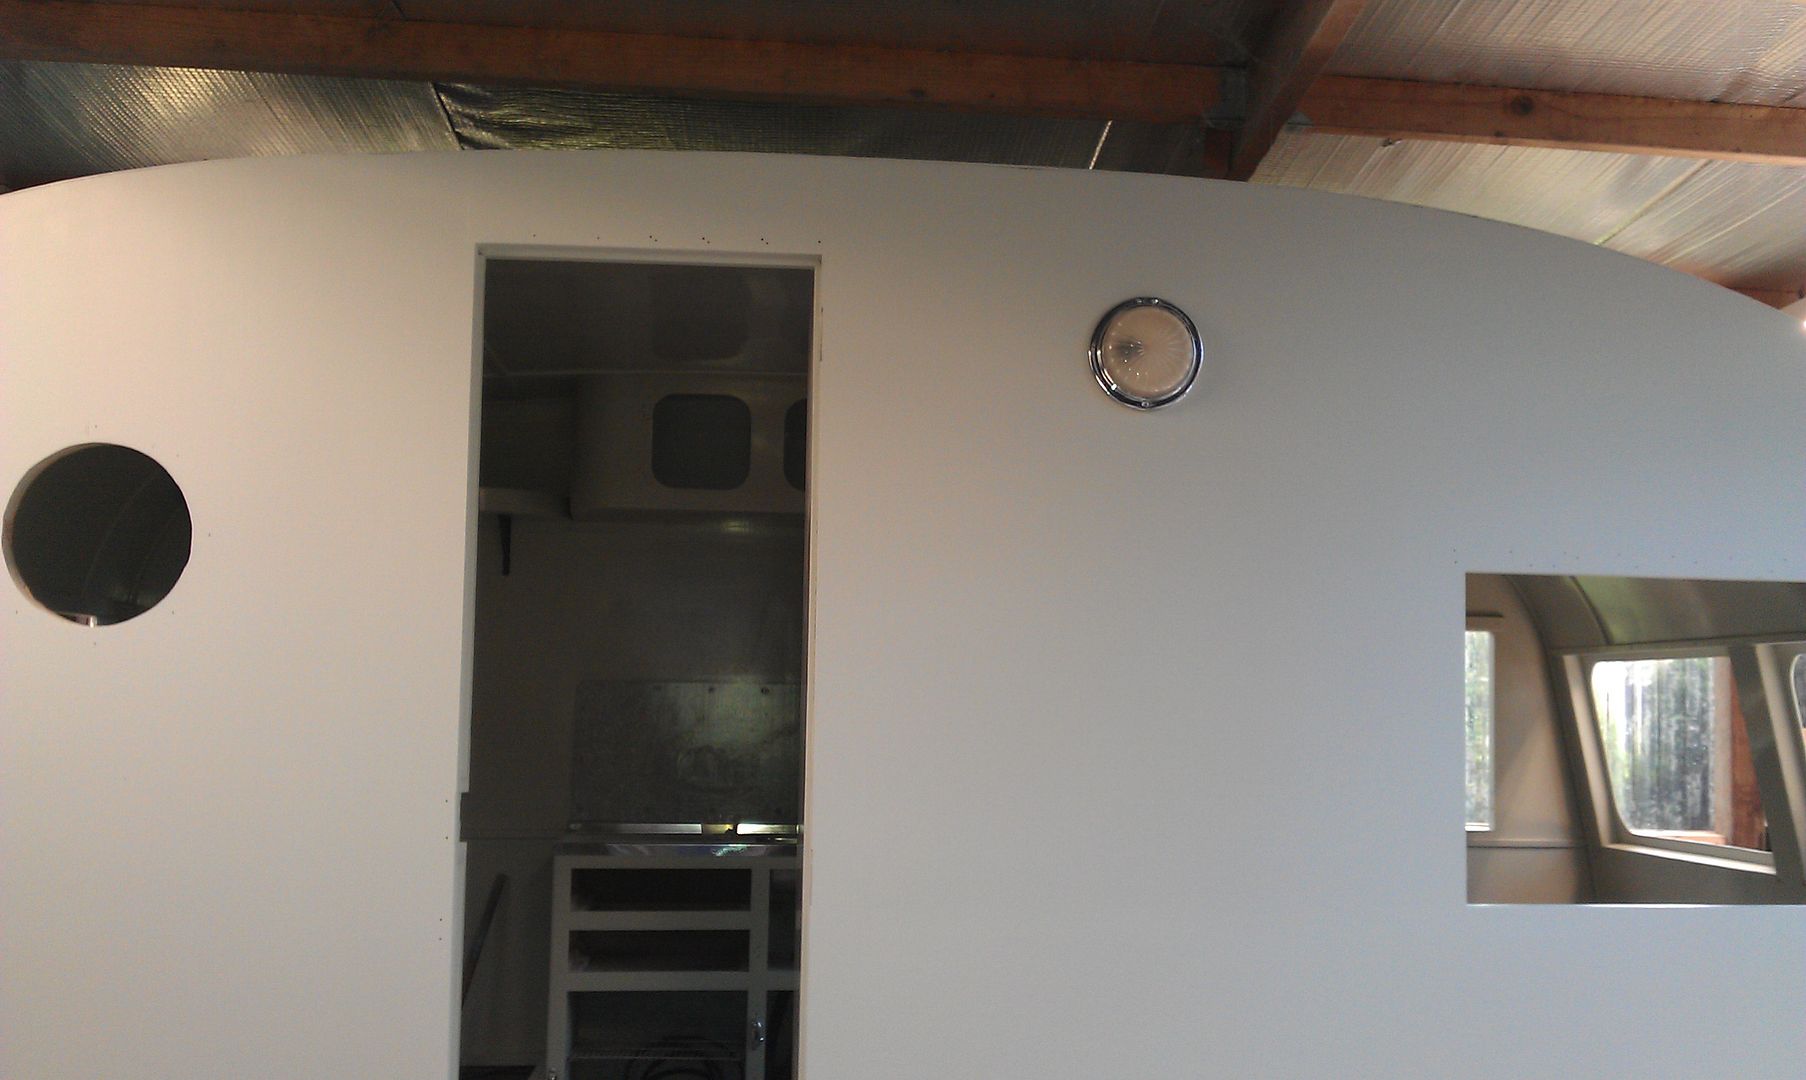 ......ran out of stuff to do and couldn't roll the van outside to do the roof , so just for something to do I decided to dump the dreary old Hella tail lights for something in glass and chrome.....  .....more holes..... ...... 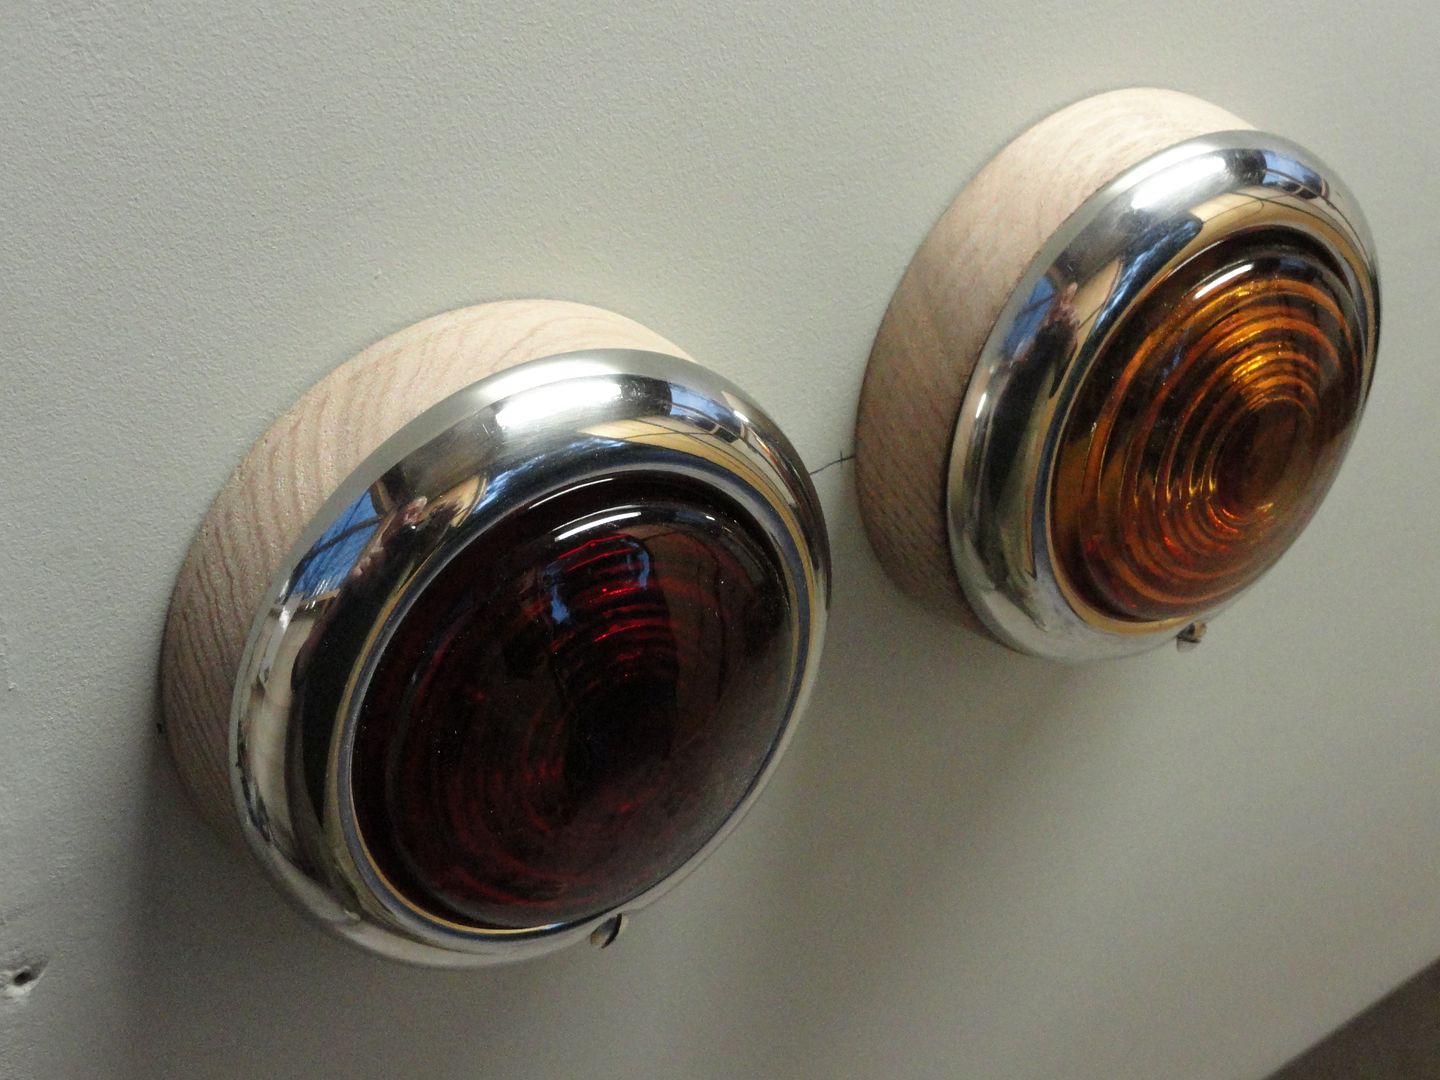 ....I'd originally thought to run these on the Woodie ( Ford parts )......but decided they'd look the part on the wood'n caravan instead.....and they don't have Festoon globes, so that's a good thing..... .....mounted them on some hardwood bases to space them out far enough that I didn't have to make holes inside too , spun them up on the Lathe and polished them up so they won't need too much primer on them to make them paint ready..... .....today we managed to roll the van out and get stuck into sanding the old contact adhesive down to provide a reasonable base for the Calico and paint combination......if the Weather folks have guessed right for tomorrow ,that's what we'll be doing!....ciao, Col. |
|
|
|
Post by cobber on Aug 13, 2012 11:13:31 GMT 10
G'day Col 'n Kris, And I thought this van looked all right before you started on it...... you couldn't do a rough job if you're life depended on it..... could you  Needless to say I like the way you've got the correct slot headed screws dressed on the hinges...just one of the signs of a true craftsman......hinges look pretty good too ... not to mention the handles on the spick-and-span cupboard doors, it's plain to see the quality of Kris's work keeps you on your toes Col  ....... think yourselves lucky I'm not there helping you . Sloppy Cobber. |
|
|
|
Post by Roehm3108 on Aug 13, 2012 18:42:44 GMT 10
Hey cobber, makes ya sick doesn't it A bummer too, cos I only live down the road and still haven't heard Mrs kaybee offering to come and wield a brush for me ;D ;D ;D ;D ;D |
|
|
|
Post by kaybee on Aug 13, 2012 19:11:54 GMT 10
Hey cobber, makes ya sick doesn't it A bummer too, cos I only live down the road aned still haven't heard Mrs kaybee offering to come and wield a brush for me ;D ;D ;D ;D ;D ......not likely to hear that either..... ;D......been too busy slurping paint all over the new fabric roofing to do much else....... ;D |
|
|
|
Post by Roehm3108 on Aug 13, 2012 19:18:07 GMT 10
Your slurping is great news KB ;D ;D How man pairs of hands did you need for the job, just so I know how many volunteers I need Were you able to take pics along the way? |
|
|
|
Post by kaybee on Aug 13, 2012 19:29:28 GMT 10
G'day Col 'n Kris, And I thought this van looked all right before you started on it...... you couldn't do a rough job if you're life depended on it..... could you Needless to say I like the way you've got the correct slot headed screws dressed on the hinges...just one of the signs of a true craftsman......hinges look pretty good too ... not to mention the handles on the spick-and-span cupboard doors, it's plain to see the quality of Kris's work keeps you on your toes Col ....... think yourselves lucky I'm not there helping you . Sloppy Cobber. G'day Cobber , the van wasn't in bad shape except for the front......that was trashed and the paint was falling off......but there were a few scrapes and gouges on the sides and the problem was going to be blending in new paint on the repaired areas and not have it look messy. Plus there were bits of that jointing tape lifting and a few nails popping up here and there..... So in the end it gets to the point where it's either do nothing and leave it as is , or get stuck into it and get all the old paint off and start again.....which leads to all sorts of other things so that the whole package looks tidy..... ..... ....the screws?.....I knew you'd appreciate them and the effort required ;D......biggest drama is finding enough of those little cheese head screws to go 'round. Thought we had heaps after Huntsman Rob gave Kris a few boxes of assorted sizes , but in the end it was nowhere near enough. Luckily I had a big box of plated wood screws that'd come from a Garage sale somewhere, so by the time we sorted them into piles /sizes/styles,etc.....it looks like we might have just enough after recycling a few of the better used ones out of the van......maybe..... cheers , Kris and Colin...... |
|
|
|
Post by Roehm3108 on Aug 13, 2012 19:33:33 GMT 10
Going back to the roof again, What did you end up using for paint, guys? Are you happy with the result or would you have chosen another type?
Thanks
Ray
|
|
|
|
Post by kaybee on Aug 13, 2012 19:46:47 GMT 10
Your slurping is great news KB ;D ;D How man pairs of hands did you need for the job, just so I know how many volunteers I need Were you able to take pics along the way? ......got a couple of photos , but there's still a bit more to do before it's finished properly.....so we'll make sure we get some more shots as we go....it's a bit tricky though when you're elbow deep in paint ;D, what a messy job that is We had to do it outside as there's not enough headroom in the 'van shed, and we were lucky enough to get a good sunny day for the occasion. As the first coat of roof primer went on , so the insects came out to play.....then the wind sprung up and a whole heap of gumtree bits landed in it ;D.....typical....so we dragged it up near the house , away from the trees and finished it off up there. Used a full 4 litres and ran out with about 2 ft at the front to complete ;D ;D......so a quick trip down to the paintshop by Kris while I washed off some of the accumulated paint about my person.......worked out OK though , it gave me a chance to trim the edges back to size and tidy up the worksite a bit......it was starting to cool off a bit by then so the new paint went on without drama and it's all settled down well. The plan is to give it a few days to dry out properly ,then I'll give it a bit of a rub to take the furriness off the fabric and then give it another shot of primer. Then once that's sorted we can put the topcoat on and finish painting the sides. ...nuthin' to it!..... ;D |
|
John
Full Member

Posts: 267
|
Post by John on Aug 13, 2012 20:49:37 GMT 10
Nice to see a resto again  Inspires me to get out in the shed again, thanks! Bloody nice work on a great looking van. Regards, John |
|
|
|
Post by Roehm3108 on Aug 13, 2012 21:05:23 GMT 10
[i ]"there's not enough headroom in the 'van shed"[/i][/b] That's why you need a bike helmet, Col. I had the same problem and kept hitting my head either on the garage roof or van framing ;D ;D ;D No such probs today You have me a bit confused though. It sounds like you applied the calico onto and with primer. Was there a reason for that? I notice that Humpty used Weathershield topcoat on his Castle when sticking the calico. I plan to use a couple of coats of a PSU to seal the softboard but then lay the calico using topcoat too. I wonder now, which is the better way? In my case I HAVE to seal the softboard first for sure. Ray |
|
|
|
Post by kaybee on Aug 13, 2012 21:38:22 GMT 10
[i ]"there's not enough headroom in the 'van shed"[/i][/b] That's why you need a bike helmet, Col. I had the same problem and kept hitting my head either on the garage roof or van framing ;D ;D ;D No such probs today You have me a bit confused though. It sounds like you applied the calico onto and with primer. Was there a reason for that? I notice that Humpty used Weathershield topcoat on his Castle when sticking the calico. I plan to use a couple of coats of a PSU to seal the softboard but then lay the calico using topcoat too. I wonder now, which is the better way? In my case I HAVE to seal the softboard first for sure. Ray[/quote] G'day again, I don't know who's right or wrong......I had to lay a coat of primer on to seal the old surface so I figured I might as well use the rest of the tin to stick the fabric down..... 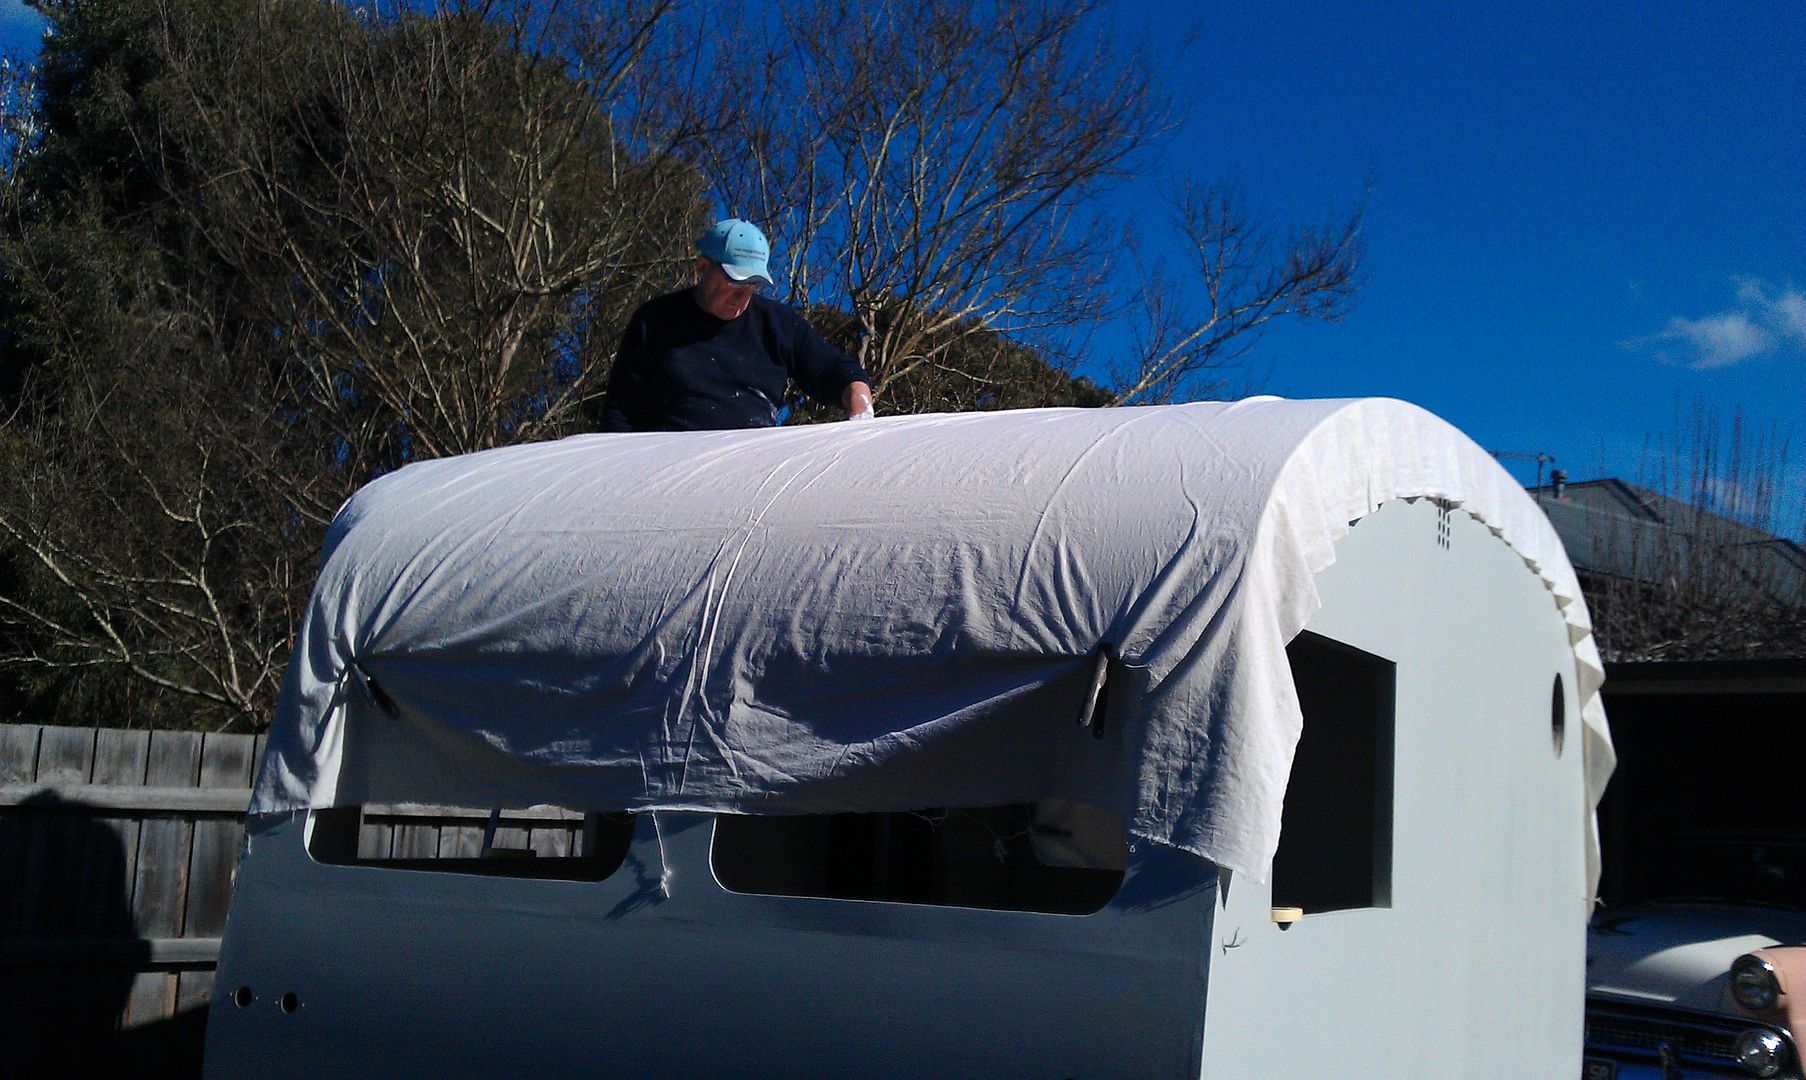 ....looks a lot better now than in this pic ,this was just getting it sitting straight on the roof before the paint went on , and then just starting to spread the paint around in the center...... .....and the primer seems to have worked so far ,it's plenty sticky I can tell you ;D......and I'll finish it off with a layer of topcoat anyway so I don't see that it's going to make much difference in the long run..... |
|
Deleted
Deleted Member
Posts: 0
|
Post by Deleted on Aug 14, 2012 6:33:00 GMT 10
 Lookn great guys. I dont know how ya find the time to work on vans and cars as much as you do. I suppose its a lot easier if you have the whole day to do something..... that is when you are being directed to do domestic chores like restore the lounge room Whereas most of us only get a few hours after work to head out into the shed/yard and have a bit of a go on the vans and cars before the sun goes down .. or the cold weather drives us back into the house. Dont go sucking up too much to that bloke that oversees slot head screw installations... you will have him down there scrutinising ... length gauge and condition of slot head ;D I agree with the bit about trying to find the right number of screws .. all the same to fit out a van ..... It pleases me to hear that there are other fruitcakes out there that sit for hours segragating/sizing screws .... it can be frustrating  Anywho..... on with the show ... the lantern van and woodie cant sit around for ever ya know !!!!! Regards Reddo
|
|
|
|
Post by sportsman 1 on Aug 14, 2012 8:25:54 GMT 10
Looking great guys, but I did not expect anything less from you.
If you run short of those pesky screws give me a call, I have heaps of them either here or at work. I am sure we can find some of what you need.
Leigh.
|
|
|
|
Post by kaybee on Aug 17, 2012 19:52:00 GMT 10
Looking great guys, but I did not expect anything less from you. If you run short of those pesky screws give me a call, I have heaps of them either here or at work. I am sure we can find some of what you need. Leigh. ....Thanks Leigh, I reckon we'll probably be OK...been cheating a little so don't tell Cobber.... ;D....been sneaking a few stainless Phillips heads in where they're not visible...... 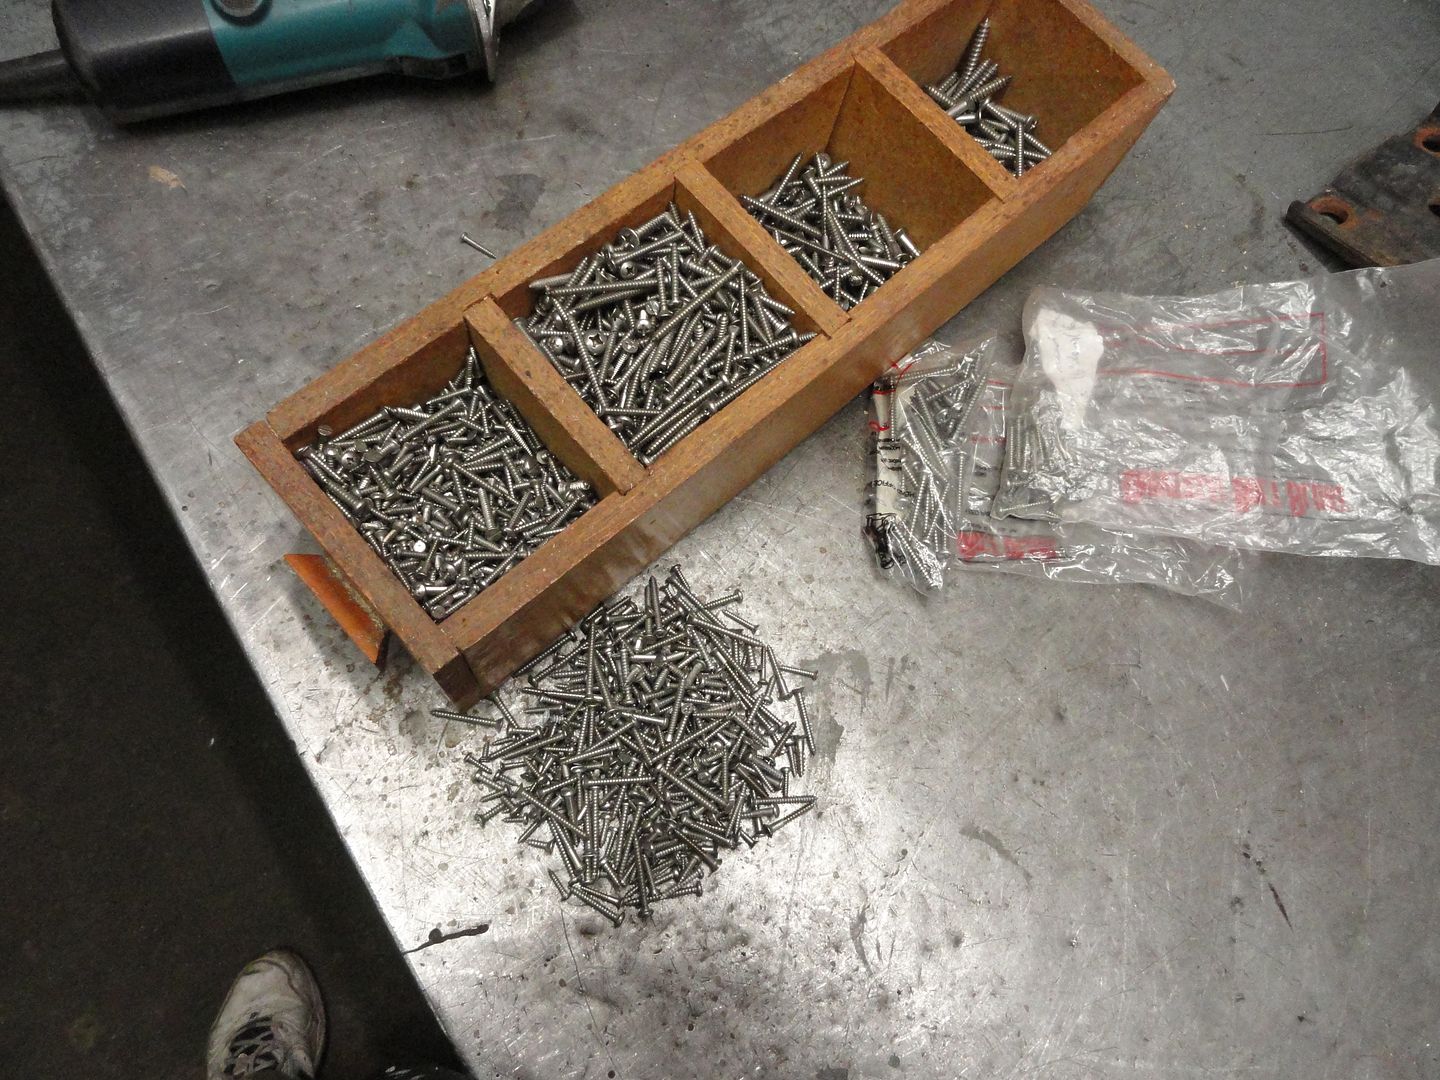 .....still have a few left over...... ;D |
|
|
|
Post by kaybee on Aug 17, 2012 20:36:44 GMT 10
Anywho..... on with the show ... the lantern van and woodie cant sit around for ever ya know !!!!! Regards Reddo Hiya Reddo, the Woodie is sitting patiently but doing a worthwhile job.... 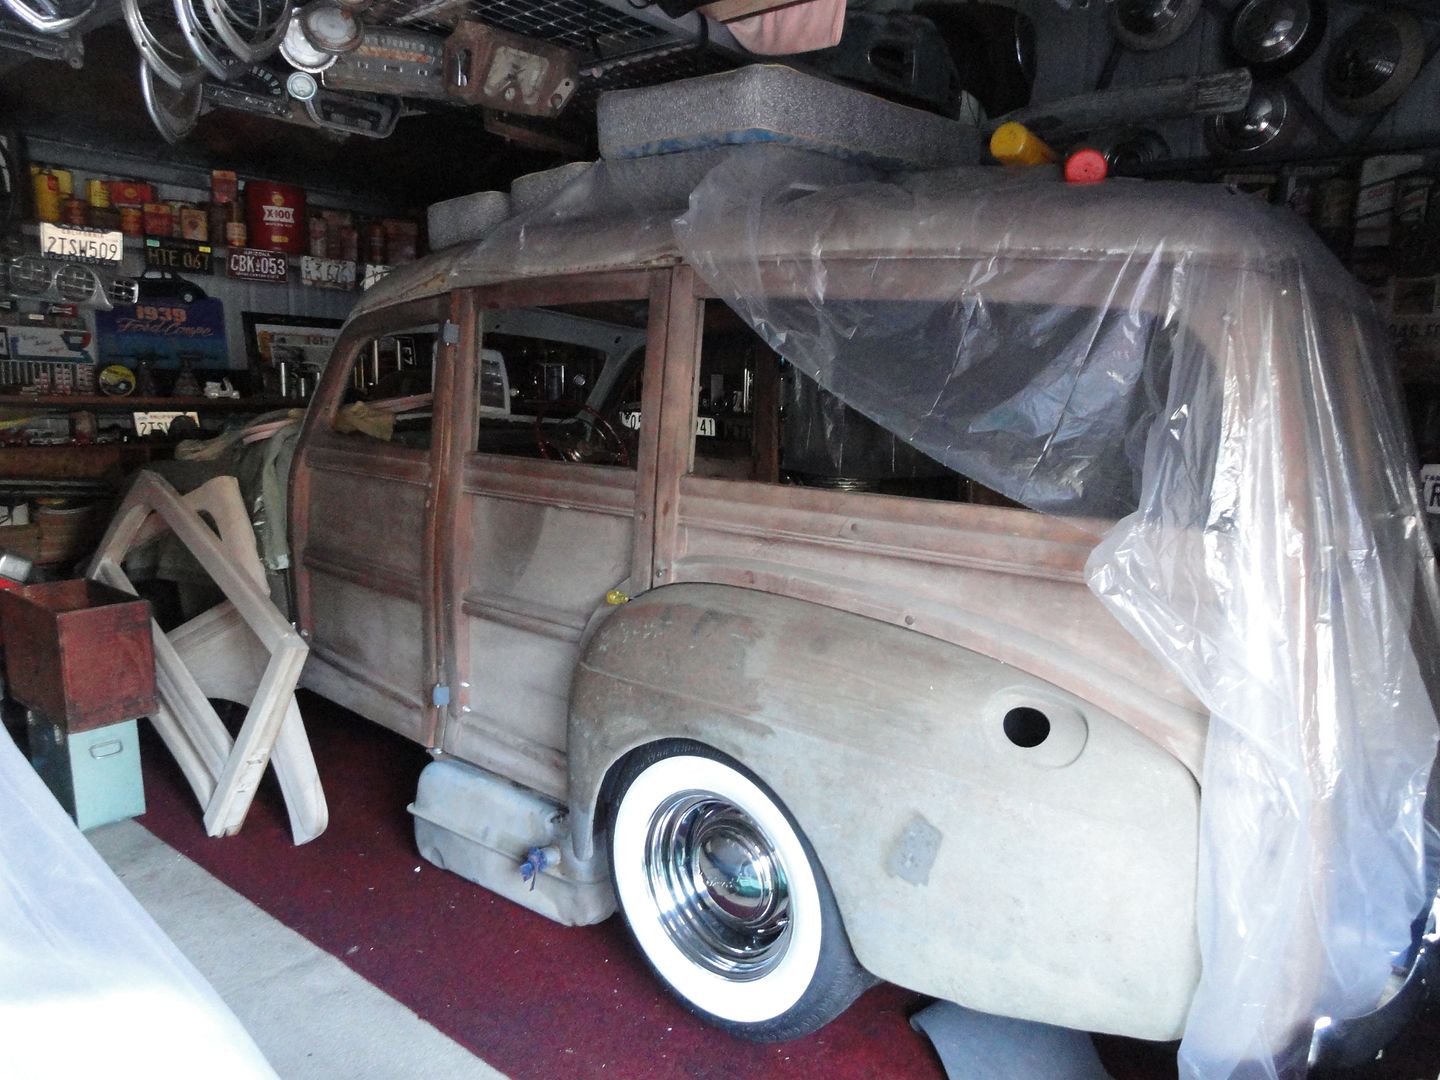 ....of holding up the caravan cushions...... ;D.....main holdup was waiting for new rear quarters from the USA , after a 12 month wait for them to show they were rubbish ( that's them leaning on the l/h fender) 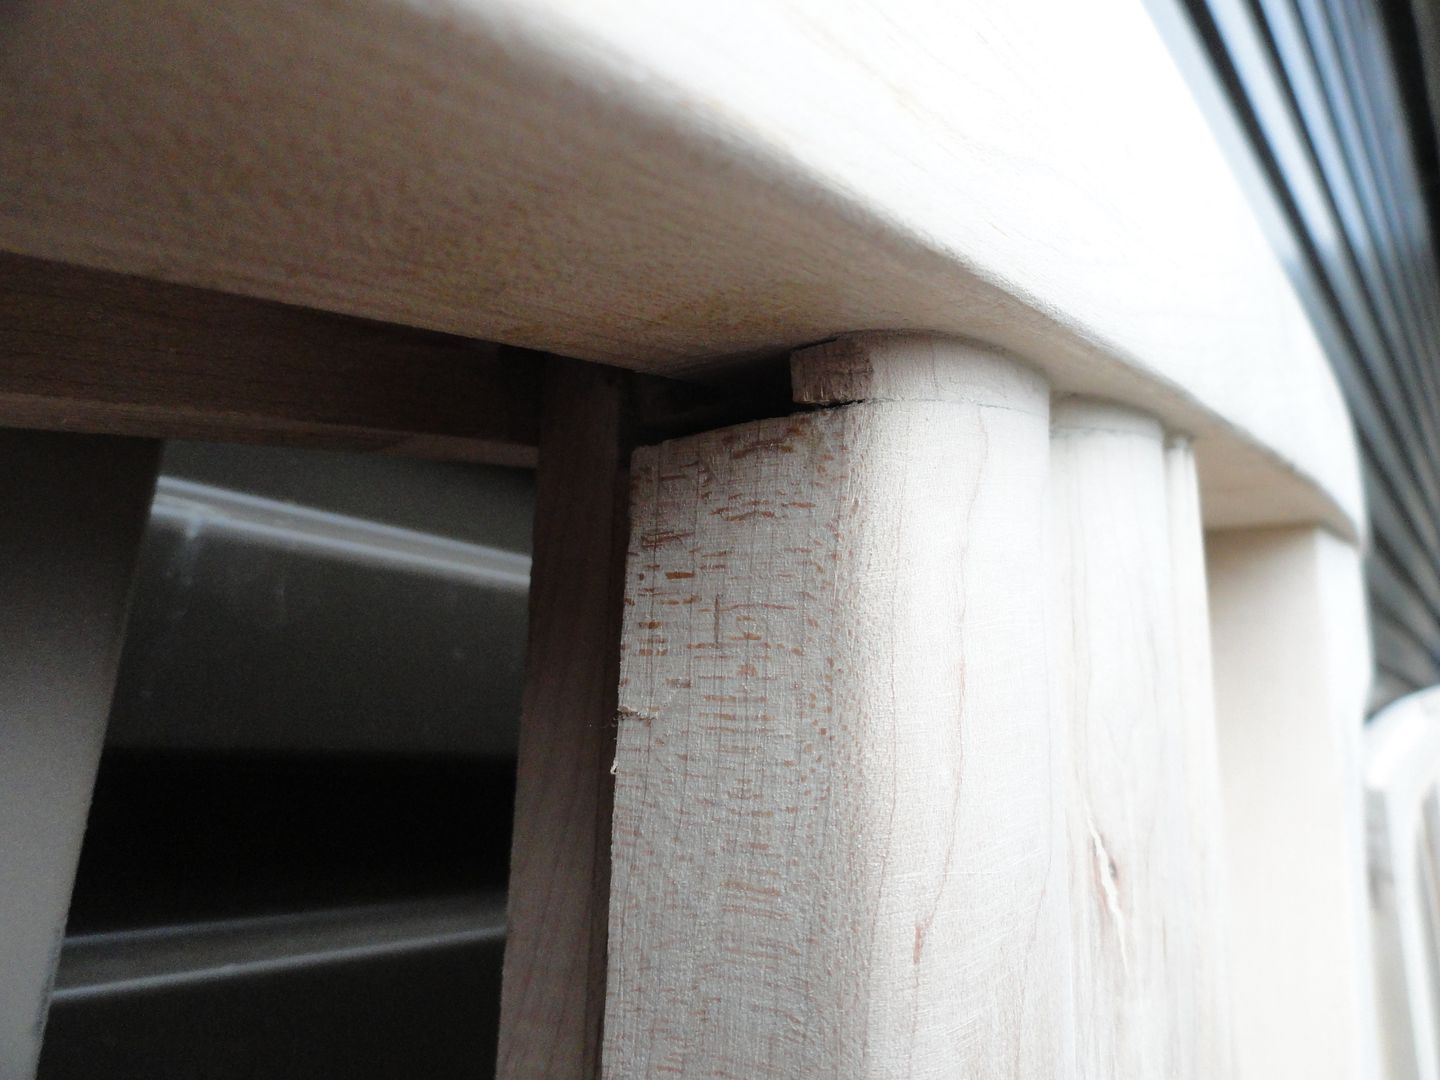 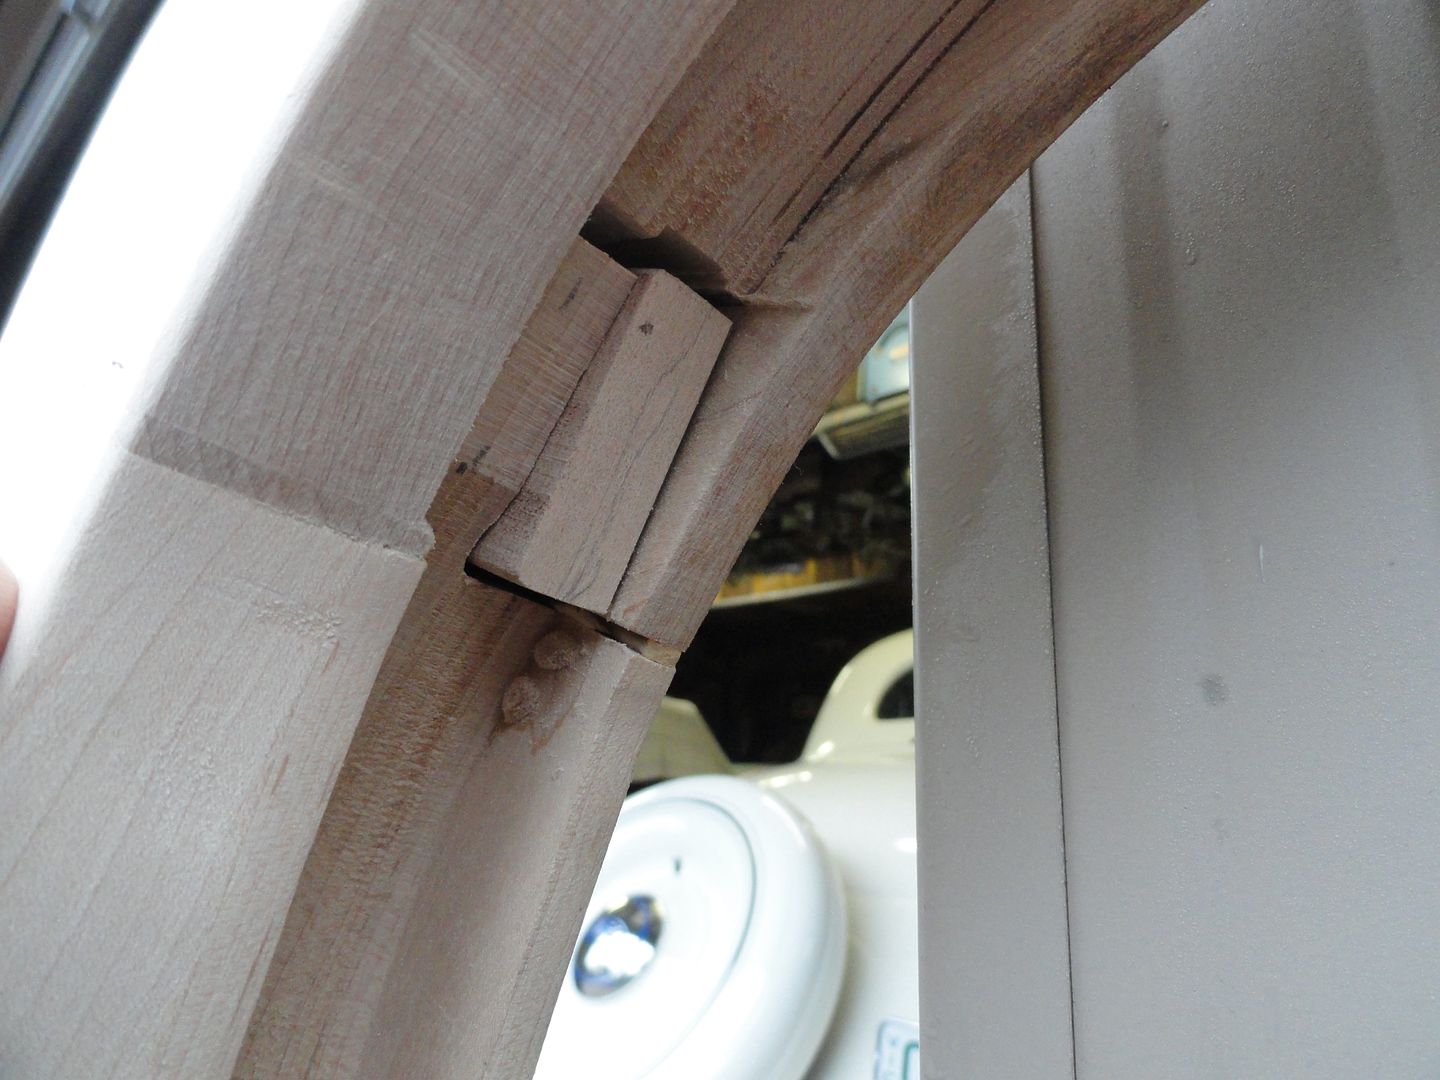 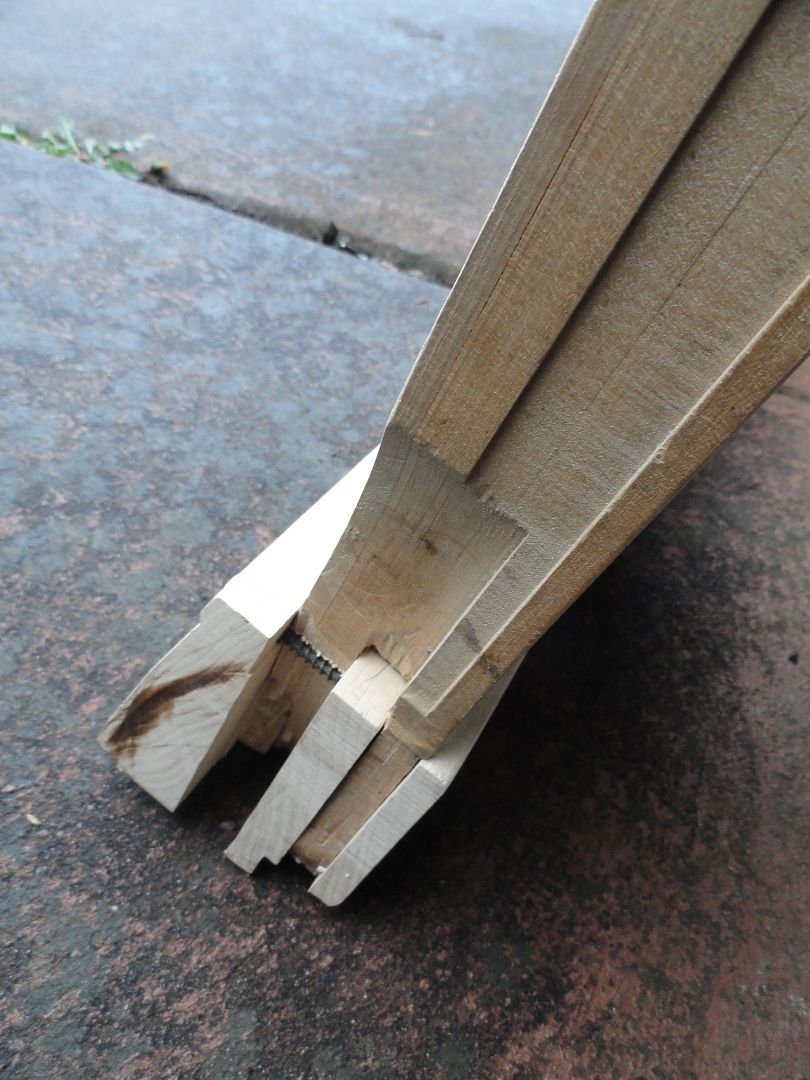 ....just a small sample of the "precision" joinery.... ....got lots more but this isn't the place for it..... Another minor holdup was searching out the right parts for the rebuild......I've ended up buying a whole '41 Ford parts car which should land in the driveway any day now , so that'll help things along immensely as '41 stuff is pretty thin on the ground here in Oz....I needed a good original floor pan to work with and there's been nothing decent so far , and I didn't want to use anything fabricated or repaired so ended up by finding a good old sedan in LA ( off E bay).... turns out it was a bit of a movie star , it's been a Police car in "Who framed Roger Rabbit" some years back.....I'll show you what it's like when it arrives .....anyway.....van stuff... ......I think on the last posting we were getting a start on the roof...... we did eventually make some sense of it all and got all the wrinkles unwrinkled....here 'tis with it's first coat of primer on top of the calico.... 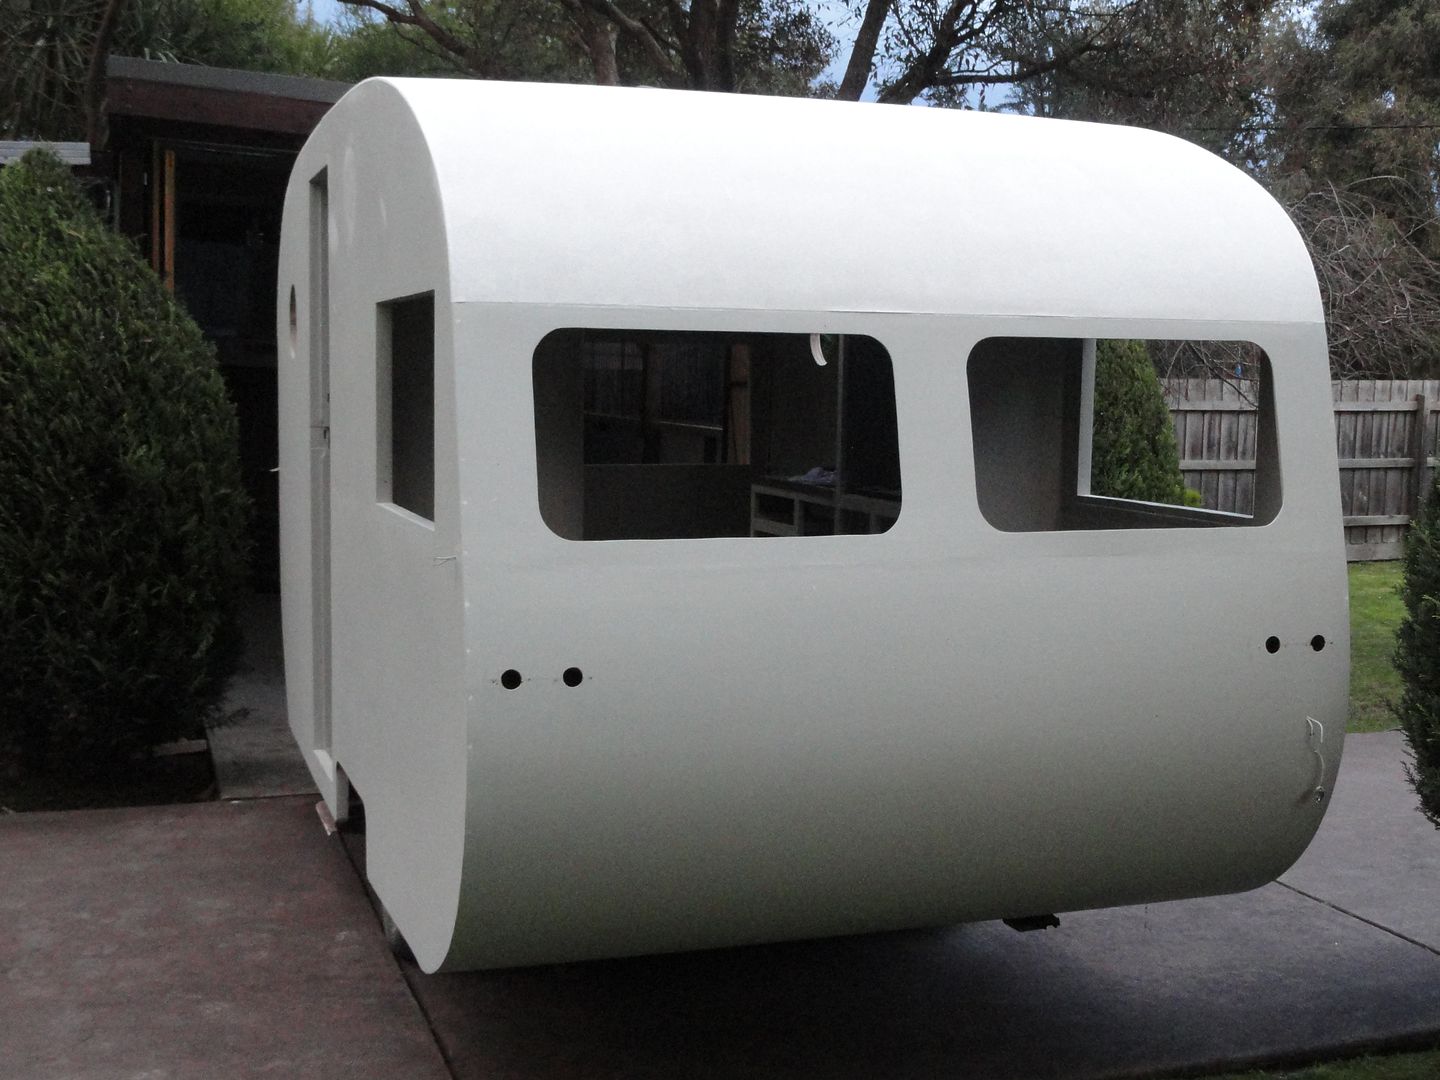 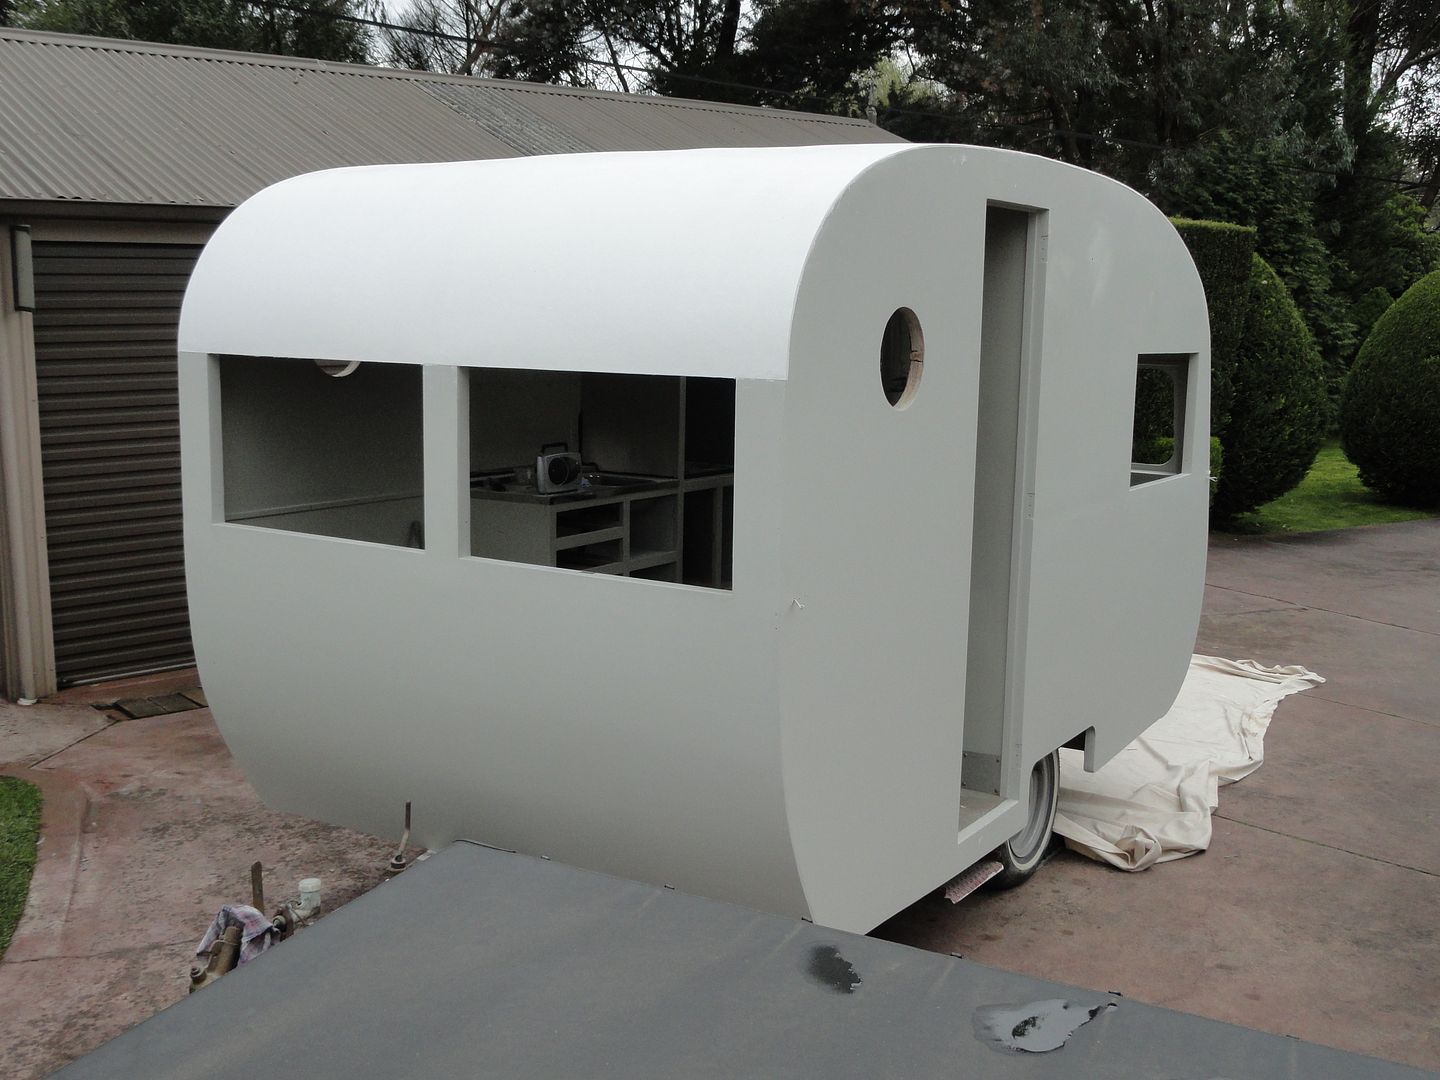 ......the calico swells with the moisture in the paint , but once it had dried overnight I was able to give it all a light rub with some 120 grit on an oscillating orbital sander (a BR9 car body machine).....and flatten it all down,then lay on another coat of primer which sealed it and it stayed nice and flat after that......next day we hauled it up the drive again and gave it a good solid layer of topcoat white ( Wattyl Solarguard ).....the white on the roof shows up the tinted primer we were using..... 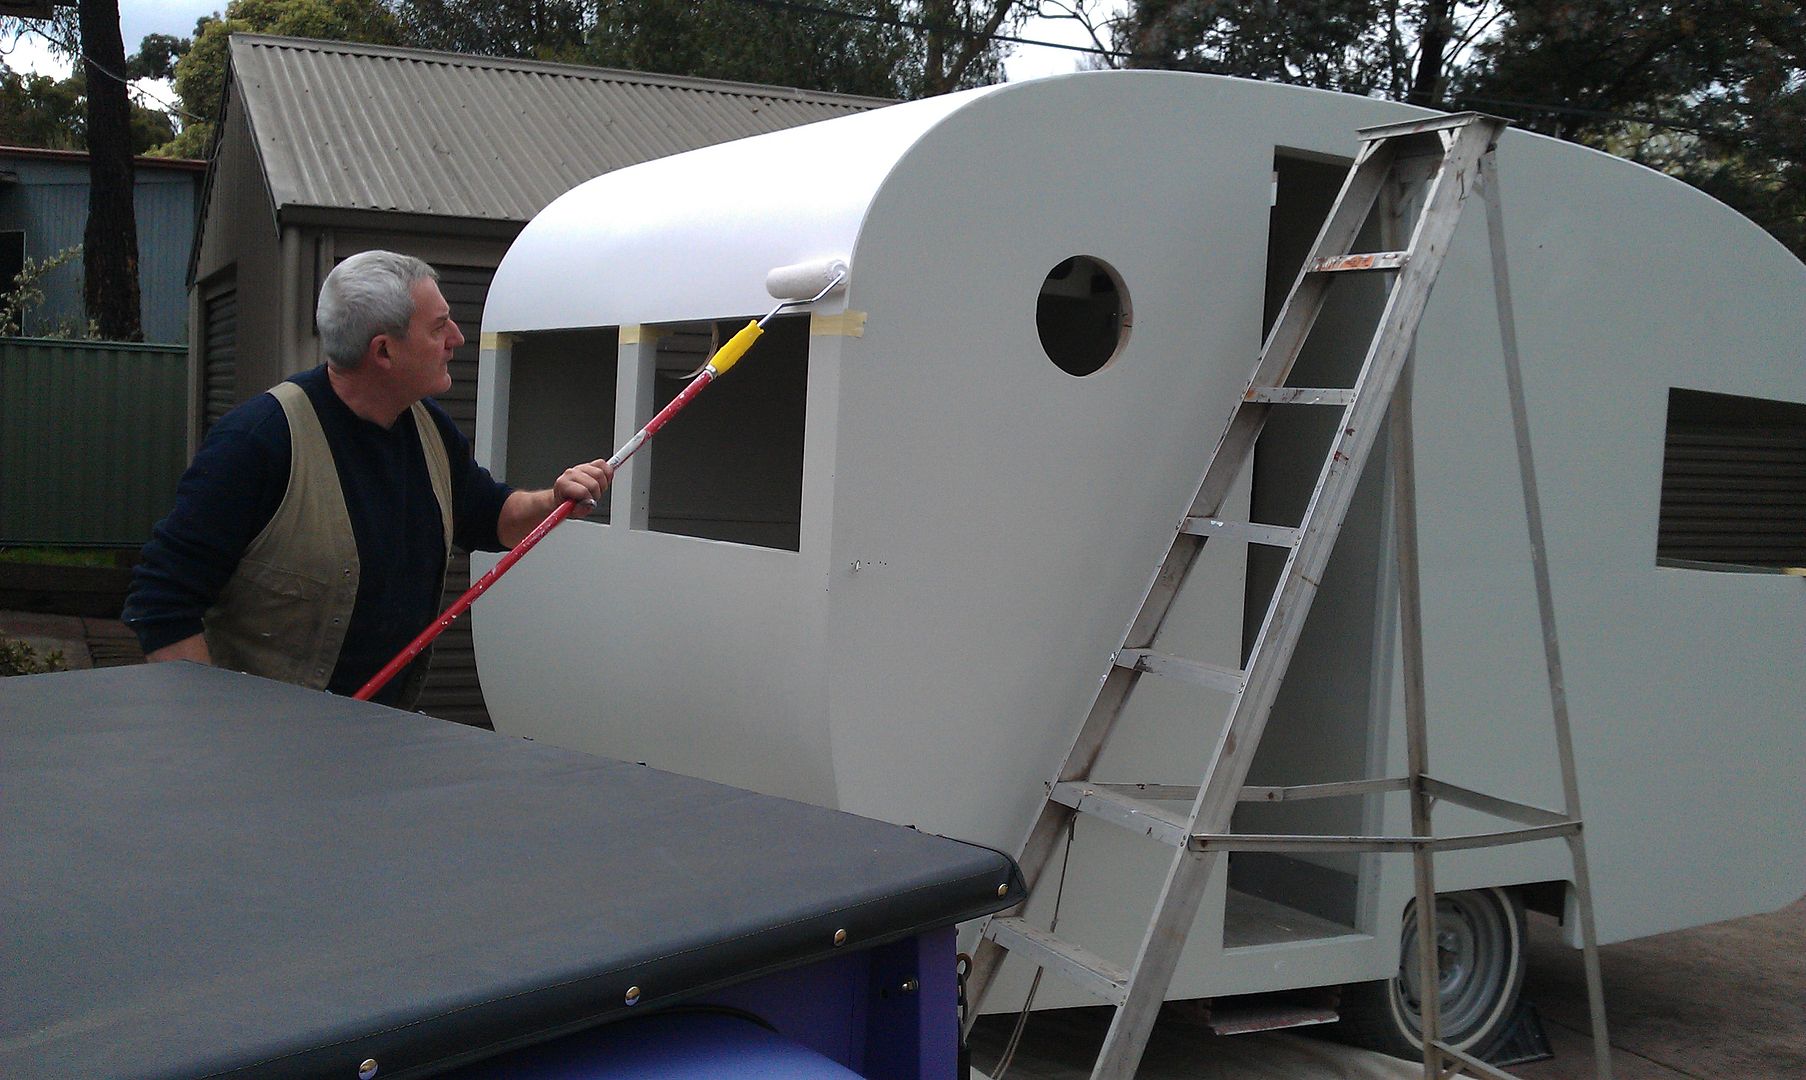 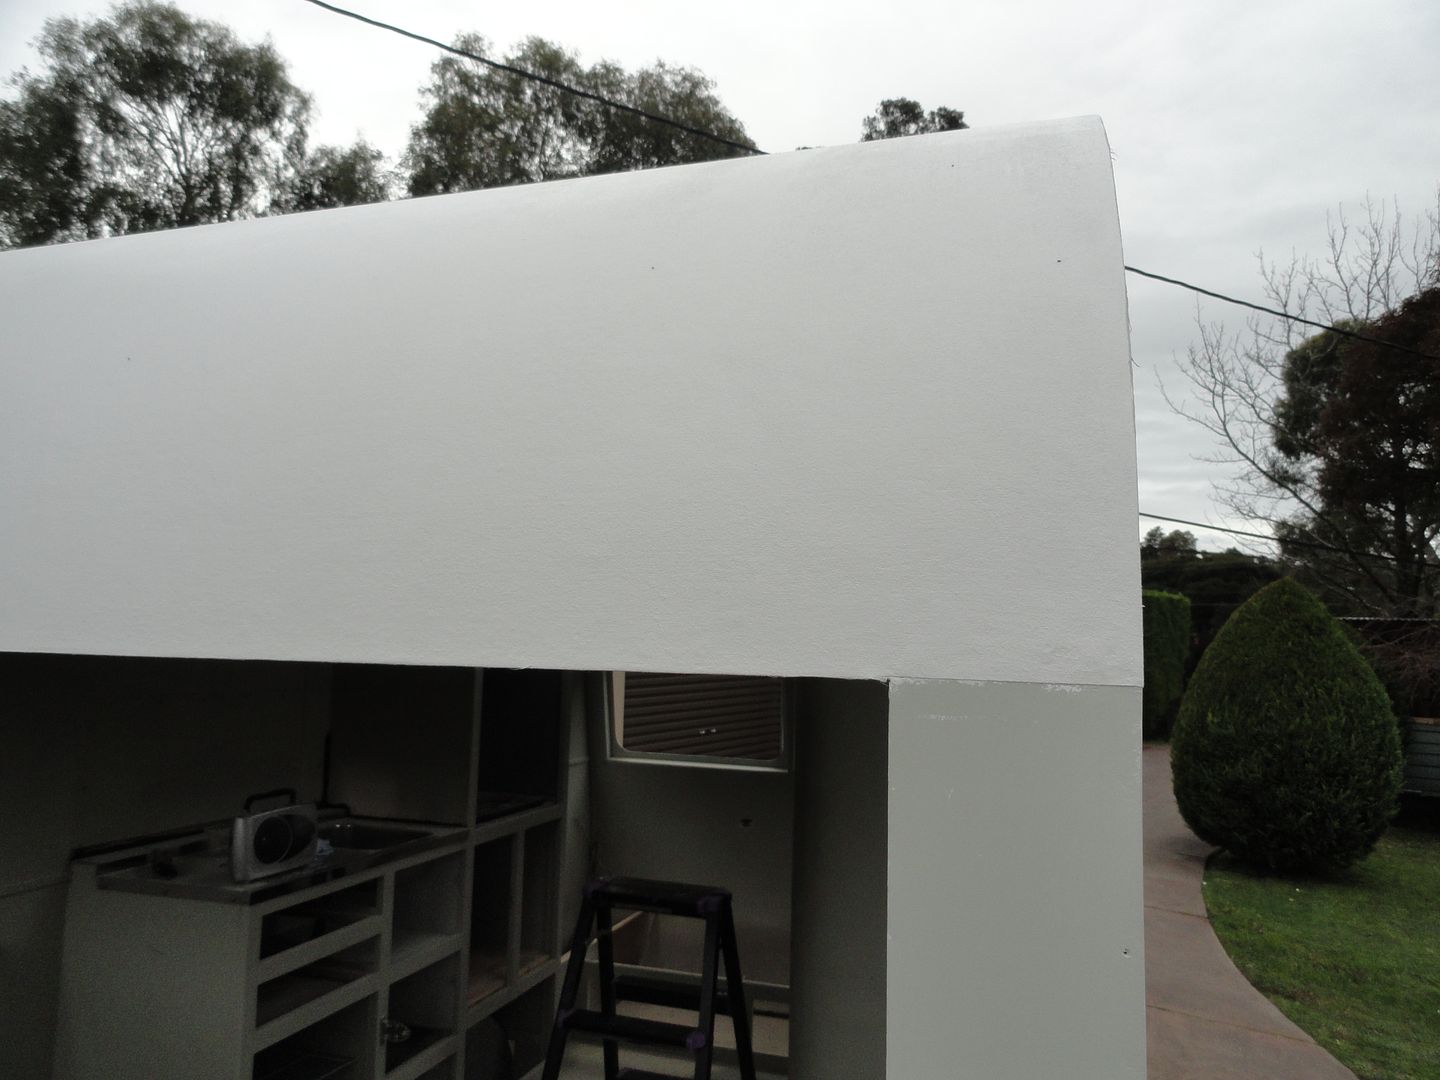 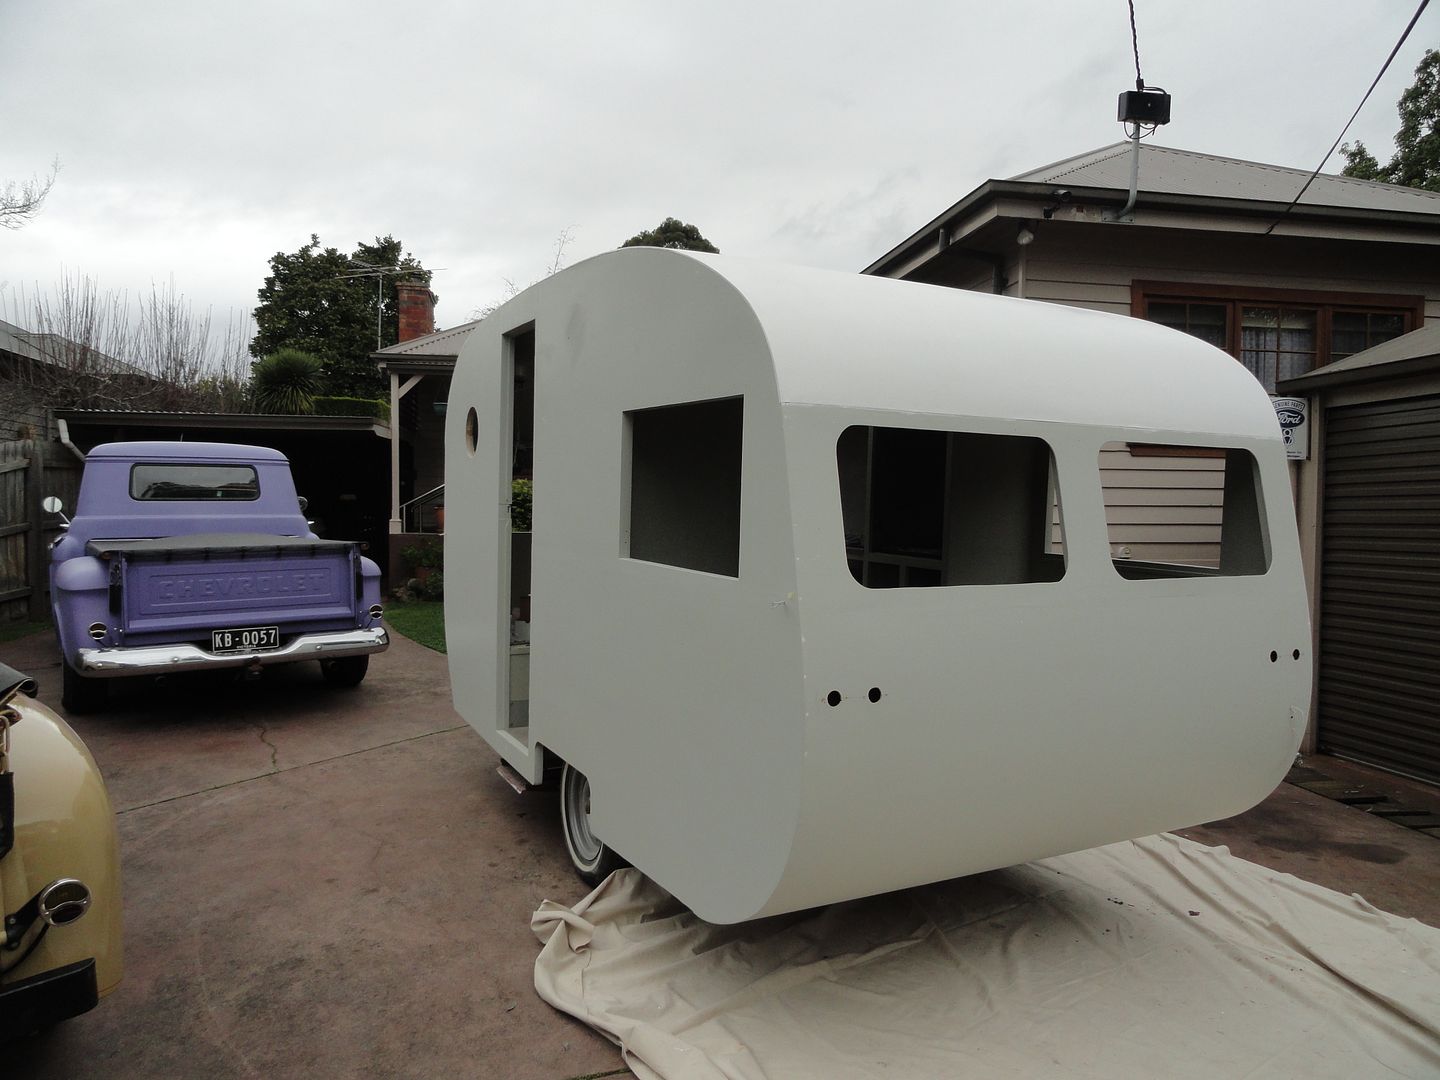 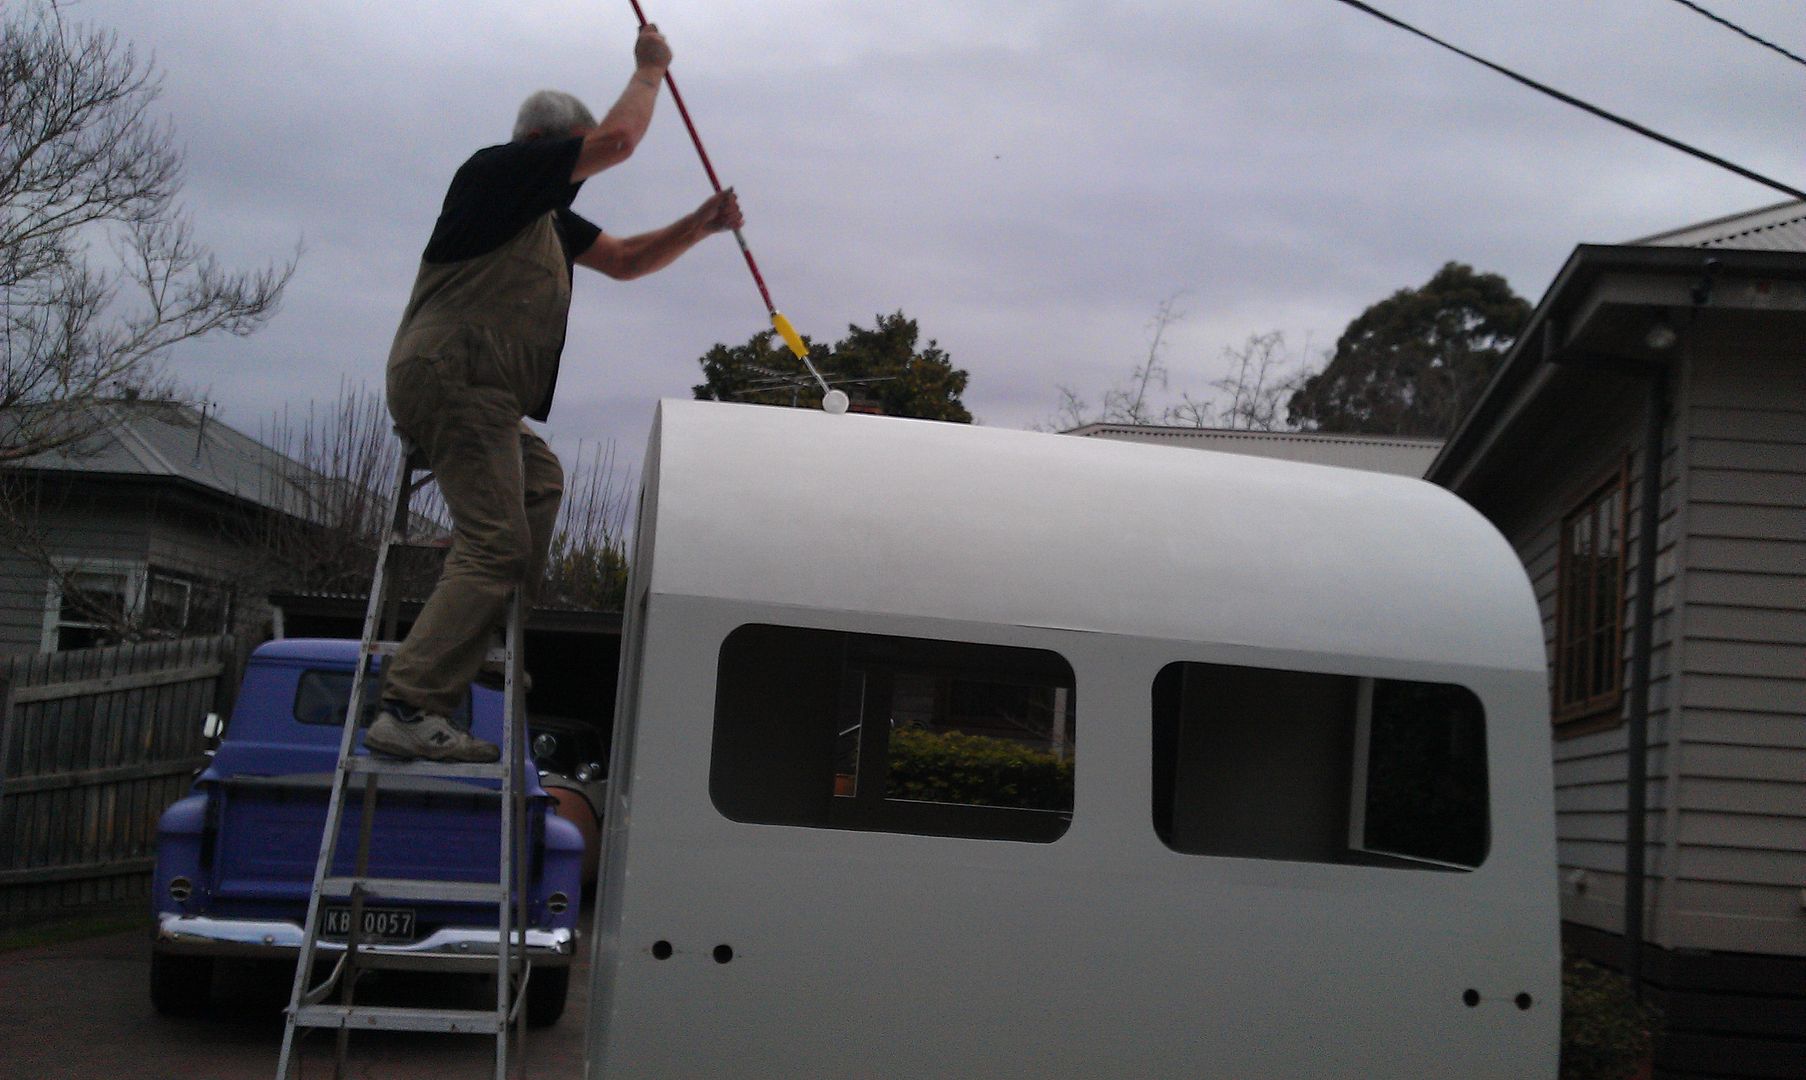 ....you can see by the sky that the weather's been a bit uncertain , so soon as we downed tools we quickly wheeled it back undercover.....  ;D ;D.....found this neat old sign...... .....so that's the roof bit behind us......it came out better than I thought it might ,it's settled down fairly smooth so it should be reasonably easy to keep clean but it still has the calico weave pattern visible in it so it looks "right"..... .....I'll post these few so they don't get lost,have a coffee and get to the next lot soon, ciao..... |
|
|
|
Post by kaybee on Aug 17, 2012 21:42:23 GMT 10
Evenin' all.... to continue the tale, once back in the little shed I figured it was time to give the l/h/front of the van a bit of a rub and lay some colour on it to see how it looked....as mentioned we'd been using primer with a tint in it, about half strength of the final colour.... 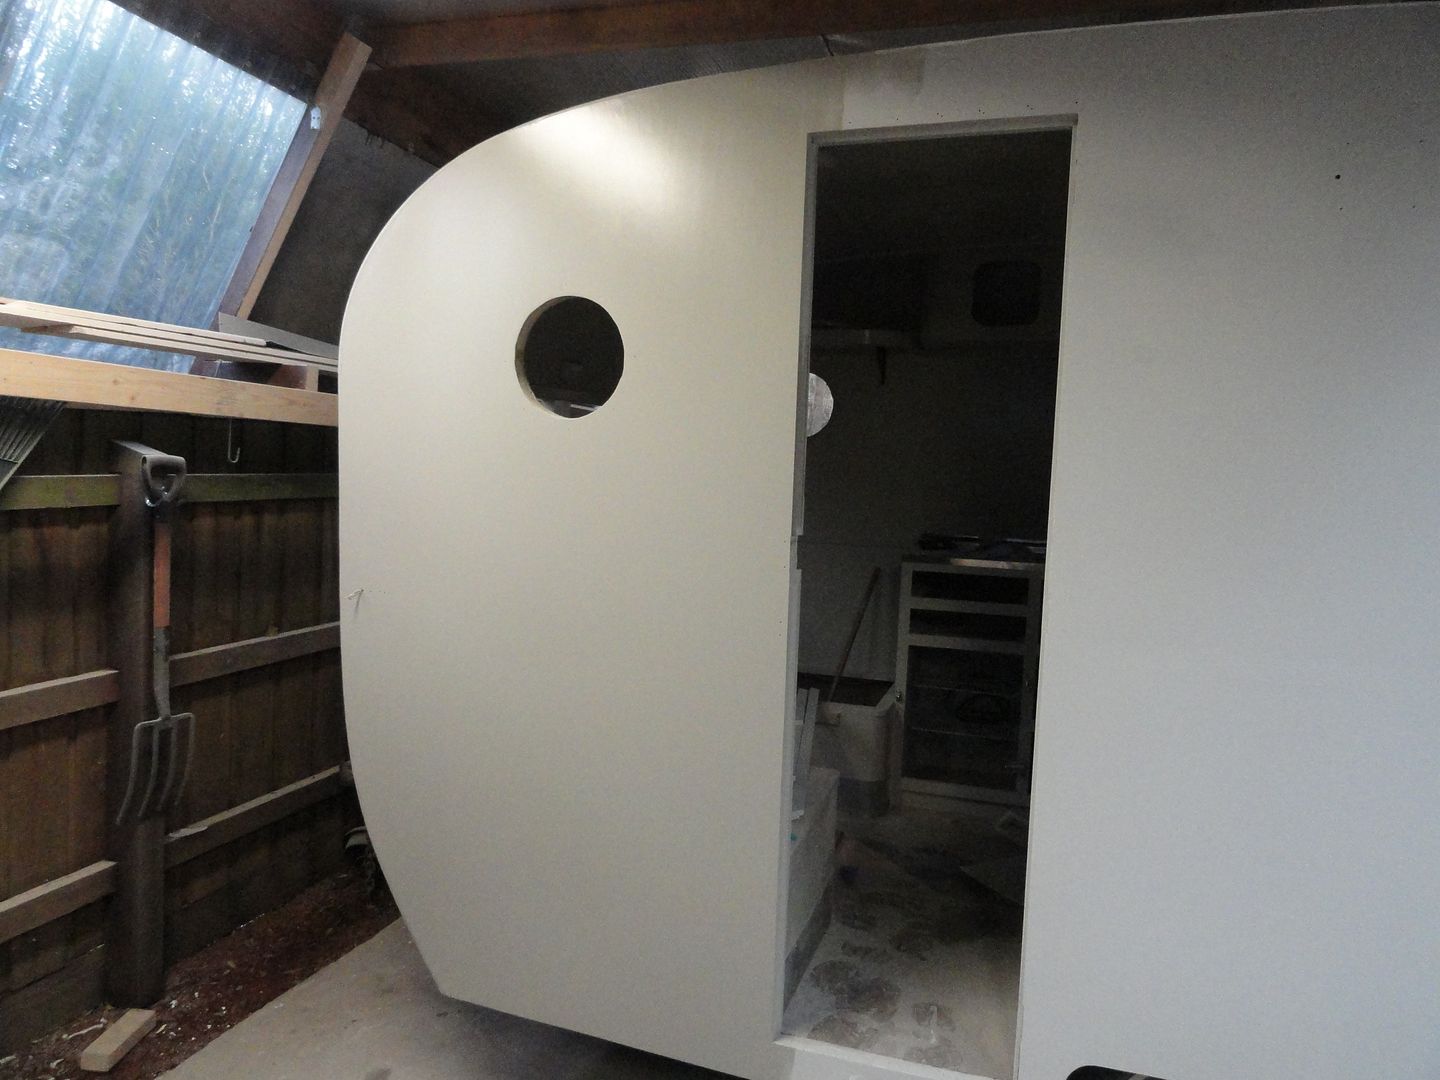 .....probably a bit hard to pick but it's a nice soft gray.....and we thought it looked about right , so we continued rubbing out the primer by hand with 180 grit and some sanding sponges to follow up......then coloured the rest of it in...... 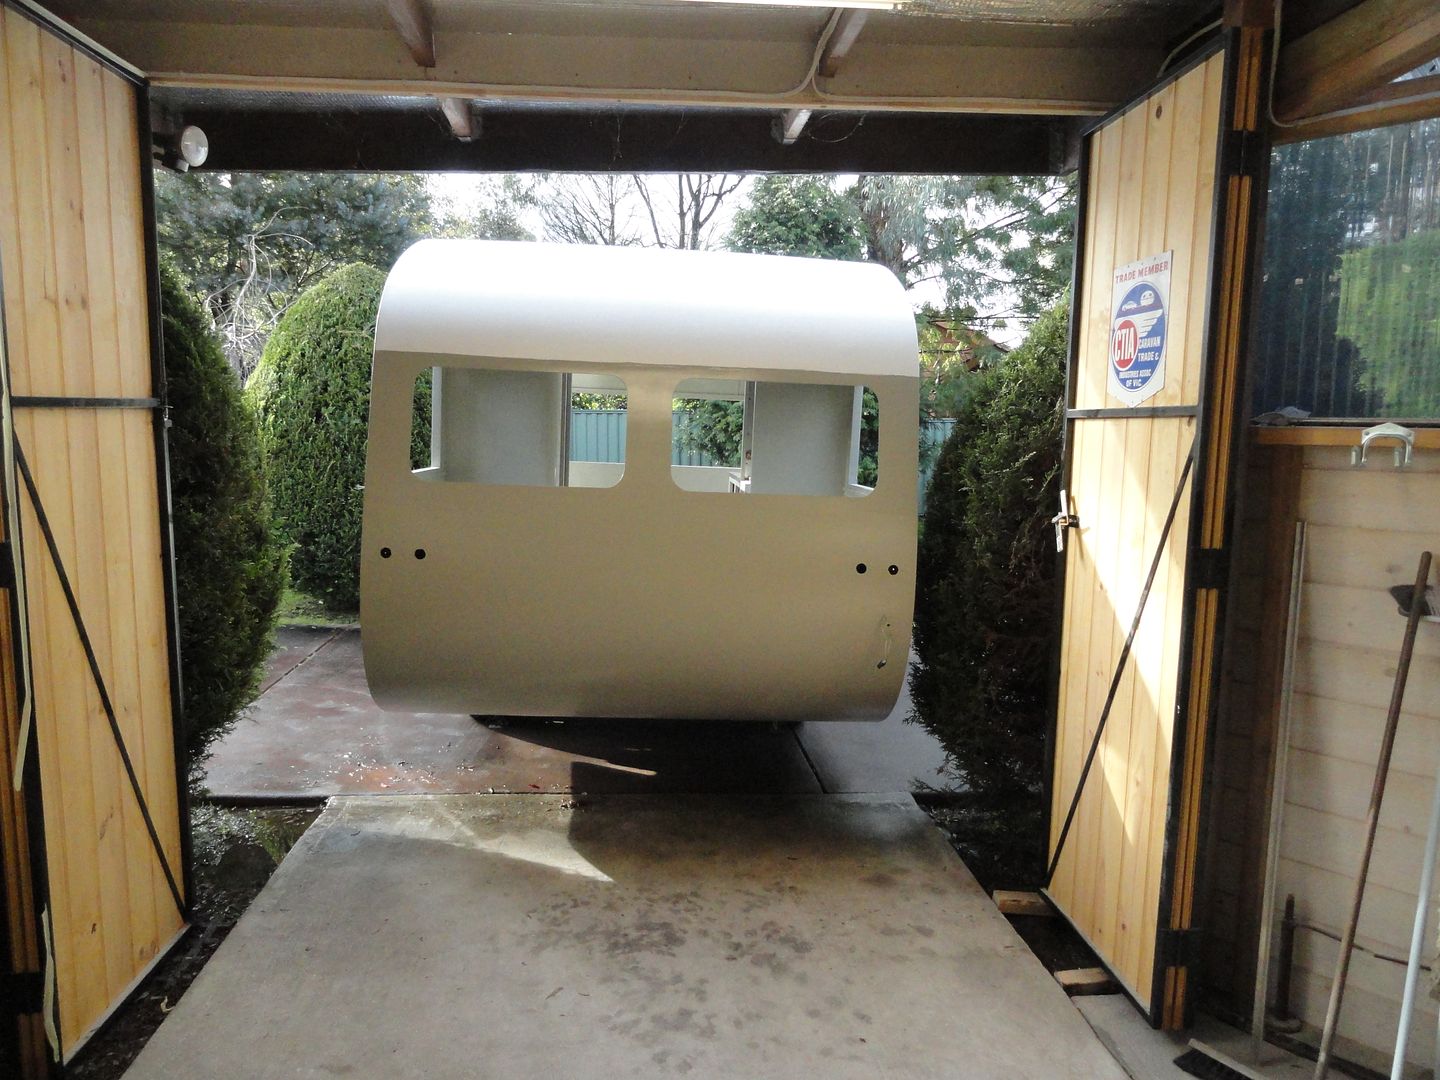 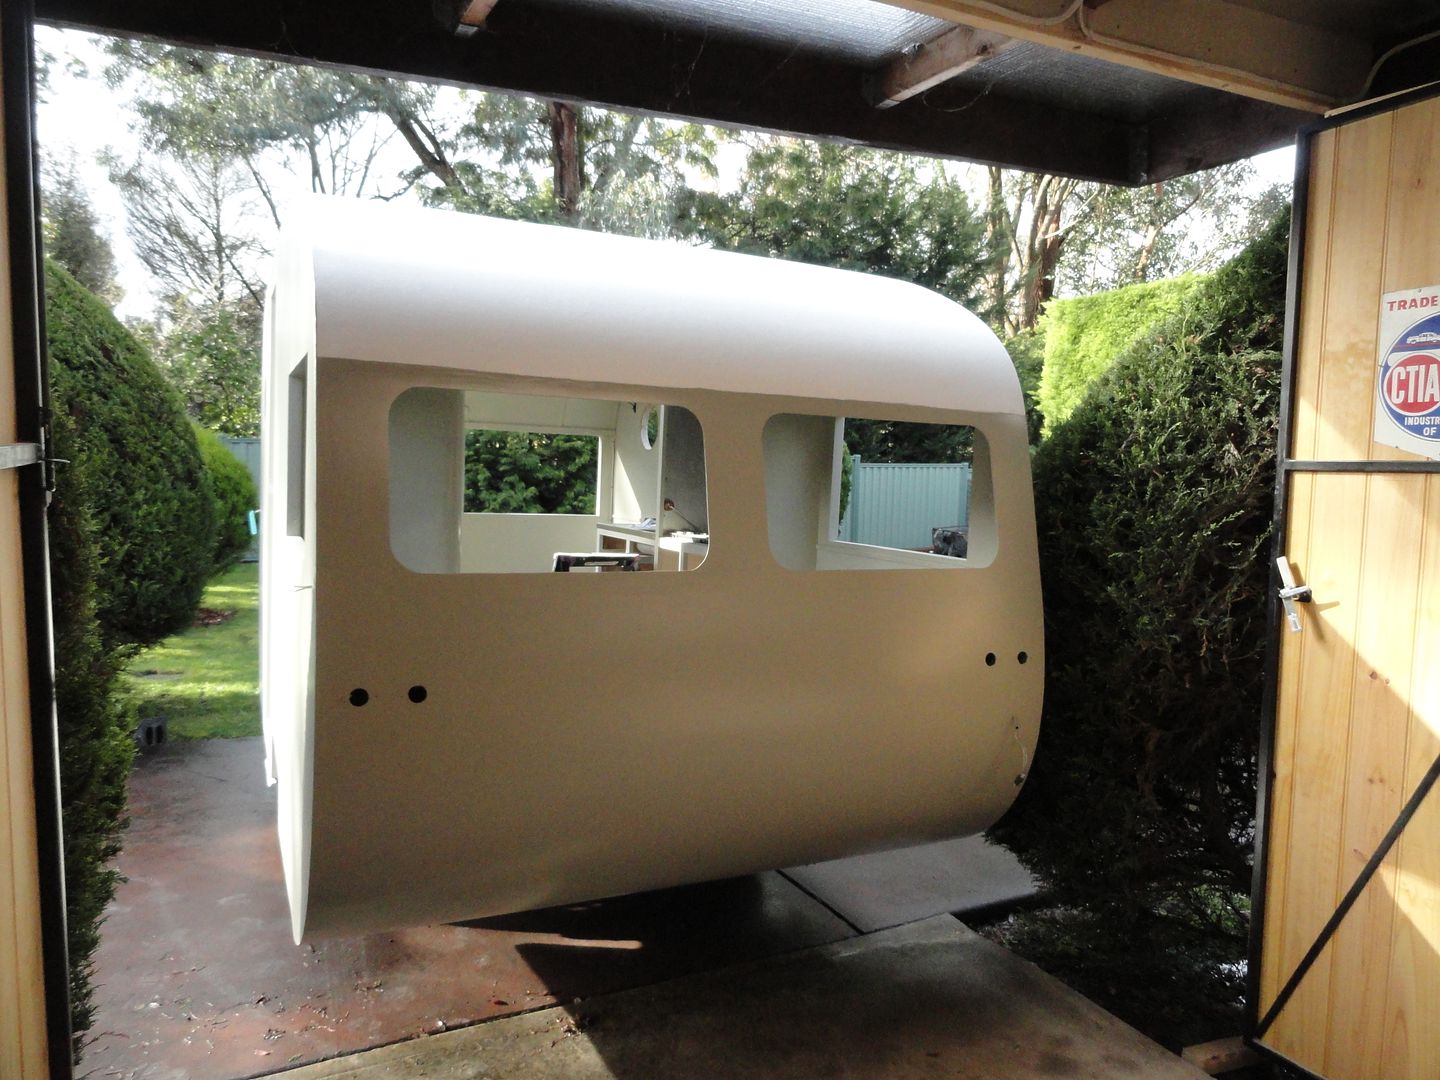 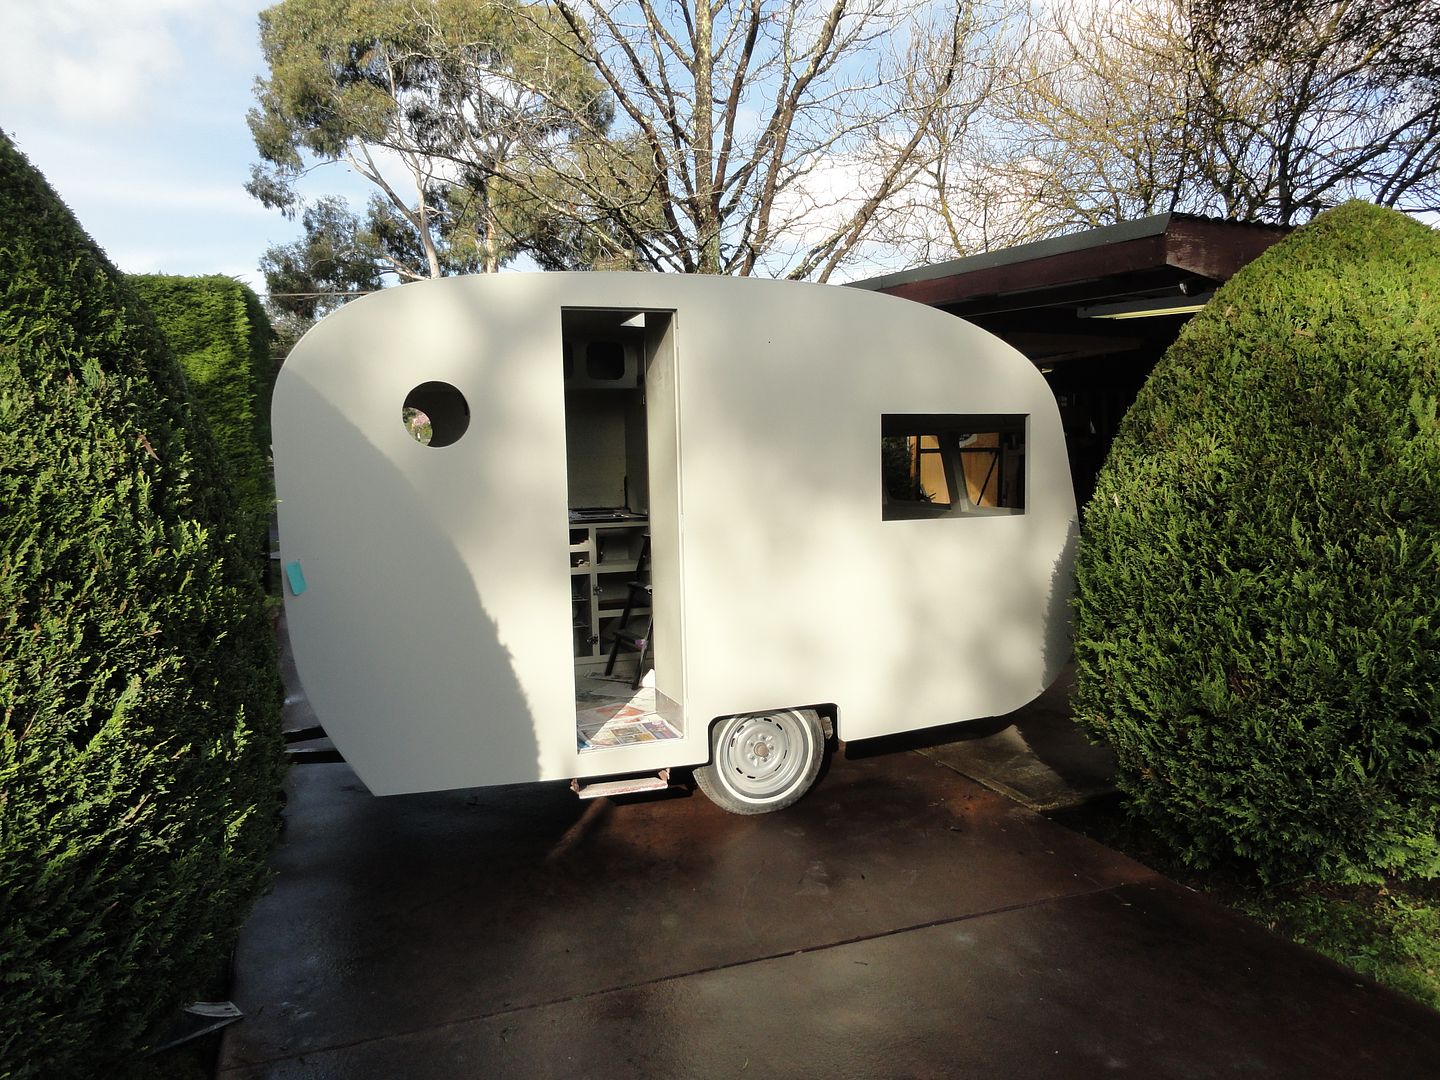 .....outside with some sun on it.....it's still been pretty wet today but we were lucky enough to get a few minutes of watery sunshine so we whizzed the van out to turn it around so we could do the other side and also the front ..... one more coat in the morning and it's done.....sort of..... ;D. The plan is to use a Turquoise/Aqua highlight in a side flash , only problem is the aluminium crescent moulding we wanted to use as a divider seems to be unavailable from our local supplier, so we have to wait to see if he can turn some up for us......or maybe Overlanda may have some stashed away we can scrounge,eh Gerald? ......when I haven't been painting caravans , I've been prepping and painting old car stuff.... 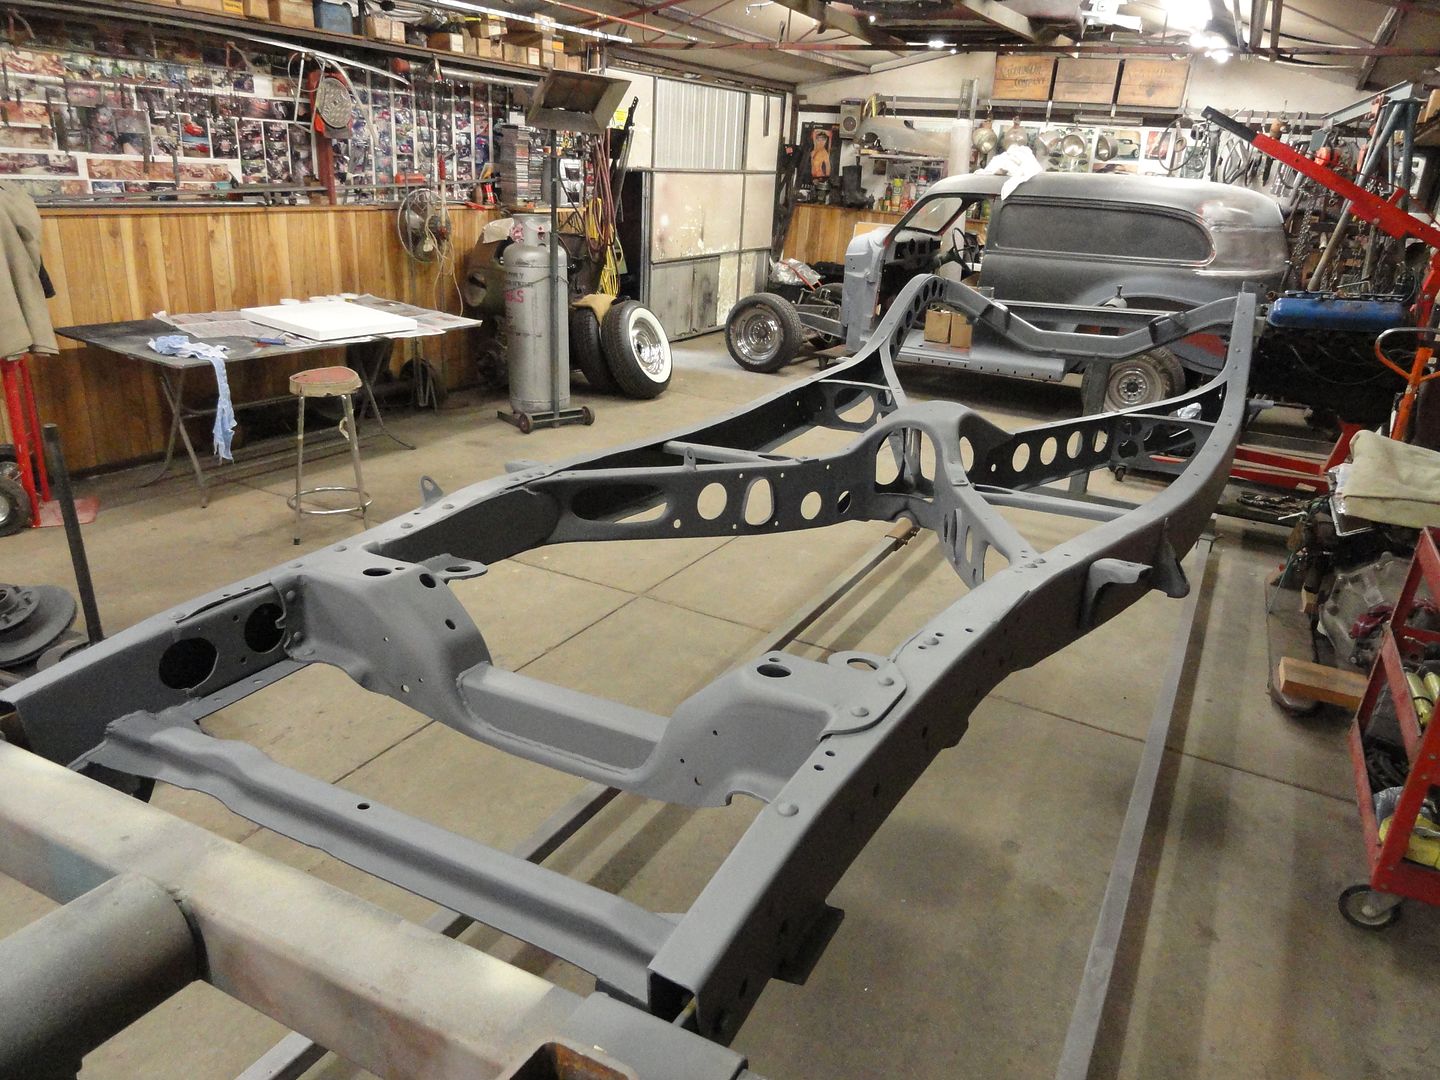 .....chassis is a '46 Ford Coupe..... in primer in this shot, in colour below..... 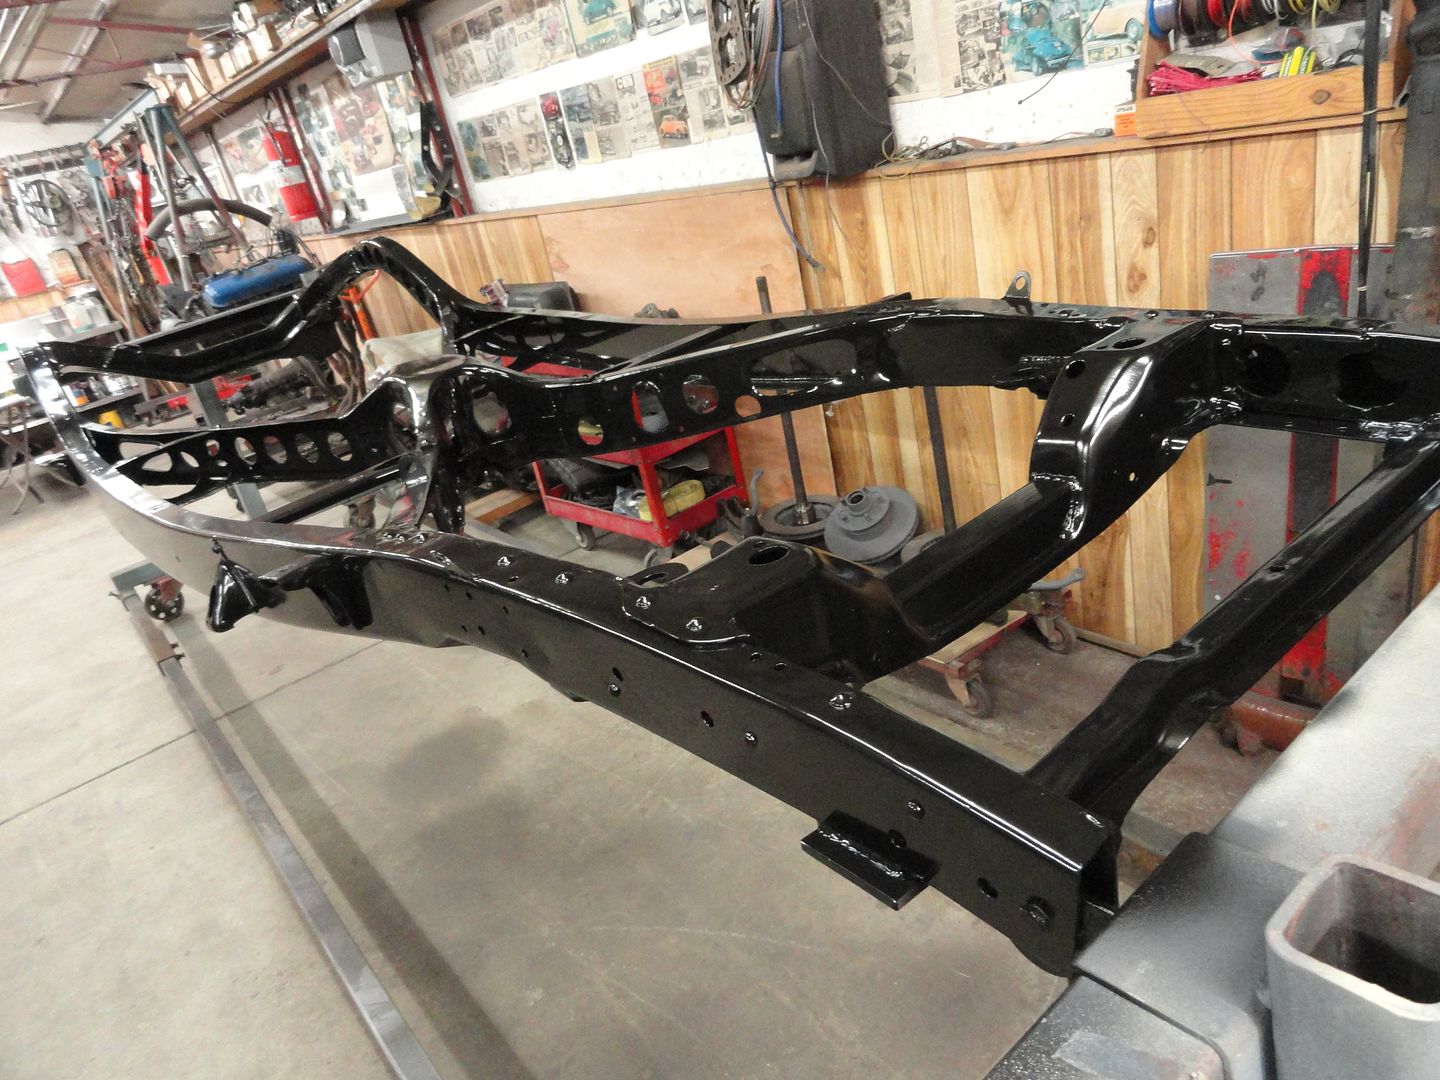 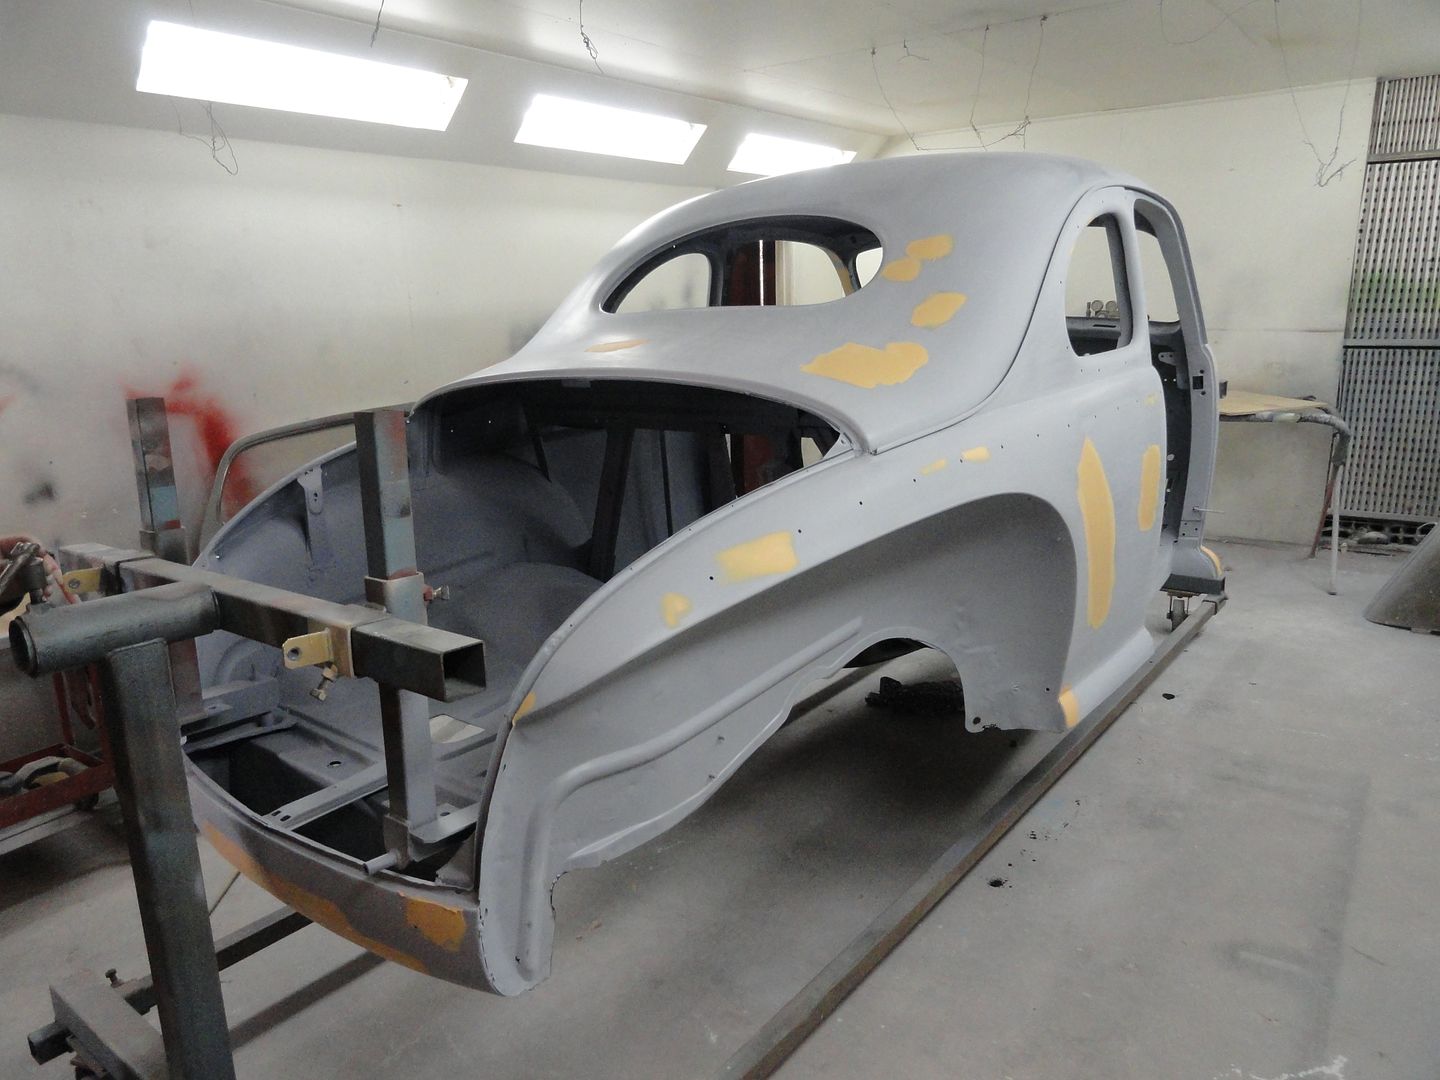 ....the body shell for it...and picking it up from the sandblaster...... 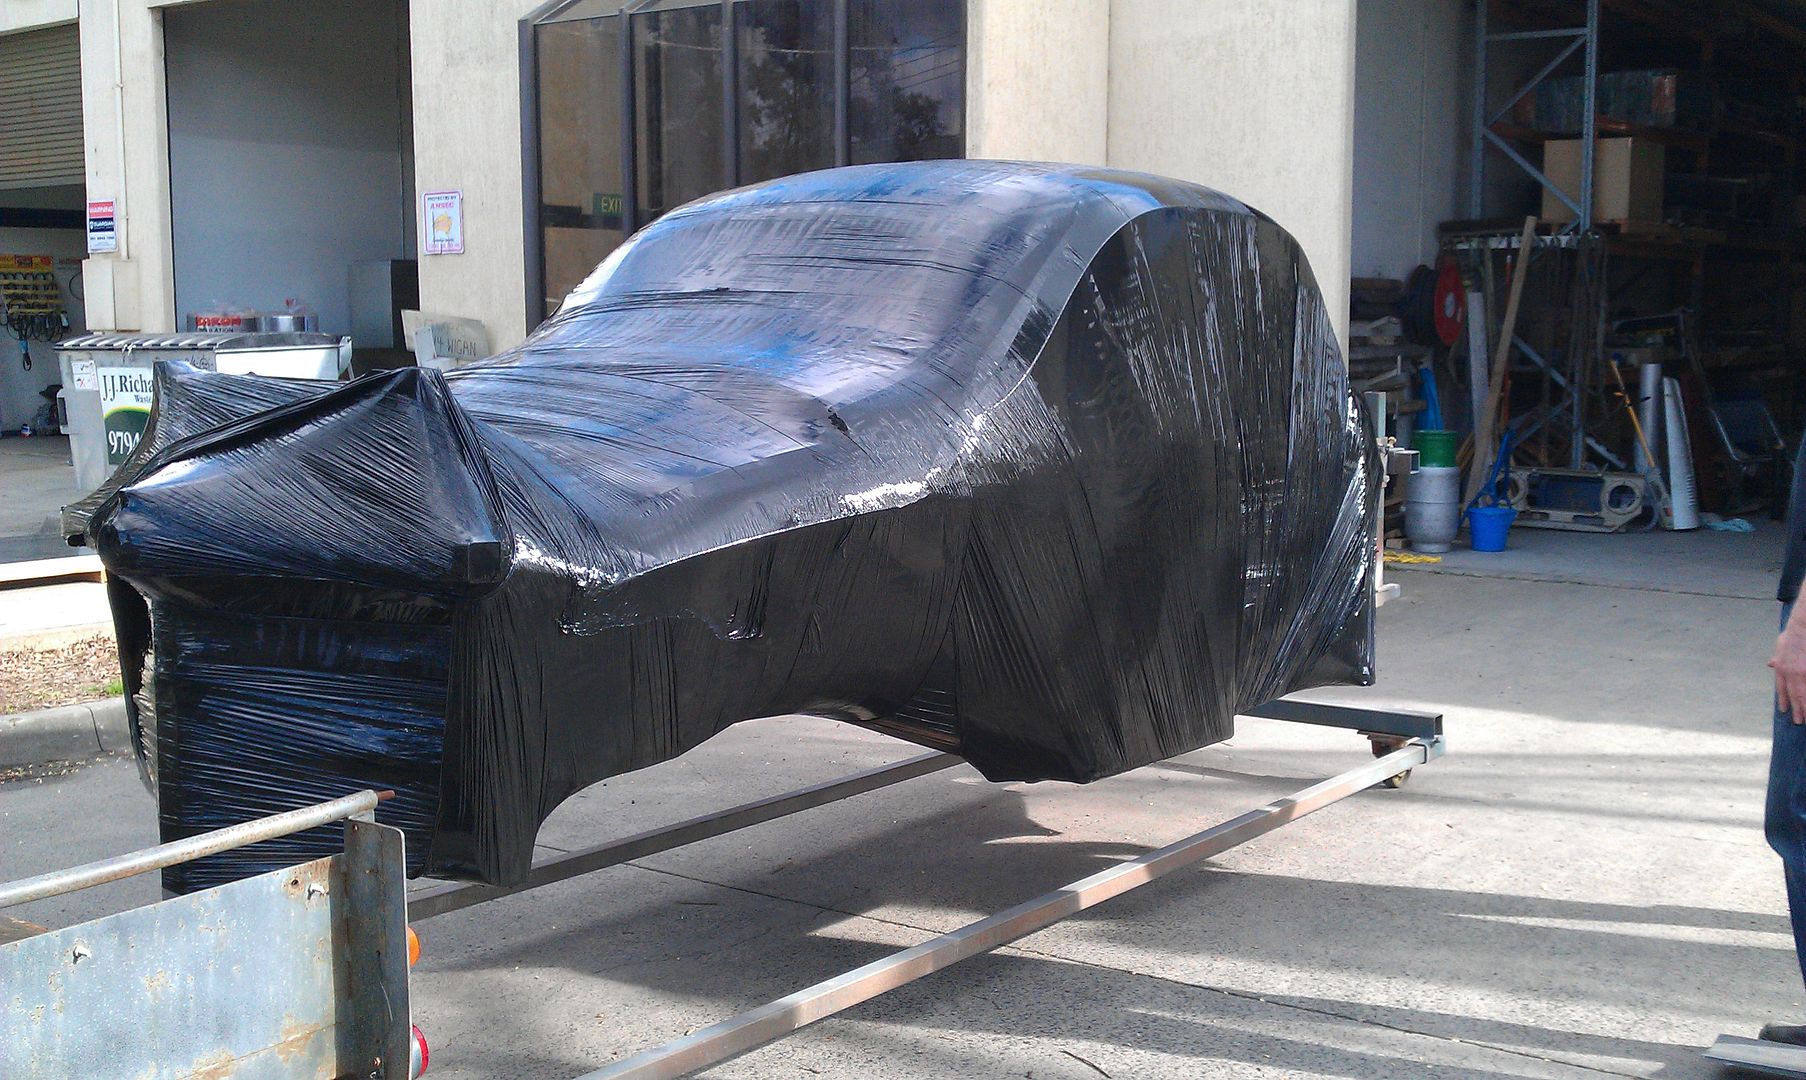 and below are just some of the components still to be cleaned prepped and painted prior to assembly..... 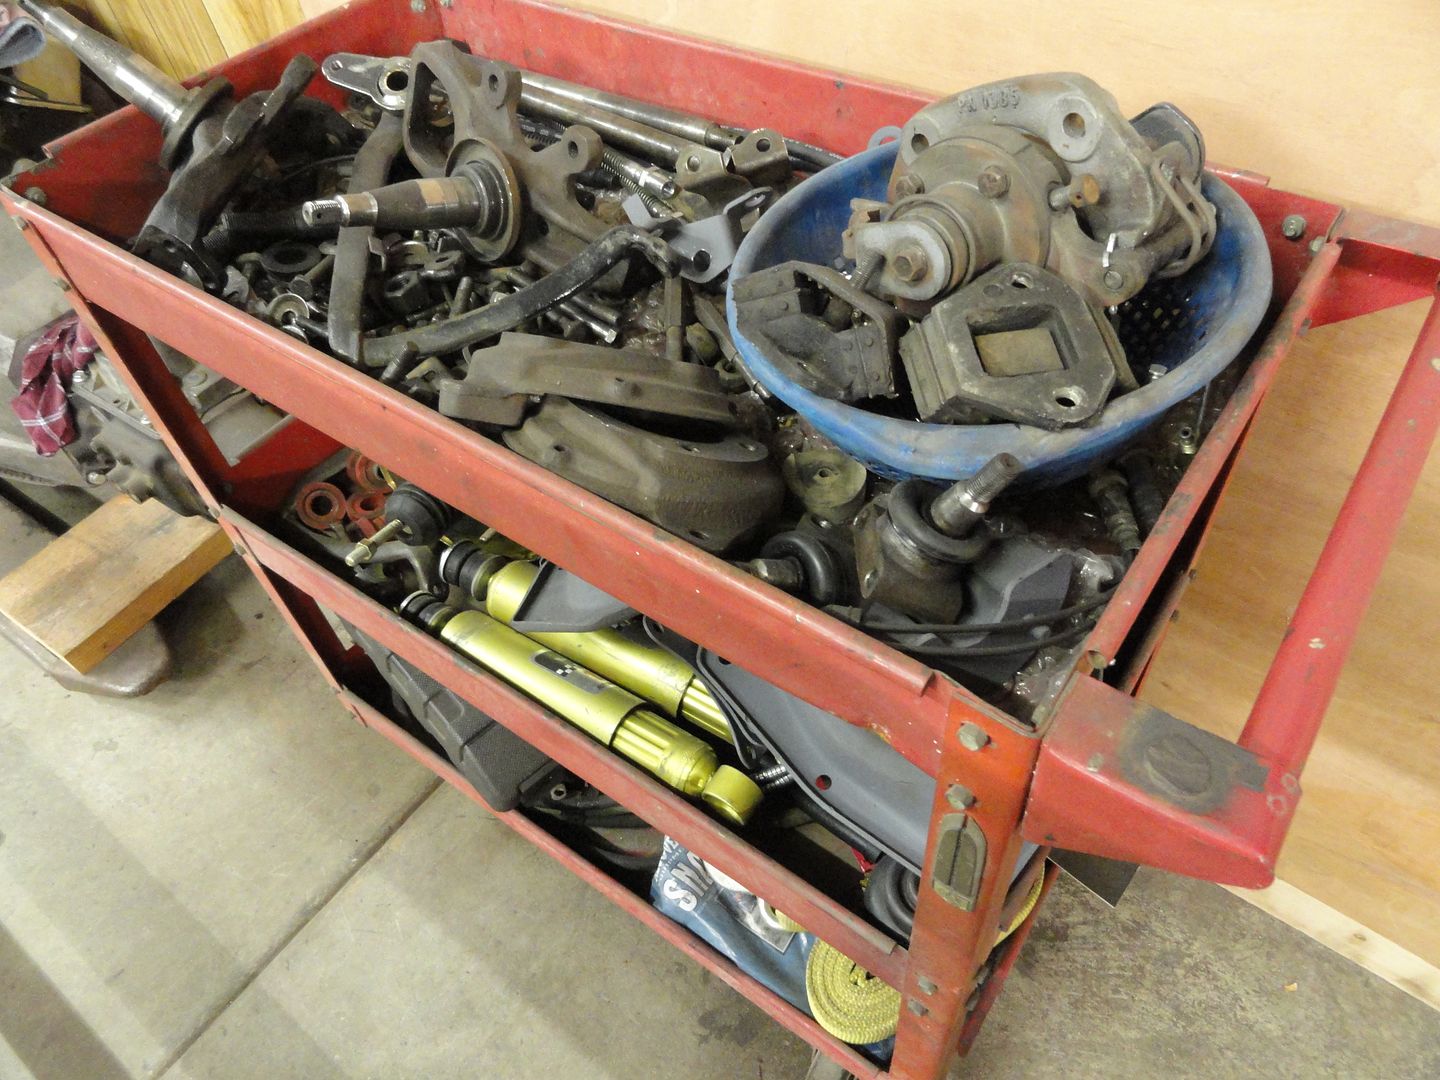 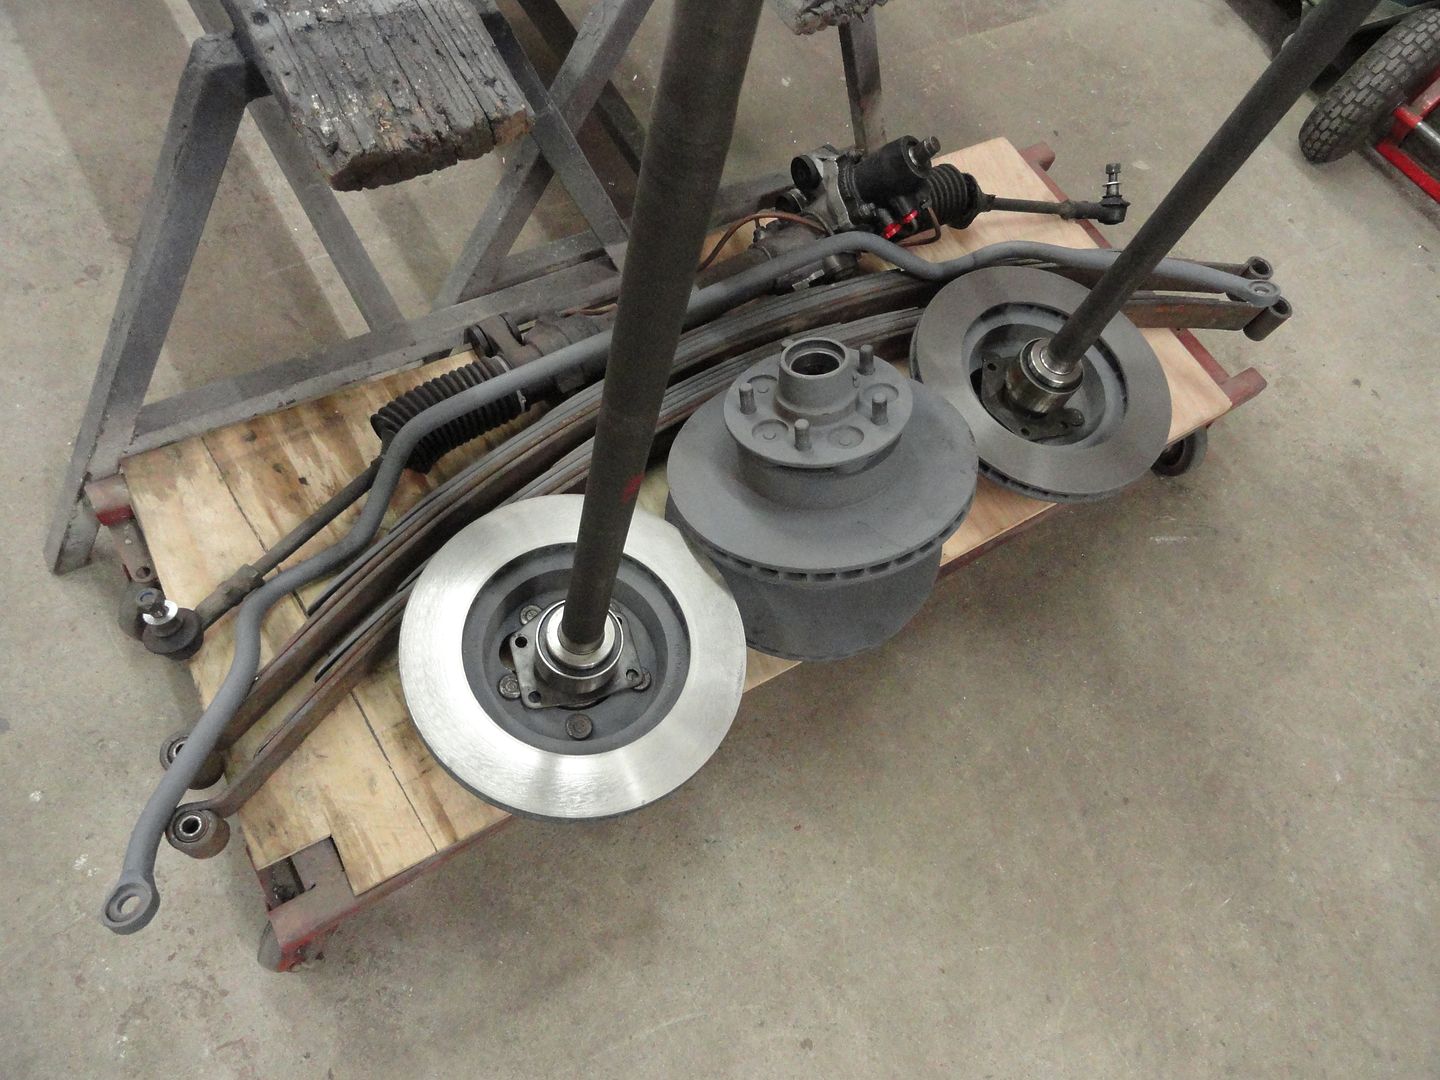 .....the ex-USA coupe is setup for a 350 and Toploader 4 speed ,9" disc brake rearend from an LTD on semi-elliptic springs ( ex-Customline) , front suspension is XJ 6 Jag......so it's got all the little luxuries of a modern car ,power steering boulevard ride and good handling , 4 wheel disc brakes ,heater/demister , 2 speed wipers/washers , inertia reel seatbelts,etc,etc.....all in a factory stock appearing '46 Ford body.... ....other car in the background is a rare'46 Chevy Sedan Delivery.....just getting a start on this one ,it's on Jag suspension front and rear , has a Chev 400 and auto trans..... 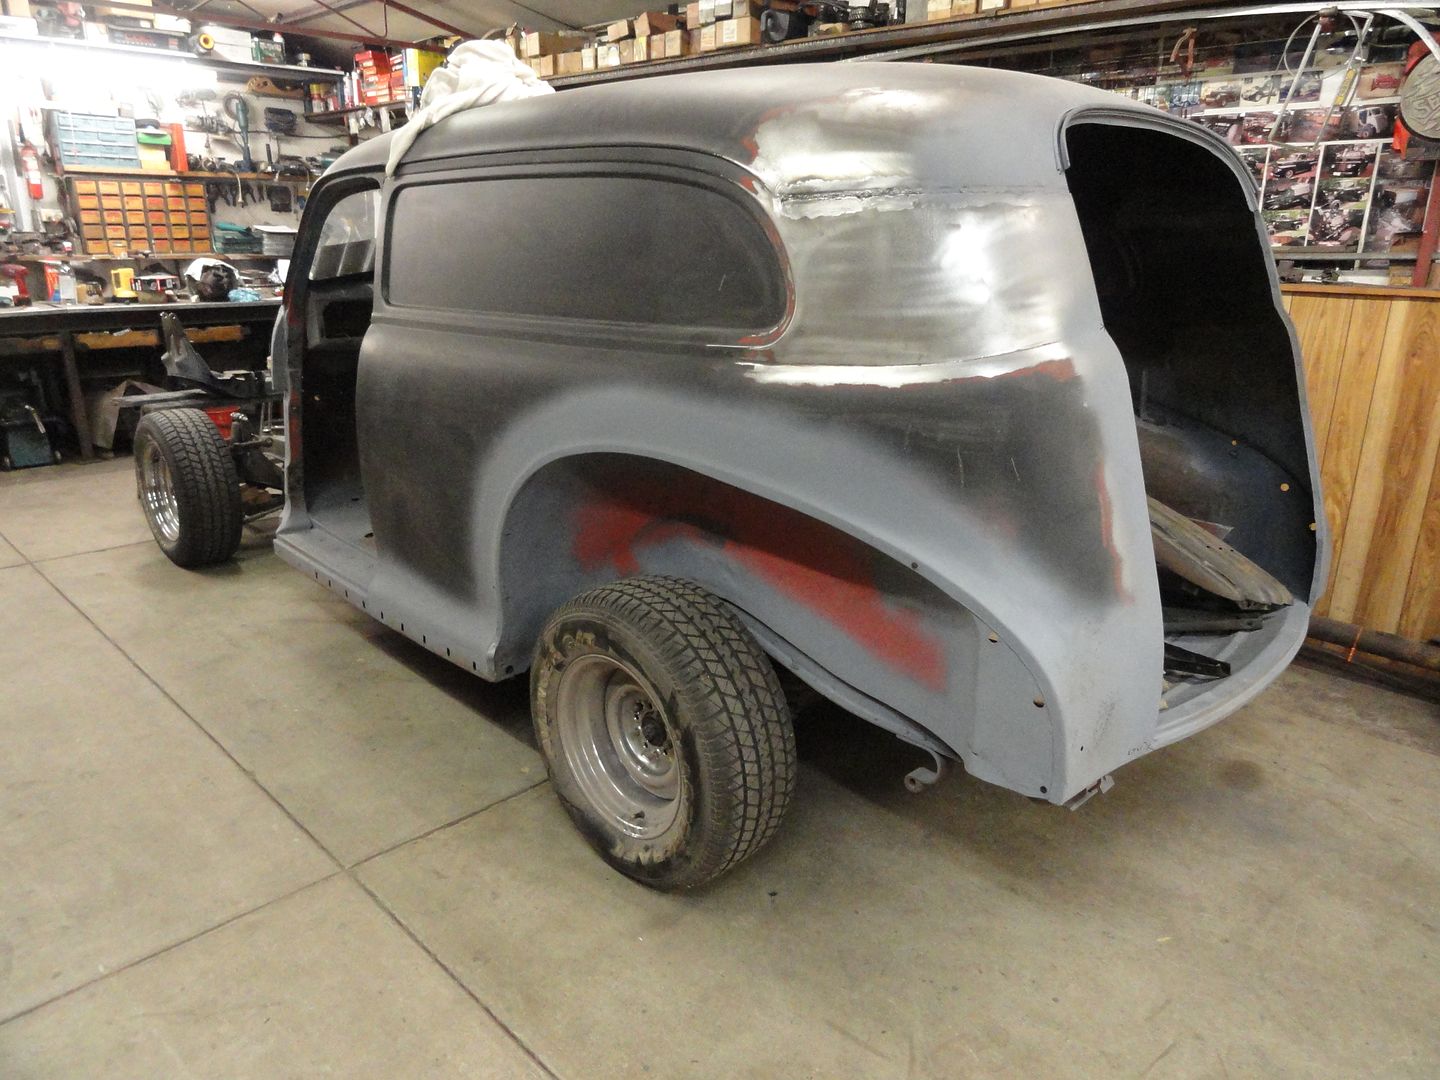 ....and at night we've been back in the workshop assembling more bits.... 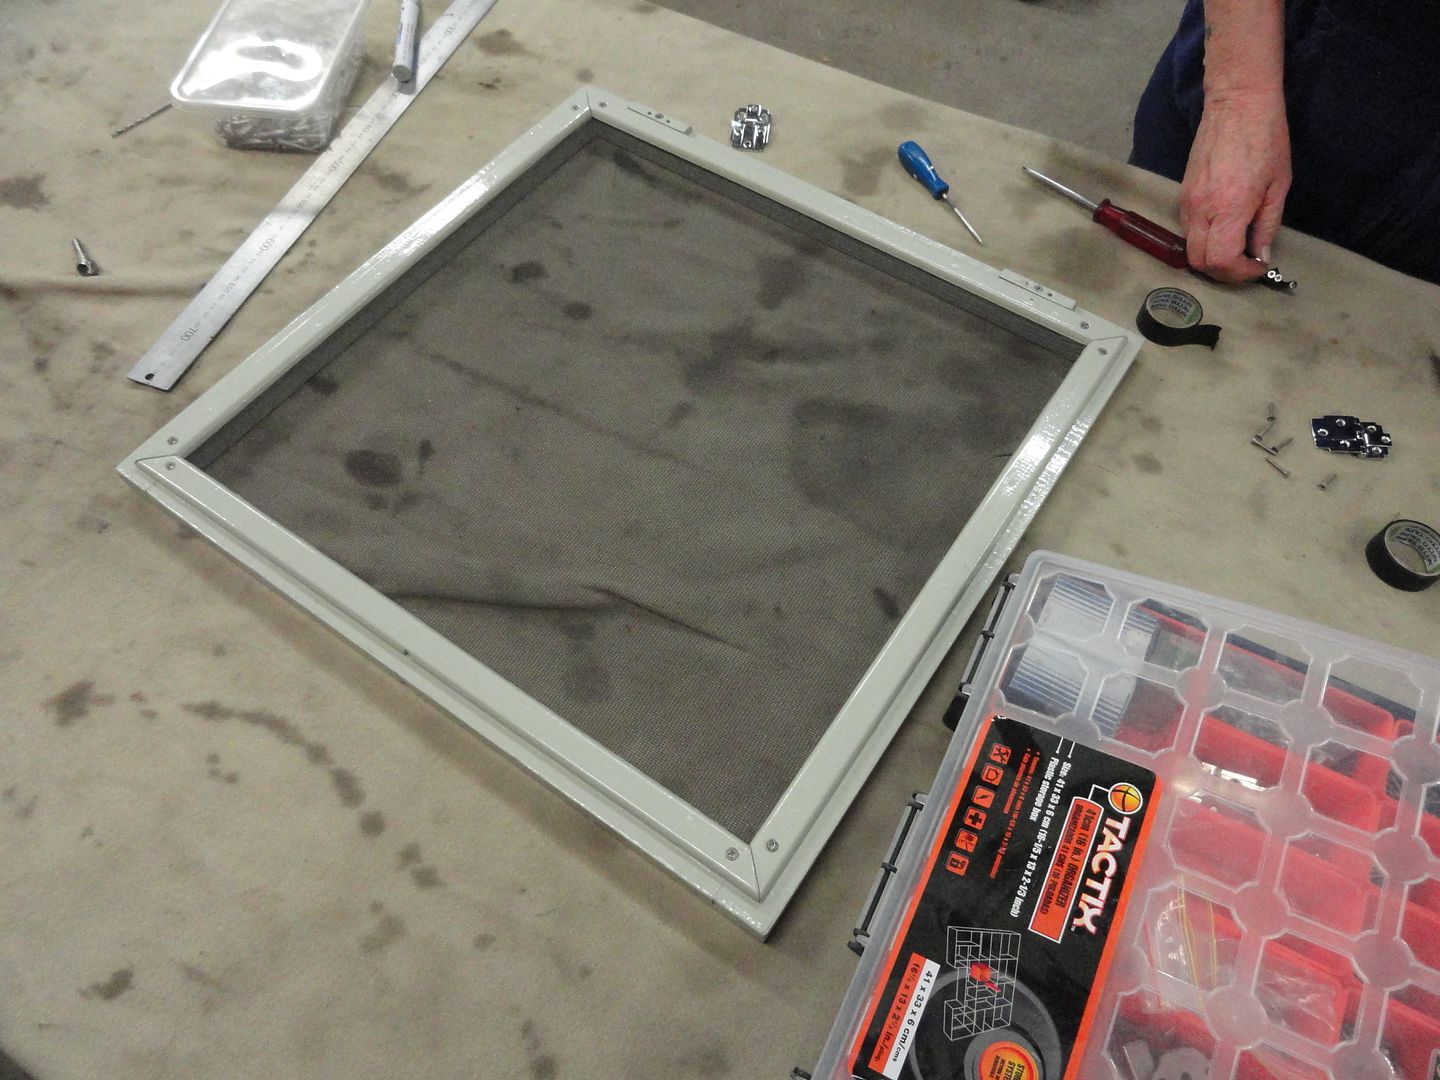 ....and the "Boss" has been supervising.... ;D 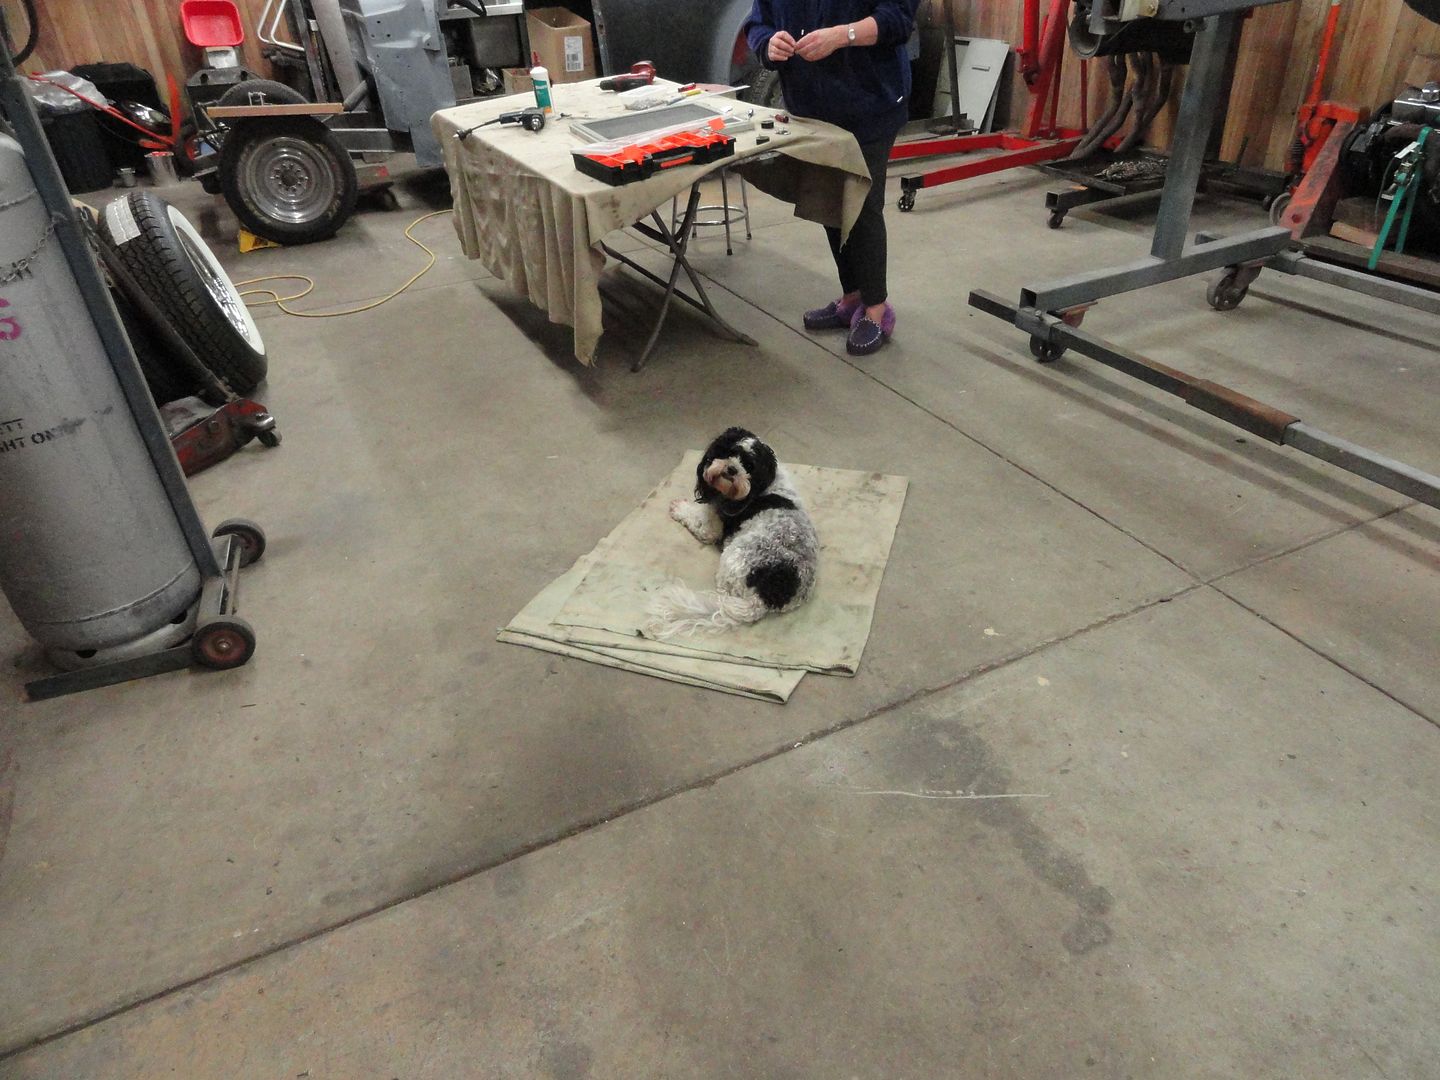 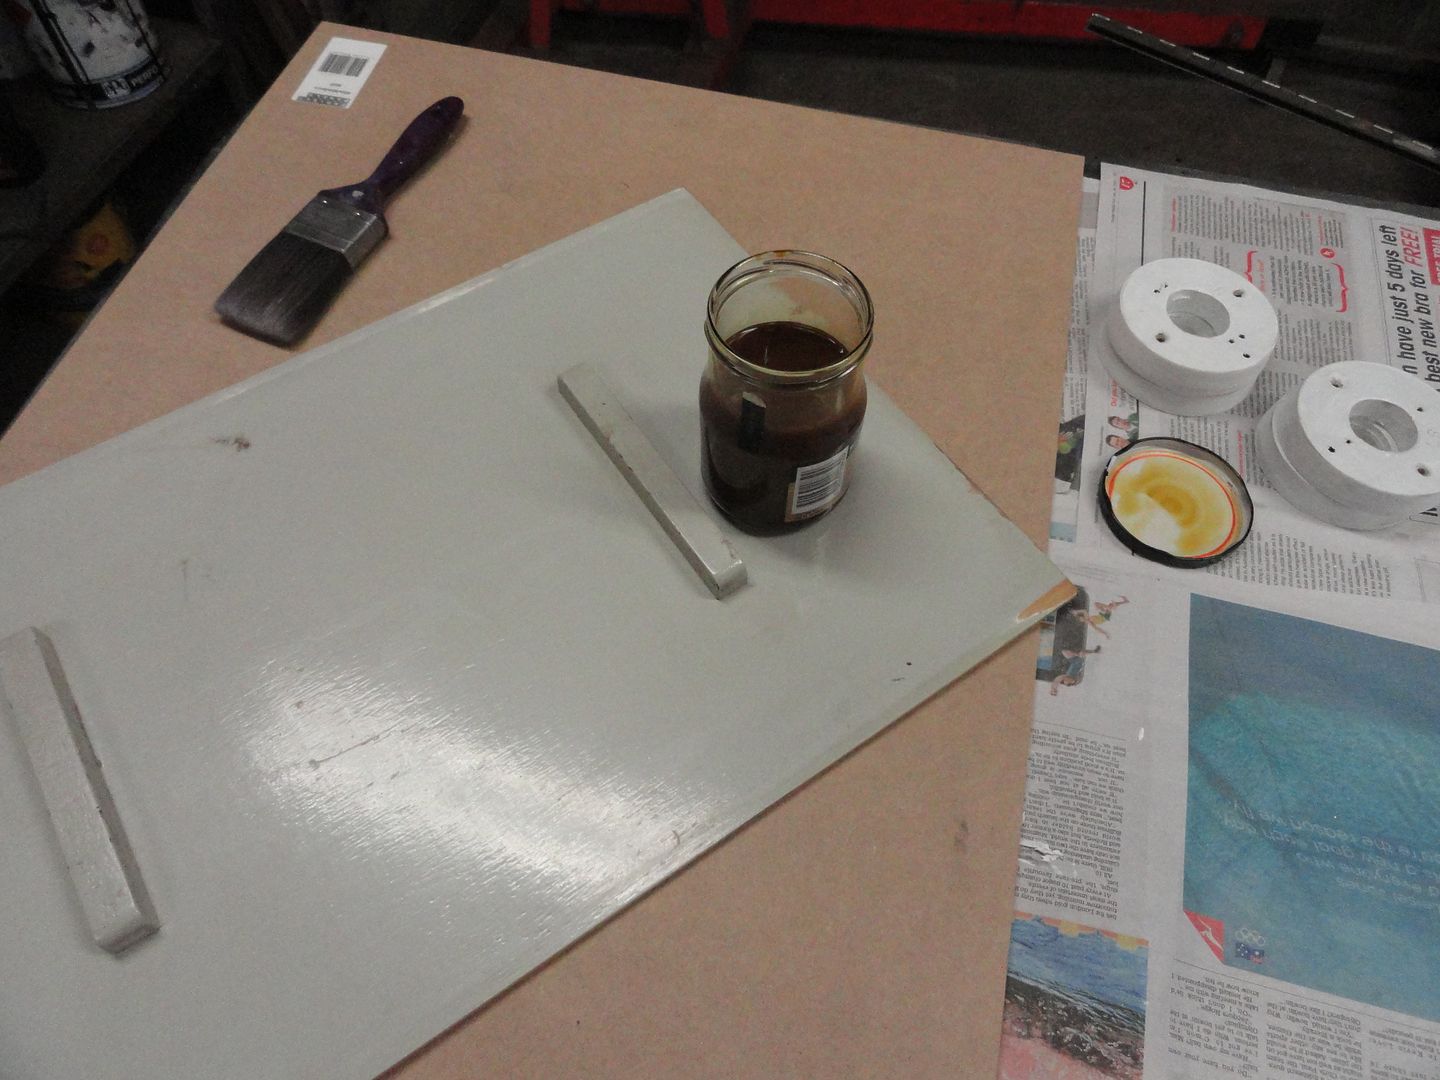 ....murky looking stuff in the jar is Shellac......plan is to use it to seal the MDF sheet below so it can be used to replace the sliding panel out of the side door in the van......supposed to be the go...we'll see! 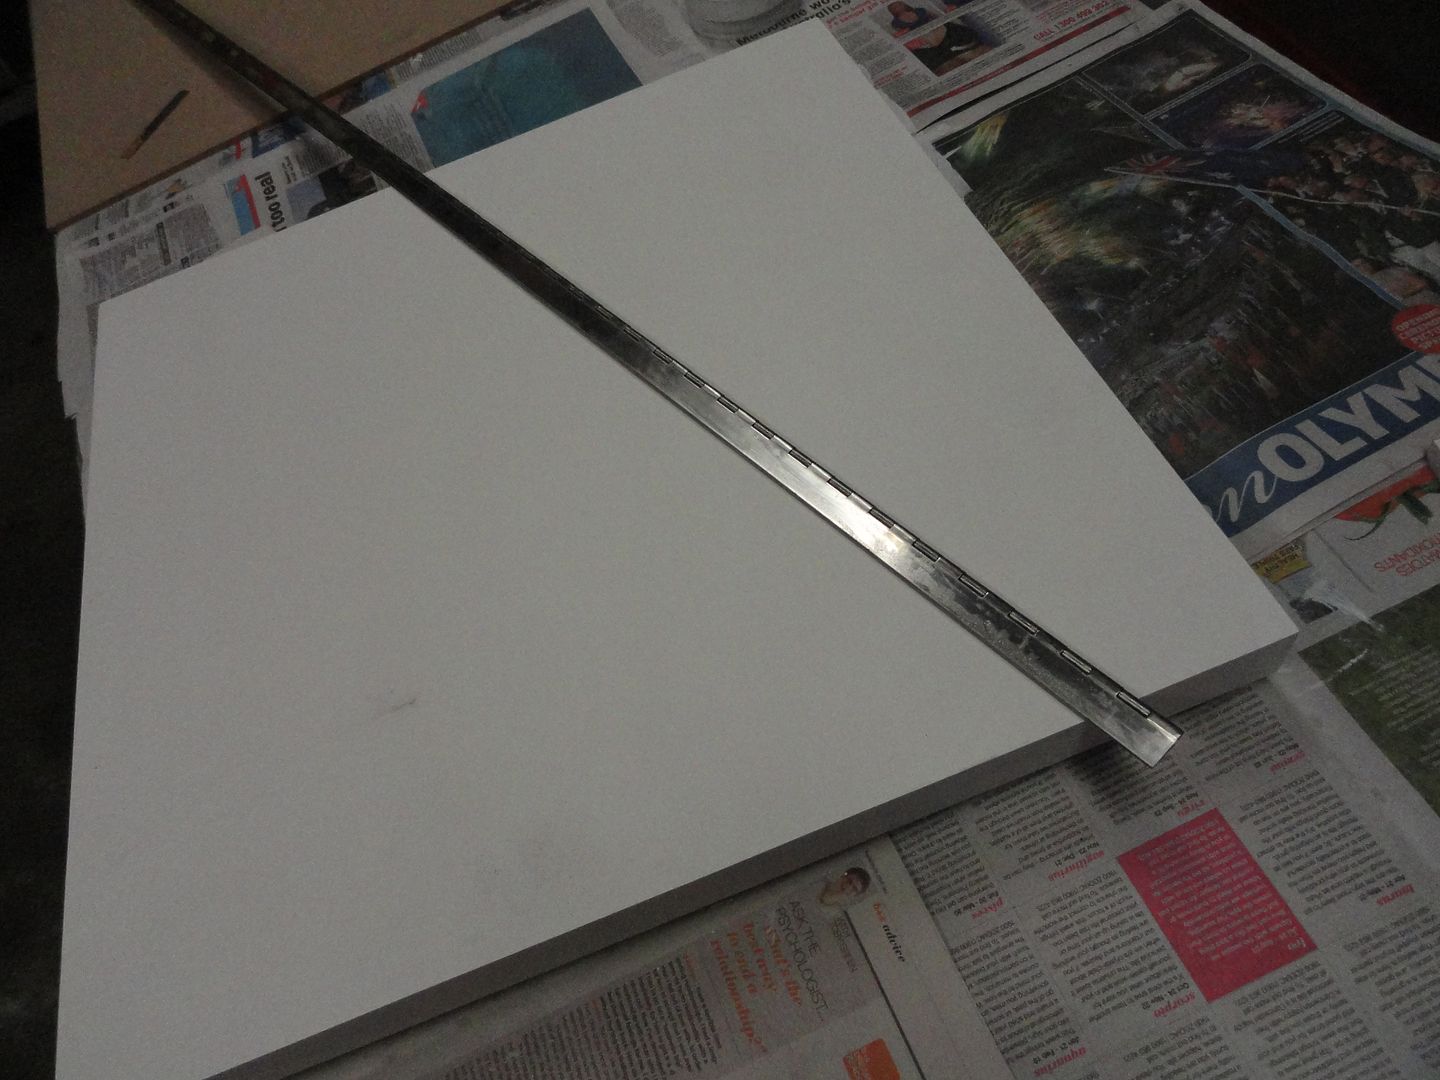 ....roof hatch is primed and ready for colour , ended up buying a length of stainless piano hinge to replace the wimpy little hinges that it had before, so I just have to cut a rebate for it and then it's done..... ....back to non van stuff.....  ...Kris found these today , sent her out for some lunch, came back with more Woodie stuff..... ....and some more non van content..... Reddo and Dennis will like it even if no-one else does.....  ....couple of out-takes from the shoot.....   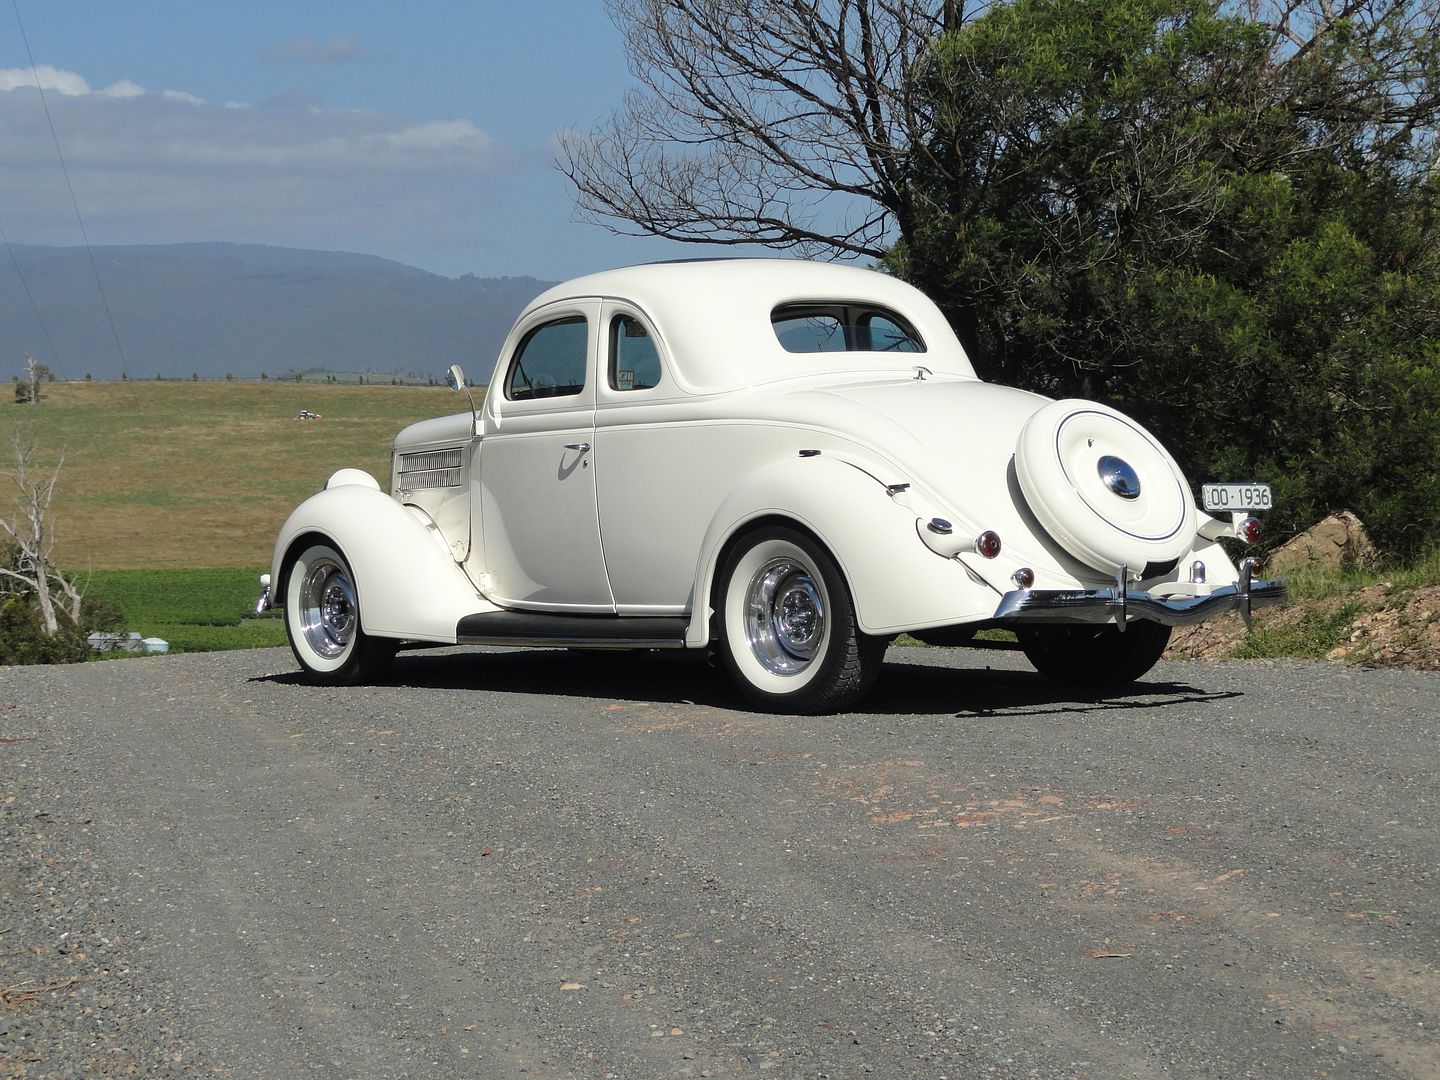 ....that's a bit of what's been going on around here....gets busy sometimes ;D......see ya....Colin and Kris.... |
|
|
|
Post by humpyboy on Aug 17, 2012 22:41:27 GMT 10
Looking real nice Col, a credit to you as always, the van that is |
|
Jellybean
Full Member
Any weekend away is a good weekend!!!
Posts: 392
|
Post by Jellybean on Aug 17, 2012 22:42:28 GMT 10
I like all the work in progress photos. I love checking out the non van stuff too.
A caravan is nothing without a tow car!
Cheers John
|
|
|
|
Post by kaybee on Aug 25, 2012 19:10:02 GMT 10
Thanks Gents for your comments, it good to know there's a couple of folks watching ;D ;D..... ....so , over the last week or so we finished up the last of the painting, it's now wearing 3 topcoats of colour. 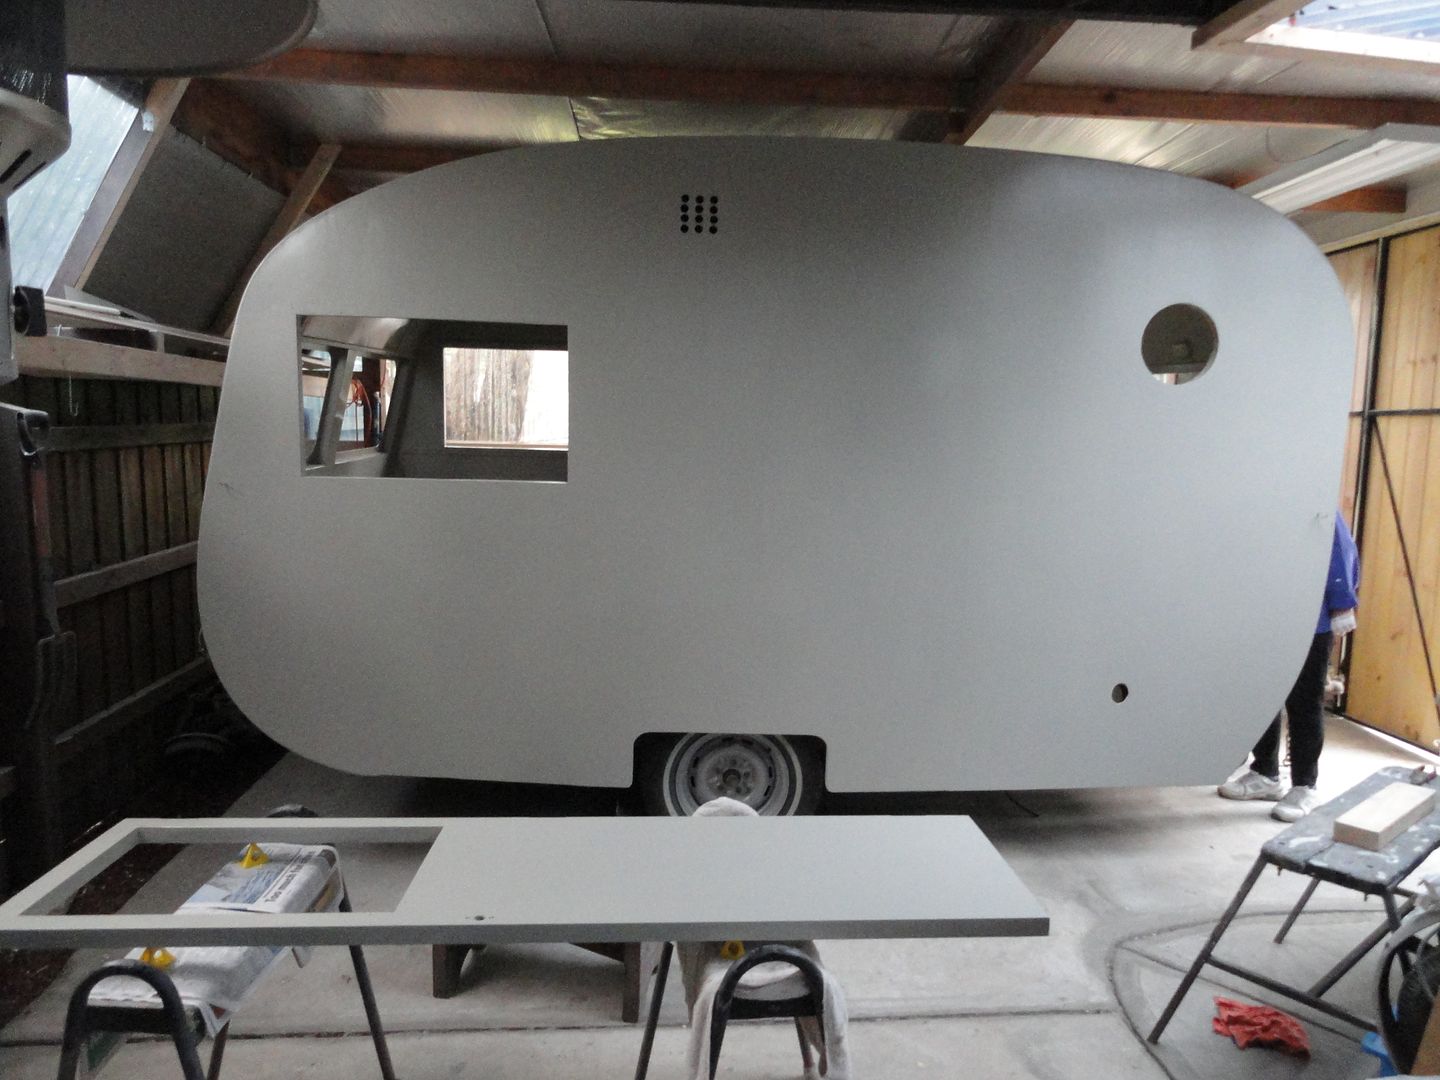 ....in this shot we've just laid the paint on the door 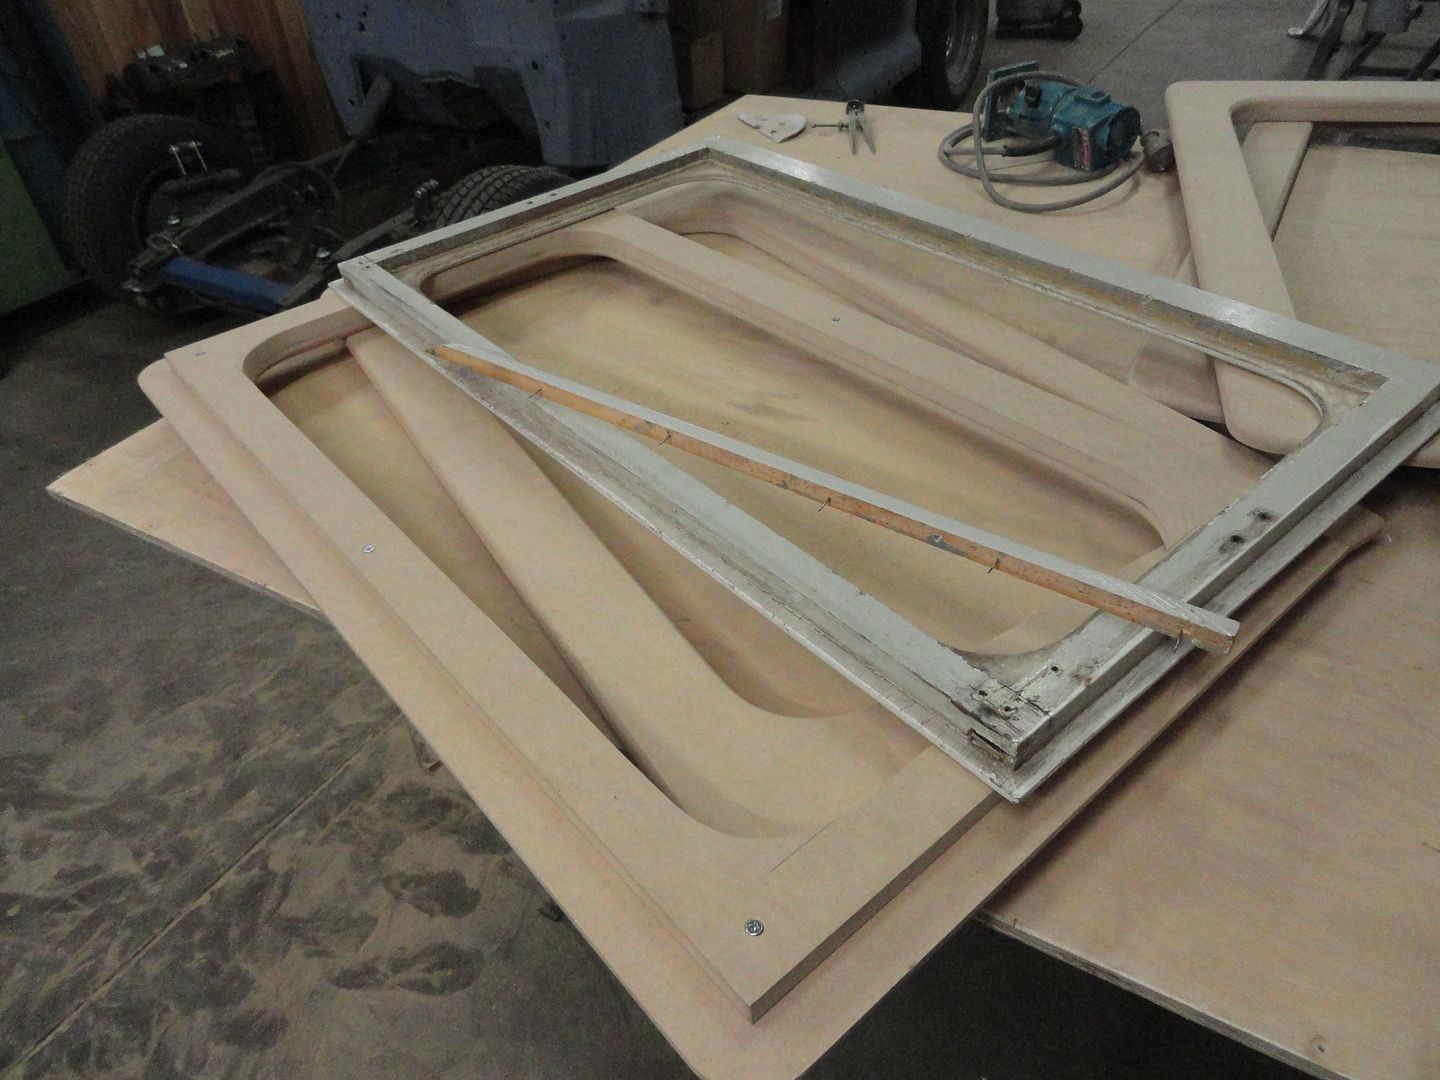 .....decided the old window frames were a bit past their best ,so we sliced up some sheet MDF and cut new frames with a bit more width so that we could have a radiused edge instead of the sharp corners that it had..... 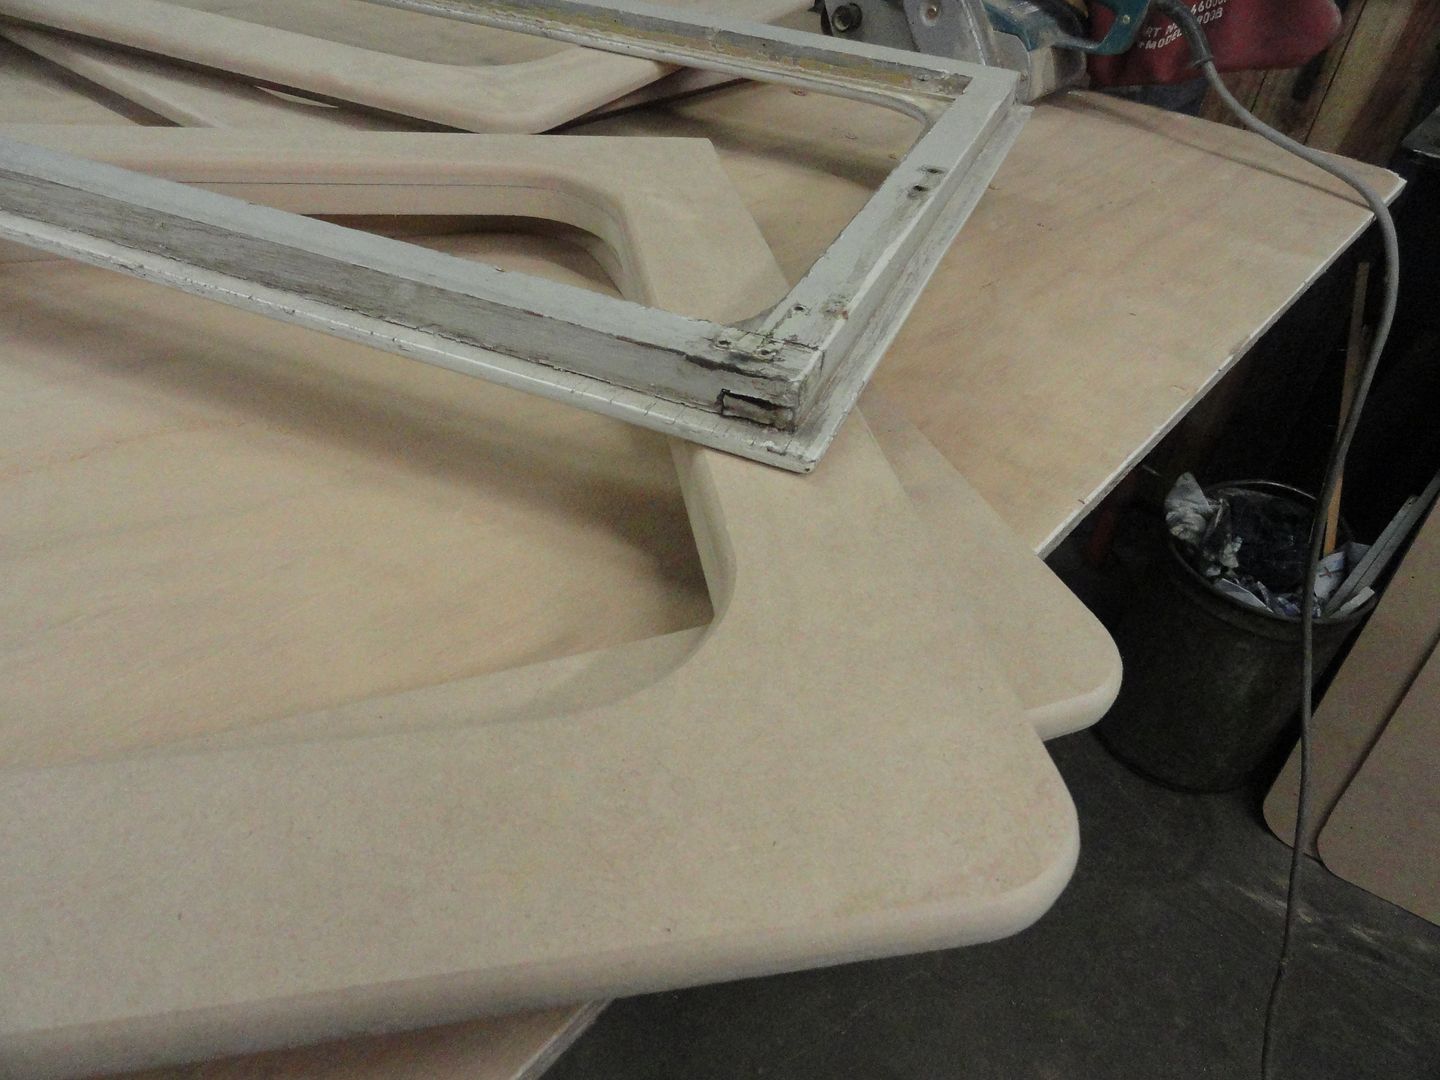 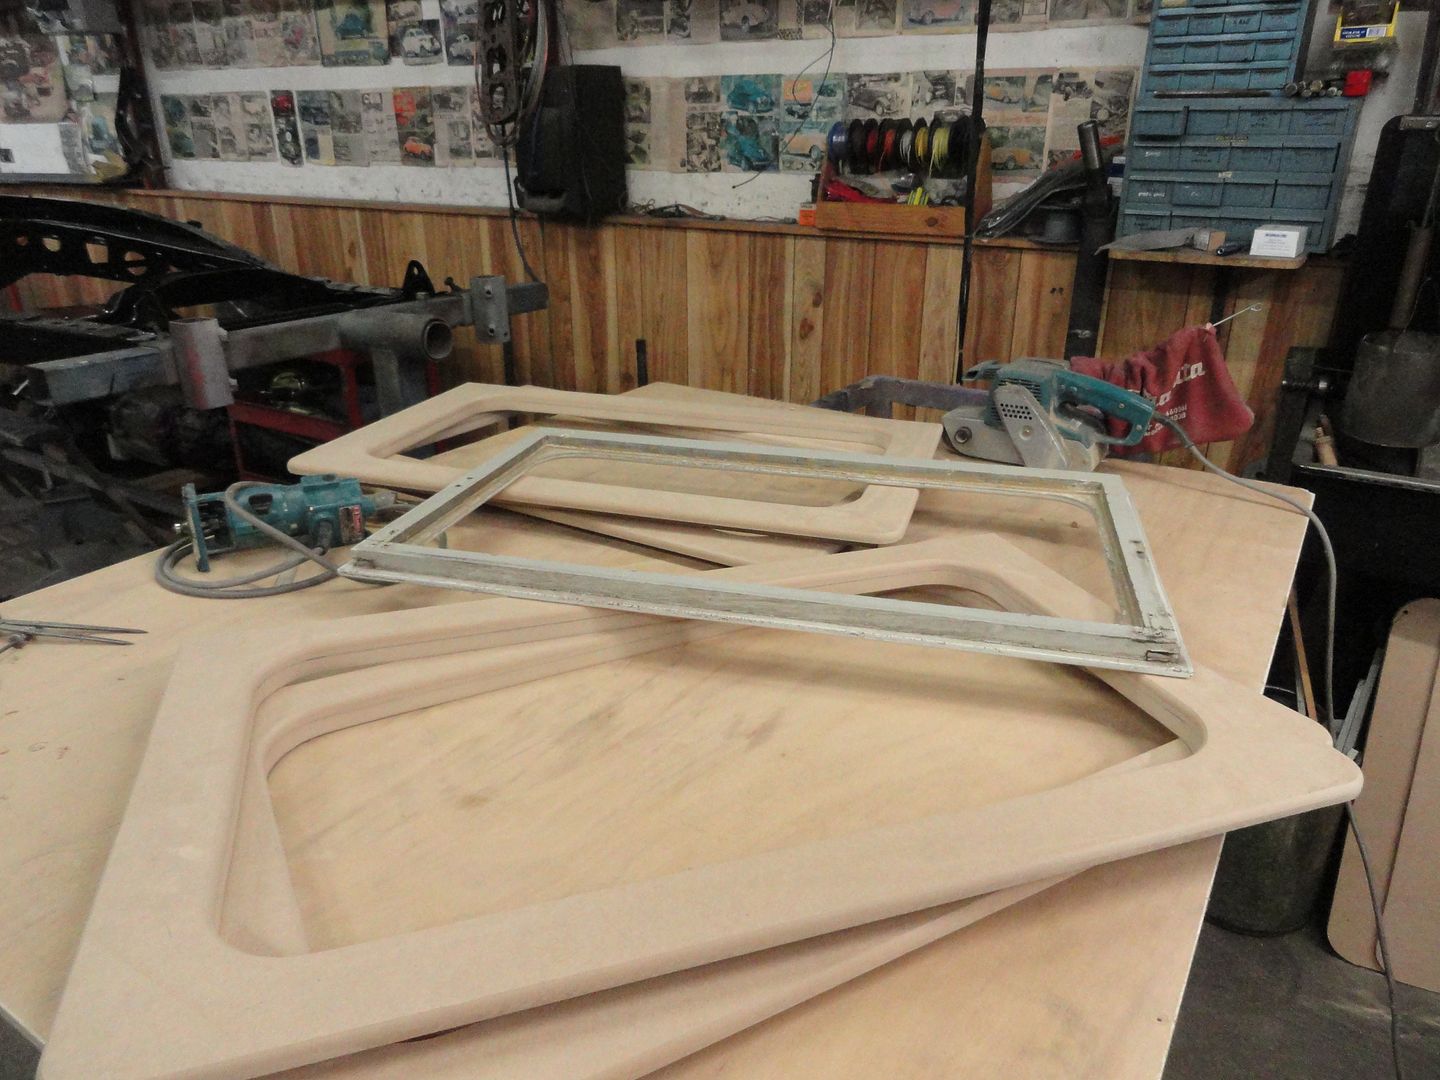 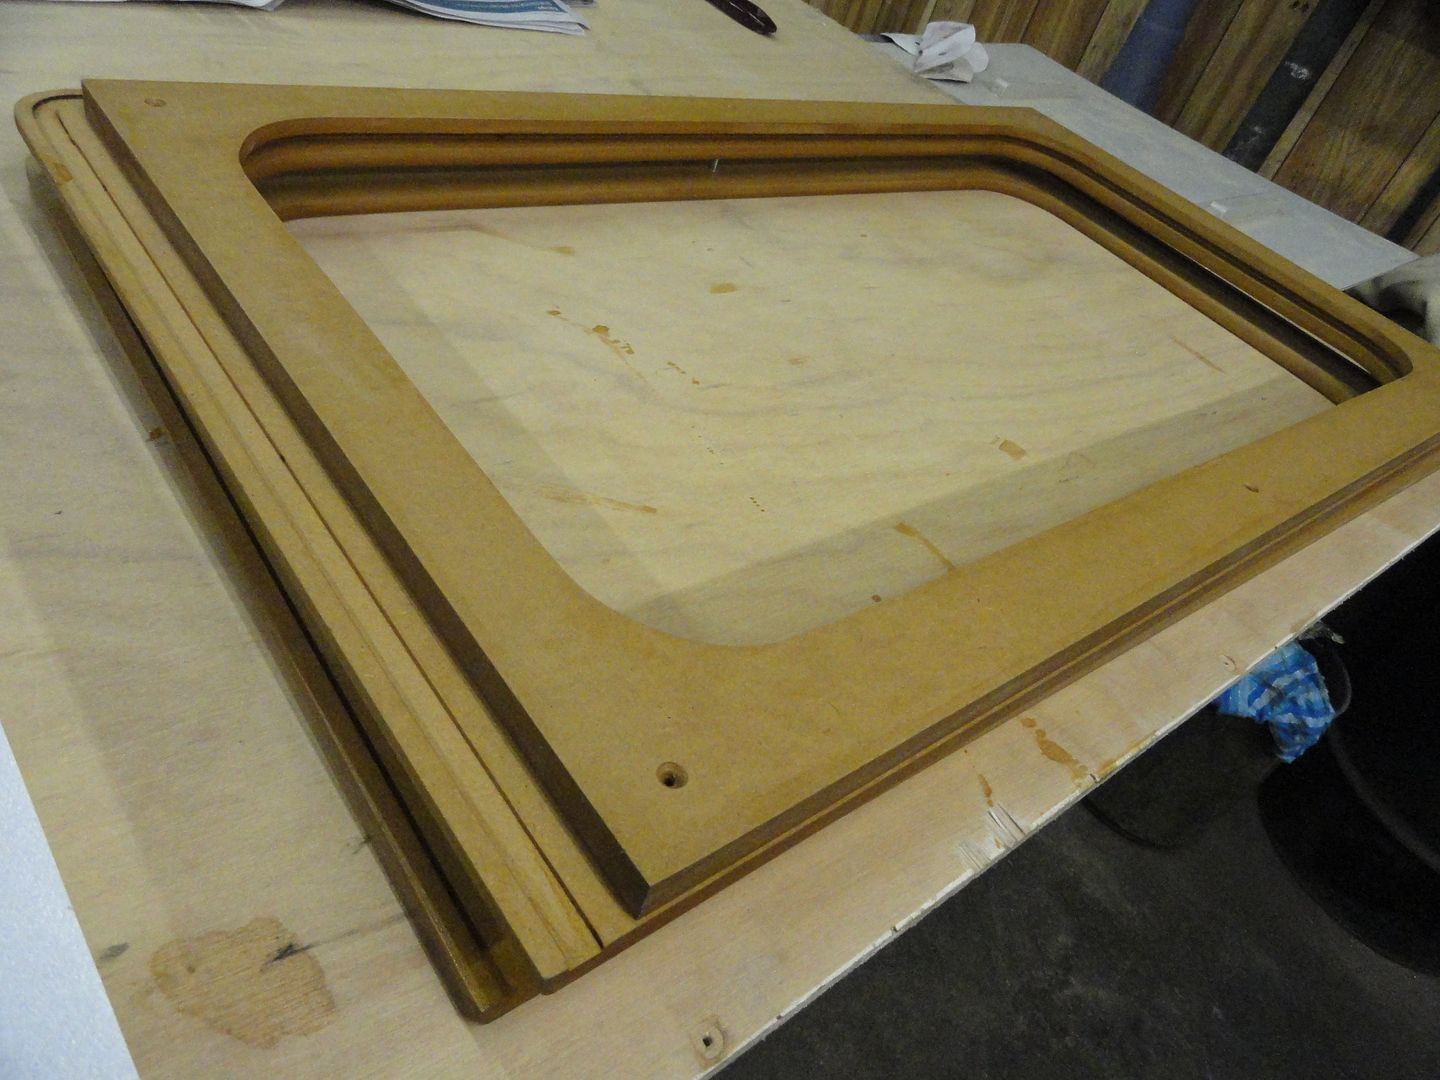 .....routered a recess for an edge seal , and the glass now sits in a recess in the inner frame......then a couple of coats of shellac to seal them prior to undercoating 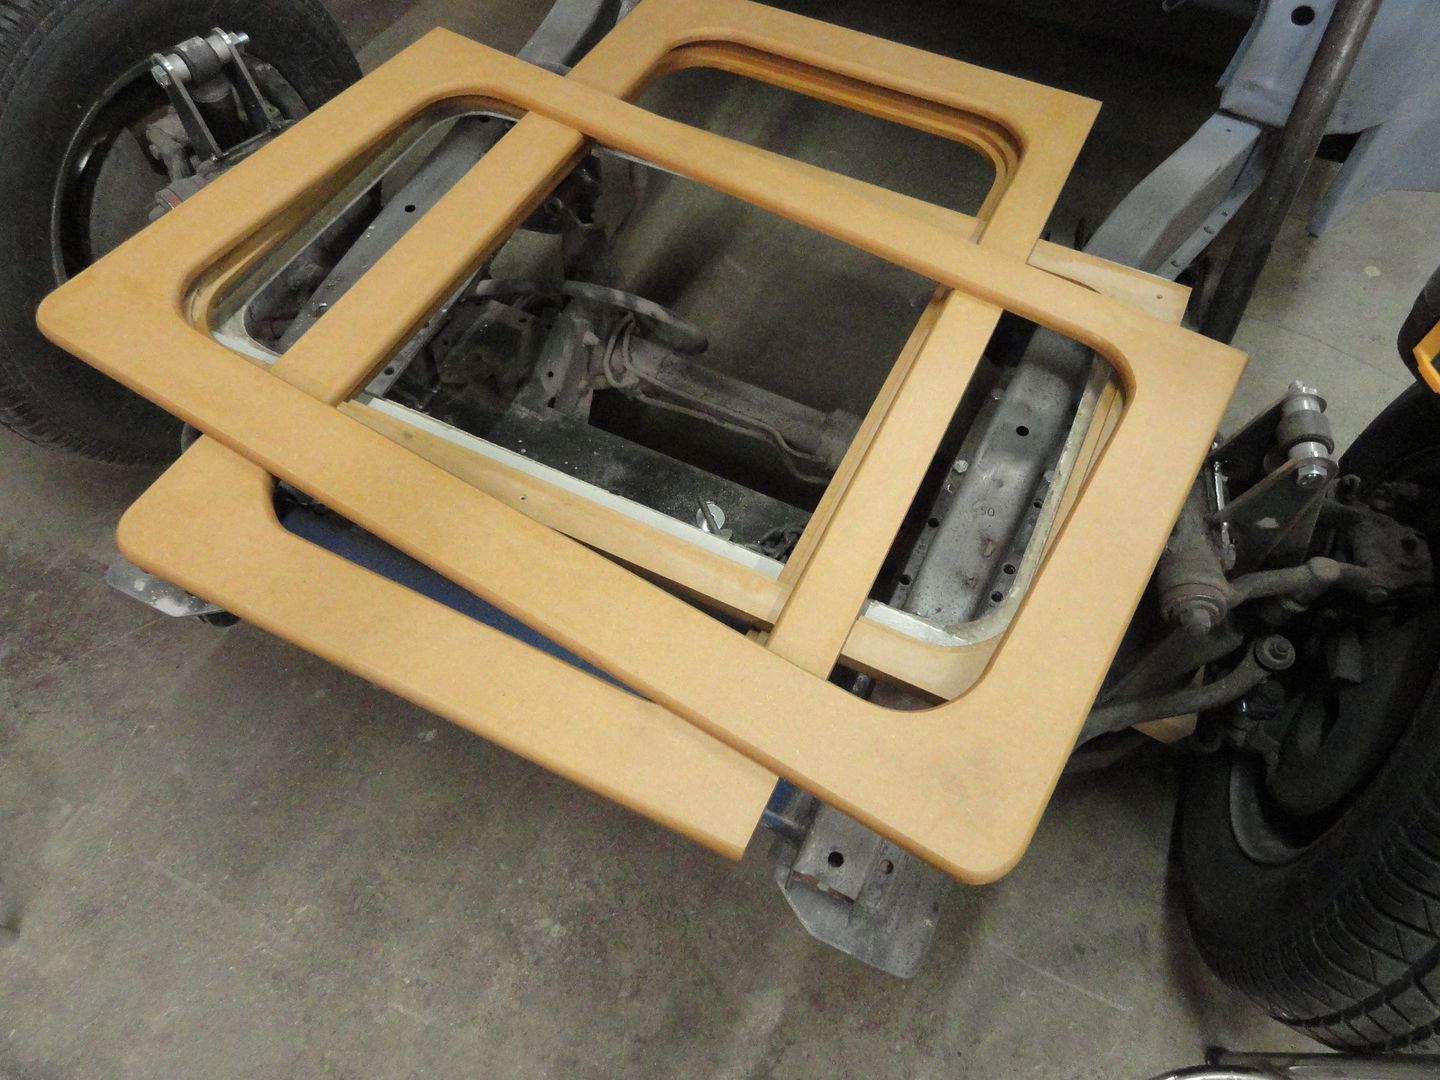 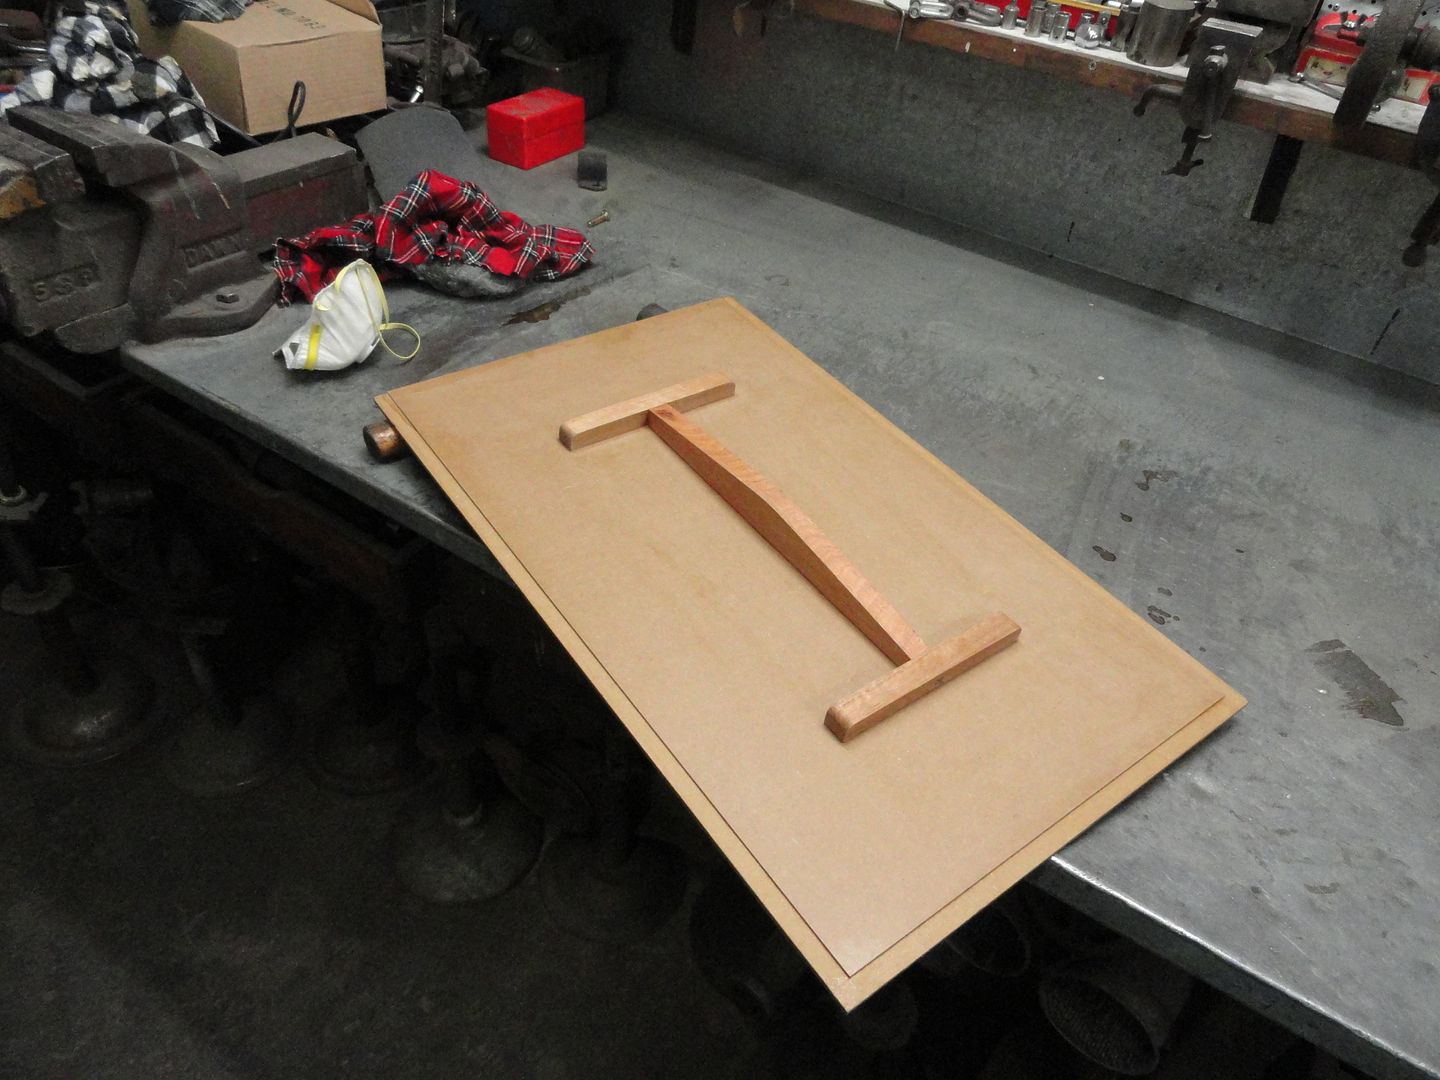 ....also made up a new sliding panel for the side door ,and gave it a serve of the Shellac too..... 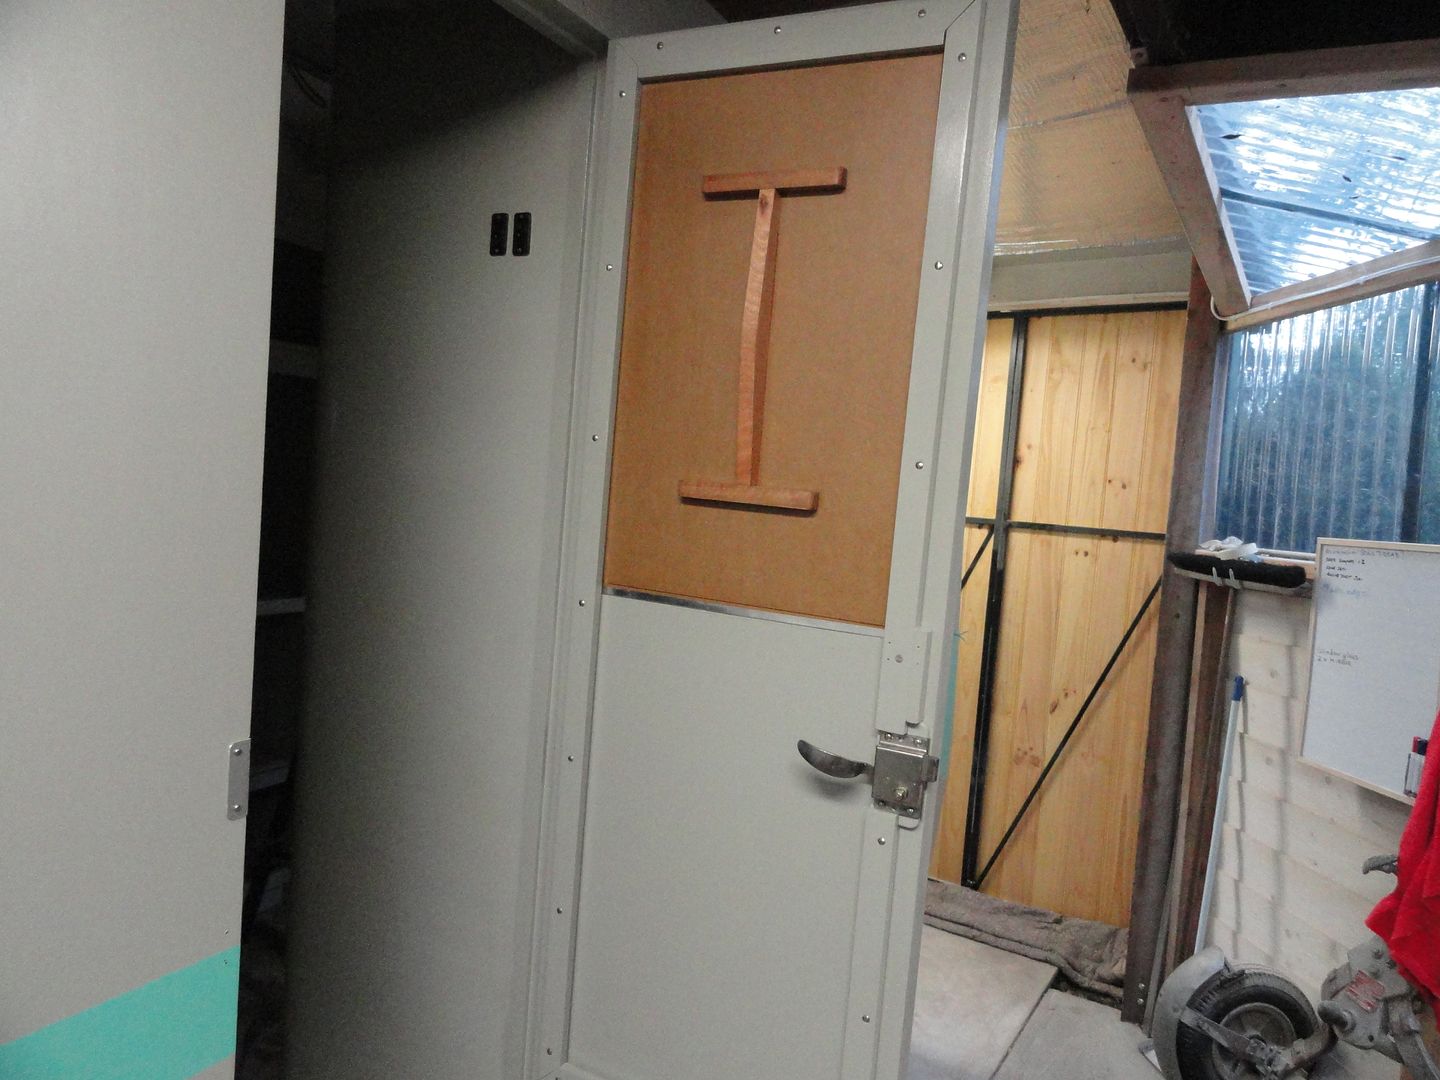 ....also put the door back together and refitted it to the van , had the original hinges Zinc plated and put them back into service again. 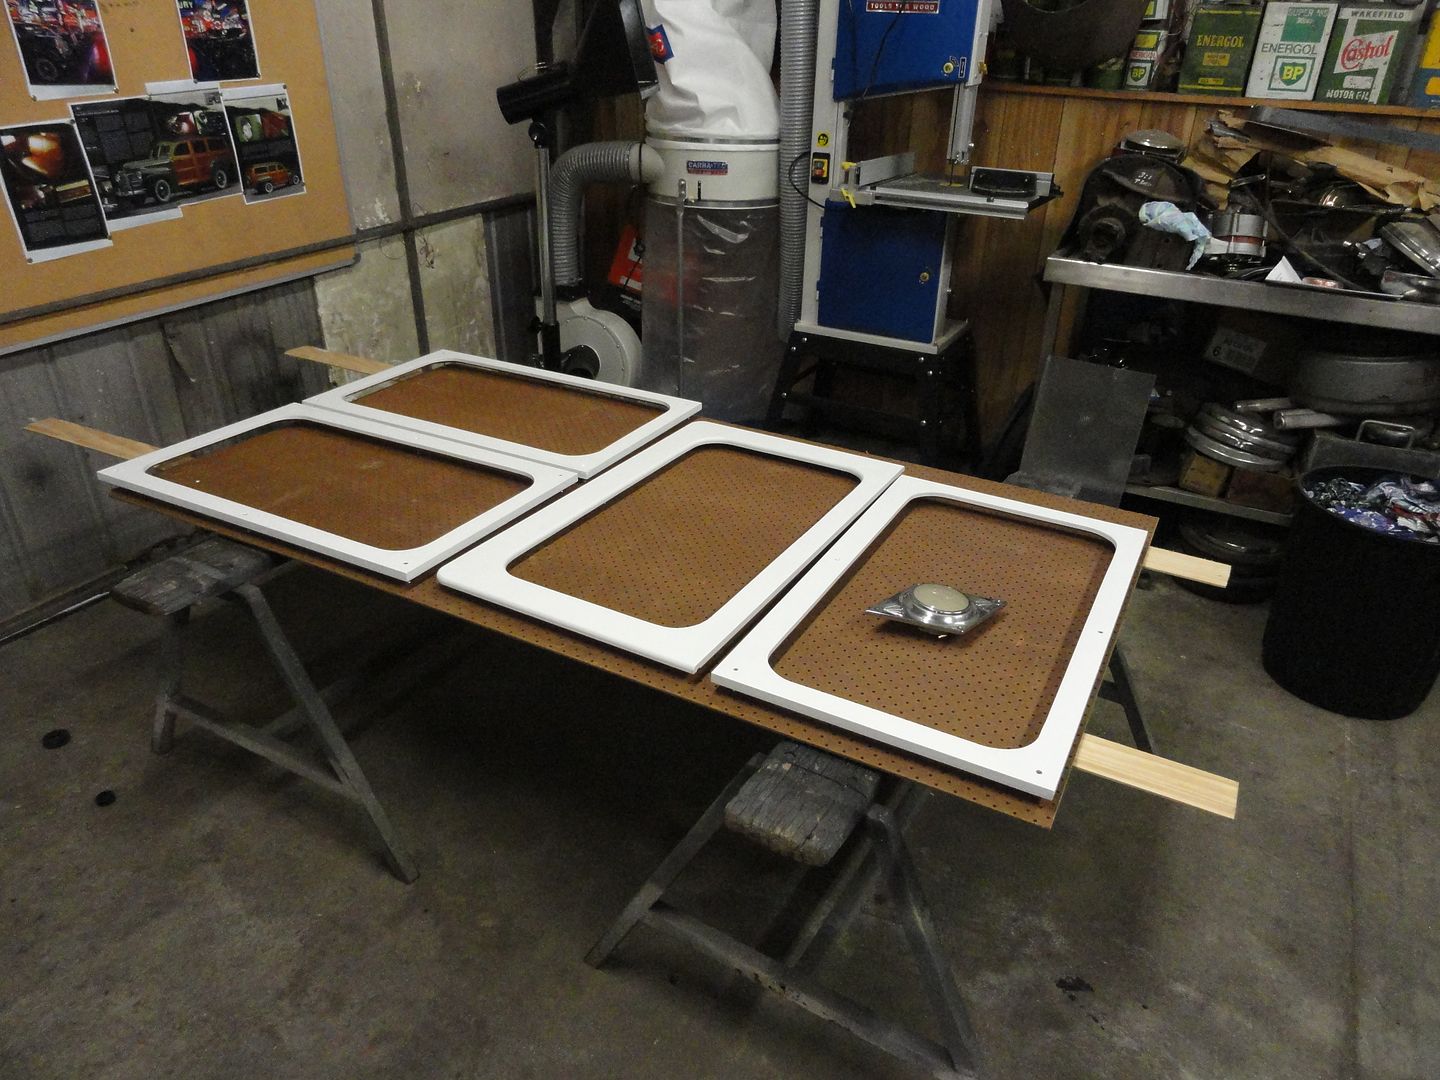 ....some of the window frames with the first of a few primer coats.....little light in the center is a new ( old) bit for our '40s van.... 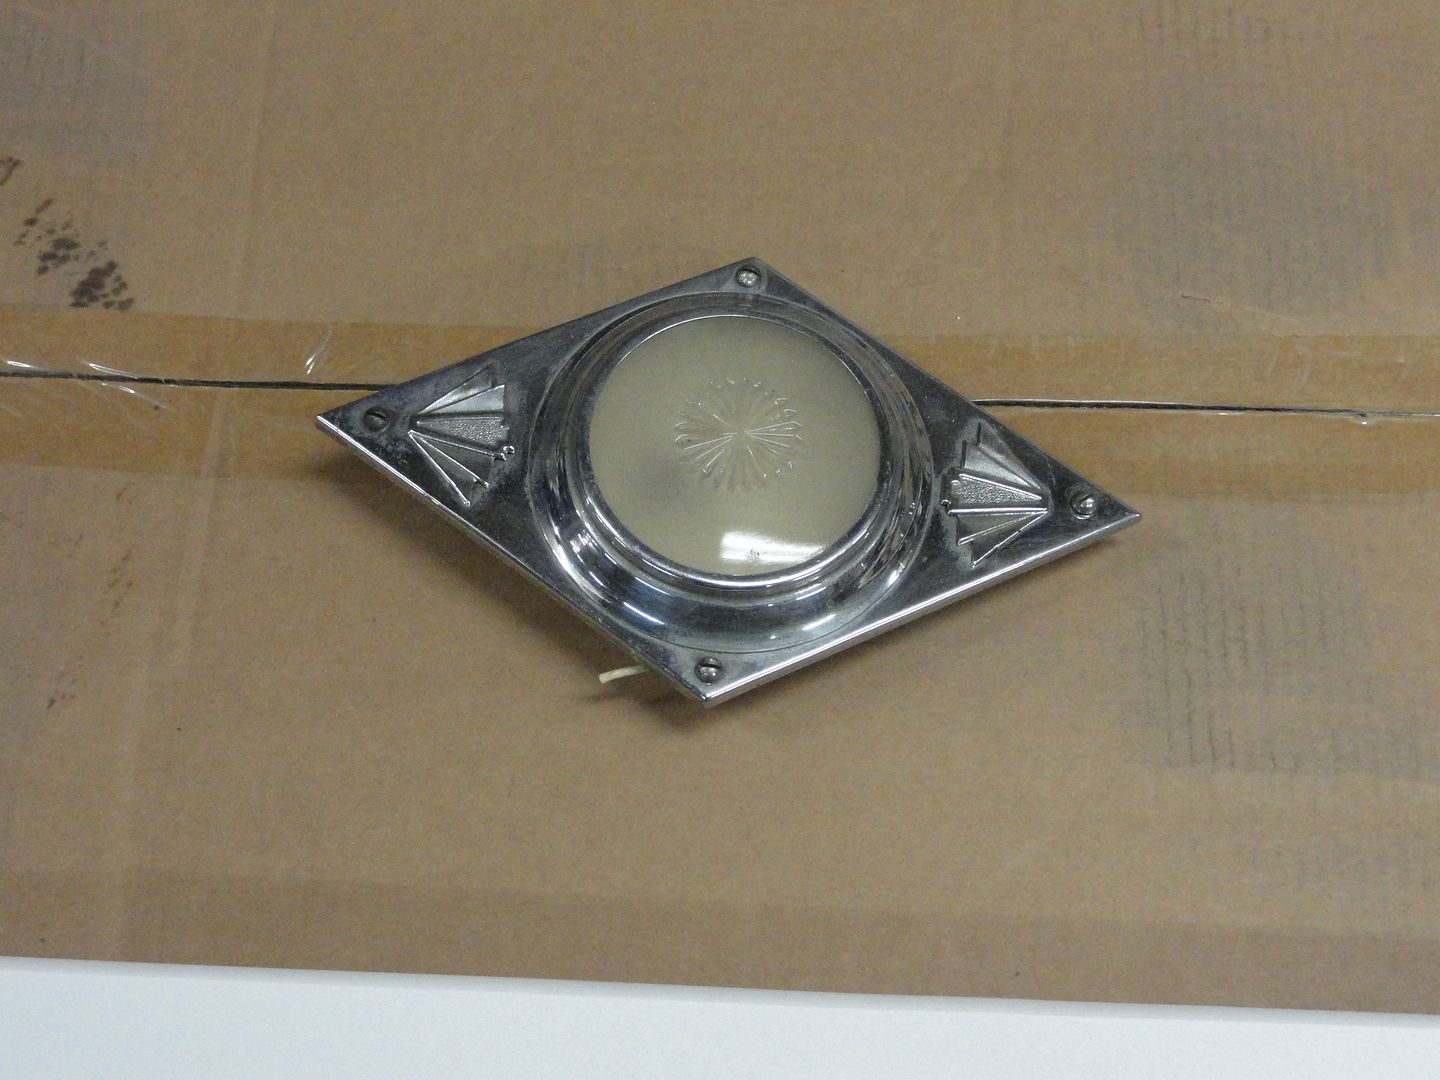 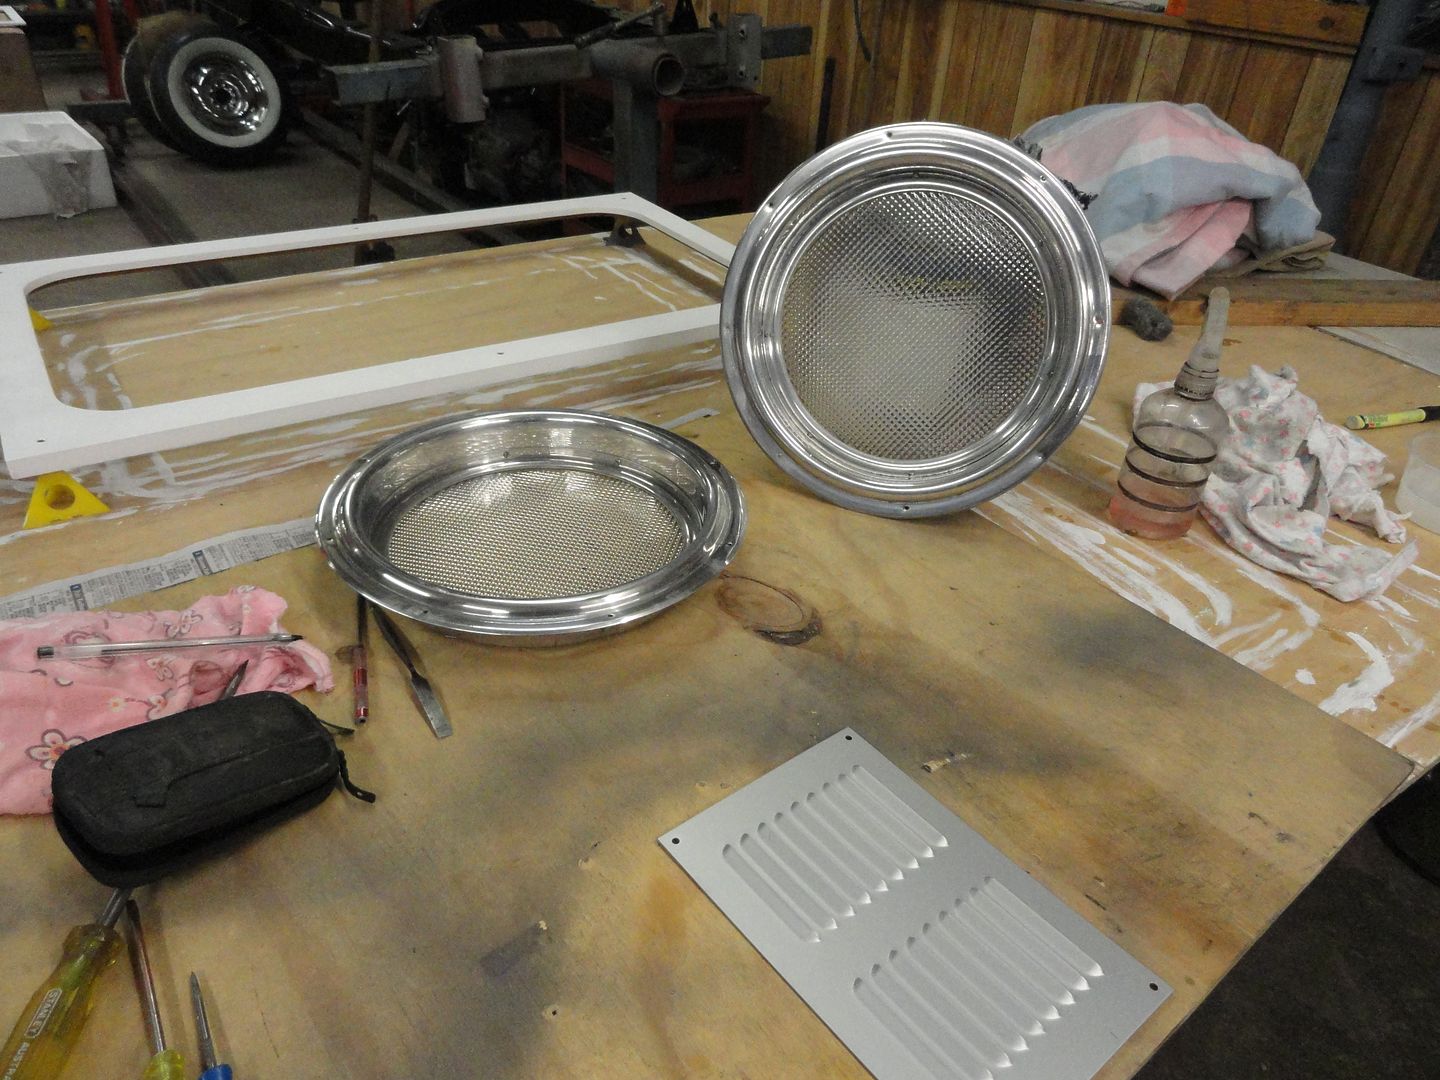 ....re-glazed and assembled the porthole windows......actually it's not glass at all, I cut up the fluoro diffusers we bought for the van shed and used them instead of glass...... 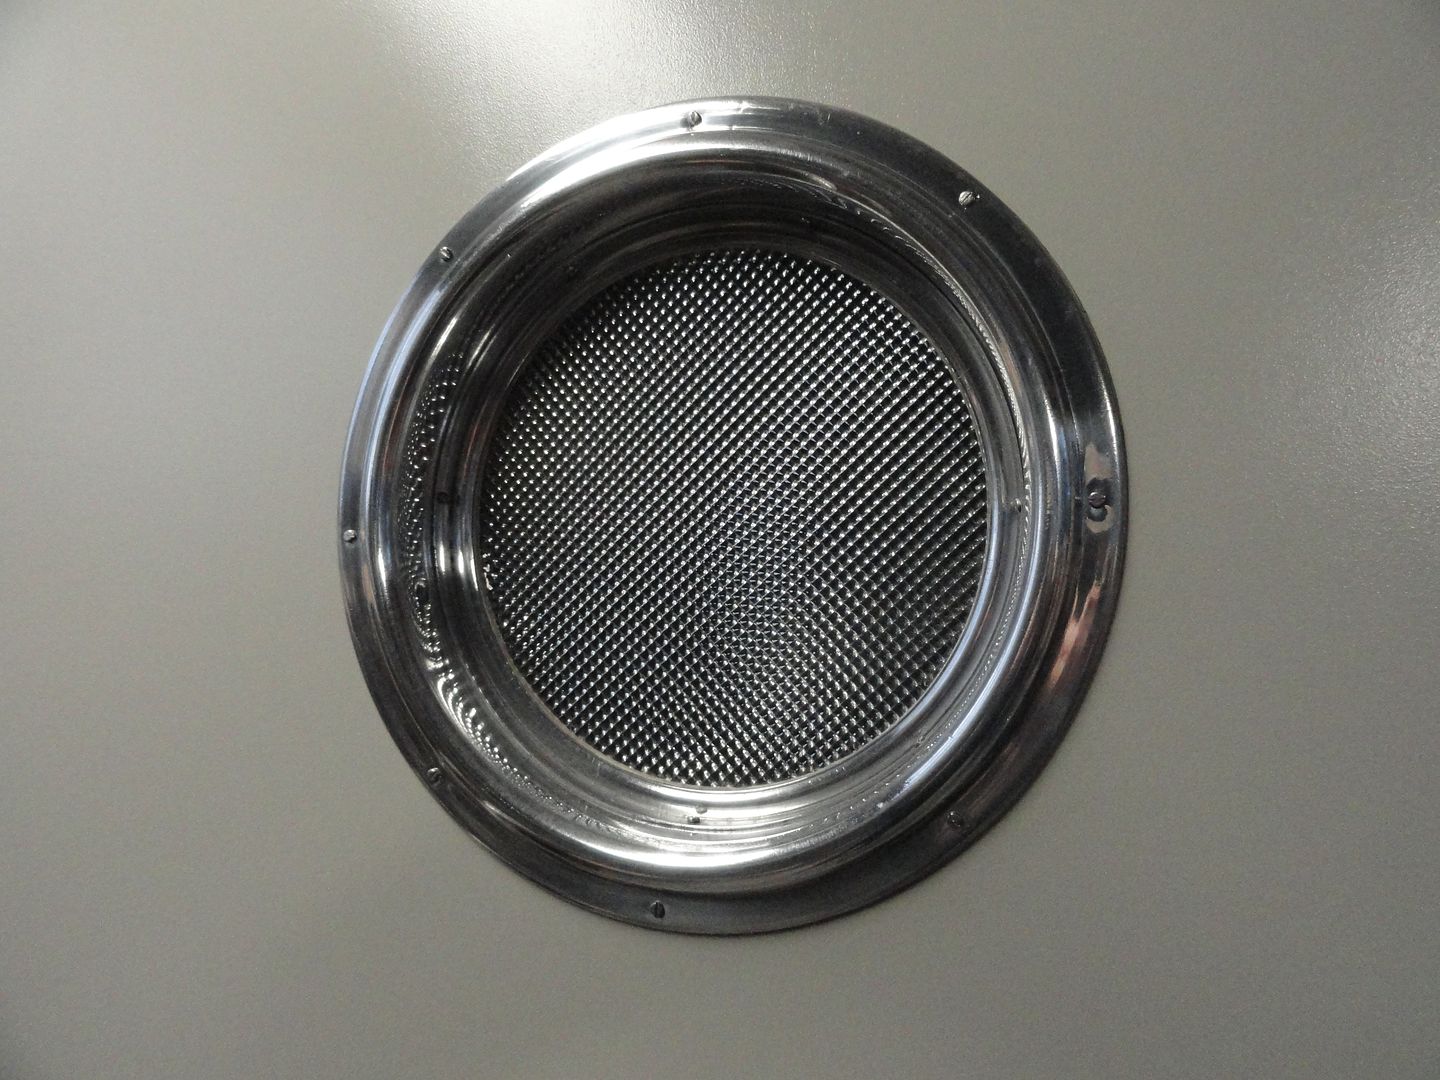 ....and fitted them back in place with a liberal amount of Nonporite sealant....( more slothead screws for Cobber )..... 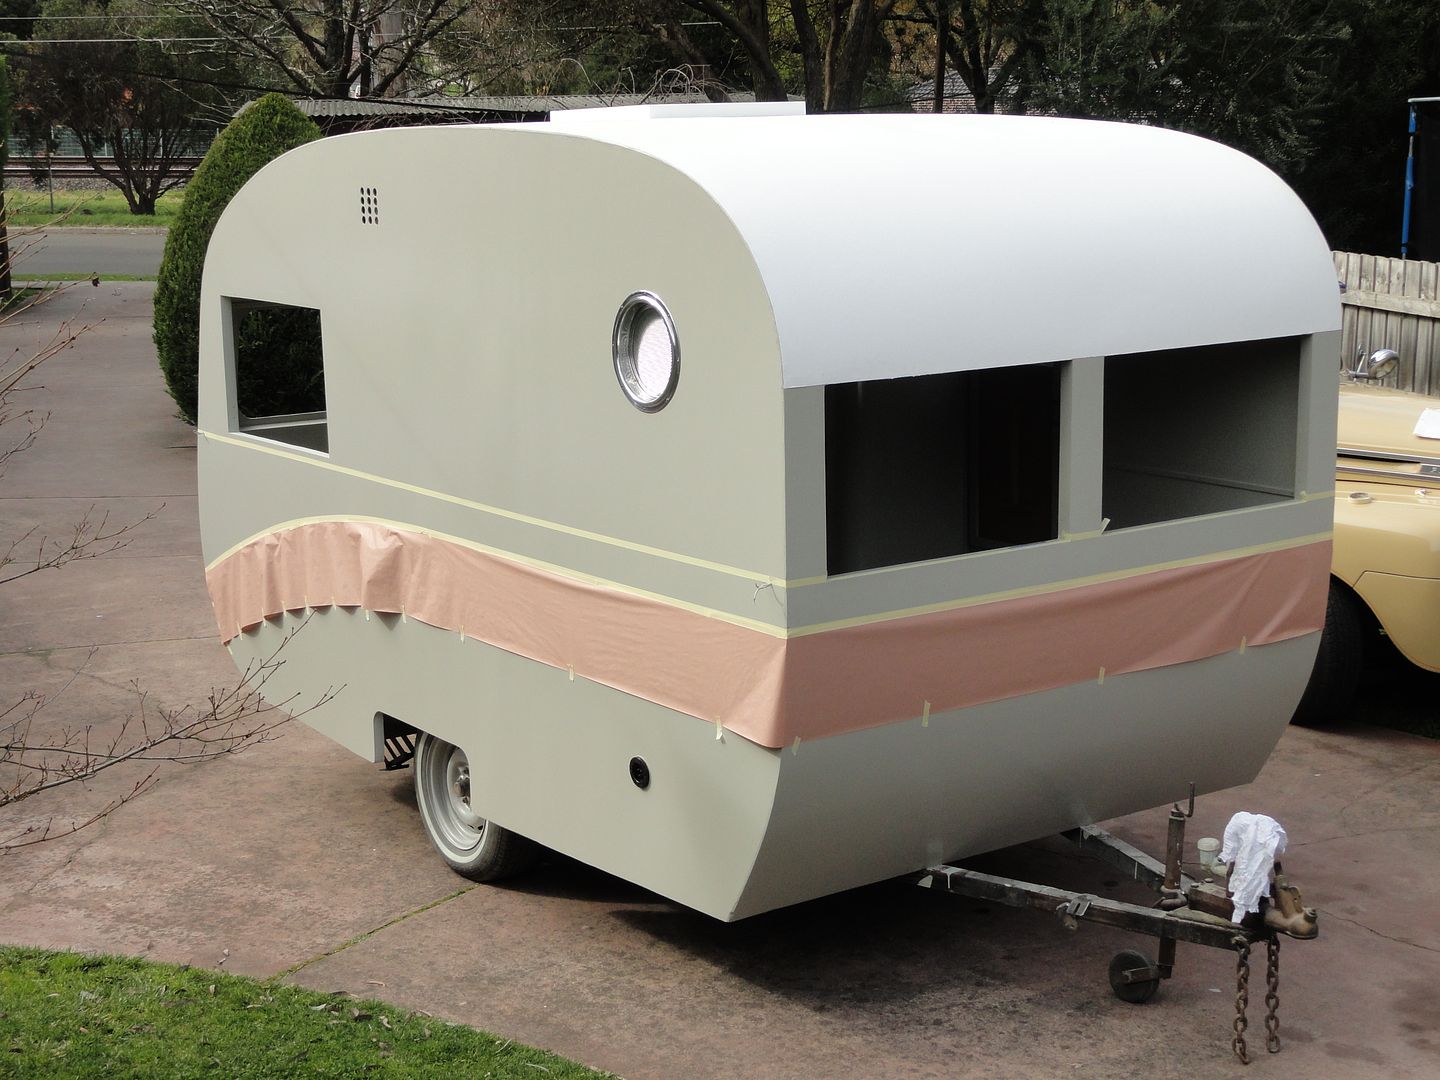 ...dragged it outside this morning and masked up the side flash..... 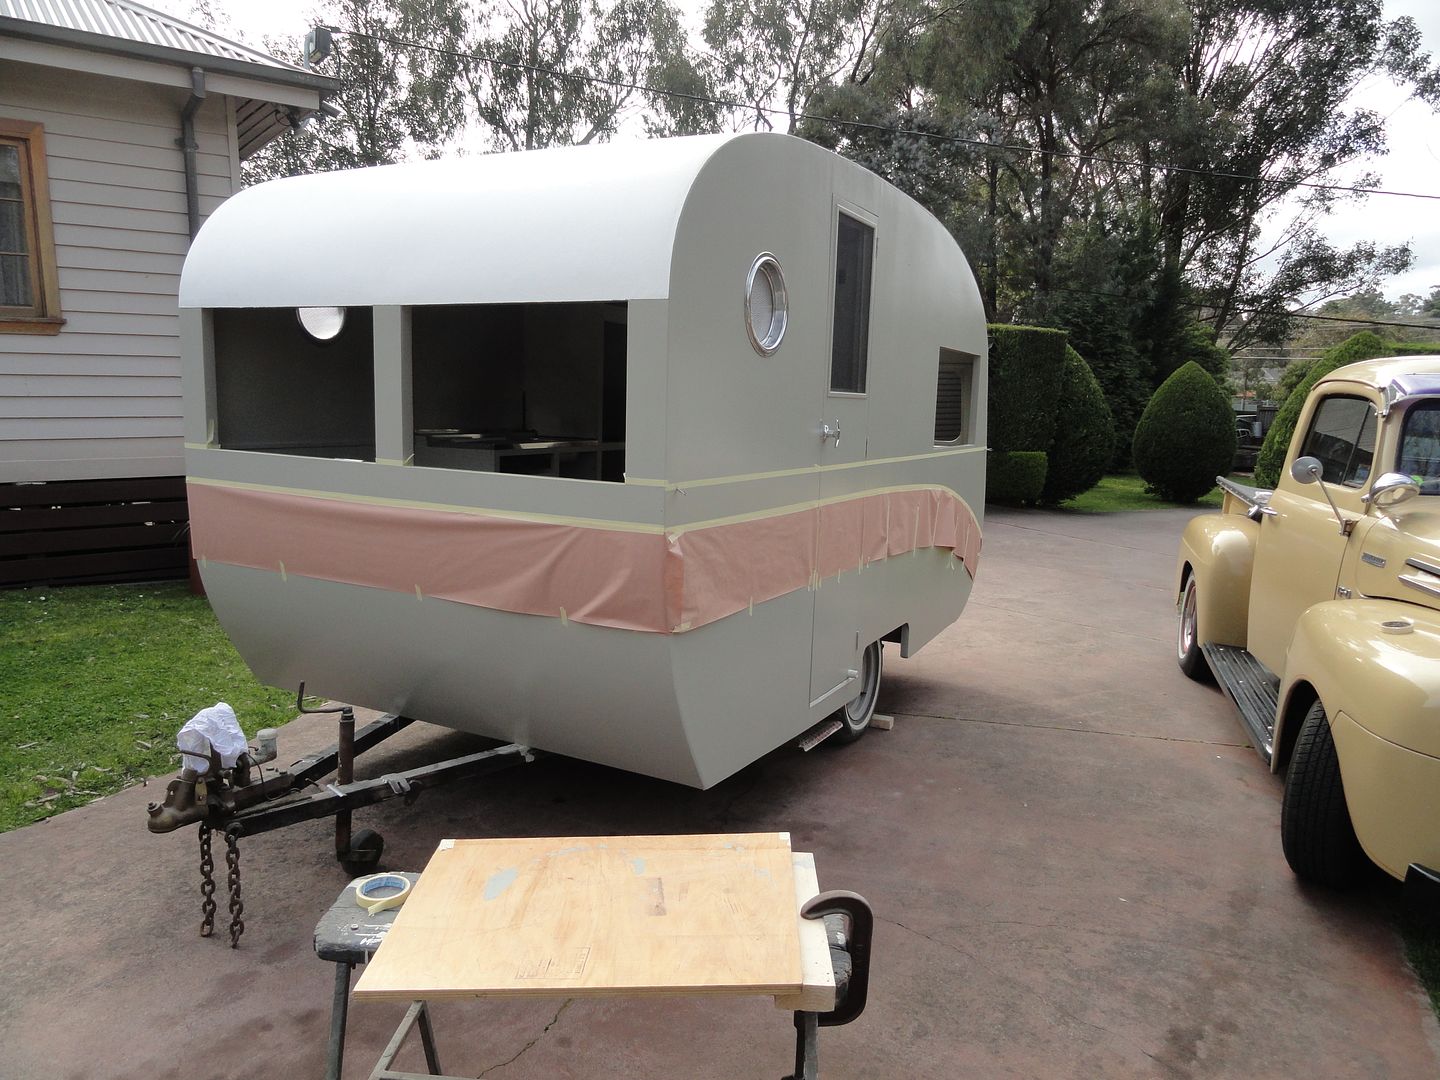 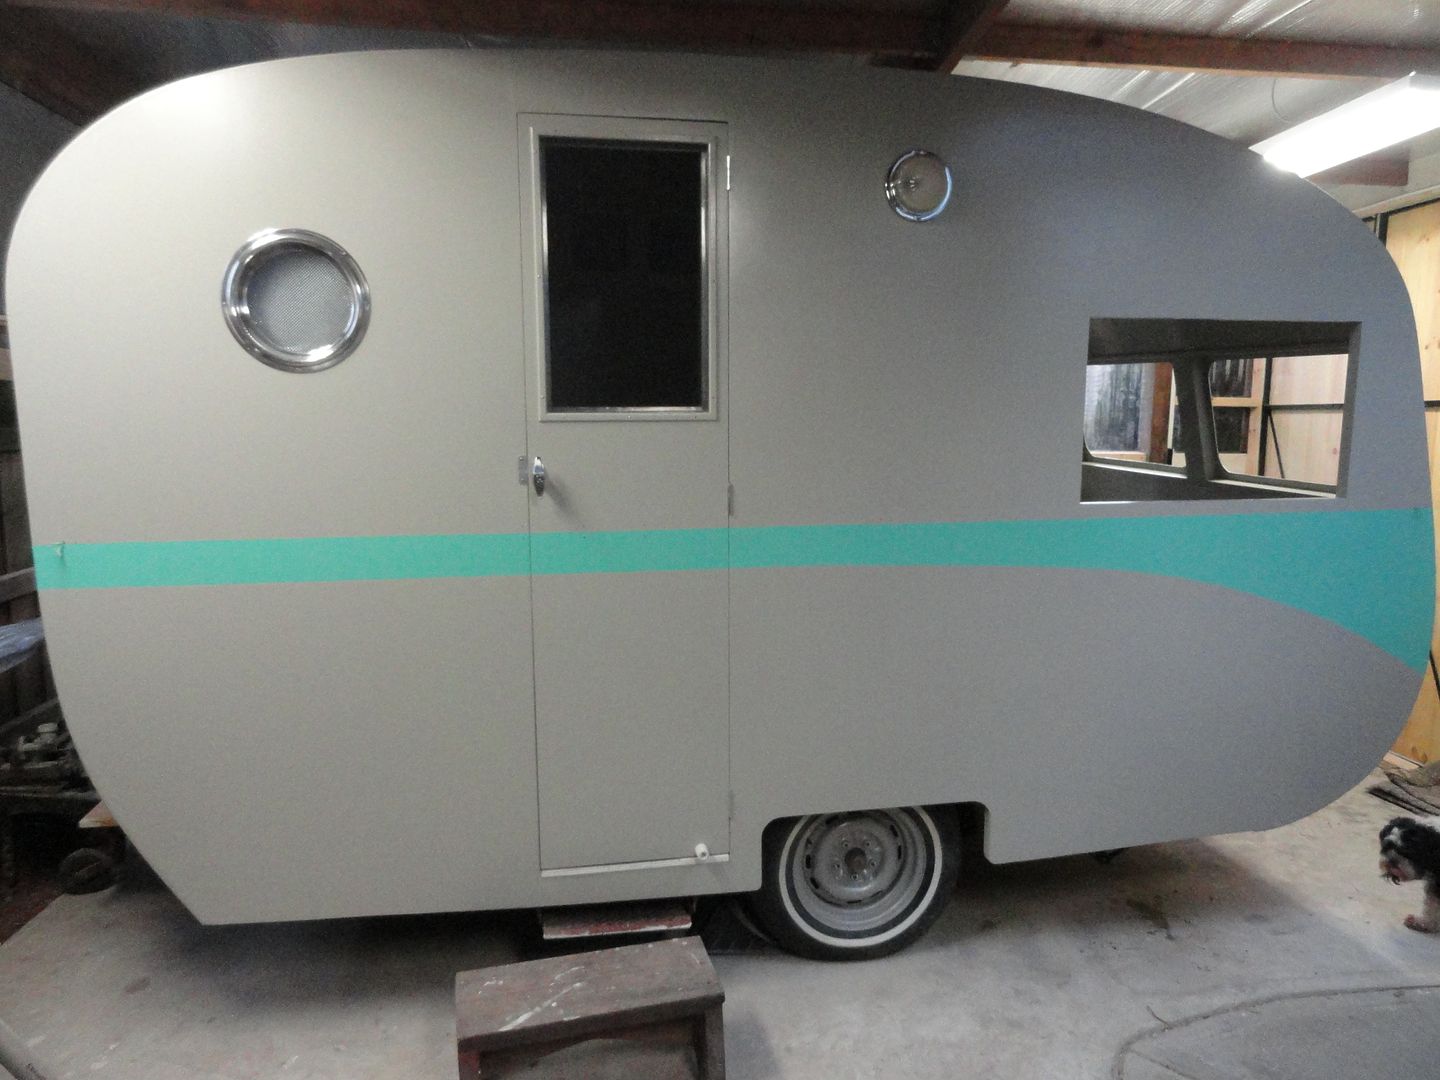 ....and painted it..... we have also sourced and picked up all the aluminium side mouldings we were chasing and once the paint has hardened up a little ,we can fit them up. Also had a few lengths of new "J" mould polished and will fit that as well. Had new laminated glass cut for all the windows , bought all new seals and rubbers too......did a fair bit of running around this week to scare up all the necessary stuff , even did a bit of a tour of a big house wreckers to find some good quality slide bolts to secure the windows......that was after looking at the junky stuff Bunnings had on offer .....plus we fitted up the roof hatch and installed the new stainless piano hinge and new/old stock mounting hardware. Then belted it on the roof this morning as we pushed the van outside ;D ....... ....also about 1/3rd of the way through the 240v wiring , got a pro doing that bit, but I'm fitting up the NOS bakelite switches and power points and doing all the necessary timberwork to mount the various items. I've decided to replace all the 12 volt wiring for the outside lights too as it is pretty daggy and doesn't look so good where it runs beside the new 240 cabling..... So it's all going well so far , we should have most of the exterior stuff finished this week with a bit of luck......regards, Colin and Kris  ....and the dog..... ;D |
|
|
|
Post by DC3Td on Aug 25, 2012 21:21:14 GMT 10
Hi Kaybee. Thoroughly enjoying & amazing reno.Loving every moment of it. gordon
|
|


 .....too much in a small space, could give you indigestion I reckon...... ;D. Figured we'd best stick with one colour this time and just mix the handles for effect. And yes,it's Enamel.....


 ....and it wasn't even an arty shot...... ;D

 ....... think yourselves lucky I'm not there helping you