|
|
Post by surfingyogini on Nov 14, 2010 8:28:34 GMT 10
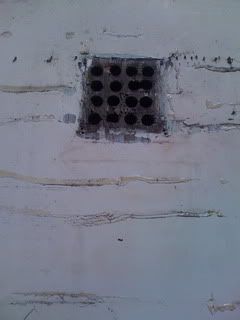
After searching high and low for the 'right for us' VV we came across this lovely little '58 Highway (thanks Matt!). We had a few dramas getting her home - note to self, must take off hand-brake - but now she's here, the fun has begun... As she's watertight, we've decided to start on the inside first and start with some small steps, so we're putting in new curtains, upholstering the beds, and stripping just about everything. There is about 50 layers of paint on the entire inside so my first task is to remove all the hardware (hinges and handles), get the paint off and bring them back to life, then we'll do the doors and drawers.  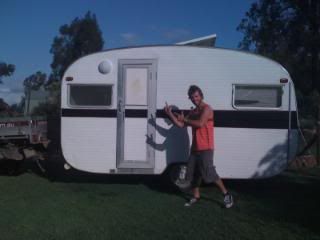 Hubby is pretty excited! 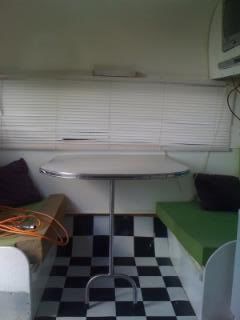 table (tv and dvd player have been outed - I figured we lived in the Solomon islands for almost 2 years without one, we can probably go caravanning without one...) 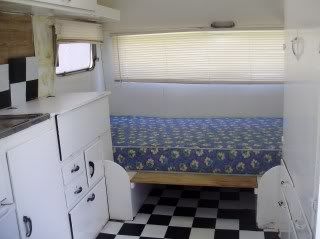 rear of van - we're going to have this as two seats rather than a big bed - we've got two littles so they can sleep on them as is. 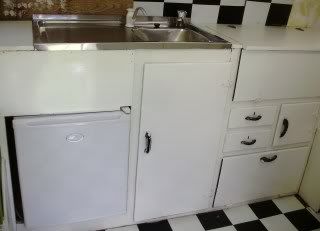 galley 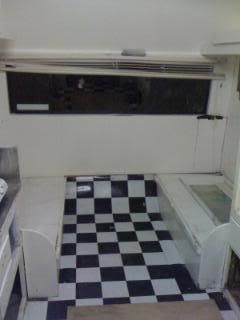 Removing the venetians 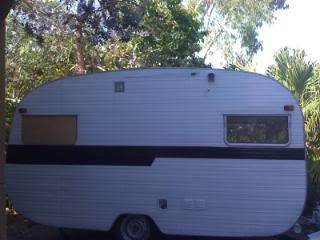 the missing window 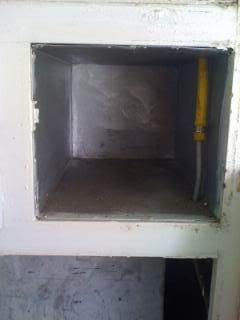 lined box under stove... any ideas what its for??? 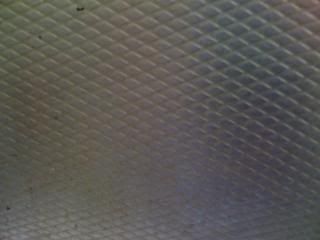 the aluminium at the front and rear of the van (it goes up to the windows - the roof and sides are different) 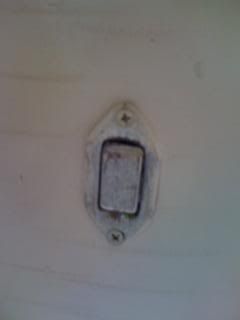 Old switch 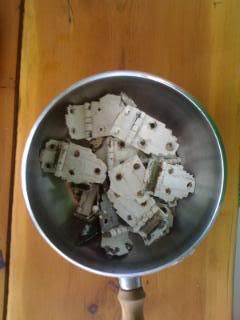 a saucepan full of hinges ready to have the paint cooked off.  stripping the paint off the bakelite handles 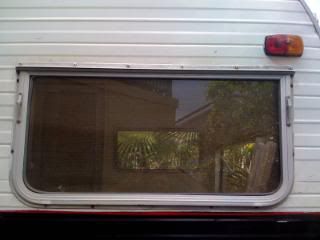 what the window 'should' look like!!! |
|
|
|
Post by Highway on Nov 15, 2010 1:46:21 GMT 10
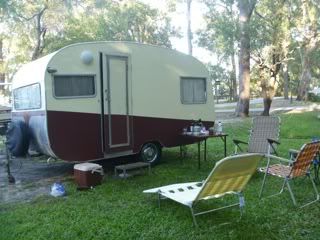
Hello surfingyogini it looks as though you have my first old 68 Highway,if you are interested in seeing what she looked like when I got it,click on the link below,and it will show you the mess it was when I got it. vintagecaravans.proboards.com/index.cgi?board=general08&action=display&thread=3648I sold it to a chap in QLD.and he told me he lost a wheel off it on his way up there. I see you have a blue flash down the side of the Van I had a black one and did not get around to putting the Highway sign on it.Is the TV and DVD still working and the Radio. I put Venetian blinds all round and I renew the brake shoes, one of the brake lines, new brake cylinders, new Bering's, new water tank,extended the oven area and put a electric hot plates,it had no fridge so I purchased a bar fridge from Ebay 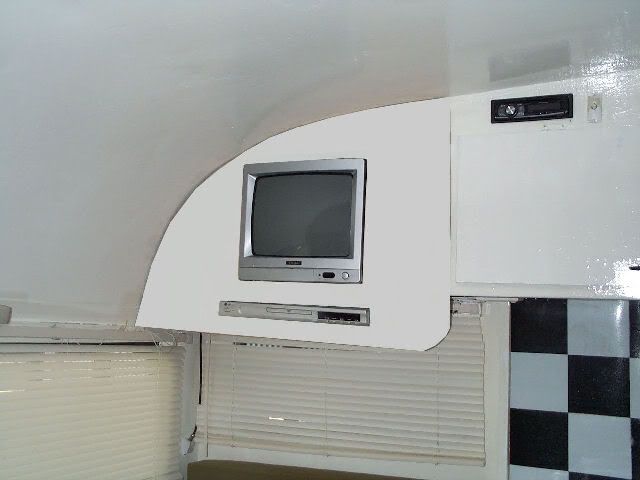 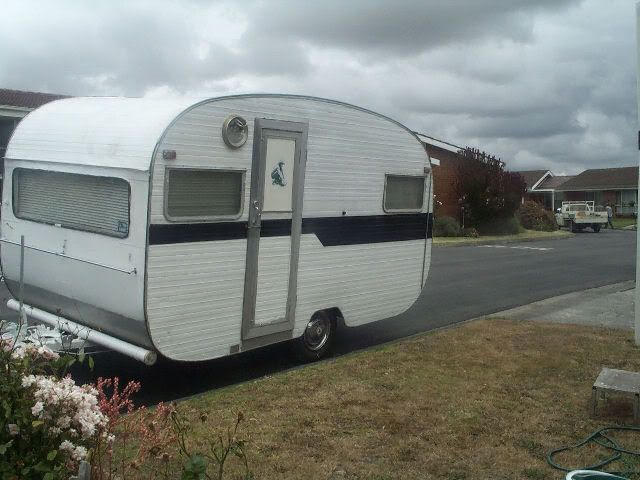  Peter (Highway) |
|
|
|
Post by surfingyogini on Nov 15, 2010 19:56:29 GMT 10
Wow! That's great to learn a little bit about the van's history, thanks for posting! I think the poor van hasn't seen much love since you spent all your time and energy on her...
The venetians are a broken, some of the checkerboard you installed has come away and there's a bit of water damage, but everything else seems to be in good nick. The TV and DVD do work, but with 4 of us in there, we're space hungry and figure we can always watch DVDs on the laptop if necessary, so have removed them for the extra storage space. My dad - who is always looking for a good challenge - is coming up over the Christmas period and we hope to strip her of her aluminium exterior then.
I must ask though, why you say that its a '68 model? I noticed in your original post that you didn't know what year it was but she's registered here now as a '58?
Will keep you updated on our progress!
Liz :-)
|
|
|
|
Post by Highway on Nov 15, 2010 20:41:11 GMT 10
Hi Liz
I mentioned it was a 68 because some one had told me so,
I forgot to mention I also replaced the master cylinder and three new Tyres.Did you buy it from the person I sold it to,and are you in QLD as well?
Reading your other post what window did you lose?the one from the door with the graphic on it,or one of the side windows?
Peter (Highway)
|
|
|
|
Post by surfingyogini on Nov 18, 2010 10:28:13 GMT 10
So things are coming along quite nicely on the internals of our little lady (who is yet to be christened, but we're leaning toward "Constance"). $20 worth of canvas for the annex from the local tip shop (heck, may even make an awing with the left overs!)  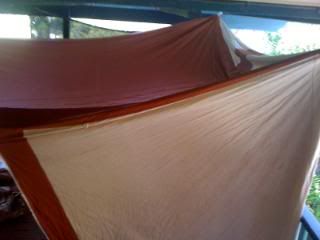 Some paint coming off the cupboard doors: three layers of white enamel, followed by tan, algae green, mission brown, bright orange, pastel green, peach and, of course, and undercoat. 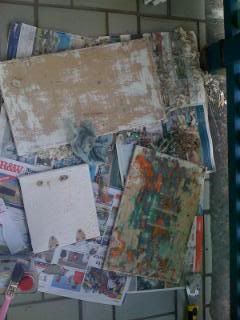 the original lights are looking nice and shiny, but one has broken glass... Any ideas where I can get replacement antique glass?  ? 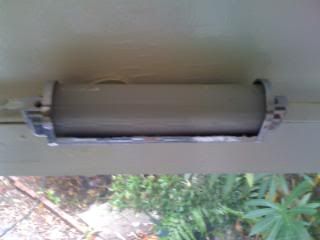 Bakelight handles come up well with the paint removed a few coats of brasso and a topcoat of armorall 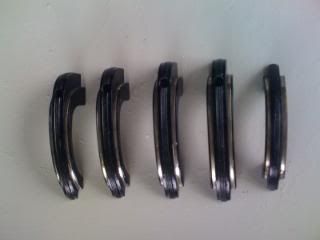 need three more of these if anyone has spares lying around? 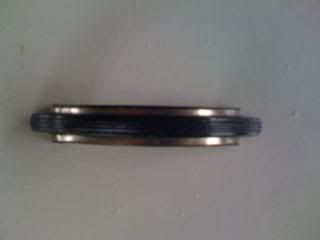 shiny, paint free hinges (on the look out for four more though...) 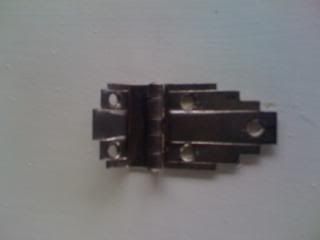 Anyway we're pretty happy with how its coming along! |
|
|
|
Post by sportsman 1 on Nov 18, 2010 14:31:53 GMT 10
Hey Liz,
looking good there!
Cant help with the handles but the hinges are available new from Bunnings.
Cheers, Leigh.
|
|
|
|
Post by Franklin1 on Nov 18, 2010 14:39:25 GMT 10
And so you should be too!! ;D ;D Marvellous what a little bit of elbow grease can do to all the fixtures and fittings.  Hopefully someone can help you with some spare hinges, or a replacement glass shade for your light. If you end up with no luck on the hinges, have a look at these for a possible alternative...  Can be found here, and a couple of other variations here and here. Nice score with the canvas! Crank up the ol' overlocker and let me see you make magic!! ;D ;D Keep up the great work, cheers, Al. |
|
|
|
Post by surfingyogini on Nov 20, 2010 14:48:45 GMT 10
Thanks for those hinges, Al, just what we were looking for and at a good price too! Meanwhile, work continues on the van... In our roundabout way of doing things, we decided that it was probably easier to get the curtain fabric first and then colour-match the cushion fabric and paint to that so we found this for the curtains. We'll paint main part of the van the pale cream colour and the cupboards (once I finish sanding them!) the light browny colour. 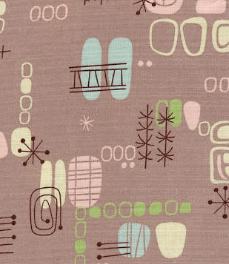 My little one making sure we're doing a good job 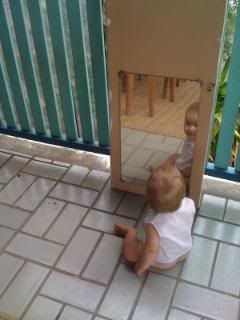 Can someone tell me what this is? It was on the inside of the cupboard door and I thought it was for hanging things on but there is a weird little wheel on one end for some reason? 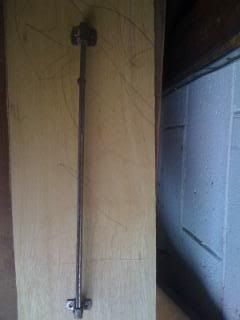 And just when we thought we were cruising along - then came the rains... So, while the kids sleep, hubby and I get down to business of tracking down where all the leaks are getting in! 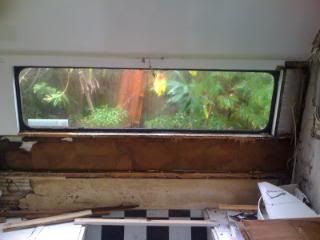 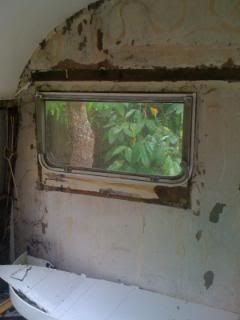 Look! The window was much bigger in her previous incarnation as a bondy! So now I'm on the lookout for windows 30"x 18 1/2" to fit the original gap. So, the adventure continues! Hope you're not all too wet at Cunungra this weekend, wish we could be there but she's not quite up for it just yet (as you can see)! ;D ;D ;D |
|
Deleted
Deleted Member
Posts: 0
|
Post by Deleted on Nov 20, 2010 19:03:00 GMT 10
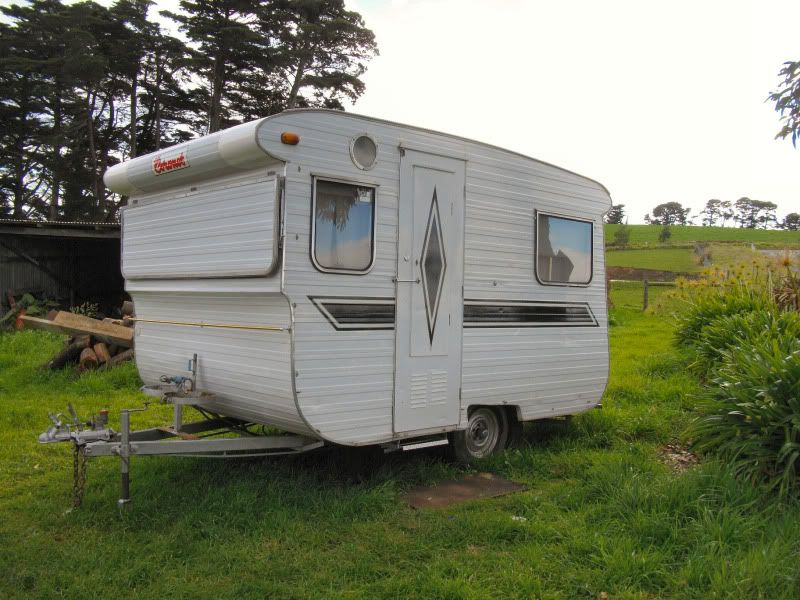
Hi The tin cupboard in your first post is the bread box / cupboard. A few of the old model vans had them . I think the reason for them being tin was that they offered better protection from ants etc??? Someone is bound to correct me if i am wrong  Nice little van. At first i would have said '68 becuase of the later model style aluminium cladding. but now that i have seen the bondwood underneath it could be as early as mid 50s. One of the rule of thumb methods for dating these old vans is aluminium windows came out around 1955/6. A little bit later on they started making alloy windows that where "tilted"forward .. ( not rectangle or sqaure shape ) Just my two bobs worth from messing with old vans for the past 6 years. Keep at your van .. it is coming along nicely Great to see another young family bitten by the vintage van bug   Reddo |
|
|
|
Post by chev51 on Nov 20, 2010 19:17:34 GMT 10
Hey guys, Love the fabric!! Where did you find it? Dale n Kylie  |
|
|
|
Post by surfingyogini on Nov 20, 2010 20:08:59 GMT 10
Hi Dale and Kylie... we got it from Canada (just searched for barkcloth worldwide). It was a toss up between that and this, but we went the lighter colours...  ETA: Just realised I forgot the link! This shop sells beautiful fabric and its quite cheap even with the postage cost added in. Hope this helps! www.tonicliving.com |
|
|
|
Post by surfingyogini on Nov 21, 2010 22:14:27 GMT 10
Phew! The weekend's finally over and we've finally got the chance to sit down over a beer and review our handiwork... We've almost finished rebuilding the wardrobe and interior tail-end of the van, the fittings are all clean and polished... It's funny seeing the shell of our new love when she looked pretty good to start with and when we first ripped all the wall panelling off to get to the rotten bits and atop the leaks it was pretty scary and overwhelming, but we feel like we've achieved so much already!!! HUGE thanks to everyone here for the support, encouragement and wisdom of everyone here, couldn't do it without you! ;d ;d ;d ;d ;d
|
|
|
|
Post by surfingyogini on Feb 19, 2011 15:16:42 GMT 10
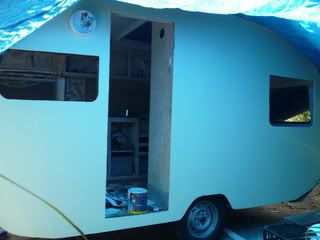
Well the adventure continues! We got as far as we could with the interior and today set about removing the aluminium... Couple bits need some work! 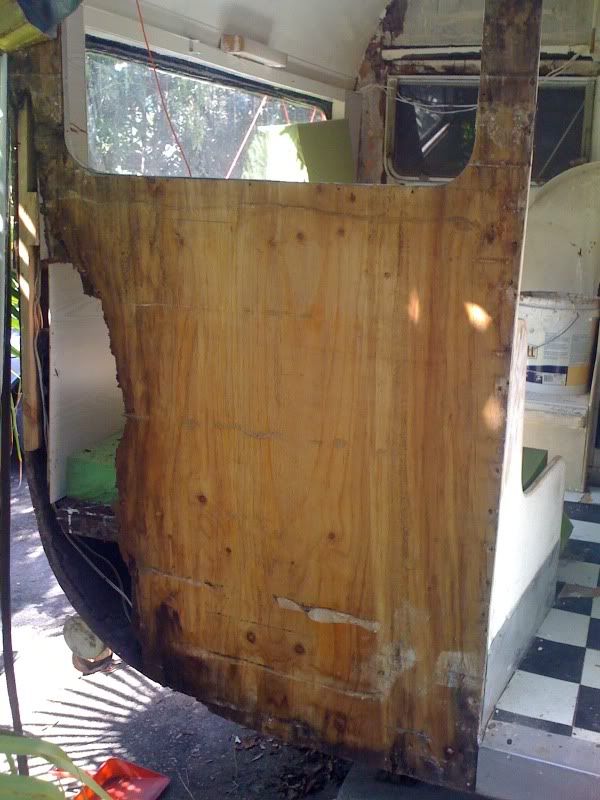 Am pretty impressed with what can be done with a router so hopefully in the coming days we'll patch the hole/s then start on the other side... ever the optimist, I feel like the end is in sight. A few more days hard labour and a couple o' licks of paint and she'll be a beauty! |
|
|
|
Post by surfingyogini on Feb 27, 2011 14:20:37 GMT 10
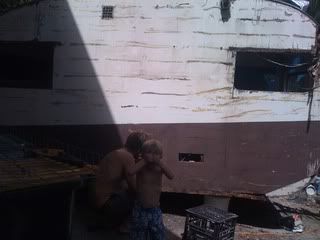
We've removed most of the aluminium now and are happy to see that there's not too many cases of "sponge wood"!!! ;D ;D 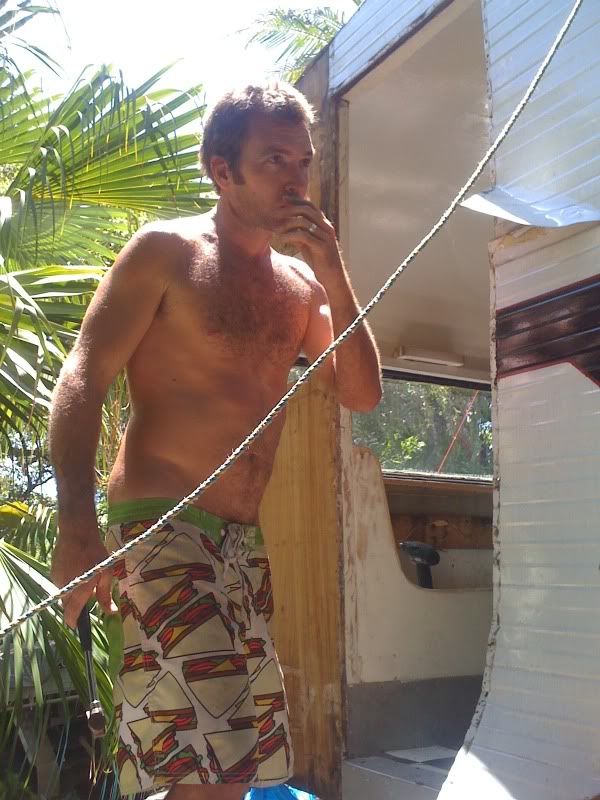 You can just see that he's thinking "Oh my god... what am I doing!" 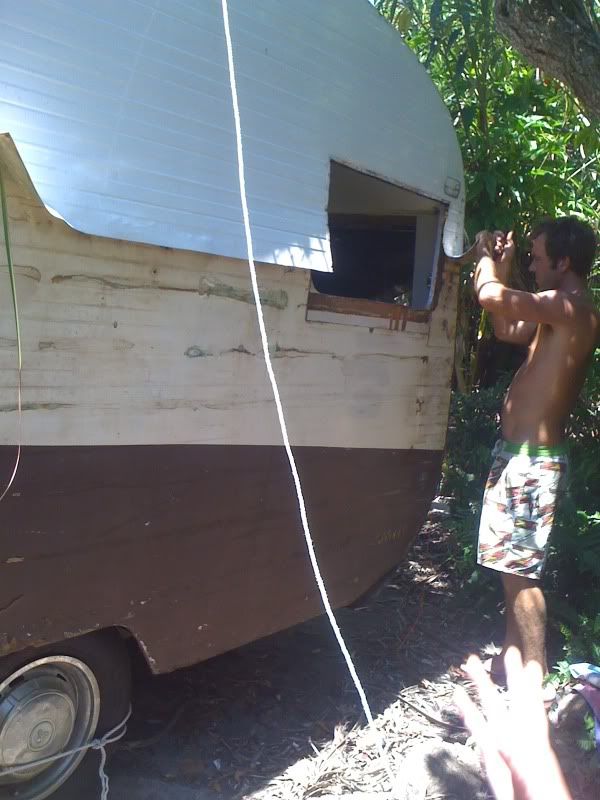 Almost there 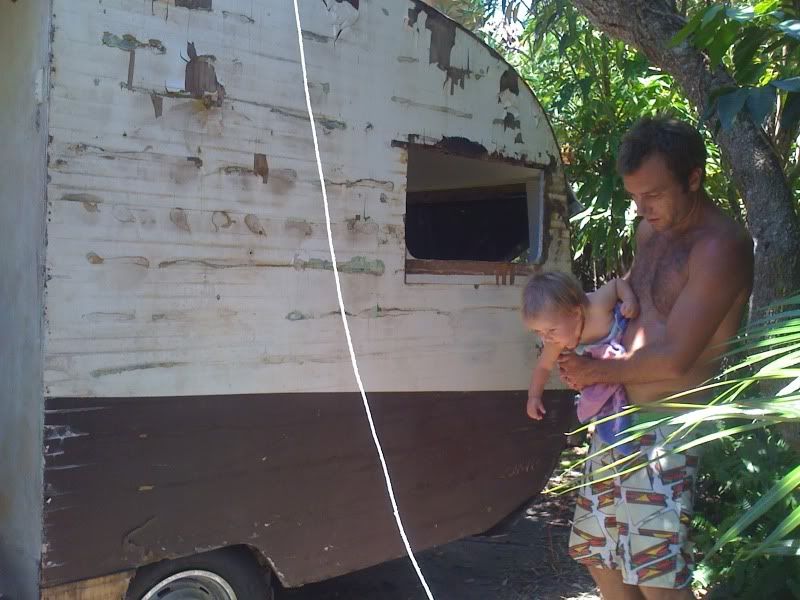 Baby girl's excited! 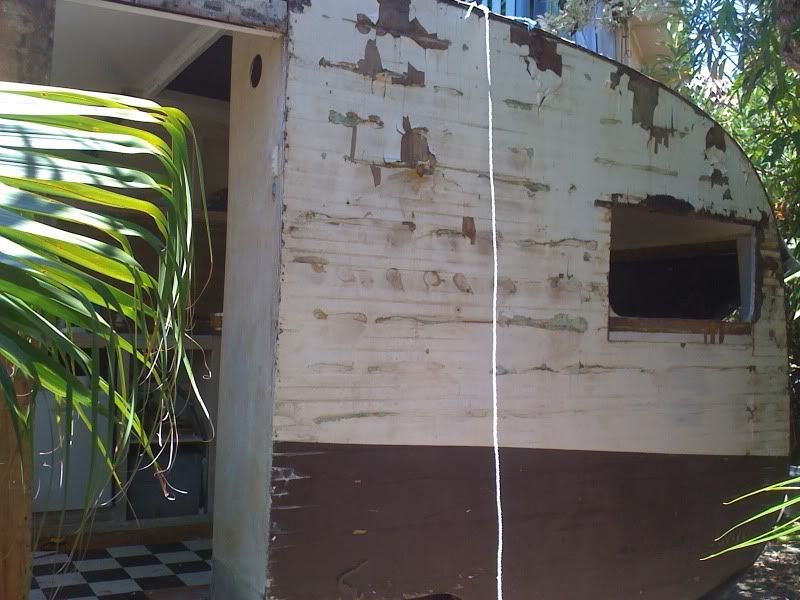 All the original paintwork under the aluminium cladding gives us a good idea of what she once looked like... So we're getting there slowly but surely and are working our way toward having her on the road by easter (2011!) ;D ;D ;D |
|
|
|
Post by Franklin1 on Feb 27, 2011 16:58:57 GMT 10
G'day Liz, See right up the top of this thread you posted a photo of hubby looking really excited with the 'new' van?? Can you post another photo of how hubby feels about the van now?! So, what's the plan? Aluminium cladding back on?...or...back to bondwood?? Ready for Easter, eh? Gees, I'm thinking if I get my springs back by Easter then that will be an achievement! You optimists give me the 'willies'. No time for posting on the forum...get to it!! ;D ;D I'm cheerin' for ya, Al. |
|
|
|
Post by retro64 on Feb 27, 2011 21:10:50 GMT 10
Hi surfingyogini,
What a mighty big challenge you've set yourself. Looks like you have one of the hardest jobs all sorted though PICTURING IT FINISHED. It makes the process from utter oh my .... to oh my how perfect alot easier if you have in mind how you want it to look.
The power of the humble curtain fabric is not to be taken lightly and can set your colour theme in motion. Love your fabric choices by the way and thanks for the link to the seller.
How on earth did you know there was a bondwood van under that cladding? Your hubby looks just as surprised as us!!!
Good luck to you with your lovely van
cheers retrro64
|
|
|
|
Post by seeshell on Feb 27, 2011 21:17:49 GMT 10
HI Surfingyogini I agree with Retro64 - curtain fabric is no laughing matter. Love your choices, atomik is so chic! The little tacker is sooo cute, and the van's lovely as well. ;D The effort will be well worth it - I'll cross my fingers for your Easter resurrection! Cheers Seeshell |
|
|
|
Post by surfingyogini on Mar 20, 2011 13:56:55 GMT 10
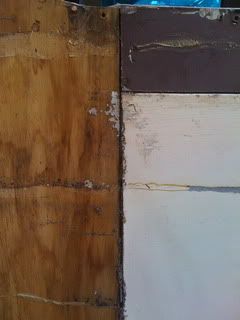
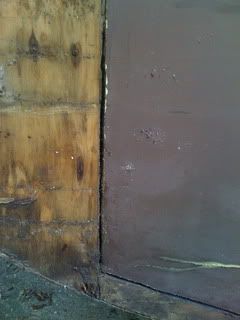
Thanks all for your encouragement, we're getting there slowly but surely! Al, we've decided to go all out and keep the aluminium off. We've cut out any spongewood and have replaced that with marine ply which we're sealing and then painting. We're not yet sure what to do with the roof - do we go fabric or not - but one of the guys up here says he used to build wooden caravans in the UK and has recommended something like bondcrete... Retro64, I looked on the DHL thread and couldn't find a single thing to suggest that our van would be aluminium so I (very carefully!) undid some screws and had a peek under the aluminium only to see painted bondwood under there! It took a while to convince hubby that we should restore her to her former glory but he's pretty happy with how things are coming along now... 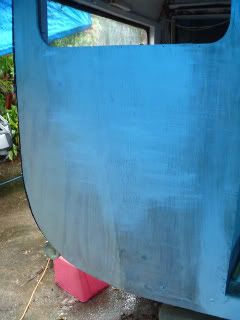 Where we've replaced some spongewood... 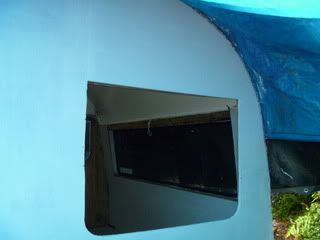 More replacement bits and we've made the window hole bigger for new windows. 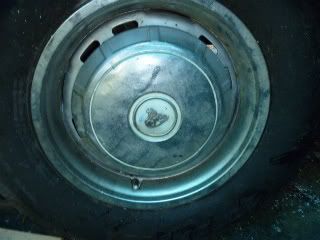 Anyone know what these are so I can get another one? So we're almost to the painting the outside walls stage, then will do the roof, finish up the inside (we had to put that on hold while we did the outside... this frameless business makes job prioritisation tricky! ;d ;d ;d ), stick some flooring in, hang the curtains and tadaaaaa! Ok, may be being a bit optimistic there but we are getting there slowly but surely! ;d ;d ;d ;d ;d |
|
|
|
Post by bobandjacqui on Mar 20, 2011 14:14:31 GMT 10
G'day Surfingyogini, That hub cap is off HK<HT<HG model Holden and you can usually pick them up at car swap meets or keep an eye out at your local week-end markets The chrome dress rings are available from Autopro around the $25 mark. Cheers Bob and Jacqui |
|
|
|
Post by kaybee on Mar 20, 2011 15:24:09 GMT 10
|
|
rose
New Member

Posts: 33
|
Post by rose on Mar 21, 2011 12:42:40 GMT 10
wow
looks like what is in store for me when i get my new/old sunliner home ! great job guys cant wait to see more keep up the inspiration!!
|
|
|
|
Post by surfingyogini on Mar 26, 2011 12:16:02 GMT 10
|
|
|
|
Post by surfingyogini on Apr 18, 2011 12:31:33 GMT 10
Looking back to my first post I'm somewhat surprised at my naivety! "As its watertight" I said... Hahahahahahaha... Well it would almost be worthwhile now to think about the things we haven't had to fix so the work continues but we can finally see the end (maybe...). We took advantage of a sunny weekend and removed the aluminium from the roof - it was the only way to free ourselves from the leaks although we did consider simply coating the whole van in sikaflex 291! Removing the aluminium 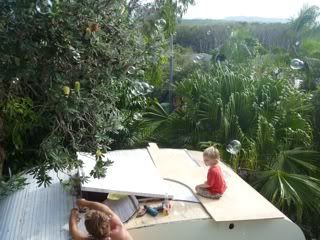 Then the old roof (which had been fibreglassed and painted and sealed... No sign of celastic or any fabric coating) 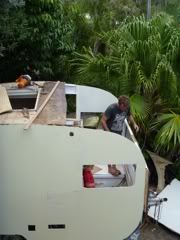 Finally fitting a new roof, sikaflexing the joins and then covering in a good coat of bondcrete. 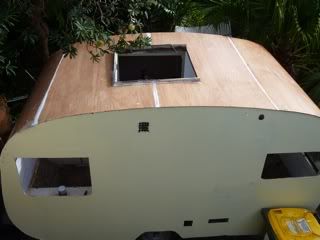 I'm taking a guess here, but she probably won't be ready for our easter holiday on Wednesday, but we're so happy with how she's coming along and this time, she really will be watertight! ;D ;D ;D ;D ;D ;D ;D ;D |
|
|
|
Post by surfingyogini on May 1, 2011 22:37:40 GMT 10
We're so close to actually having a useable van!!! So excited and already planning first sleepout! 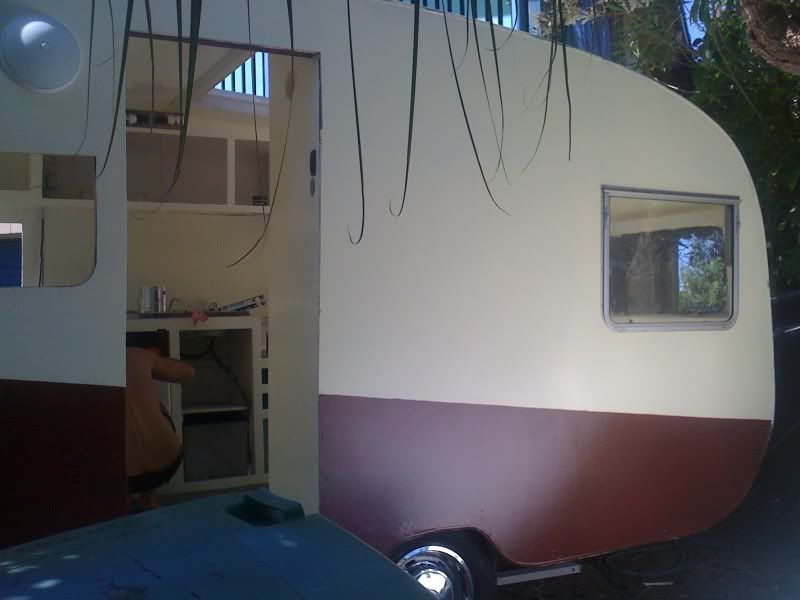 |
|
|
|
Post by cruisindoug on May 2, 2011 15:57:08 GMT 10
Looking good the end is in sight!
Can I ask how you went about joining up the new and old bondwood?
|
|


 ?
?