Post by frankidownunder on Aug 2, 2009 21:34:35 GMT 10
This project started as a challenge to fit a shower and toilet into a 14 ft van. A sales rep from a certain large van manufacturer said it could not be done, here is the proof it can be.
The fact that I did it with a vintage Franklin is merely co-incidental, one just happened to be for sale with current registration at the time I was looking. I bought the van in May 2007 and have been working on the refit for best part of two years. It was just an average 14ft model with poor interior and the usual wood rot. It had apparantly languished in the bush for some years before the previous owner had re-registered it and used it for holidays, they had done some cosmetic repairs inside but had not touched the main structural problems of rot so the first jobs were to repair the frame and stop water leaks.
About the time I started the re-fit I discovered this site and found the information herein very useful and the members helpful. Although I was never going to restore the van to its original condition my intentions changed somewhat in that I endeavoured to keep the changes sympathetic with the era of the van a task which I feel has been achieved with the end product.
I have chosen a selection of photographs from the 220 I took as a record of the job and hope that those viewing them may get inspired to do similar with with other older vans and not leave them to rot away in some forgotten back corner. To me this is recycling at its best- from trash into treasure.

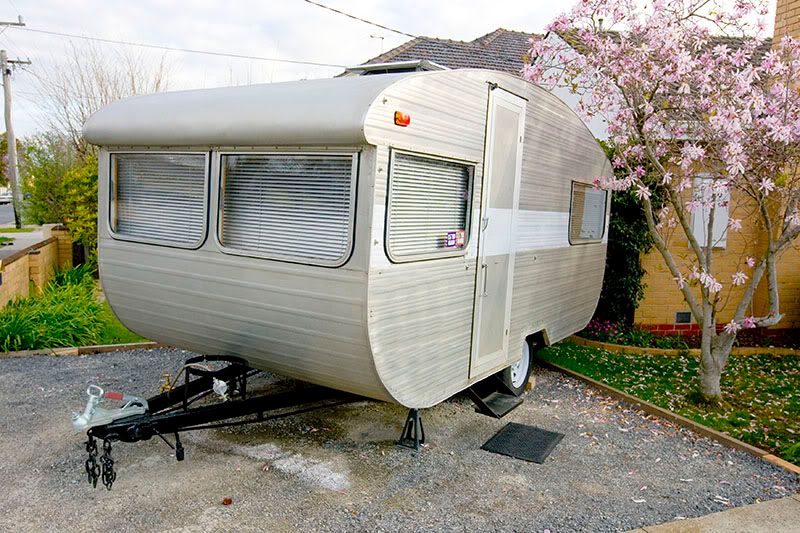
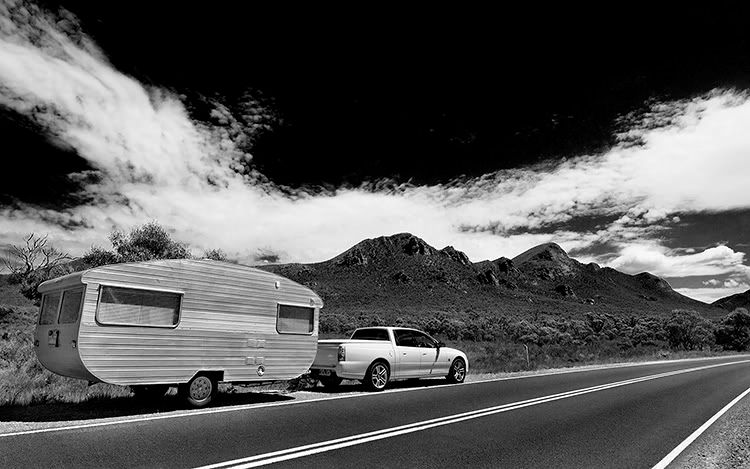
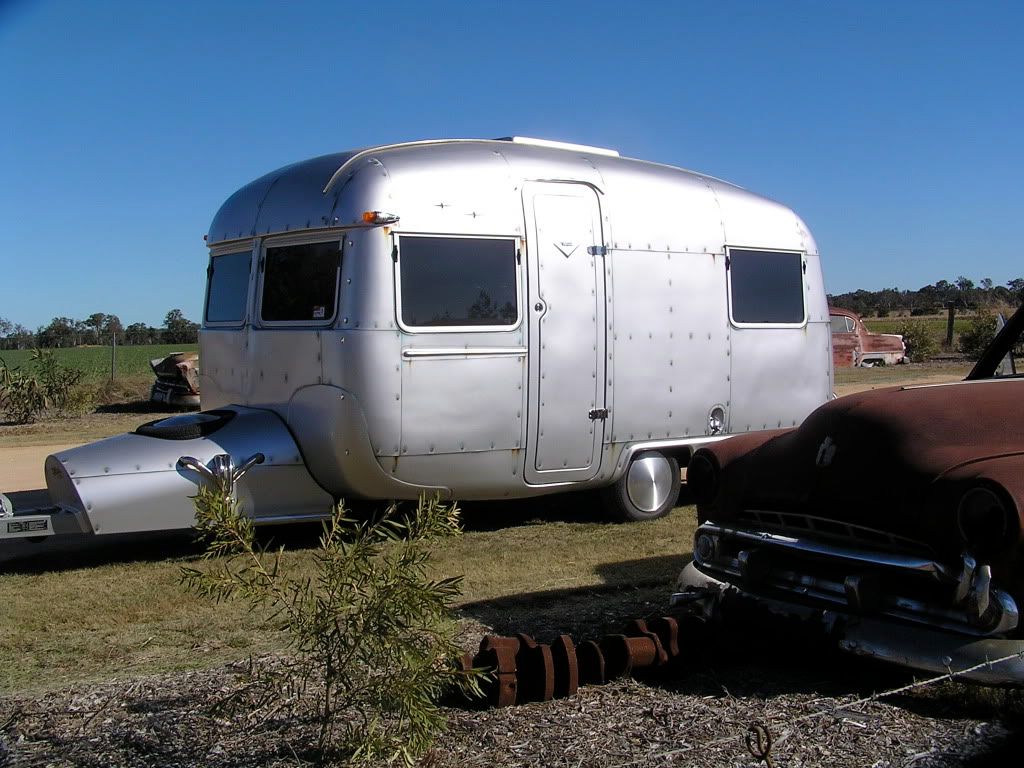
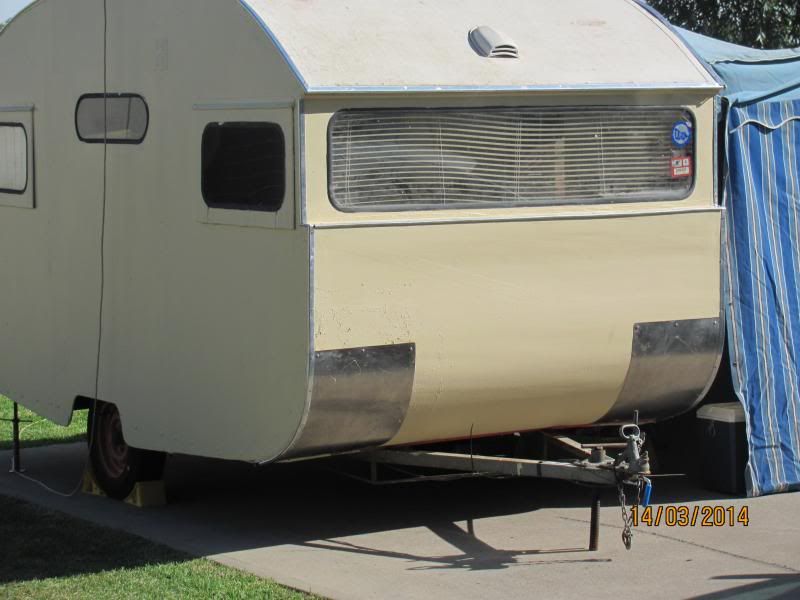
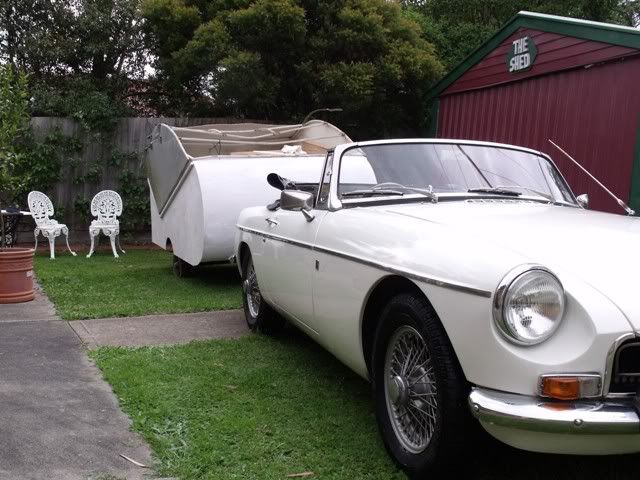
This was taken soon after the van arrived home.

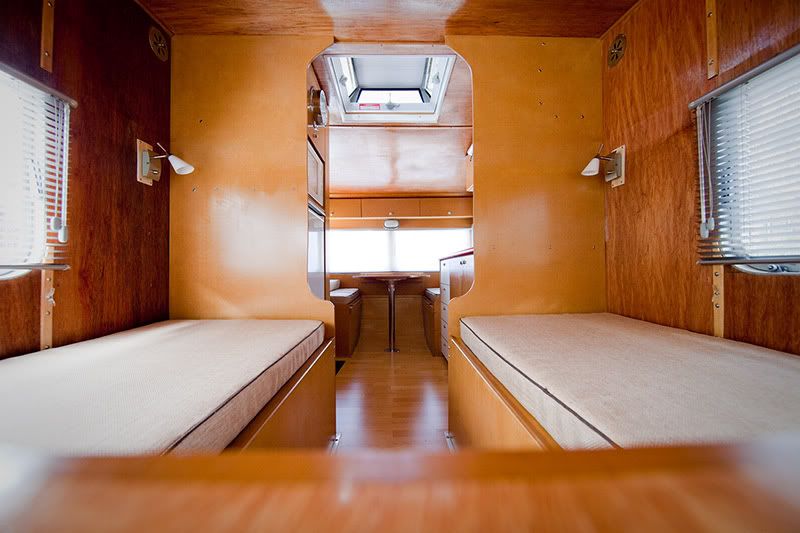
The original interior of the van.


Some of the rot in the frame.(there is more on this problem in an earlier thread)

More rot caused by deterioration of the sealant under the wall to roof moulding .

Renewed profile block, also visible is the sisal flashing I fitted under the roof edge and folded down the side wall to deflect any further leaks. there is also a sisal lining in place over the insulation ( see further photos.)

Rh side wall before insulation installation. This photo also records where electric cables are installed. I have several others that show closer detail.

Insulation and sisal installed, Rh wall before final skin installation.

New kitchen cupboard being built. Provision is made for a rollout pantry where the fridge used to go.

Kitchen cupboard now fitted to Lh side of van to make room for bathroom on Rh side.

Cupboard above stove, this is formed from the upper part of the old wardrobe.

The new double bed frame being built across the back of the van. note the use of fabricated "T" section rails to support the top of the bed. they also stiffen the rear structure of the van as does a diaphram panel which goes from 3 rd rail of bed top to the floor behind the area for the lockers.(diaphram not yet fitted)

Construction of the bathroom and the cupboard to rear of bathroom. All cupboards are fastened to walls and floor using screws and construction adhesive.

Bathroom wall and fridge cupboard nearly finished. All plywood panels are glued and nailed for extra strength.

Front lounge area and under seat lockers, no permanent table will be installed, we use a folding one that stows by the bed. The side lockers house the battery, electrics and water heater.

Under the front seat is the 12 volt electrical control panel, forward of this is the 100ah battery in a ventilated box.
And now for the best bits...

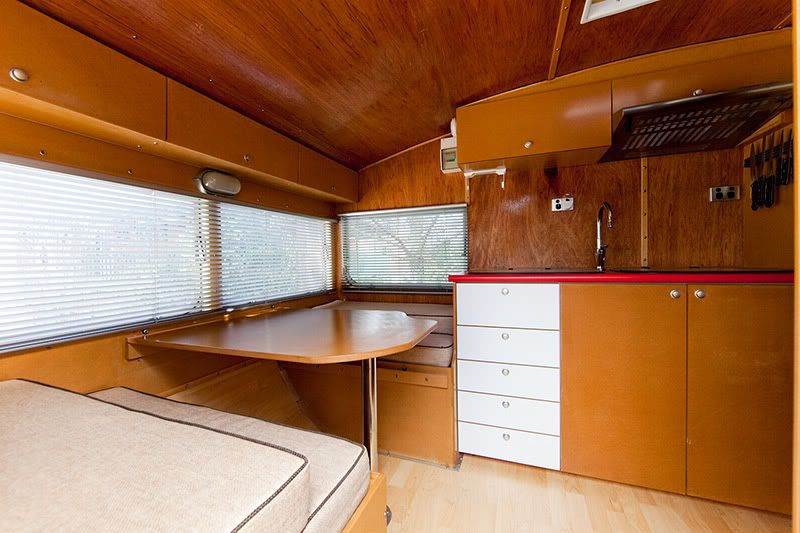
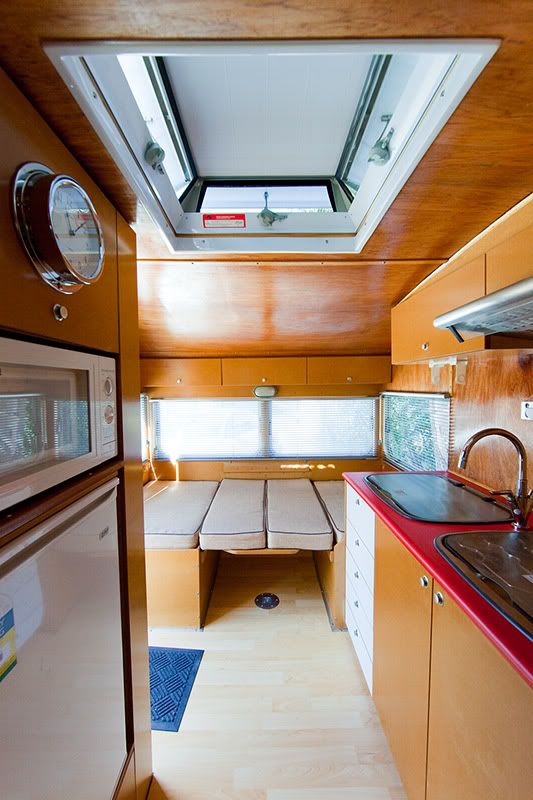
The new front lounge, at the moment we are evaluating just the use of cushions for backrests. the seat cushions are multi layers of varying density foam, great to sit or lay on.

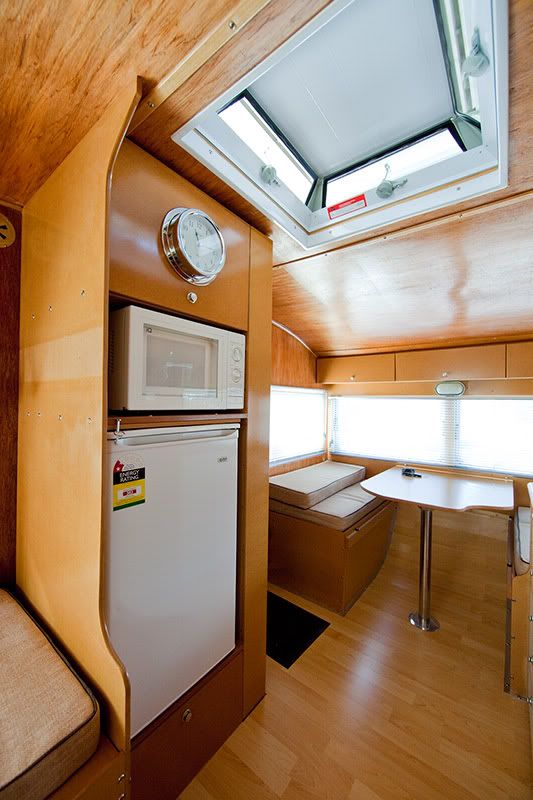
The finished fridge cupboard with Waeco chest fridge on a slide-out plarform.

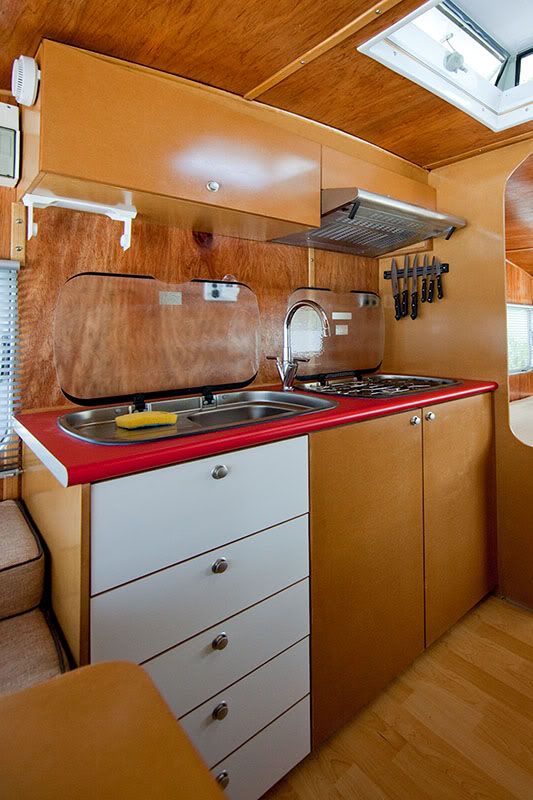
The kitchen cupboard with rangehood installed.

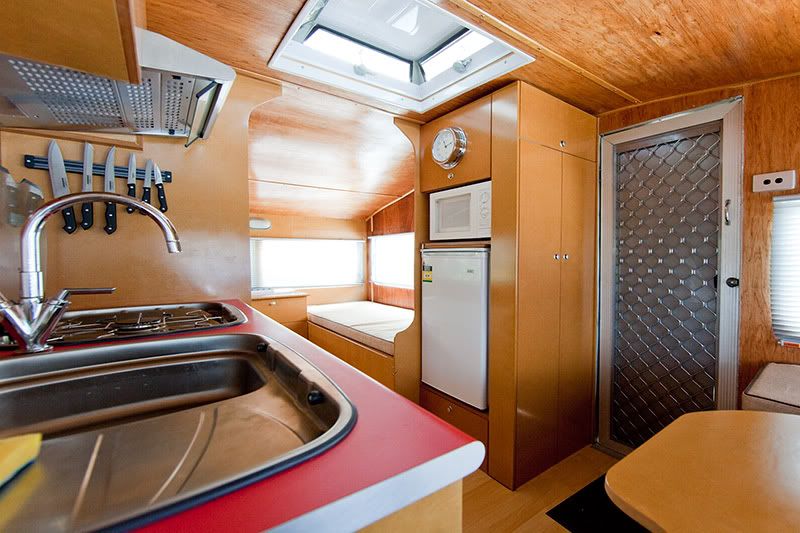
Looking forward through the back Lh widow at the bathroom.

The original stove, overhauled and re-installed.

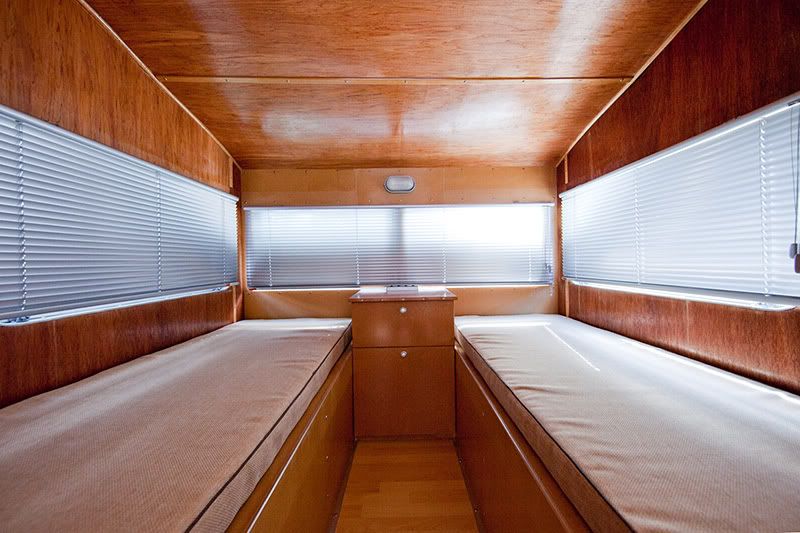
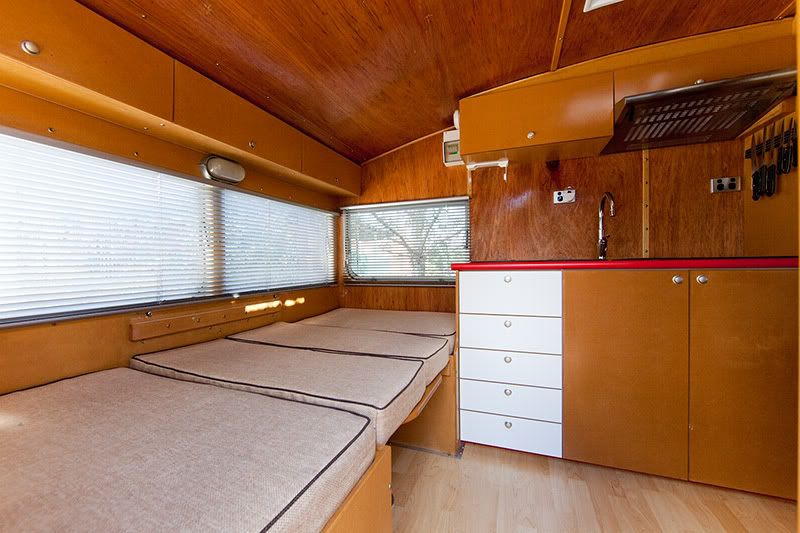
Looking towards the rear Rh corner of the van. Venetian blinds relpace curtains at all windows.

Large drawer built under bed. Locker on Rh side next to drawer is accesible from outside via a lockable hatch. used to stow jacks etc. Lh locker used to stow drinking water tank. Main water tank is under van & supplies bathroom only.

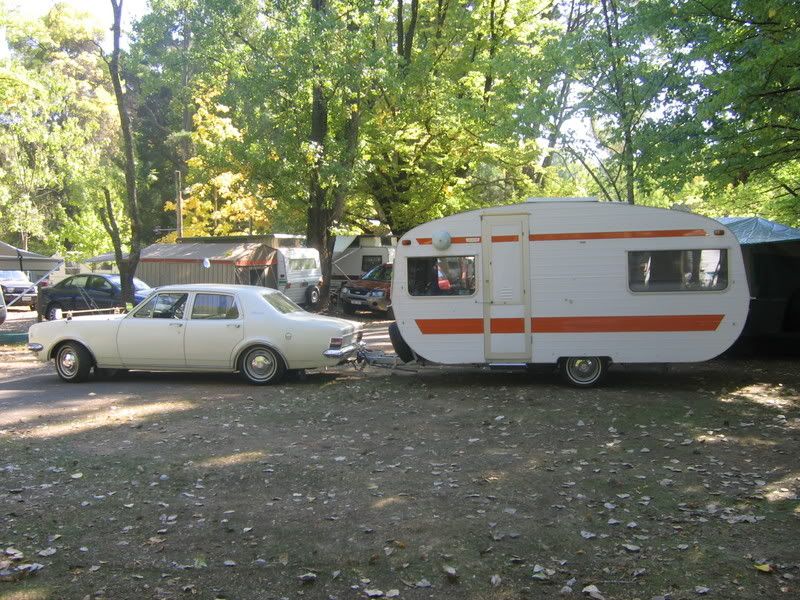
Rh side of van in new colour scheme.

Stoneshield over front windows. This is made from privacy mesh as used on screendoors and was purpose built by a screen door maker.

Lh side of van. Solar panel can just be seen on top of van behind roof hatch.

I know!!. Viscount spats, cannot get Franklin ones, but they look good anyway, also Australite vent installed in door.( meets new gas regs. as does Four Seasons roof hatch.)

Roof before repaint and after scrubbing with sugar soap.

Roof after painting with Thermashield insulation coating.
The van was finished in May this year and is now ready to use when we get a chance and the weather improves.
I weighed the van when I first got it and the Tare weight was as stated on the rego papers, 950Kg. Again weighed the van, empty, after finishing re-fit and Tare weight is 910Kg. with 11% on the drawbar. The Centre of Gravity went forward 40 mm. so am very pleased with the result.
I have placed a list of useful websites in the Classic Caravans forum under Technical as I felt that this information could be useful to all restorers.
Frankidownunder.
The fact that I did it with a vintage Franklin is merely co-incidental, one just happened to be for sale with current registration at the time I was looking. I bought the van in May 2007 and have been working on the refit for best part of two years. It was just an average 14ft model with poor interior and the usual wood rot. It had apparantly languished in the bush for some years before the previous owner had re-registered it and used it for holidays, they had done some cosmetic repairs inside but had not touched the main structural problems of rot so the first jobs were to repair the frame and stop water leaks.
About the time I started the re-fit I discovered this site and found the information herein very useful and the members helpful. Although I was never going to restore the van to its original condition my intentions changed somewhat in that I endeavoured to keep the changes sympathetic with the era of the van a task which I feel has been achieved with the end product.
I have chosen a selection of photographs from the 220 I took as a record of the job and hope that those viewing them may get inspired to do similar with with other older vans and not leave them to rot away in some forgotten back corner. To me this is recycling at its best- from trash into treasure.
This was taken soon after the van arrived home.
The original interior of the van.
Some of the rot in the frame.(there is more on this problem in an earlier thread)
More rot caused by deterioration of the sealant under the wall to roof moulding .
Renewed profile block, also visible is the sisal flashing I fitted under the roof edge and folded down the side wall to deflect any further leaks. there is also a sisal lining in place over the insulation ( see further photos.)
Rh side wall before insulation installation. This photo also records where electric cables are installed. I have several others that show closer detail.
Insulation and sisal installed, Rh wall before final skin installation.
New kitchen cupboard being built. Provision is made for a rollout pantry where the fridge used to go.
Kitchen cupboard now fitted to Lh side of van to make room for bathroom on Rh side.
Cupboard above stove, this is formed from the upper part of the old wardrobe.
The new double bed frame being built across the back of the van. note the use of fabricated "T" section rails to support the top of the bed. they also stiffen the rear structure of the van as does a diaphram panel which goes from 3 rd rail of bed top to the floor behind the area for the lockers.(diaphram not yet fitted)
Construction of the bathroom and the cupboard to rear of bathroom. All cupboards are fastened to walls and floor using screws and construction adhesive.
Bathroom wall and fridge cupboard nearly finished. All plywood panels are glued and nailed for extra strength.
Front lounge area and under seat lockers, no permanent table will be installed, we use a folding one that stows by the bed. The side lockers house the battery, electrics and water heater.
Under the front seat is the 12 volt electrical control panel, forward of this is the 100ah battery in a ventilated box.
And now for the best bits...
The new front lounge, at the moment we are evaluating just the use of cushions for backrests. the seat cushions are multi layers of varying density foam, great to sit or lay on.
The finished fridge cupboard with Waeco chest fridge on a slide-out plarform.
The kitchen cupboard with rangehood installed.
Looking forward through the back Lh widow at the bathroom.
The original stove, overhauled and re-installed.
Looking towards the rear Rh corner of the van. Venetian blinds relpace curtains at all windows.
Large drawer built under bed. Locker on Rh side next to drawer is accesible from outside via a lockable hatch. used to stow jacks etc. Lh locker used to stow drinking water tank. Main water tank is under van & supplies bathroom only.
Rh side of van in new colour scheme.
Stoneshield over front windows. This is made from privacy mesh as used on screendoors and was purpose built by a screen door maker.
Lh side of van. Solar panel can just be seen on top of van behind roof hatch.
I know!!. Viscount spats, cannot get Franklin ones, but they look good anyway, also Australite vent installed in door.( meets new gas regs. as does Four Seasons roof hatch.)
Roof before repaint and after scrubbing with sugar soap.
Roof after painting with Thermashield insulation coating.
The van was finished in May this year and is now ready to use when we get a chance and the weather improves.
I weighed the van when I first got it and the Tare weight was as stated on the rego papers, 950Kg. Again weighed the van, empty, after finishing re-fit and Tare weight is 910Kg. with 11% on the drawbar. The Centre of Gravity went forward 40 mm. so am very pleased with the result.
I have placed a list of useful websites in the Classic Caravans forum under Technical as I felt that this information could be useful to all restorers.
Frankidownunder.