|
|
Post by aussieute on Mar 29, 2017 16:38:26 GMT 10
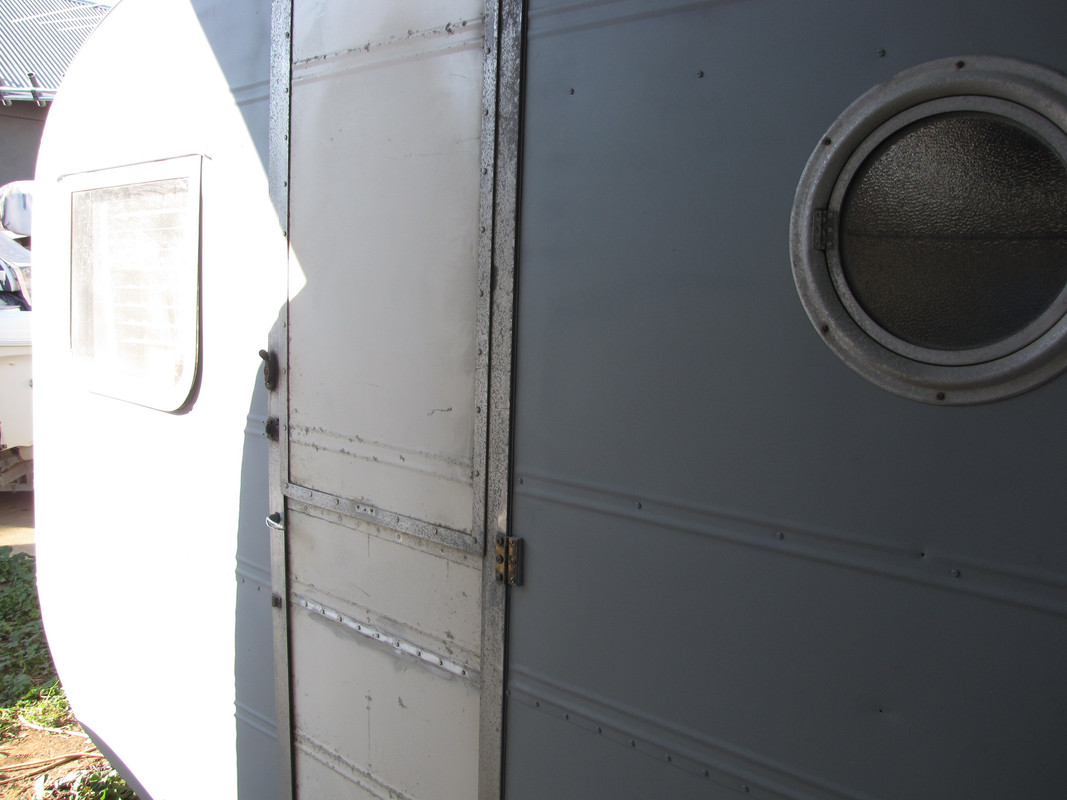
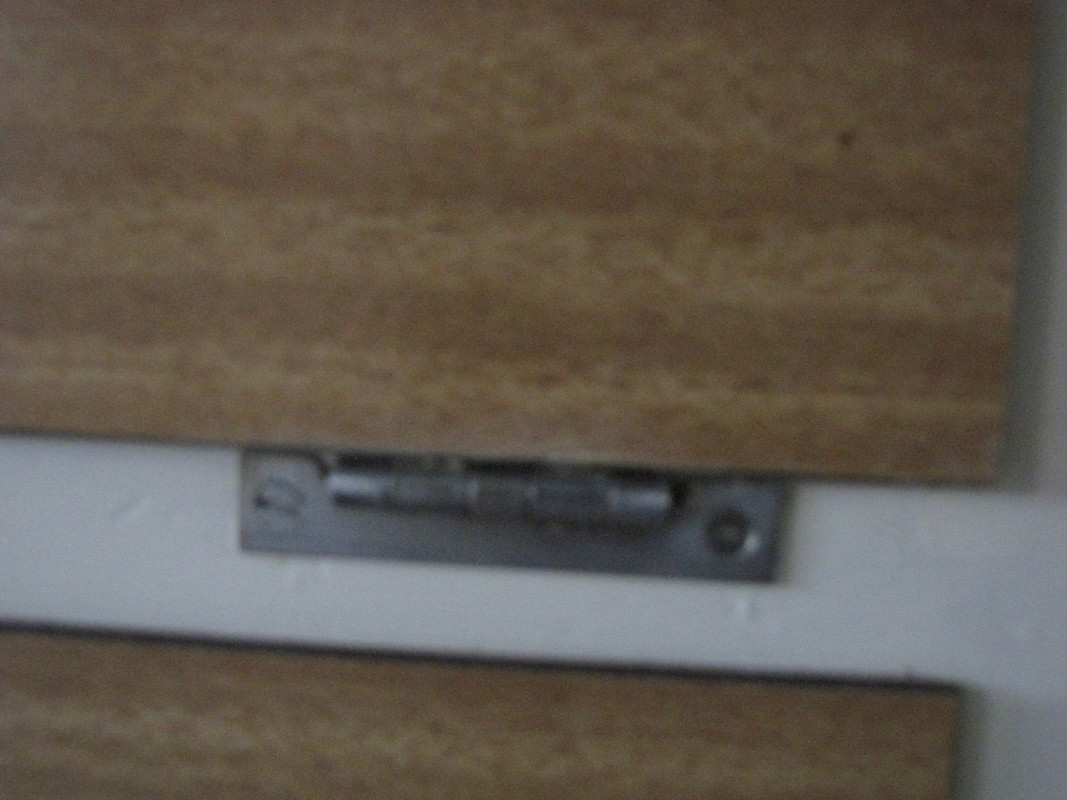
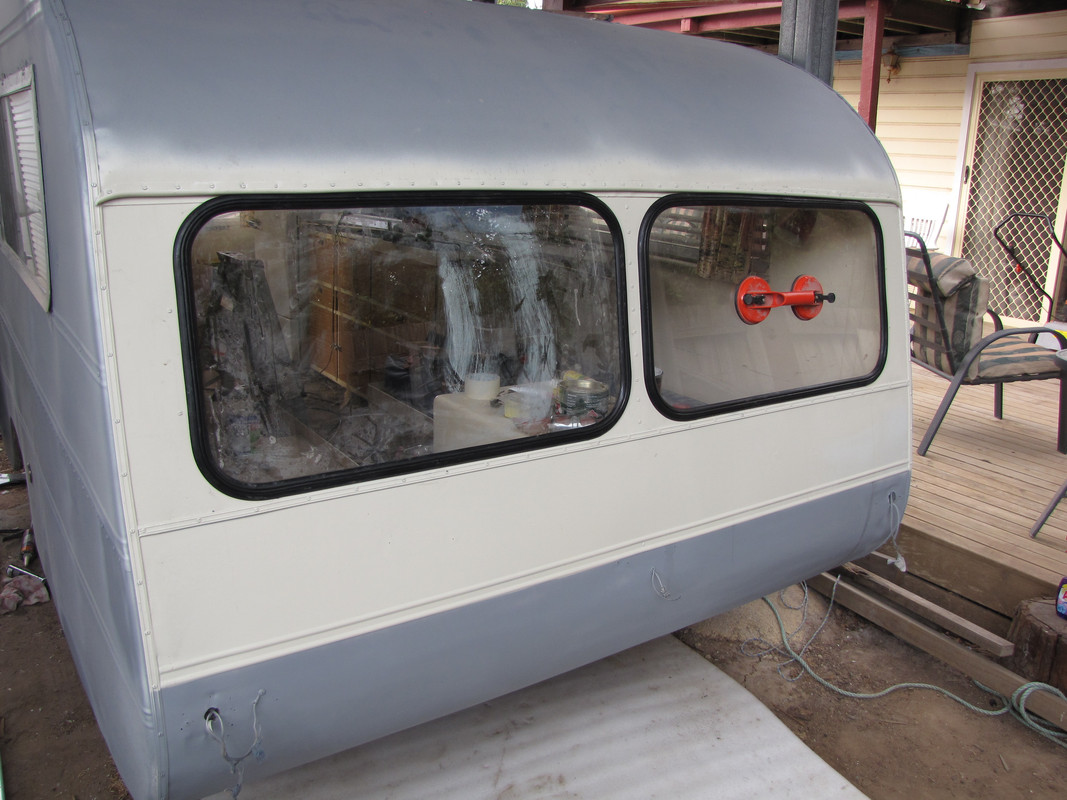 After all the dramas of getting the window rubber from clark rubber turned out to be to small  started to chase after bigger rubber should have measured it first used the technical supply section and found oz auto rubbers in hallam to be very helpful they were half the price and had a great range. Finally can keep some water out with back windows in and two cracked windows replaced just hope that they are water tight  cheers chris ù |
|
|
|
Post by willies on Mar 29, 2017 19:46:25 GMT 10
Looking good Chris.
We also replaced our front windows and that was the absolute worst job ever. It had to be the most tedious task and a really frustrating couple of hours. We were able to source the same rubber and the new Perspex was cut using the old Perspex as a template. Everything should have been easy. But no. The hole must have shrunk when I got the replacements. Now I reckon ours are watertight but we don't travel when it rains. But having said that you do get an immense sense of achievement when you look at that clean window with those nice fresh rubbers.
Never want to replace fixed windows again. Never. Unless something pops up that we just have to have.
Now we didn't have one of those window sucker things. Do they make life easier for you?
|
|
|
|
Post by aussieute on Mar 30, 2017 8:08:33 GMT 10
Hi Willies the sucker made it easyer for holding the glass in place and also bought a tool for fitting the filler strip best money ever spent googled how to fit windows and had the job done in about an hour plenty of window cleaner around the seals to help the rubber slide in. I was trying to fit it with string with seal around glass was a nightmare so fitted seal to frame then put glass in the best way to go Did the string on my 14 foot Jennison and took over an hour per window cheers chris
|
|
|
|
Post by aussieute on Apr 9, 2017 19:34:39 GMT 10
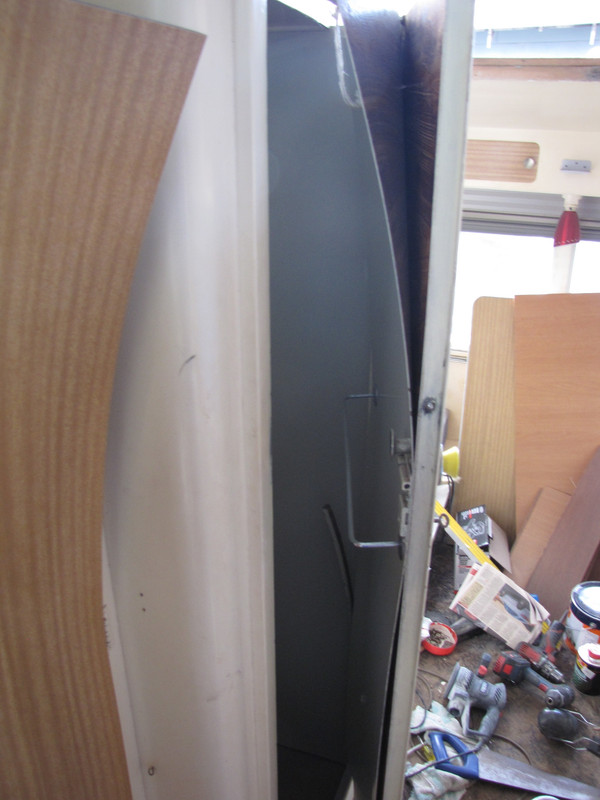 it is hard to see the twist on the lamenex inside the shower door all the cupboard doors are the same took the lamenex off the doors heated up with a heat gun then put a weight on them to get rid of the twist then reglue them back on slow progress as I only have enough clamps to do two doors at a time 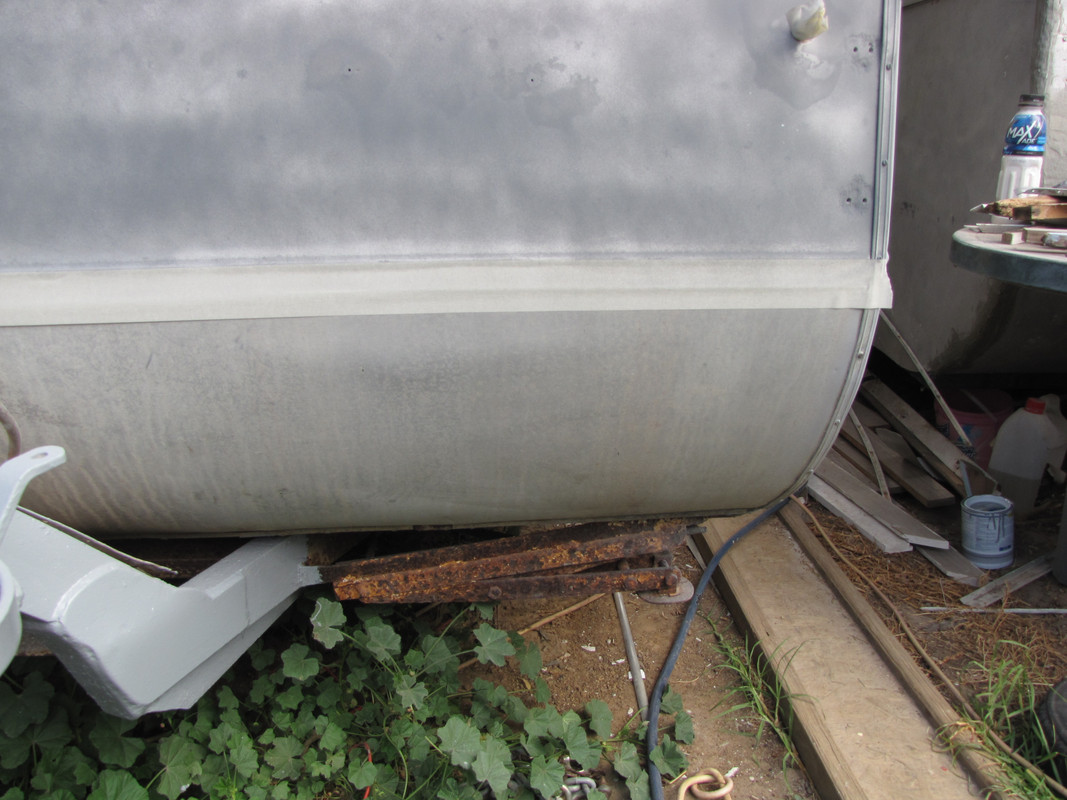 started to look at how hard to get the oxidation off the silver at the bottom the worst part is behind the draw bar 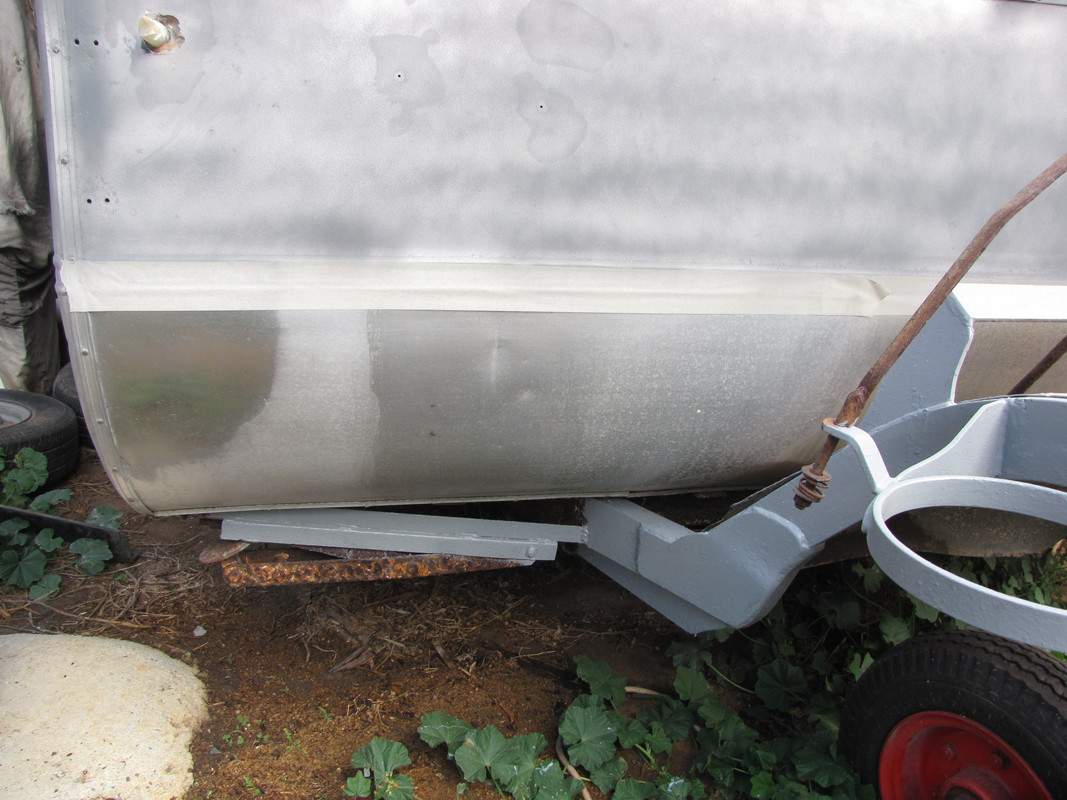 with a scotch pad to take off the worst then used an aluminium cleaner and polished a small area to see how it would come up before the weather stopped me cheers chris |
|
|
|
Post by Jennison on Apr 9, 2017 19:57:32 GMT 10
Looking at the dolly I can't believe how well it's cleaned up Chris.
All looking great
Jenno
|
|
|
|
Post by aussieute on Apr 13, 2017 18:04:51 GMT 10
 the door is the last bit of sanding to be done 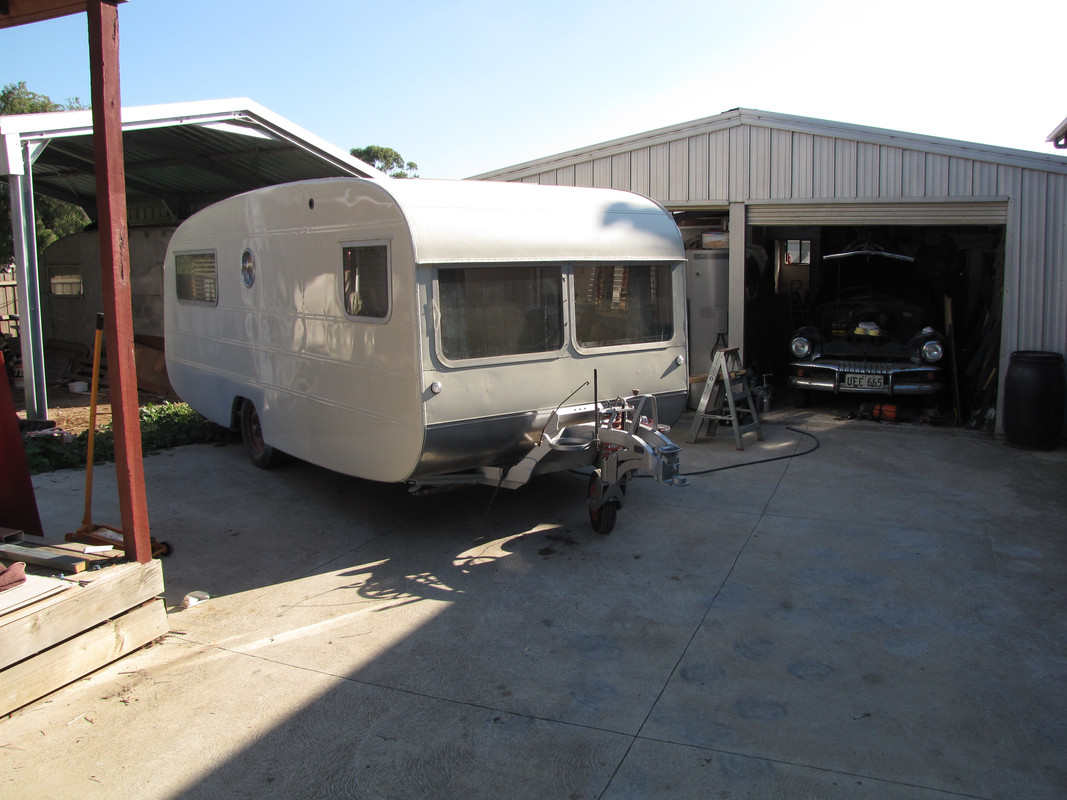  after a lot of sanding and about 800 screws that I changed I can finally see some changes adding the color to the front top and back of the van  let it dry then tackle the sides cheers chris |
|
|
|
Post by aussieute on Apr 18, 2017 18:35:43 GMT 10
finally look like I am getting some where had a busy easter with working on my van trying to get it painted before the cold weather in Victoria arrives which wont be far looking at the dew on the car this morning Lost the photos for this page
|
|
|
|
Post by aussieute on Apr 22, 2017 17:58:44 GMT 10
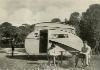
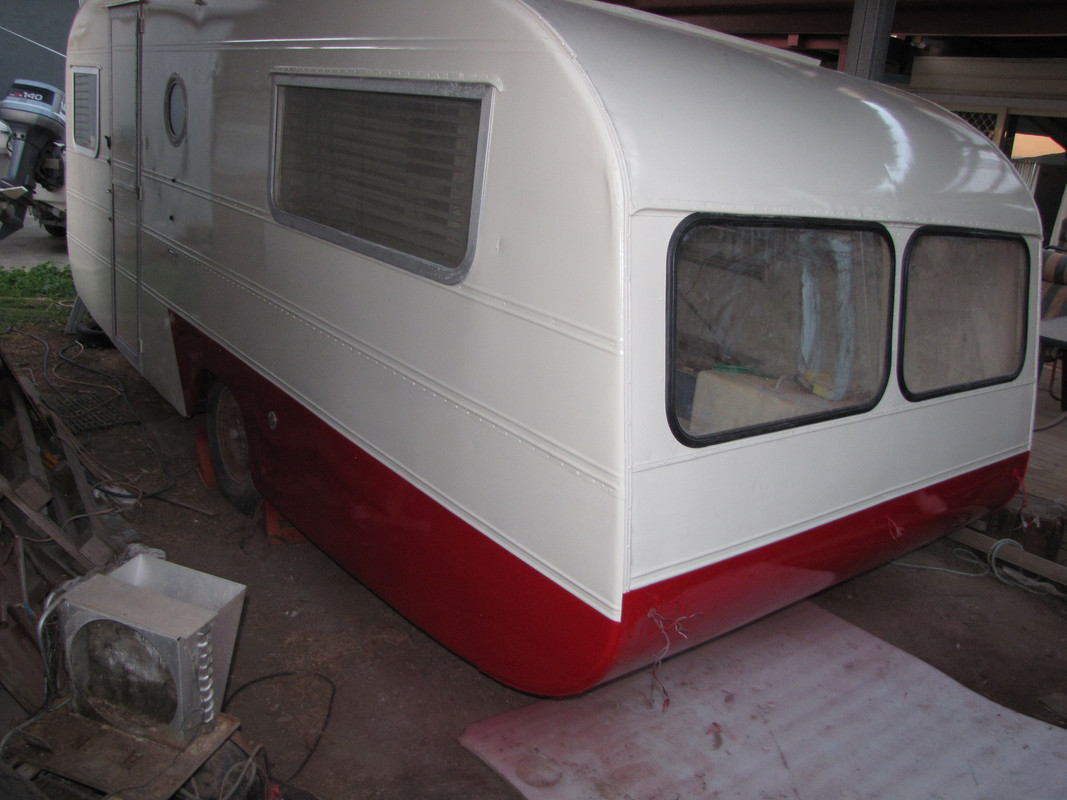  the weather held out to get the red painted it is coming along well for some reason it looks white instead of cream the first photo is the original color that was behind a trim so I got the paint chips to get a match up of as close as I could  here is a picture of what it looked like when I brought it home |
|
|
|
Post by aussieute on May 3, 2017 21:09:14 GMT 10
  the things you have to do to help the glue to stick couldn't get the same color lamenex for the shower 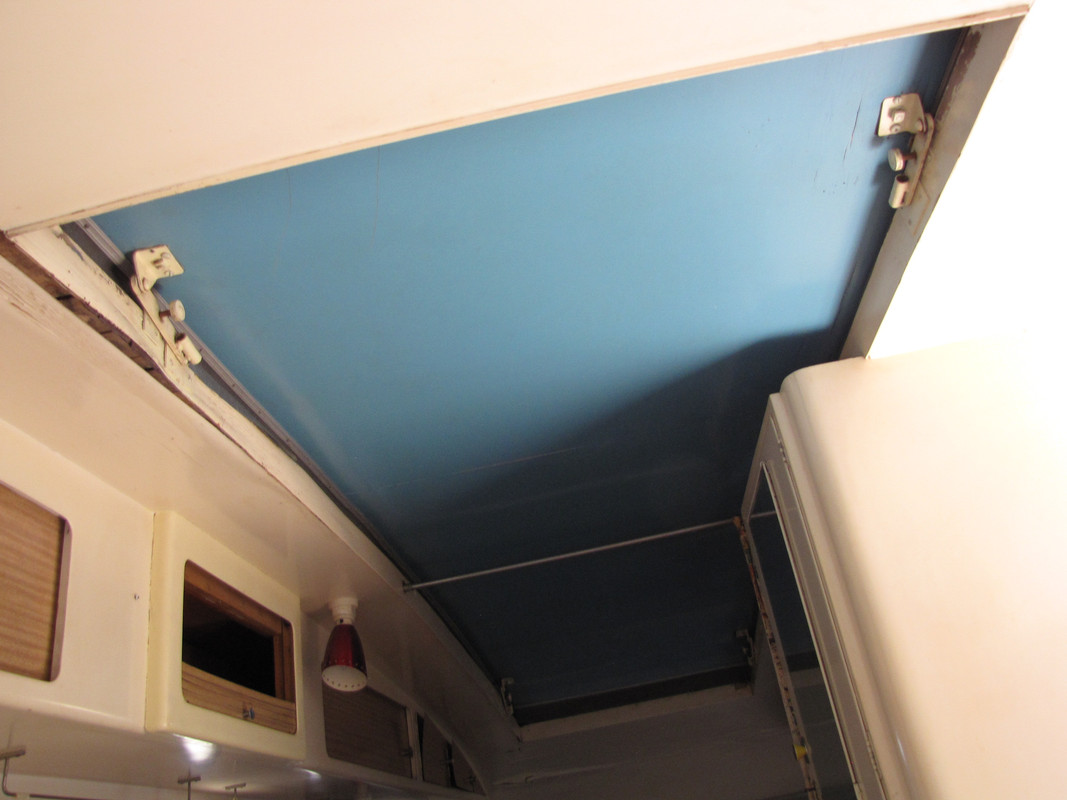  replaced the ply that had water damage in the front I was very lucky it only damaged the small part of the roof and the sides of the roof hatch ply  not like the back of the van that had to have a major repairs  but with jumping from job to job depending on the weather with outside taking the preference to beat the cold looking to try and get rego on it in the next month chris |
|
|
|
Post by aussieute on Jun 1, 2017 19:38:52 GMT 10
 jenny found some one on face book that had this poster and it just happened to be a smaller version than my 17 foot jennison pathfinder and they were willing to send us a copy it has the same striping as mine cheers chris |
|
|
|
Post by aussieute on Jul 23, 2017 17:26:34 GMT 10
 I cannot believe the time spent on cleaning up the small parts  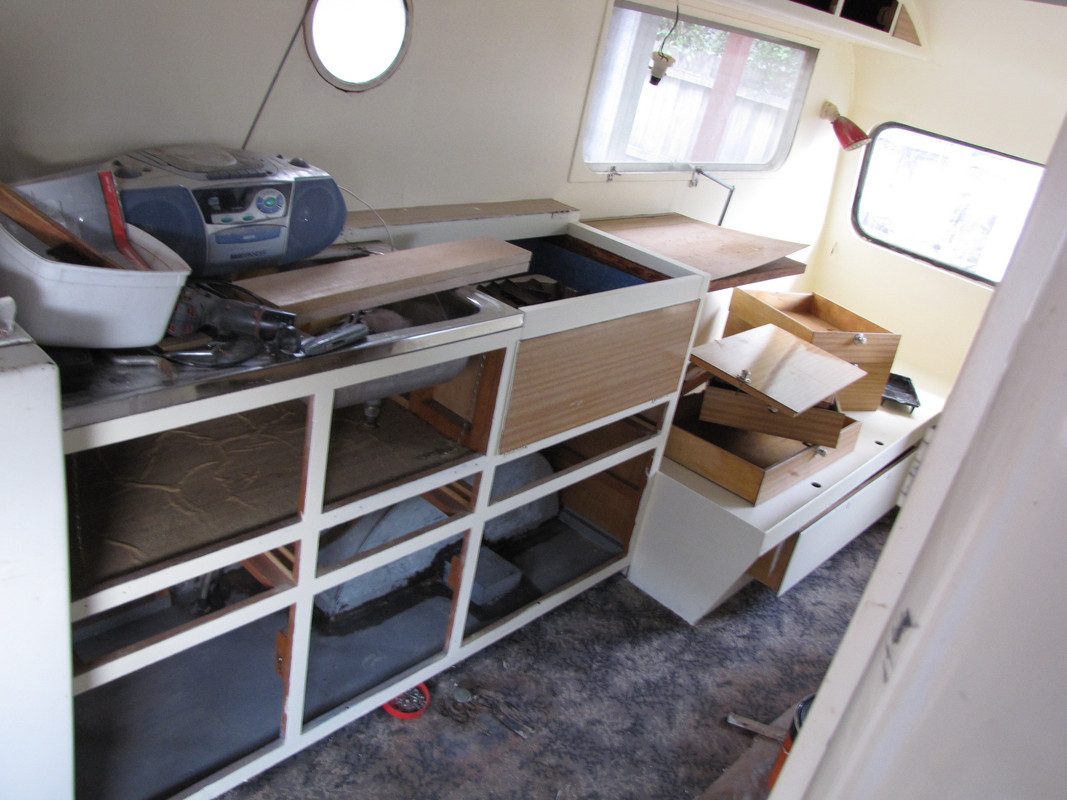 the back half of the van looking a lot cleaner with paint  I cannot believe it has taken this long to get it back to the same look as when I brought it home  but at least I don't have the ply delaminating due to water entering cheers chris |
|
|
|
Post by aussieute on Jul 23, 2017 17:38:53 GMT 10
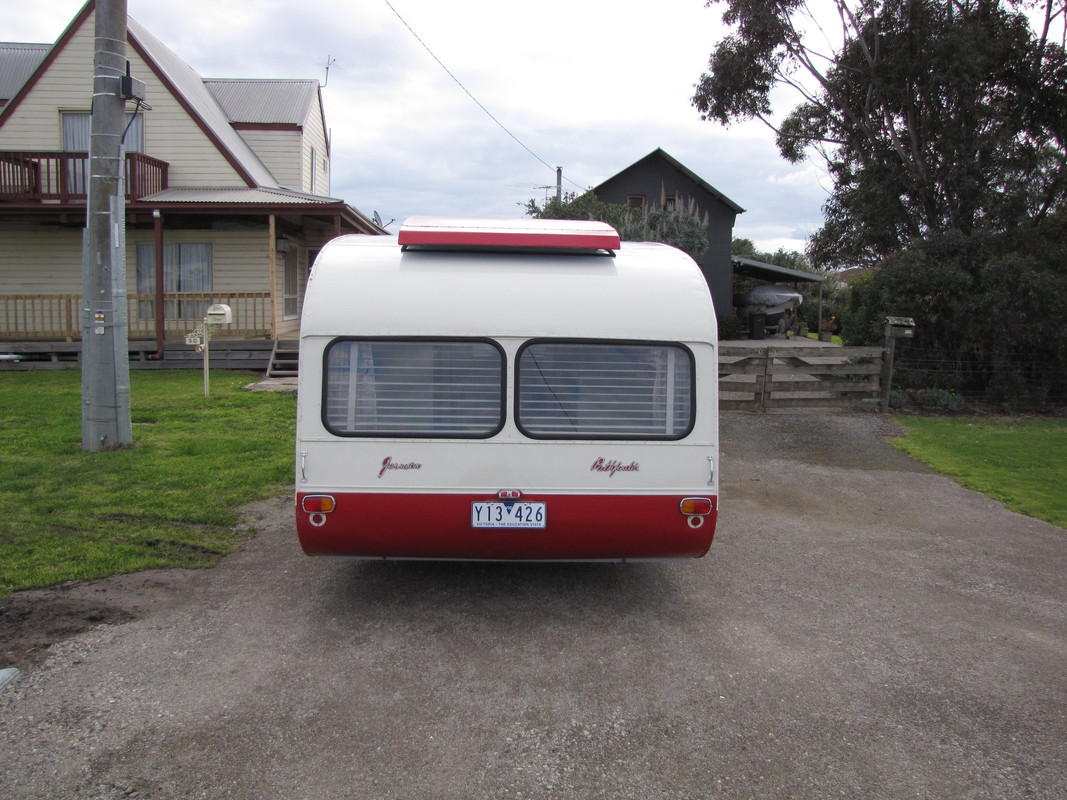
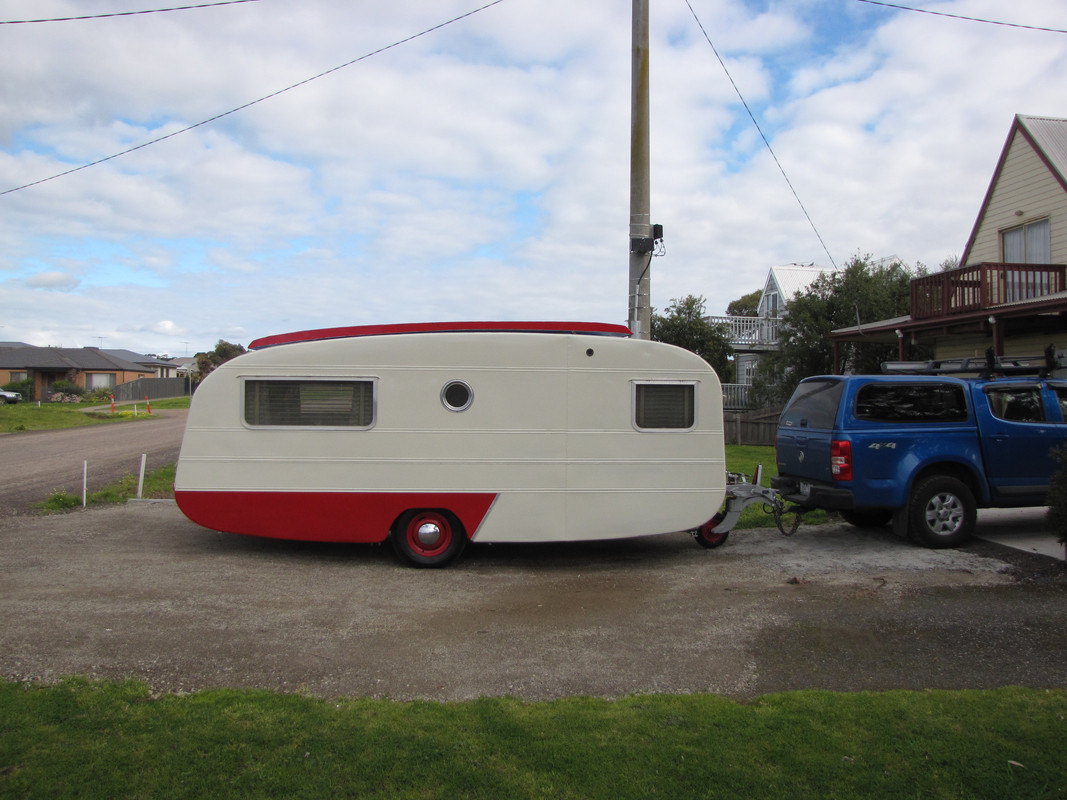
 the back of the van looking a little better with color and no tin on windows  part of the side view 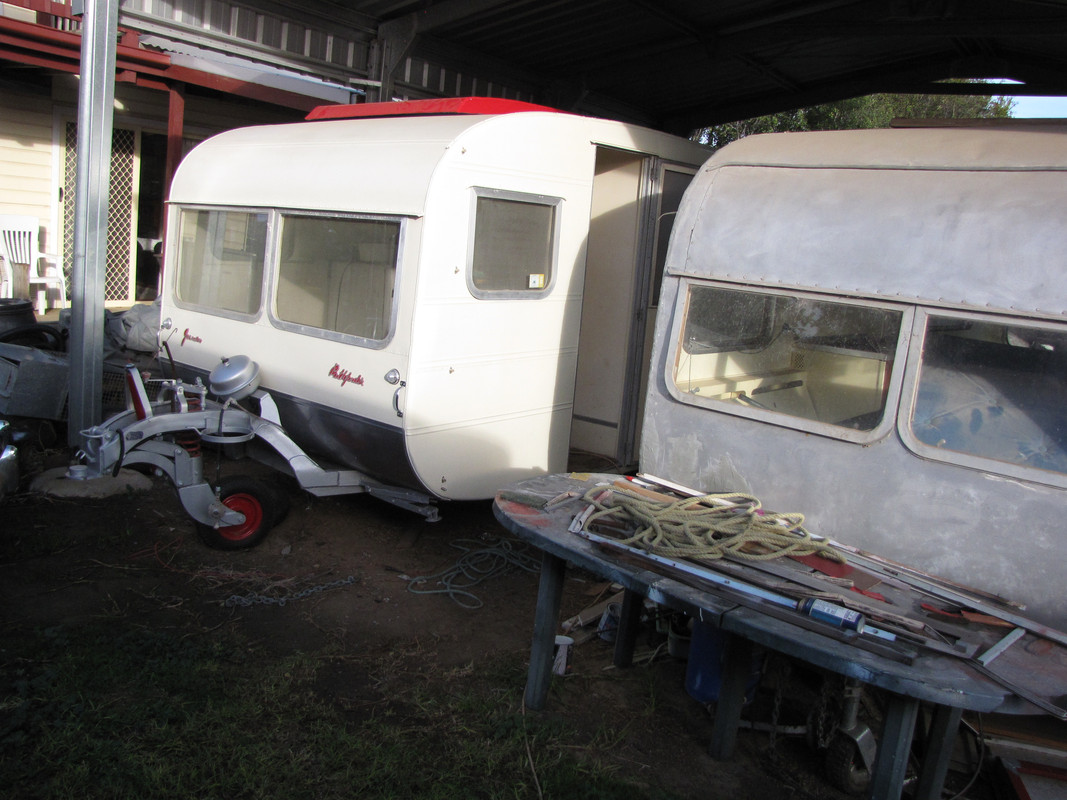 front showing the dolly wheel hope to get rego on it soon and my 14 foot jennison getting in the photo will post full outside shots when take for rego cheers chris |
|
cster
New Member

Posts: 49 
|
Post by cster on Aug 7, 2017 18:55:44 GMT 10
It does look impressive.
|
|
|
|
Post by aussieute on Aug 8, 2017 20:32:28 GMT 10
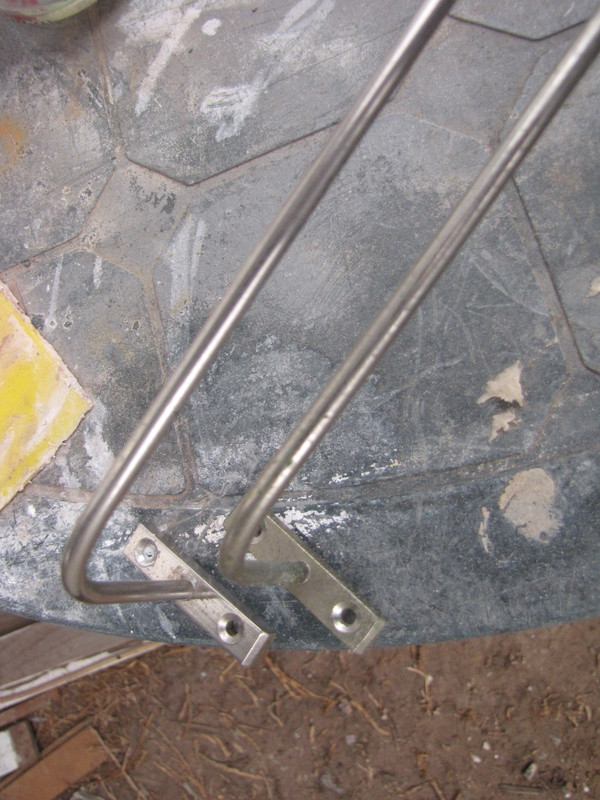
  a lot of time doing the little jobs all the hinges had been painted over cleaning them took a lot of time 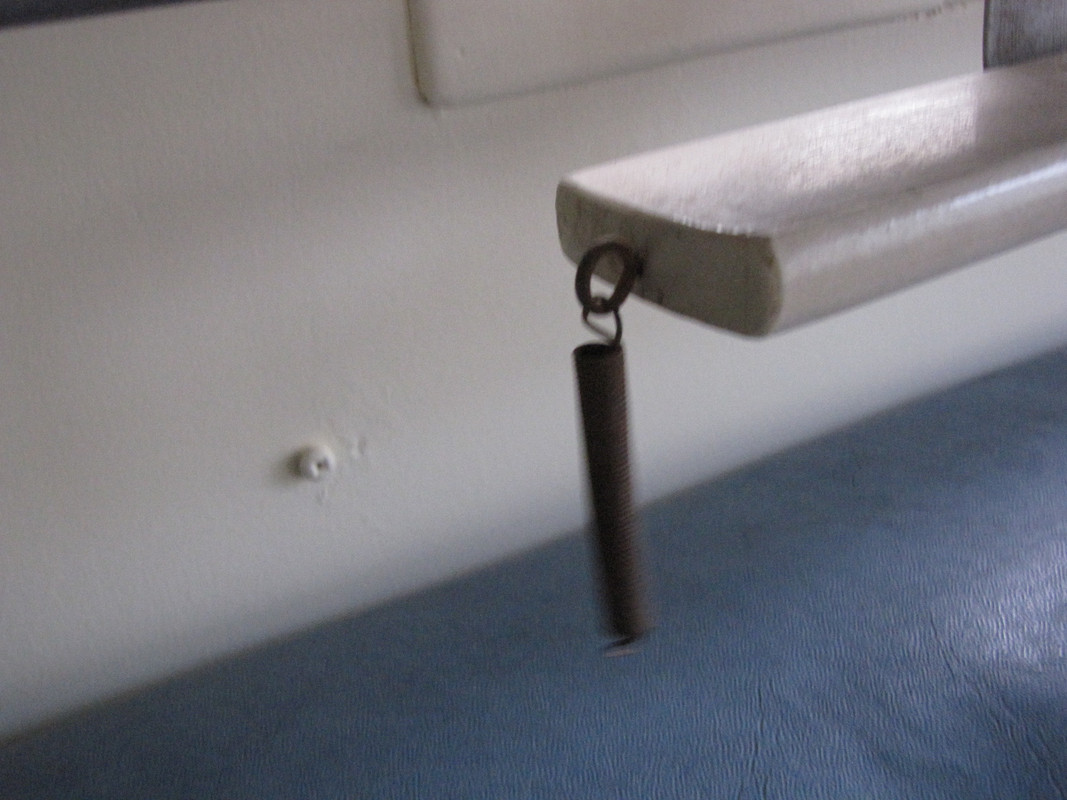  some of the blind springs were missing or rusty so replaced them all another small job most people wouldn't see cheers chris |
|
cster
New Member
Posts: 49
|
Post by cster on Aug 15, 2017 18:58:32 GMT 10
Makes a huge difference doing the little things.
|
|
|
|
Post by aussieute on Aug 16, 2017 19:36:34 GMT 10
It makes a huge difference but time just seams to disappear as you jump from job to job trying to get them ticked of the list
|
|
|
|
Post by aussieute on Aug 29, 2017 18:14:18 GMT 10
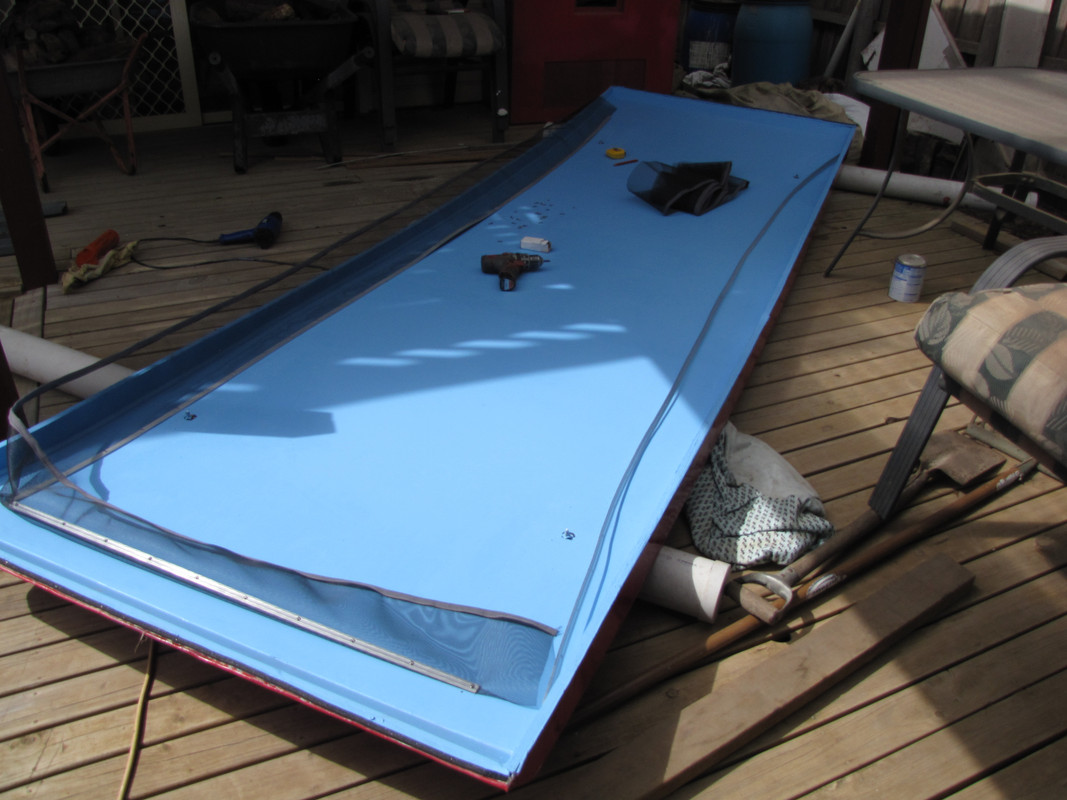
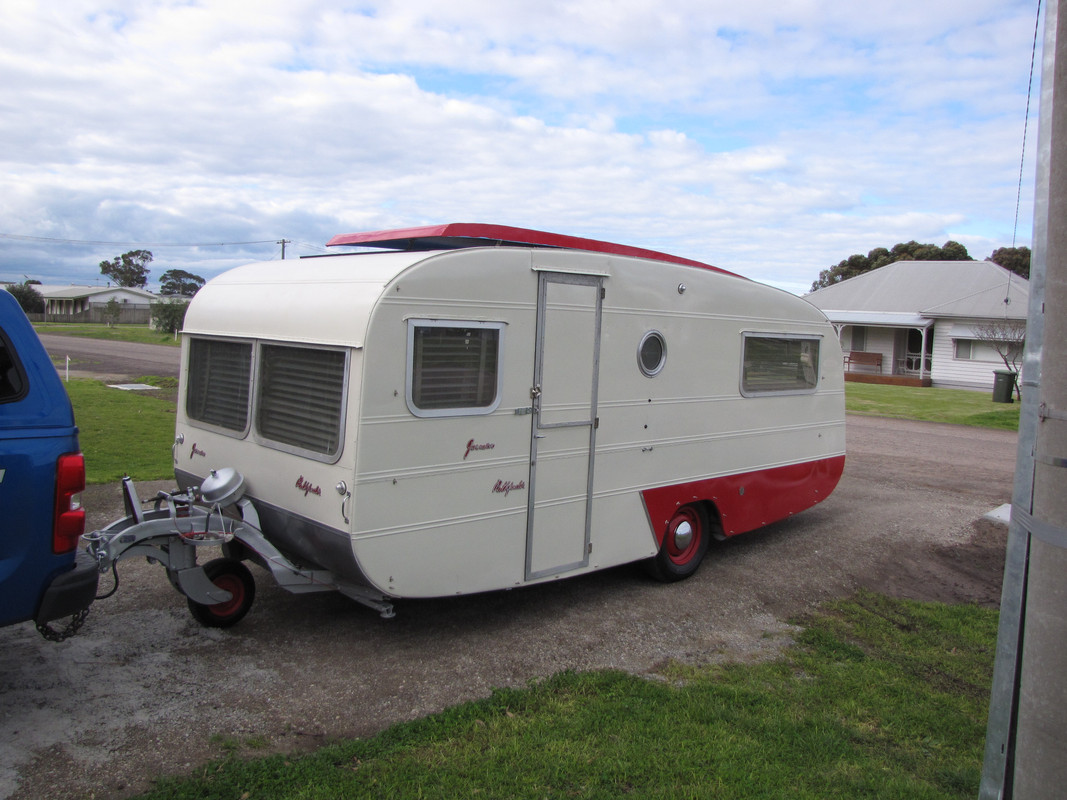 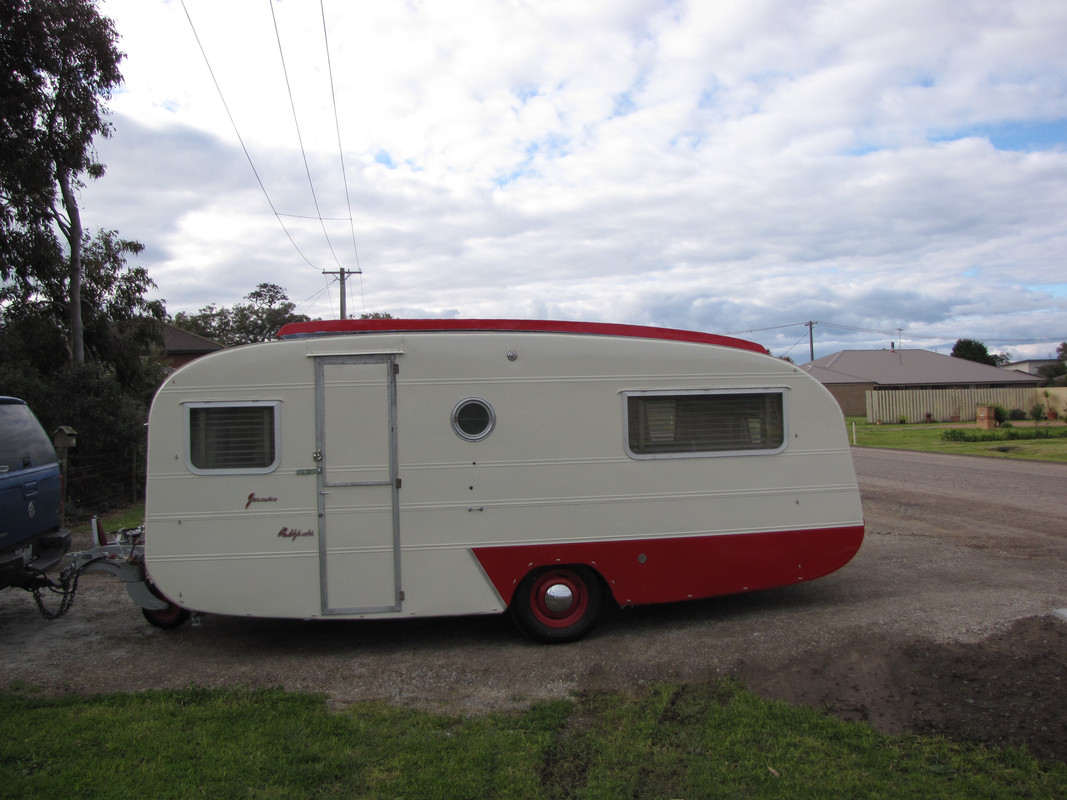   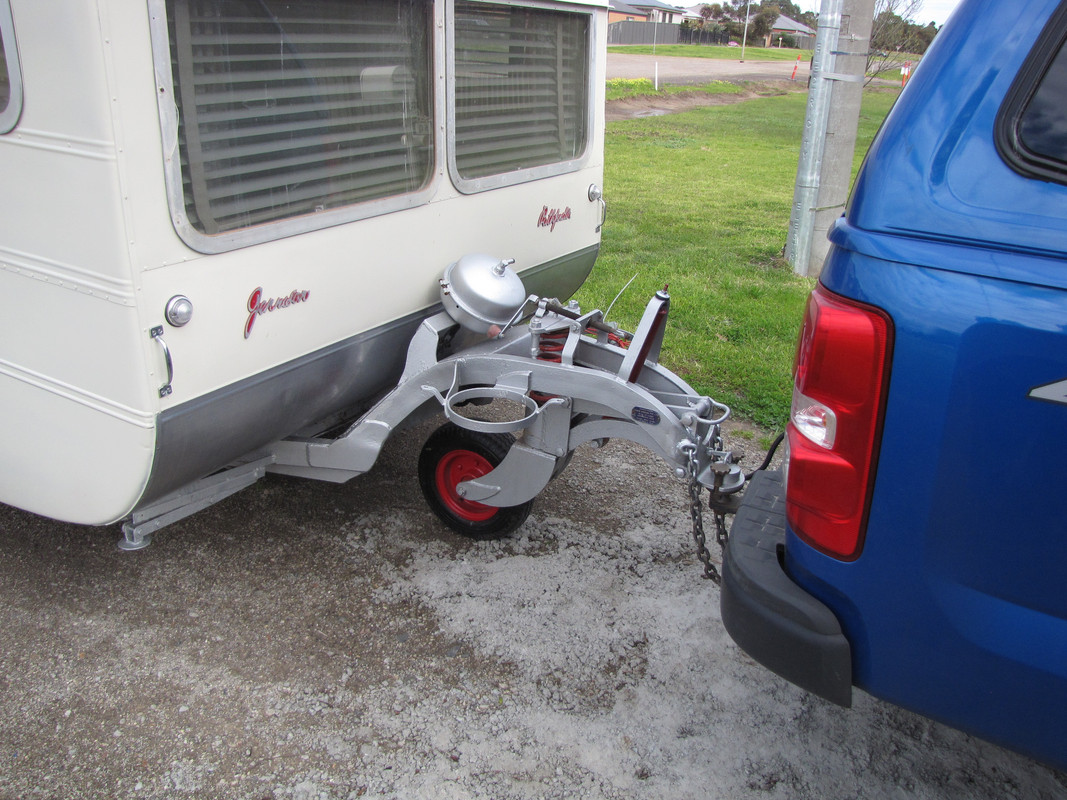 Finally got the jennison registered today four vic roads people came out to look at the dolly wheel as only one had seen one before trying to work out why it had one. Still a few more small jobs to do both in and outside it is looking like it is coming together well lifted the roof hatch to show size and had to put a seal around it to keep out the dust from the road works which have been going on for 10 months now to work on the tow car  cheers chris |
|
|
|
Post by Mustang on Aug 30, 2017 7:42:51 GMT 10
That's the largest hatch I have seen!!!!!! Excellent resto.
|
|
|
|
Post by aussieute on Aug 30, 2017 9:57:39 GMT 10
That's the largest hatch I have seen!!!!!! Excellent resto. Thanks still not happy with the way the hatch sits but it has to come off in the better weather to fit the fly wire cheers chris |
|
cster
New Member
Posts: 49
|
Post by cster on Aug 30, 2017 18:27:08 GMT 10
That is just a schmick looking van, beautiful, love to see them in such good working order.
|
|
|
|
Post by akeepsake on Sept 20, 2017 17:26:32 GMT 10
Fantastic Job Chris!! Looking forward to seeing it in the flesh!!
|
|
|
|
Post by aussieute on Oct 4, 2017 19:01:13 GMT 10
 fitting the fly screens to the roof hatch   finally got the roller door finished ready for the caravan show thursday to saturday for its first outing hope it goes well cheers chris |
|
cster
New Member
Posts: 49
|
Post by cster on Oct 9, 2017 8:25:23 GMT 10
Wow, I had not expected the Flyscreen to be like that. Had it in mind they'd be a flat screen across the whole opening.
Absolutely love the breadbox roller doors. Super Flash mate.
|
|
|
|
Post by brendanbatty on Jun 22, 2018 23:08:18 GMT 10
|
|
|
|
Post by aussieute on Jun 23, 2018 9:50:58 GMT 10
Thanks Brendan there is a lot more work in the 30 ft beast hope it will come up as good as this one great video it's good to see the dolly wheel working as towing it you know it works but not sure as how Good got to sell some of the other vans as this one will take up a lot of time again Jenny put me on to this one with a quick trip to Sydney to see if we could find it is nothing in Victoria cheers chris
|
|


 cheers chris ù


 not like the back of the van that had to have a major repairs


 cheers chris

