|
|
Post by jp63 on Oct 20, 2015 21:07:41 GMT 10
So we finally bit the bullet and bought our first vintage van project. 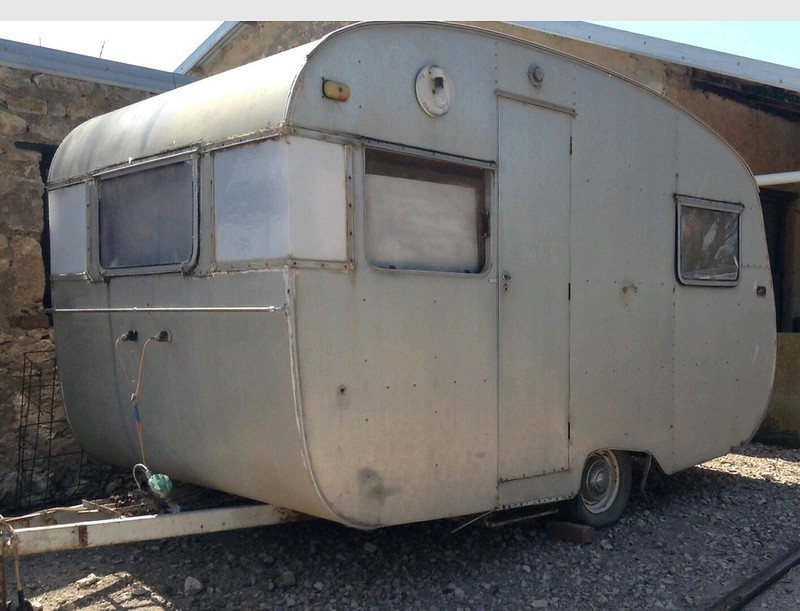
According to the rego papers she is a 1962 12 ft Harris Van. She has previously been posted in the CH Gray thread (The 4th post) on the forum as she was built by C H Gray for Harris (you can just make out the faint outline of the Harris Van sticker above the front windows) The previous owner was no longer in the position to restore her and unfortunately she is a little worse for wear with rot below the front window and a seemingly small amount around the hatch, but we are bound to find more. we also lost a window during the 300km trip home when we hit a head wind just outside Pt Wakefield which was a bit of a bugger but the plan was to replace them anyway. 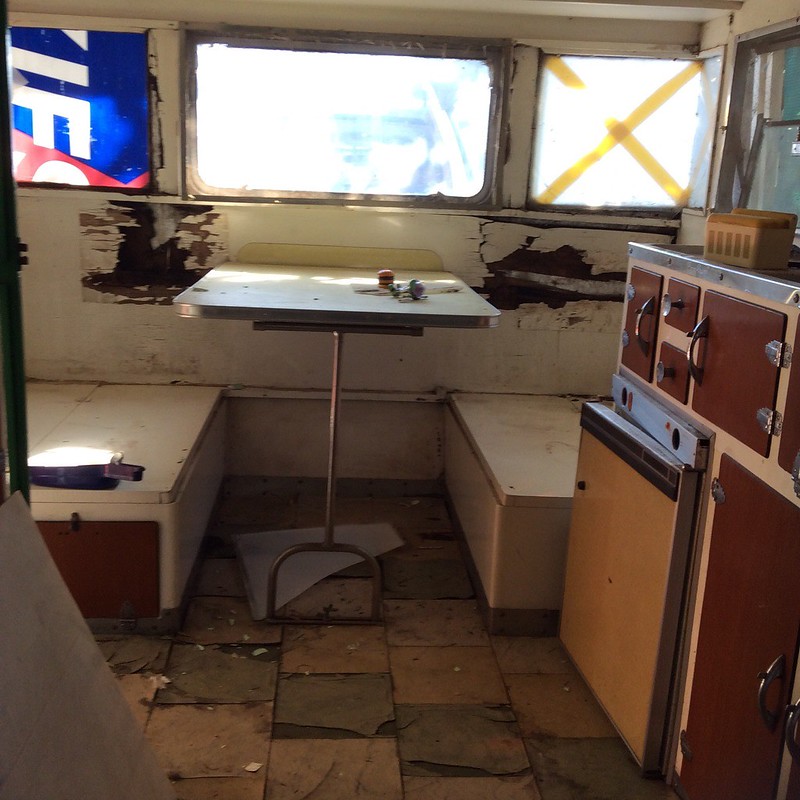
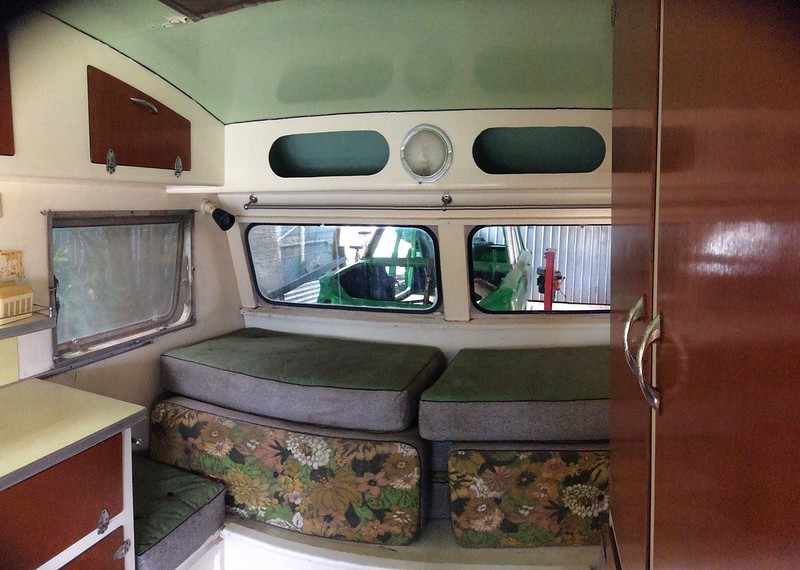
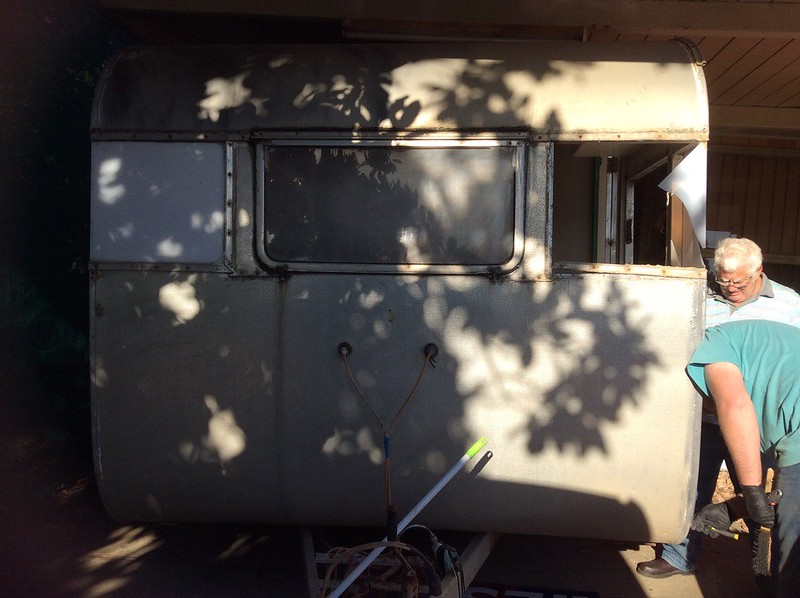
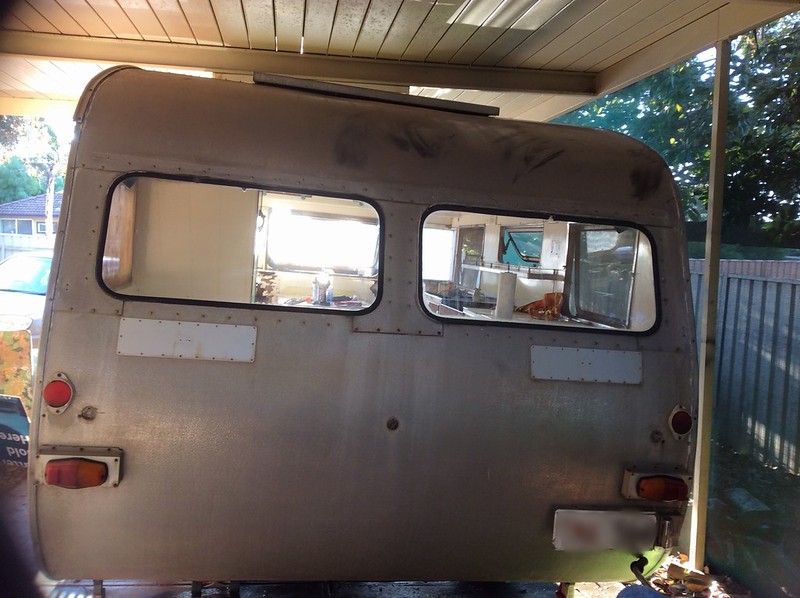
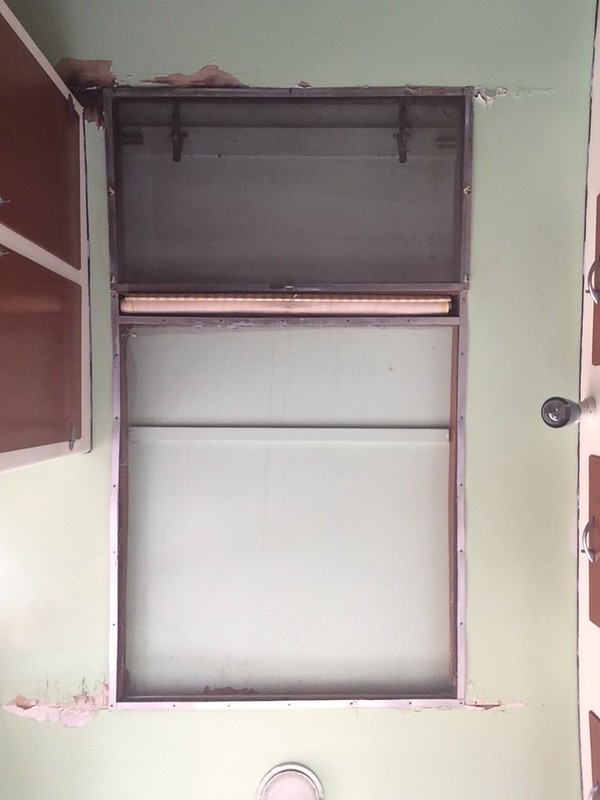
We are bound to find more as we go along but we are taking it one panel at a time and hopefully before long she will be creating many more happy memories for us and the kids. |
|
|
|
Post by jp63 on Oct 22, 2015 20:39:43 GMT 10
Almost a week in and the fun has begun. All the floor tiles have been pulled up and thankfully the floor underneath is solid with not a soft spot in sight which was a bit of a relief I must say. 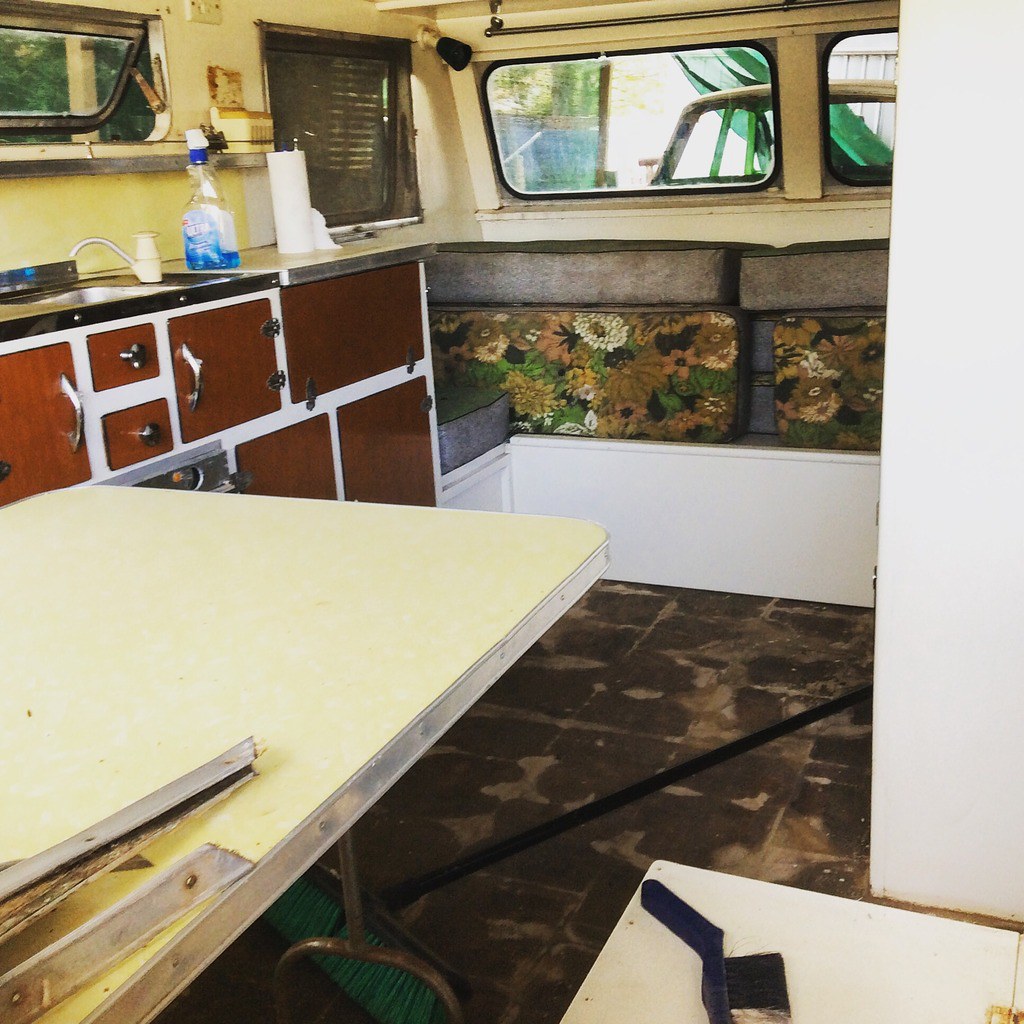 Next thing is to tackle the rot under the front windows. Tonight the front cladding came off and what was left of the frame and ply came out. [/a]  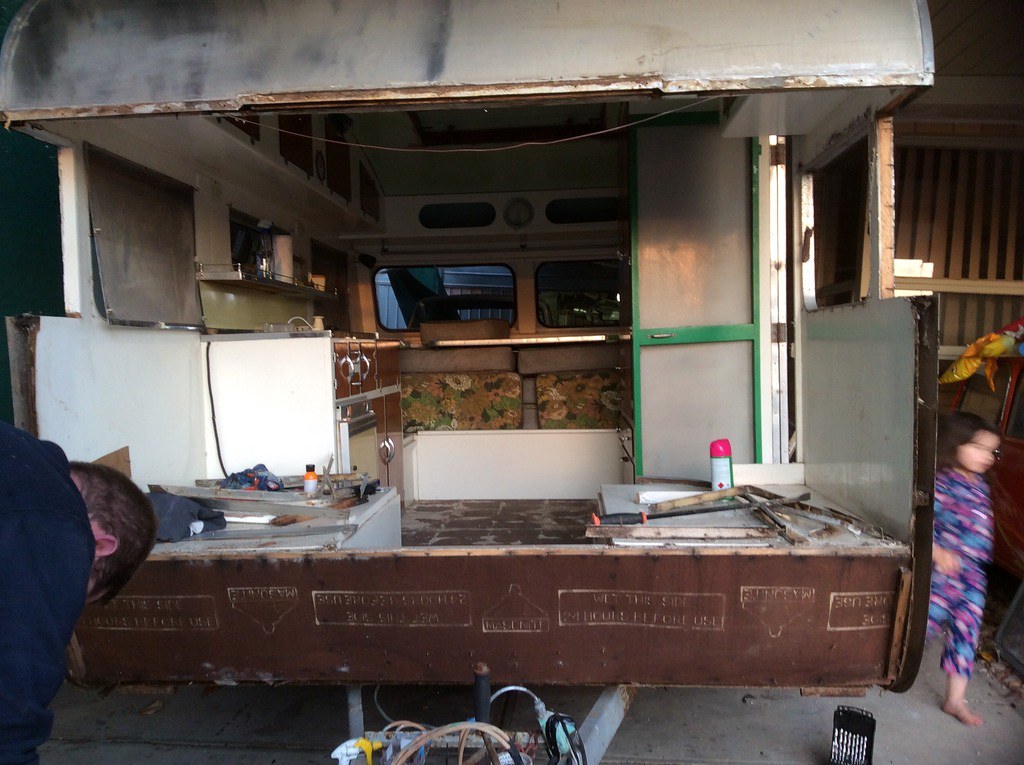 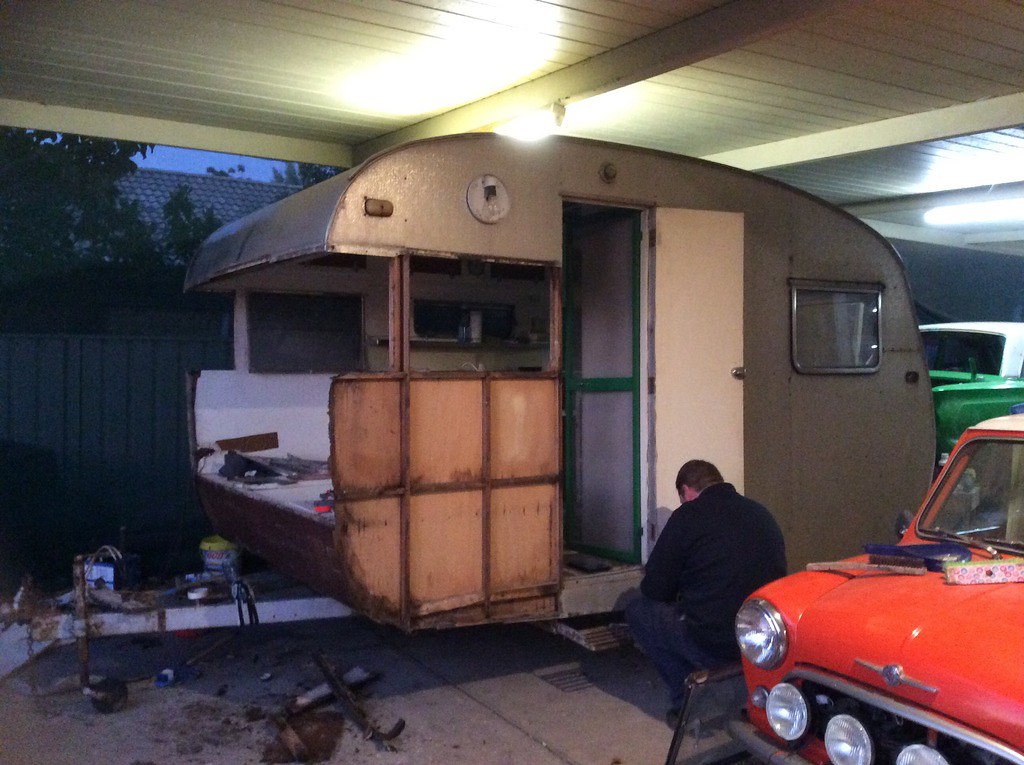 All the wood for the frame turned up today also so the plan for the weekend is to hopefully make a decent dent in the framework. Wish us luck! |
|
|
|
Post by jamesandbel on Oct 23, 2015 6:57:48 GMT 10
Hi Guys,
Great to see another Harris VV on here. Some of the journey will be frustrating but you will enjoy it. Great bunch of guys on here that will answer any questions you have.
I will be following with interest.
Regards
James and Bel
|
|
|
|
Post by jp63 on Oct 23, 2015 10:33:11 GMT 10
Hi Guys, Great to see another Harris VV on here. Some of the journey will be frustrating but you will enjoy it. Great bunch of guys on here that will answer any questions you have. I will be following with interest. Regards James and Bel Thanks jamesandbel we are really looking forward to the adventure and know it will be worth it in the end. Your resto was amazing I hope we can do ours even a little bit of the justice you did yours. |
|
|
|
Post by jp63 on Oct 25, 2015 20:28:55 GMT 10
A little bit of progress on the van this weekend. 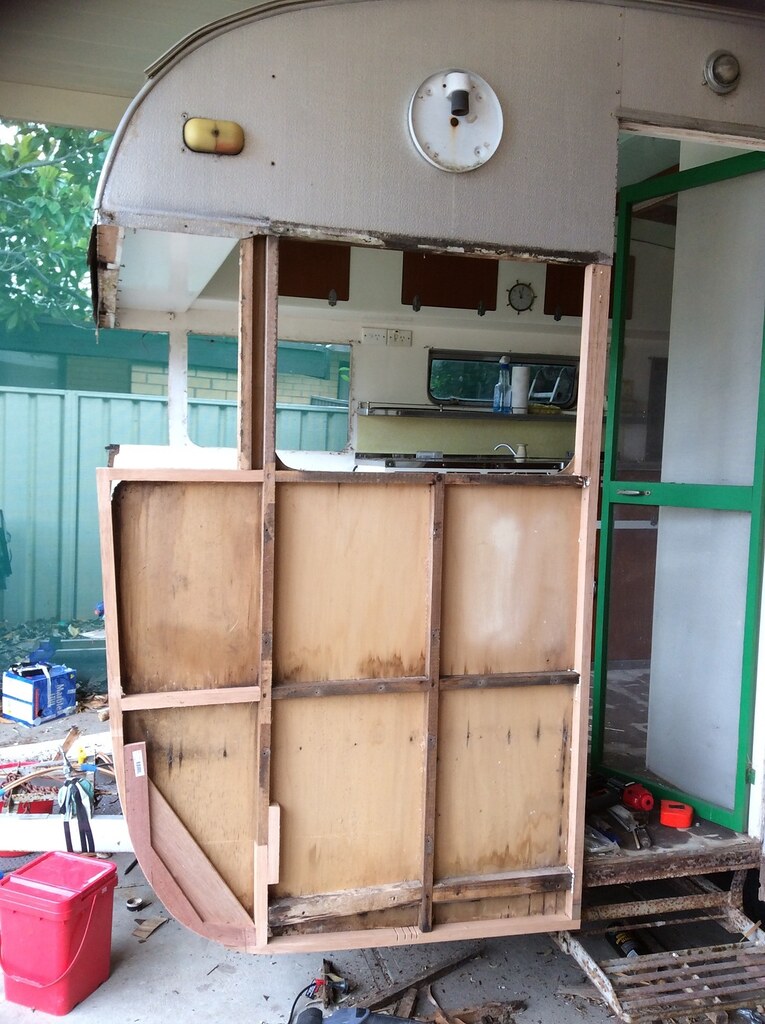 One corner down and the 2nd started hopefully it won't be too long before the front can go back on and we get the new front windows ordered and in. 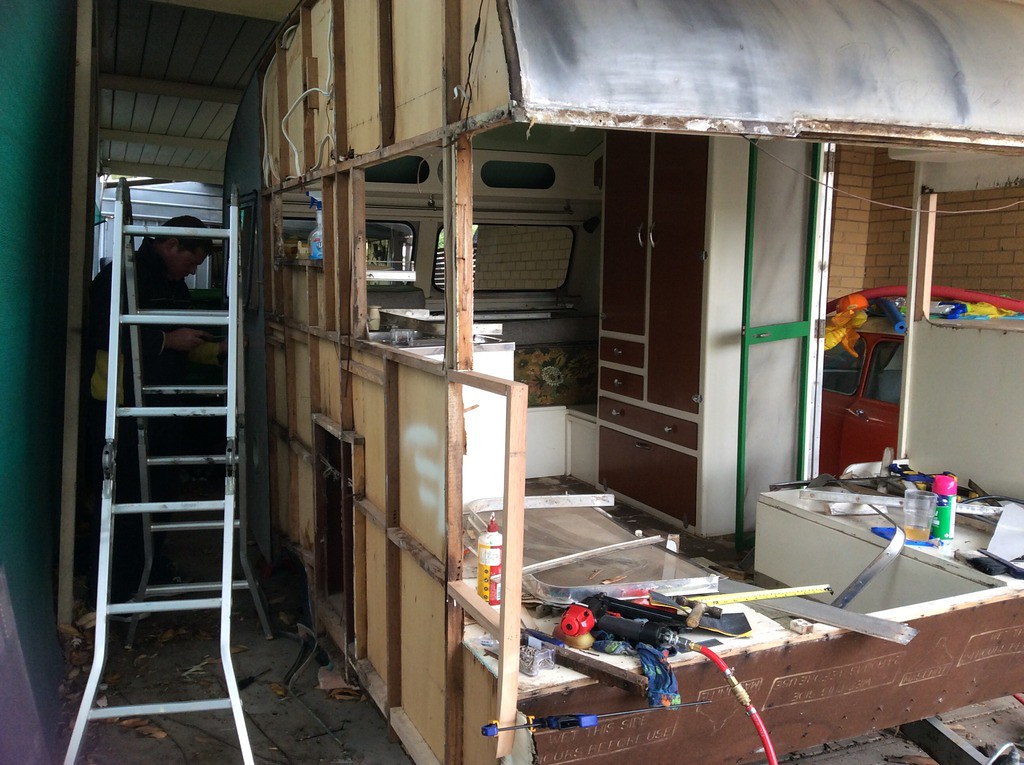 We started to take all the cladding off the right side so that the new wiring can be ran and to see what we where dealing with at the back. As we suspected there is some rot in the back corners also around the wheel arch and along the bottom strip. hazarding a guess the left will be much the same.  20151027_163026_zpsuond4xvb 20151027_163026_zpsuond4xvb by in.kognito, on Flickr While out getting another 2mm taken of the wood for the sides (don't ask  ?) the husband came home with some vinyl floor tiles that where found in the deep dark corners of the flooring shops that look straight out of the 60s . The color is pretty close to the table top and splash back but I'm not completely sold on them. for 50c a tile though they are probably a suitable option but we will see how it goes.  we also traced around the faint outline of the "Harris Van" decal on the front to make a template for a replacement. 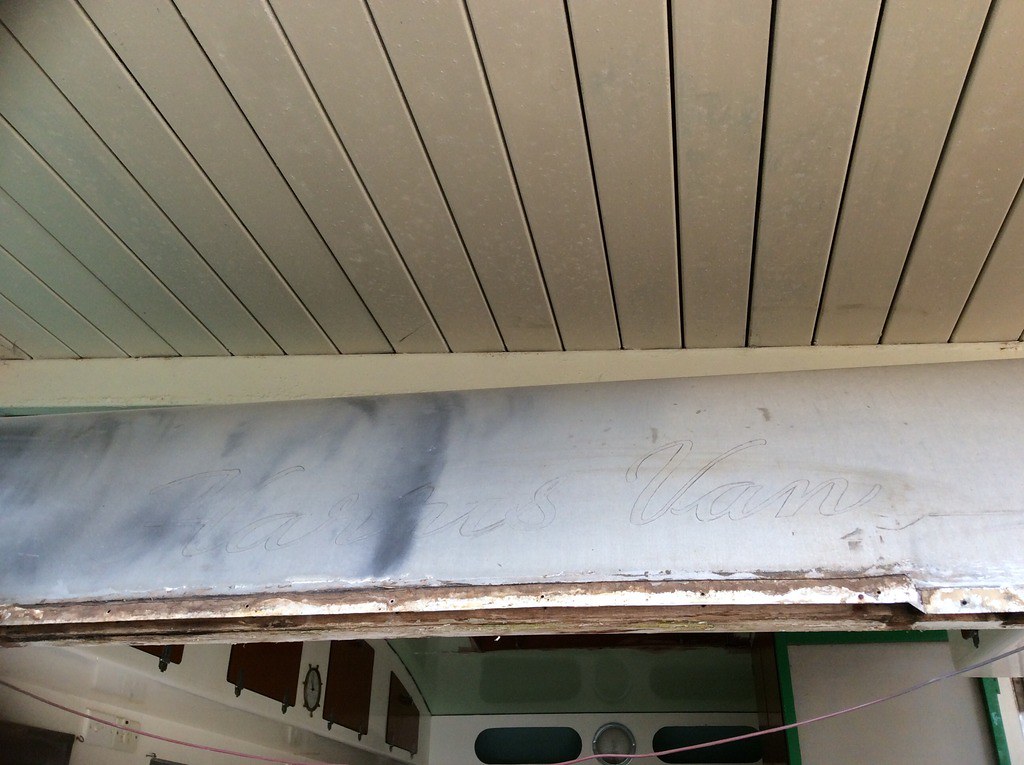 Ordering some more timber timber tomorrow so hopefully over the next week/weekend we can get through some more of the framing and a little bit closer to making her watertight. |
|
|
|
Post by jp63 on Oct 28, 2015 9:26:23 GMT 10
A bit more progress on the Harris over the last couple of nights. Both front corners are now replaced and with the frame starting to go in the front is starting to resemble a caravan again. Hopefully in the next week or so it will be ready for the new perspex to go in. 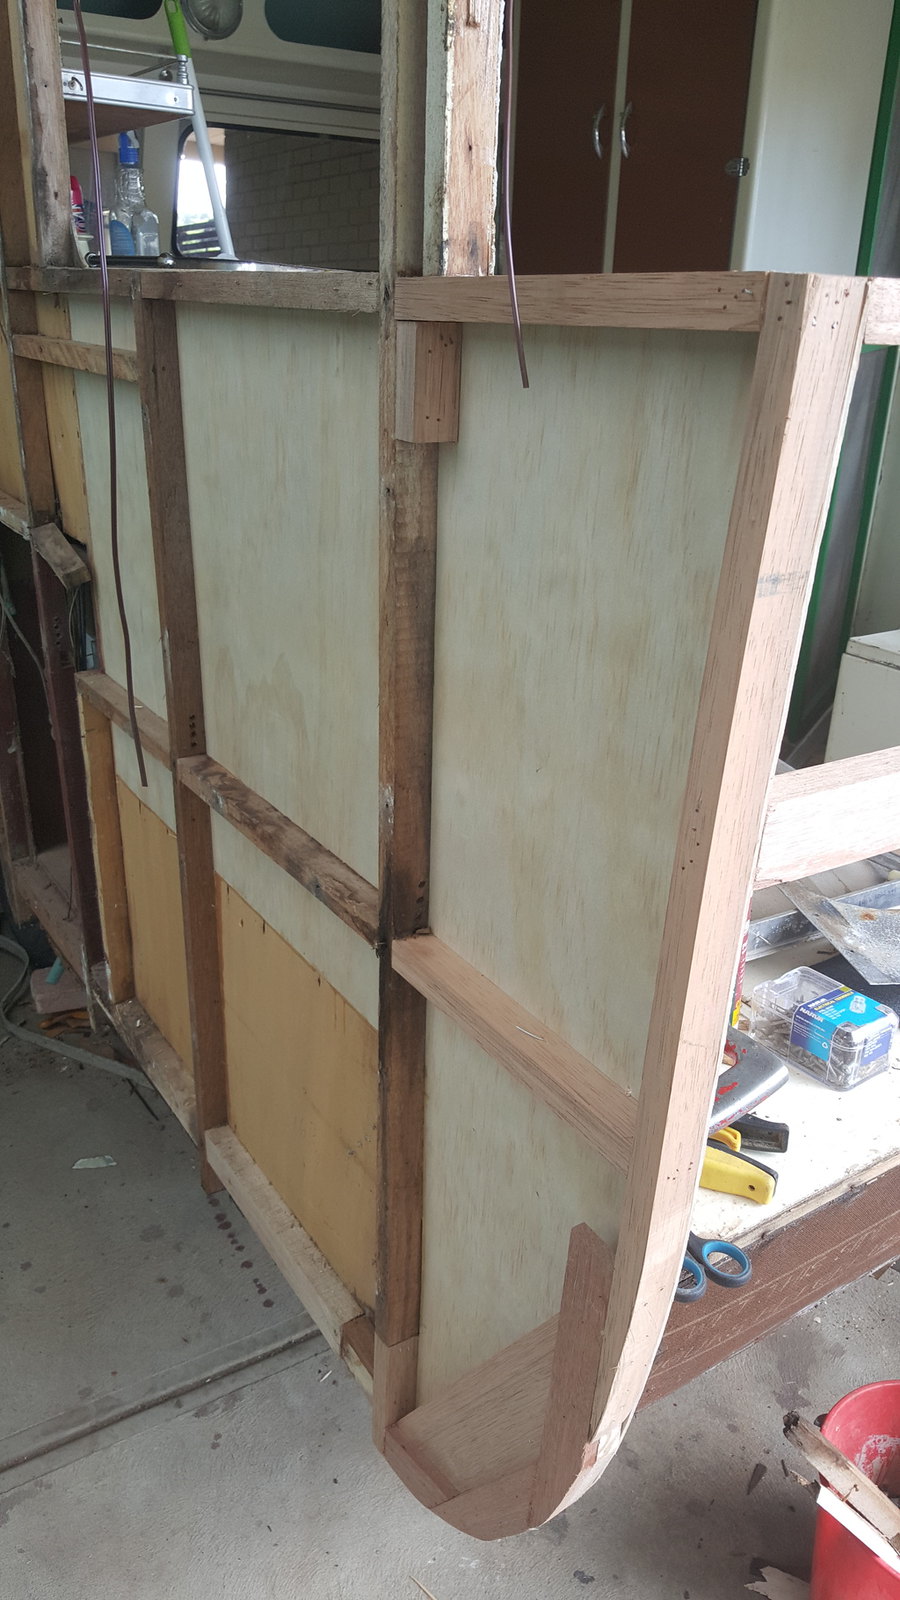 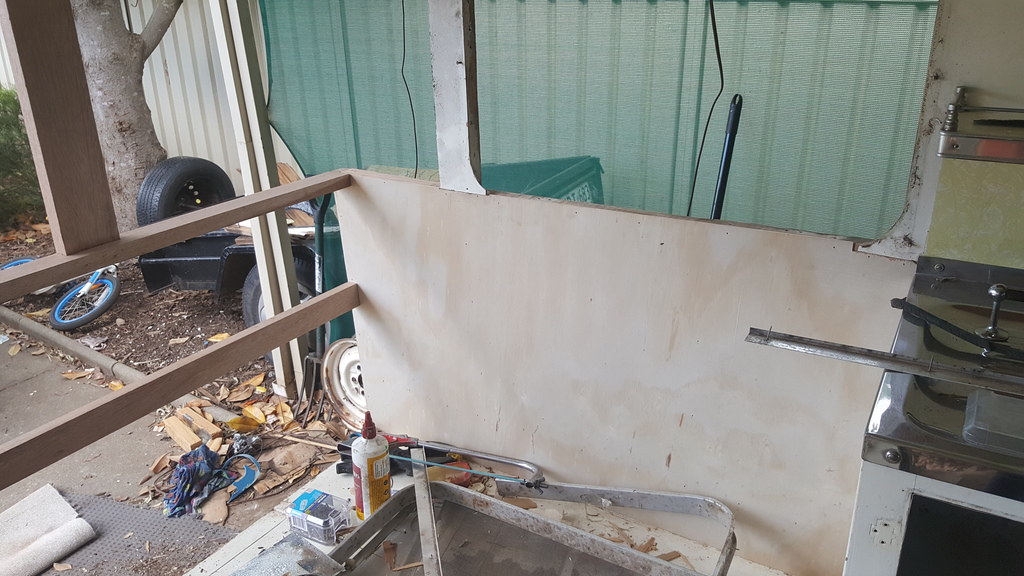 [ 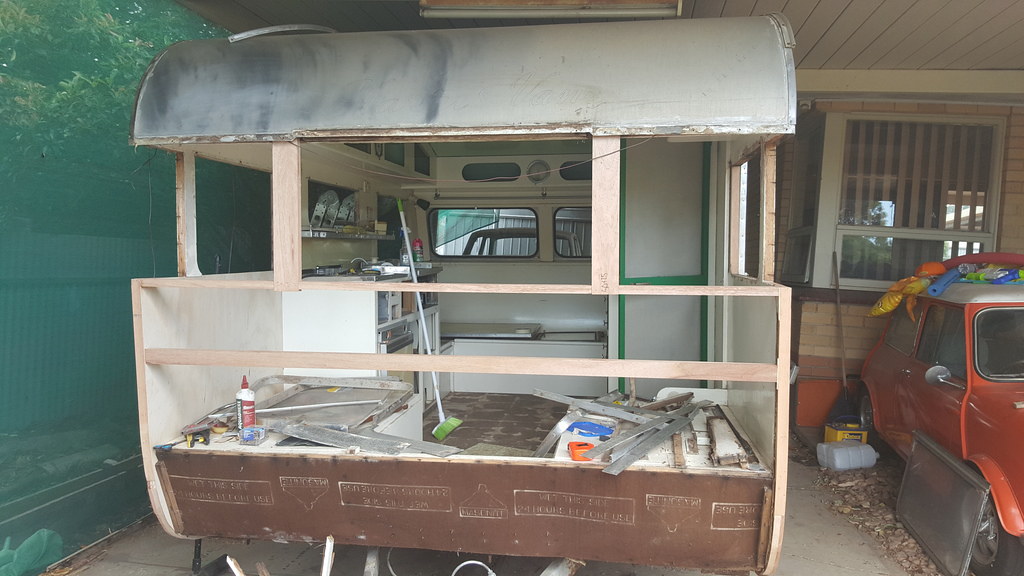 With the front a bit more secure and stable, I have started to remove all the internal doors, lights etc getting ready to start the sanding. 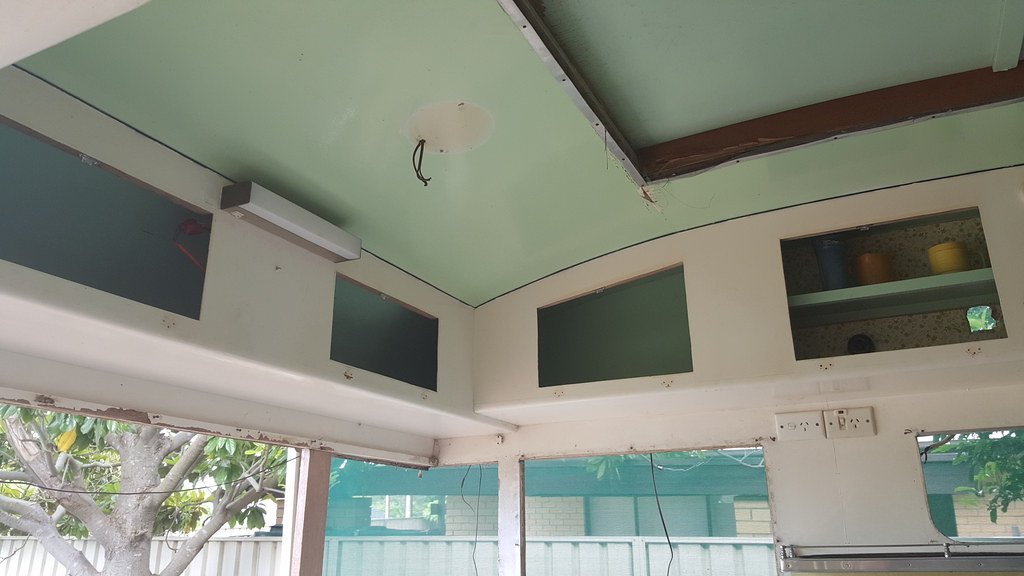  I also started to clean up the cushions and the vinyl is in pretty good shape and the original fabric is still under someone's attempt at recovering them but unfortunately quite it's fragile and for the most part not in that great a condition so the hunt for something to recover them begins. Im hoping I can find something age appropriate but I'm fast finding out that is easier said than done but I'm not giving up yet. 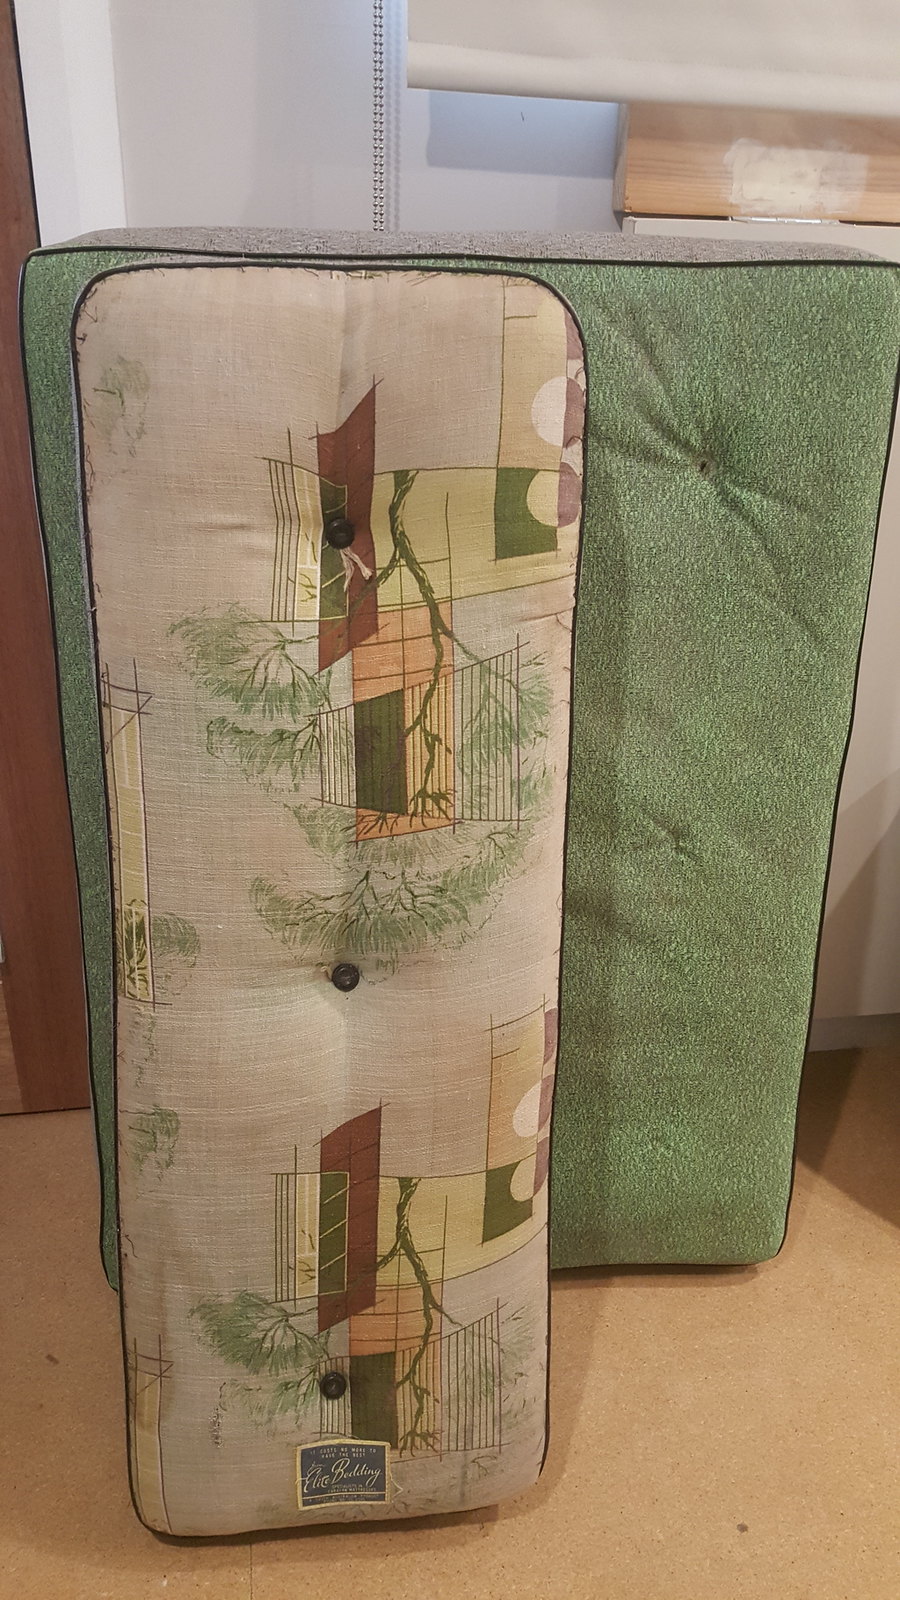 next job on the list is the wheel arches and rear corners hopefully they go as smoothly as the front. |
|
|
|
Post by akeepsake on Oct 28, 2015 11:26:58 GMT 10
Great job so far well done! Hit eBay and search under atomic fabric as there are heaps of vintage fabric similar
Cheers Andrew
|
|
|
|
Post by jp63 on Oct 28, 2015 13:40:20 GMT 10
Great job so far well done! Hit eBay and search under atomic fabric as there are heaps of vintage fabric similar Cheers Andrew Cheers for that. I'll check it out. Suzanne |
|
|
|
Post by seeshell on Oct 28, 2015 17:28:26 GMT 10
Hi jp63
Another option for fabric, if you do want something that will stand up to a bit of work, and be vintage appropriate is to search for old curtain drops. Usually heavier fabric, and will be in the unusual patterns that just don't seem to be repeated in modern fabric.
Best of luck!
Seeshell
|
|
|
|
Post by jp63 on Oct 28, 2015 19:16:00 GMT 10
Hi jp63 Another option for fabric, if you do want something that will stand up to a bit of work, and be vintage appropriate is to search for old curtain drops. Usually heavier fabric, and will be in the unusual patterns that just don't seem to be repeated in modern fabric. Best of luck! Seeshell Thank you! That might be the best option. Im not keen on most of the modern vintage style fabrics and proper vintage fabric is so expensive and only in smaller amounts I found some in a similar style to the original and the price worked out to over $100 p/m I like the original style but not that much! |
|
|
|
Post by shesgotthelook on Oct 28, 2015 20:20:49 GMT 10
Finding the right fabric is very, very difficult. I even had a dream I travelled back in time to buy the right vinyl! That's how stressed out I got about it  . The upholsterer I was using at the time, refused to re-use some of my vinyl for my side wall panels so I ended up doing it myself. Such a shame they don't make these fabrics any more. |
|
|
|
Post by jp63 on Oct 28, 2015 20:28:14 GMT 10
Finding the right fabric is very, very difficult. I even had a dream I travelled back in time to buy the right vinyl! That's how stressed out I got about it  . The upholsterer I was using at the time, refused to re-use some of my vinyl for my side wall panels so I ended up doing it myself. Such a shame they don't make these fabrics any more. Tell me about it! I wish they where still made, it would make it so much easier. I think the husband is sick of hearing me waffling on about the cushion fabric haha. |
|
|
|
Post by shesgotthelook on Oct 28, 2015 20:31:00 GMT 10
|
|
|
|
Post by jp63 on Oct 28, 2015 21:00:38 GMT 10
Haha. Not quite what I had in mind but that could work, the colours are pretty close. I'll keep an eye on that one Thanks. |
|
|
|
Post by Don Ricardo on Oct 29, 2015 21:35:44 GMT 10
Hi Jp63, Great to read your first post on this thread confirming that your C H Gray-built van is indeed a Harris branded caravan. It is always nice to be able to put a few pieces of the V V jigsaw puzzle together and learn a bit more about who did what, when and how in the caravan industry. Great also to see the photos of the restoration work you are doing. Looks as if it will come up a treat!    Don Ricardo |
|
|
|
Post by jp63 on Nov 1, 2015 8:23:24 GMT 10
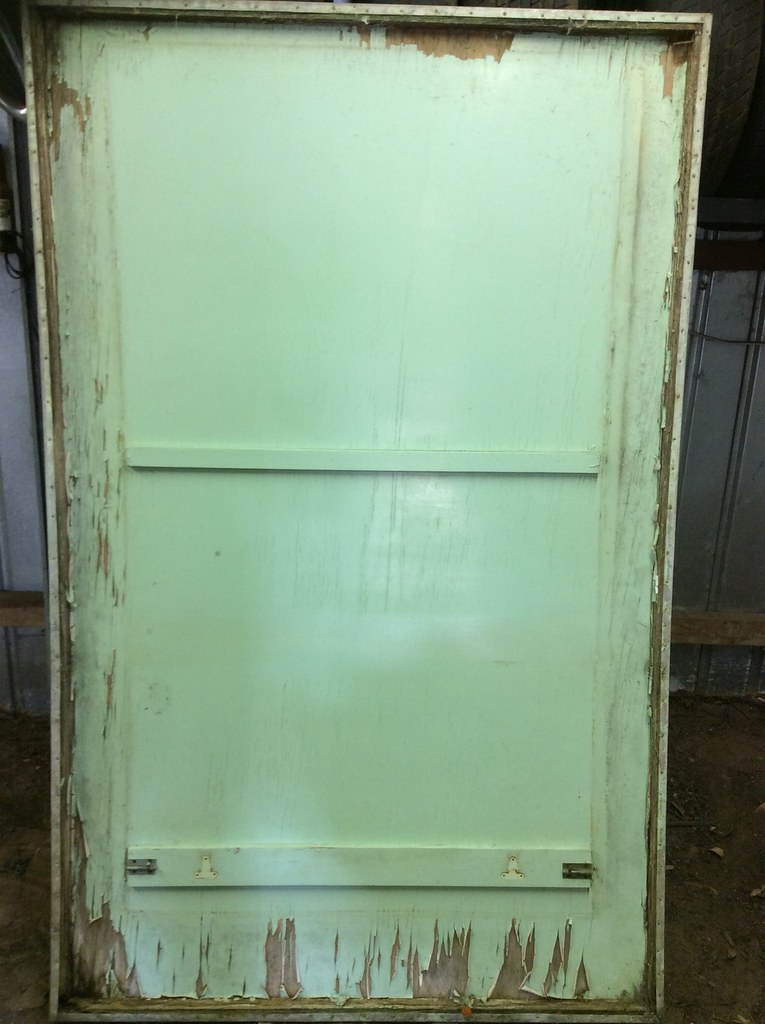
So we are now 2 weeks in to our VV resto. This is weekend has seen the front begin to resemble a caravan again with the frame and ply going in. We did have a little issue with the right side bowing up around 10mm but after a few strong words a bit of gentle persuasion it is now back where it should be.  [  After cutting the wood for the right side wheel arch and putting in place the husband discovered that it had all been cut to 33mm instead of 31mm.... A few more strong words and a date with the sander later we now have one well fitting wheel arch. The wiring for the rear lights has also been ran. 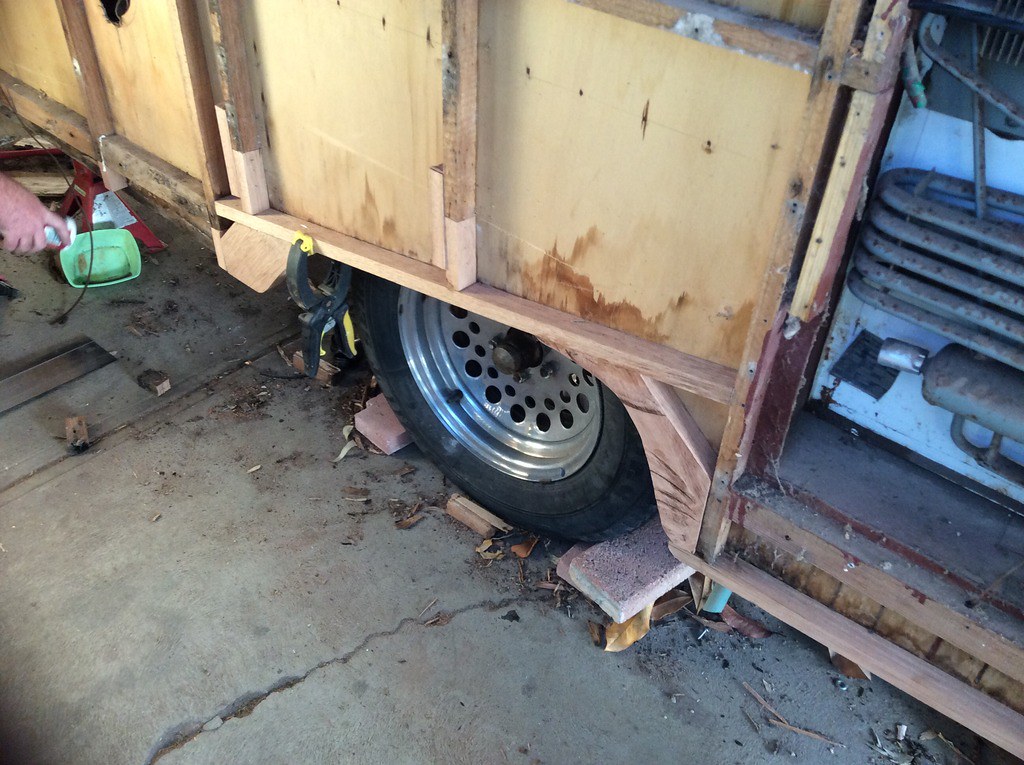 [ Out of curiosity the hatch was also pulled off and there is not much wood left in it and will also need to be reframed. 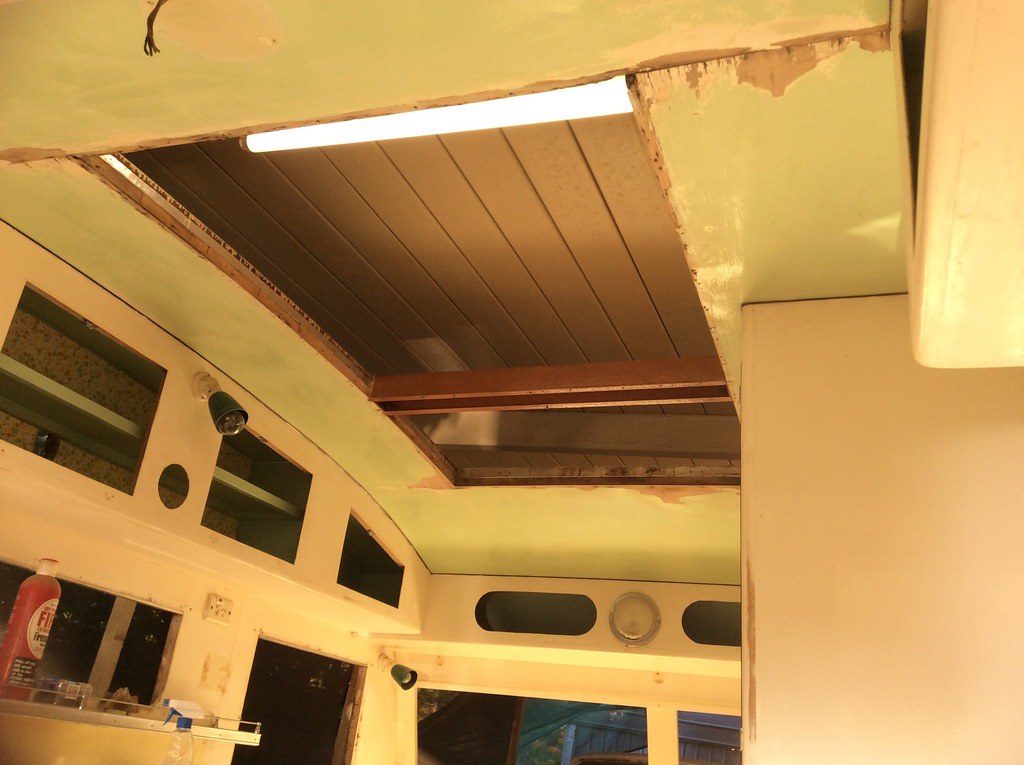
 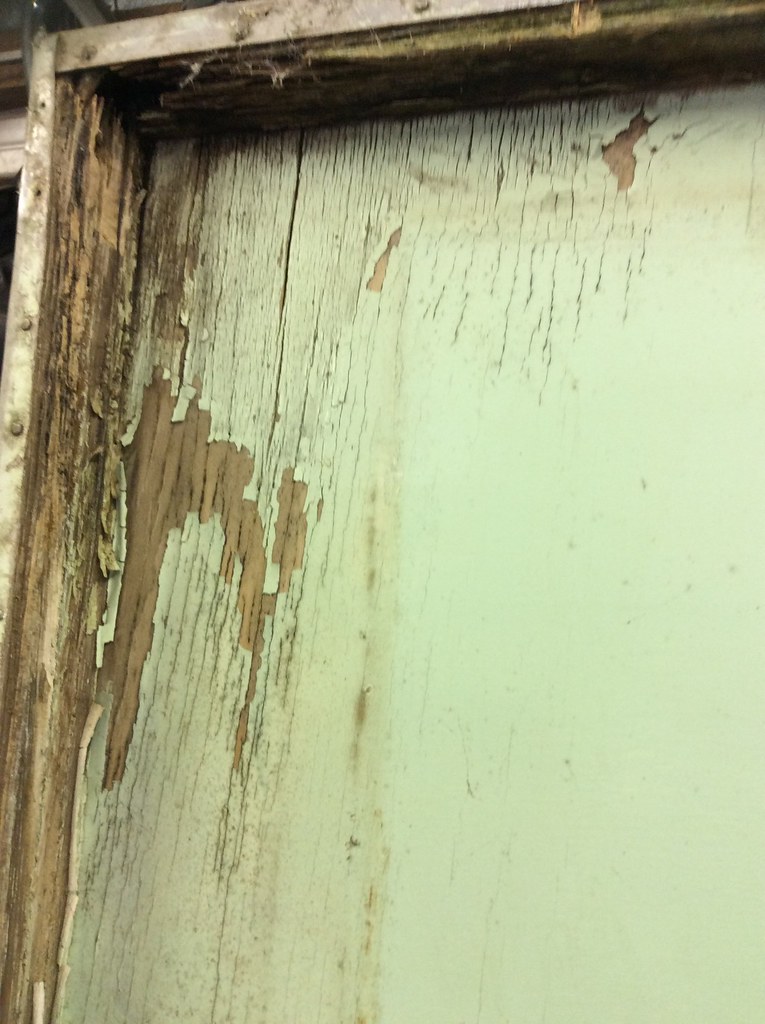 Next job on the list for the husband is the rear right corner and along the back of the van. This corner is possibly the worst out of the four with the rot extending most the way up the side of the van. The rear sheet of ply will also need to be replaced.  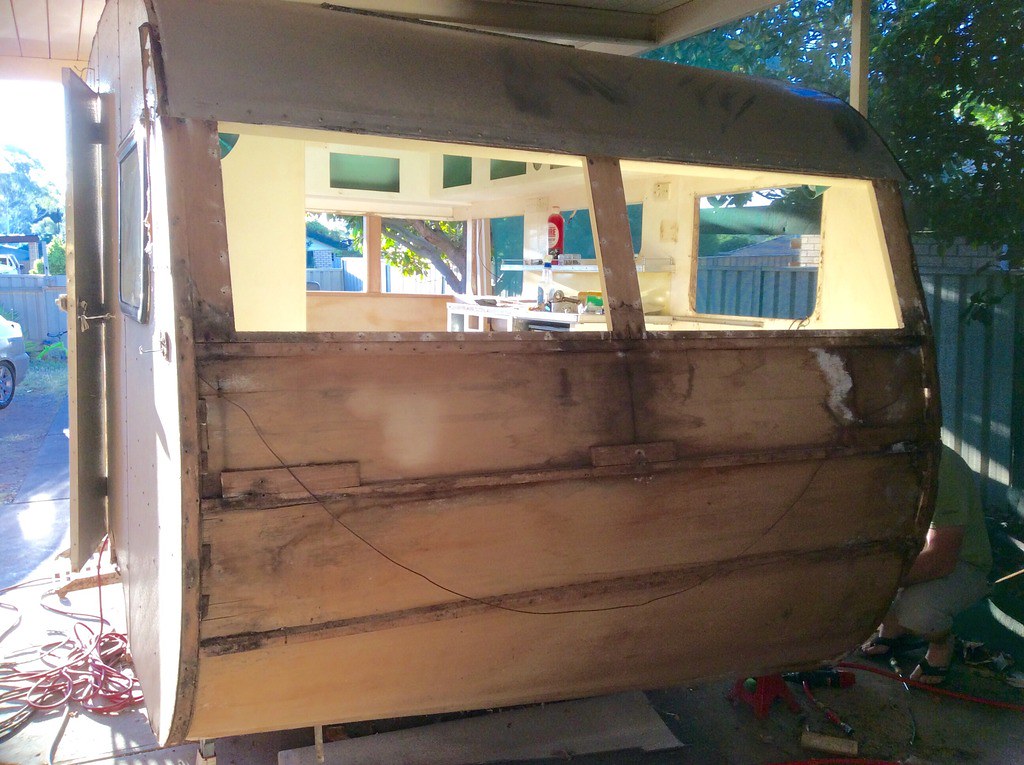 The next jobs for me is ordering yet more wood (and double checking that it's the right size before taking it home) ordering the Perspex windows and cleaning all the window frames and surrounds  Till next time. |
|
|
|
Post by akeepsake on Nov 2, 2015 8:40:30 GMT 10
Hi Jp Great job your doing there and even though it's stacks of work it's great fun ah! Love the shape of the Harris van ,
Keep the pics coming
Cheers Andrew
|
|
|
|
Post by jp63 on Nov 2, 2015 21:13:53 GMT 10
Hi Jp Great job your doing there and even though it's stacks of work it's great fun ah! Love the shape of the Harris van , Keep the pics coming Cheers Andrew Thanks. It's such a great shape isn't it? Its certainly a love/hate relationship some days (especially for the husband) but we know it will be worth it in the end. Suzanne |
|
|
|
Post by jp63 on Nov 4, 2015 14:30:02 GMT 10
After a couple days off we got stuck back in to the van yesterday. I ordered the windows and what hopefully will be the last of the wood we need to get her back together. The husband got back to the rotted third corner he was working on over the weekend and also pulled off the back of the van. With the wood turning up today he will probably Make a decent dent in it over the next few days.   We we have also started on the insulation, we are using polystyrene, and had originally started to purchase the 600x1200 sheets but the wife of someone at the husbands work works at a supermarket and has supplied us with boxes to use instead.  As for me, I started to clean up the window frames ready for the new Perspex next week. I've been using 0000 grade steel wool, gumption and autosol They are coming up ok but the insides could do with a bit more work as the oxidisation was quite bad.   Over the weekend we got hold of some fabric So I have also started on replacing the tops on the cushions, the print is not what I originally had in mind but it will work ok. it would have probably been quicker to replace the whole cover but the vinyl is still in really good shape so I am just hand stitching in the new fabric tops. Luckily for me we have decided to leave the rear bed permanently set up and will swap the cushions out for a mattress, so I only need to do the 4 dinette cushions... My hand stitching skills should be so much better than they currently are by the end of it... As long as none of my fingers fall off   Till next time. |
|
|
|
Post by jp63 on Nov 8, 2015 22:08:32 GMT 10
We are now 3 weeks in to the restoration and we have something that resembles a van! The husband has been busy over the last few days with finishing off the frame and ply at the rear of the van, plus replacing the final corner and the LH wheel arch. This means that all the main frame of the van is now solid and complete! There was a moment when we brought the van home and saw the extent of the rot that I thought we might not reach this point so it's a bit of a milestone we have.    Thanks to a sneaky visit from the Father in law during the week who painted the channel underneath the front and rear of the van which the cladding sits in Whilst we where both at work, we have been able to start putting the cladding back on the van. The front, RH side and rear are back on and once we can get hold of some more polystyrene boxes the LH side will go back on too.    Next up for the husband is rebuilding the door and hatch frames and beginning the mammoth task of sealing the joins and polishing the aluminium. For me, I picked up the new Perspex windows on Friday so my next job is to finish cleaning the window frames, source new rubbers and clean the last of the old silicon of the cladding so they can go in. I also will try to get back to sanding back the inside. |
|
|
|
Post by jp63 on Nov 14, 2015 19:55:16 GMT 10
So here we are at the end of week 4 of our resto. This week has been a bit slower on progress than the previous weeks with only a few nights spent on the van, and those nights have mainly been cleaning silicon off the cladding can I just say thank goodness for contact cleaner, it's the only thing that has helped to get the layers of silicon off !!! so while the van doesn't look much different, progress is still slowly being made. Today, saw the most progress for this week, the husband went and got what he could of the window rubbers (we still need to get the rubber for the Perspex to sit in which will I'll get Monday) he finished off the insulation including some in the roof and re fitted the last of the cladding.   He also started to take to the window frames with the buff and some purple polish and they are starting to look pretty good. After that the cold beer in the fridge looked too good for him and the father in law to resist so work promptly ceased for the day.  My little helper and I got stuck in to priming the ply that was replaced, we are still a way of painting but I didn't want to leave it bare much longer especially with the windows still out. I also started to scrub the cladding. We have decided we will polish the roof and just scrub clean the cladding for now. 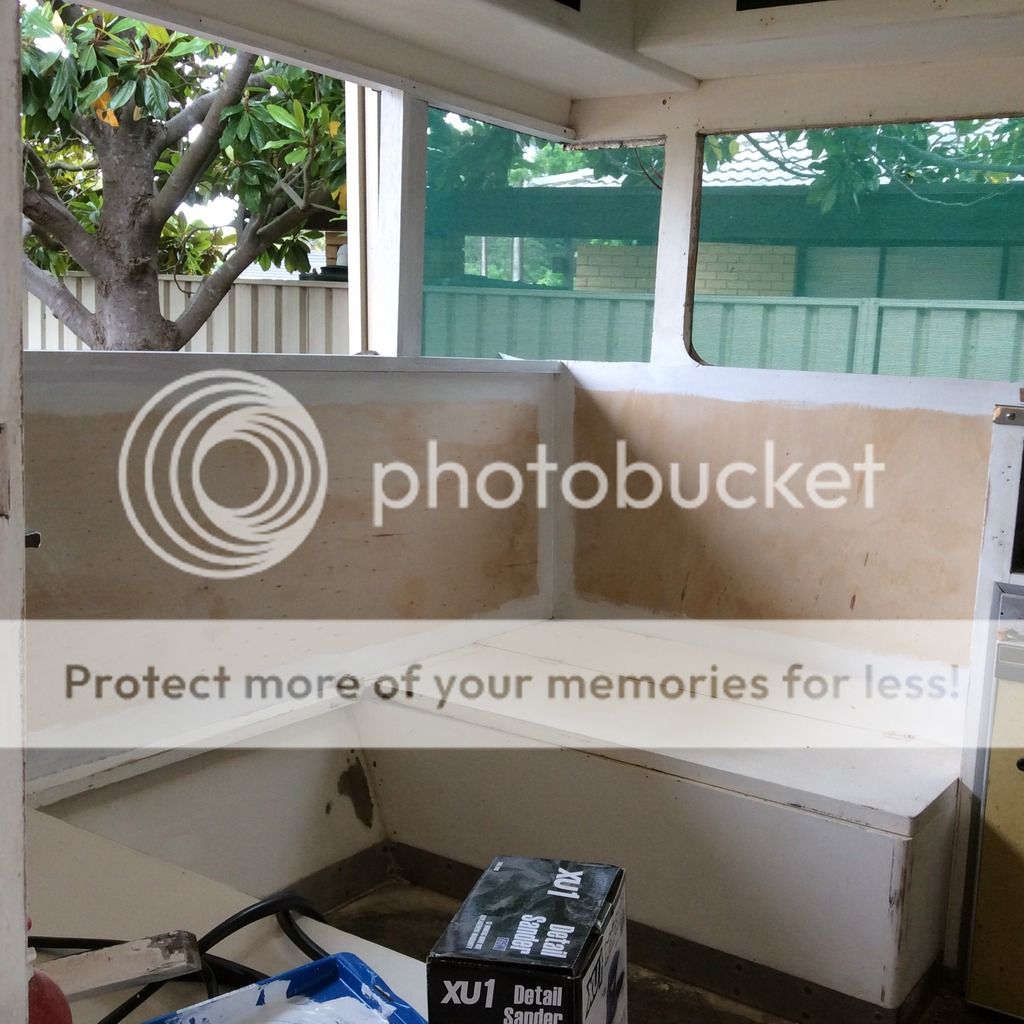   We are heading to the car show at Yankalilla so maybe we might get some new enthusiasm after checking out some of the VVs there tomorrow but as far as the van goes that's about it. For this week. After 3 weeks of a steady progress on the van we are at the tedious fiddley bits stage before we can move on to sorting the hatch and painting etc just have to keep going and hopefully it won't be long before more noticeable progress is made. Till next time. |
|
|
|
Post by Mustang on Nov 15, 2015 7:50:02 GMT 10
Incredible rate of progress in a month, we were still pulling out ply after a month. Beaut images, these will be gold when you are finished, which will probably be next month.  |
|
|
|
Post by jp63 on Nov 15, 2015 18:37:56 GMT 10
Incredible rate of progress in a month, we were still pulling out ply after a month. Beaut images, these will be gold when you are finished, which will probably be next month.  Cheers. The plan at the moment is to take it away after Christmas so your not far off the mark  Also the husband is on a bit of a mission because until she is water tight and can be moved out of the carport he can't get in to his shed to lay the new concrete he had planned to before we ( I ) bought the caravan haha. As for the photos, I think we will use them as a reminder not to do it again, while its been fun, its not high on our list to repeat any time soon... |
|
|
|
Post by jp63 on Nov 22, 2015 23:01:34 GMT 10
Another week has come and gone and while the van isn't looking much different progress is still being made. A couple hours work, plus can of contact cleaner and an off cut of wood all the silicone has been removed from the roof. We found this was the quickest way to remove it as the contact cleaner starts to break down the silicone (but you need to be quick as it dries pretty quickly) and by using the wood off cut to scrape it off it didn't scratch the aluminium.  Before  After  The van only just fits under the carport so it made a very short trip out in to the drive way To make it easier to clean the roof properly so that we can polish it before the hatch goes back on.  the husband has been working away on finishing the door and the hatch. To get the curve for the sides of the hatch he decided it would be easier to cut it out of a wider piece instead of trying to bend the Meranti.   The last of the window rubbers where picked up on Monday and after having a busy week and not much time for the van, this afternoon the husband got a chance to get back to polishing the window frames and even Started to put the windows back together, 1 down and only another 9 to go.  painting also started on the inside this week too. The ceiling has been finished, the cupboards got a 2nd coat tonight but will probably need a third as the paint is quite thin for a gloss. And the front and around the windows have also had a couple coats but need at least 1 maybe 2 more.   Next weekend we head to Naracoorte for a few days of camping , so progress will again be slow to none over the next week or so but after 5 weeks of what seems like constant work on the van I think the break will be nice. Till next time. |
|
|
|
Post by jp63 on Dec 6, 2015 23:32:32 GMT 10
Here we are at the end of week 7 of our little resto. With a trip to Naracoorte last weekend, hot weather here in Adelaide this weekend and Christmas fast approaching and all that entails progress has been very slow. in side the van, the painting has been finished and the cupboard doors have gone back on I just need to find some time to clean up some edges etc.  The hatch has been primed and had 1 coat of paint applied and hopefully the weather will be kind over the next couple of days so I can get the painting finished.  the first of the windows has gone in, as well as most of the window surrounds. We tried to polish them but they where in pretty bad condition so we opted to paint them instead   other than that the husband has lost a bit of enthusiasm he keeps muttering something about not liking working with wood, in the heat, or polishing and putting things back together namely windows... It probably didn't help that he broke another window while pulling them apart. Luckily for me (and the van) the place we got the Perspex cut took pity on him and gave a discount on another window haha. Besides a trip to the electrical wholesaler to pick up some powerpoints, surface sockets and some cable that about it. As for what's next? I'm not really sure... Maybe some more polishing... So much polishing... |
|