|
|
Post by atouchofglass on Jun 2, 2009 4:47:31 GMT 10
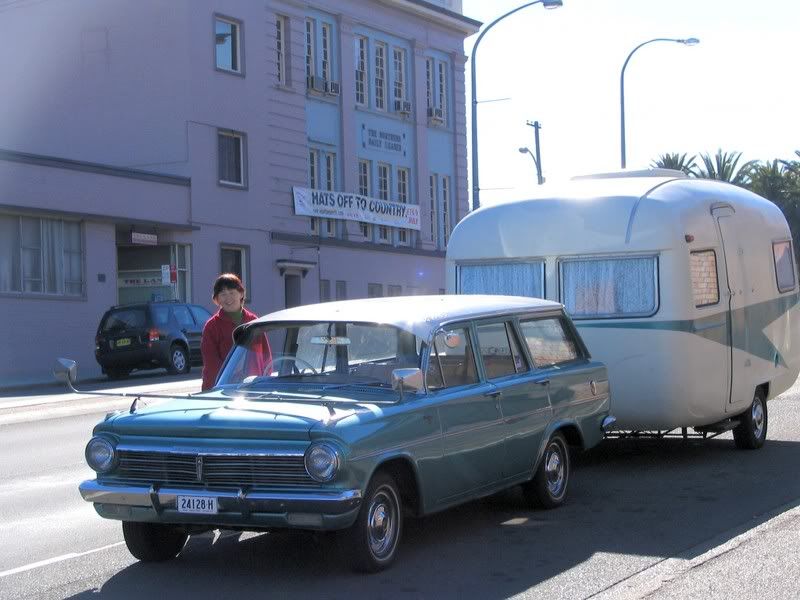
Just a quick post about window push-out stays The Olympic didn't have all the stays ..... Sooo Bought four new ones from caravansplus Fitted these to the larger front windows That worked so well bought another four to fit to the back windows ;D ;D Being new .... they are of a different size ... slightly longer  They fit the same holes as the originals but couldn't close the windows properly Soooo fitted the top of the stay to the window as per original holes and Fitted the bottom of the stay in one of the original holes , drilling a new hole for the bottom hole in the stay Confused yet? If you ever need to do the same it will make sense once you have the stays in your hand and try it The new stays are better because they have a larger knurled nut and hold the window up more easily The reason I now have them front and back of the van 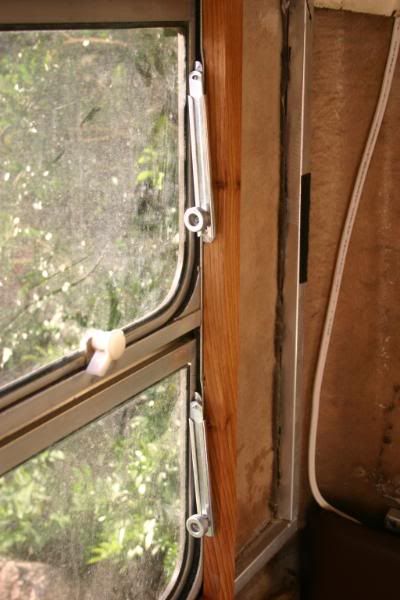 Still working on the window frames which have to be cut to fit over the stays ..  Cheers Atog |
|
|
|
Post by minicamper on Jun 2, 2009 7:04:54 GMT 10
Hey ATOG, I'm thinking you left the bottom mount screw in it's original hole and rotated the mount around so that the original bottom hole became the new top and the old top, had a new hole drilled, now below the original bottom? Giving you a lower mounted bracket   Right? (I think who's on first, and what's on second...  ) |
|
|
|
Post by atouchofglass on Jun 2, 2009 15:50:33 GMT 10
Hey MC They say a picture is worth ...blah ....blah... So here is a photo 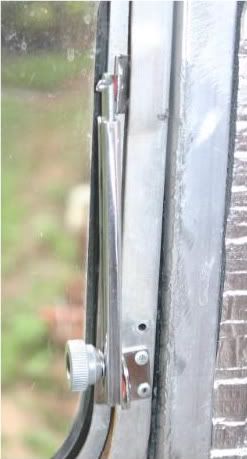 You can see I have only had to drill one new hole to fit the bottom of the bottom bracket.... It is crooked because if it was straight the window wouldn't close as tight The difference in length between the old and new stays is just enough to use 3 out of 4 original holes It is all hidden when the rosewood frame is fitted so no one sees it ;D ;D ;D ;D Cheers |
|
|
|
Post by atouchofglass on Jun 8, 2009 18:54:30 GMT 10
Hi Fellow Vintage Vanners How did you spend the long weekend? Hope it was a good one for you all Me? Where else....... working on the Olympic Saturday....Time to get some supplies, timber check -, fibreglass and resin, check - stainless steel bolts, nuts, screws and washers...... check Start at least six jobs and don't finish any Sunday and Monday Work like crazy and .... finish a couple of things ;D ;D What is this? 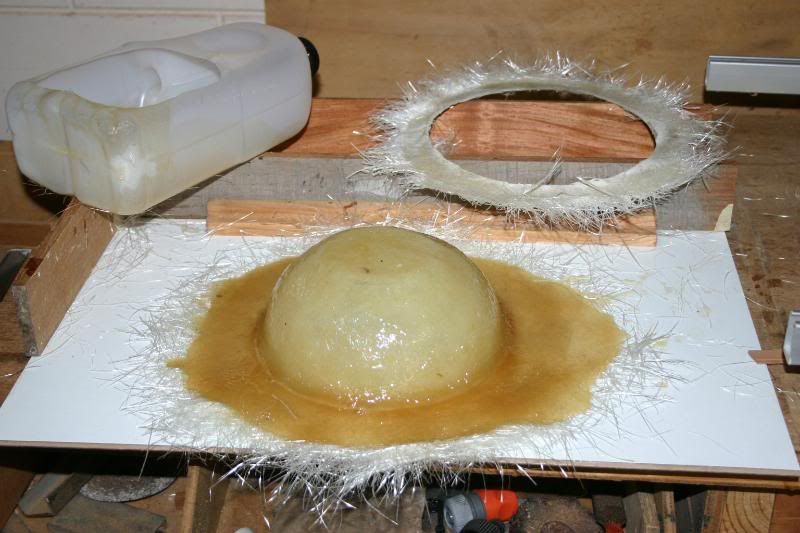 Answer in a post or two Under the fiberglass is the wife's salad bowl  Lots of little bits and pieces part done Including finishing the fire extinguisher shelf and installing it  For anyone wanting to make shelving Here is a different way First make a flat sheet of fibreglass from 300 or 600 chopped strand Put it on a waxed flat surface and it will replicate the finish 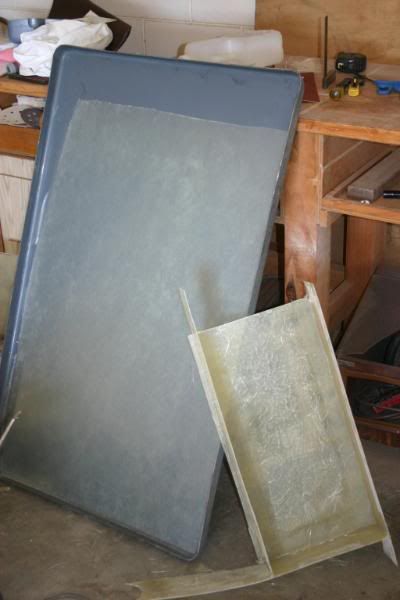 The fibreglass sheet in the grey mold is so thin (225 chopped strand) it can be cut with scissors For heavier piecesCut it up using a cutting disc on your grinder Then hot glue the pieces together Then fibreglass the bits together File, sand, bog and paint until you have what you want ..... Kinda like ..... This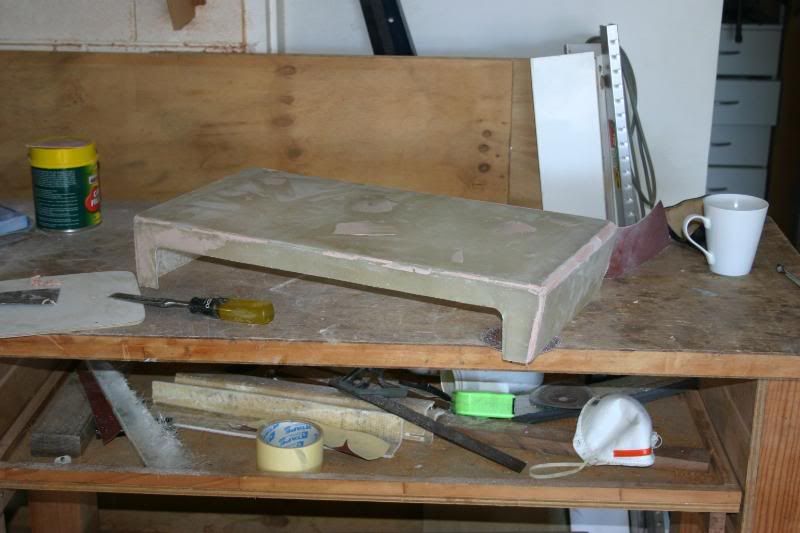 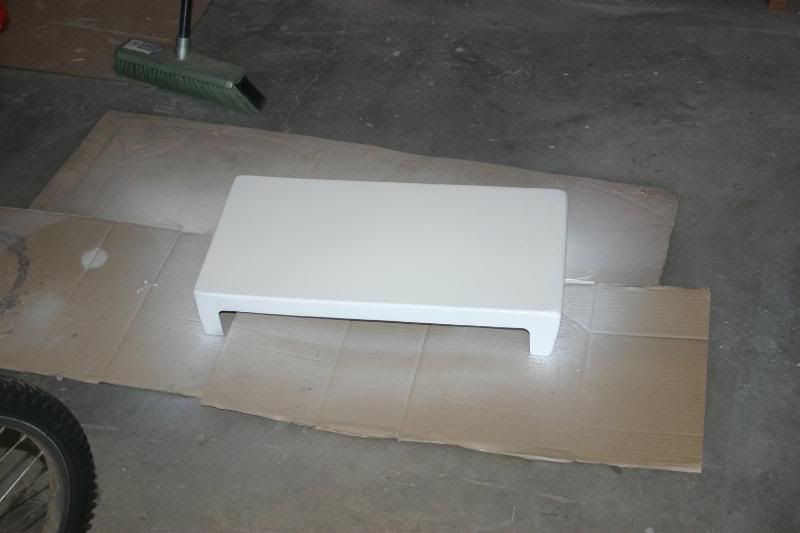 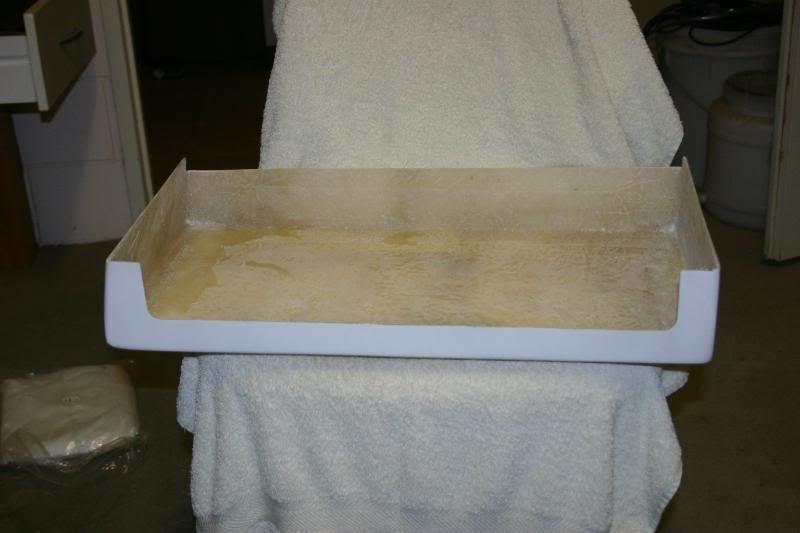 And this is in the making as well 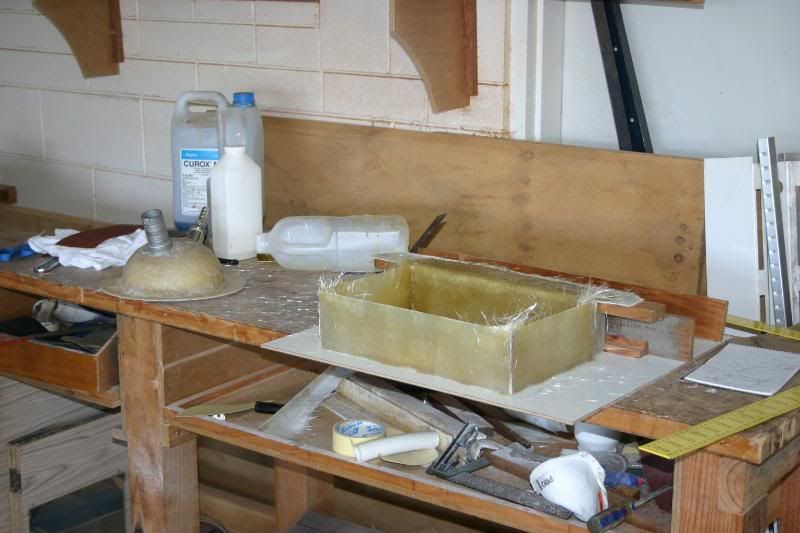 Needed to make a really thin piece of fibreglass.... Didn't make it as thin as I thought.... So had a thicker sheet to make into the above pieces... With so little actually finished - had to do something to make me feel better So made the backing for the lounge....completed the window frames around the lounge and two of the blinds.... add a couple of pillows and fitted seats ..... Finished up with - an unfinished job..... Do you think it was worth it? ;D ;D ;D ;D ;D ;D 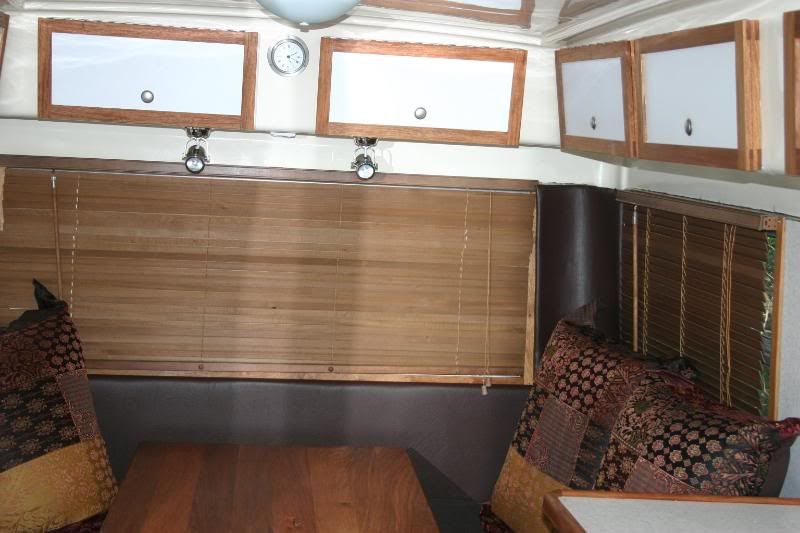 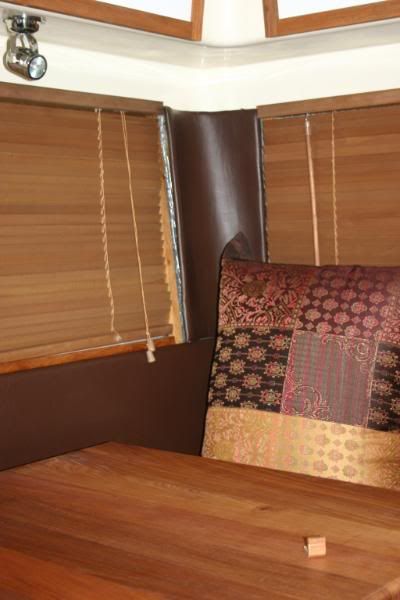 Yeah - I thought it was pretty good too ;D ;D ;D ;D All the wife's instructions and she made/bought the soft furnishings Takes a dull van and brightens it up no end Getting closer to finished every day ....... Cheers Atog |
|
|
|
Post by humpty2 on Jun 8, 2009 20:54:56 GMT 10
I reckon your making a mould for some new dome lights. OK........What's the prize? ?? ;D ;D ;D |
|
|
|
Post by davenq on Jun 8, 2009 22:32:39 GMT 10
this thread is awesome..........me...... i just sticky tape stuff back together and get it going ....will love to see it up close....cheers...
|
|
|
|
Post by atouchofglass on Jun 9, 2009 6:09:10 GMT 10
Hey Guys and Gals Hey Humpty The give away photo is third from the bottom in the background of my last post ;D Or have a look at my thread on C C ditzygypsy.proboards.com/index.cgi?action=display&board=photos&thread=90&page=17Davenq Sticky tape things together Yeah we have "hundred mile an hour tape" for that..... You know the stuff ... duct tape ;D ;D ;D ;D If you get to Cairns you're more than welcome to drop in PM me and I'll give you my phone number A fellow Vintage Vanner is always welcome  Maybe drag that old Sunliner shell up with you 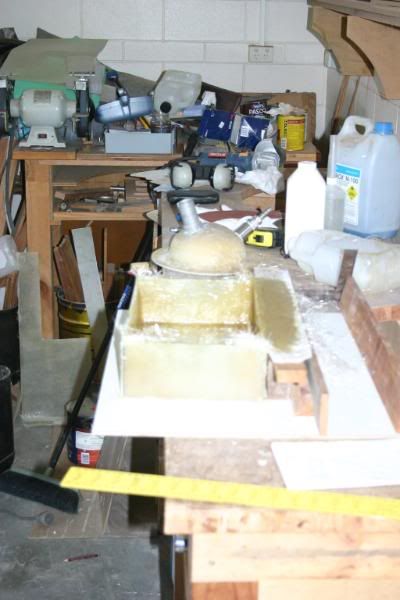 What's that in the background? What's that in the background?  Cheers Atog |
|
|
|
Post by kazandadam on Jun 9, 2009 19:25:02 GMT 10
Still loving your work Atog, congratulations on a superb van, but don't add too many extras or you won't be able to get inside!
Adam.
|
|
|
|
Post by atouchofglass on Jun 11, 2009 19:01:40 GMT 10
Gidday Adam Mate - there are still a few things to go into the van The water filler is now in Made the new filler bowl from fibreglass using a stainless steel salad bowl for a mold The Cheese and Kisses didn't mind....... too much 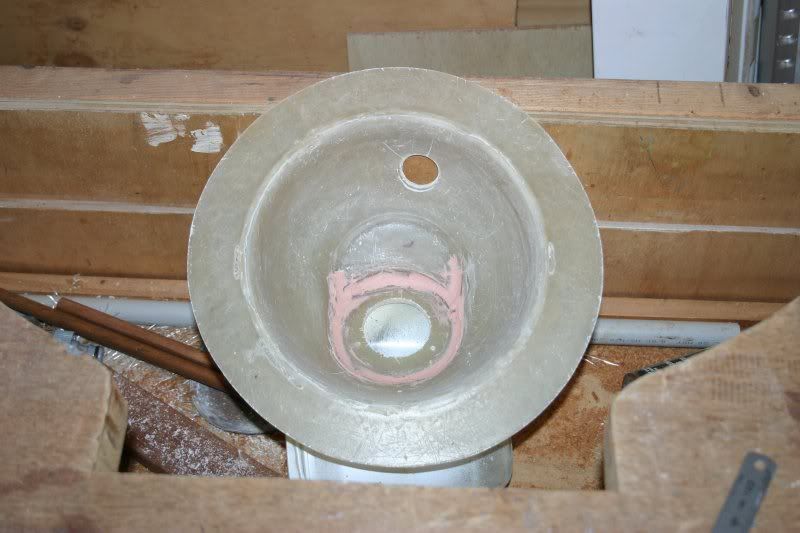 Cut the fibreglass bowl up to fit the water filler in at an angle The mains tap inlet sits above Bogged, painted the bowl before fitting the stainless bits 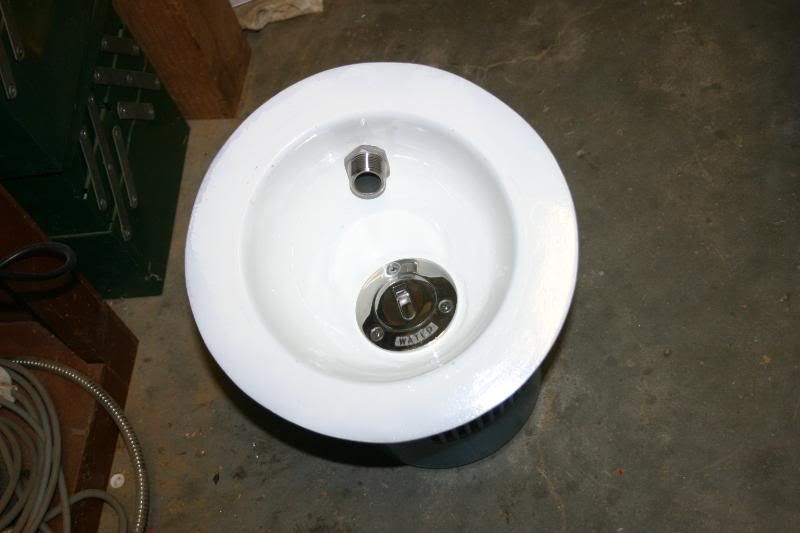 Tonight fitted it into the van Adding the plastic cover to the outside 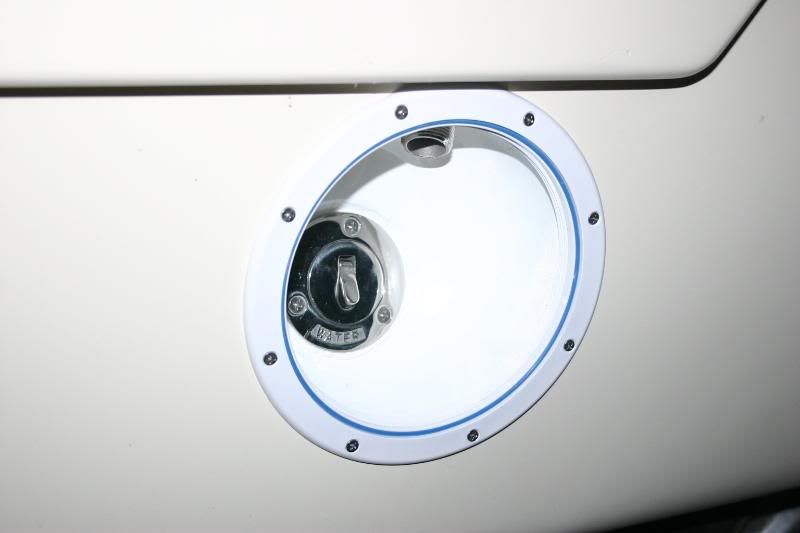 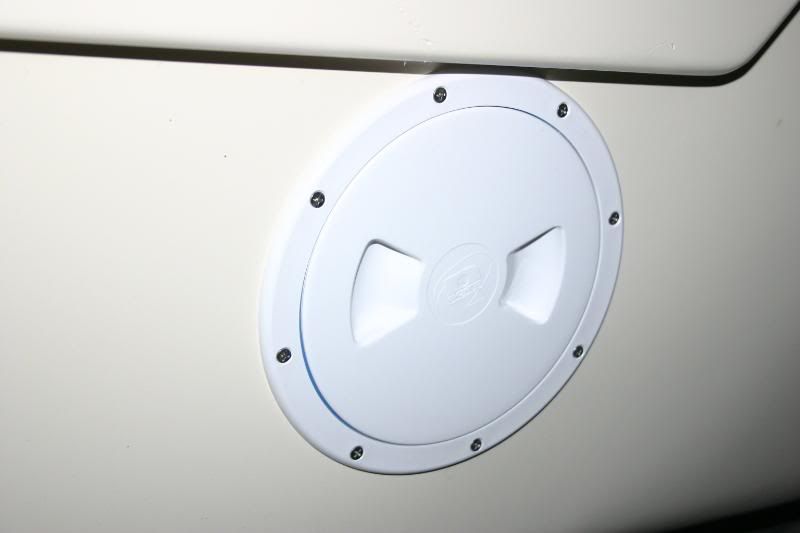 Worked out OK Connected up the mains hose Double clamped to make sure there are no leaks 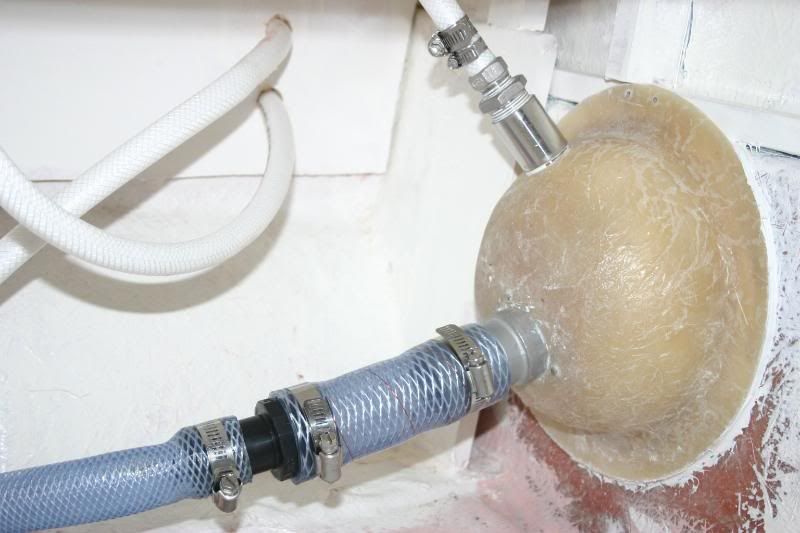 The filler pipe connection took some doing Cheers Atog |
|
|
|
Post by atouchofglass on Jun 12, 2009 21:51:45 GMT 10
Hey Adam..... Can't promise there won't be more bits and pieces Latest addition is for the second fire extinguisher, towel racks and ...... possibly a stereo... sometime in the future 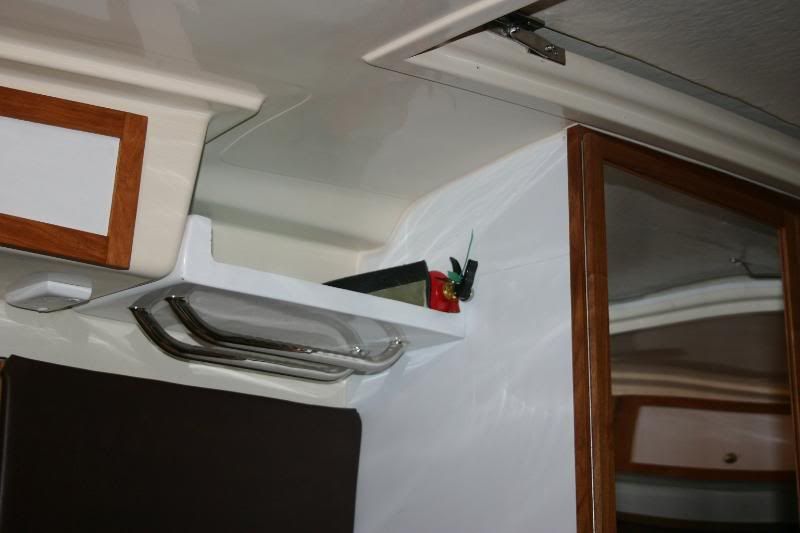 Cheers |
|
|
|
Post by atouchofglass on Jun 14, 2009 19:02:31 GMT 10
Gidday Everyone Well the weekend is done and dusted.....  Needed to lift the table about 50mm..... here's my way of solving the problem 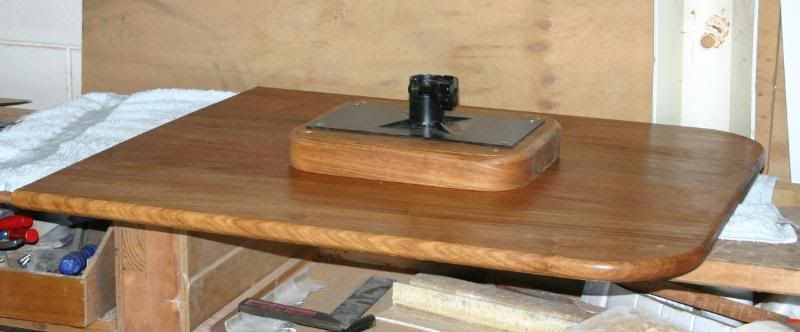 Late this afternoon Wife and I were sitting in the van thinking about what was to be done next. Decided that new glass for the overhead cupboard would be a good idea Lots of discussion about colour. texture etc... So put the new runners in and - To get an idea of the size glass needed ............ Put the original glass back 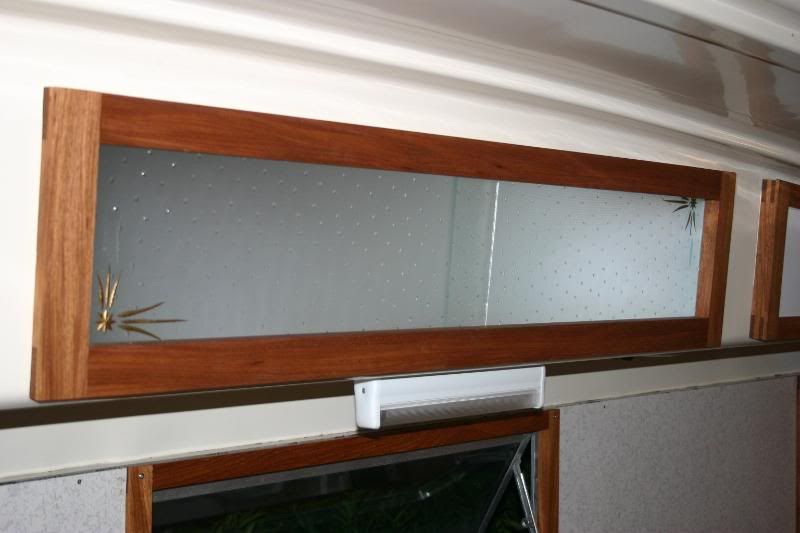 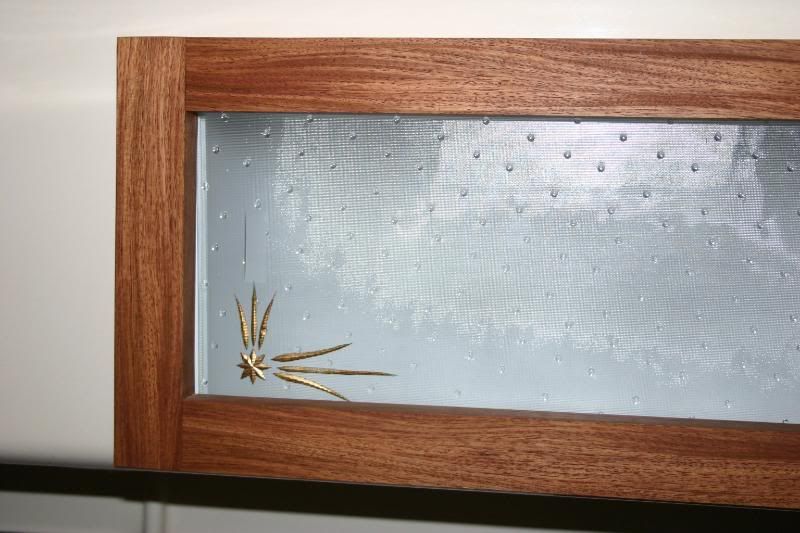 Don't think we'll need any new glass - 40 years old and still fits in Cheers Atog |
|
|
|
Post by atouchofglass on Jun 21, 2009 20:30:32 GMT 10
Hey All Seems a couple of the V Vers have been into painting this weekend Managed to do the kitchen cabinet in topcoat at last  Once it has dried the sink top will go on, the taps will be fitted and the pipework will be attached The floor will be painted last Also had time to make a screen and frame for the small opening in the entrance door 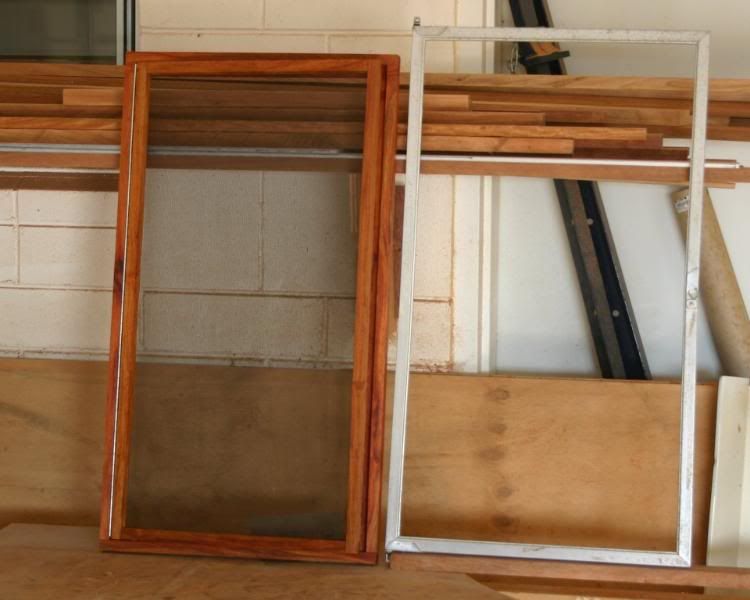 The original aluminium screen in to the right of the rosewood one 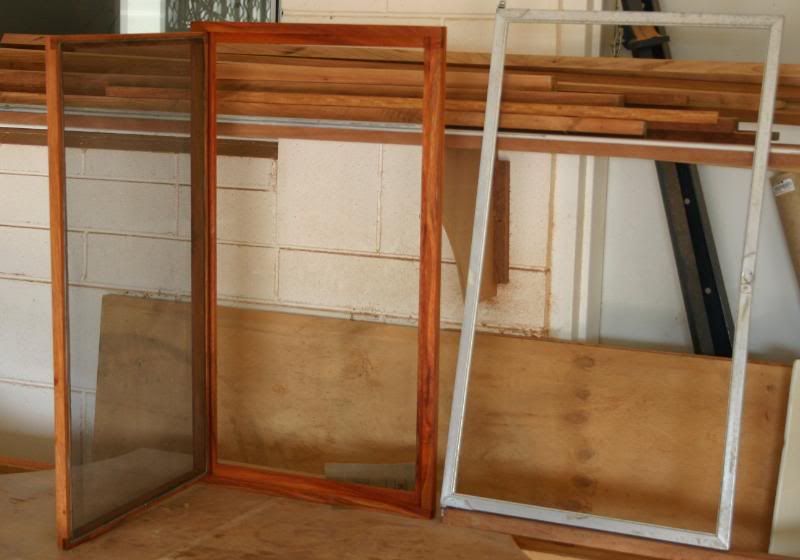 Cheers |
|
|
|
Post by atouchofglass on Jun 29, 2009 5:36:31 GMT 10
Hey Everyone Nutha busy weekend Have been at a few things Lots of little details that are not real interesting to post photos about Finally finished the front..... almost Finished both corner pieces The original ones I did were too large and not a good fit So redid them Now I can show you the whole of the front section ;D ;D ;D ;D 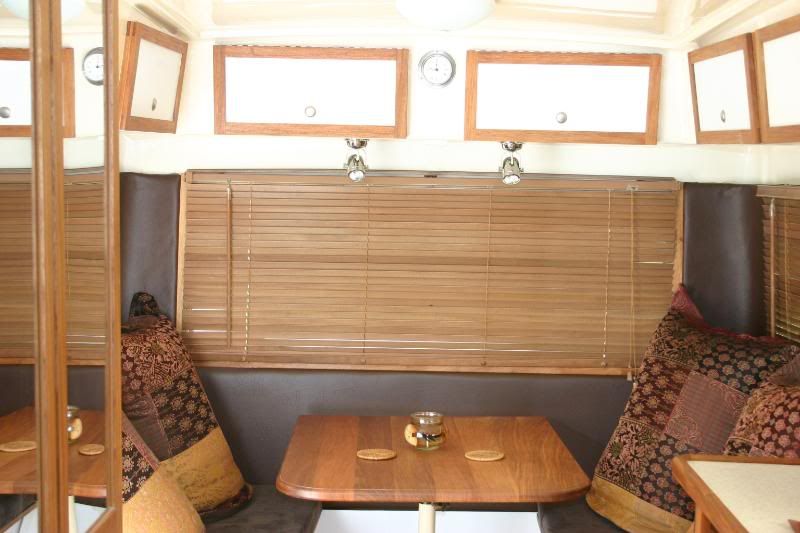 Wife has started to add her little touches (notice the little gel candle on the table) And of course the cushions More will start to appear over the coming weeks More things were started but not yet completed Stay tuned Cheers Atouchofglass |
|
|
|
Post by Surf Tragic on Jun 29, 2009 21:42:44 GMT 10
Hi Atouchofglass
That fibreglass work is very professional looking that you made using a bowl, I would love to be able to do that sort of thing, the whole project is a credit to you.
Surf Tragic
|
|
|
|
Post by atouchofglass on Jul 2, 2009 5:35:58 GMT 10
|
|
|
|
Post by atouchofglass on Jul 5, 2009 7:26:37 GMT 10
I can see the finish line just ahead ;D ;D In the mean time Have flow-coated the section for the fridge Ready for when I can afford one 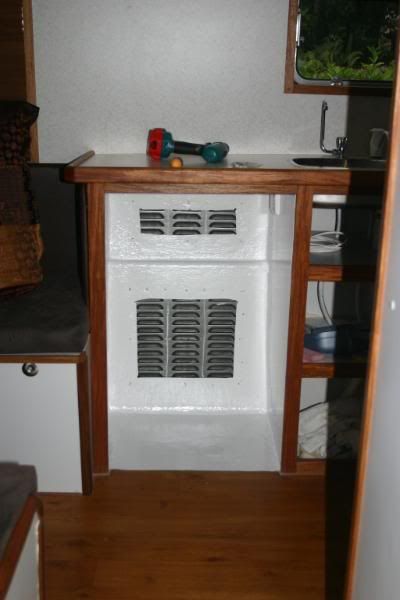 Needed a couple of new vents made as the old ones were a bit tired A local Sheetmetal place knocked these up SAME DAY Here's the results Fitted today 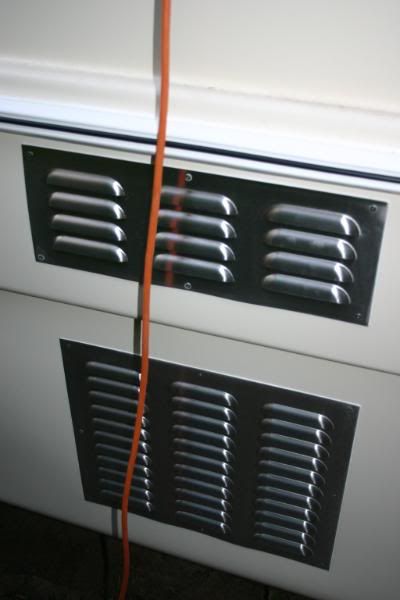 Did some shopping mid-week Mattresses, more stainless steel fittings, bits and pieces Also finished the corner pieces and fitted them Here's the result 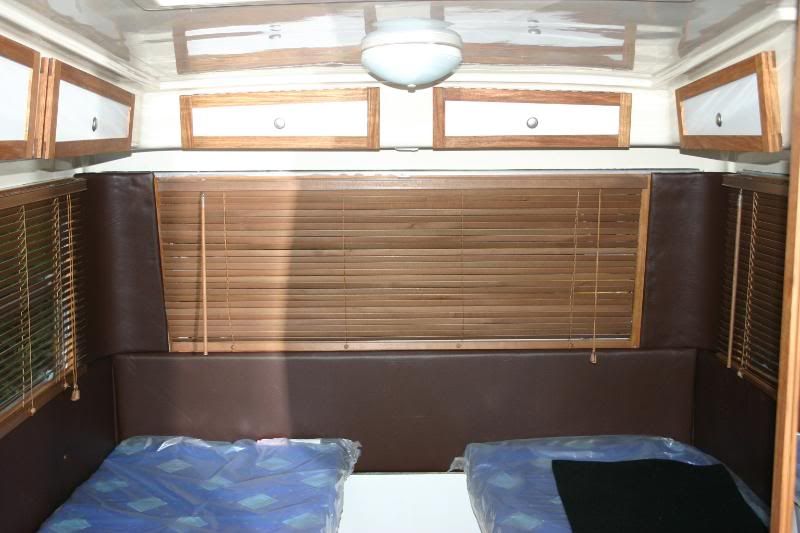 Off to the Atherton Tablelands today Cheers till next time Atog UPDATEHere is how the corner pieces for the rear were made Now you probably won't need to make corner sections for your van but...... You may have something concave that will need to be done So here it is - just in case Made a thin fibreglass sheet from 225 gm chopped strand and resin 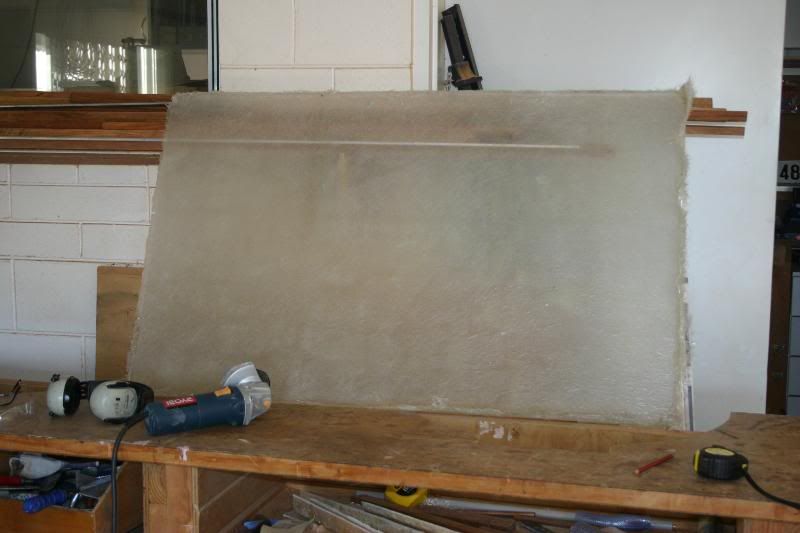 Cut it up to approx size 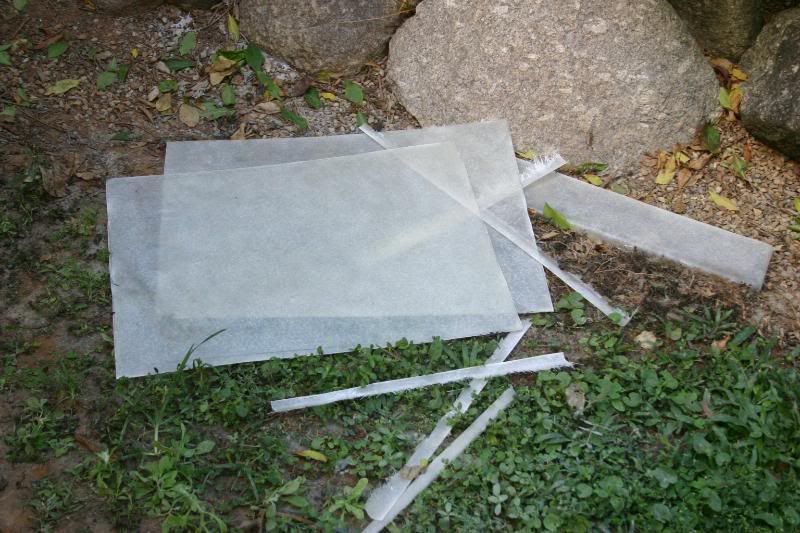 Fit to corners 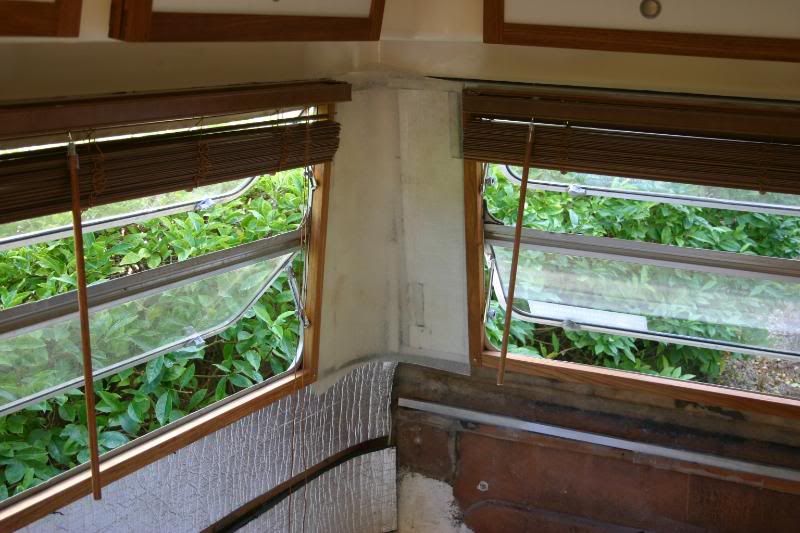 Strengthen with more fibreglass while it is in place This will make it stay in shape 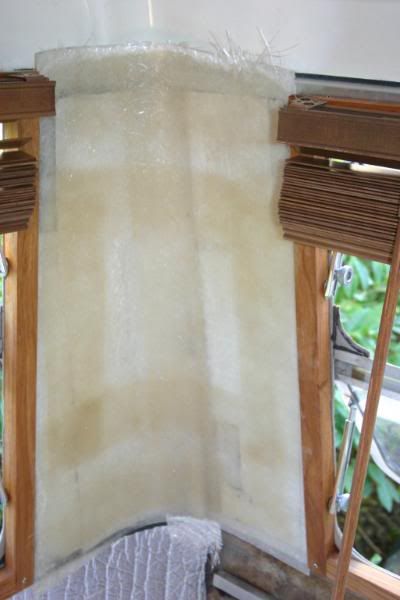 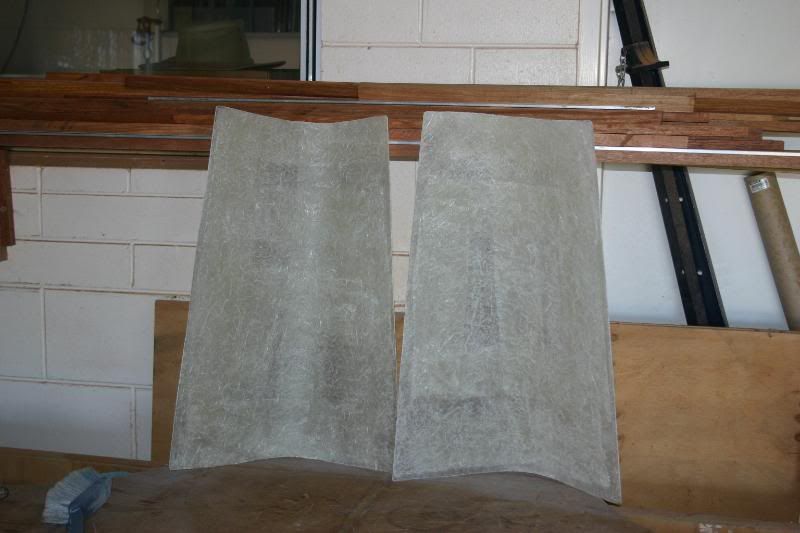 contact cement the fibreglass and the foam Best to use spray contact as it uses very little glue and stops the glue sinking into the foam. Which in turn stops the foam puckering when fitting the vinyl. 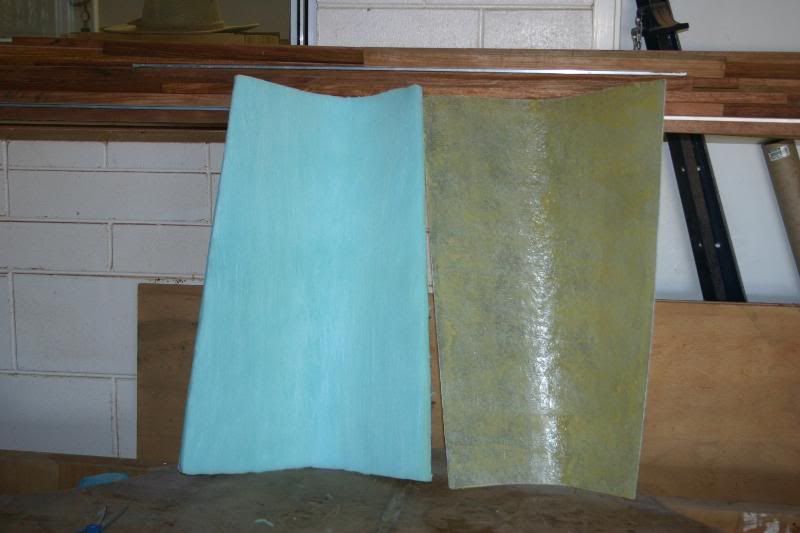 Stick em together then stick the vinyl on 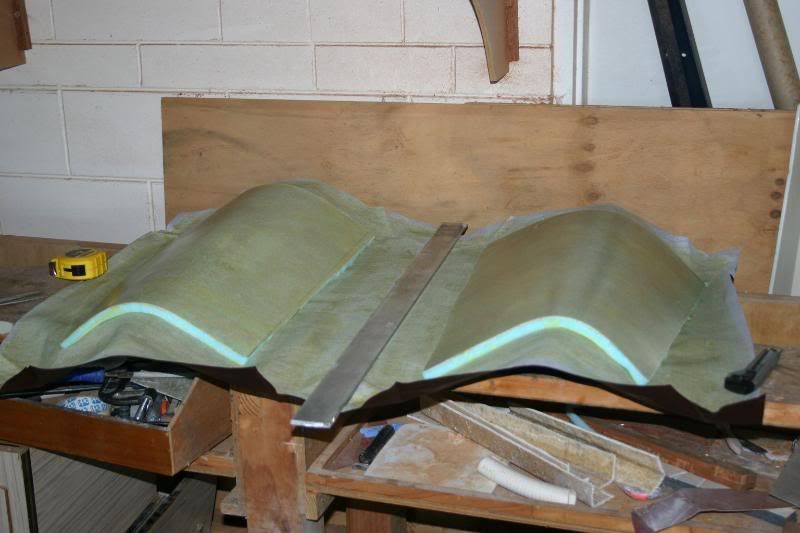 And there you have it  ;D ;D ;D ;D |
|
|
|
Post by humpyboy on Jul 5, 2009 10:29:16 GMT 10
Love your work ATOG she is coming up a treat, they say that stepping into a VV is a step back into history but I think in your case a step into a VV is a step up to the penthouse, your finish as seen in the pictures looks faultless.
|
|
|
|
Post by atouchofglass on Jul 6, 2009 5:41:29 GMT 10
Thanks Humptyboy She is coming along very well Certainly not faultless.... but will be comfortable Took Sunday off from doing any work on the Olympic Went to visit Boblor Very interesting history on Olympics and great set up with his van 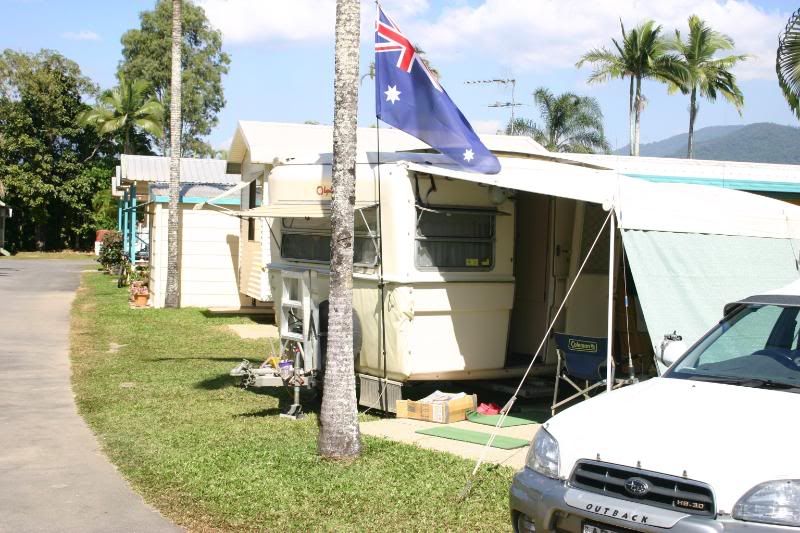 Then took a little jaunt up the hill through Yungaburra, Atherton and on to Herberton It's an old tin mining town from the 1880's One of the first towns established in the area What a lovely spot Called into the information centre which is also a mining museum and was entertained like long lost family by Bill and Betty Who volunteer to man the information centre. Well worth the time to have a look The mineral display is excellent and they say it will soon be doubled in size Here's Betty giving us a personal tour Very enthusiastic lady with a wealth of knowledge about the Herberton area and Mining in general I dare you to try and keep up with her ;D ;D She has lived in the area most of her life. 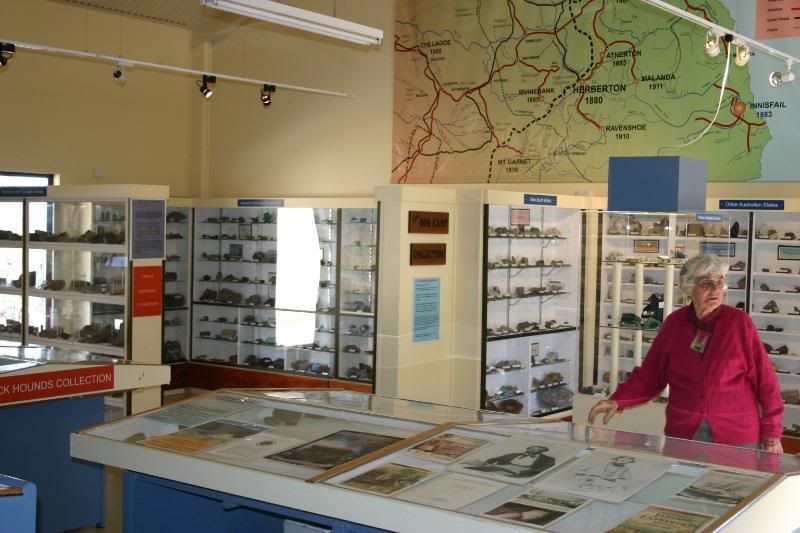 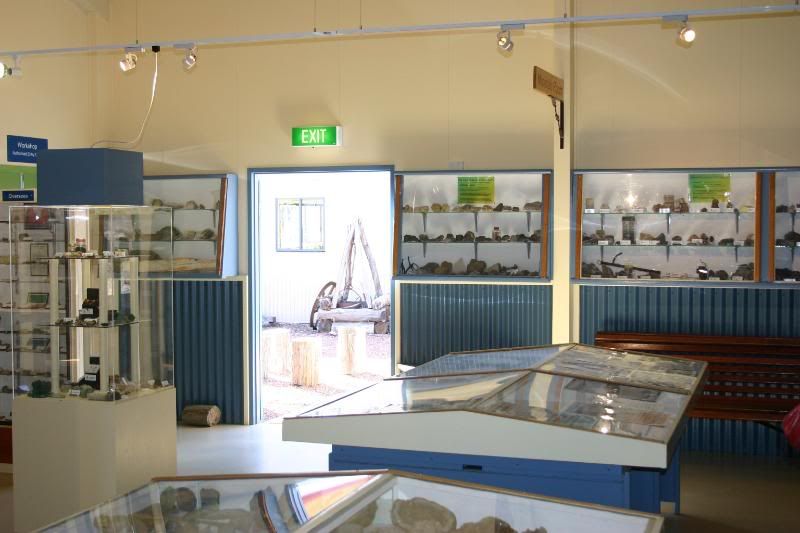 Part of the display as you walk up the entrance way 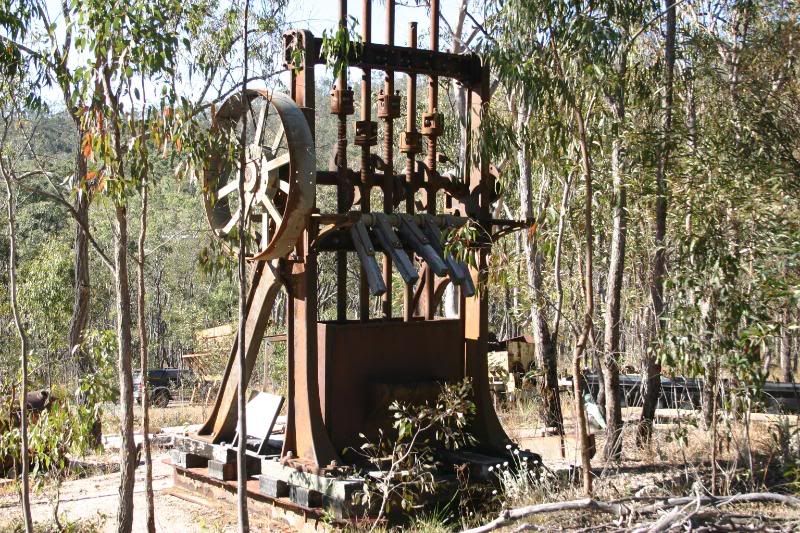 Lots of mining related things to see 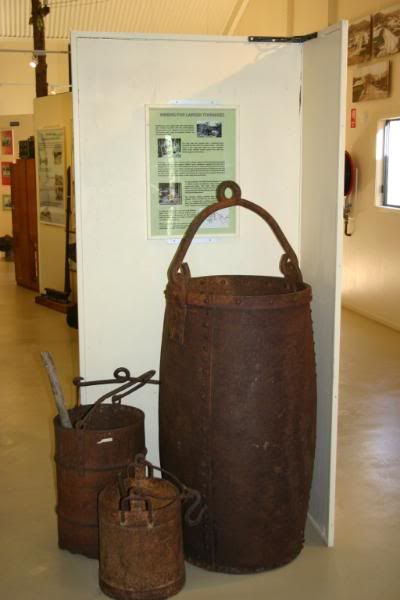 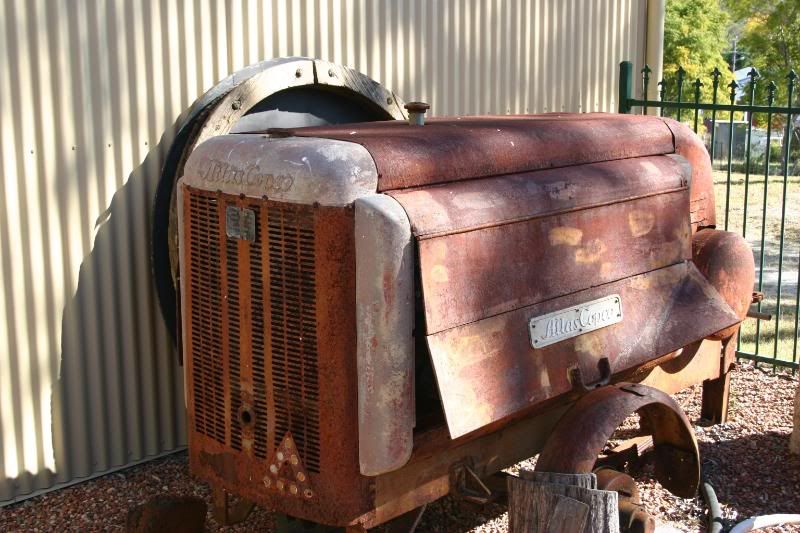 Herberton today  There is even a few quirky places around the ridges Don't know if this is to be a house or just someones idea of "I wonder if I can build that" 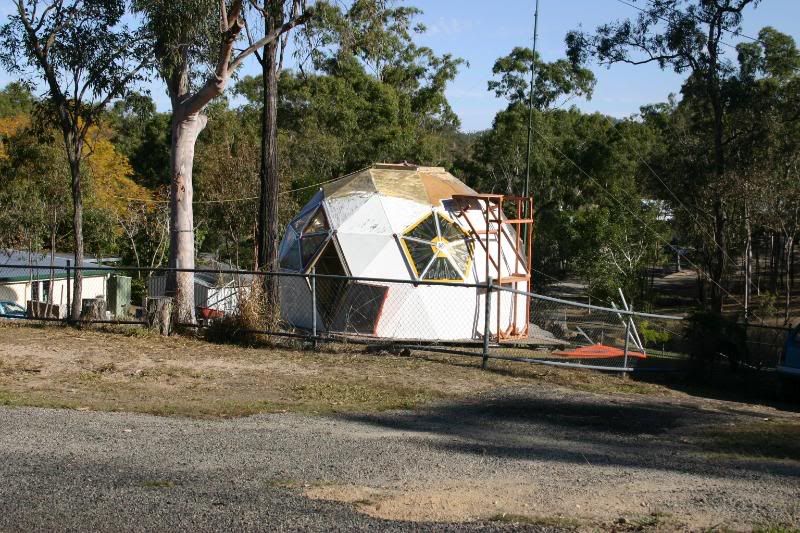 Working model of a stamping mill 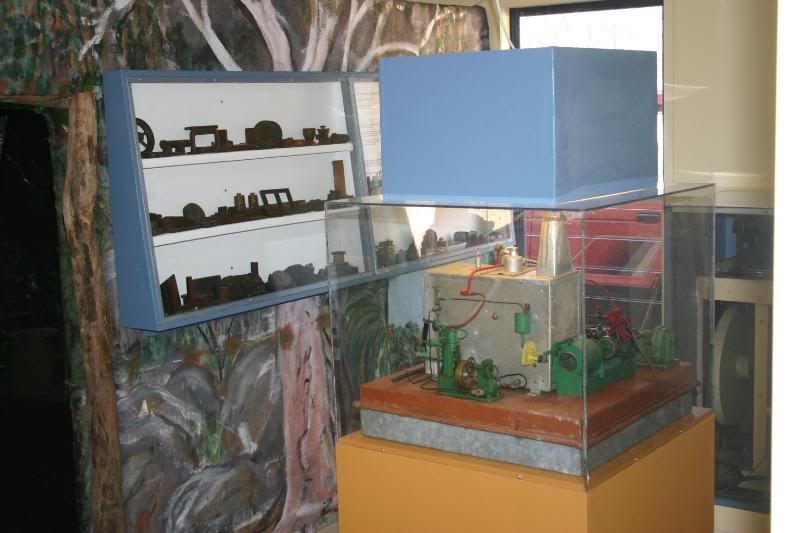 Even a bit of art work from the junk yard  Was a great day But as always ... too short Till next time Atog |
|
|
|
Post by JBJ on Jul 6, 2009 7:59:21 GMT 10
Hi Atog,
Bob & Loretta sure get around a lot. Making the most of retirement
That domed house is a geodesic home. An engineer I was associated with built a bigger version at Coopers Shoot near Byron Bay back in the early 80,s. They were designed by Buckminister Fuller the American "Genius" apparently, and were fabricated from bits of 4x2(I think) timber, about 3 foot long, connected at ends to a metal ring or plate, to form the honeycomb shpe. Then simply were clad with sheets of ply cut into 3 & 5 sided shapes, then waterproofed with some sort of cladding.
Incredibly strong & very simple to build. But difficult to live in with the shape causing sound rebound problems internally, & lack of privacy.
You dont see a lot of them. I know of 3 or 4.
JBJ
|
|
|
|
Post by DC3Td on Jul 6, 2009 15:44:48 GMT 10
Hi Atog. Your `van is coming along really nicely. If i knew you were headed for Herberton, i would`ve given you friends address in William st (op cop shop) for a cuppa. No matter. Nice piece of country side eh. And B&B`s shop is a real delight to look through. cheers gordon
|
|
|
|
Post by atouchofglass on Jul 7, 2009 6:02:35 GMT 10
Hey JBJ The house looked like a long project for the builder Only the exterior was .... completed .... sort of Will look good when finished DC3Td Loved Herberton Why I don't know .... there is just something about the town that is attractive to me Would get real chilly there at night I suspect Used up all the space on my camera with photos of the place..... Will go back again for another look around some time later this year as we only really had about two - three hours to look around Cheers Atog |
|
|
|
Post by atouchofglass on Jul 11, 2009 15:03:36 GMT 10
Hi everyone A little bit more on the outside has been done Notice the stickers are now on Thanks Boblor Also have replaced the aluminium strip around the middle with Gunnel rubber - white with a black stripe  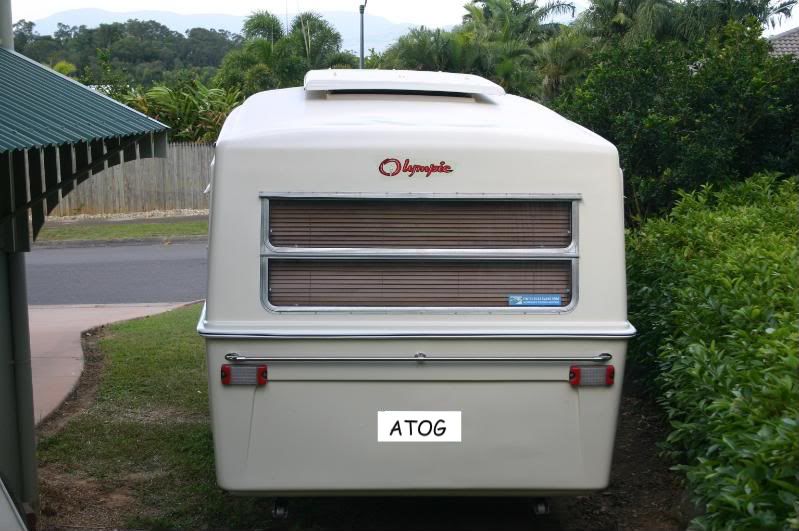 There is a difference between the sticker colour and the van but it doesn't show in photos ...... thank goodness for that ;D ;D Repainted the front awning and fitted the stays New stainless steel handles on the front and a towel rail on the back Even managed to fit the Vintage Caravan sticker on as well Still a few outside bits and pieces to finish Cheers Atog |
|
|
|
Post by Surf Tragic on Jul 11, 2009 19:13:36 GMT 10
Hi Atog, Those links for FG tips are the best thing, will have to try it out, I have to glass a boat hull but keep walking away from it You are up to the most interesting part with your van I would say, all the inside & finishing bits, can't wait to get to mine. I will be referring to your site more often I reckon, its good good reading & very good instruction. Cheers, ST |
|
|
|
Post by atouchofglass on Jul 26, 2009 12:20:39 GMT 10
Hi Surftragic Glad it helped Have finally got to work on the kitchen doors that were started about 18 months ago were giving me some issues.... Have been making frames etc for about two weekends and decided to fit them on Saturday. Final trimmed the edges at a mates place (he's got a panel saw) Weeeeelllll things didn't turn out as planned Bunnings wanted $42 for 900mm of stainless piano hinge and I'm not willing to pay that So the top door will wait until ..... next week? When I can get into the local cabinetry shop and buy it by the metre off a continuios roll Much cheaper.... from memory about $15 mtre Had a bit of extra work to do on one of the lower doors and wasn't willing to wait for the panel saw next weekend So out with Dad's hand planes My dear ol Dad built his first home in the 1940's in the Lake Macquarie area using mostly hand tools After he past away his tools came to me Seems they were just junk to my siblings..... their loss, my gain  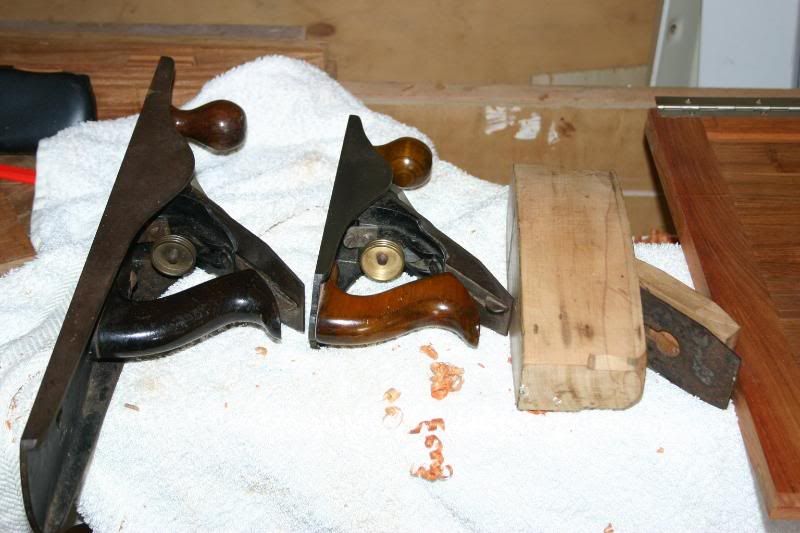 These planes are some of his tools Finished planing the offending door in record time and fitted the two lower doors cause I had enough piano hinge for them. Update
Fitted piano hinge to the top door
The top door now folds down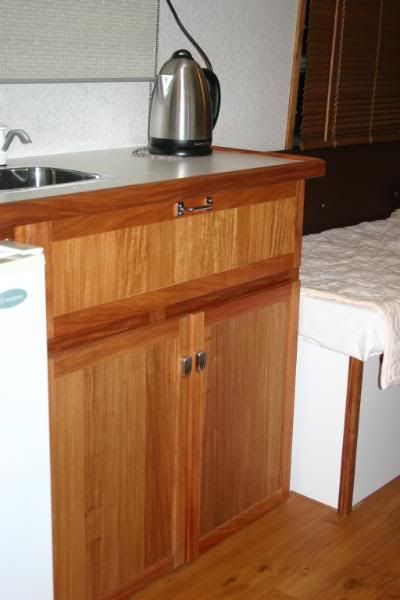 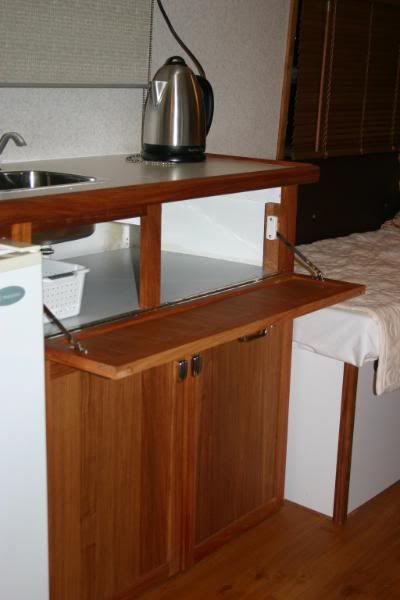 Have yet to fit the catches to the bottom doors Think it might be good to use magnet catches to match into the wardrobe and pantry ..... Not real sure yet what will be done Cheers Atog |
|
tonyh
Full Member
 "Dolly" 1967 Riviera
Posts: 256
|
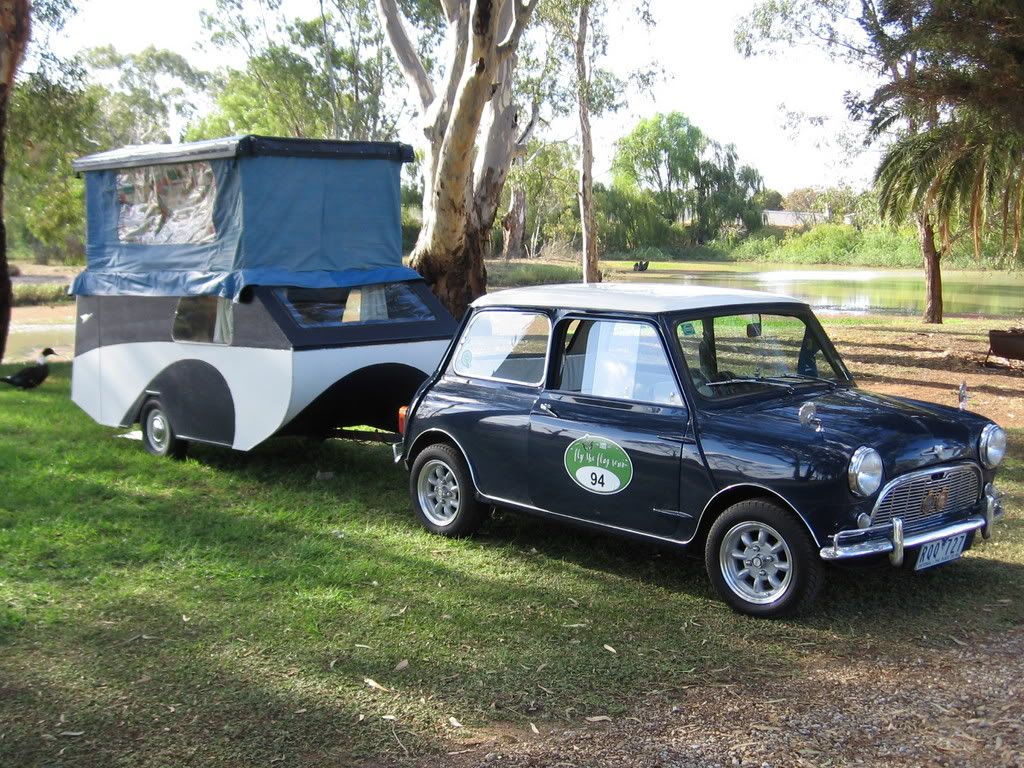
Post by tonyh on Aug 12, 2009 0:10:06 GMT 10
Hey Fabuglass Buddy,  Lookin' reeelly nice - got a tow car yet I know these beautiful Olympics are light but I think ya gunna need one ;D Cheers, tonyh |
|


 )
)