|
|
Post by mibosa on Oct 6, 2014 19:51:03 GMT 10
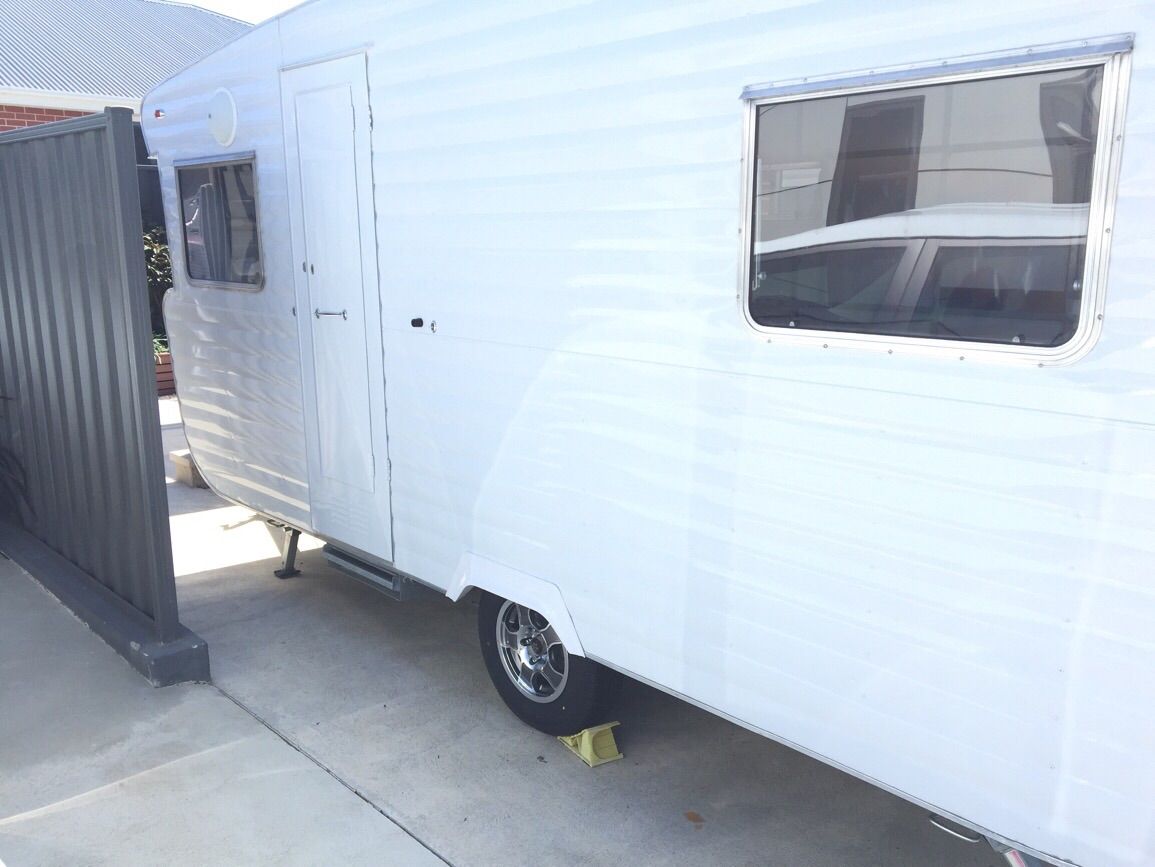
I am fast approaching the stage of making a new wooden box frame for the roof hatch of my 1966 Viscount Ambassador. Having removed my old framework sometime ago I note that the front and back sides of the frame have a 'lip' of about 8 - 10 mm which is encased by the roofing aluminium. Can anyone please advise if there are any photos, links or suggestions available for making these frames??? Thanks in advance for any responses.
Regards, Bob.
|
|
|
|
Post by DC3Td on Oct 8, 2014 16:19:10 GMT 10
Gday Bob.If you go to Members Photos section,click onto 1960 Newcastle 10` 8" Project then Page 13 (scroll down 3/4 page) you`ll see how Franklin1 has adressed his situation. gordon
|
|
|
|
Post by mibosa on Oct 8, 2014 20:45:15 GMT 10
Thanks Gordon for that advice. Gee, wish I had his man cave and all the tools and equipment he must have to do such a professional job. I too amd taking lots of photographs but just can't dedicate the time to go to that extent. I thought I had scanned the home page properly but had missed that section and now I need to dedicate the time to go through many of the 40+ threads. Regards, Bob.
|
|
|
|
Post by colnce on Oct 8, 2014 21:03:17 GMT 10
Bob, I had to replace hatch the box frame on my 68 Viscount. You say the back and front of frame is encased by a "lip" 8-10mm of the roofing aluminium. Mine had similar encasing but these were folded sections front, back and sides rivited to the roof and nailed onto the top of the frame. Once removed, pull nails/ drill out rivits, old frame out, new frame in( sort of) things are never that simple. Have you removed the hatch lid and climbed up to look down onto the roof.
Couple of tips. Don't use chip board to make the frame as the factory did. I used tasmanian oak. Not cheap but will last a lifetime. If it is the case where you have removeable sections around the frame make sure to use a good quality sealer when you re rivit them back on. You don't want water leaks again.
cheers
colnce
|
|
|
|
Post by mibosa on Oct 9, 2014 6:07:01 GMT 10
Thanks colnce, good advice
|
|
thomas
Junior Member

Posts: 67 
|
Post by thomas on Oct 16, 2014 19:47:39 GMT 10
Hi Mibosa,
I've just completed installing my new timber hatch box - dependent on which winder mech you have, the sides may be a smaller profile than the ends.
My 1969 has a worm drive mech & the end pieces are 19mm, refabbed in Tas Oak. The two side pieces are 12mm, simply to allow for the hatch bars to fit back in. Also, the end that holds the Hatch mech is double thickness on mine - 2 x 19mm - thats how it was from the factory.!
Hope this helps.!
Rgds,
T.
|
|
|
|
Post by mibosa on Oct 17, 2014 21:28:53 GMT 10
Thanks T, I've managed to remove the old hatch frame and have made a new frame. I'm just treating it prior to installing it, hopefully this weekend. I have commenced to install a new ceiling and I'm hoping by the end of this weekend the internal hatch frame and ceiling should be close to completion. Unlike many others on this forum I don't have a large man cave to be able to stretch out with the van, having had to remove the wheels to trolley-jack it under a carport. I have heaps of other work areas but just not big enough to fit the van. So I am tackling it from the inside - out, meaning that once I've complete inside completely I will remove the roof and the the roof-wall edges, ensuring that the exterior joins etc are fully sealed against the elements. I don't know where you are located, I'm in Adelaide and it would be nice to meet up with someone local to look at their progress with something similar in the work on vintage vans. Thanks for the feedback. Bob.
|
|