|
|
Post by cruisindoug on Oct 29, 2013 13:12:04 GMT 10
|
|
|
|
Post by shesgotthelook on Oct 29, 2013 14:17:31 GMT 10
Time for a new project  |
|
|
|
Post by atouchofglass on Oct 29, 2013 17:12:25 GMT 10
Maybe he's already got one.... Fibred greatness perhaps.  Atog |
|
|
|
Post by humpyboy on Oct 29, 2013 18:23:26 GMT 10
Sounds to me like our Dougie has a little secret  |
|
|
|
Post by cruisindoug on Oct 29, 2013 19:11:45 GMT 10
|
|
|
|
Post by humpyboy on Oct 29, 2013 19:25:32 GMT 10
What did I say ;D so all that work starts over again hey and no I will not enter into a compitition to see who finishs first, cos that will be you |
|
|
|
Post by JBJ on Oct 29, 2013 19:30:12 GMT 10
Hi Doug,
Good to see that particular van saved.
JBJ
|
|
|
|
Post by cruisindoug on Oct 29, 2013 20:13:09 GMT 10
Yep sucker for punishment Derk ... SGTL you were right! Whats one more project betwen friends! ATOG you were all over it, the fobbergross feeelers still working well Thanks Dennis, do you happen to remember what year this one is? Haven't gone searching for the chassis number yet. Cheers Doug. |
|
bigkel
Full Member
 If you never never go, you never never know.
Posts: 248
|
Post by bigkel on Oct 29, 2013 20:38:51 GMT 10
That Sunliner could be 200kg lighter then your other van , just think how much faster the ute will be towing it , not to mention stopping . And then of course don't forget the supreme prestige of owning a SUNLINER ,
Cheers Kel.
|
|
|
|
Post by JBJ on Oct 30, 2013 7:30:24 GMT 10
Hi Doug
Its the second series of Sunliner.
With the fixed front LH side window I believe it should be a 62 or 63, but there were many variations during production as is evidenced by lots of differences in various models.
I have a copy of a 1961 advert showing that the vans were still the first series, and used fibreglass framed windows.
I also have a copy of a 1964 advert which has that window shown opening
It also shows in a copy of the brochure I have, that the RHS chassis is the bottom of the range, probably the "thriftmaster" version.
I'm sure others will have more info than I have, but I'm pretty sure what I have said is close to correct.
JBJ
|
|
|
|
Post by boblor on Oct 30, 2013 8:56:25 GMT 10
Hi Doug
I am glad you have got the message - 'glass is class'. I will have to check records but I think I was told by the Murray's (Bundaberg) that the Victory had the conventional chassis and elliptcal spring set up, where the other version had the trailing arm spring/shock absorber suspension.
You look to have a good project there old mate.
Cheers boblor
|
|
|
|
Post by JBJ on Oct 30, 2013 9:32:13 GMT 10
Hi Bob,
The tube chassis Sunliners had either independent trailing arms or solid axle on leaf springs. There were different variations on how the trailing arms were built over production times.
The RHS had only leaf springs that I know of.
There were at least 2 different constructions of tube chassis I have seen, as well as the 2 different suspensions.
Also the Gracemurs, that make up a fair portion of the northern Sunliners, had a lot of different features to the southern produced ones.
But it really doesnt matter much. Unless one has a brochure or advert in their hand to compare the van with, I have found Sunliners can be difficult to pin down to a date. Chassis numbers are often destroyed over years of use & weather effects.
JBJ
|
|
|
|
Post by cruisindoug on Oct 30, 2013 18:26:28 GMT 10
I reckon 200kg might be conservative Kel, only 550kg when new is 300kg less than the Skyline empty - Probably more like 500kg less than as it sits! It will end up weighing more than stock but not by too much  I have been quietly looking out for a Sunny for a while, hoping for a steal ... that didn't happen but I reckon I got this one for a fair price (for a Sunliner). Thanks for that Dennis, I am not worried about how old it is, just wondering so I can give it a date when asked I'll just go with 1962 unless someone can prove different! Chassis has all letters welded on, not the normal Sunliner method, had a quick look for the original number but came up empty. Bob I reckon its a Forster job, the Gracemurs had the three window fronts (  ?). Have to get used to finishing the work day itchy now Bob, but there will be a fair bit of timber work to do in this van, nearly every stick of timber used as reinforcing / ribs etc is rotted I reckon this Sunny is likely to have been a hire van - it has two sockets on the front for trailer plugs ( ?). If so, most likely is the bargain basement model On to business; after last nights storm I was expecting things to be a bit wet this morning, but the mad scramble seems to have paid off ... throw enough tarps around and it does the job! 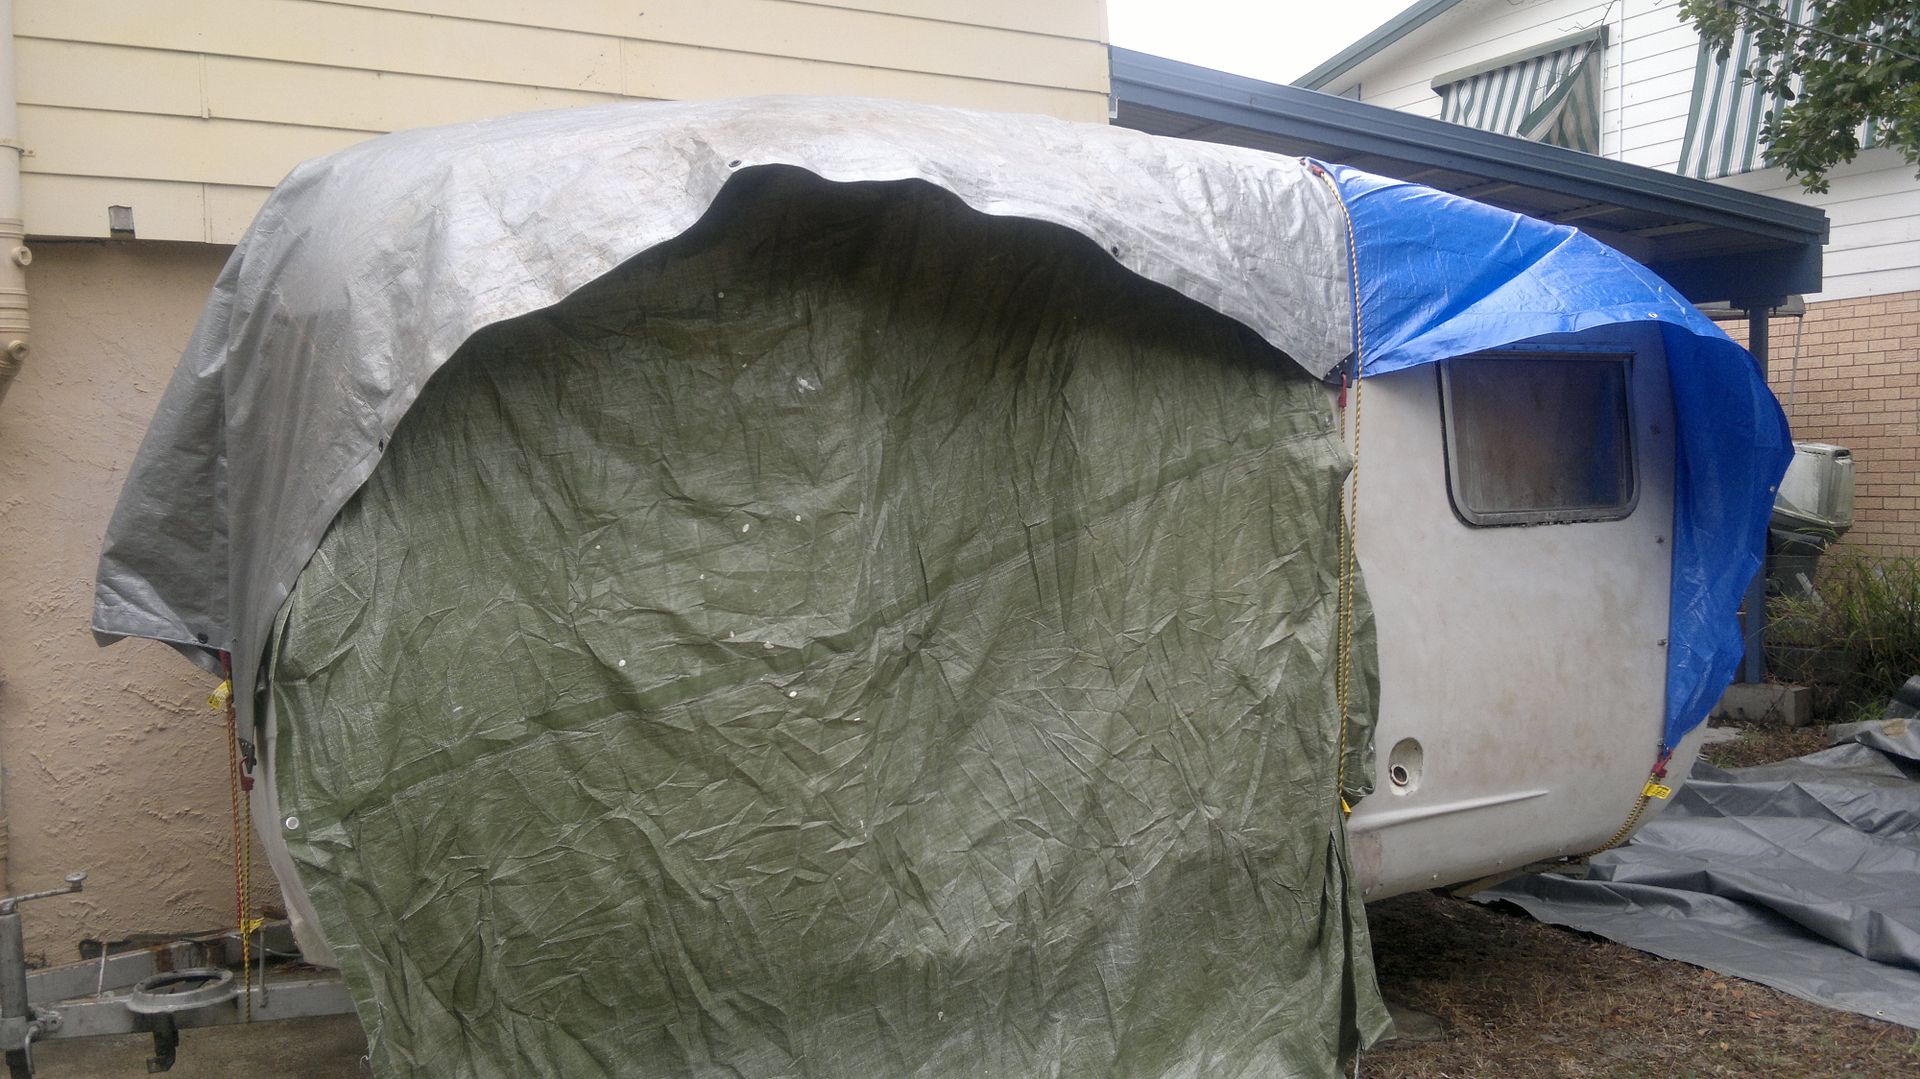 But got stuck in to making better arrangements, out came the old camp tarp again 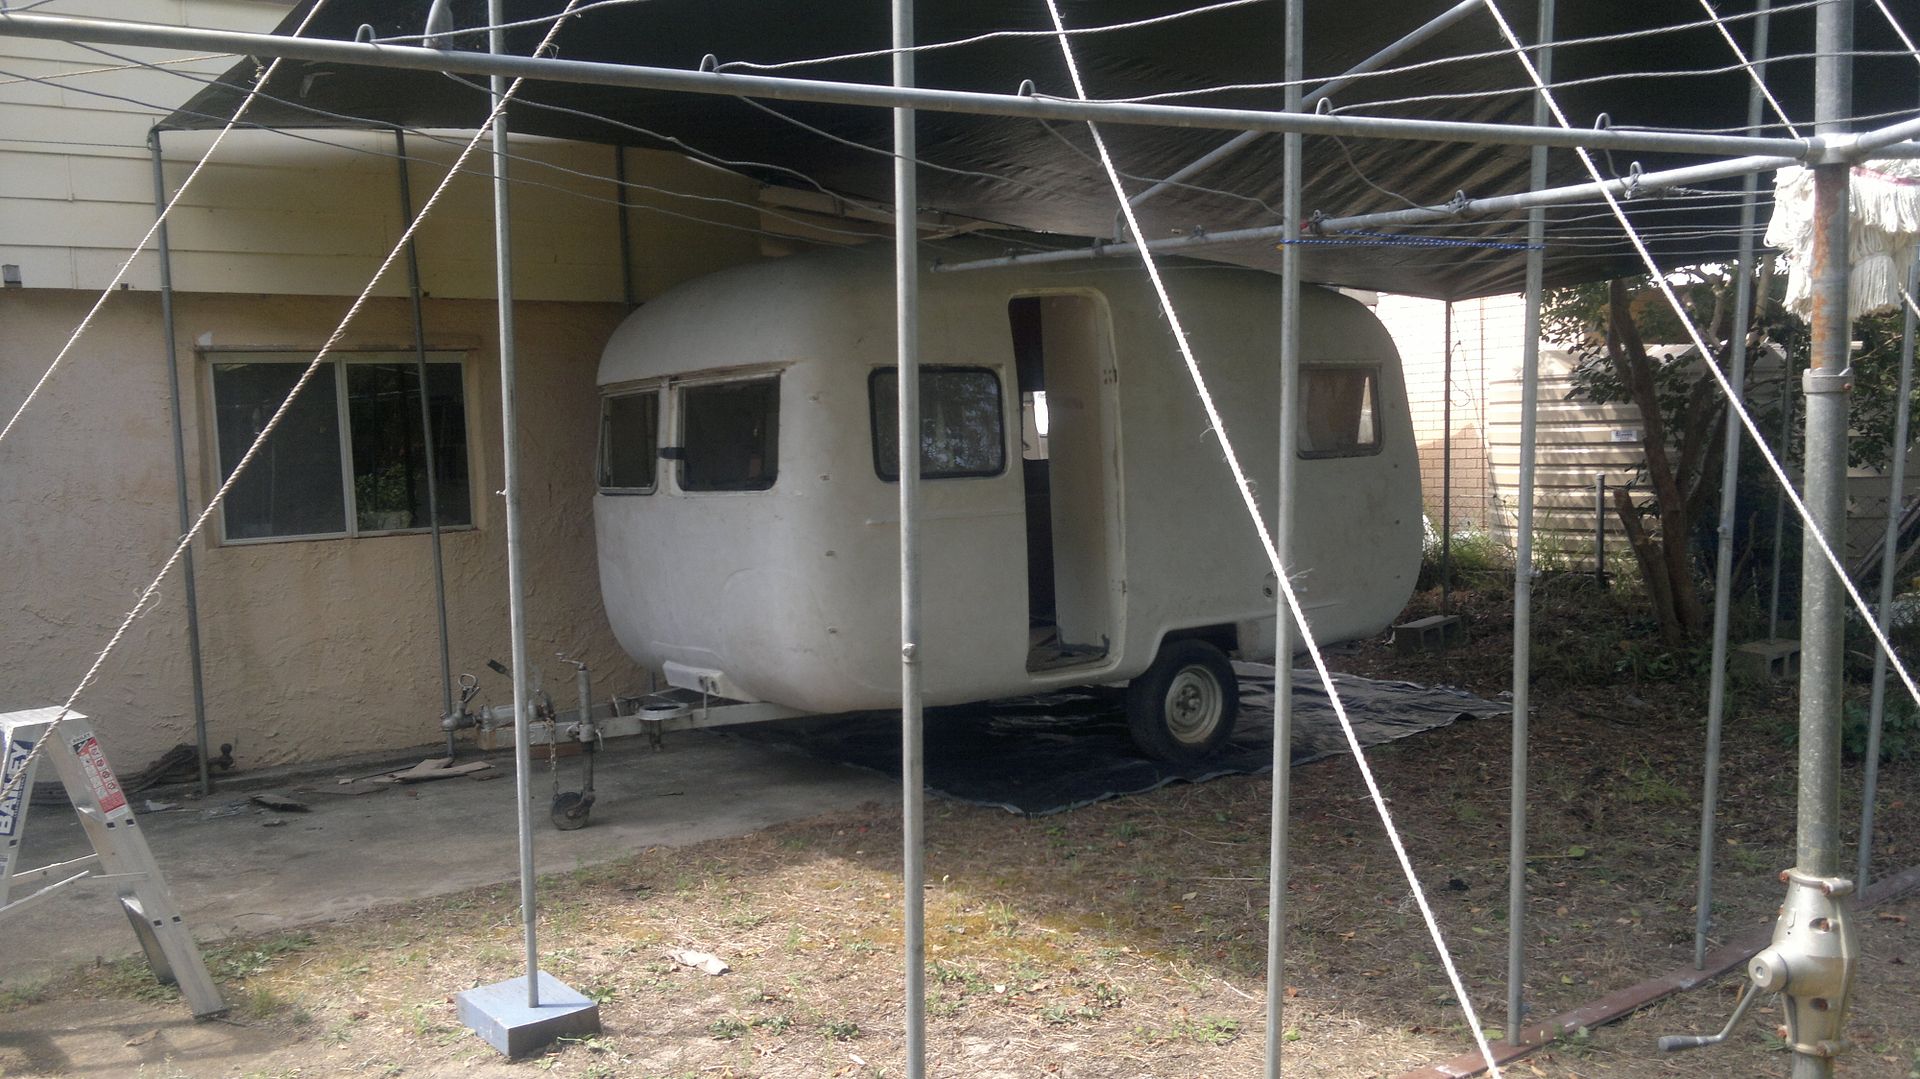 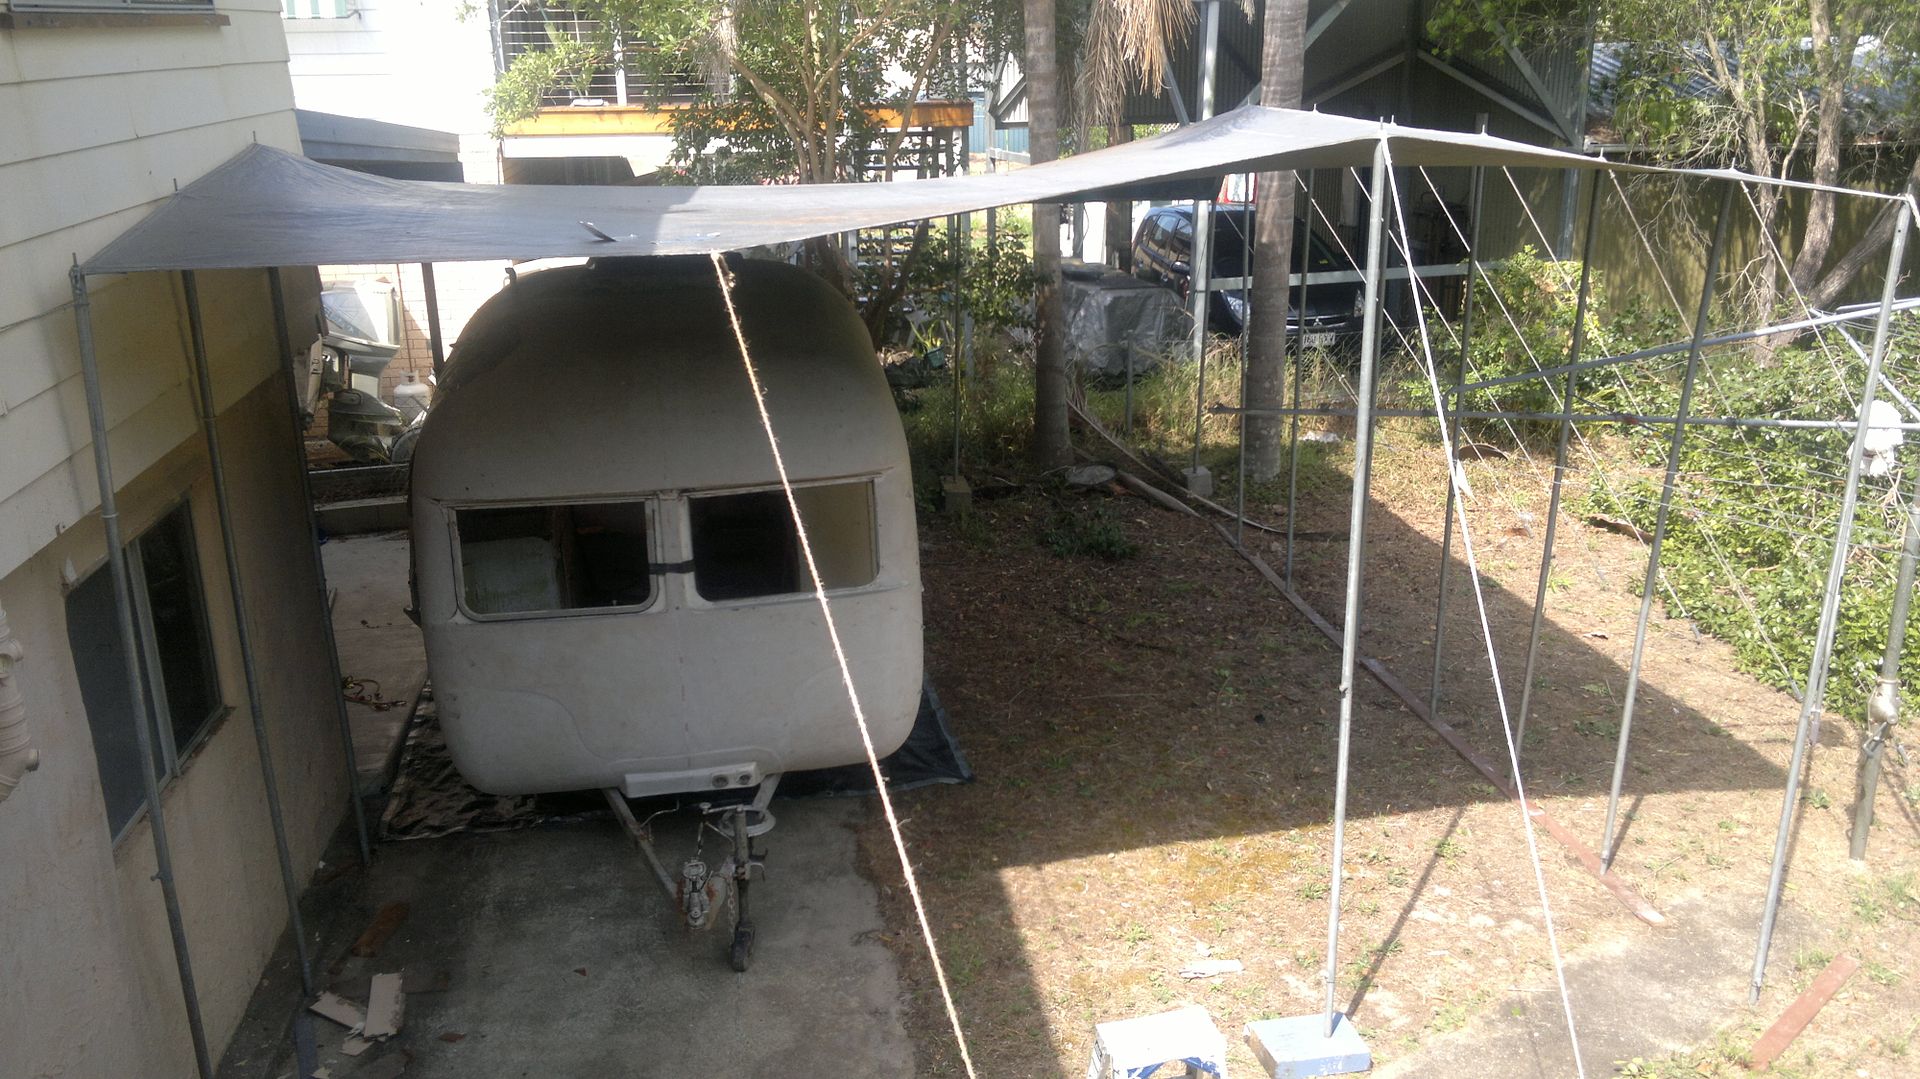 Then got stuck in, started out looking like this: 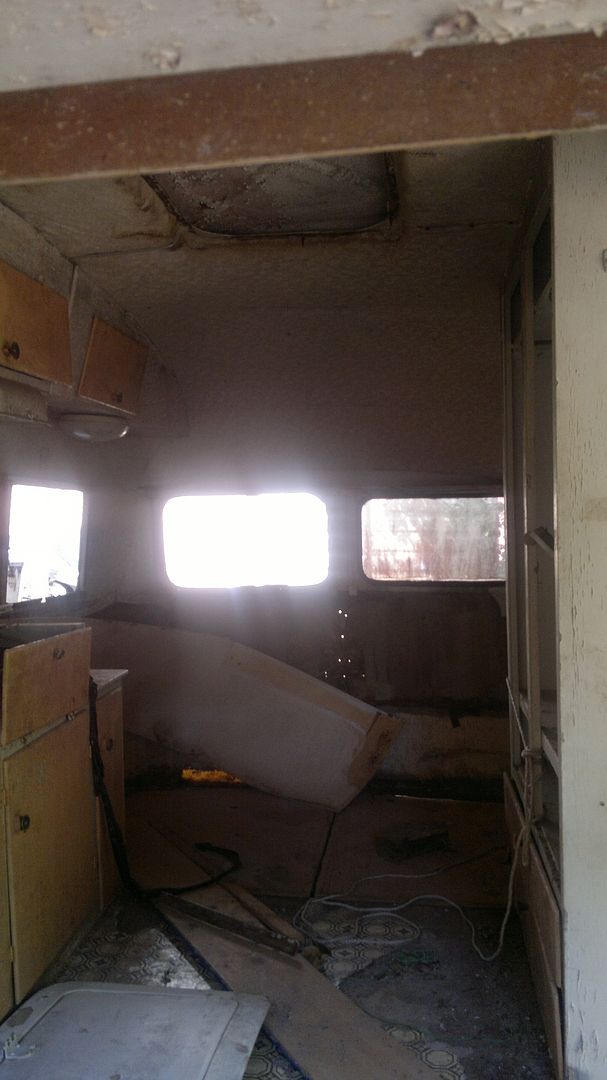 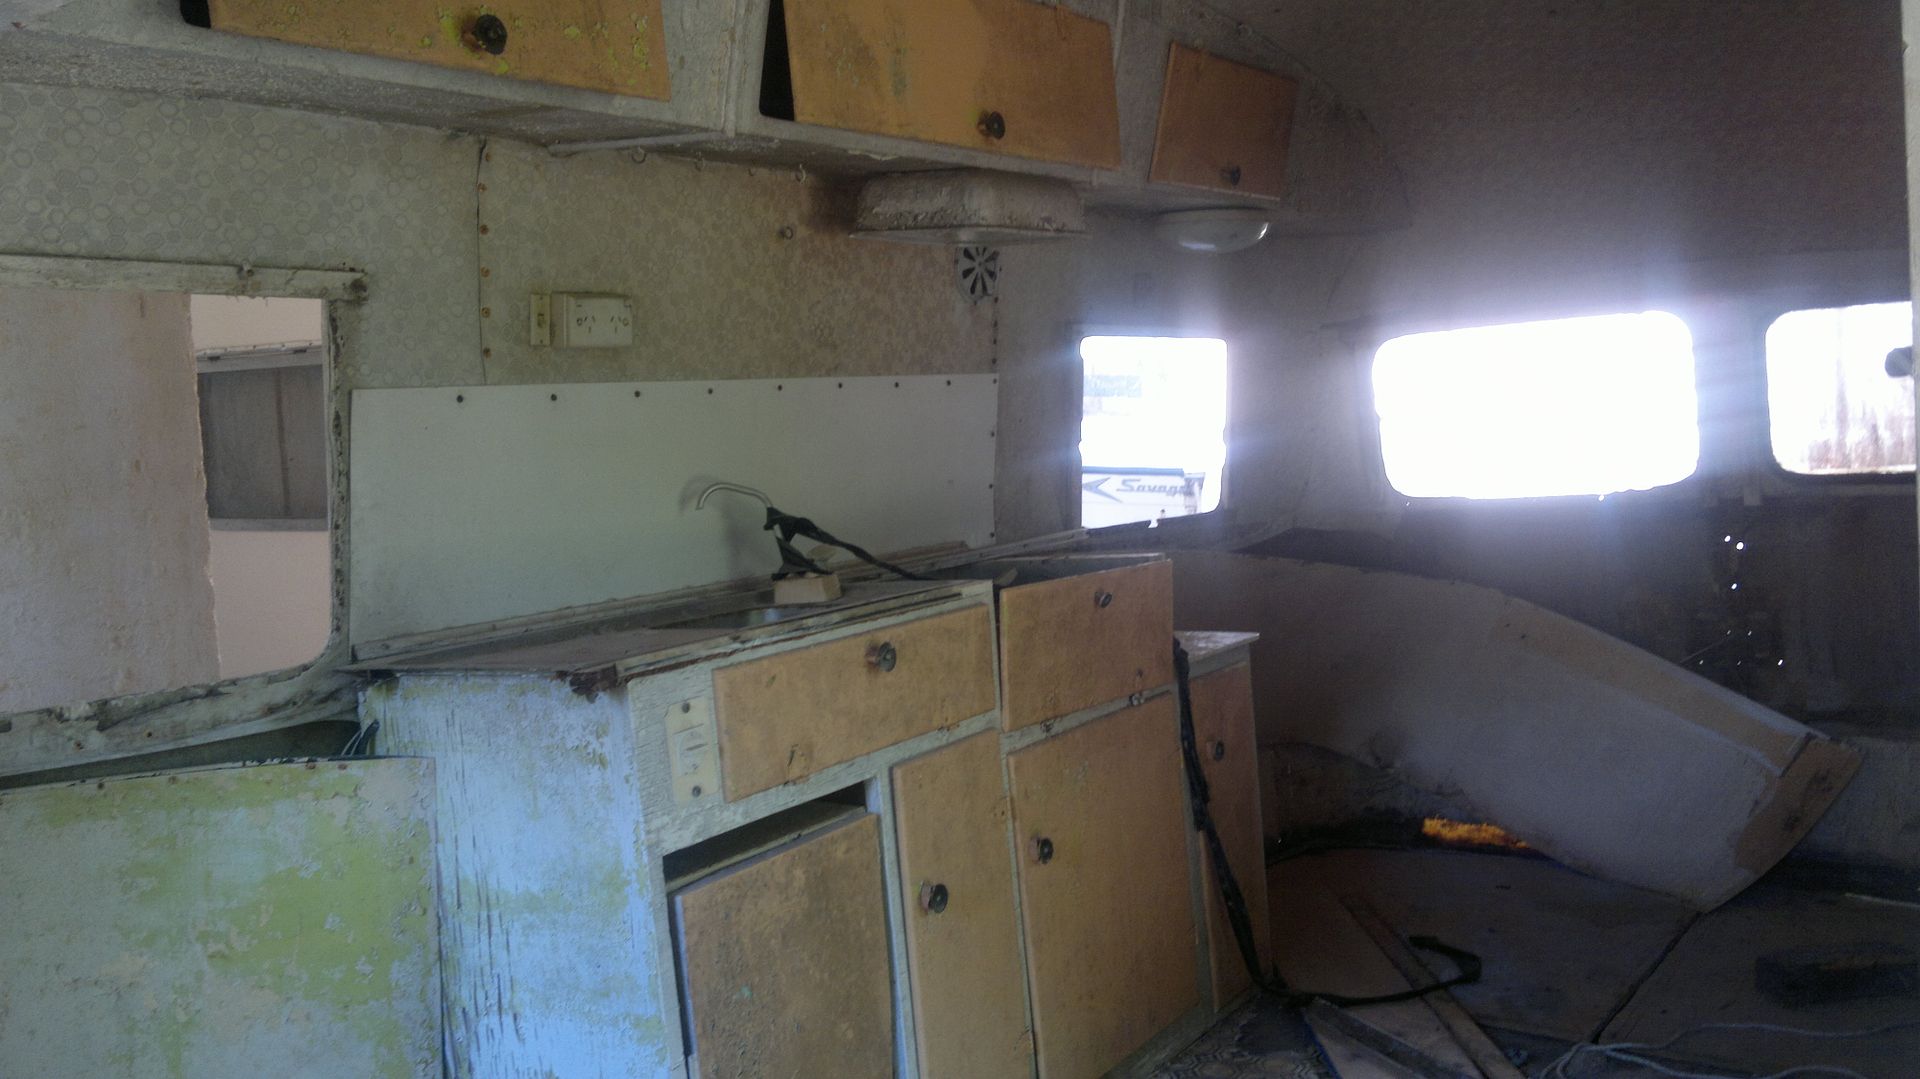 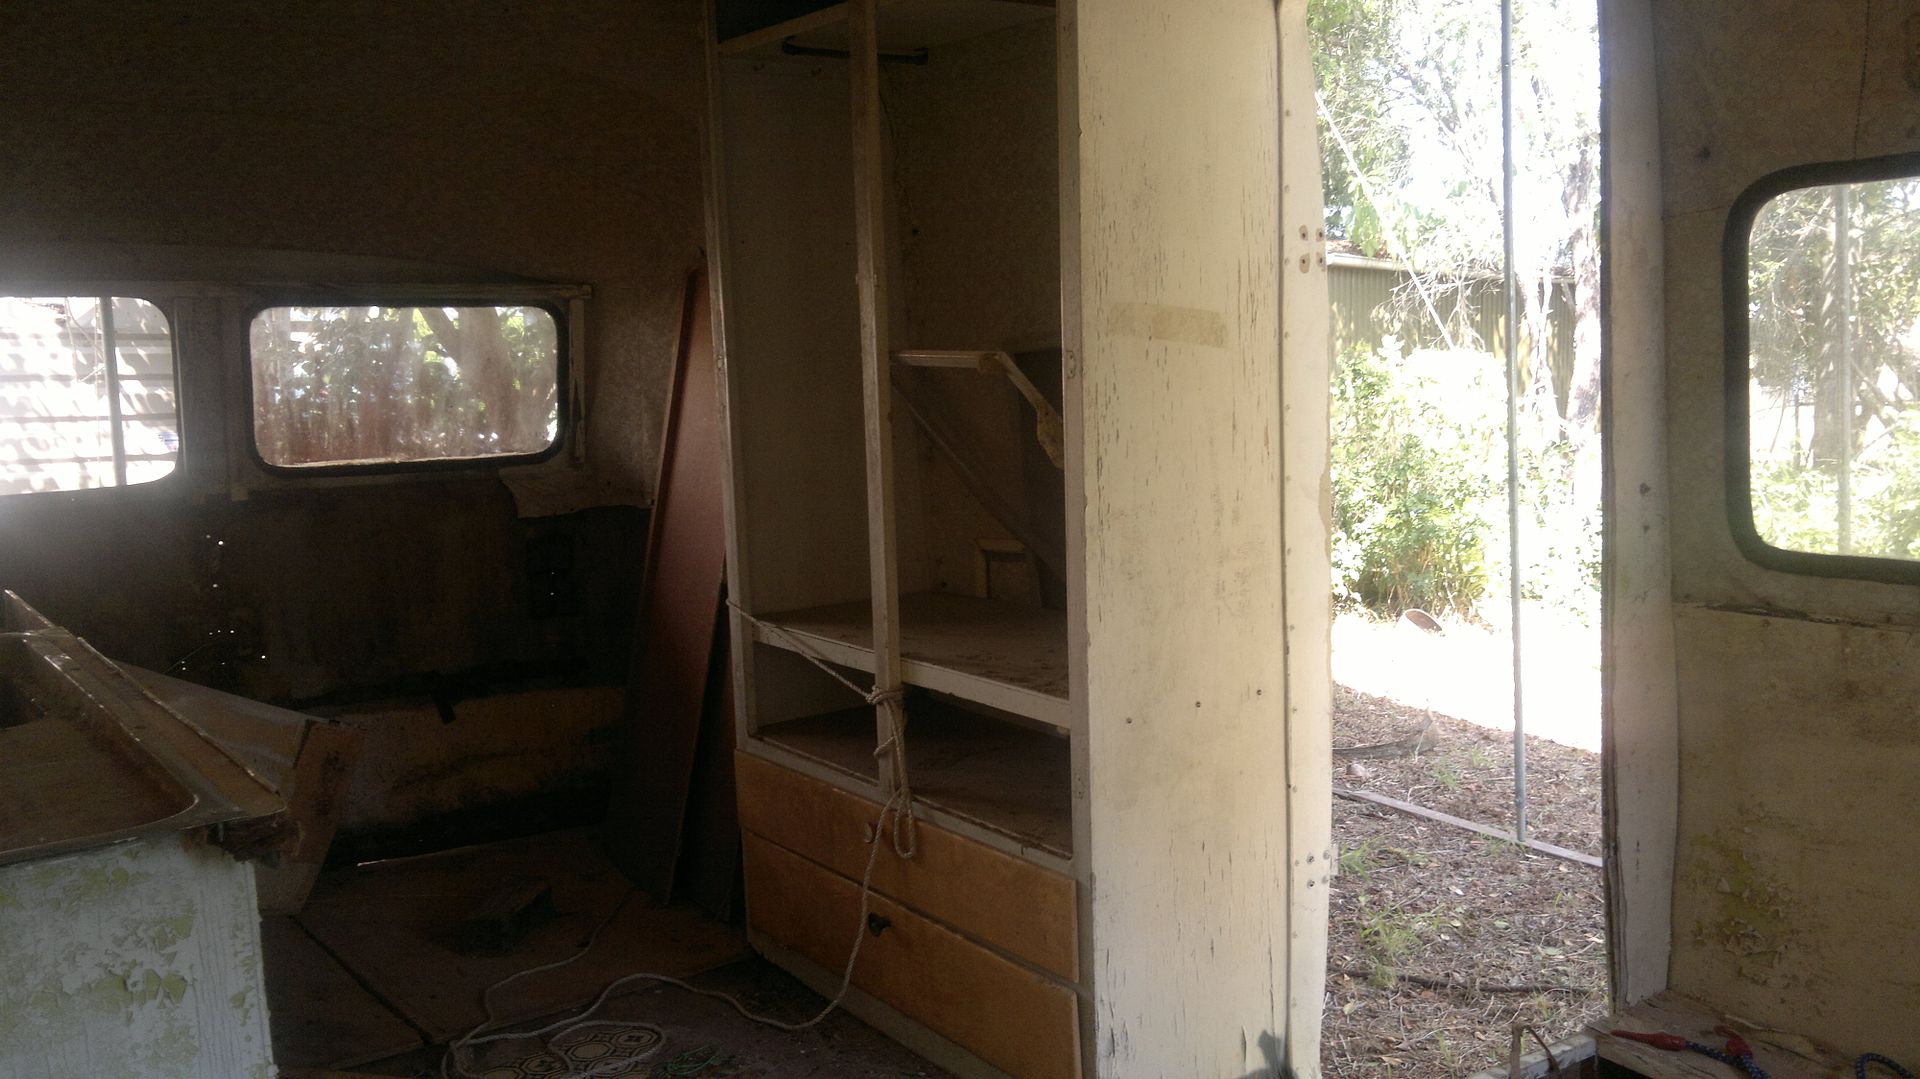  Looks to have remnants of the original lino - but not enough to use 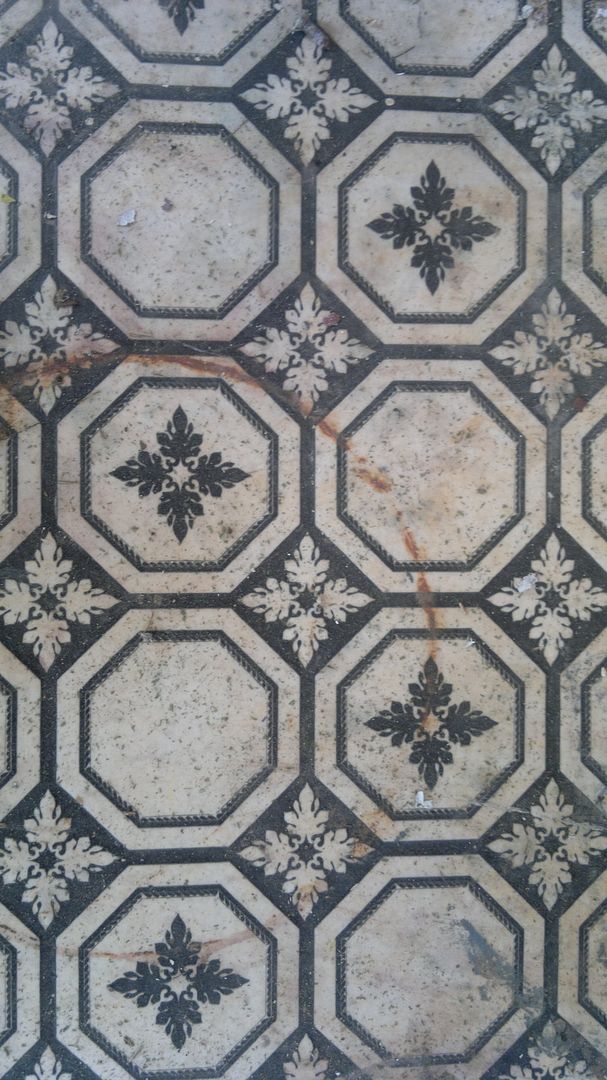 The original headlining is actually in pretty good condition ... but unfortunaltely not good enough!  End of play today: 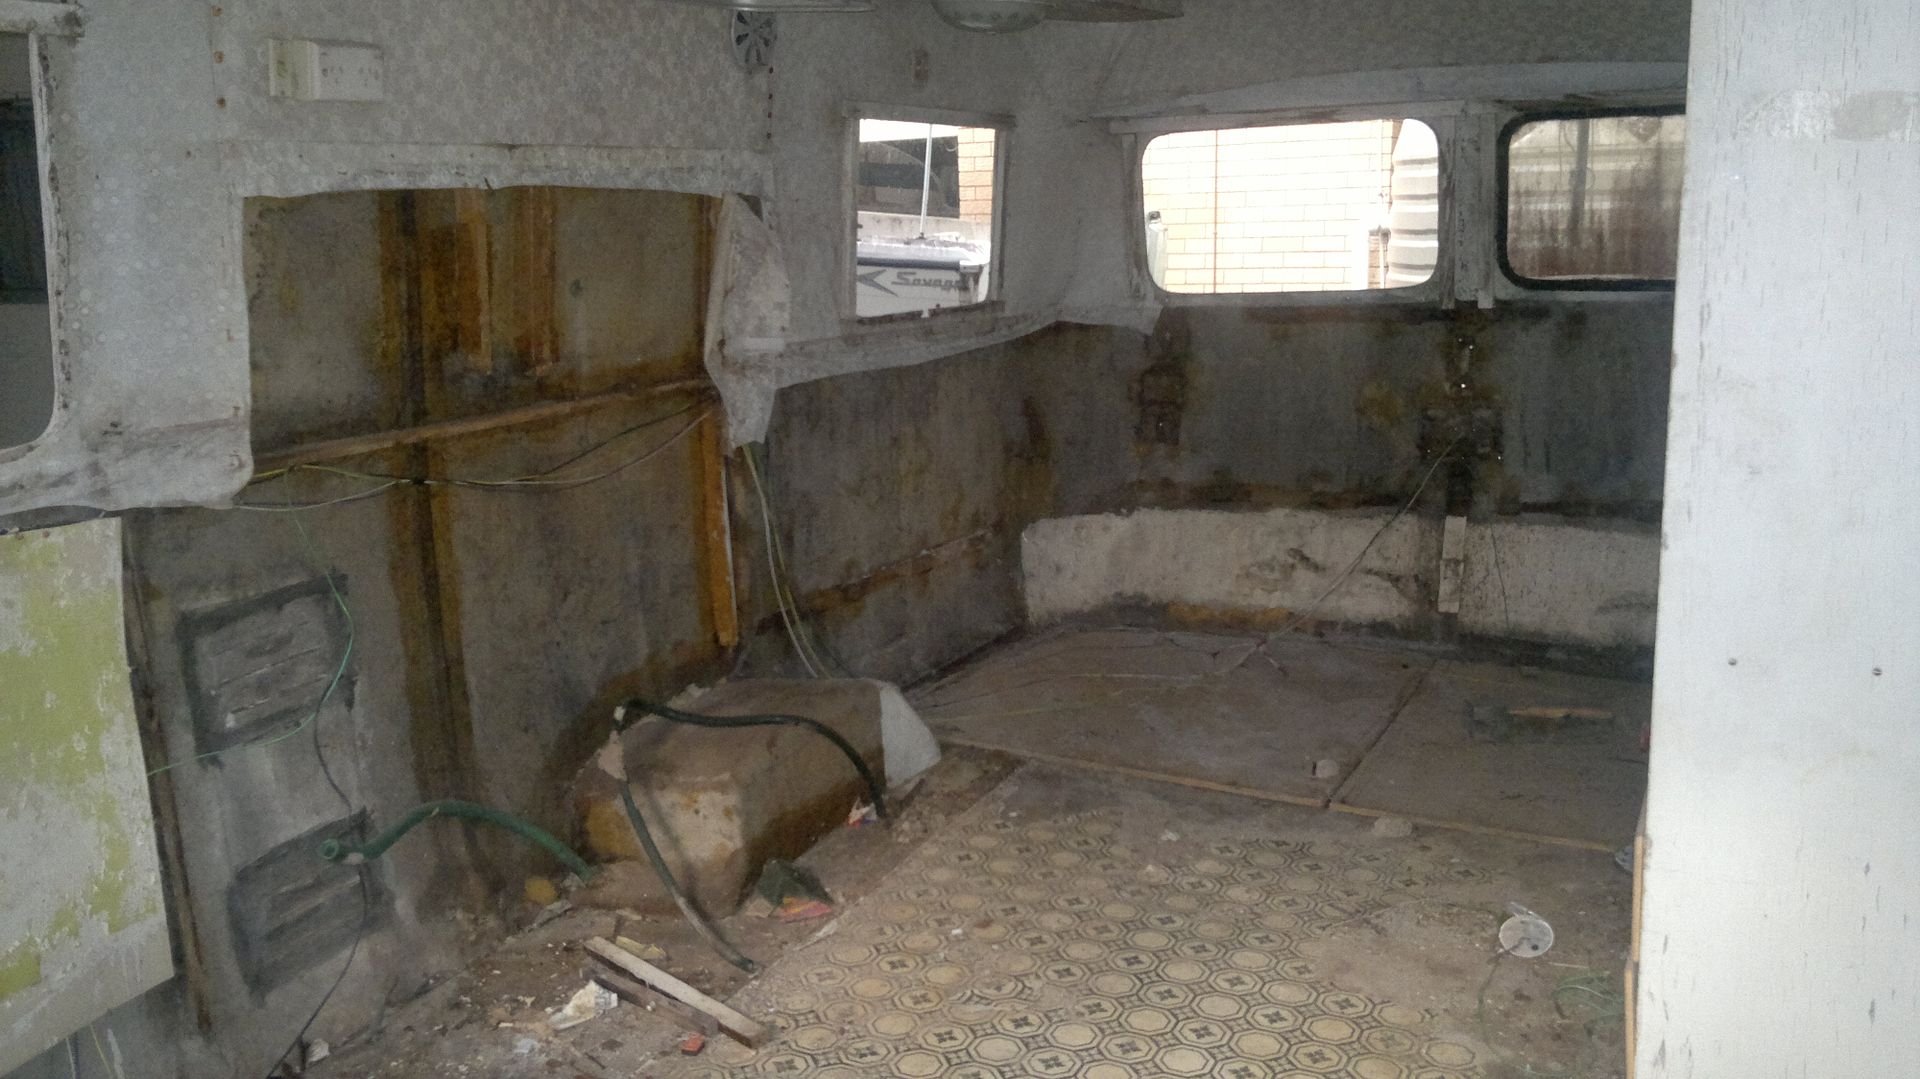 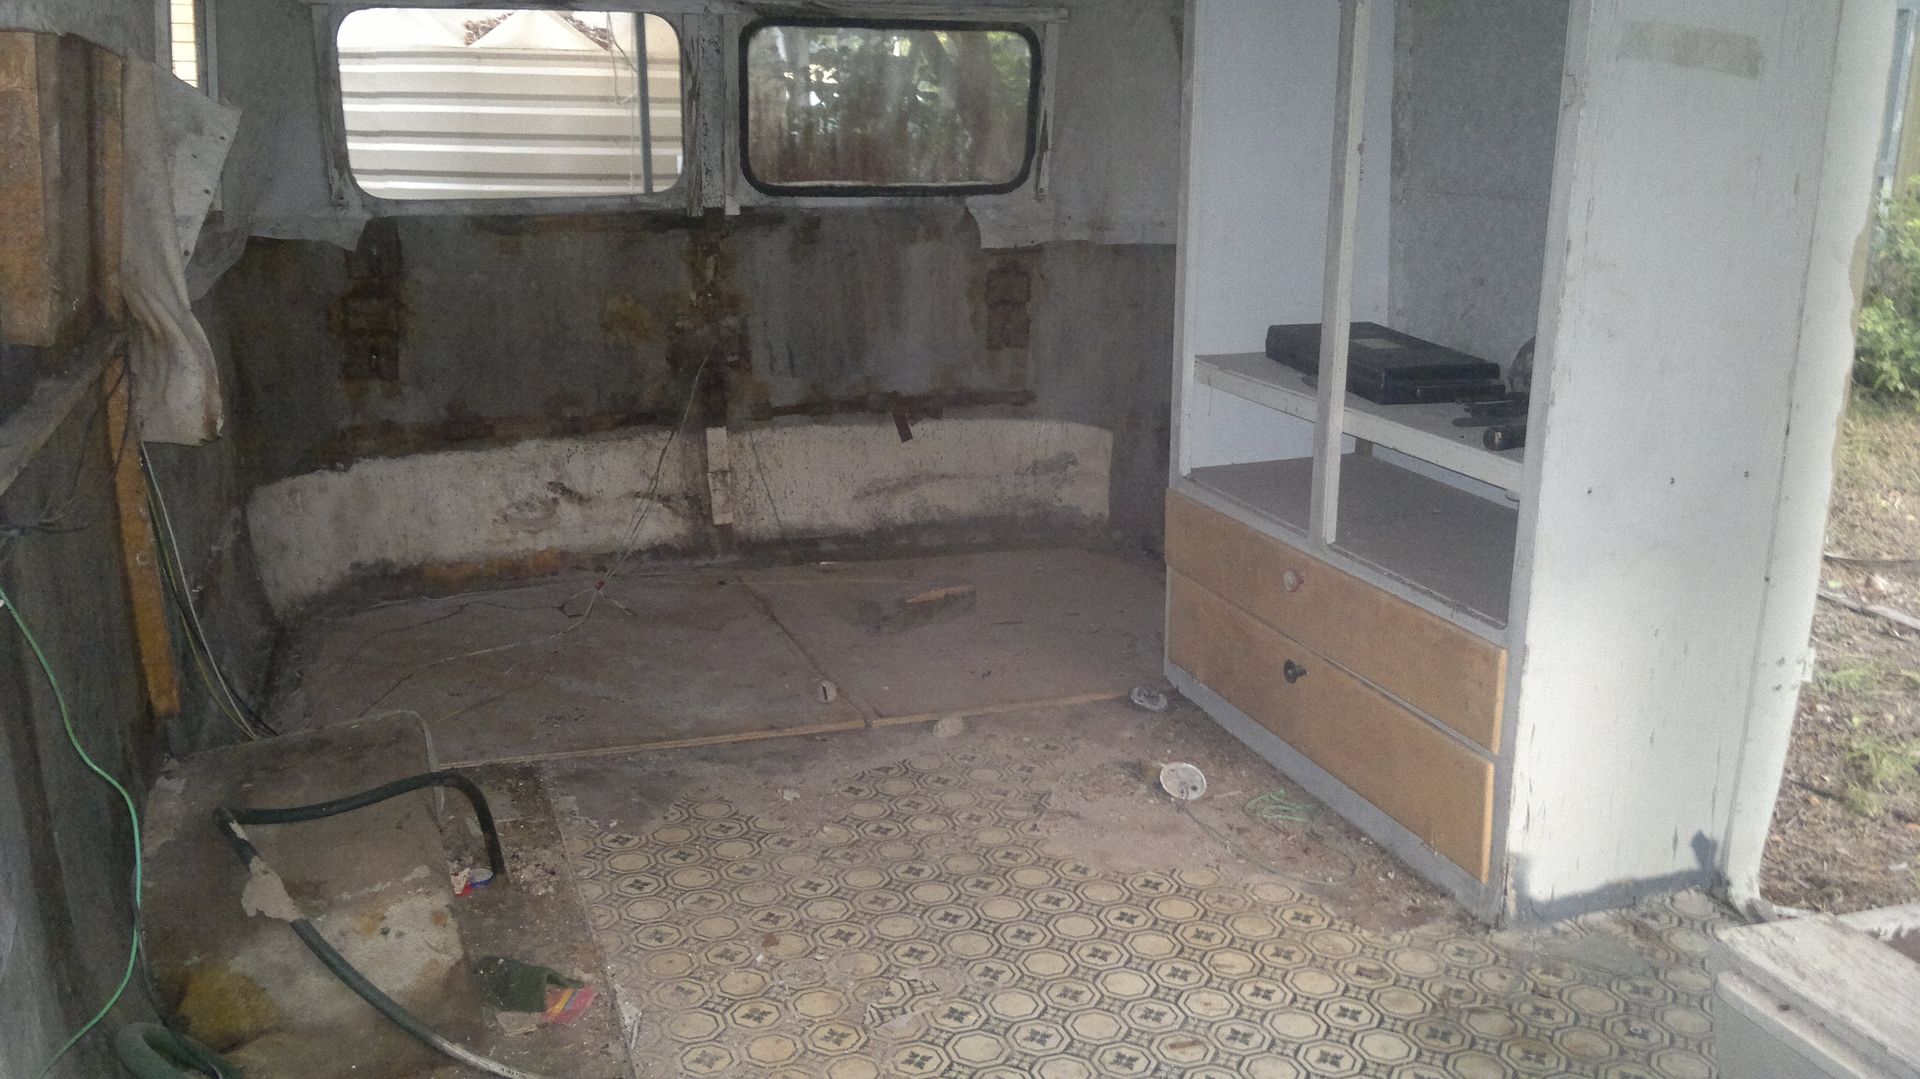 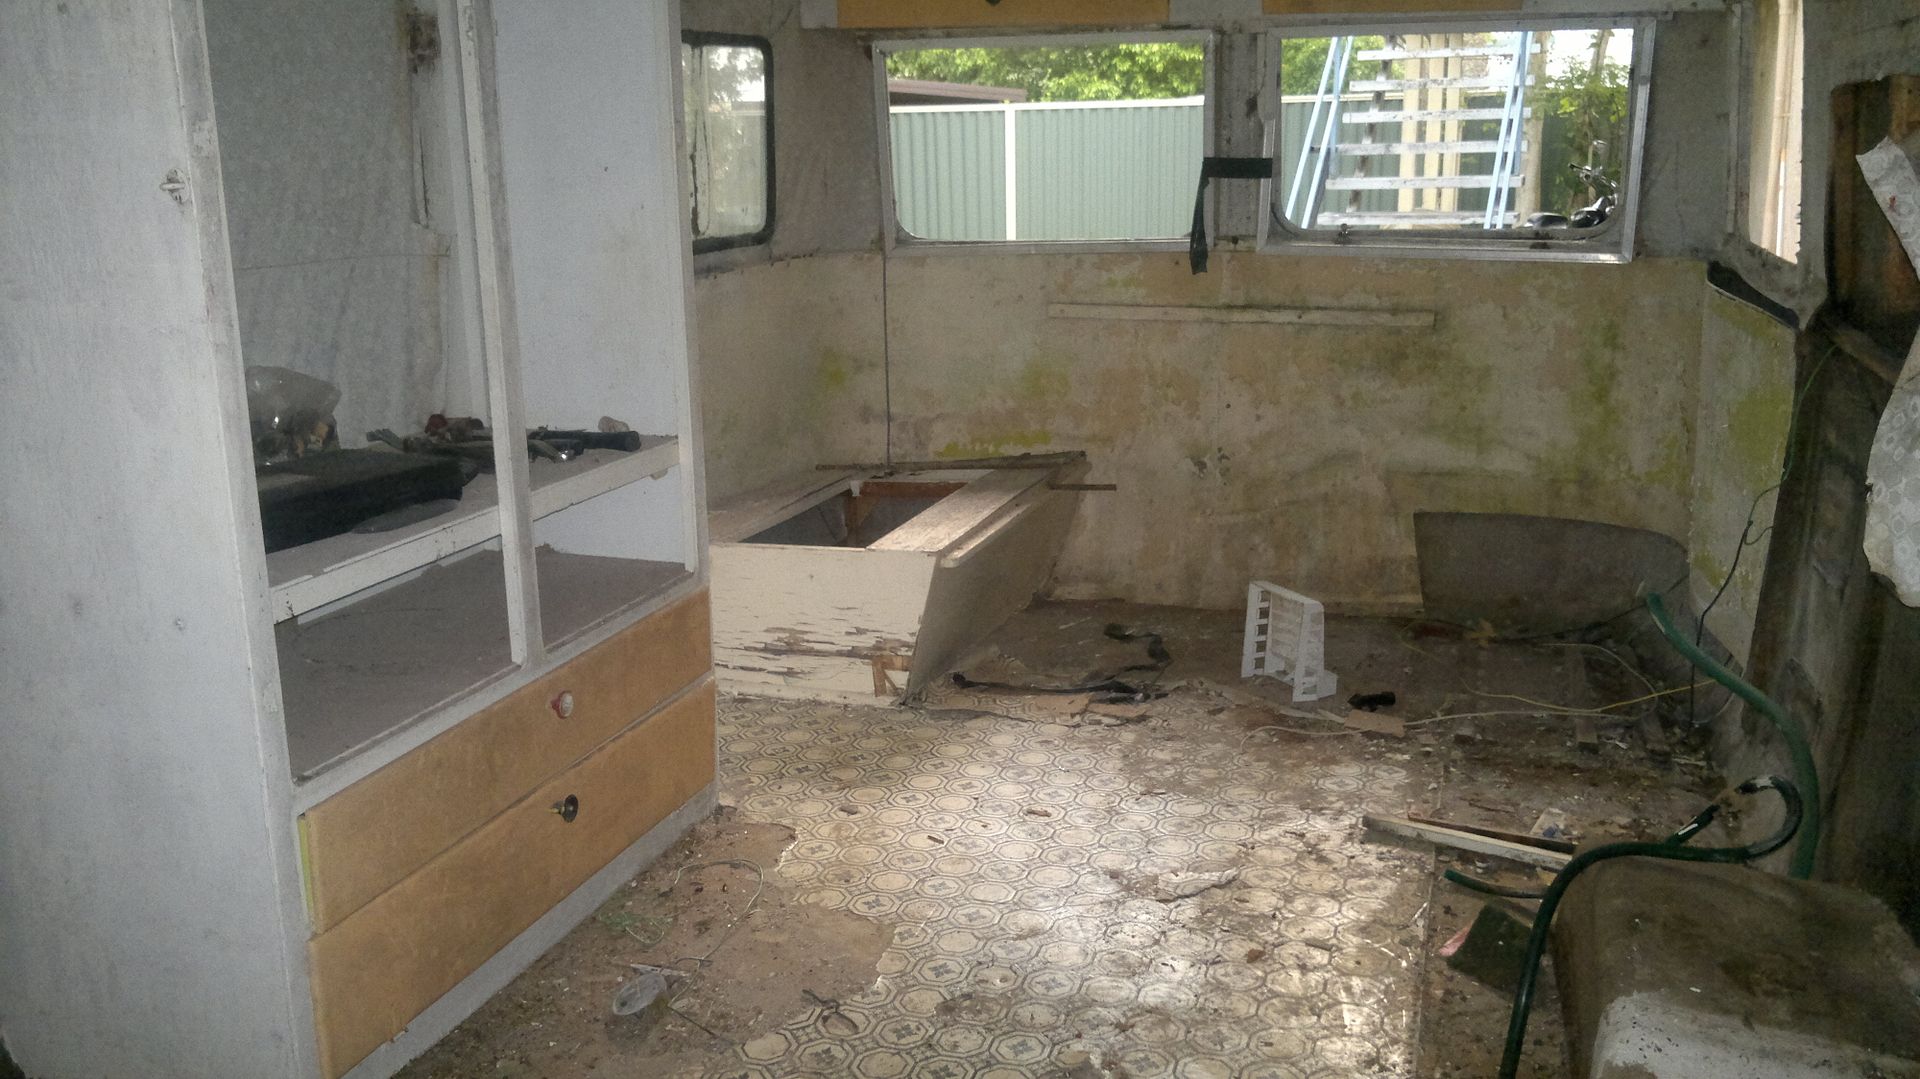 Things starting to look better - sort of!  Back into it tomorrow ;D ;D Cheers Doug |
|
|
|
Post by atouchofglass on Oct 30, 2013 18:33:10 GMT 10
I see a blank canvas
The beginnings of something really special
;D ;D ;D
Atog
|
|
|
|
Post by JBJ on Oct 30, 2013 20:03:06 GMT 10
Hi Doug,
I dont believe it was a hire van.
The 2 plugs at the front were normal on Sunliners.
I bought the van of a guy who bought it (supposedly) of his friend who bought it of the original owner. The guy I bought it off isnt around any more.
It was full of old boxes of floor tiles, paint tins, several bicycles, & several mattresses when I bought it in Lismore a few years back.It had sat for about 20 years as far as I could find out. I had to move several cars that had rusted down to the ground, that were in front of it in the yard.
Then I cleaned it out, & resold it to the guy you bought it off.
But it is good basis to do what you want to do.
You will enjoy rebuilding it
JBJ
|
|
|
|
Post by cruisindoug on Oct 31, 2013 18:02:56 GMT 10
Blank canvas is right ATOG! I plan do keep the outside fairly stock but there will be some changes inside. Thanks for the info Dennis, all good to know; this one is certainly going to be a lot more work than the Skyline! But good fun. Bit more "progress" today ... you have to go backwards before you can go forwards in these things aye! Not too much to look at but a big day nonetheless! 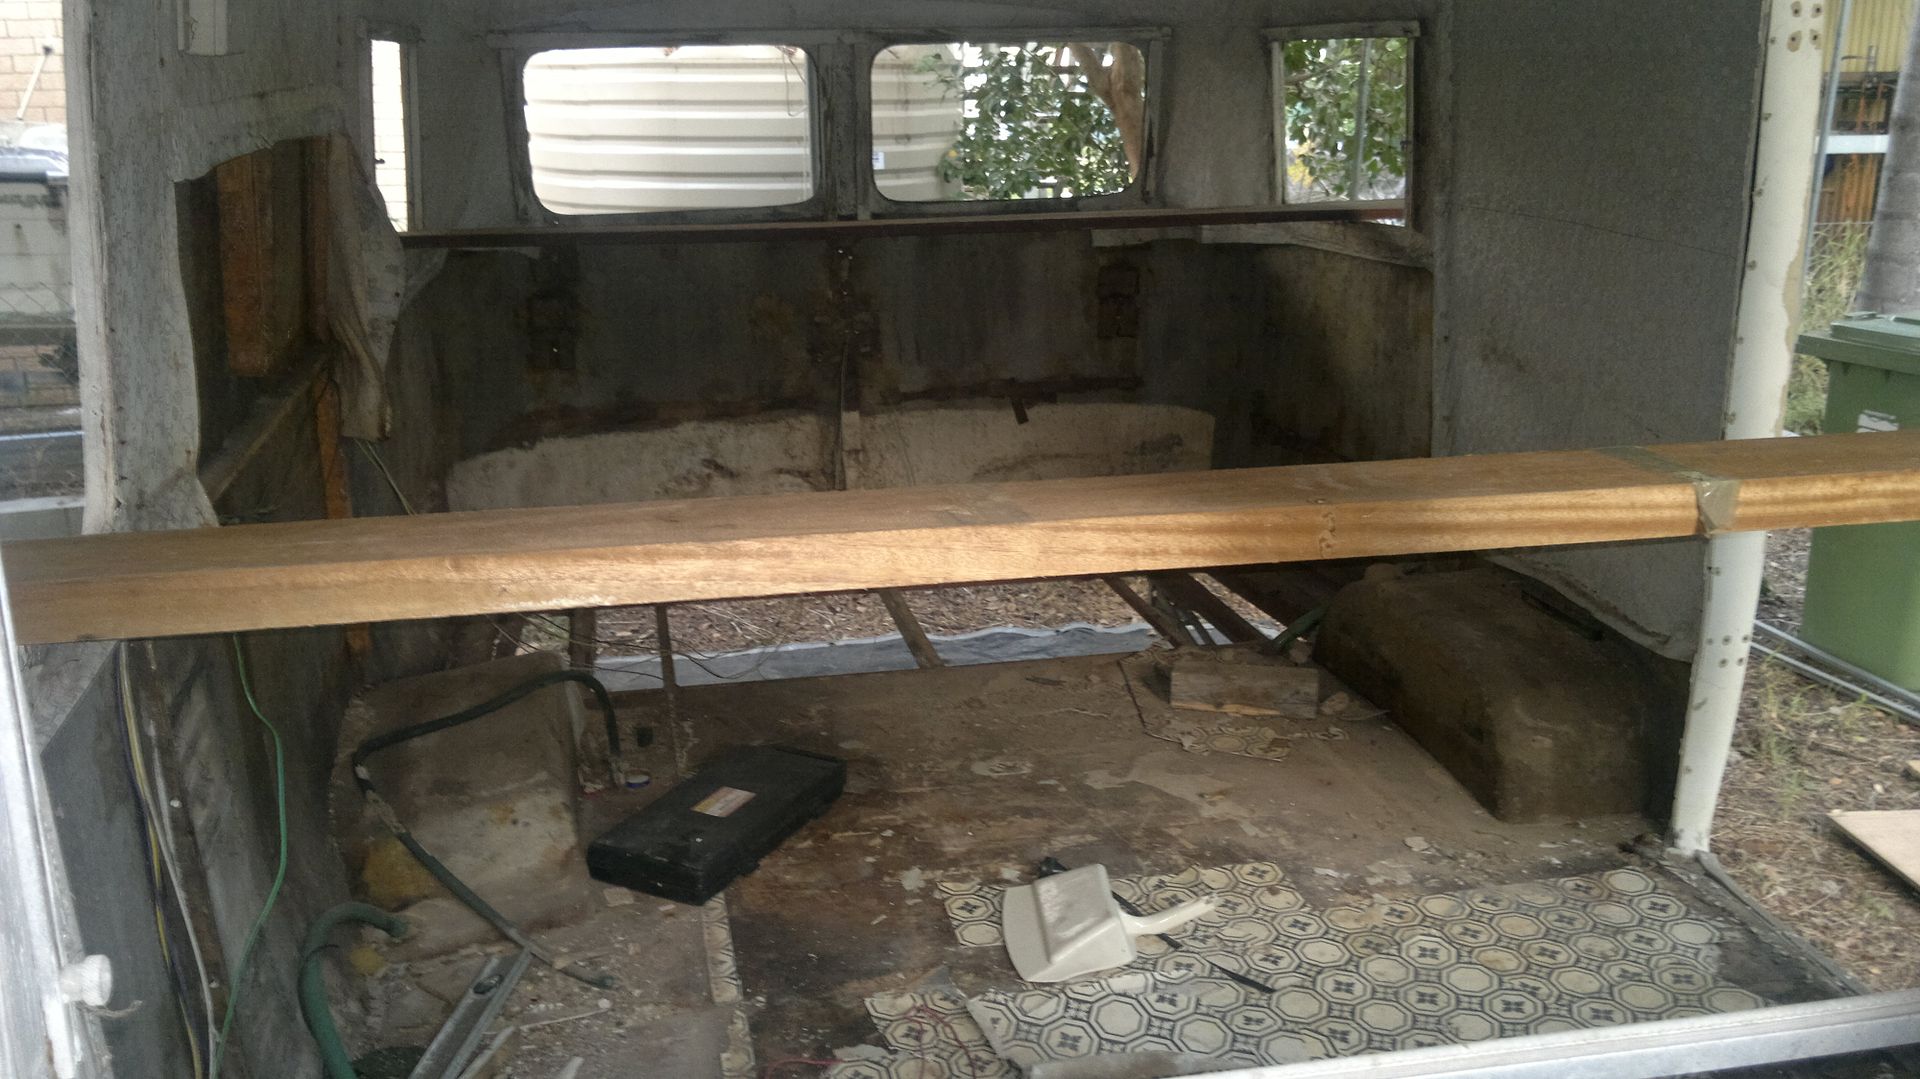 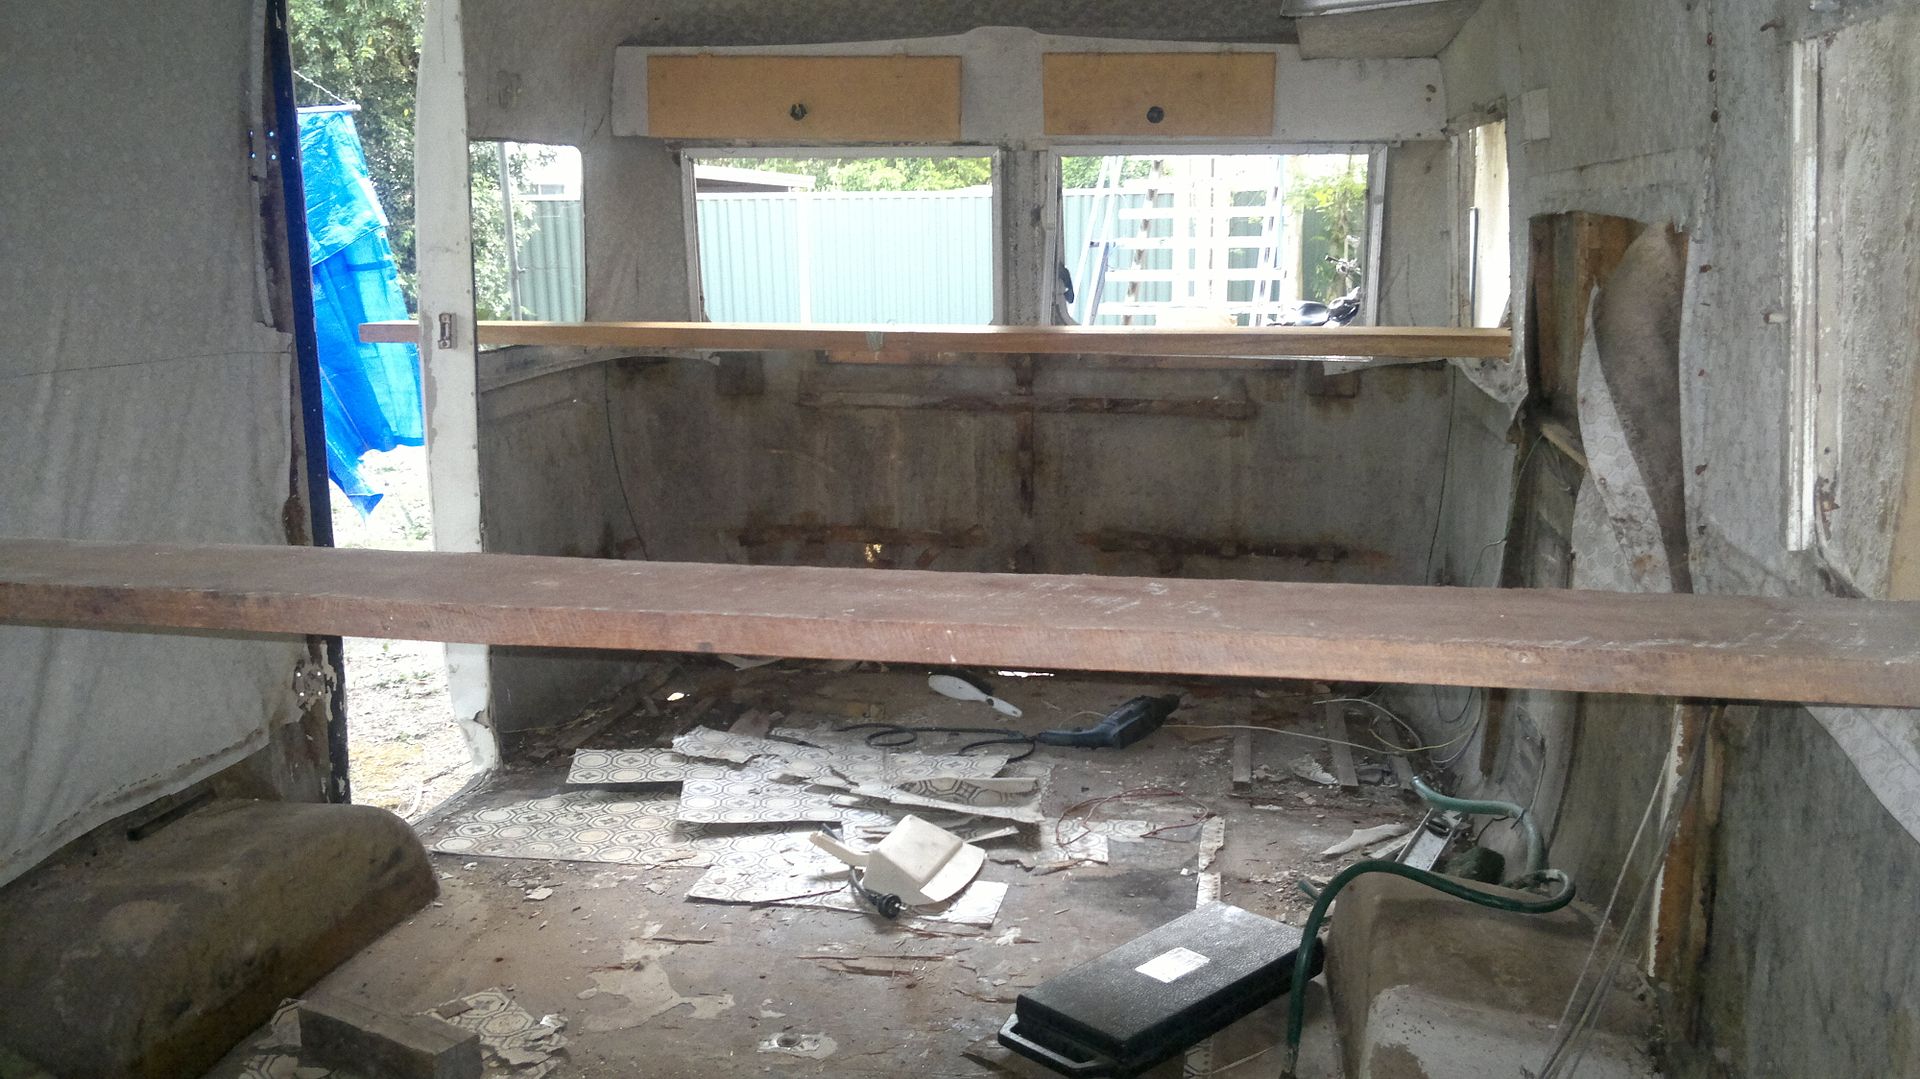 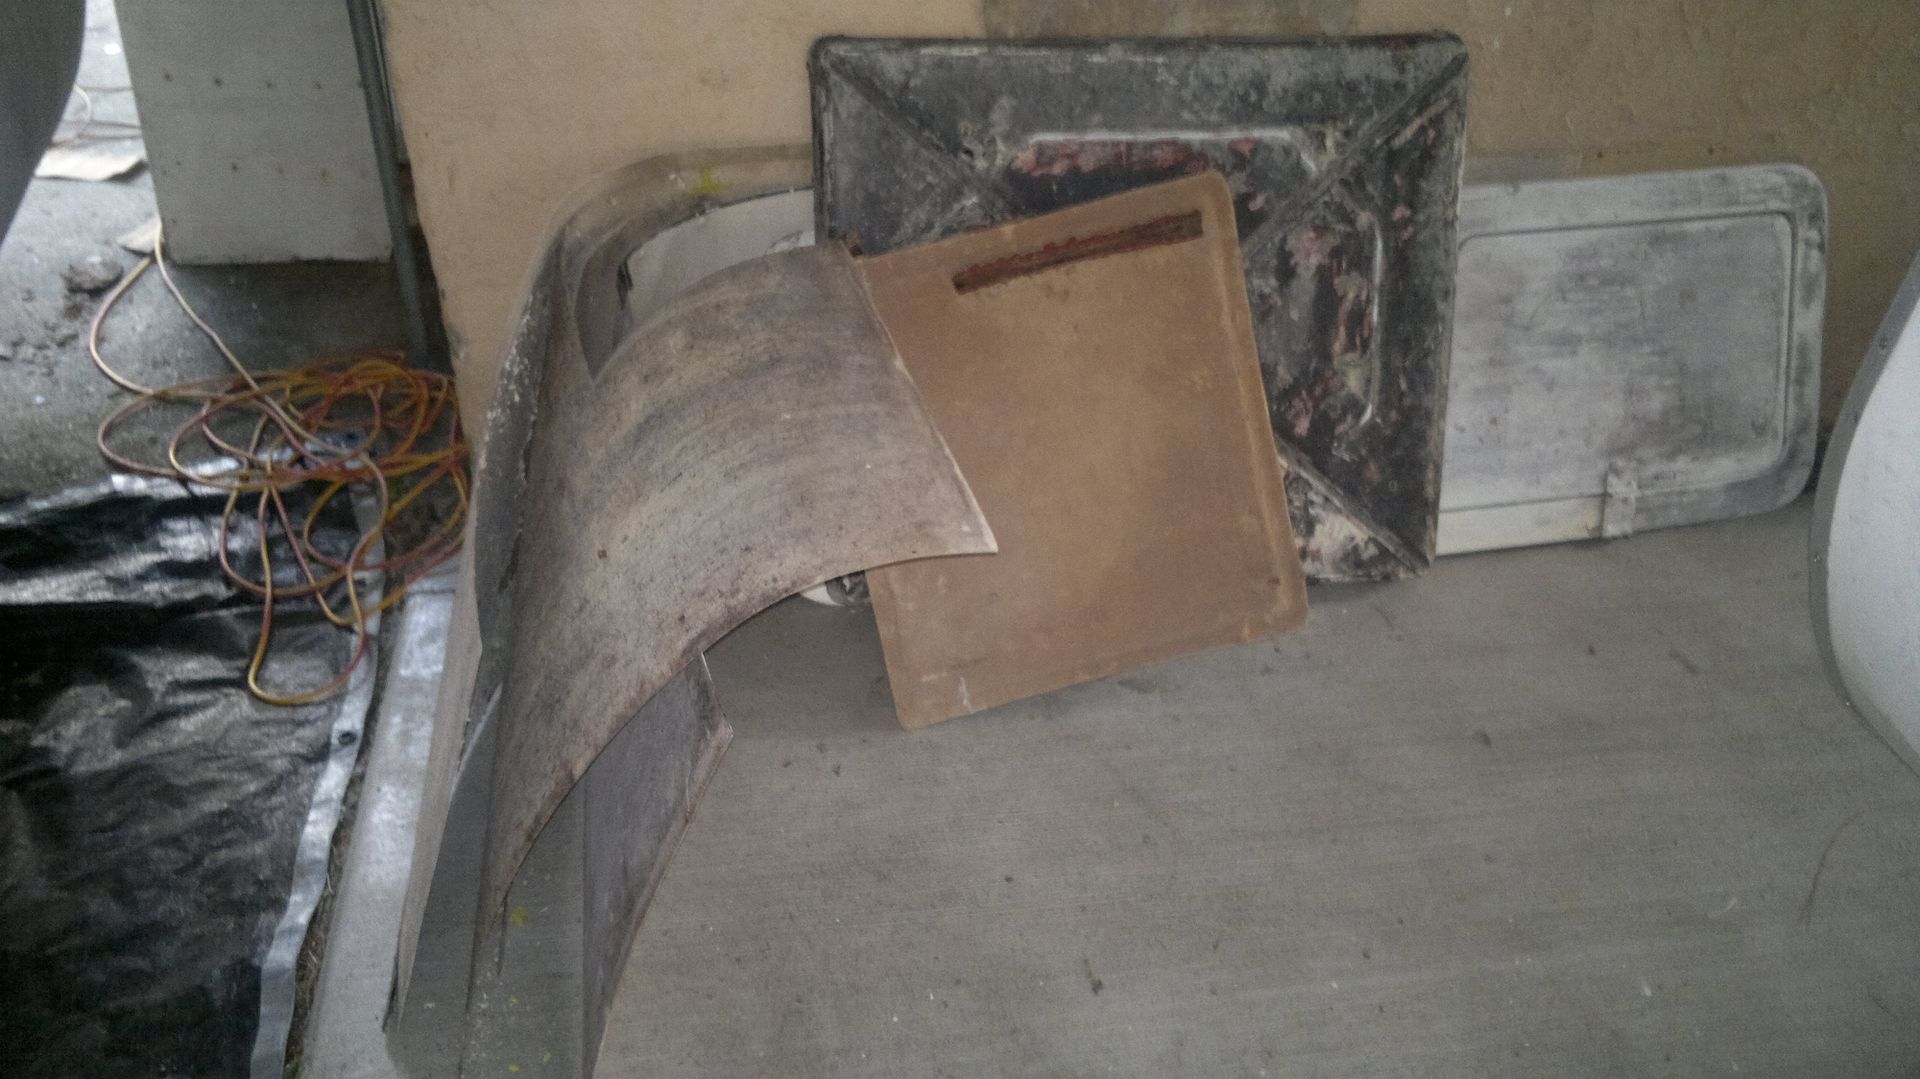 More tomorrow! Cheers Doug |
|
|
|
Post by humpyboy on Oct 31, 2013 21:20:45 GMT 10
Geeezzzz your gettin stuck into this one Doug, like I said no compitition your gunna win hands down. |
|
|
|
Post by cruisindoug on Nov 1, 2013 17:19:27 GMT 10
Thanks Derk - no competition here we all work at our own pace - I tend to sit and look at stuff for a while before getting stuck in. This one has been a bit different, but its pretty obvious the work that needs doing before anything else so I just got into it. I was scratching my head (there we go - itchy again) trying to figure how I was going to get the body up off the chassis - Banno had already given me the drum to lift it by putting a bit of timber through the window apetures - but I dont have anything that high to lift it with. Then I spotted these that my brother gave to me - not sure where he got them from but they were pretty solid and he was only going to throw them out if I didn't want them - well they are too good to chuck out I said, so they have sat under the house for a couple of years ... 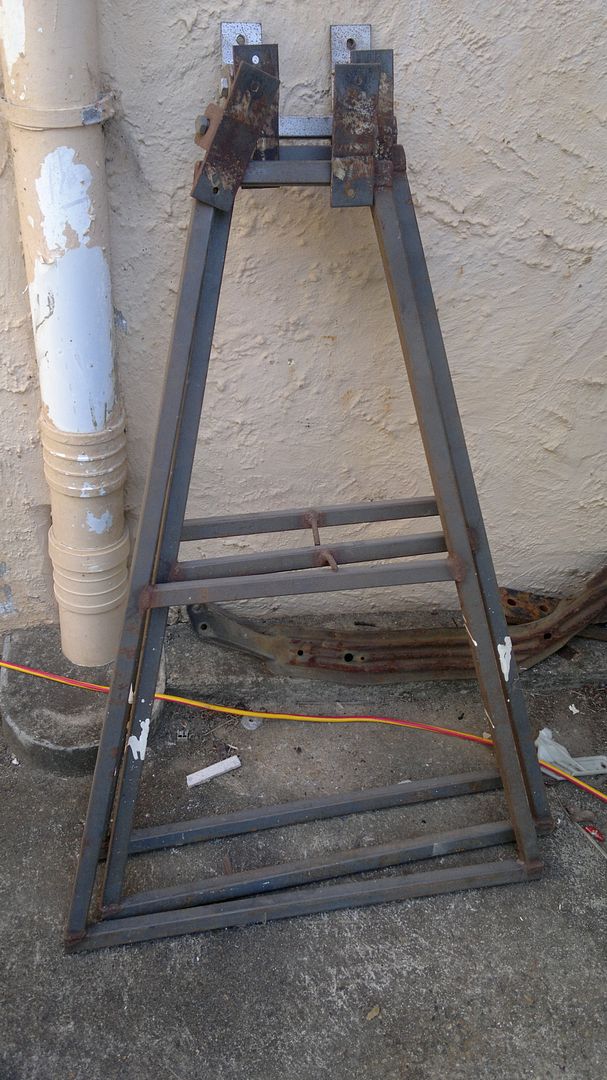 Couple of years back I made a cage for my trailer: 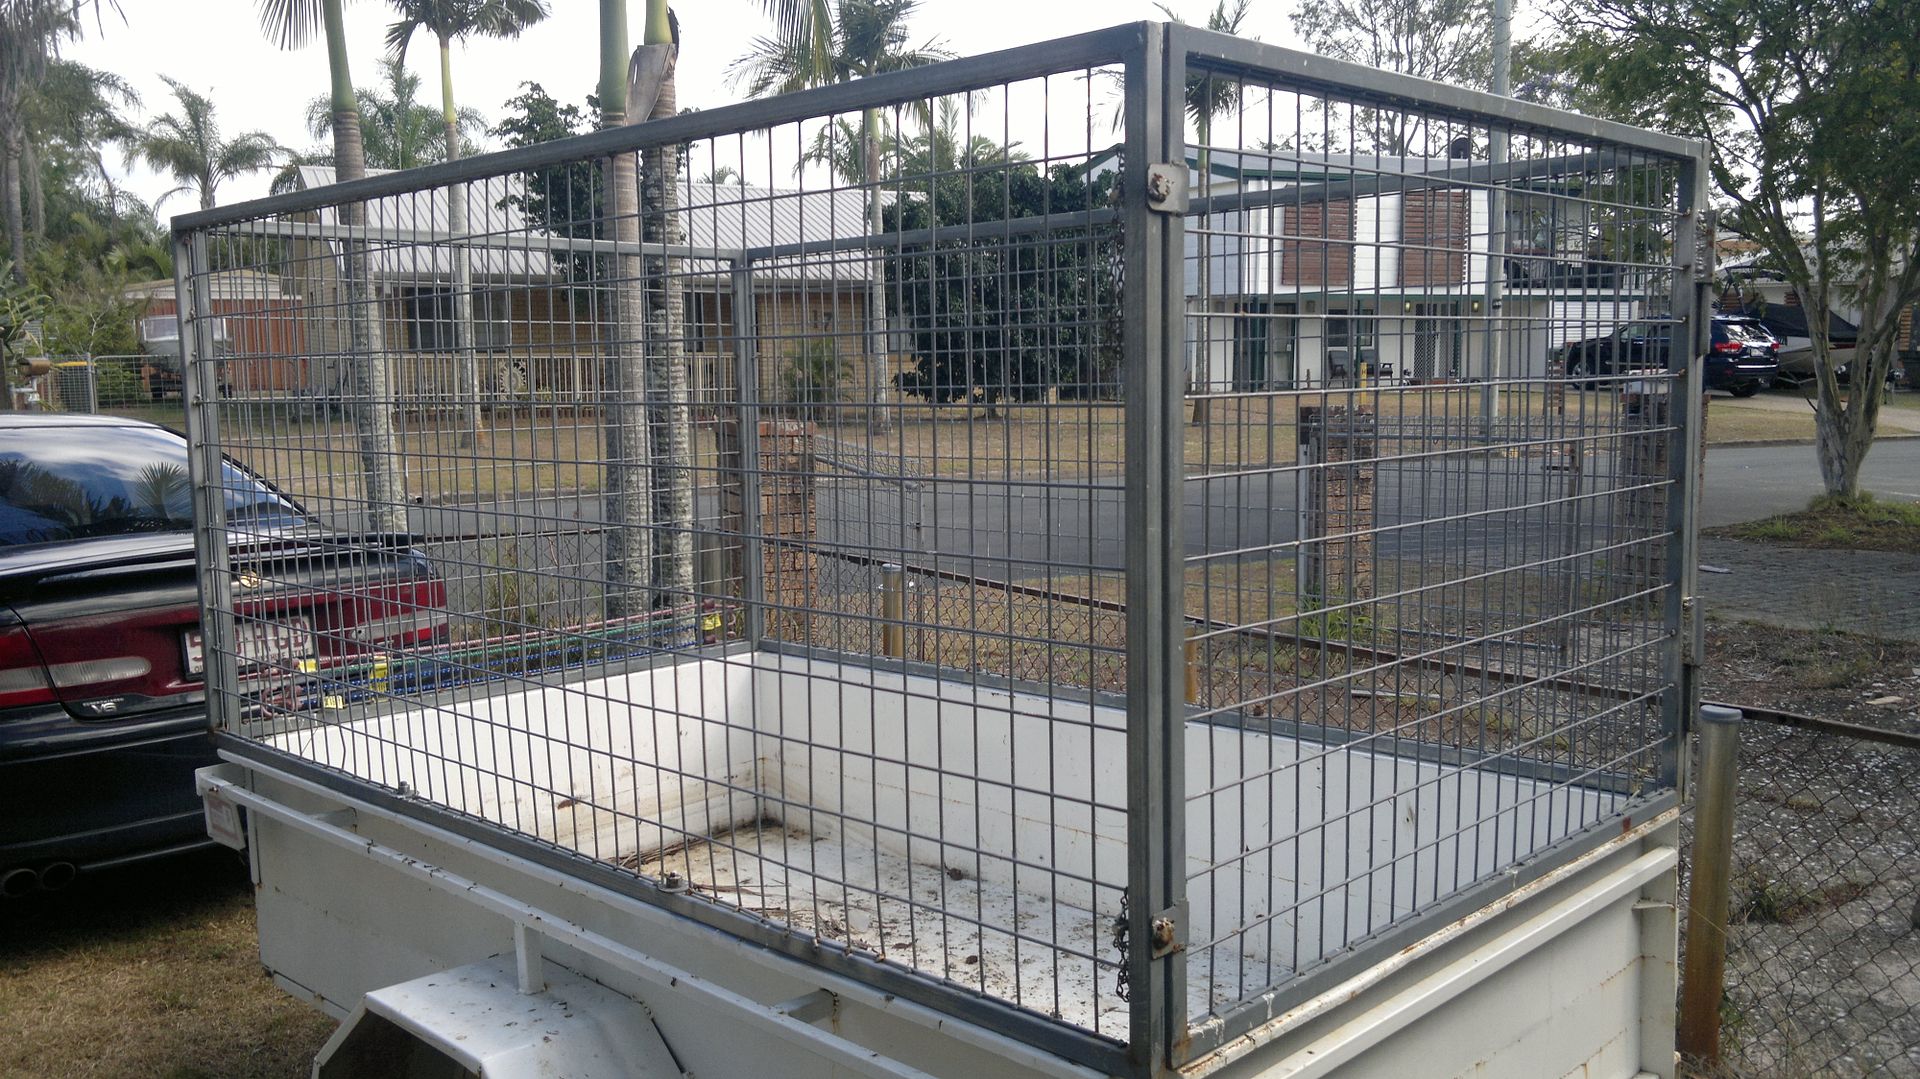 As usual, there was left overs, so I added up all the left over bits that have been taking up space under the house, and worked out how much I could extend the exisitng trestles by ... about 900mm just enough! 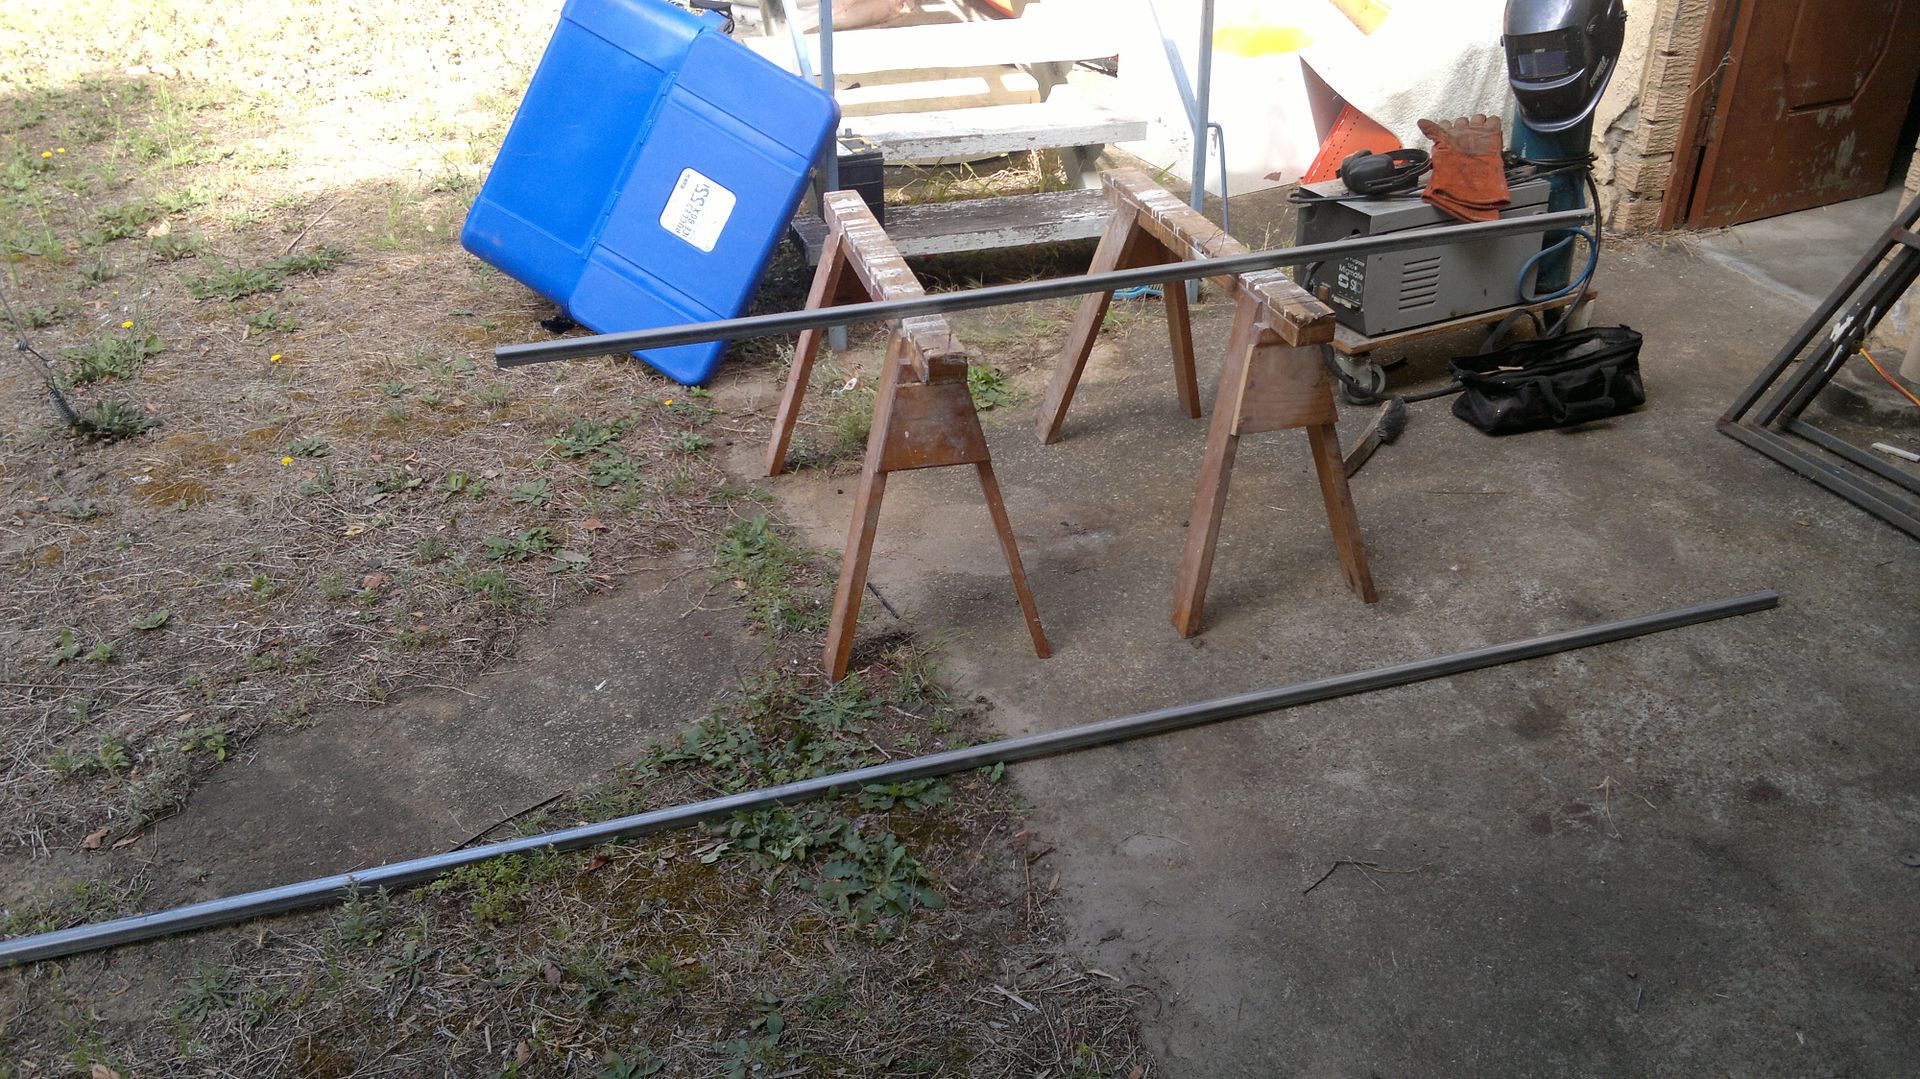 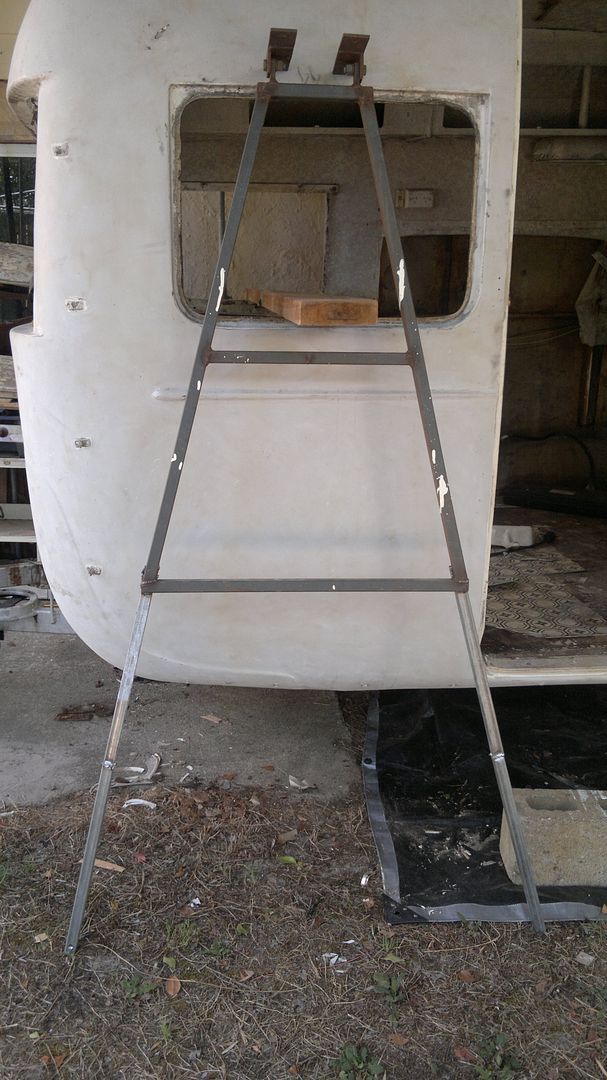 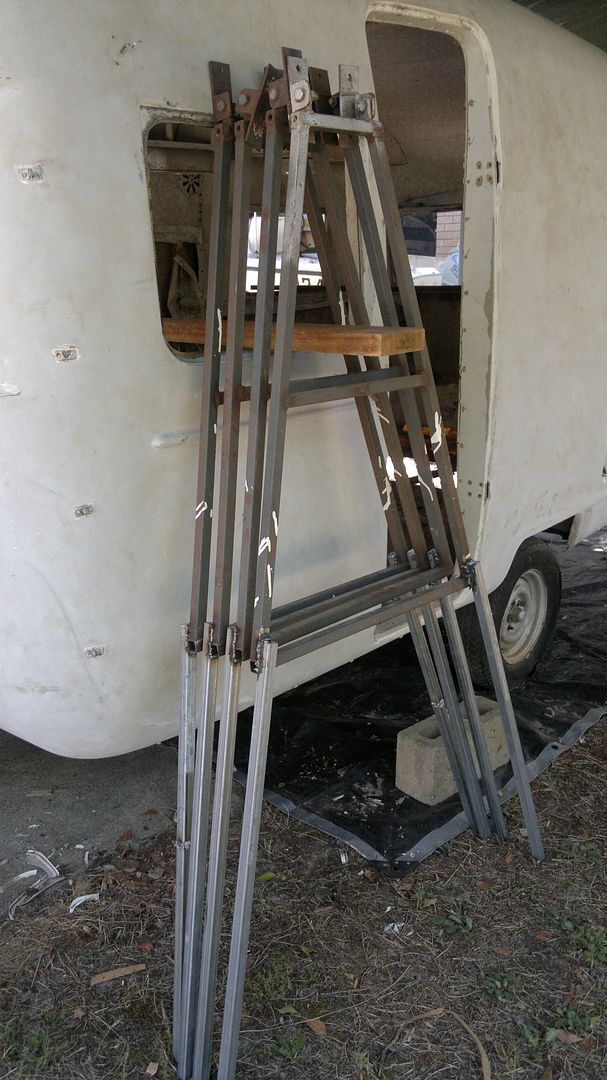 And so was born the patented what you find lying around the house Sunliner body lifter! 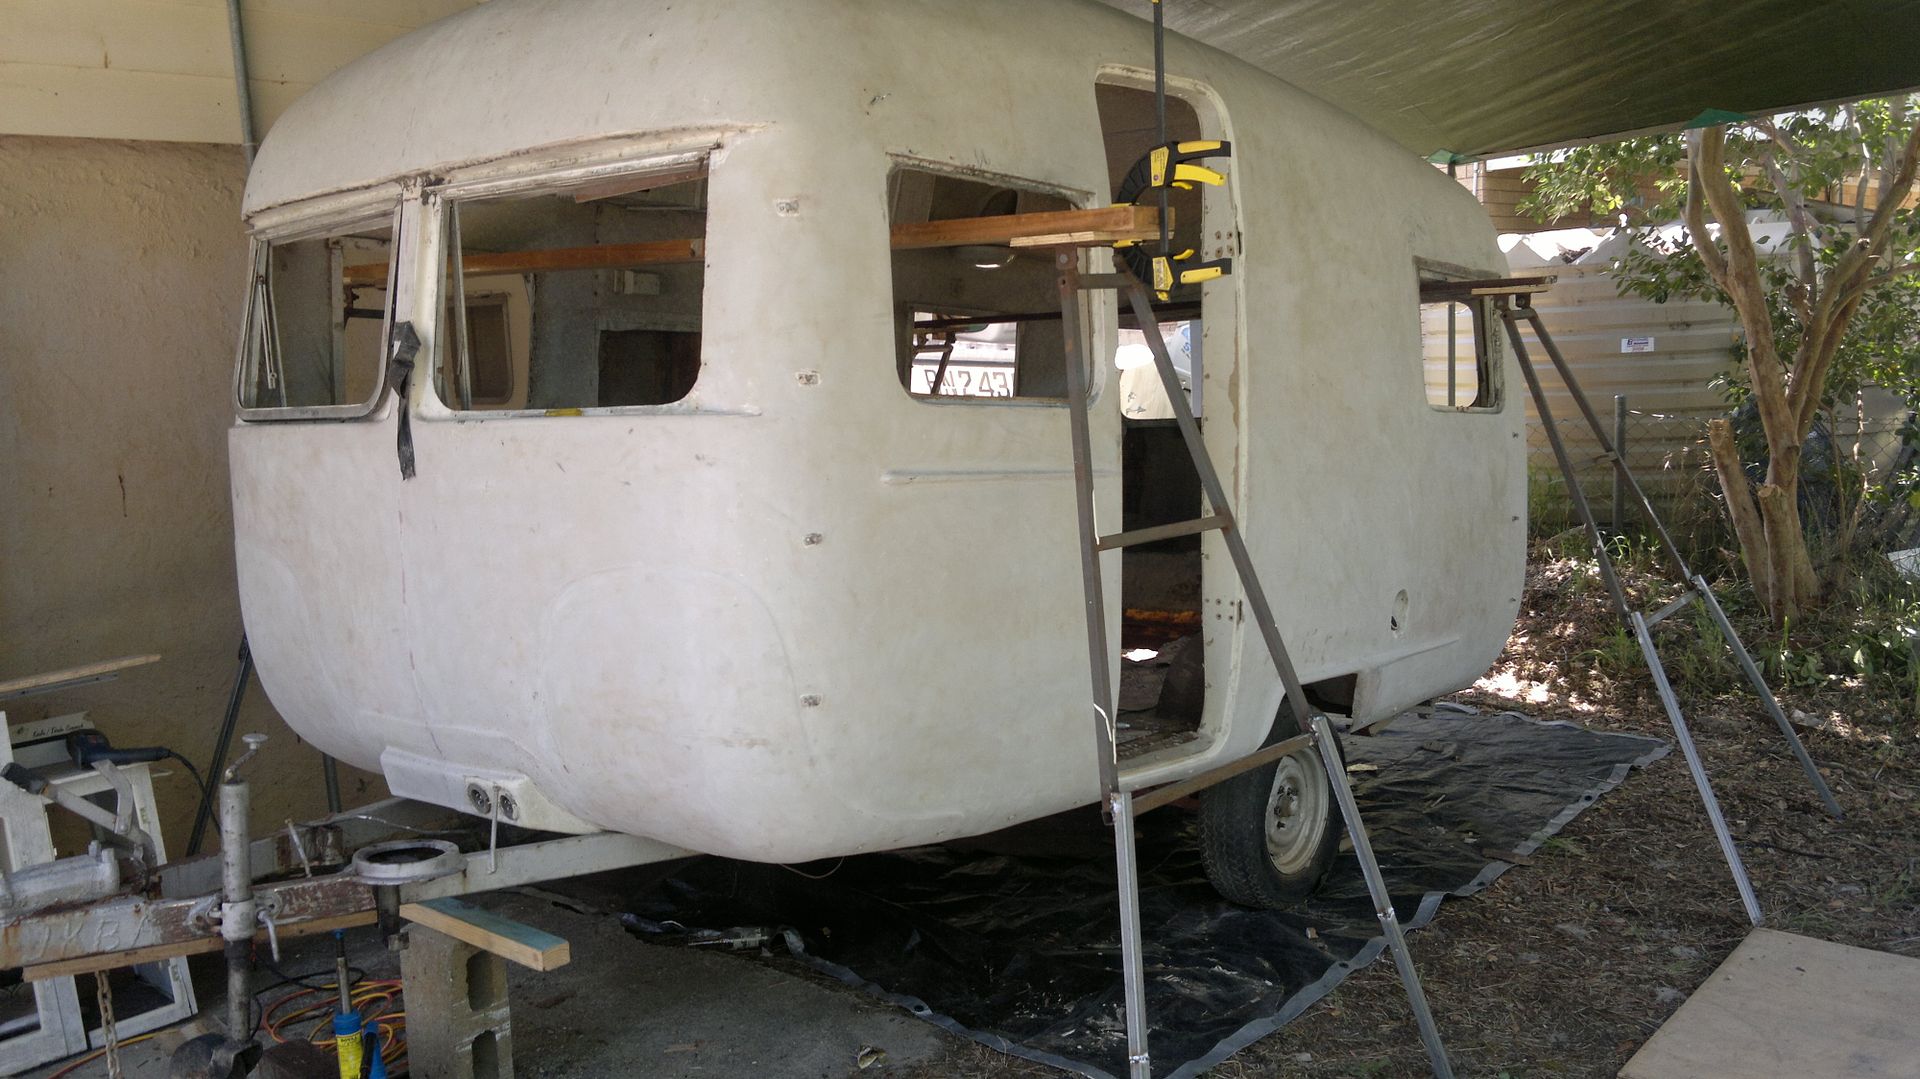 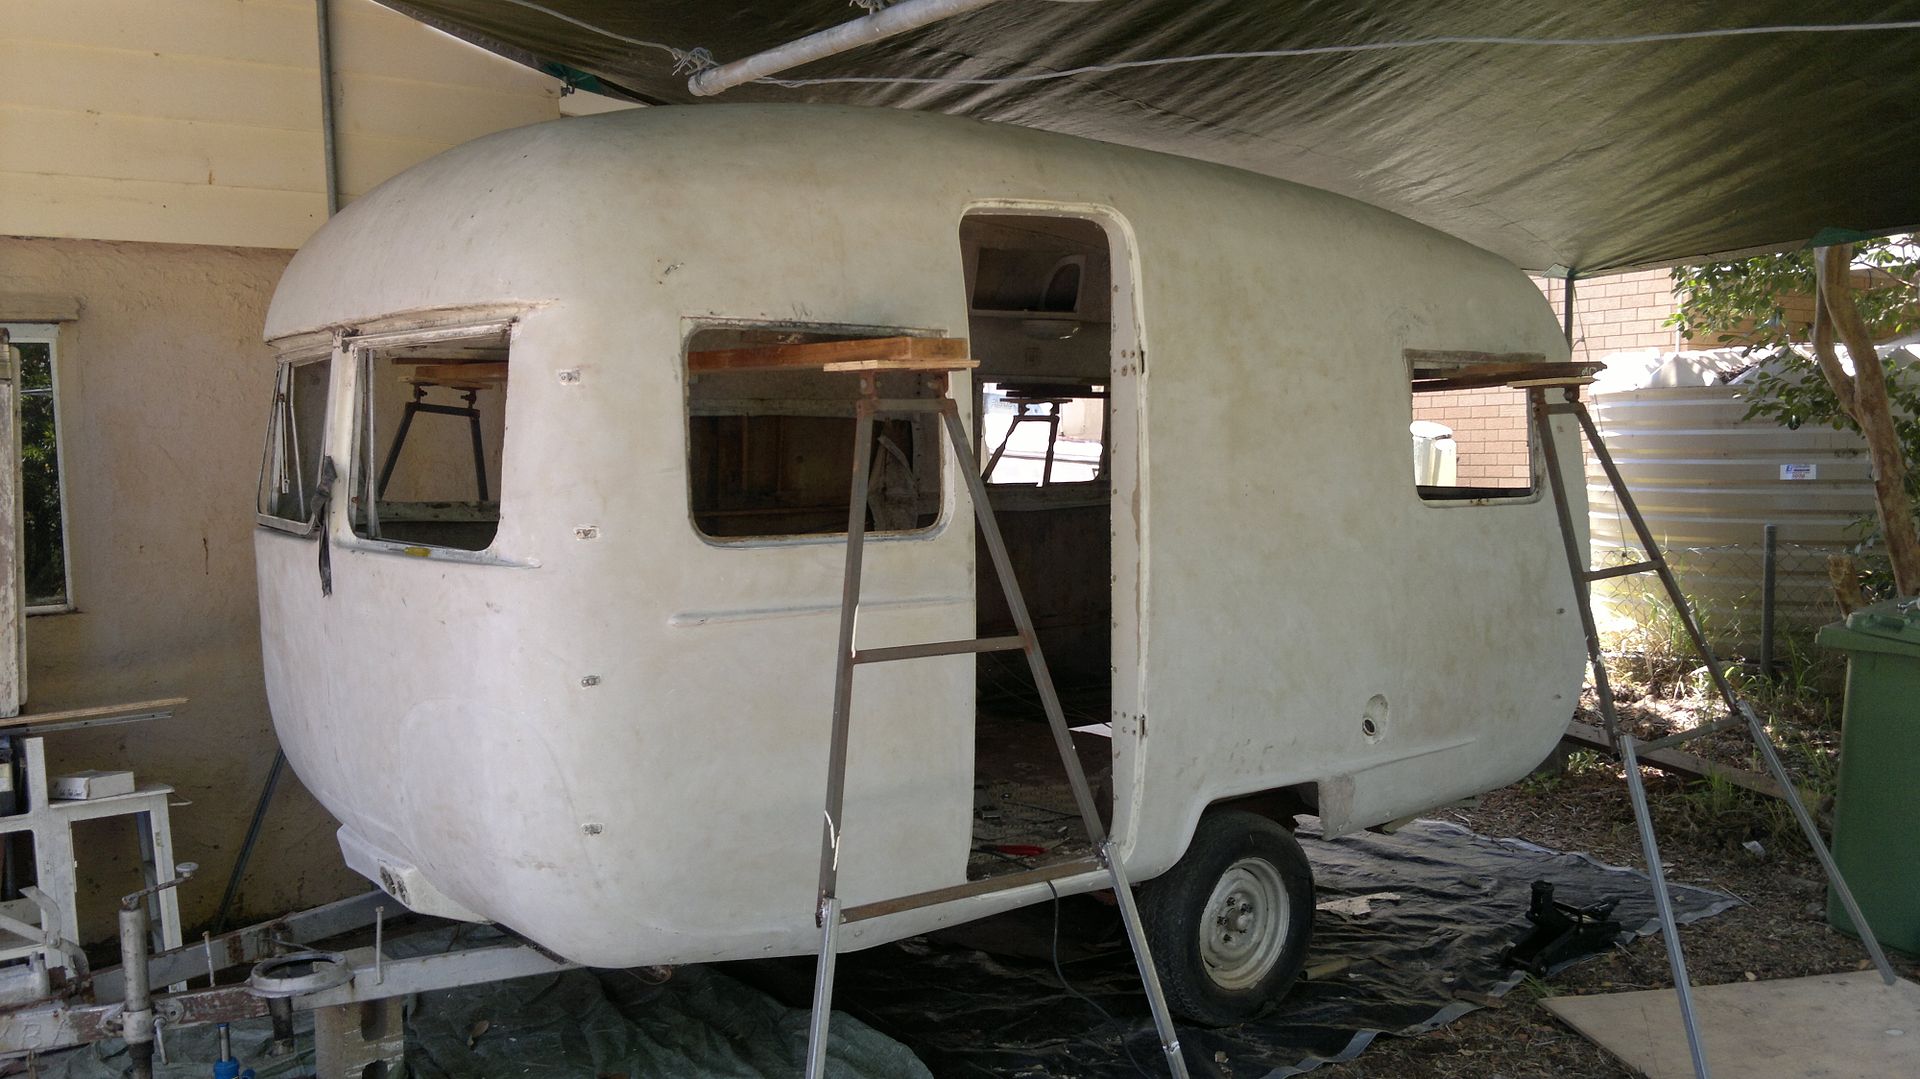 The hinged tops just have a nut and bolt through them so it was a matter of jack up some weight, push in the trestle, tighten the nuts, next corner, repeat! Up: 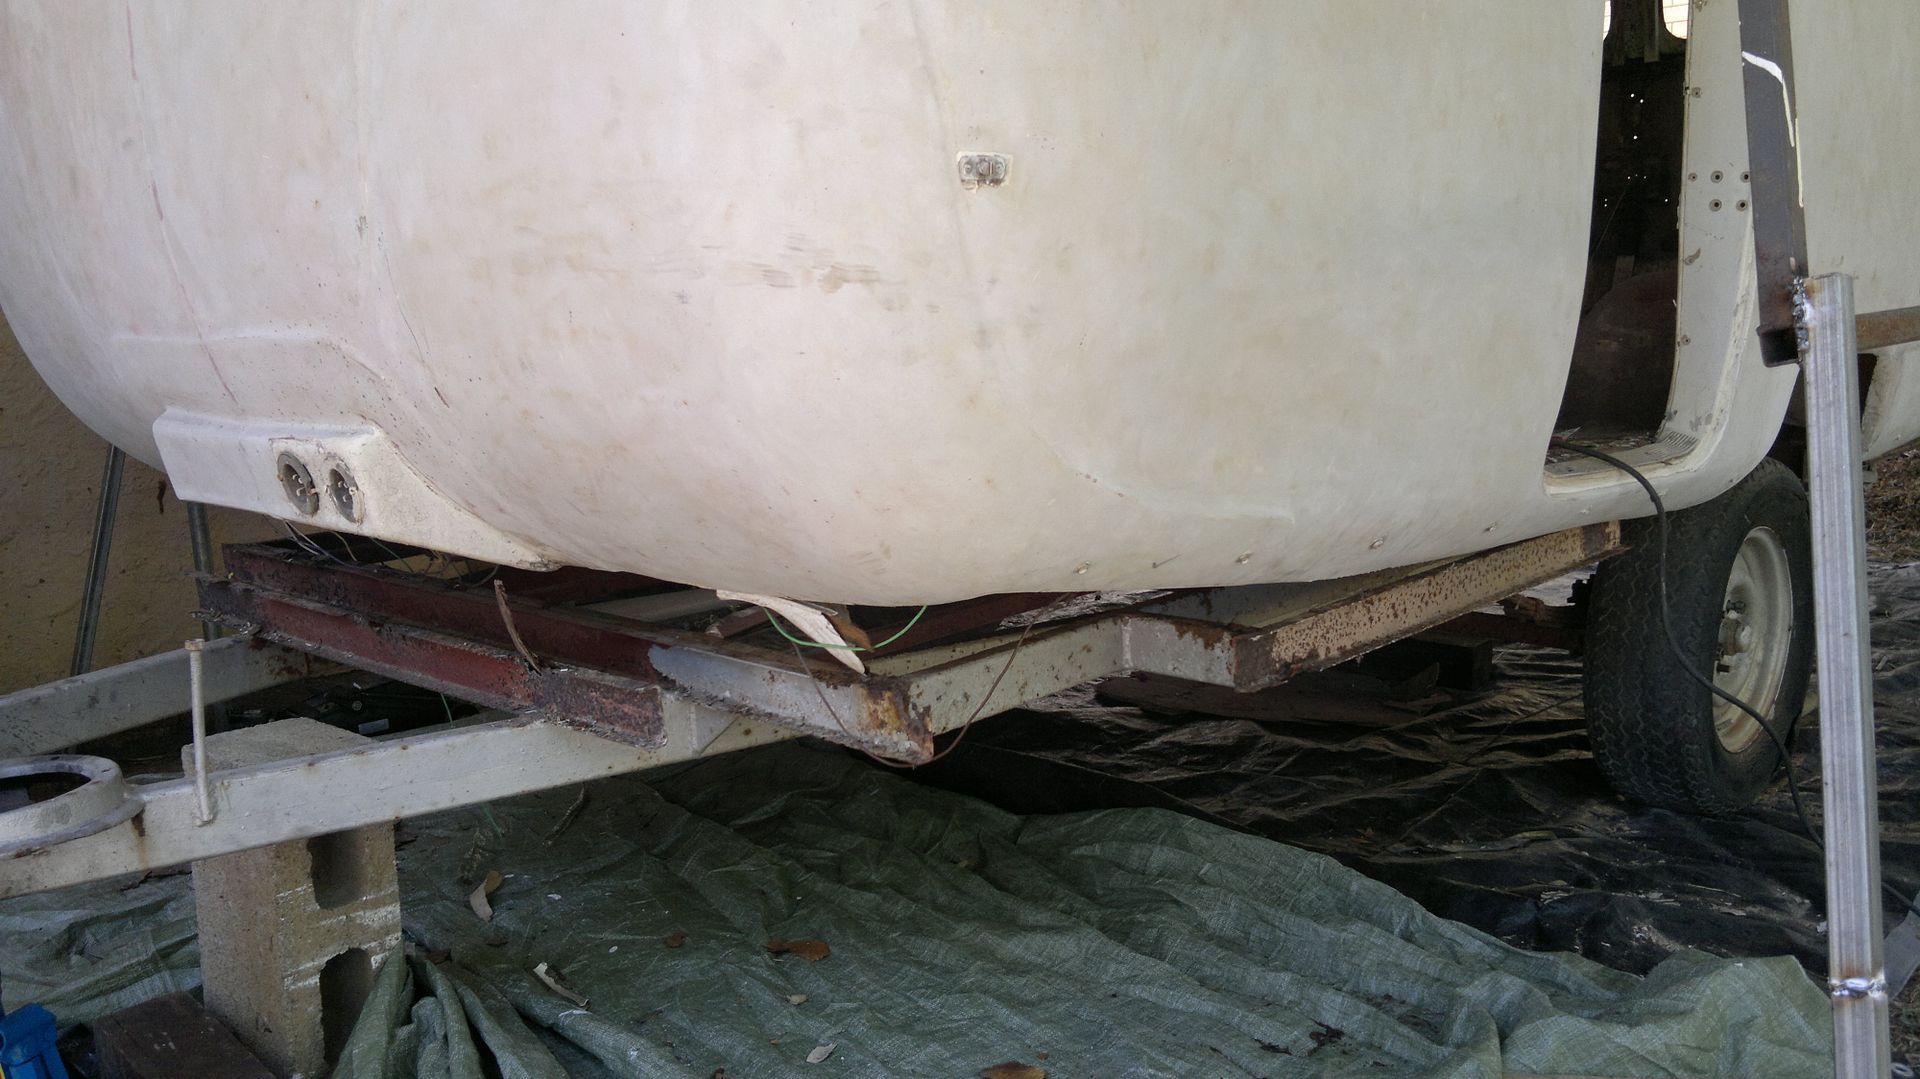 Up: 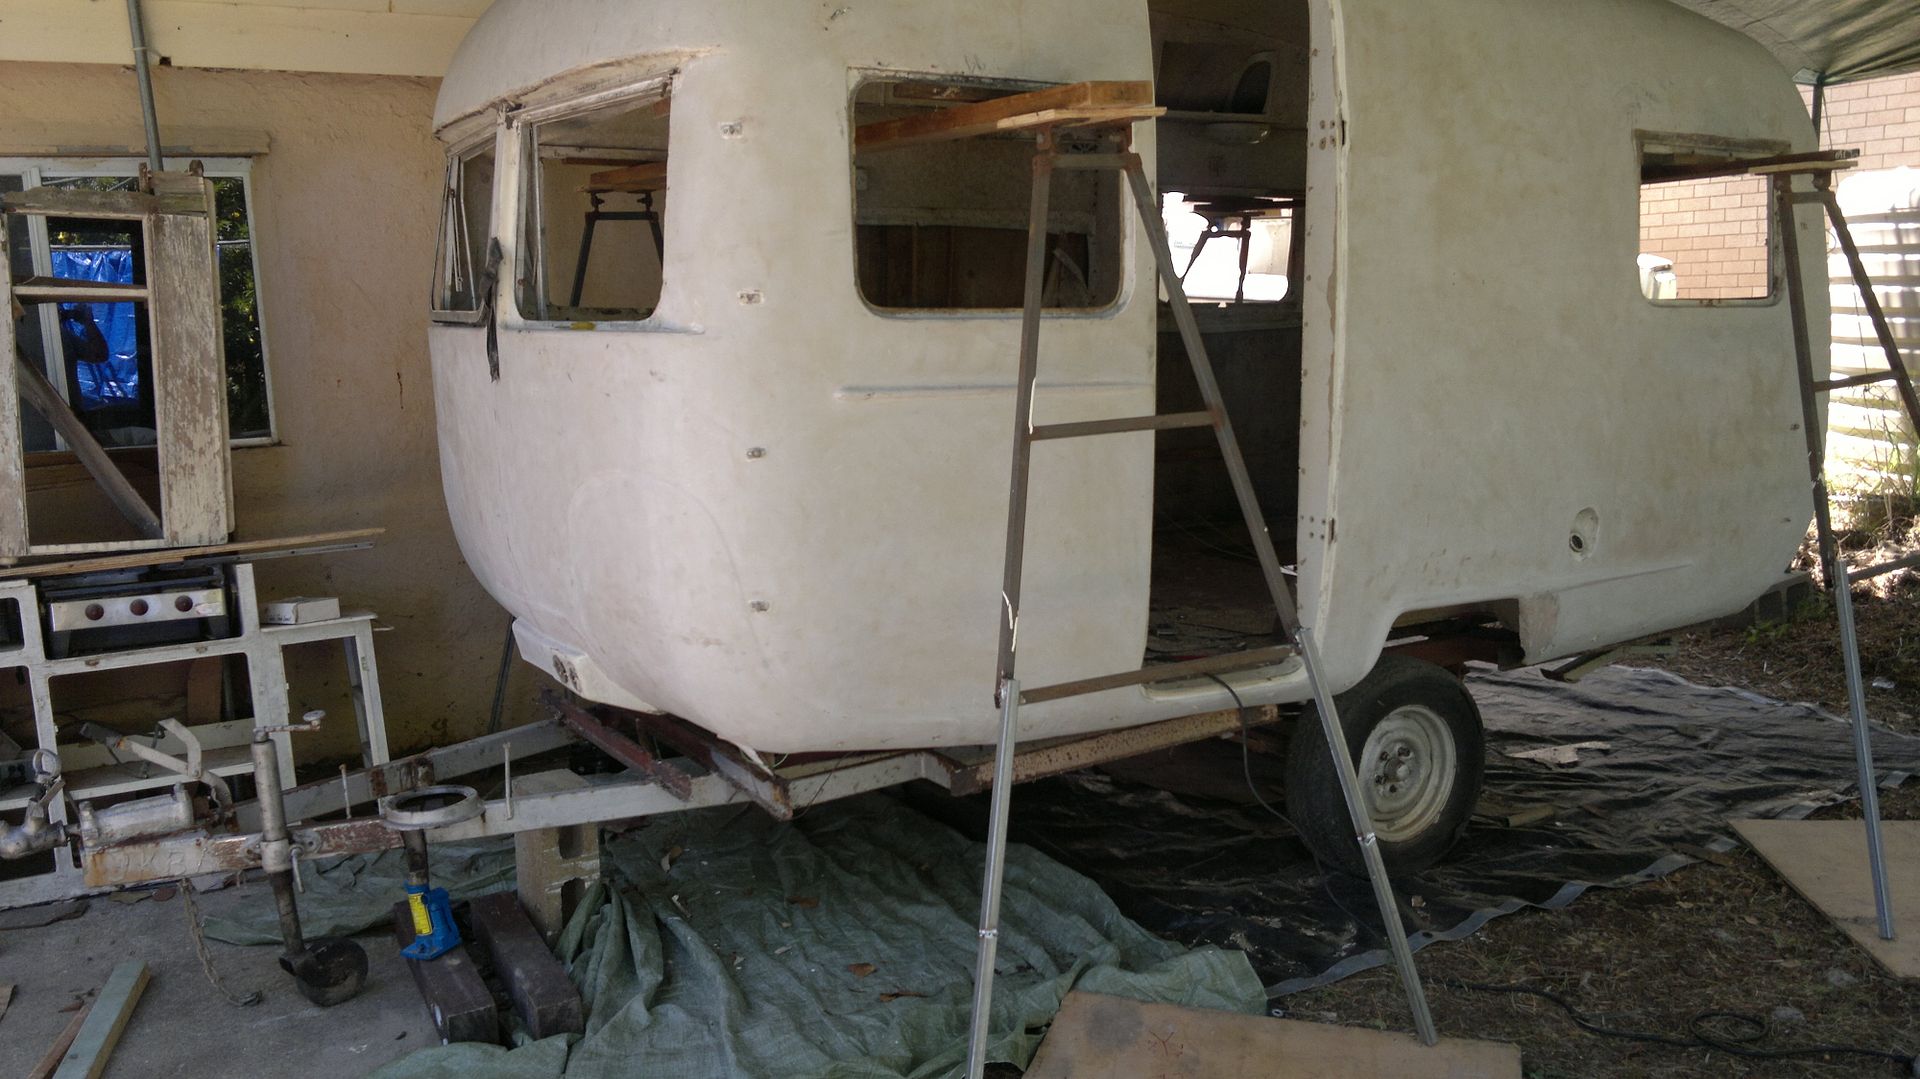 Houston, we have lift off: 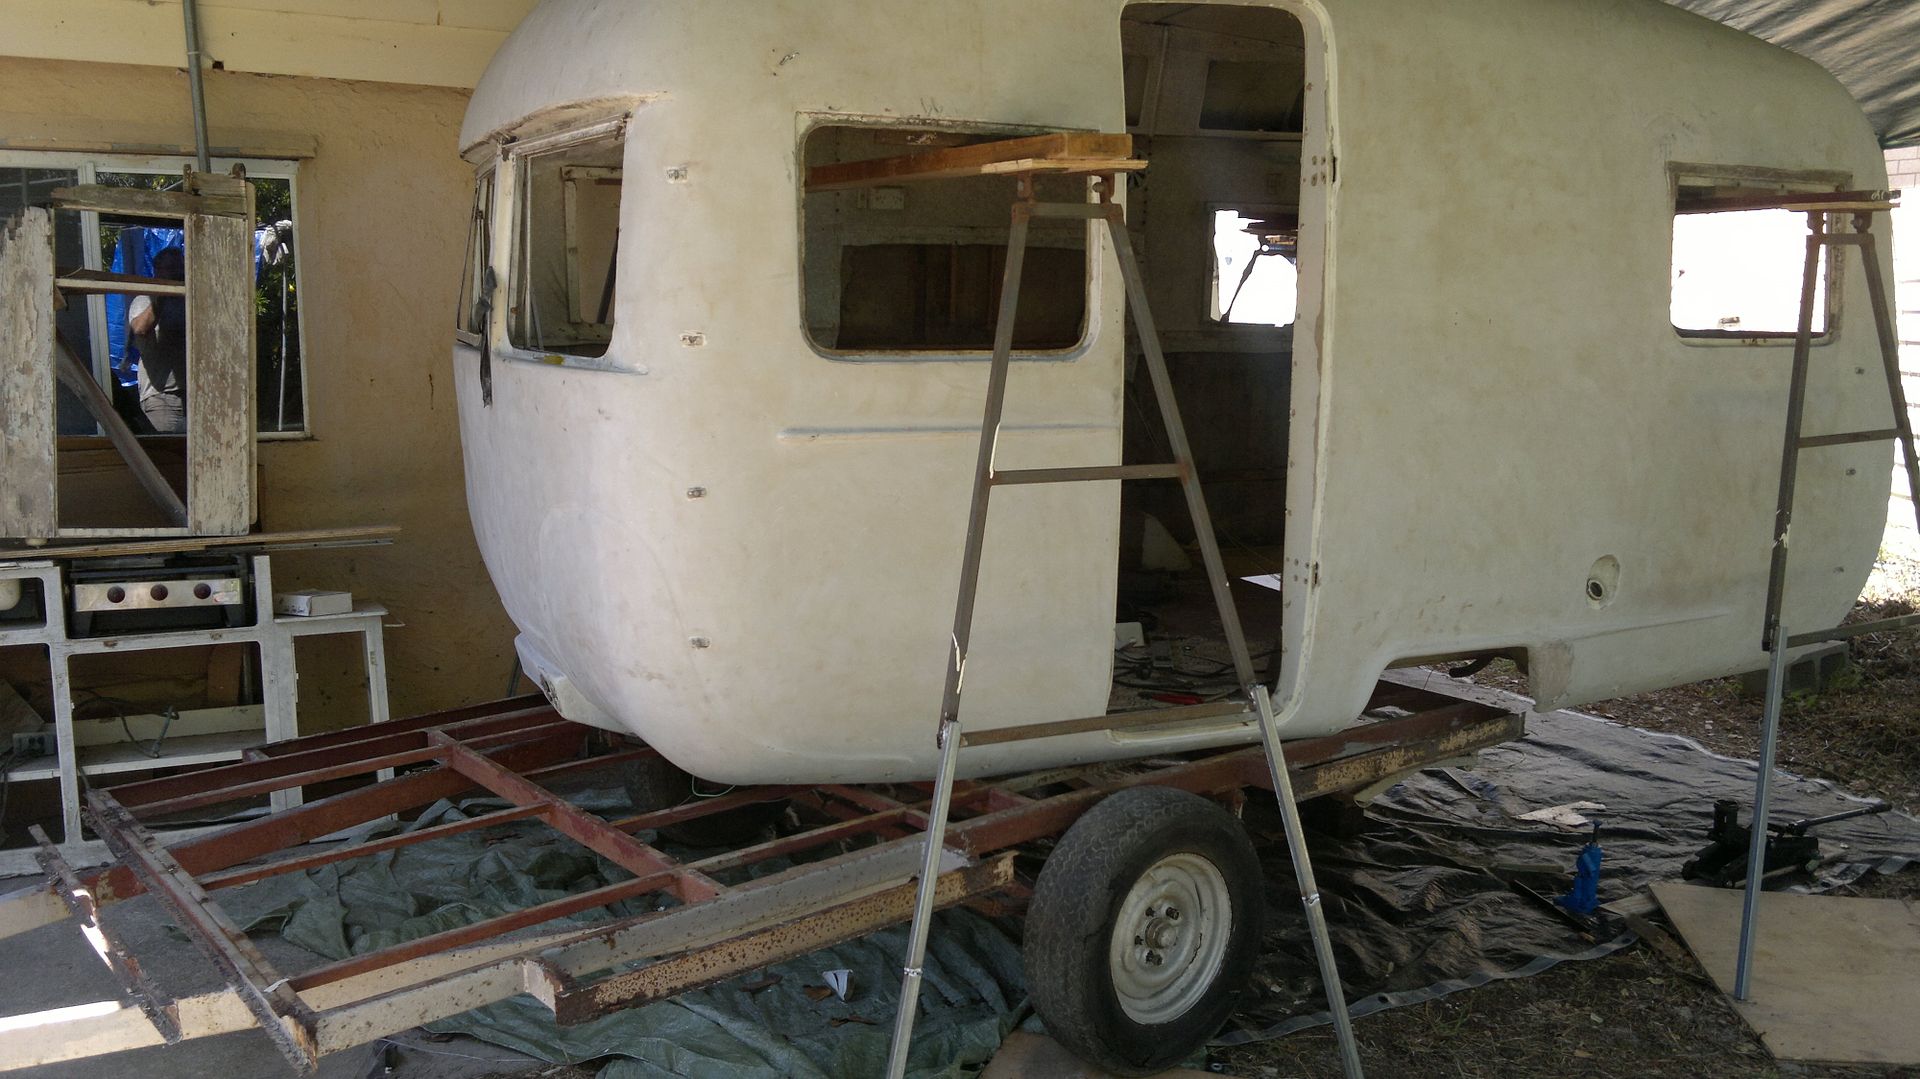 And away! 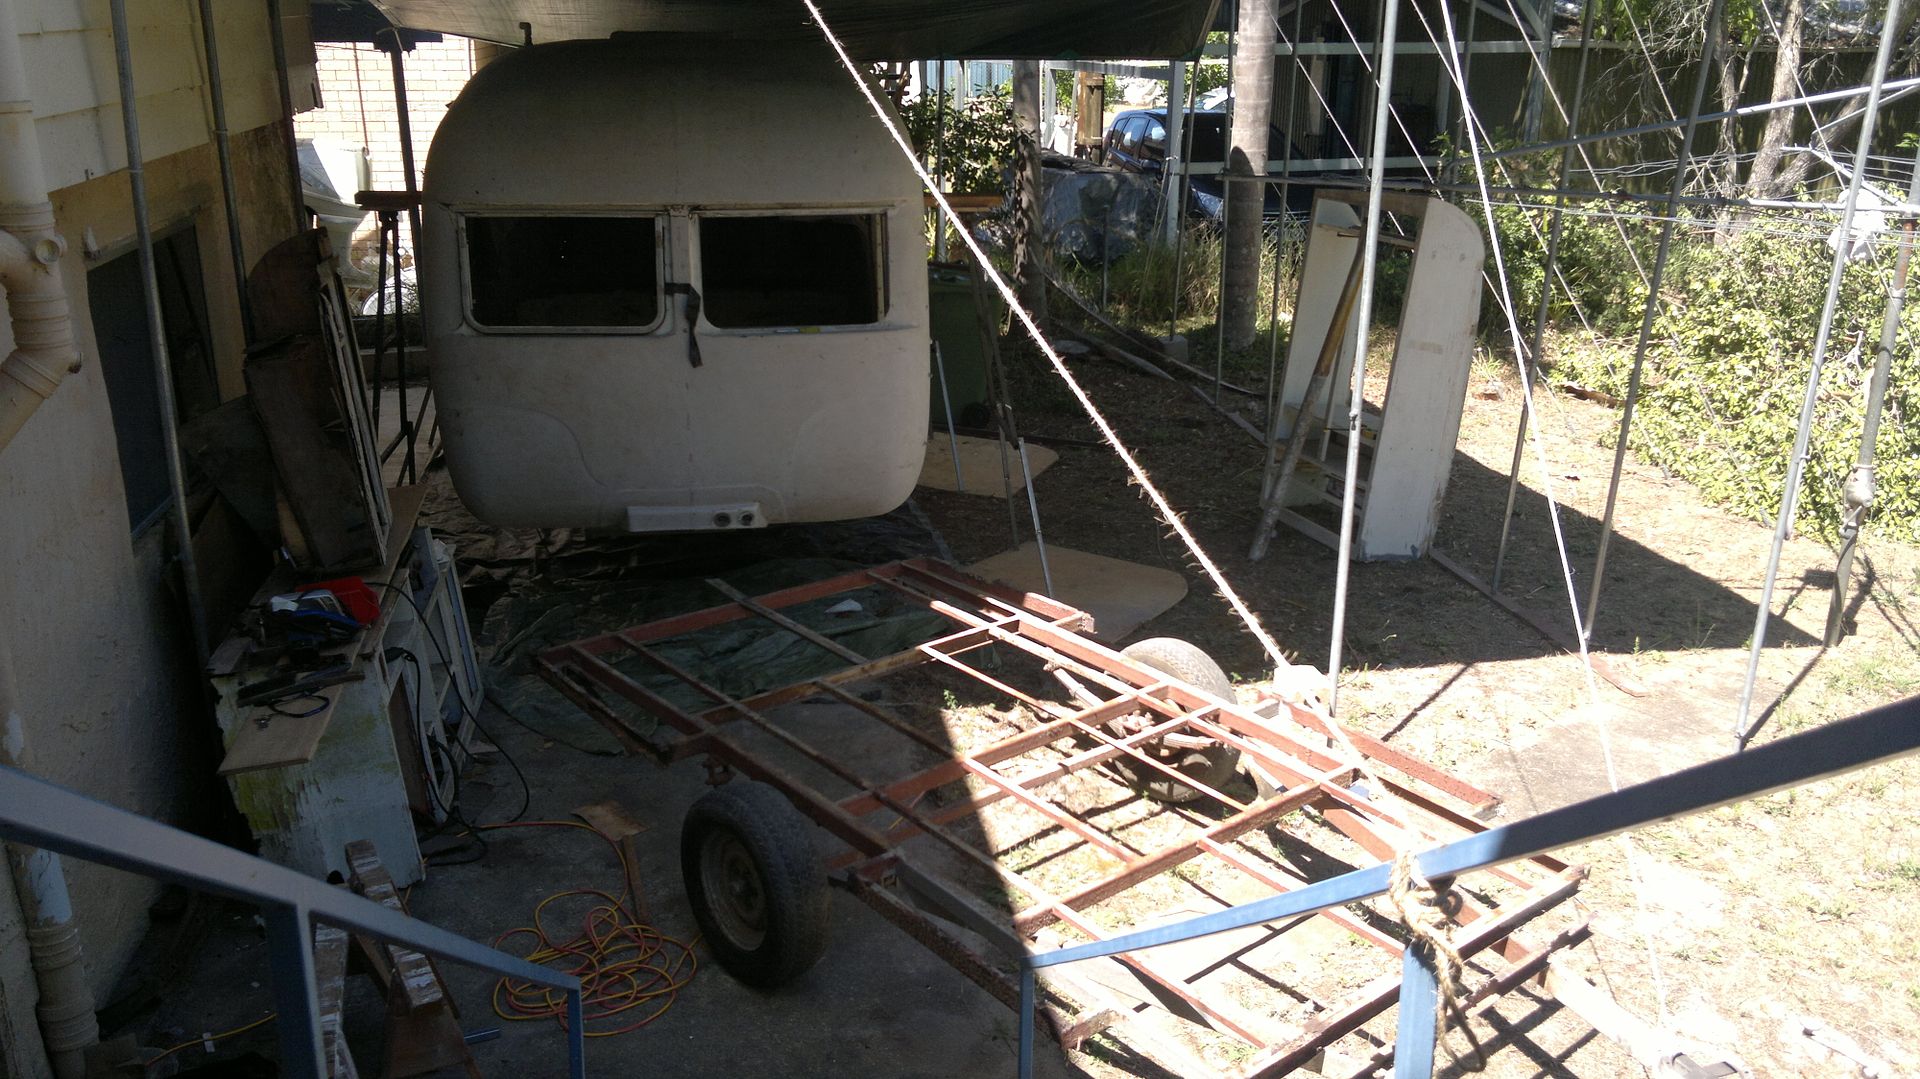 Sunny in flight  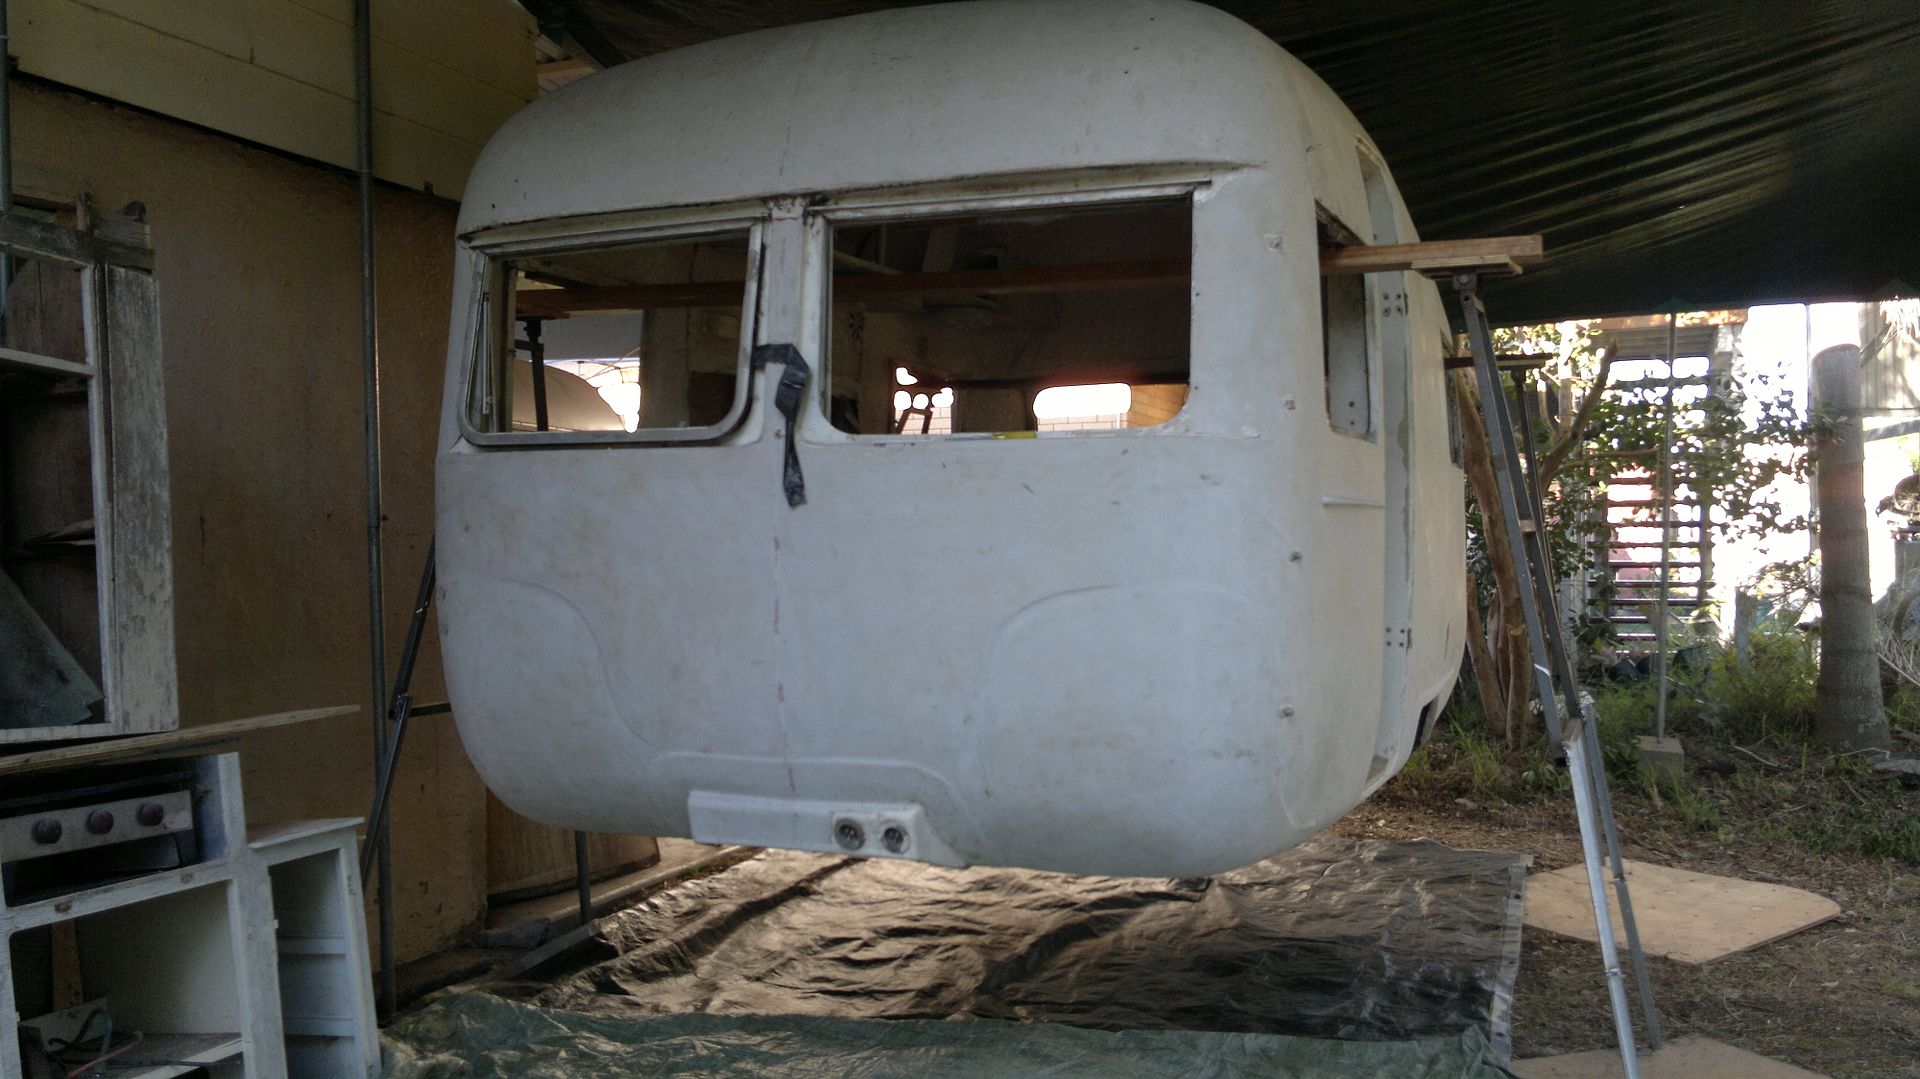 Then got stuck in to pulling out the old floor: 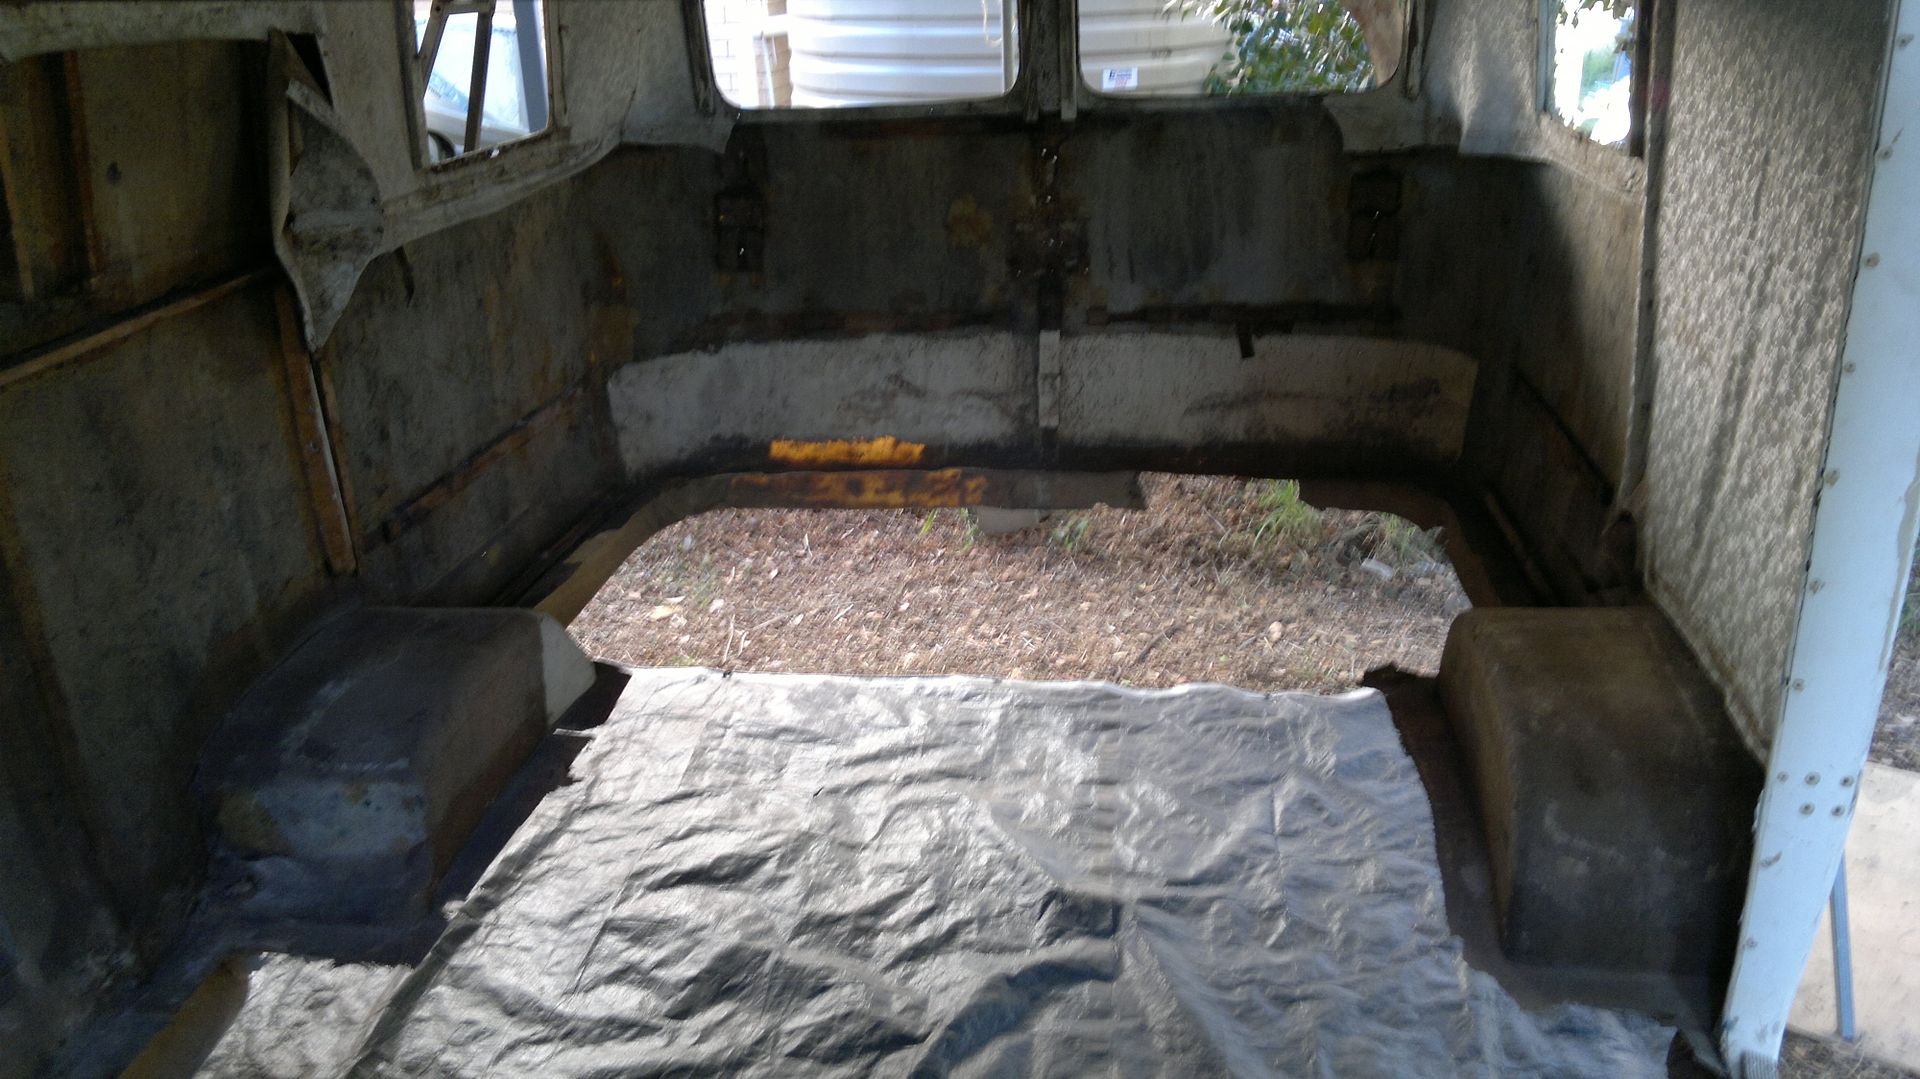 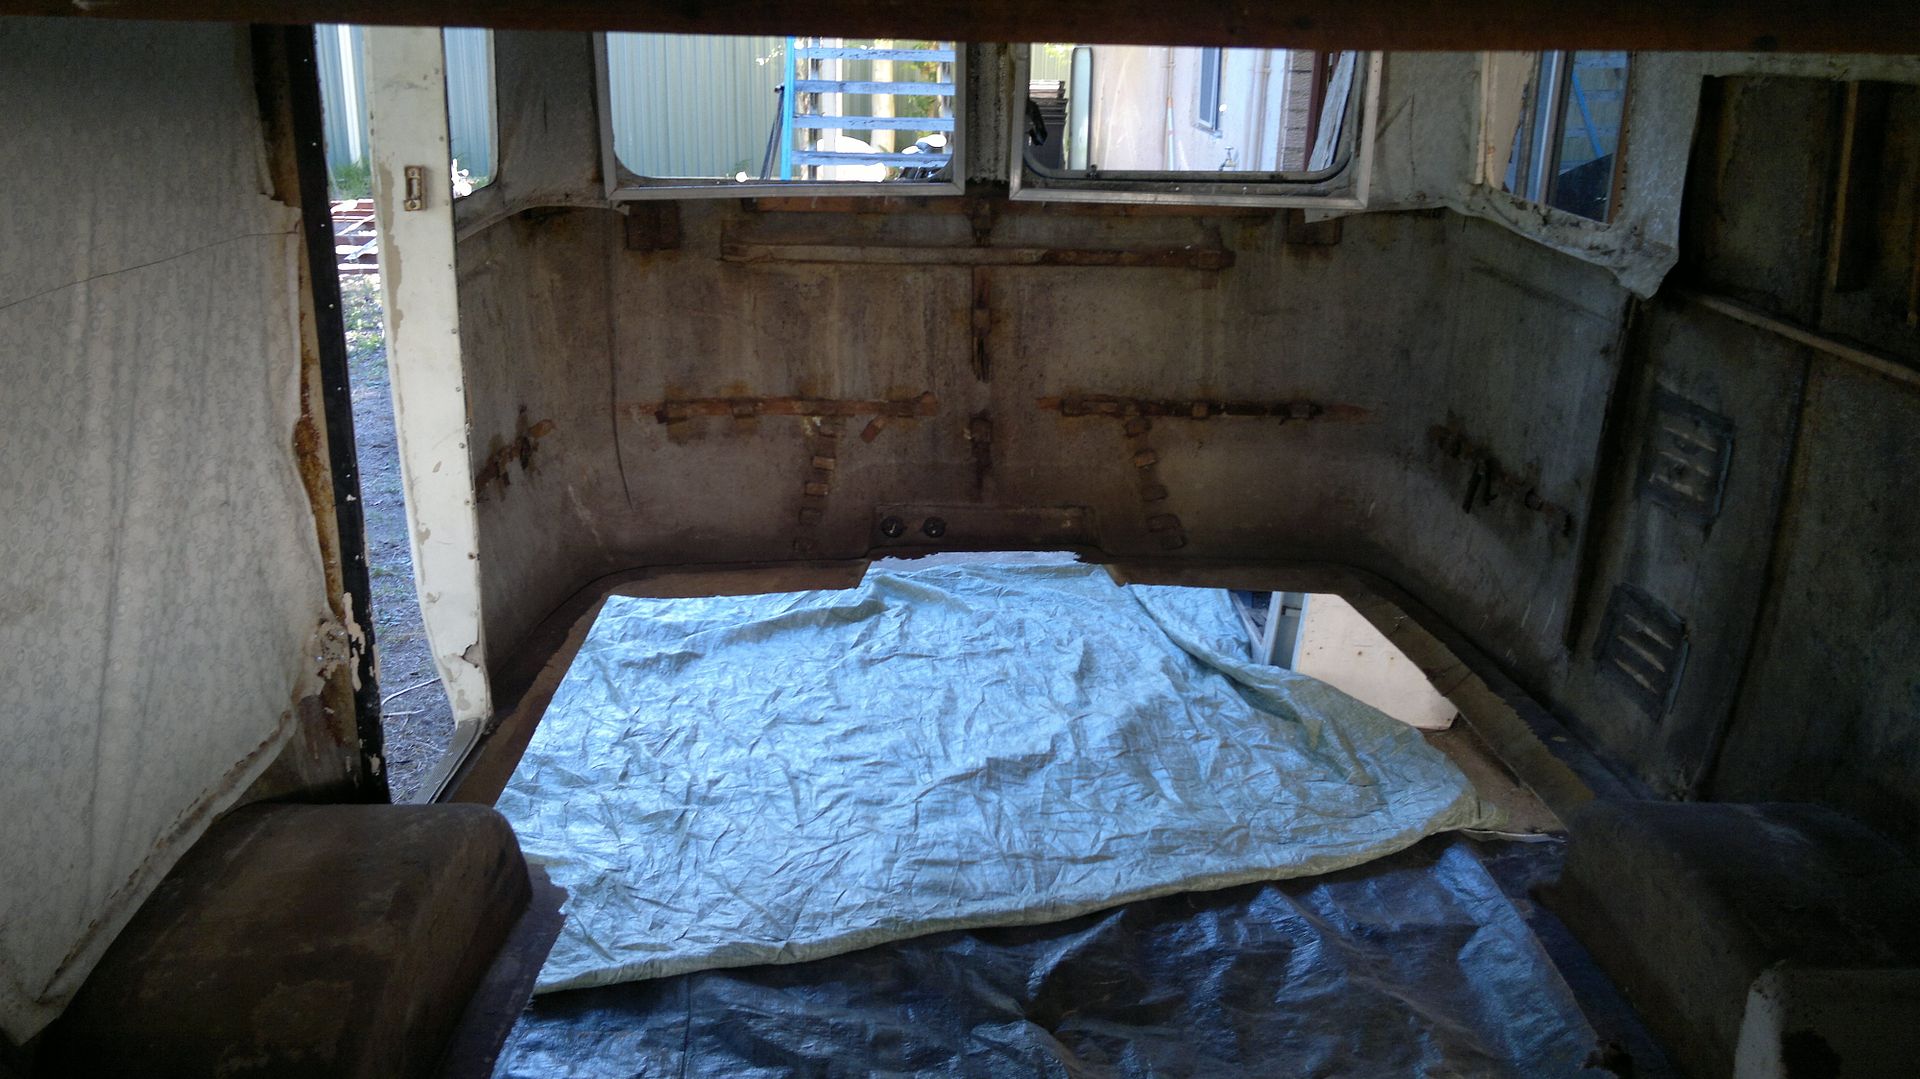 Chassis looks Ok, a bit of rust but definately fixable: 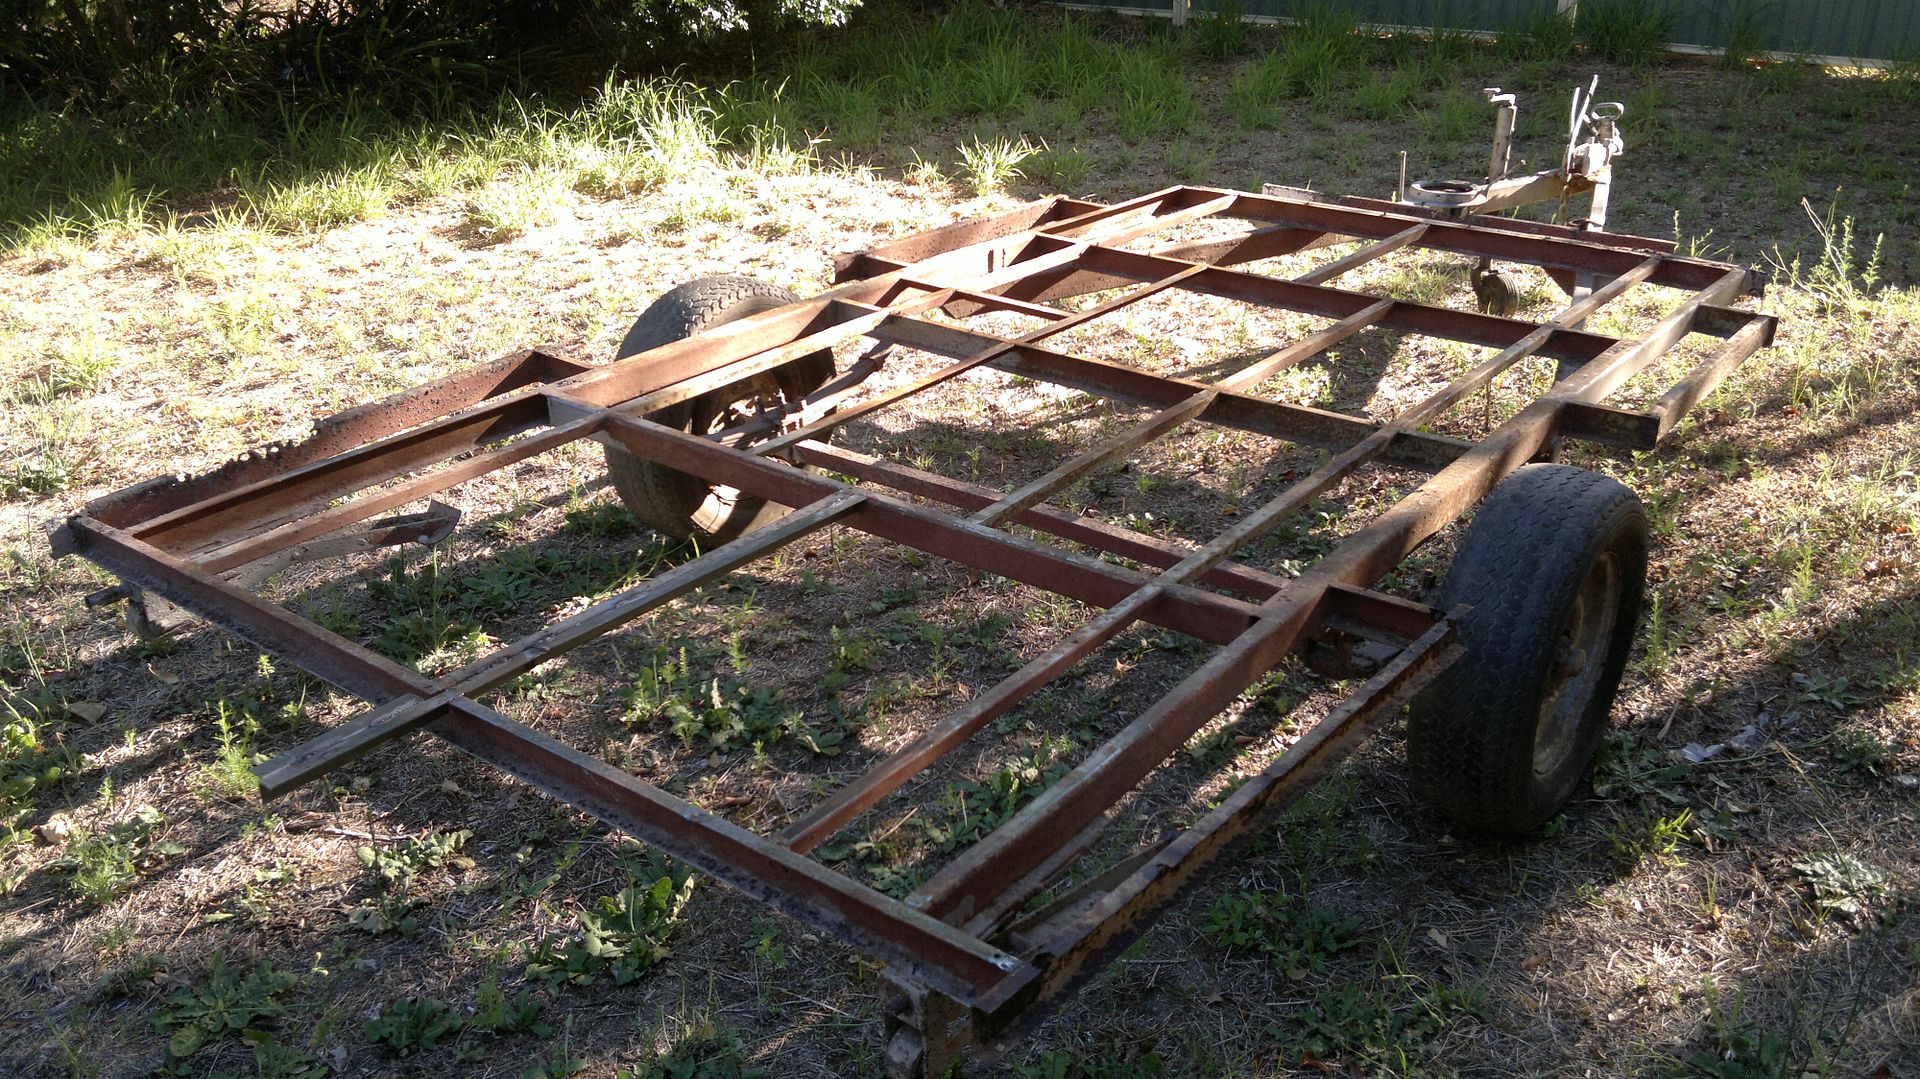 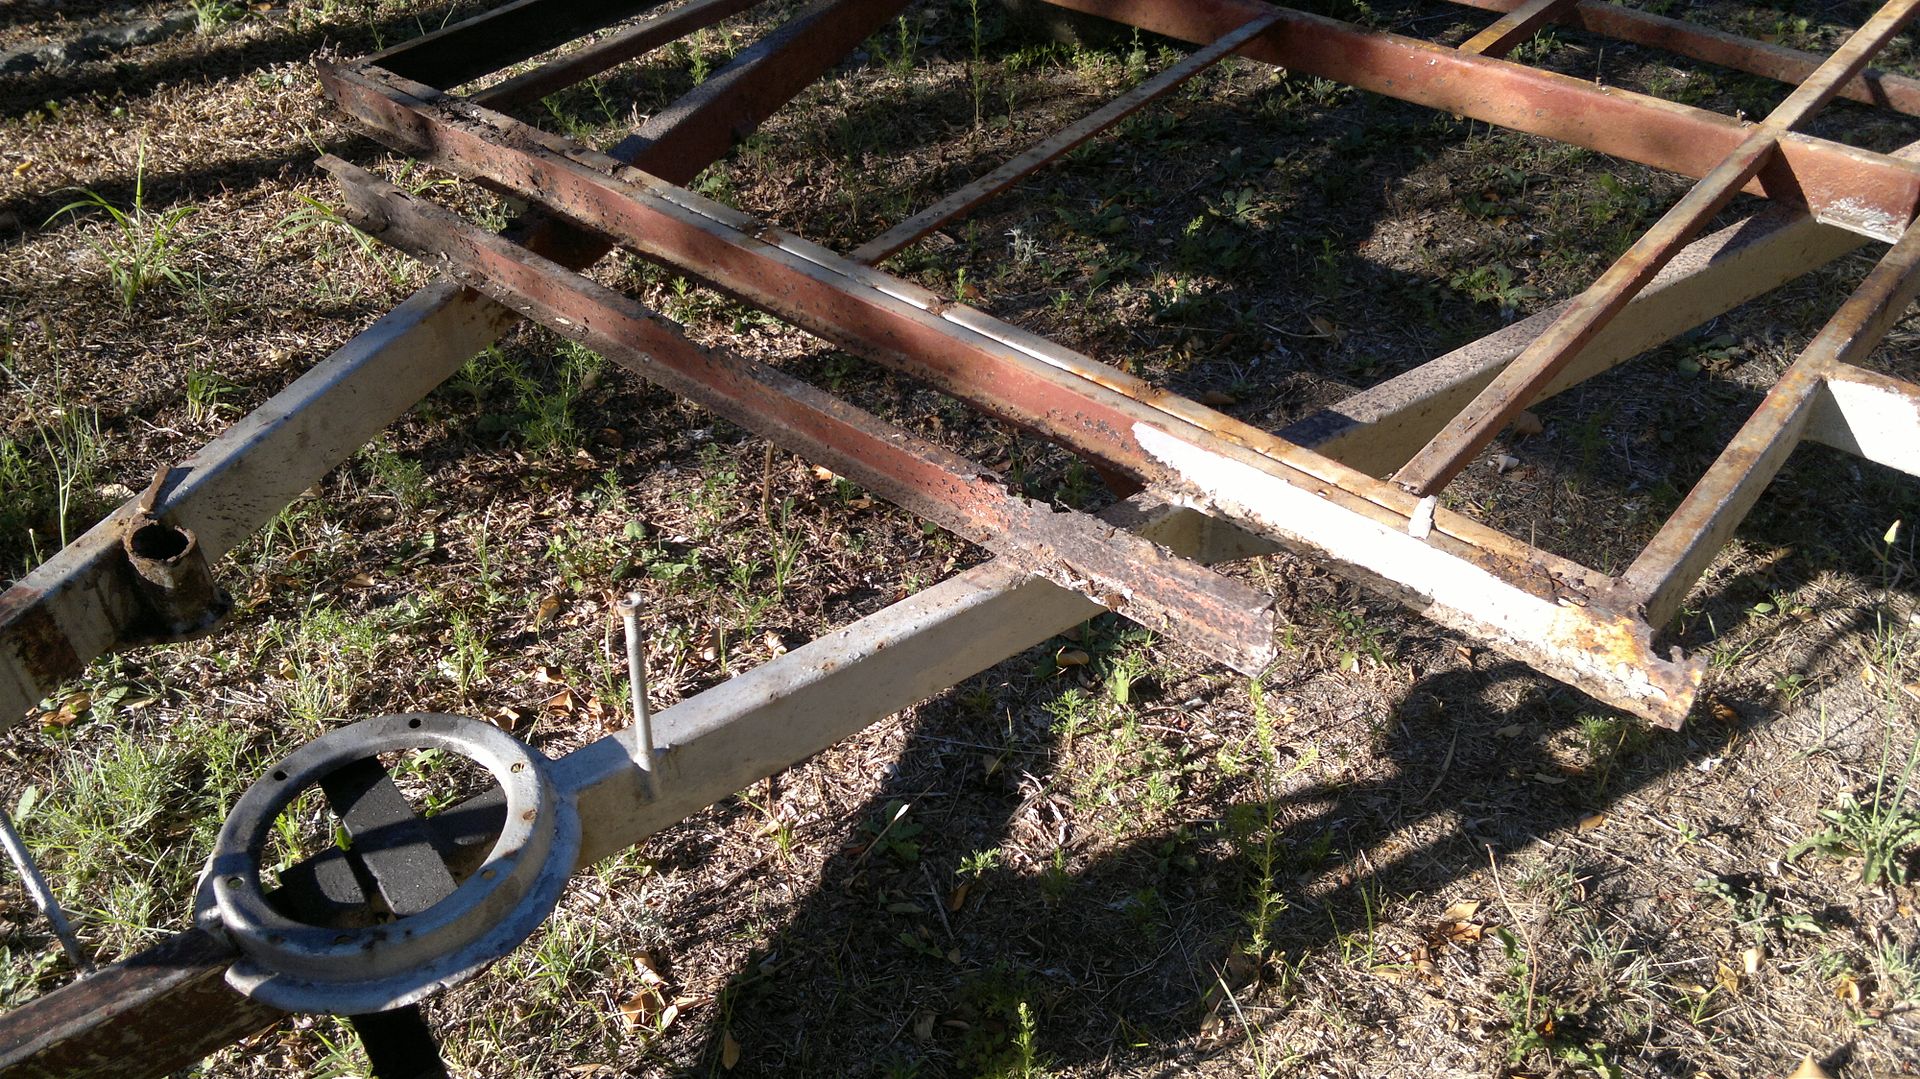 Pulled up stumps a bit early today, feeling pretty weary, this physical activity aint all its cracked up to be ... Cheers Doug |
|
|
|
Post by Miss Molly on Nov 1, 2013 21:20:20 GMT 10
Very clever Doug! Funny about that physical activity...restoring vans is exhausting until you get up the next day and can't wait to do it all over again! MMx |
|
alien
Junior Member

Posts: 68
|
Post by alien on Nov 3, 2013 10:52:11 GMT 10
Hi Doug looking at your lovely project a couple of things while you have it help aloft you might like to look at the support area to the floor on most if not all glass vans mainly sunnies they are only glassed to the floor on top to the wall that 400 gram strip of f.glass has to support the whole van ( have heard of vans delaminating hmmm)so while you have it that position laminate the area under the floors edge, usal thing sand then slip slap slop its called insurance. The rotted ply wall supports, remove the problem sand the area accqired get some rubber strips of rubber from Clark Rubber approx 50x20 to50 deep as required spot glue them the wall where required then laminate 600grms matting over them problem solved,If your supports are opposite opposed then you could make them a mold so as to lighten the weight "BUT "before glueing rubber to wall put masking tap on the wall area then do the same you can now pull it off the wall as a mold then wax it release agent and then produce as required
Cheers alien
|
|
|
|
Post by cruisindoug on Nov 3, 2013 18:18:13 GMT 10
Yep nothing a good nights sleep wont fix MM Thanks for that Alien, I had thought to do some extra work under the floor as extra support I fugure its no big deal while its up in the air. Interesting suggestion re the rubber strips - wont rot again! Not too much progress today, just dropped the axle and started on the brake refurbishment; not very exciting but needs to be done. 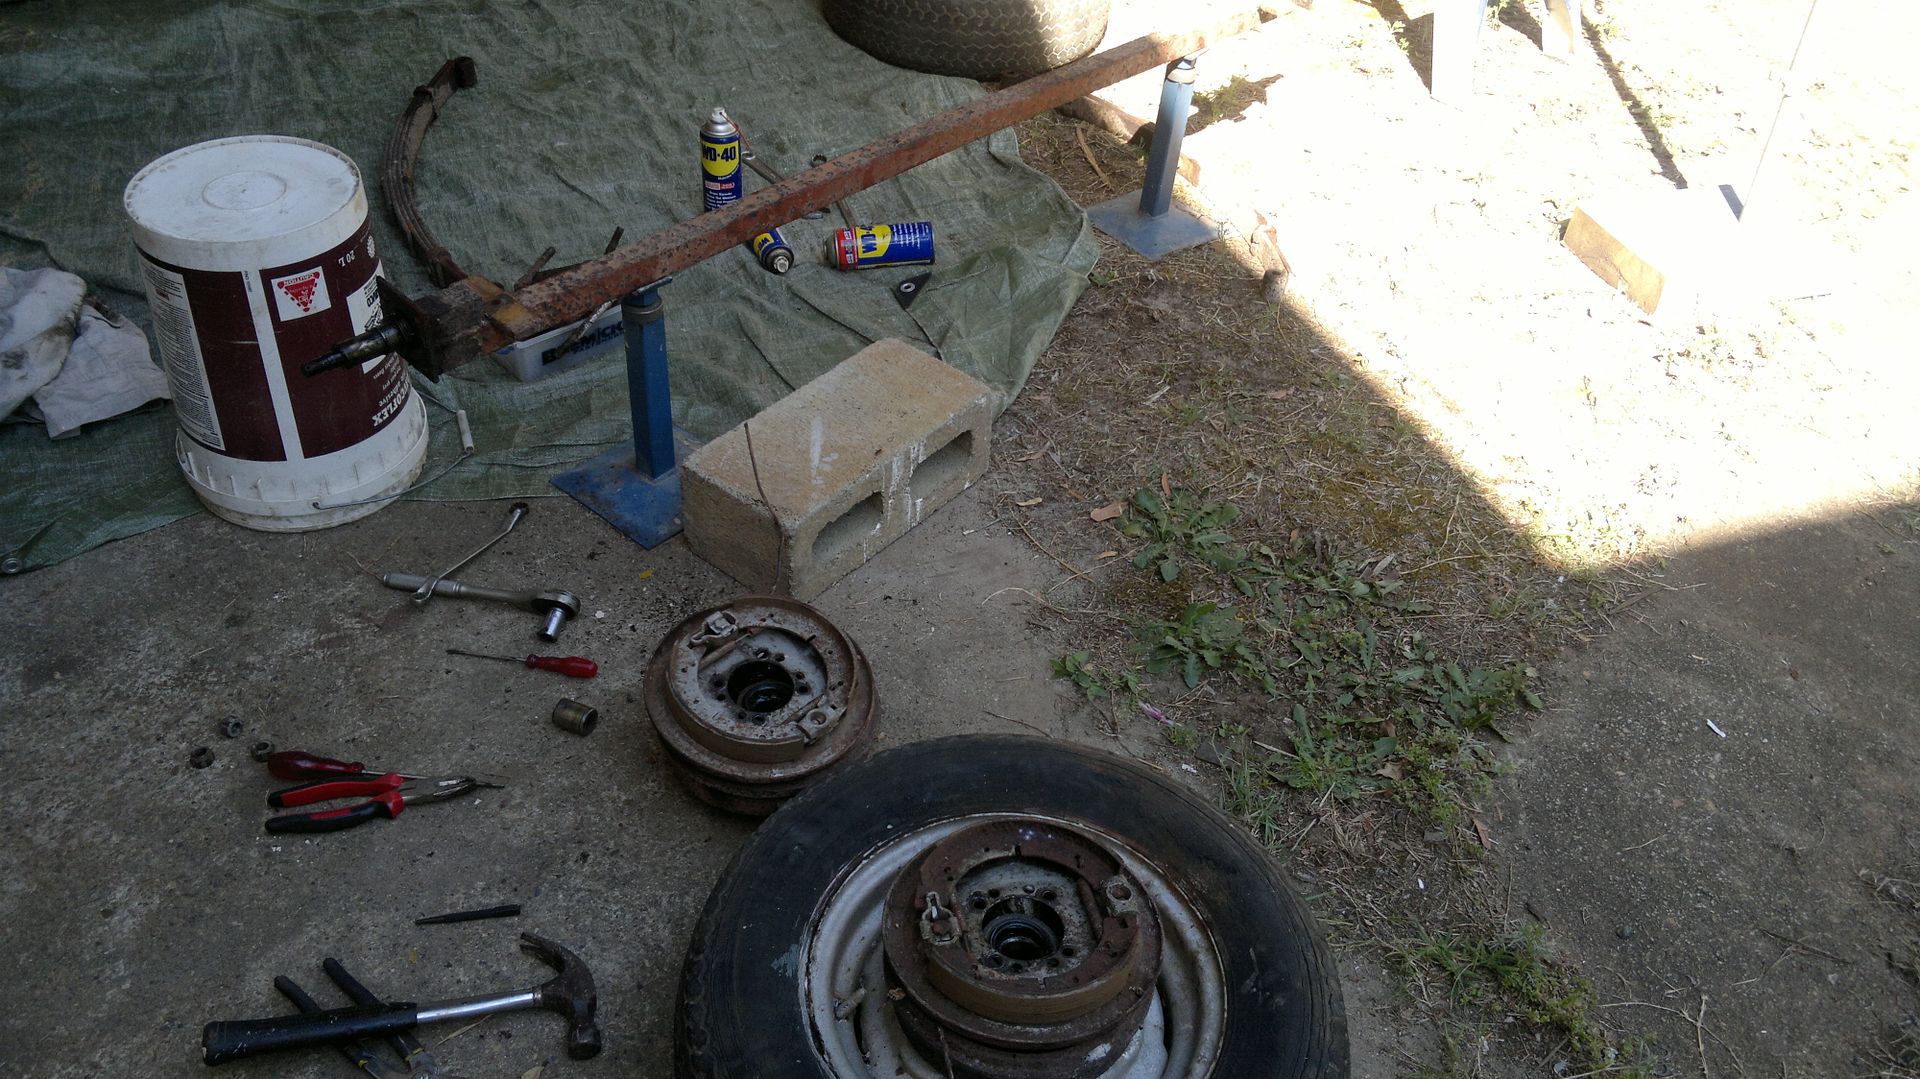 Progress is progress though! Not sure if the coupling thread has any pictures of a Western coupling yet: 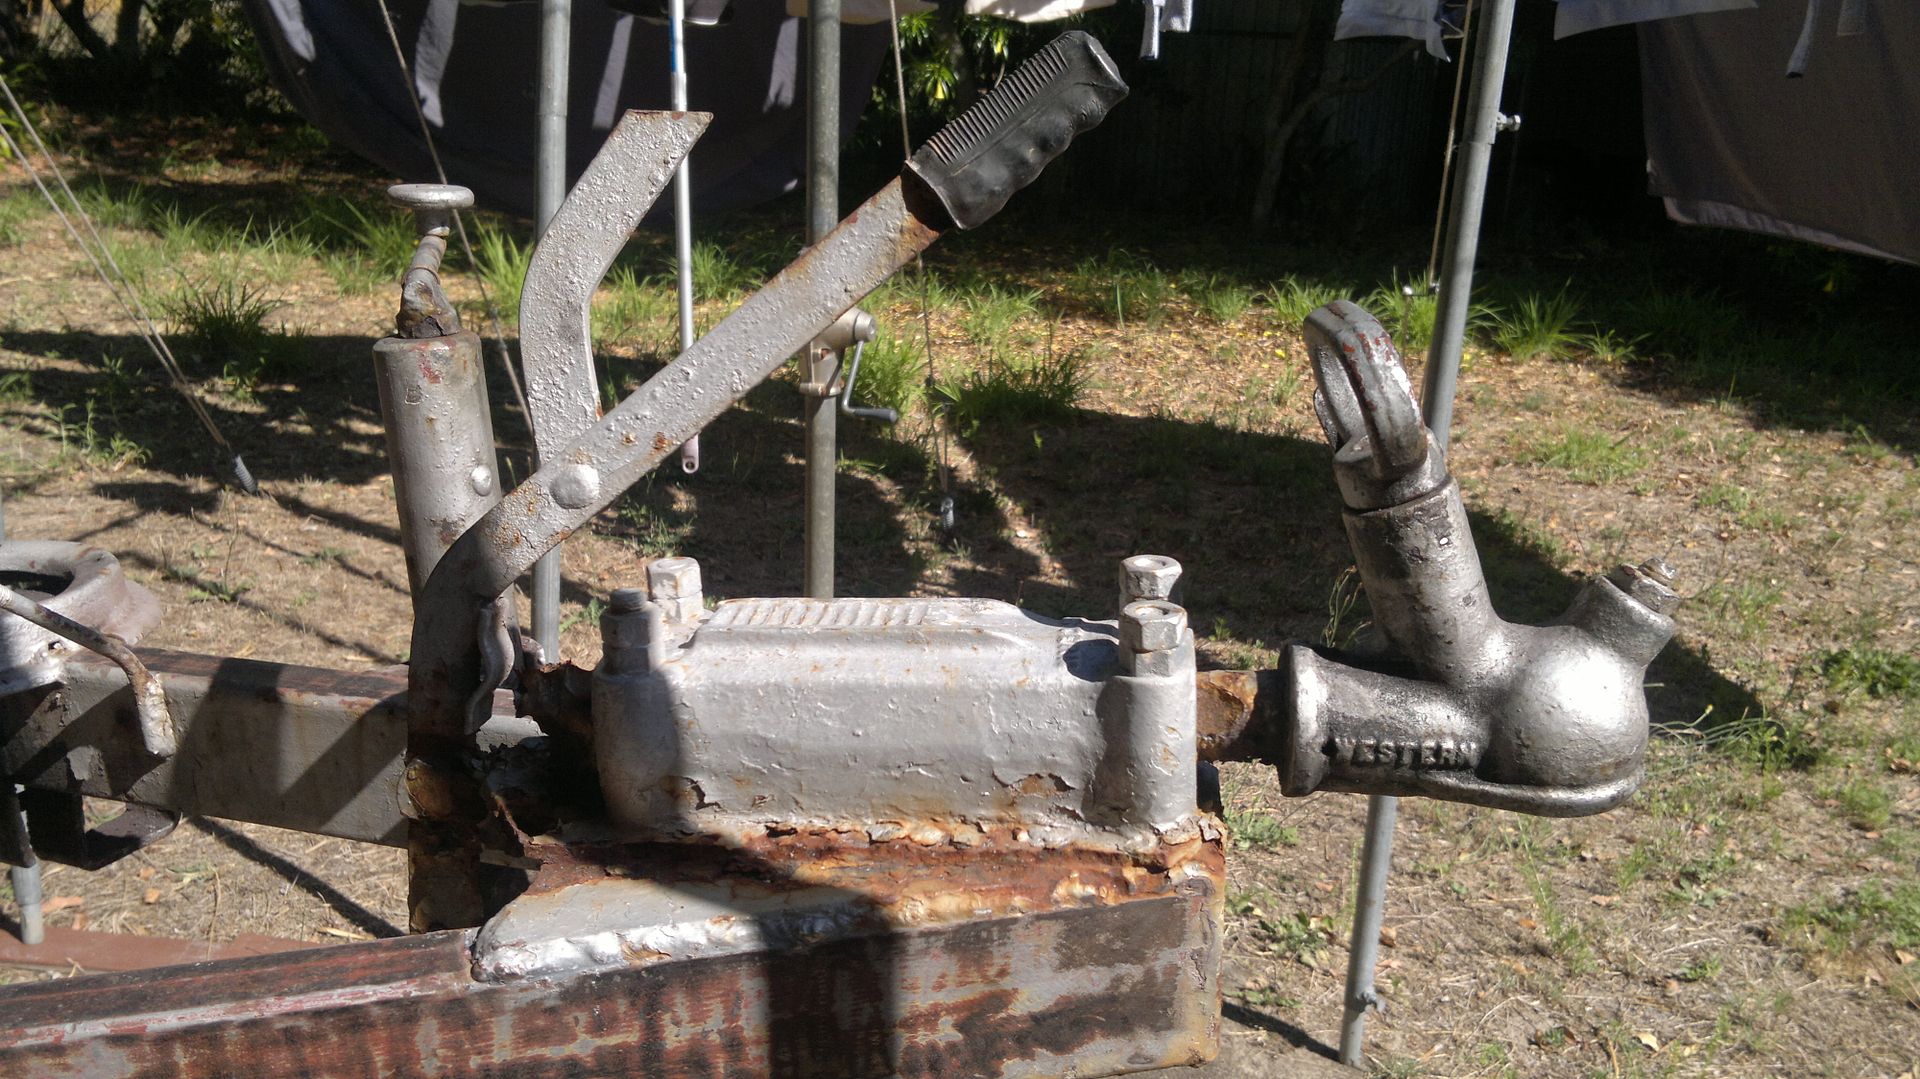 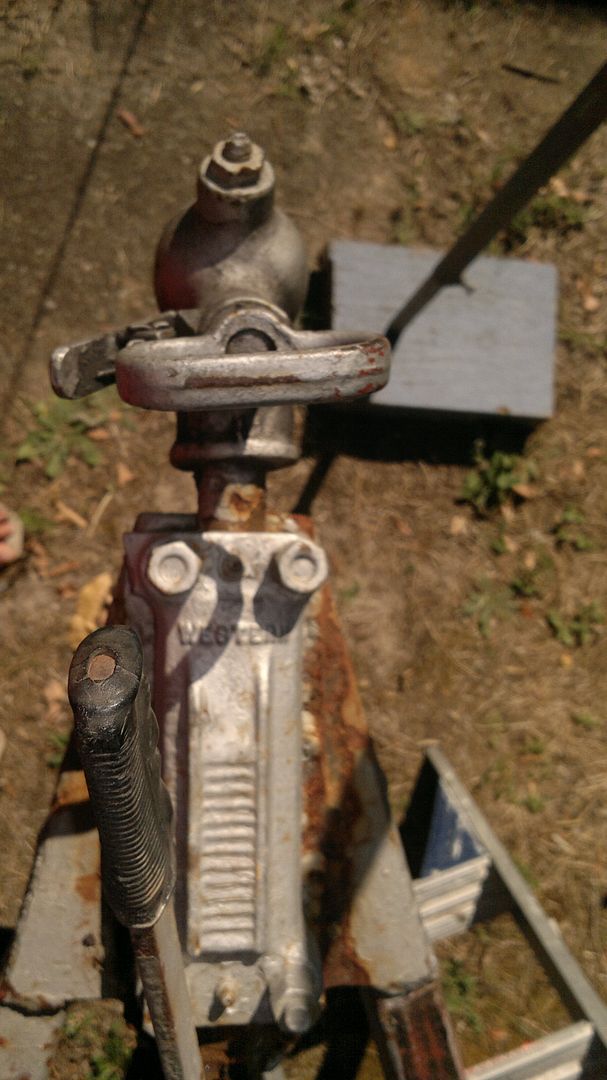 I won't be using this one though! 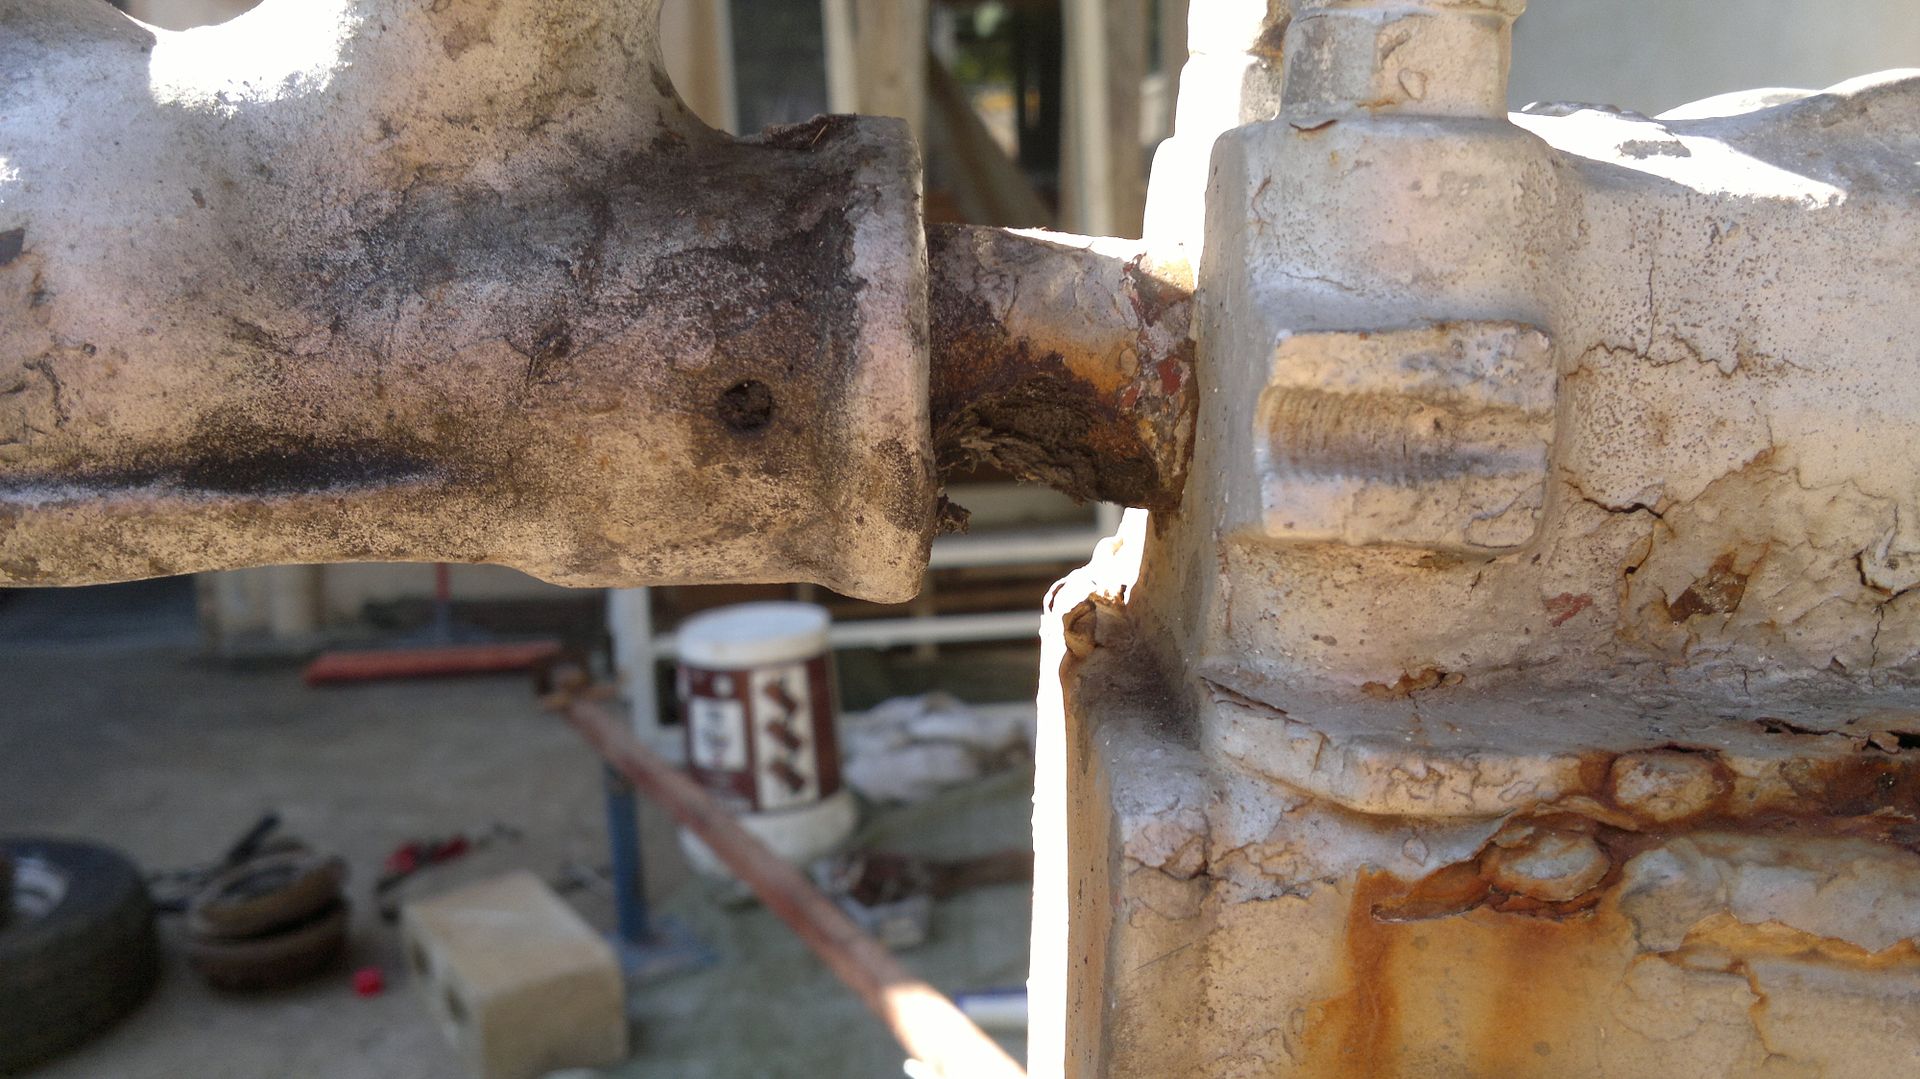 |
|
|
|
Post by cruisindoug on Nov 5, 2013 20:11:26 GMT 10
Got stuck into preping the new rear floor section, template makes life a bit easier! 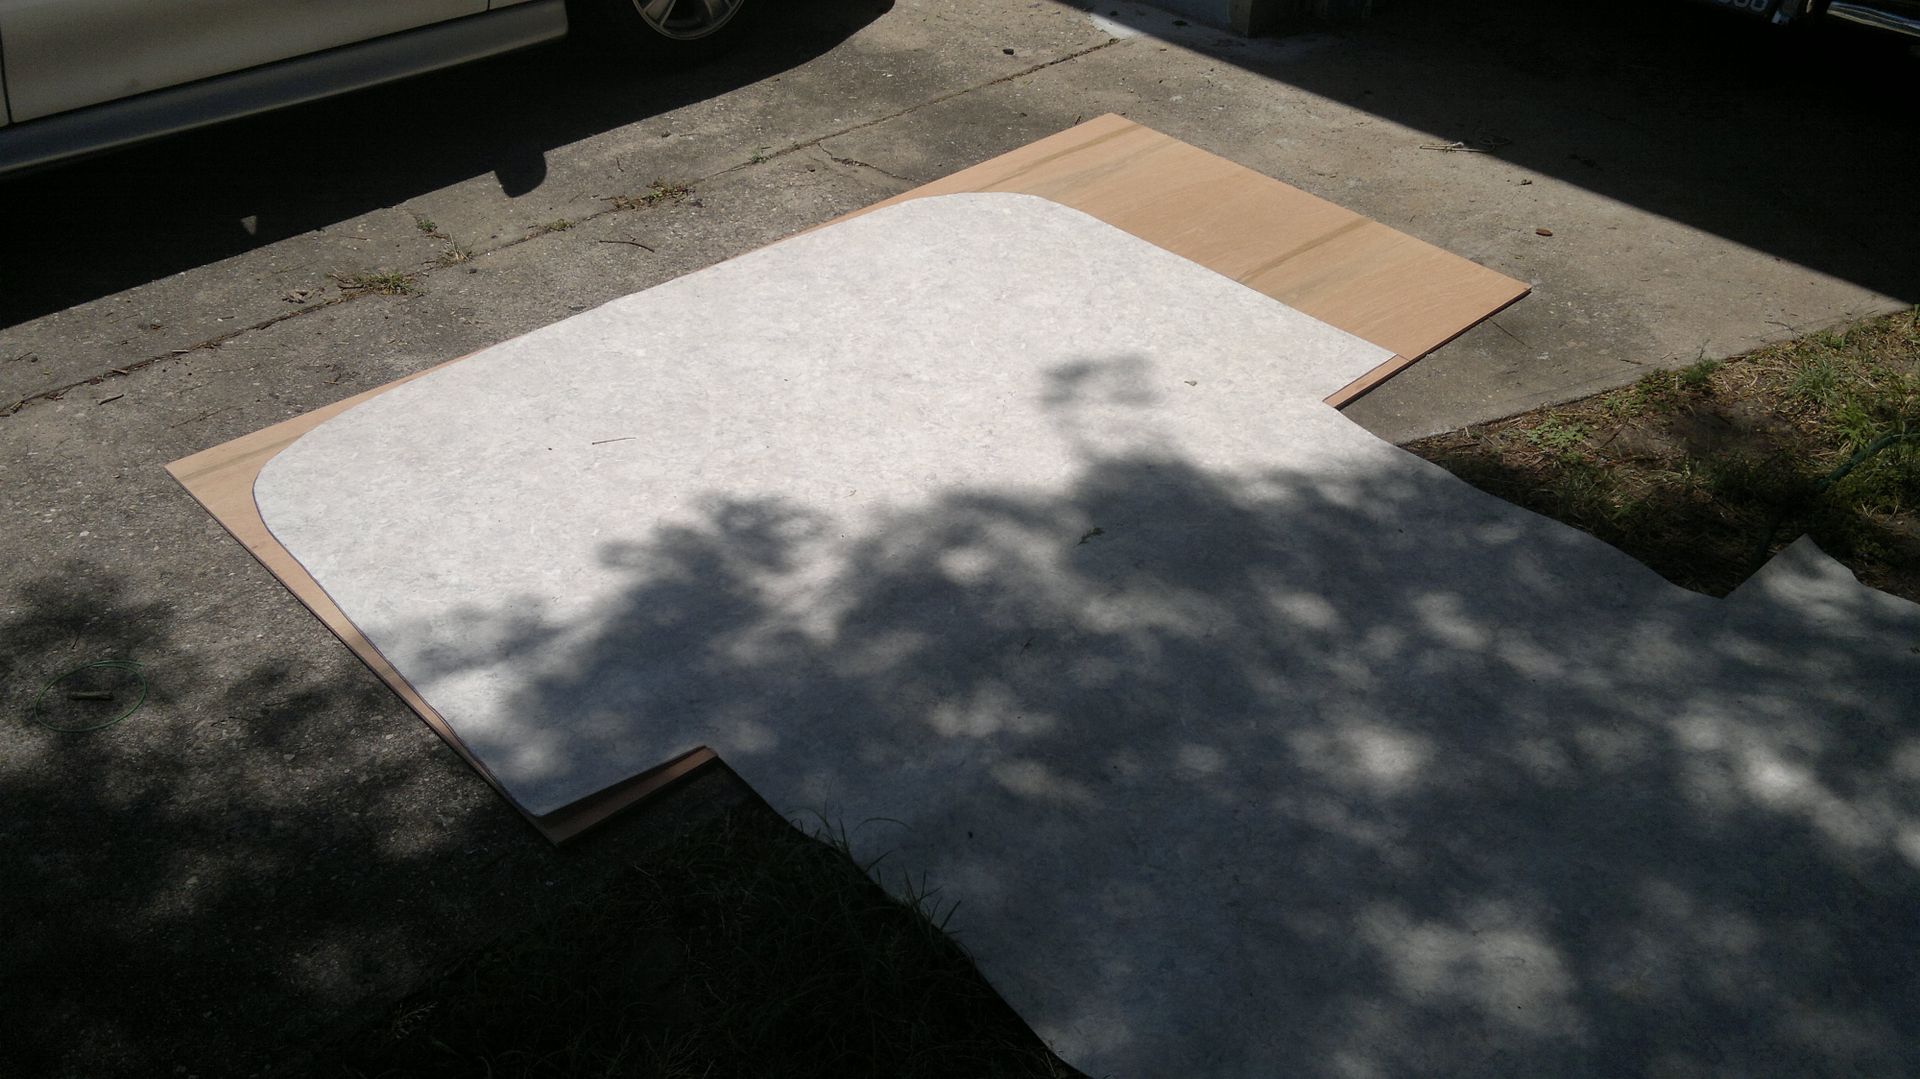 Went around and cut out most of the original edge that the floor was glassed to, just left the tabs so that the original line can be maintained: 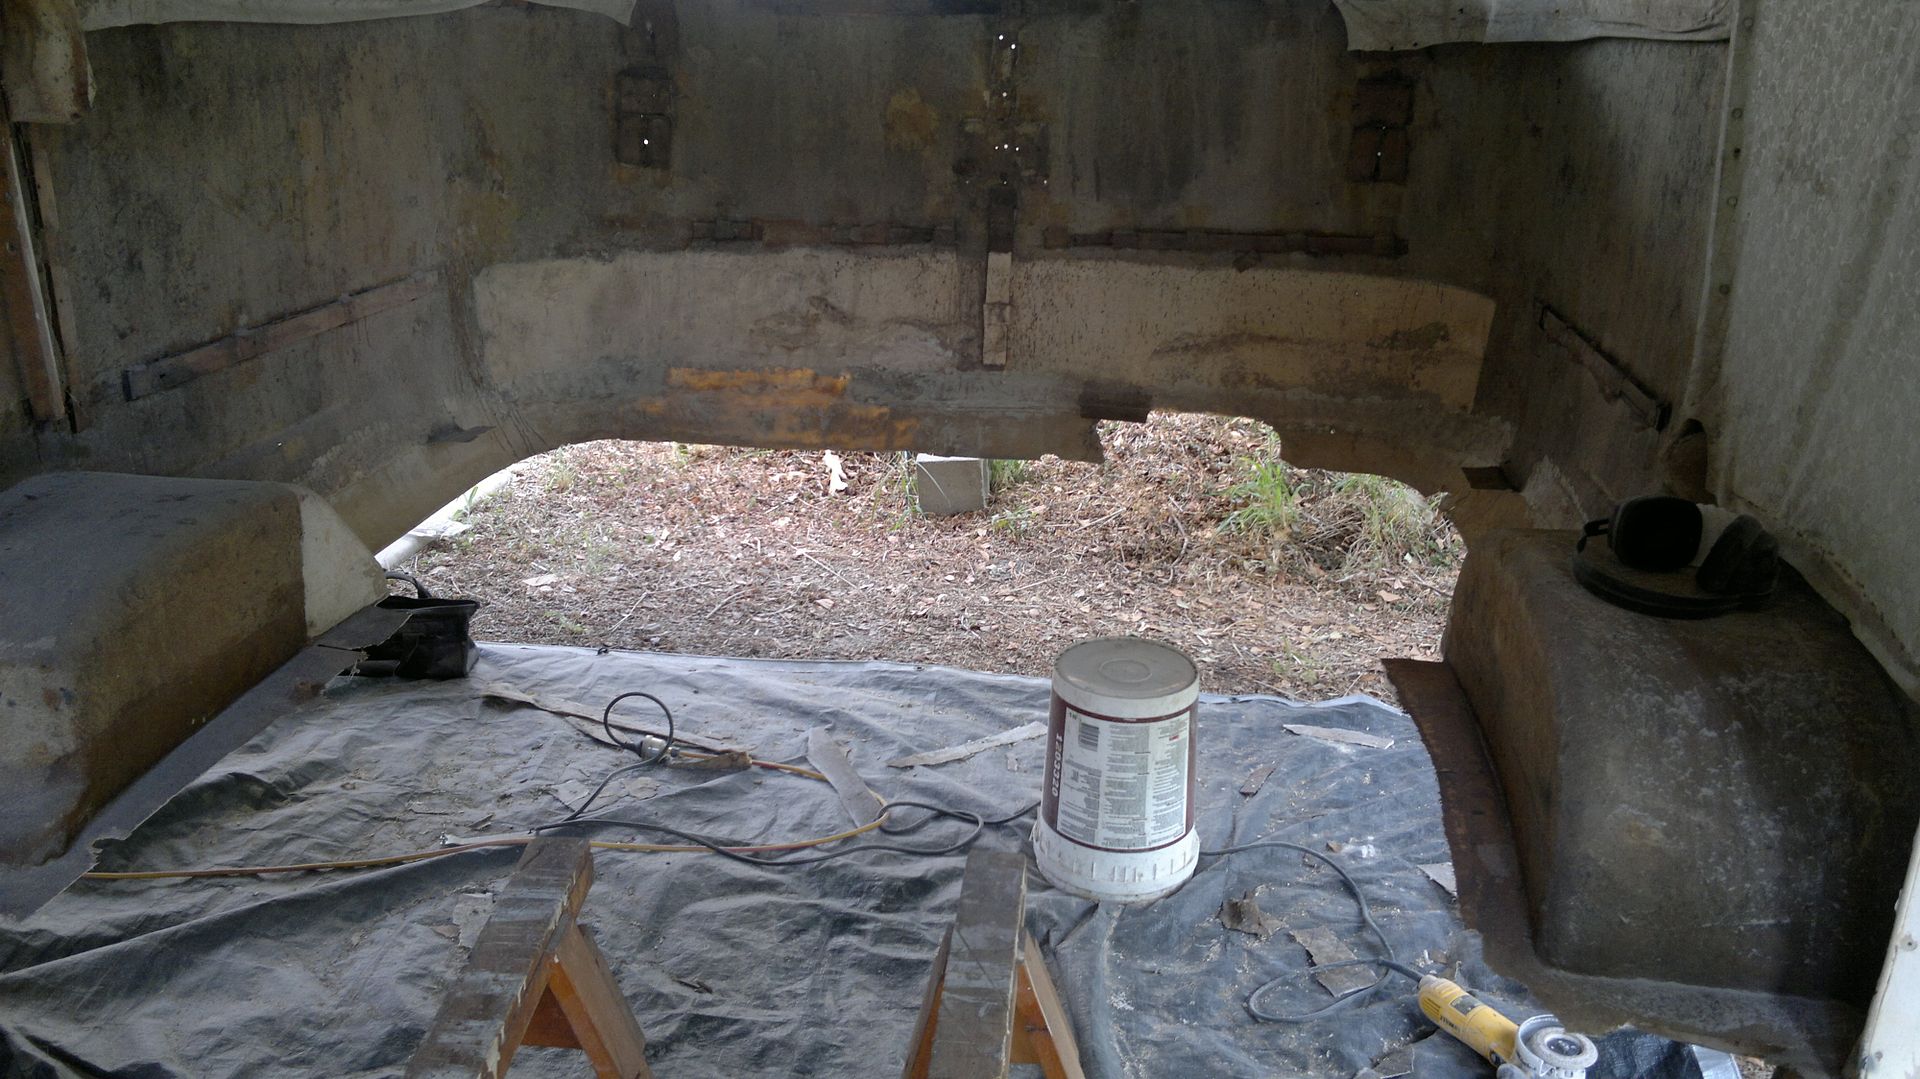 One of many trial fits, this is getting pretty close:  And finally pretty much ready to go, fits nicely, all surfaces prepped and cleaned, just a couple of final checks tomorrow and into some fibreglassing! 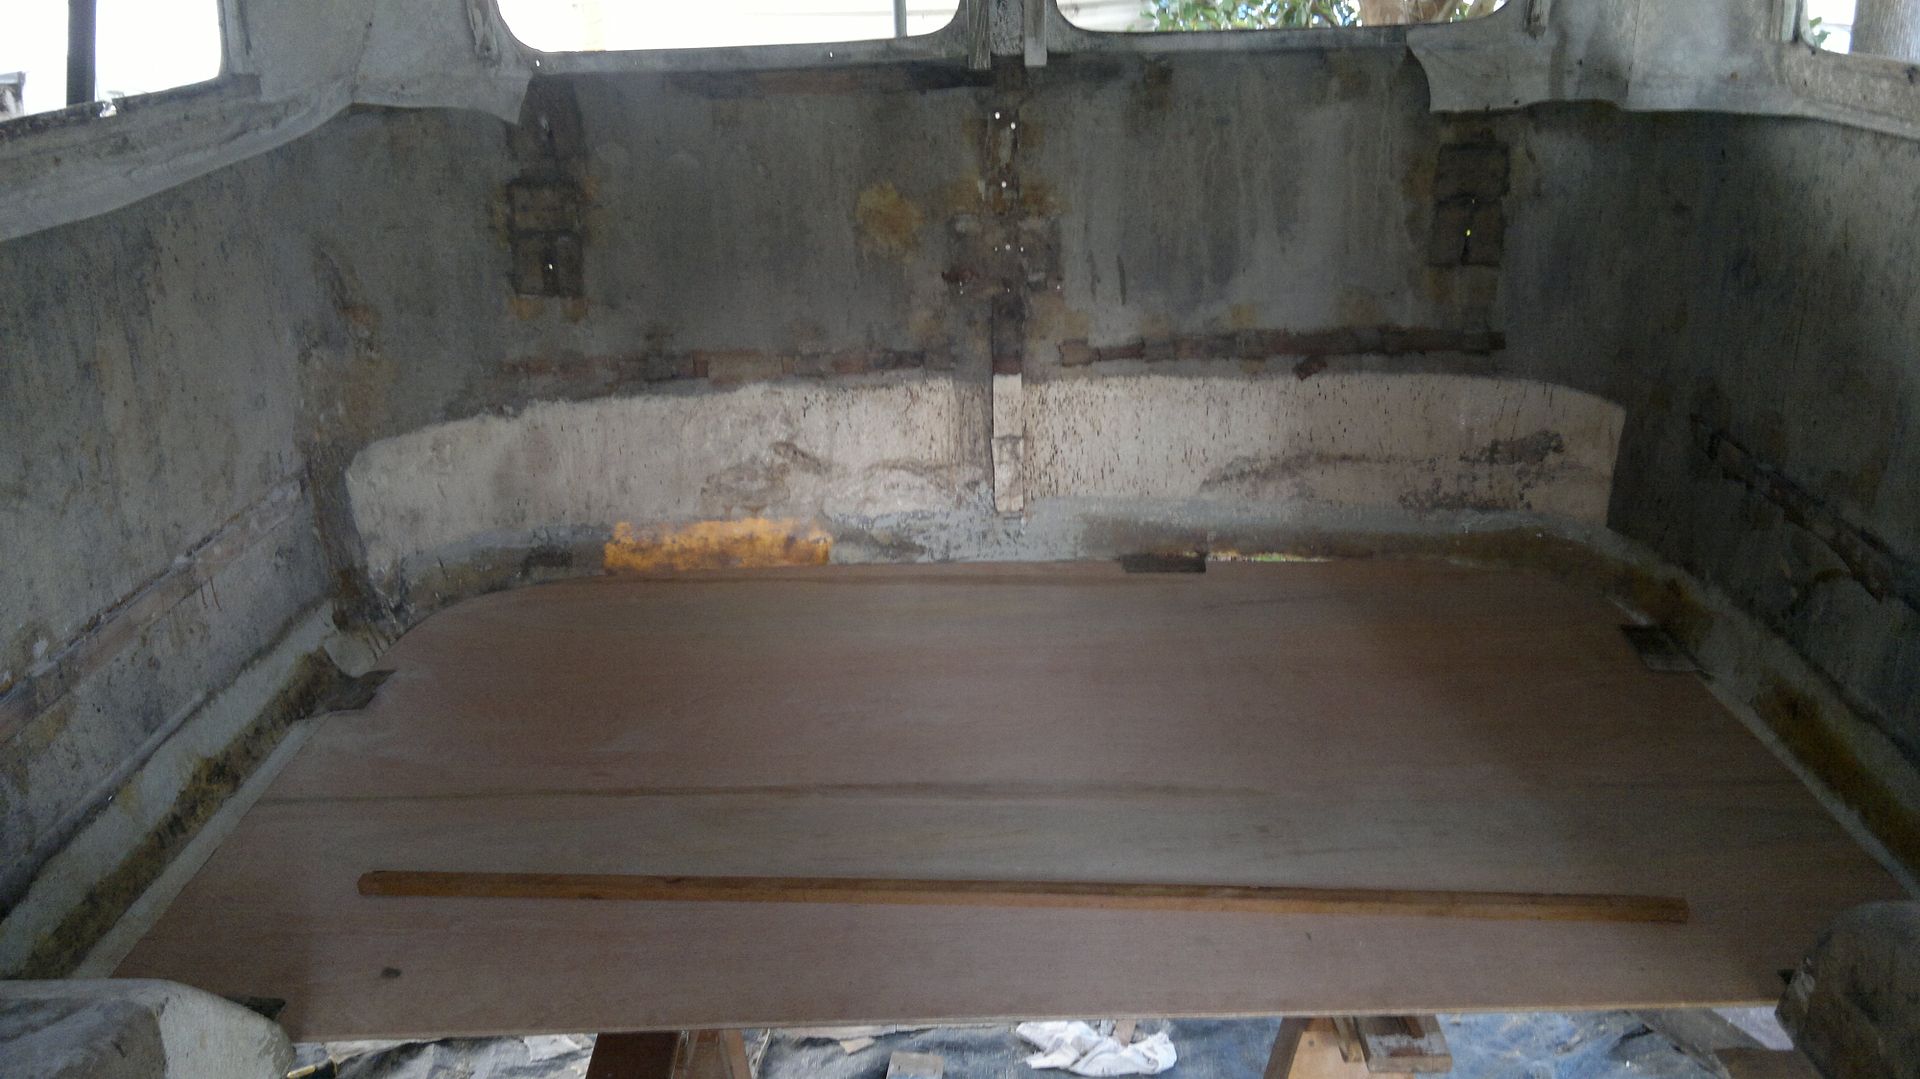 Quite time consuming process, especially trying to get a good clean surface to work with. Cheers Doug |
|
|
|
Post by Surf Tragic on Nov 6, 2013 21:30:43 GMT 10
Big project you have going Doug, it's a bit more than I could tackle having never worked much with F/G. The thought of the floor to wall connection intrigues me, it has a lot to support, so will be watching what you do there.  it is great how you can separate the body from the chassis like you have done, it would make it easy to work on, maybe sandblast? easier working on the brakes too. They are a nice looking van & worth the effort. Thanks for the photos of the detailed work, I have started following the postings again, should be mobile on my projects early next year hopefully. Will be watching with interest. ST |
|
|
|
Post by cruisindoug on Nov 7, 2013 17:48:39 GMT 10
Thanks for your reply ST, it was a matter of necessity to pull the body off the chassis to replace the floor properly as it was rotted beyond help - but it does have some advantages for doing chassis work as well as the lower body repairs. Fibreglass is new ground for me also , but there is lots of knowledge, help, and advice about the place which makes the leap a bit less daunting. Good to know that help is pretty close at hand. Had my "advisor" in today actually and the floor replacement can now progress again as I was awaiting some direction with a couple of things. ;D ;D Did a bit of work on the chassis last couple of days, started by cleaning off all the unwanted and rusty stuff off ... 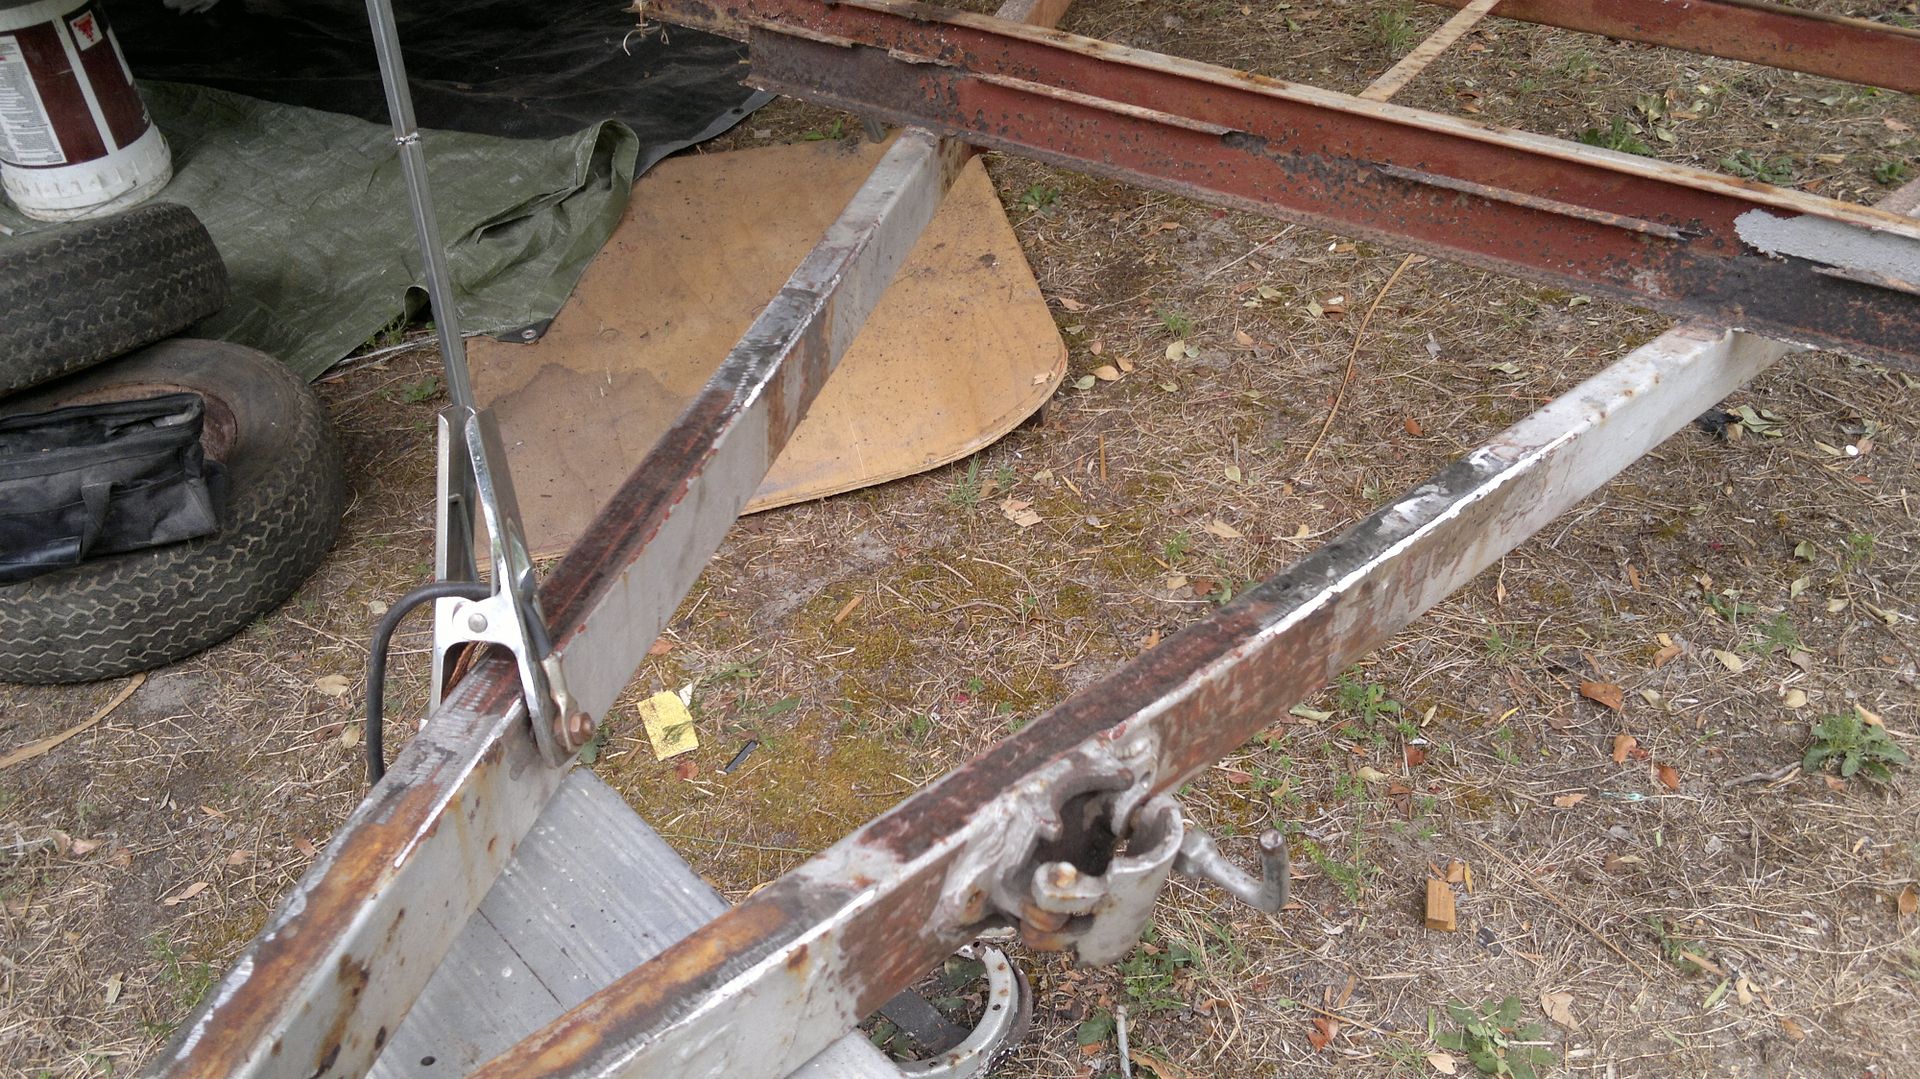 Made up a new hitch plate and dummy mounted the new hitch.  Started cleaning up the brakes ... one side at a time so the untouched one can be used as a ready reckoner for reassembly works fine if your not in a hurry which I'm not. 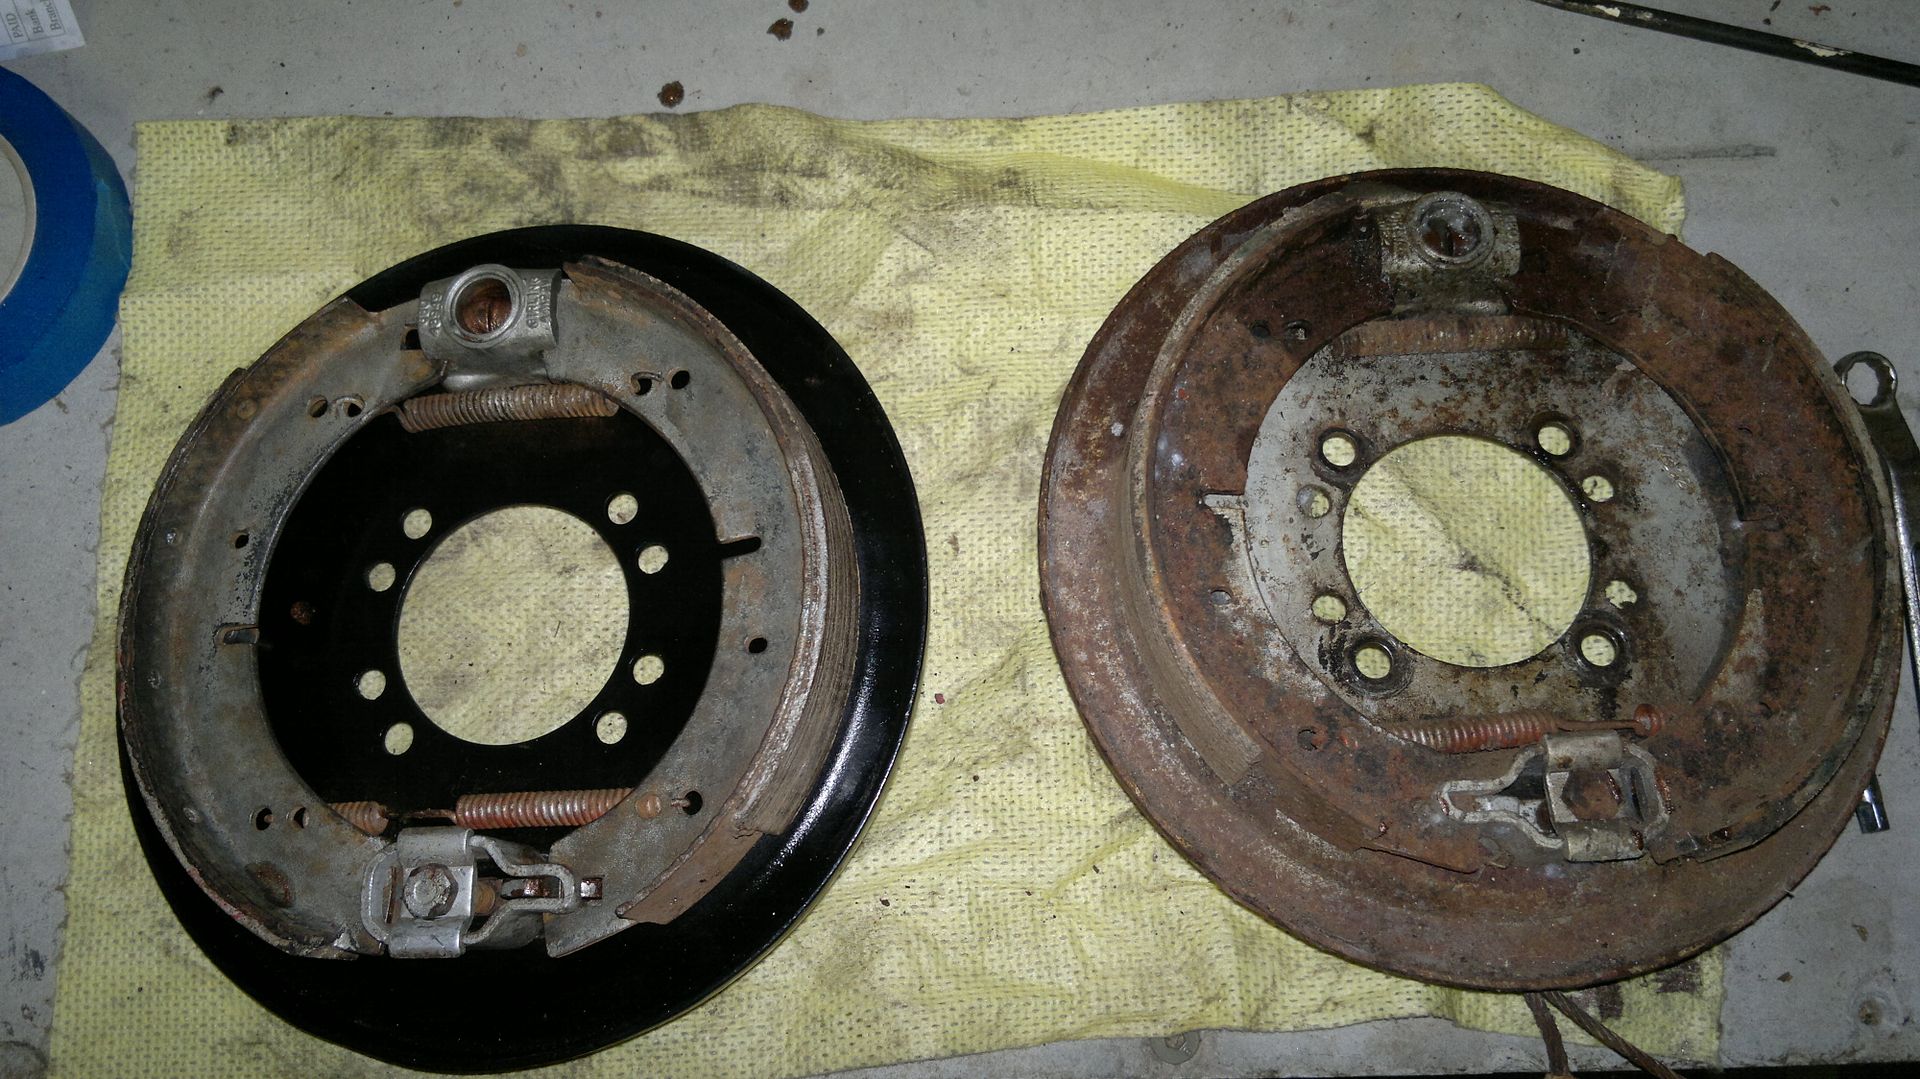 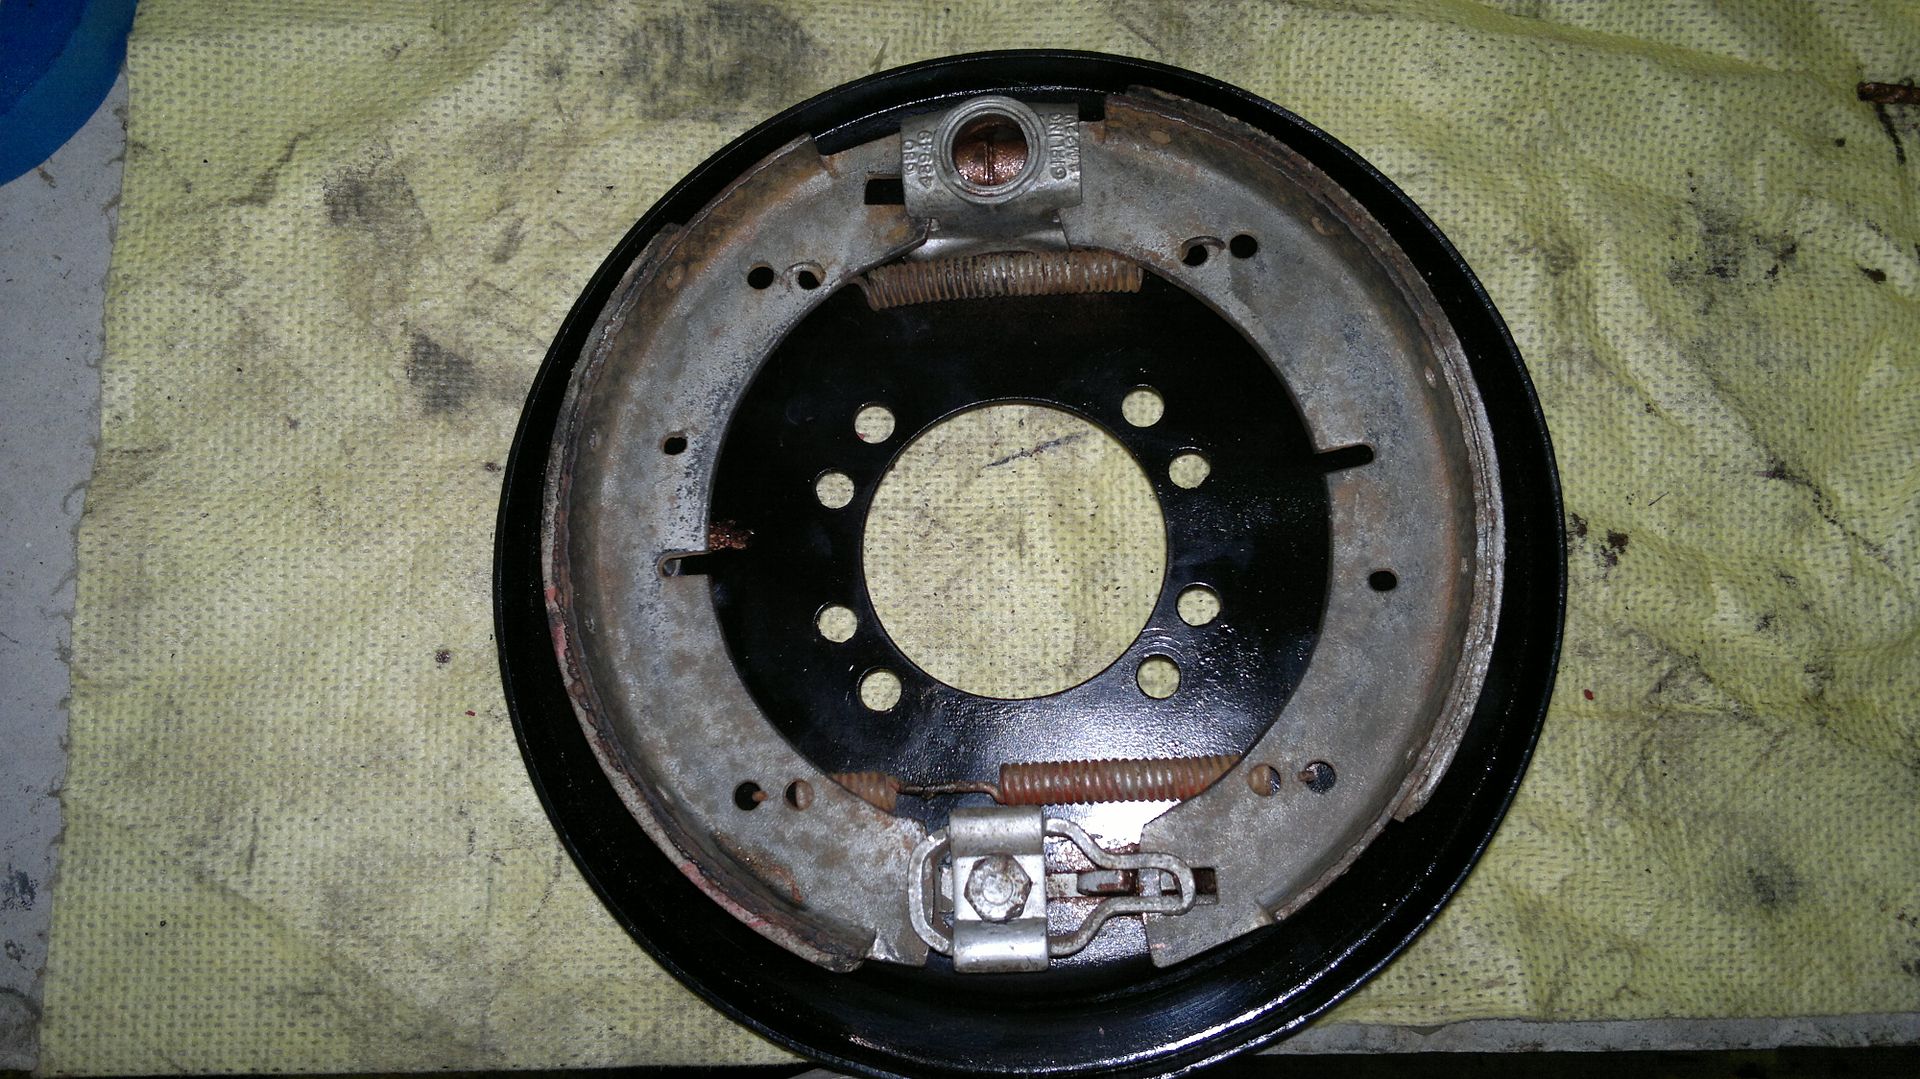 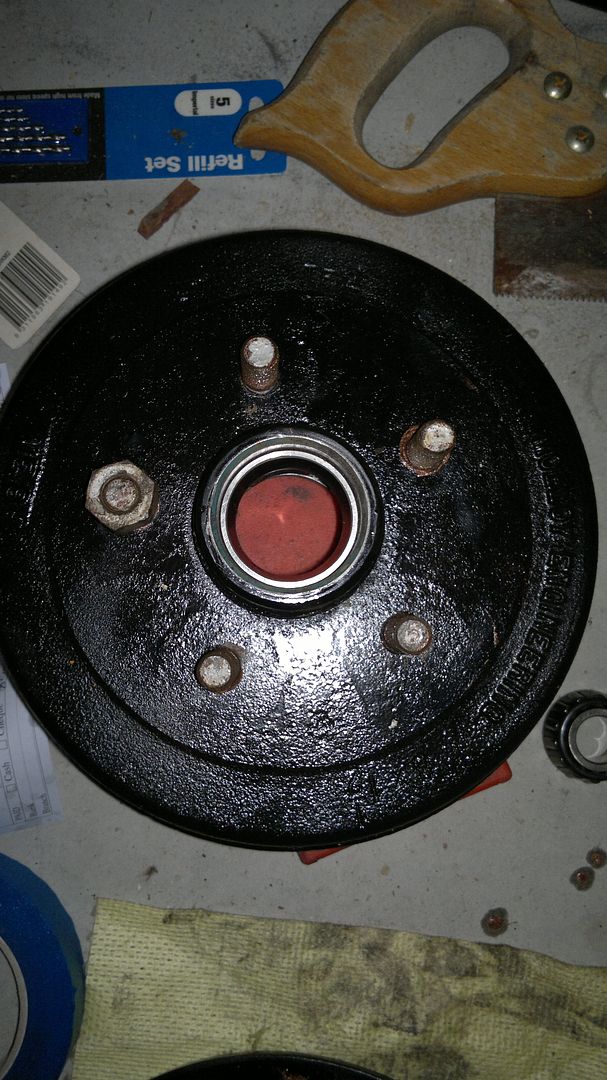 Cheers Doug |
|
|
|
Post by cruisindoug on Nov 8, 2013 17:53:54 GMT 10
|
|


