|
|
Post by Gypsy 10 on Jun 20, 2013 22:27:01 GMT 10
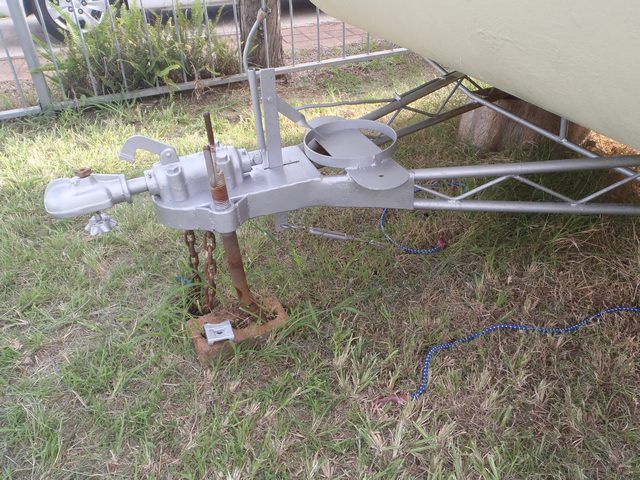
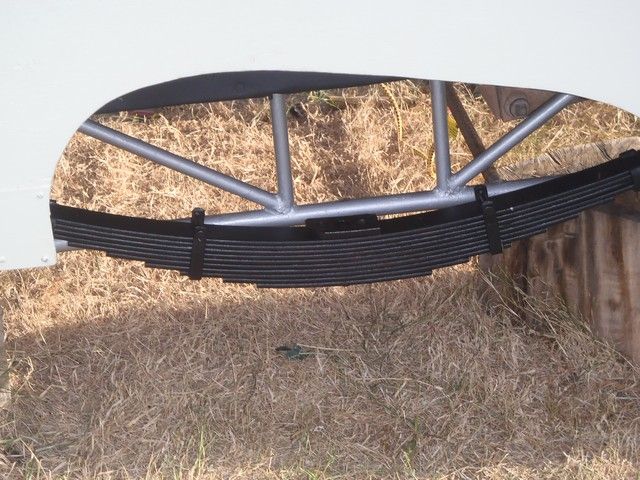
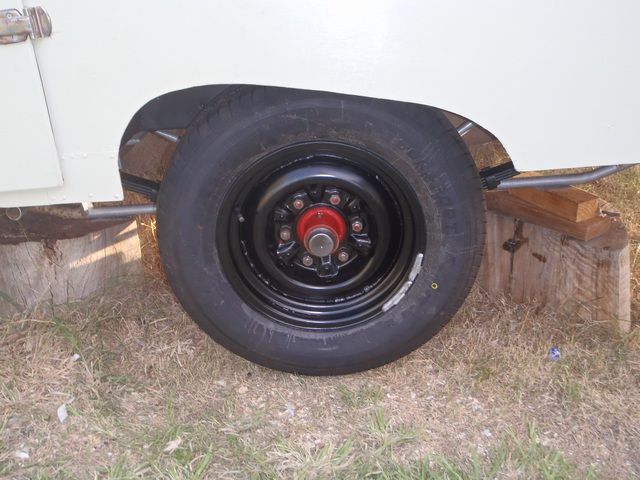
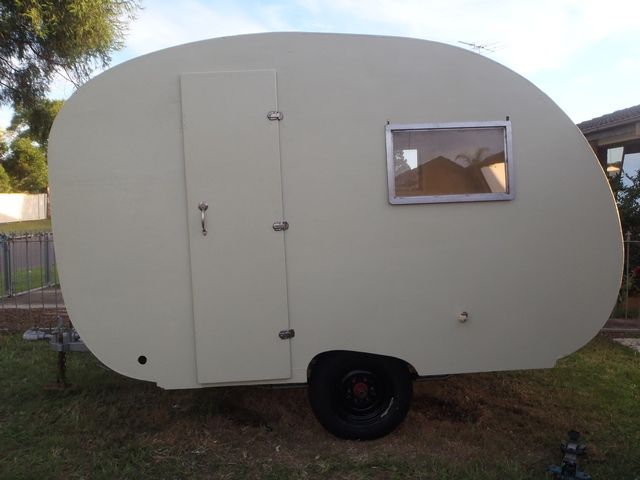
Hi everyone Mr & Mrs Gypsy 10 here. We have just purchased a 1950s Gypsy 10’ (hence the name). Or love of vintage vans started in 2009 when returning from a vintage car rally called Austins Over Australia held in Perth WA. My wife’s brother towed his newly acquired 1952ish plywood van to Perth and we travelled back with him. We decided then that we would have to get one. I wanted a teardrop but saw the sense in my wife’s practicality for a full sized van. Unfortunately my little Austin A30’s are not able to tow the Gypsy so it’s a modern vehicle tow for now. We have met a few of you as we spent 3 days with my wife’s brother at Cowra Nats. The van needs exterior work to replace the calico covering and a complete repaint. The inside is near original except for the Electrolux fridge which we will keep in the van (if it works – to be confirmed). The van needs the electrics & gas lines to be checked. Of course the sub frame springs, hubs & bearings will be overhauled. We will need to do something with the seating but not really sure what to do there - any advice would be helpful. They are the original horsehair cushions, but the covering seems to be in fair condition. I need to confirm the originality of the rear tail/stop lights, any advice there would be helpful too. We would like to know if anyone can pinpoint the year of the van as it will help when doing the rego and insurance. Subject to work commitments and progress of restoration we would like to attend the Museum of the Long Weekend as our 1st run. If that does not happen then definitely Broken Hill.  |
|
|
|
Post by isambard on Jun 21, 2013 9:21:30 GMT 10
Hi Gypsys !
You're two very lucky ducks picking up that gorgeous little unit - I marvelled many times at the gorgeous interior while it was listed for sale. It's not at all rudimentary or basic in the way that some of these older bondwood vans are, and considerable thought seems to have gone into the decorative flourishes.
Looks as though floor and cushions will come up quite well with a bit of elbow grease, and that little electrolux fridge does fit in very nicely - can quite see why you want to keep it! On the cushions, both our vans have original stuffing in original upholstery - fine for sitting purposes though it's incredibly heavy (take it out before going over weigh bridges!), and needs a decent mattress topper for sleeping on. And you really can't go past original upholstery. It always seems to look better than new stuff. Has the right patination and shape, and is usually the perfect match and colour and texture wise to other elements of the van.
Can't help you with light details etc, but wish you well on your restoration. We're about half way through a similar task (so far just rebuilding the rank bits), and hope to have ours on the road for September.
Cheers. Looking forward to ongoing reports and pics!
|
|
aquamum
Full Member
   1968 Viscount Ambassador - Sydney NSW
Posts: 493
|
Post by aquamum on Jun 21, 2013 14:48:18 GMT 10
|
|
|
|
Post by bubbles on Jun 21, 2013 22:09:37 GMT 10
Great find looks in ok condition best of luck with it you will enjoy the feeling of owning a vintage van
|
|
|
|
Post by Gypsy 10 on Jul 6, 2013 16:40:51 GMT 10
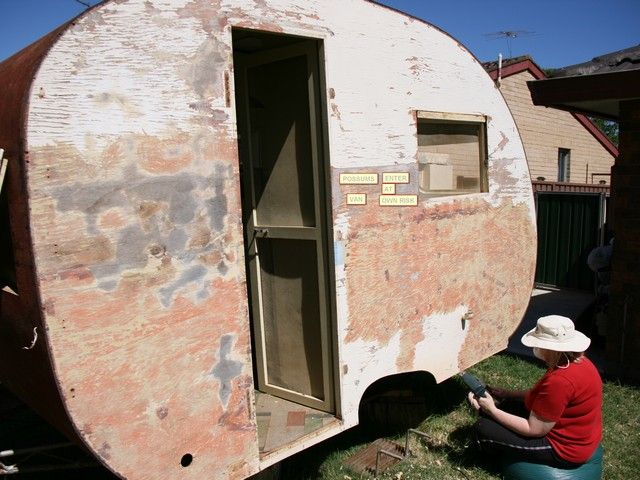
Update Update: Work has commenced on the Gypsy 10. All windows removed, window gutters removed and all the bric a brac that gets attached to vans. 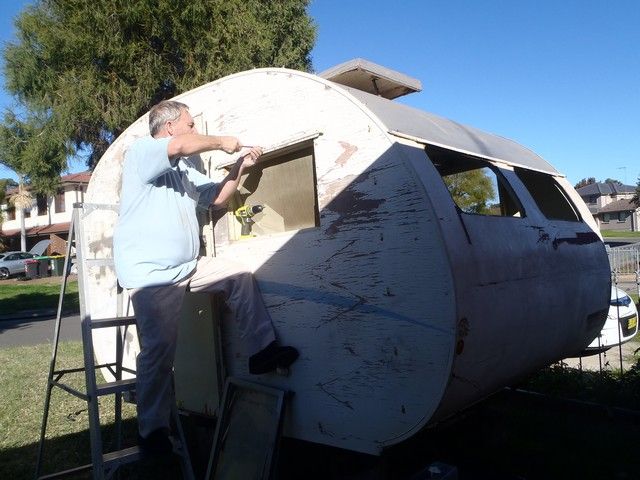 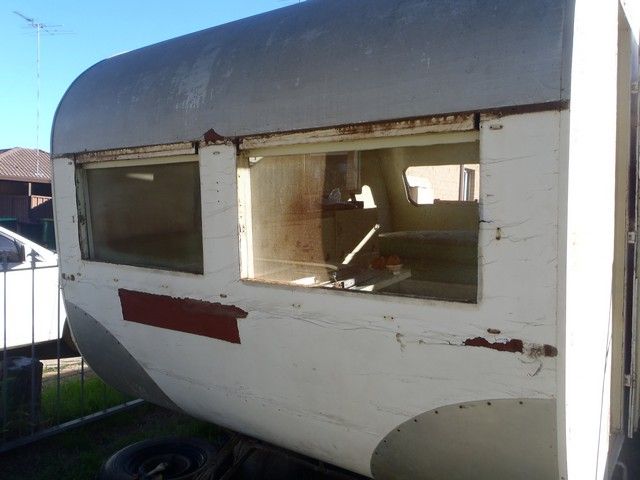 Some interesting finds.....Pic 1 on the back of the exhaust vent. Pic 2 on the underside of a cupboard panel. Can these items be used to help date the van? 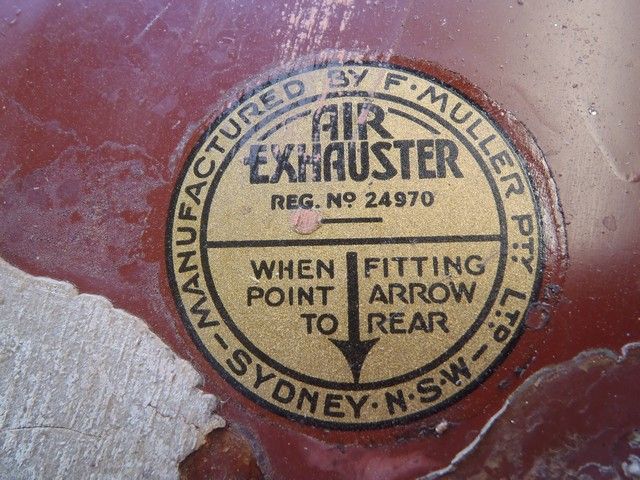 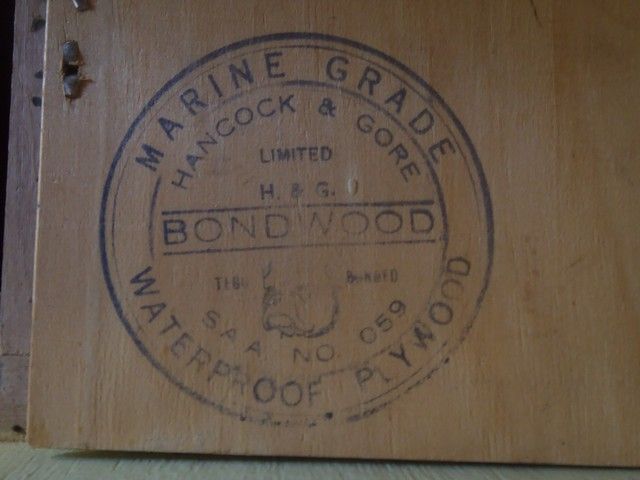 |
|
|
|
Post by Gypsy 10 on Oct 11, 2013 0:11:55 GMT 10
|
|
|
|
Post by cobber on Oct 11, 2013 7:42:23 GMT 10
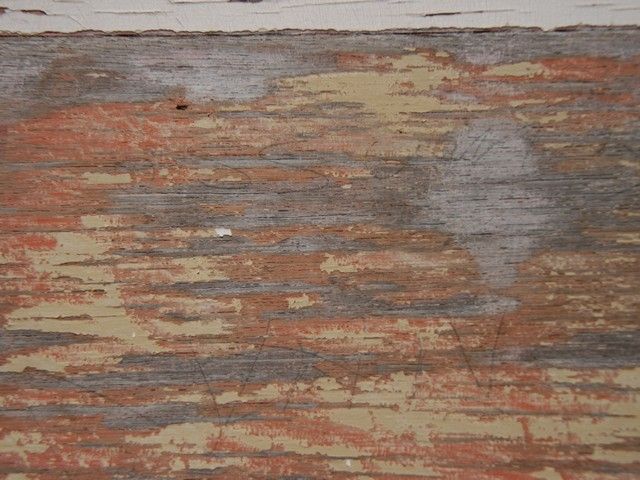
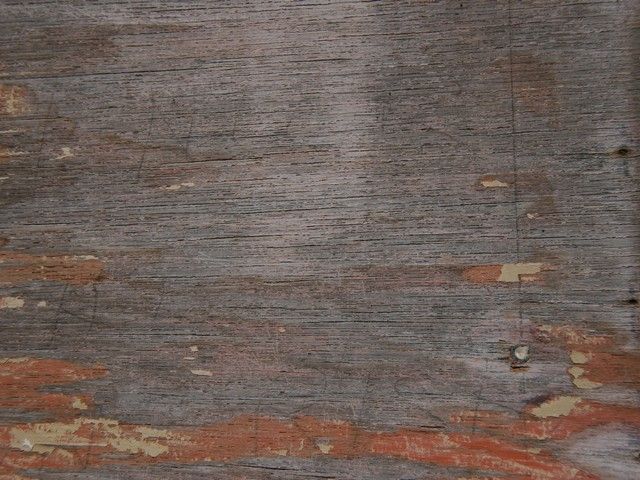
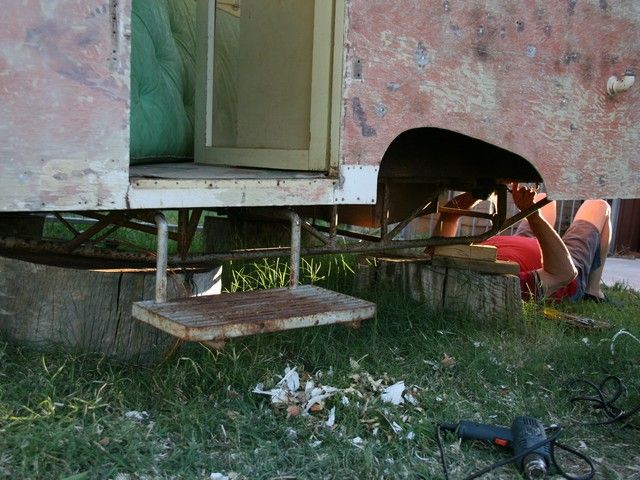
G'day Ian, Hang in there mate, progress is being made. Do you think the writing on the un-painted ply indicates she was maybe a "kit built job" ? Gypsy's were sold at any stage of construction so that mum & dad could finish it off at home with the help of their "little Possum"..... good idea aye ? would give the whole family a feeling of being involved in the construction. I like the way you've put her on blocks to get at the chassis    Cobber. |
|
jamo
New Member

Posts: 27 
|
Post by jamo on Oct 11, 2013 11:50:08 GMT 10
Tis good to see the progress
|
|
|
|
Post by Gypsy 10 on Feb 7, 2014 23:23:13 GMT 10
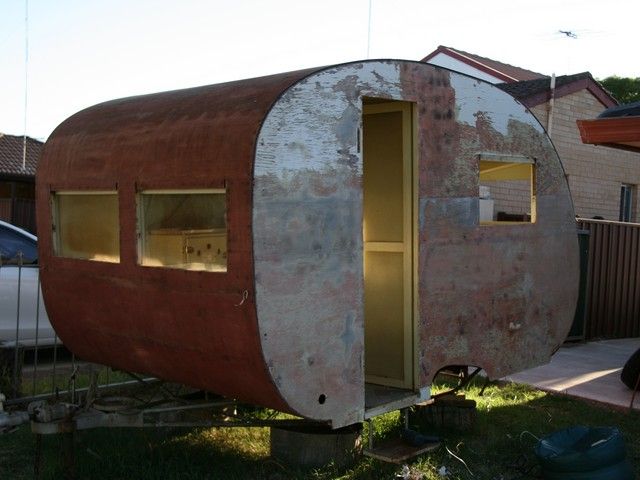
Work has been steadily progressing with Gypsy. As you see below the van is stripped and ready for paint. 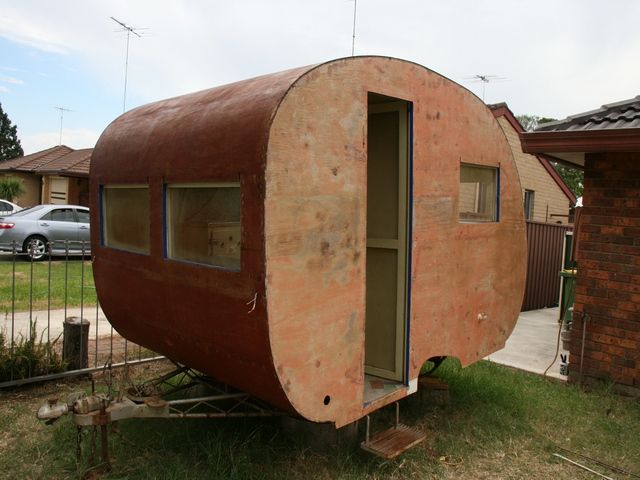 The windows have been cleaned and re sealed ready for installation. 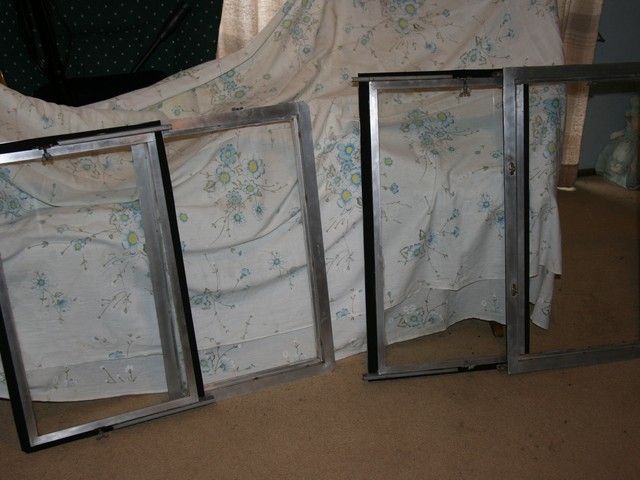 So on one weekend we managed to paint the two side walls and door. After installing the two side windows it looked like this. 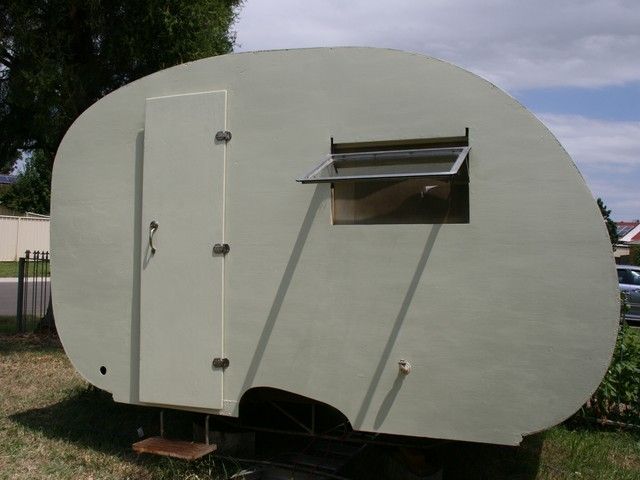 And on Sun the 2nd of Feb with the much appreciated help from my son and his wonderful wife work began on re Calicoing the main body of the van following some advice from the forum (thanks Kfisher). We started at the front as you can see. I must admit its a lot harder than you think but well worth the effort in the long run. 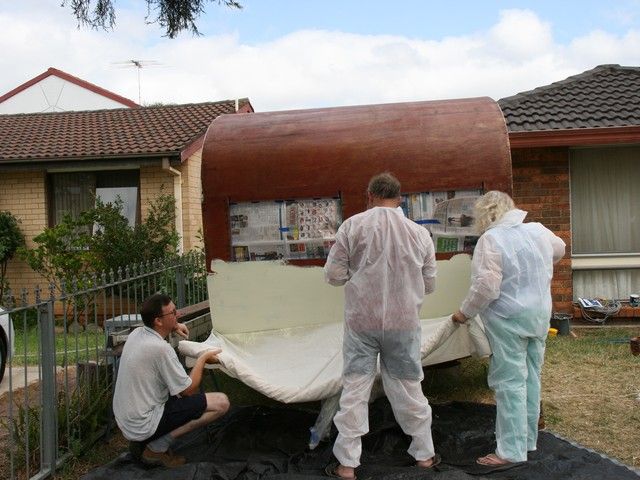 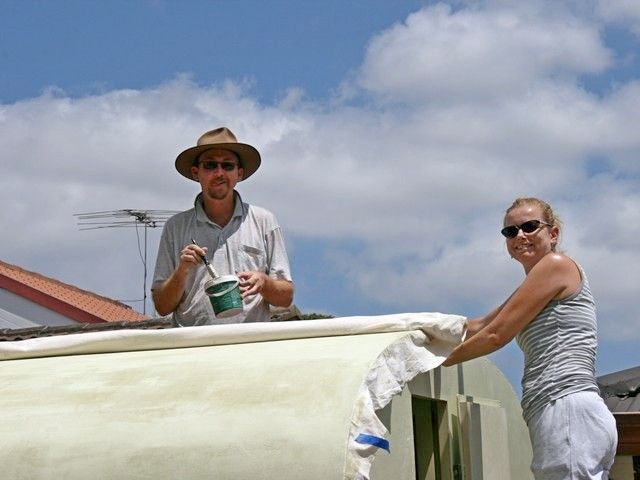 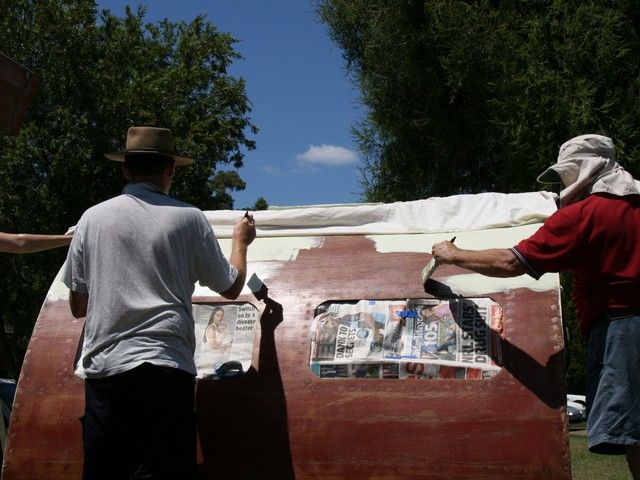 The last bit is a bit tricky but thanks to Mrs Gypsy's pegs it all worked out 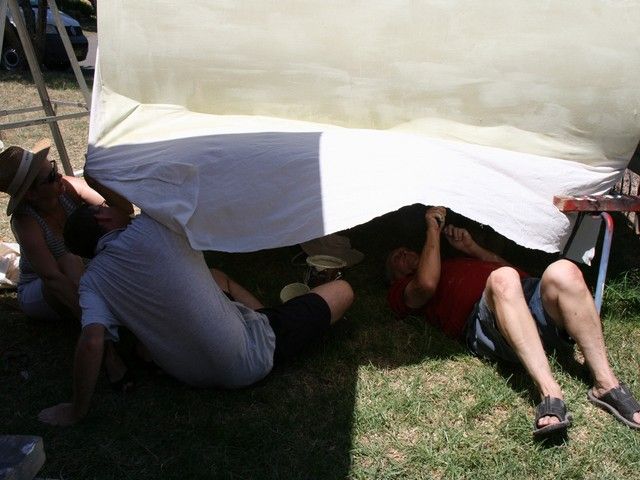 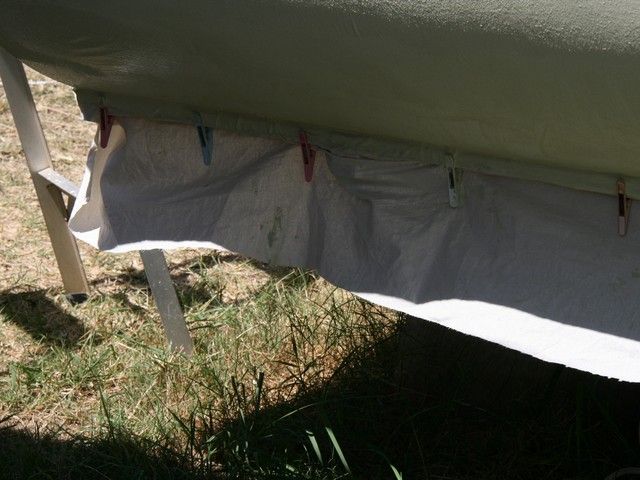 Then hey presto you end up with this. The van needs a few more top coats and some trim bits but we are getting there. 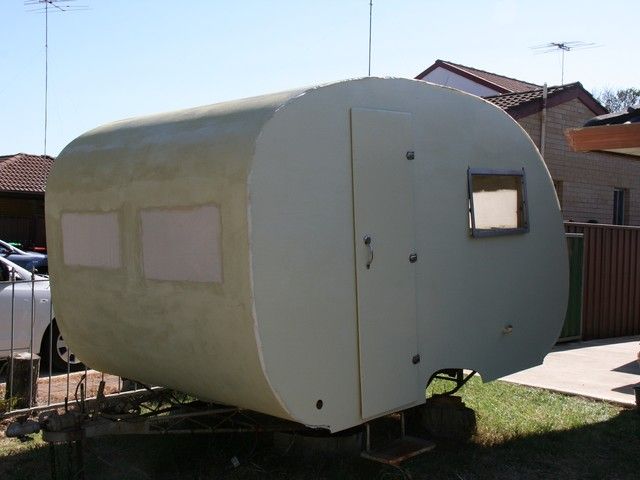 Oh and we removed the lino and gave it a good clean and seal so it will be going back in later in the process. 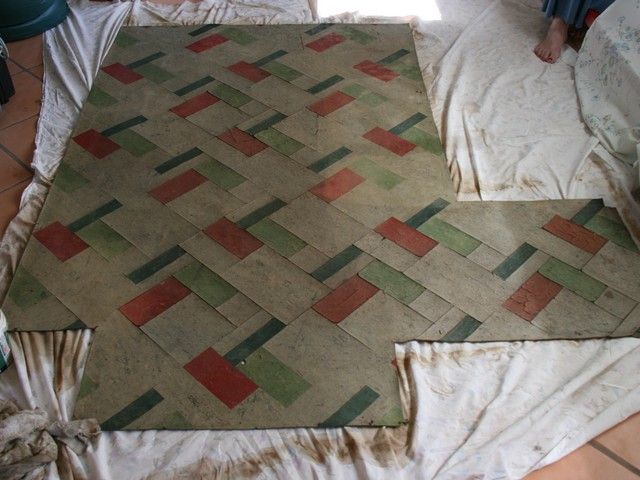 |
|
|
|
Post by Geoff & Jude on Feb 8, 2014 6:16:00 GMT 10
hi gypsy 10
nice job, it sure makes a difference once a bit of paint goes on.
the calico(ing) didn't look that hard but came up a treat.
well done.
geoff 'n jude
|
|
|
|
Post by akeepsake on Feb 8, 2014 7:33:36 GMT 10
Top job gypsy10! You have yourself a lovely little van there!
It's great that you are reinstalling the original Lino ! Nothing beats original !
Can't wait to see the finished product!!
Cheers Andrew
|
|
|
|
Post by firefighter on Feb 8, 2014 9:26:24 GMT 10
On Ya Ian
Great job you are doing on the Gypsy...looking forward to seeing the van at the Broken Hill nats
Cheers
f/f 
|
|
|
|
Post by humpyboy on Feb 8, 2014 9:49:37 GMT 10
Hey f/f is this another one that should be over in Members Photo Album??
Yep been moved to Members Photo Album
f/f
|
|
|
|
Post by shesgotthelook on Feb 8, 2014 10:52:25 GMT 10
Fantastic job Gypsy. Really enjoying watching your progress. Did the floor come up in one piece? What have you sealed it with?
|
|
|
|
Post by Gypsy 10 on Feb 8, 2014 14:19:14 GMT 10
Thanks SGTL yes came up in one piece. Sealed it with Dunlop Perfect Polish. 1lt bottle cost about $20 from Bunnings.
F/F thanks for moving the thread I didn't know how to do that.
To everyone else - does anyone know what I can put on the lino to make it supple again some parts of it are very dry.
Thanks everyone for your support.
|
|
|
|
Post by akeepsake on Feb 8, 2014 15:24:12 GMT 10
Thanks SGTL yes came up in one piece. Sealed it with Dunlop Perfect Polish. 1lt bottle cost about $20 from Bunnings. F/F thanks for moving the thread I didn't know how to do that. To everyone else - does anyone know what I can put on the lino to make it supple again some parts of it are very dry. Thanks everyone for your support. Try heat either a heat gun or heater will do My tiles on the Millard were very crusty and curled up but gentle heat made them very supple and easy to reglue I used a proper Lino contact adhesive which I spread on the floor and when it set I rolled the heated Lino tiles down. It worked a treat! |
|
|
|
Post by Jennison on Feb 8, 2014 16:00:44 GMT 10
Was the van completely "calicoed" before or just the roof...havent seen that before. You probably told us earlier but what adhesive did you use out of interest
jenno
|
|
|
|
Post by JBJ on Feb 8, 2014 18:00:22 GMT 10
Hi
Our Deejay is completely covered in calico. It would have been a massive job considering its 19' long.
But I believe thats why it survived without weather damage.
JBJ
|
|
|
|
Post by Gypsy 10 on Feb 9, 2014 1:06:27 GMT 10
Hi Jennison, Yes the area we recovered was originally all calico but not the sides. Adhesive??? Paint was the adhesive I followed Kfishers thread (http://vintagecaravans.proboards.com/thread/9935) although he used undercoat then a top coat......I used the topcoat paint and will do so again to finish it off. I now believe that I made a mistake using the topcoat paint as the adhesive only due to the cost factor. I think using a undercoat may have been cheaper.
akeepsake thanks for that I will try it.
|
|
aquamum
Full Member
   1968 Viscount Ambassador - Sydney NSW
Posts: 493
|
Post by aquamum on Feb 10, 2014 18:44:53 GMT 10
Gypsy10 Great photos of the fabric roof "how to"  They really help those of us who still have it on their "to do" list. I too was curious about the "whole" fabric covering as well, as my Gypsy is "roof only" Thanks for posting a photo of your caravan step too - I now have a template for mine  |
|
|
|
Post by King Fisher on Feb 11, 2014 6:41:43 GMT 10
Looking great. It's a bit fiddly and messy but I am sure you are happy to have done it. I personally think that the calico coating seals the wood far better than many of the modern sealers and coatings. Looking great, looking forward to seeing it at the Nats.
|
|
|
|
Post by Gypsy 10 on Mar 18, 2014 20:58:41 GMT 10
|
|


